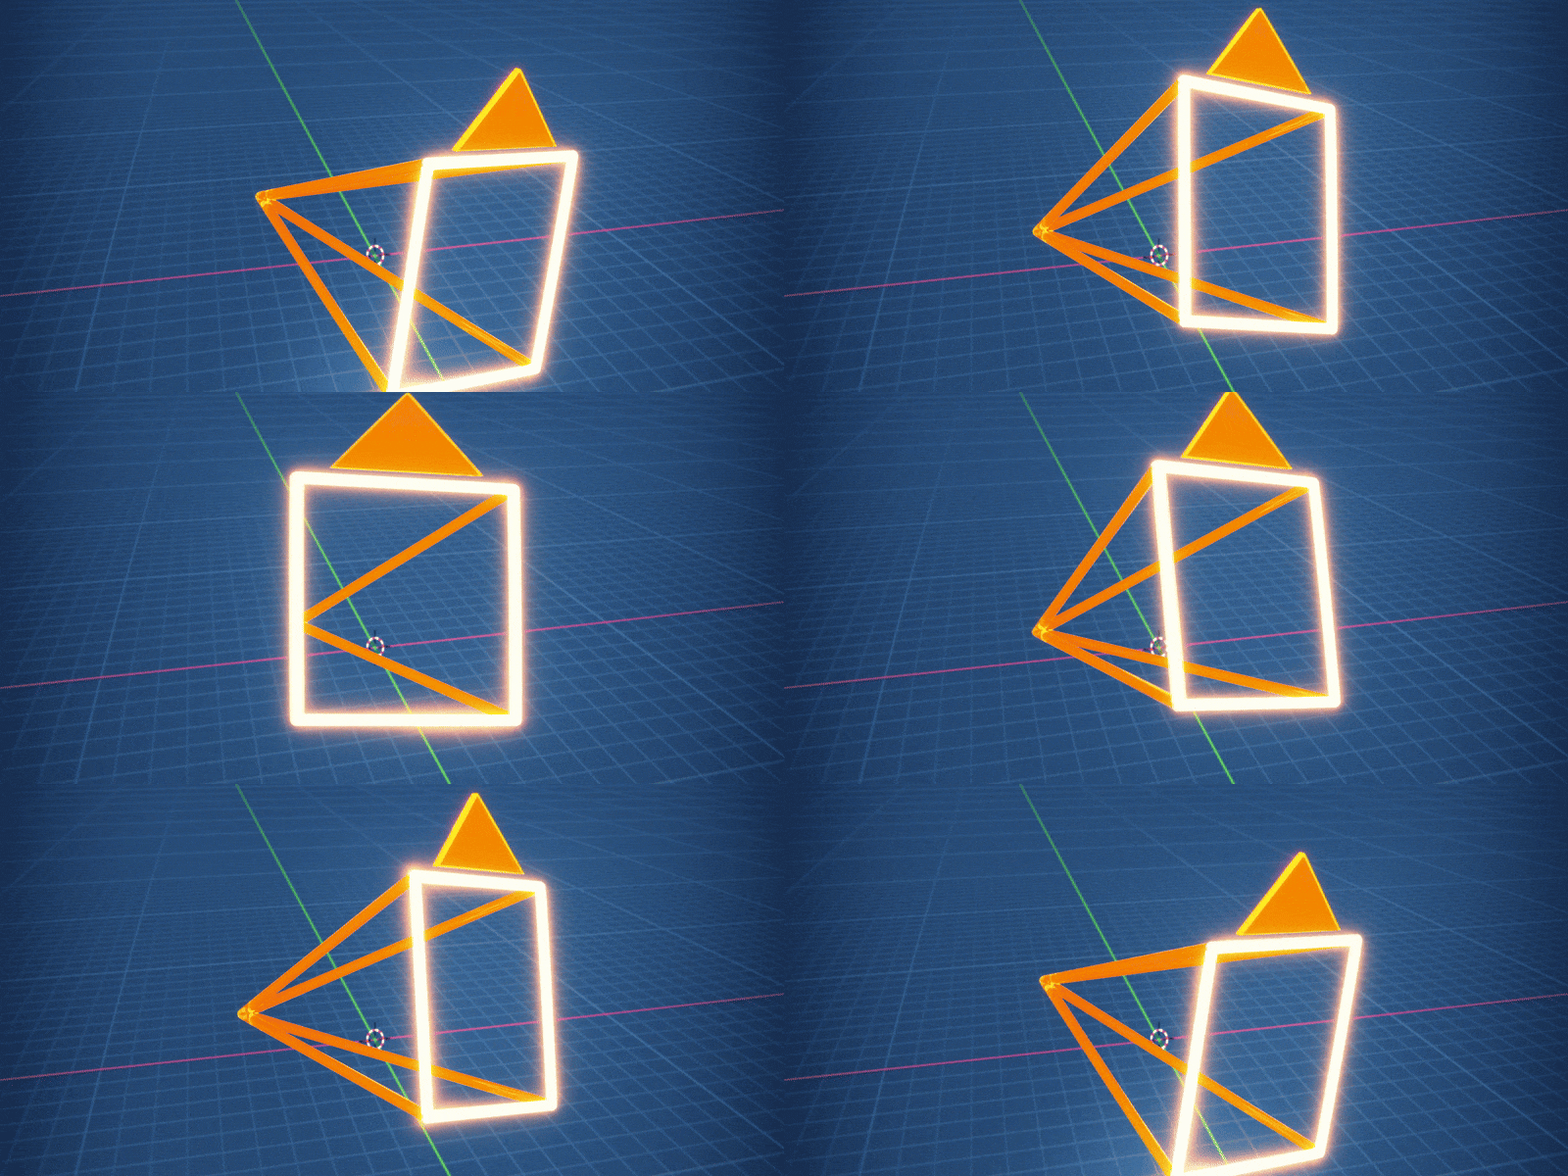
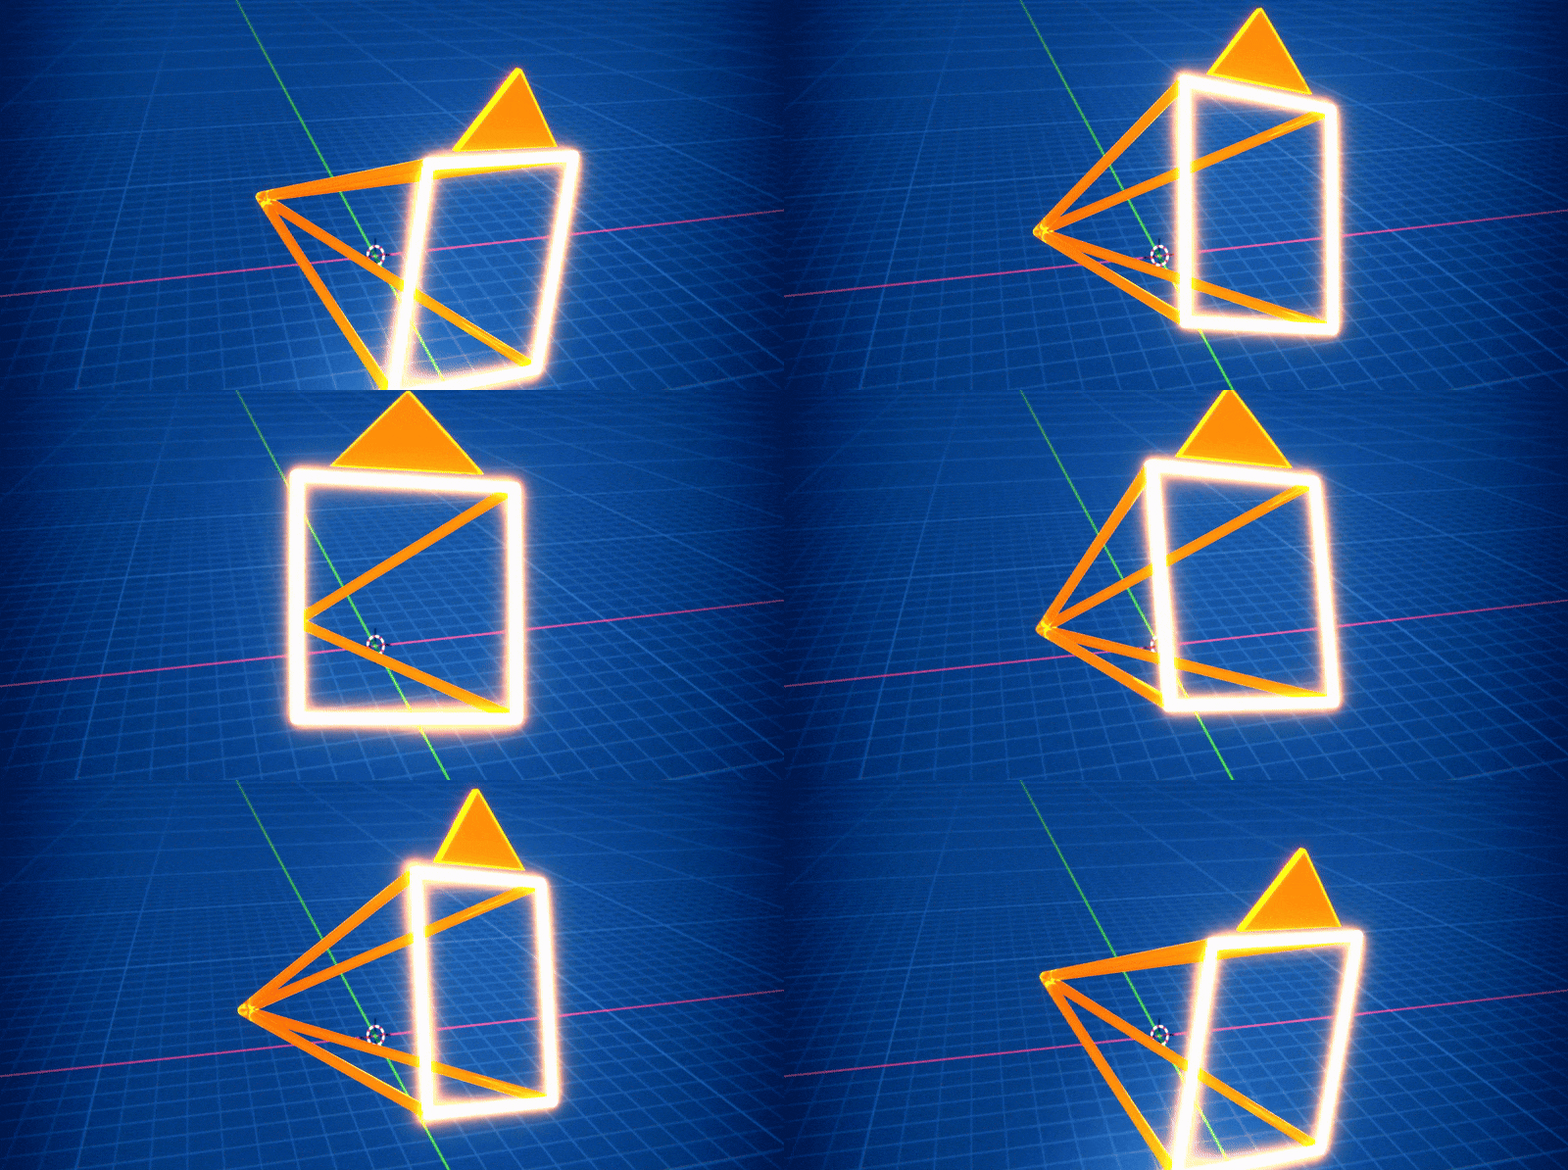
Creating smooth camera transitions in Blender can transform your animations from simple sequences into engaging, cinematic experiences. However to do this, you need to manage multiple camera angles and switch between them seamlessly which can be a repetitive daunting task. By default, animators have relied on the manual method by duplicating cameras, creating Timeline markers for each camera and binding each camera to their respective cameras. And when there is a need for adjustments, you cycle through each camera to make changes. These methods, although effective for small projects, often become cumbersome, error-prone and repetitive in larger, more advanced projects.
This is where The View Keeper shines. It is a powerful add-on for Blender that simplifies the process of managing and switching between camera views, both in the 3D viewport and in animations. In this article, we’ll explore how The View Keeper streamlines multi-camera workflows by offering an intuitive, centralized interface that allows you to store, manage, and render multiple camera angles with ease. We’ll dive into the challenges of manual camera management, discuss the key features and benefits of The View Keeper, and compare both workflows. Real-world examples, troubleshooting tips, and best practices will help you understand why The View Keeper stands out as a must-have tool for any Blender artist or animator.
This comprehensive guide is designed to provide you with insights into how The View Keeper improves camera transitions, so you can focus on creative storytelling without getting bogged down in technical details.
Introduction
In any 3D project, the camera is your primary storytelling device. The angles you choose, the movements you create, and the transitions between shots all contribute to how your audience experiences the narrative. In Blender, achieving smooth camera transitions is critical for creating professional and engaging animations.
Designed specifically to simplify multi- angle and camera workflows, The View Keeper allows you to store multiple camera views and their complete settings within a single camera. This add-on eliminates the need for duplicating cameras and manually adjusting settings for every transition, enabling you to switch between views effortlessly and render multiple outputs simultaneously.
In this article, we will explore how The View Keeper improves camera transitions in Blender by streamlining the process of managing multiple camera angles. We’ll break down the challenges of using the manual method, explain the key features of The View Keeper, compare both approaches. We’ll also provide real-world examples and troubleshooting tips. By the end of this guide, you’ll have a thorough understanding of why The View Keeper is a game-changing tool for Blender users seeking smooth, consistent, and efficient camera transitions.

The Challenge of Manual Camera Transitions
Manual Workflow Overview
The manual process for managing camera transitions typically involves the following steps:
- Creating Multiple Cameras:
You add each camera separately (using Shift + A), positioning them at different angles to capture various views of your scene. For example, you might have one camera for a wide establishing shot, another for a close-up, and yet another for an over-the-shoulder view. In this worflow a new camera must be created for every shot which is highly unnecessary. - Keyframing Each Camera’s Settings:
Once the cameras are in place, you must manually animate their positions, rotations, focal lengths, and other settings. This involves inserting keyframes along the Timeline for each parameter, ensuring that the camera moves and changes as needed throughout the animation. - Using Timeline Markers:
To switch between cameras during an animation, you add Timeline markers and bind each marker to a specific camera. This process dictates which camera is active at various points in the timeline. This process of switching cameras relies on the timeline which is not ideal for projects that explore creative ideas. It forces you to move to a different frame just to see what your scene looks like from a different camera. Either this or manually changing the active camera, which is also a chore considering how many times you would need a different perspective while working on your animation - Manual Reconfiguration:
Every time you need to adjust a camera’s settings whether to change the depth of field or adjust the clipping distances, you must manually select each camera, adjust it’s settings and also set it as the active camera to preview the changes you’ve made. This includes when trying out ideas. This repetitive process can lead to errors and inconsistencies.
Strengths and Limitations
Strengths
- Granular Control:
Manual methods allow you to tweak every single parameter, offering unmatched precision for each individual shot. - No Add-on needed:
Manual methods rely completey on the settings and systems provided by blender. No need for any additional tools or feature sets.
Limitations
- Time-Consuming:
The process is labor-intensive, particularly in advanced projects that require numerous camera angles. Every additional view means more cameras, more adjustments, more keyframes, more Timeline markers, and more potential for mistakes. - Inconsistency:
With manual adjustments, maintaining consistent settings across multiple cameras is challenging. Small variations in settings can lead to noticeable inconsistencies in the final render. - Scene Clutter:
Duplicating camera objects for each view results in a cluttered Outliner, which can make it difficult to manage and navigate your project. - Inefficient Iteration:
Experimenting with different camera configurations becomes a cumbersome task, as each new configuration must be set up and adjusted individually. This slows down the creative process and reduces overall efficiency.

Introducing The View Keeper
What is The View Keeper?
The View Keeper is a specialized Blender add-on designed to address the challenges of managing multiple camera angles. Rather than duplicating camera objects, The View Keeper allows you to store multiple camera views and their associated settings as records within a single camera. These records capture the complete camera configuration, including position, rotation, focal length, depth of field, clipping distances, and render settings.
Key Features and Benefits
- Intuitive Interface:
The View Keeper’s minimalist design ensures that even beginners can quickly learn how to use it. The interface displays only the essential settings, reducing overwhelm and making navigation straightforward. - Complete Configuration Storage:
Each camera record saves all critical parameters. When you recall a record, the camera is restored exactly as you saved it, ensuring that every shot maintains its intended look. - Effortless Switching:
Switching between different camera views is as simple as clicking on a saved record. This one-click recall eliminates the need for tedious manual adjustments and streamlines the entire workflow. - Simultaneous Multi-Output Rendering:
You can assign unique render settings to each saved camera record, enabling you to render multiple views simultaneously. This feature is especially beneficial for projects with tight deadlines, as it saves time and ensures consistent output quality. - Reduced Scene Clutter:
By storing camera configurations within a single add-on interface, The View Keeper minimizes the number of camera objects in your scene. This results in a cleaner, more organized workspace and makes project management much easier. - User-Friendly Interface and Learning Curve:
One of the greatest advantages of The View Keeper is its exceptionally low learning curve. The add-on is designed to be intuitive, with controls and options that are easily accessible directly from Blender’s N-panel. This means you can start saving, recalling, and managing camera views without needing to dive deep into complex documentation. Its ease of use makes it an ideal tool not only for professionals but also for beginners who are just starting with Blender.

Streamlining Camera Transitions with The View Keeper
The View Keeper simplifies the process of creating smooth camera transitions by consolidating all camera configurations into one easy-to-use interface. Let’s examine how it transforms your workflow.
Storing Multiple Camera Views Without Duplication
A significant drawback of manual camera management is the need to duplicate camera objects for every angle. This not only clutters your scene but also requires repetitive manual adjustments. With The View Keeper, you can store multiple camera views as records within a single camera. For example, you can capture a wide establishing shot, a close-up, and an over-the-shoulder view all from one camera by saving each view as a separate record. This approach keeps your scene organized and reduces the complexity of managing multiple cameras.
Saving Complete Camera Settings
When you save a camera setup with The View Keeper, every setting is stored:
- Camera Position and Rotation:
The exact placement and orientation of the camera are saved, so you can recall the precise view later. - camera settings:
Critical parameters like focal length, sensor size, depth of field and more are recorded, ensuring that every view has the exact visual characteristics you intended saved and ready for use. - Render Settings:
Settings such as resolution, file format, aspect ratio, output folder and more are also saved. This comprehensive storage ensures that every time you switch to a saved view, it appears exactly as it was. While also having the ability to save a render in different formats and to different folders all in one render session.
Effortless Switching Between Views
The power of The View Keeper is most evident in its ability to switch between camera views with a single click. Instead of manually repositioning the camera or adjusting keyframes, you can simply select a saved record from The View Keeper’s interface. This seamless transition not only saves time but also ensures that the look and feel of each shot remain consistent. Whether you’re testing different angles during the creative process or switching between camera setups during an animation, the process is both fast and reliable.
Simultaneous Multi-Output Rendering
Rendering multiple views one by one is a major bottleneck in the default manual workflow. With The View Keeper, you can assign unique render settings to each saved camera record. This means you can render all your saved views simultaneously:
- Different Resolutions and Formats:
Each record can be configured to output in a specific resolution or file format, ideal for projects that require multiple outputs (e.g., high-resolution for film, quick previews for client feedback or different aspect ratio for social media). - Batch Rendering:
The ability to render all views at once significantly speeds up the process, especially in projects with tight deadlines. You no longer have to wait for one render to finish before starting another.
Workflow Comparison: Manual vs. The View Keeper
To better understand the advantages of The View Keeper, let’s compare it side by side with manual camera management across several key factors.
Manual Camera Switching:
- Involves adding multiple camera objects and individually configuring each one.
- Requires extensive manual keyframing, positioning, and adjusting camera settings.
- Leads to a cluttered scene with many camera objects, making navigation difficult.
- Need to render each in parts when multiple render output is needed. Thereby increasing render and production time
- Provides granular control over each camera but is very time-consuming.
- Iterating on different configurations requires manually reconfiguring each camera, which is inefficient.
- Less flexible when it comes to rapidly testing multiple camera angles.
- Maintaining consistent settings across multiple cameras is challenging and prone to human error.
- Small discrepancies in camera parameters can lead to inconsistencies in the final render.
- Requires meticulous attention to detail to ensure every camera view is accurately configured.
The View Keeper:
- Allows you to save multiple camera views as records using a single camera object.
- Centralizes all camera configurations into one intuitive interface.
- Significantly reduces scene clutter by eliminating the need to duplicate cameras
- Provides a simple, easy-to-learn interface that speeds up the setup process.
- Streamlines the process with one-click saving and recall of camera setups.
- Enhances flexibility by allowing you to experiment with various configurations without manual reconfiguration.
- Supports simultaneous rendering of multiple views, saving time on projects with diverse output requirements.
- Encourages rapid iteration, enabling you to quickly switch between saved views and compare results.
- Automatically saves complete camera configurations, ensuring that every recalled view is consistent with the original setup.
- Minimizes the risk of errors by centralizing all settings, making it easier to maintain uniformity across all shots.
- Ensures that transitions between views are smooth and accurate, contributing to a professional final output.

Real-World Applications and Use Cases
Let’s explore how efficient camera management can make a real difference in various industries by examining practical, real-world scenarios.
Cinematic Productions
In film and television, directors rely on multiple camera angles to capture the full narrative of a scene. Achieving this in Blender probably looks like this
- Example (Manual Workflow):
A small indie film might use manual camera switching for a few key shots, manually adjusting each camera to achieve the desired effect. While this works for a limited number of angles, it becomes inefficient for longer sequences. - Example (The View Keeper):
In larger productions, directors can store various camera configurations in The View Keeper. For instance, one record might capture a sweeping establishing shot, while another focuses on a character’s emotional close-up. With the ability to switch between these setups instantly, the director can ensure that every shot is consistent, saving time and enhancing the overall cinematic quality.
Video Game Cutscenes
Video game cutscenes require dynamic and rapid transitions between multiple camera views to convey action and emotion.
- Example (Manual Workflow):
A developer might manually keyframe each camera angle in a cutscene or use multiple cameras. This method can be error-prone and slow, especially when the scene involves frequent changes. - Example (The View Keeper):
Game designers can benefit from The View Keeper by saving different camera setups as a record. This allows for quick switching between perspectives, ensuring that each shot is rendered with the correct settings. The consistency provided by The View Keeper is critical for maintaining immersion and narrative flow in fast-paced cutscenes. This can be seen in cutscenes like in The Last Of Us 2 where the camera cuts from character to character during intense conversations. This is what can be achieved usinng The View Keeper.
Architectural Visualization
Architectural visualization demands precise and consistent camera settings to accurately represent a design.
- Example (Manual Workflow):
An architect manually configuring several cameras to capture different parts of a building may struggle to maintain consistency, leading to mismatched renders or overwriting settings. - Example (The View Keeper):
Using The View Keeper, an architect can save multiple views such as exterior panoramas and detailed interior shots, all as records. Each view retains its specific render and camera settings, ensuring a cohesive presentation that accurately represents the design. This level of consistency is essential for client presentations and marketing materials.
Product Animations
Product animations often require multiple camera angles to showcase a product’s features from every perspective.
- Example (Manual Workflow):
A marketing team manually setting up and switching between various camera views might face challenges in maintaining consistent renders, having to always go back to change settings. - Example (The View Keeper):
With The View Keeper, each camera view for a product demo is saved as a record, complete with its unique settings. This ensures that every shot from close-ups highlighting texture details to wide-angle views is consistent and professional. The ability to render all views simultaneously further streamlines the process, making it easier to produce high-quality product animations quickly.

Troubleshooting and Best Practices
Even with The View Keeper’s robust features, occasional issues can arise. Here are some best practices and troubleshooting tips to help you get the most out of your camera management workflow.
Ensuring Consistency
- Verify Saved Settings:
Always double-check that all crucial camera parameters (focal length, depth of field, clipping distances, etc.) are correctly stored in each record. - Use the Refresh Function:
If you adjust a camera’s settings after saving a record, use The View Keeper’s Refresh Record feature to update the saved configuration. This ensures your records are always current.
Reducing Scene Clutter
- Rely on Records Instead of Duplicates:
Instead of duplicating cameras for each view, save multiple views as records in The View Keeper. This reduces clutter and simplifies scene management.
Optimizing Render Settings
- Uniform Render Configurations:
Ensure that each saved camera record includes the correct render settings (resolution, sample count, file format, output folder, etc.). Consistency in render settings is key for producing professional-quality outputs. - Test Renders Frequently:
Regularly preview your saved views in the 3D Viewport (using Numpad 0) to confirm that the configurations match your expectations before rendering the final output.
Documenting Your Workflow
- Iterate and Experiment:
Take advantage of The View Keeper’s flexibility to experiment with different configurations. Rapid switching between saved views encourages creative exploration and fine-tuning of your camera settings.
People Also Ask
- What is manual camera switching in Blender?
It involves adding multiple cameras, manually keyframing their positions and settings, and using Timeline markers to switch the active camera during an animation. - How does The View Keeper simplify camera management?
The View Keeper allows you to save complete camera configurations as records, enabling you to quickly recall and switch between different views without changing settings manually. - Which workflow is more efficient for large projects?
The View Keeper is generally more efficient because it centralizes camera management, reduces repetitive tasks, and supports simultaneous multi-output rendering. - Can I render multiple camera views simultaneously with The View Keeper?
Yes, each saved camera record can include its own render settings, allowing you to render several views at once, which is particularly useful for projects with tight deadlines. - How do Timeline markers work for camera switching?
Timeline markers designate specific frames for camera transitions. By binding a marker to a camera, Blender automatically switches the active camera at that frame. - Is manual camera switching more precise than using The View Keeper?
The View Keeper is very precise at camera switching while also offering additional features to increase creativity with renders. - What are the benefits of using The View Keeper?
It streamlines your workflow, saves time by storing and recalling camera setups, maintains consistent settings across shots, reduces scene clutter, and supports simultaneous rendering. - How do I ensure smooth transitions between camera views?
Use The View Keeper. It makes camera switching a lot easier. Cameras are stored as records and are correctly configured for seamless switching. - Can I automate camera switching in Blender?
Advanced users can employ Python scripting and drivers for automation, but The View Keeper offers an intuitive, non-programmatic solution. - What real-world projects benefit from efficient camera management?
Cinematic productions, video game cutscenes, architectural visualizations, VR experiences, and product animations all benefit from a streamlined camera management workflow.

Bringing It All Together
Managing camera transitions is an essential part of creating compelling animations and visualizations in Blender. The default manual workflows, while offering detailed control, often fall short in efficiency, consistency, and ease of use. This is especially in projects that require multiple camera views and rapid transitions. The manual approach involves creating multiple camera objects, setting individual keyframes, managing Timeline markers, rendering in parts, going back to blender to change settings and rendering again. This is a significant drain on time and creativity.
The View Keeper, however, improves this process by providing a centralized, user-friendly interface for storing complete camera configurations as records. With The View Keeper, you can save every aspect of your camera setup, from position and rotation to focal length, depth of field, clipping distances, render settings and more. Then restore these camera setups at any time with a single click. This streamlined process eliminates the need for duplicating camera objects and manually reconfiguring settings for each shot.
One of the most significant advantages of The View Keeper is its ability to render multiple camera views simultaneously. Each saved record can have its own dedicated render settings, allowing you to output several views in one go. This feature is especially beneficial for projects with tight deadlines or those that require outputs in different formats and resolutions.
Final Thoughts
The challenge of managing multiple camera settings in Blender is a common pain point for many artists. Manual camera switching, while offering detailed control, is often inefficient, inconsistent, and cumbersome. The View Keeper stands out as a much better add-on that addresses these issues head-on.
By allowing you to store complete camera configurations as records within a single interface, The View Keeper not only simplifies the process of switching between views but also ensures that every shot is rendered with consistent settings. Its intuitive design and minimal learning curve make it accessible for beginners, while its powerful features save time and reduce errors for advanced users.
We hope this comprehensive guide has provided you with the detailed insights, practical tips, and real-world examples needed to understand how The View Keeper improves Blender rendering workflows. Embrace the power of efficient camera management, and let The View Keeper help you bring your creative projects to life with clarity, precision, and style.
Happy blending!
