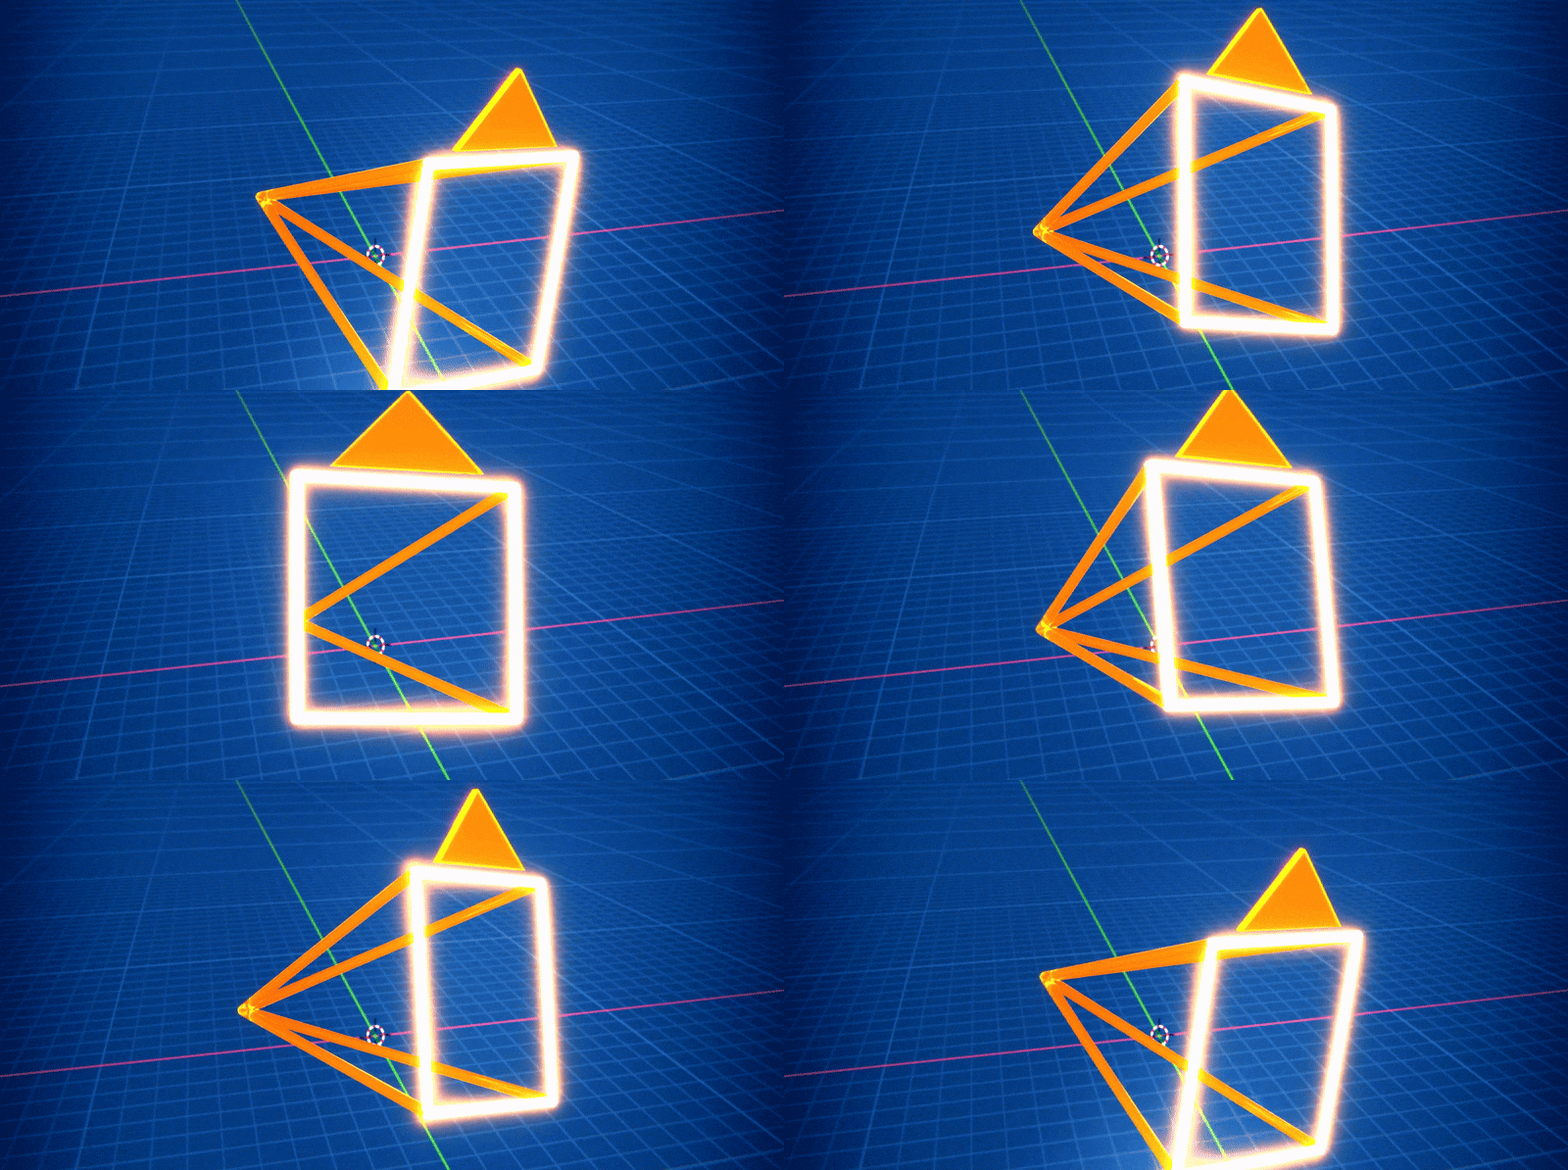
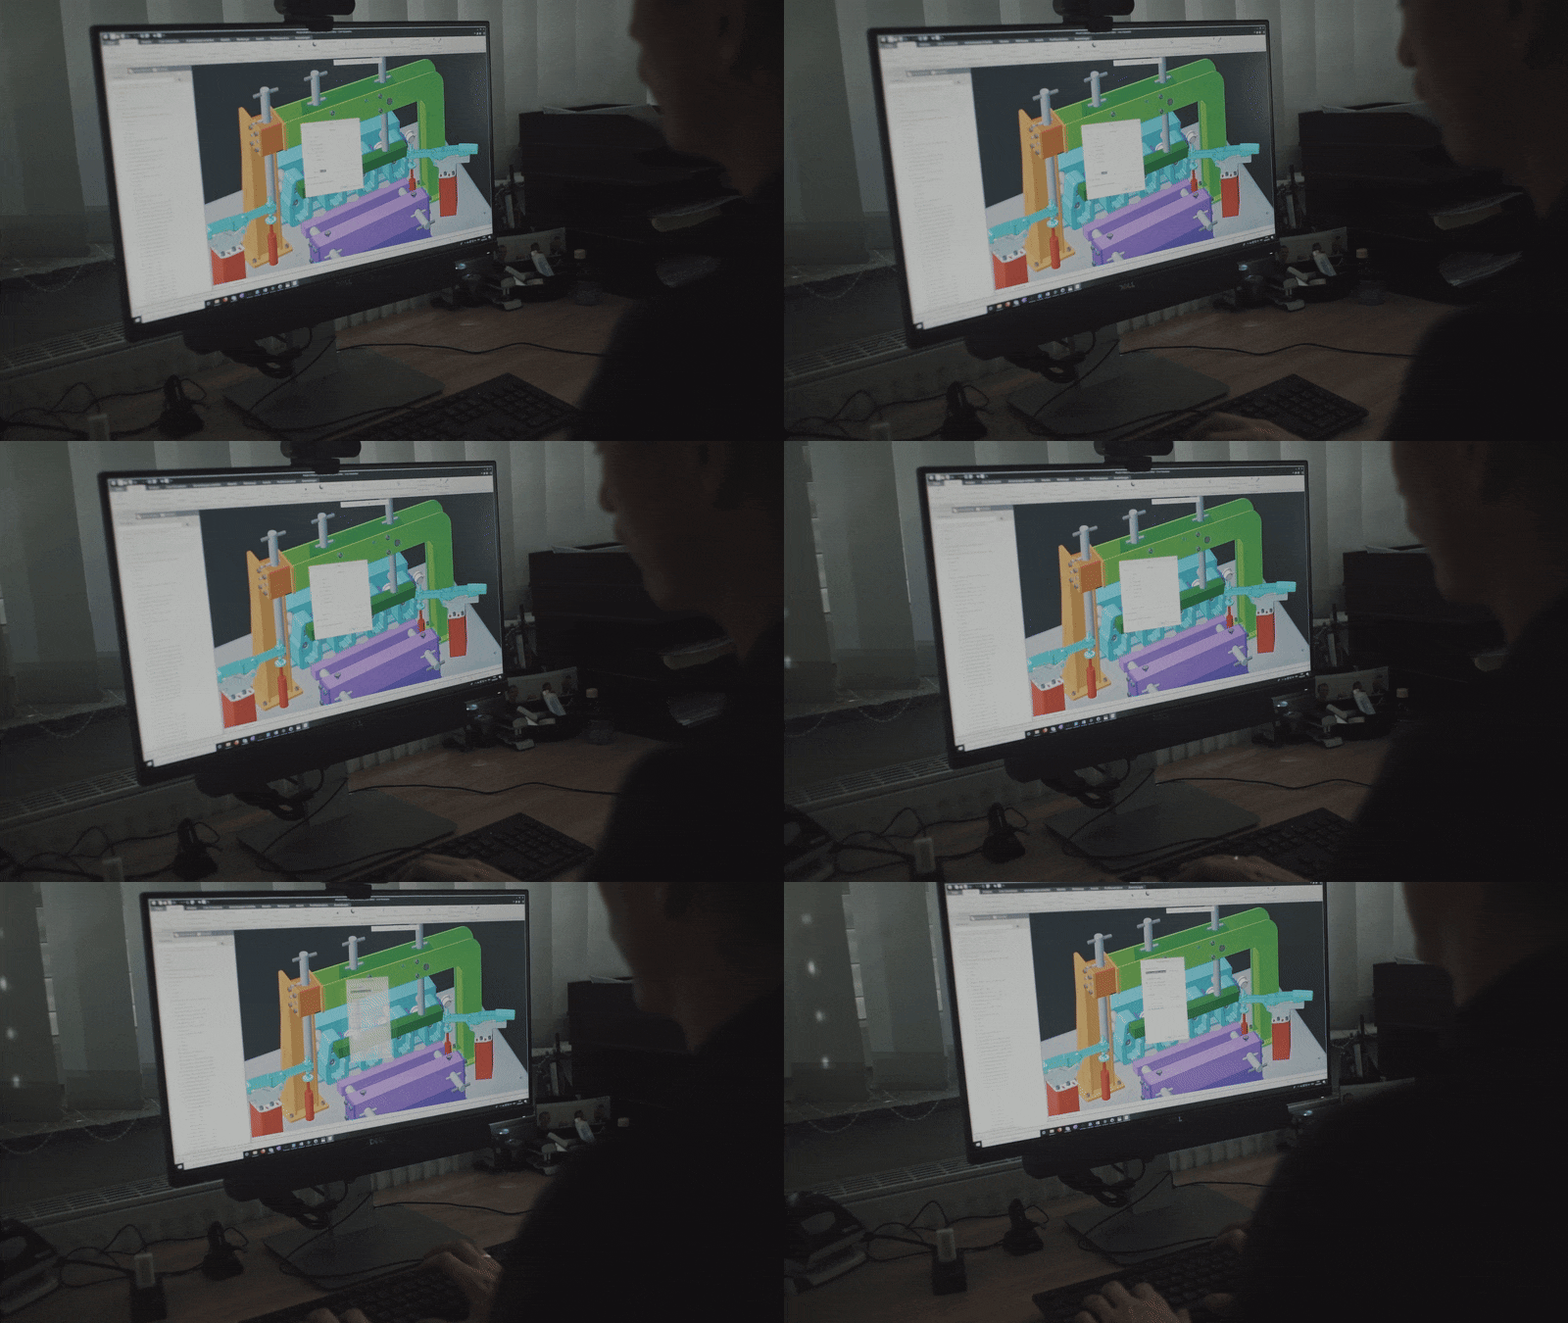
Blender’s native camera tools are powerful—but managing camera settings for every shot can be a tedious, repetitive process. In professional workflows, constantly readjusting, overriding, and duplicating cameras slows you down and risks inconsistency. Fortunately, add-ons like The View Keeper have revolutionized how we work with cameras in Blender, saving time and boosting creative efficiency. In this complete guide, we’ll dive into the fundamentals of Blender cameras, explore the challenges of working manually, and show you step-by-step how to save and reuse camera settings. We’ll also cover deep dives into “view records,” batch rendering, and how The View Keeper can transform workflows for 3D artists, animators, agencies, and studios.
Understanding Blender Cameras
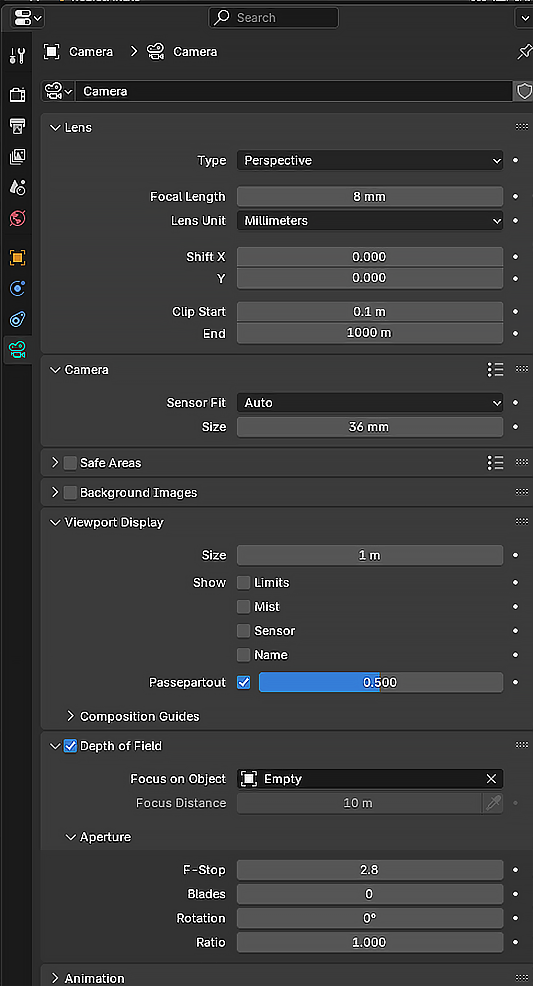
Before we get into saving settings, it’s essential to understand what Blender cameras are and how they function. In Blender, a camera isn’t just a viewpoint—it’s an object with its own properties: focal length, sensor size, depth of field, and more. These settings define what and how your scene is captured. By mastering the fundamentals of Blender cameras, you lay the groundwork for a more efficient workflow.
What Are Blender Cameras?
- Perspective and Orthographic Modes:
Blender supports both perspective (which mimics real-life vision) and orthographic (for technical views) cameras. Most cinematic renders use perspective mode. - Key Parameters:
Important settings include focal length, sensor size, clipping planes, and depth of field. Each parameter affects the final render’s composition and mood. - Integration with Scene Lighting & Materials:
The camera works in tandem with scene lighting, shaders, and post-processing to create a coherent visual narrative.
Understanding these basics is the first step toward a more efficient camera workflow.
How Cameras Work in Blender
Blender’s default camera system is integrated into the 3D viewport and the rendering engine. However, its workflow can be limited when you need to manage multiple camera angles. During production, every time you adjust lighting, composition, or even the camera’s position, you may need to manually update settings or duplicate cameras—often a repetitive and error-prone process considering you might have to return to previous settings for rendering.
The Default Workflow
- Manual Adjustment:
Without additional tools, you must manually set up each camera’s parameters. If you need several angles for one scene, you often duplicate the camera and adjust each one individually. - Repetition and Overriding:
A small change in lighting or scene composition might force you to reconfigure camera settings repeatedly. Each duplication or reset increases the chance for error and scene clutter. - Lack of Centralized Control:
Blender applies global render settings by default, meaning every camera uses the same resolution, output format, and aspect ratio unless manually changed. This lack of per-camera customization can be limiting in complex projects.
These challenges underscore why saving camera settings is a game changer.
Why Should You Save Camera Settings?
Who likes repetition? Not you, and certainly not professional 3D artists. Saving camera settings means you don’t have to recreate a perfectly tuned camera setup for every new shot. Benefits include:
- Time Savings:
Once you’ve dialed in the ideal settings (focal length, depth of field, render format, etc.), you can reuse them on demand. - Consistency:
Saved settings ensure that every shot in a project maintains a consistent look and feel, crucial for both storytelling and client presentations. - Reduced Error:
Manual reconfiguration is prone to mistakes. Saving settings minimizes the risk of misconfigured shots that could ruin the final render. - Enhanced Workflow:
With saved camera settings, you can quickly switch between different pre-configured views, enabling rapid iteration and experimentation.
Saving camera settings isn’t just a technical convenience—it’s a pathway to more professional, efficient work.
Common Scenarios Requiring Saved Camera Settings
Saved camera settings are invaluable in many situations:
- Product Renders:
When showcasing a product from multiple angles, saved view records let you quickly switch between setups. - Animation Sequences:
In cinematic animations, you often need to switch between different camera views to tell a dynamic story. - Client Presentations:
Present multiple camera views and options with consistent settings to impress clients. - Repetitive Workflows:
If you often work on projects that require similar camera setups, saving these configurations can drastically cut down on repetitive manual adjustments.

How to Save Camera Settings in Blender: Introducing The View Keeper
Enter The View Keeper—a powerful add-on designed specifically to manage and reuse camera settings. Instead of duplicating cameras or manually reconfiguring them for each shot, The View Keeper allows you to store multiple “view records” for a single camera. This means you can save various camera angles and settings, and switch between them instantly.
What Is The View Keeper?
The View Keeper is an add-on that revolutionizes camera management by letting you save comprehensive camera settings as “view records.” Each view records holds all the details of a camera’s setup, from position and rotation lens, focal length and other camera settings. This approach eliminates the need for duplicate cameras and manual resets, making your workflow both cleaner and more efficient. You also have the camera records which save cameras, each with it’s unique render-specific settings like resolution and output path.
Deep Dive on View Records
What Are View Records?
View records are essentially snapshots of a camera’s state. They store all camera settings—including position, rotation, focal length, depth of field. Once saved, these records can be recalled with a single click, instantly restoring the camera to the exact configuration you need.
Why Are View Records a Game Changer?
- Centralization:
Instead of cluttering your scene with many camera, you store multiple configurations in a single camera. This drastically reduces scene clutter and keeps your workflow organized. - Efficiency:
With view records, switching between different camera setups becomes instantaneous, reducing downtime during production and enabling rapid creative iterations.
Step-by-Step Guide on Saving a Camera’s Setting as a View Record
Here’s a practical walkthrough of how to use The View Keeper to save your camera settings:
- Install The View Keeper:
- Download the add-on from the official source.
- In Blender, go to Edit > Preferences > Add-ons and click “Install.” Select the downloaded file and enable the add-on.
- Select Your Camera:
- In your scene, select the camera you want to work with.
- Open The View Keeper Panel:
- Press N to open the side panel in the 3D viewport.
- Locate The View Keeper section.
- Create a New View Record:
- Click the “Add New View Record” button.
- The current camera settings—position, rotation, focal length, depth of field, and more—are now saved as a view record.
- Review and Adjust:
- Use the preview window to review the saved record.
- If necessary, tweak the settings manually and click “Refresh Record” to update the saved configuration.
- Rename the View Record:
- For better organization, click the “Rename View Record” button and enter a descriptive name (e.g., “Wide Shot – Product A”).
Now you have a saved view record that you can recall anytime.
Refresh Record and Rename View Record
Refresh Record:
Sometimes you make adjustments to your camera settings after creating a view record. The Refresh Record feature lets you update the saved record with the current settings. This ensures that your view record remains accurate and reflects any changes you’ve made during experimentation.
Rename View Record:
Naming your view records is critical for organization, especially in complex projects with many saved views. The Rename View Record feature allows you to assign descriptive names to each record, making it easy to identify the right configuration quickly.

Batch Render All Saved View Records (Alternative Rendering)
One of the standout features of The View Keeper is its ability to batch render all saved view records in one go. This “Alternative Rendering” function means you can queue up multiple camera views, each with its unique settings, and render them simultaneously. This is particularly useful when you need to generate outputs for different platforms or compare multiple angles of a scene without manually switching and rendering each one.
Using The View Keeper as a Customized Camera Preset for Your Projects
Imagine having a set of go-to camera setups that you can load automatically whenever you start a new project. The View Keeper lets you save your most commonly used camera configurations as presets. You can even set these as your startup file in Blender, ensuring that every new project begins with a professional, pre-configured camera setup. This not only speeds up your workflow but also ensures consistency across projects.
Traditionally, if you wanted to capture multiple angles, you’d duplicate your camera and adjust each one individually. This method leads to a cluttered scene and increases the chance of errors. With The View Keeper, you no longer need to duplicate cameras. Instead, save multiple view records within a single camera, keeping your scene organized and your workflow streamlined.
Manual keyframing of camera settings is labor-intensive and prone to errors. Each time you need a new shot, you’re forced to duplicate and adjust keyframes—a process that is both time-consuming and inefficient. In contrast, The View Keeper offers an organized, non-destructive way to store and recall camera settings. Its ability to save multiple views in one camera means you can instantly switch between perfectly tuned setups, reducing manual workload by orders of magnitude.
When working manually, any small mistake requires you to reset and reconfigure your camera settings. This repetitive process not only wastes time but also increases the risk of inconsistency across shots. By automating these tasks through The View Keeper, you eliminate human error and free up valuable time for creative work. This efficiency boost is essential for meeting tight deadlines and delivering professional-quality renders.
One of the most powerful aspects of The View Keeper is that it allows you to save an unlimited number of view records to each camera. This means you’re never constrained by a preset limit—you can experiment with countless angles and configurations without worry. Every time you discover a perfect setup, save it for future use and never lose that creative insight.
Test and Experiment Using the View Records in Blender
One of the greatest advantages of The View Keeper is the ability to experiment without penalty. Save multiple view records for a single camera and test different angles, focal lengths, and render settings. Quickly toggle between configurations to compare results and refine your vision. This iterative process encourages creative exploration and leads to better final renders. With instant previews and quick updates, you can see the impact of your changes in real time.
The flexibility of view records encourages experimentation. Since each view record can be recalled instantly, you can try out various camera angles, lighting setups, and render settings without permanent changes to your camera settings. This iterative approach means you can fine-tune your compositions until they’re just right, making it an essential tool for both beginners and advanced users alike.
For projects that require diverse camera angles—such as a narrative animation or a product showcase—it’s crucial to store different settings for each shot. The View Keeper lets you assign unique render settings (resolution, format, output path) and camera parameters for every shot in your project. This level of customization ensures that each shot is optimized for its specific purpose, from cinematic close-ups to wide establishing shots.
In today’s dynamic production environments, managing multiple camera angles efficiently is not a luxury—it’s a necessity. Whether you’re a freelance artist, an animator, or part of a large studio, The View Keeper dramatically simplifies your workflow. It centralizes camera settings, minimizes scene clutter, and streamlines rendering, making it an indispensable tool for any project involving complex camera work.

Store Different Camera Settings for Each Shot
Every shot in your project might require different camera settings—whether it’s a wide establishing shot, a close-up, or a detail-oriented view. The View Keeper allows you to store unique settings for each shot within one camera. This capability is especially useful in projects with varying output requirements, such as films that need to adapt to different aspect ratios or resolution formats. By storing these settings, you can easily switch between them during both the setup phase and the final rendering, ensuring that each shot is optimized for its purpose.
If your work involves frequent camera adjustments or multi-angle renders, The View Keeper is indispensable. Its ability to consolidate multiple camera configurations into a single, easily manageable interface saves time, reduces errors, and significantly enhances your workflow. For professionals across freelancing, animation, agency work, and large studios, this add-on streamlines the camera management process and provides a competitive edge by ensuring consistency and efficiency in every project.
Installation and Setup
Setting up The View Keeper is straightforward:
- Download the Add-on:
Obtain the latest version from the official website or Blender Market. - Install in Blender:
Go to Edit > Preferences > Add-ons, click “Install,” select the downloaded ZIP file, and enable the add-on. - Access the Panel:
Press N in the 3D Viewport to open the side panel. The View Keeper panel will appear, ready for use. - Configure Settings:
Adjust any global settings as needed. You can also set up default camera settings that will be applied to all view records.
With a few simple steps, you’re ready to start saving and managing camera views with ease.
Combining The View Keeper with Animation Tools
The View Keeper is not just for static renders—it integrates seamlessly with Blender’s animation tools. You can keyframe the switching of view records to create dynamic camera movements within your animations. This allows for smooth transitions between different camera setups and ensures that your narrative flow is maintained without manual intervention.
How It Works with Animation
- Keyframe View Record Switching:
Insert keyframes for view record changes at specific points in your timeline. The camera will automatically adopt the saved settings at the designated frames. - Seamless Transitions:
Use interpolation to smoothly transition between view records, providing a polished, cinematic feel to your animation. - Integration with Other Add-ons:
The View Keeper works alongside other animation tools, such as Camera Shakify for adding realistic motion, ensuring a cohesive and professional output.

Using The View Keeper as a 3D Artist
For 3D artists, efficiency and consistency are paramount. The View Keeper allows you to set up multiple camera views within a single scene, so you can experiment with different compositions without cluttering your workspace. Save your favorite angles and quickly switch between them during modeling, texturing, or lighting sessions. This streamlined approach not only saves time but also inspires creativity by allowing rapid iteration on camera setups.
Using The View Keeper as an Animator
Animators often face the challenge of coordinating multiple camera angles for dynamic sequences. The View Keeper makes this process smoother by storing per-shot settings that can be recalled and adjusted on the fly. It lets you plan out your shots in a storyboard-like manner within Blender, ensuring that each transition is seamless and visually consistent. With batch rendering and easy keyframing, you can focus more on storytelling and less on technical adjustments.
Using The View Keeper as an Agency
For agencies managing client projects, consistency across different jobs is critical. The View Keeper can be integrated into your standard workflow as a default startup file that comes pre-loaded with your preferred camera settings. This ensures that every project starts with a solid, professional foundation and minimizes setup time. With its comprehensive control over render settings, agencies can guarantee that all output meets client specifications, regardless of project complexity.
Using The View Keeper as a 3D Studio
Large studios juggling multiple projects and teams need tools that promote standardization and efficiency. The View Keeper’s ability to store unlimited view records and batch render multiple camera setups ensures that every project maintains a high level of consistency. Studios can develop internal libraries of camera presets tailored to different types of scenes, from animated films to product visualizations. This centralized system reduces errors, streamlines revisions, and fosters collaboration across teams.
Frequently Asked Questions (FAQ)
- What exactly does The View Keeper do?
It allows you to save, manage, and recall multiple camera views and within a single Blender camera, eliminating the need for duplicate cameras. - How do view records differ from traditional keyframing?
View records save the entire state of a camera (position, rotation, focal length ) in one click, while keyframing requires manual entry for every change. - Can I save unlimited view records with The View Keeper?
Yes, The View Keeper allows you to save an unlimited number of view records for each camera, enabling extensive experimentation and configuration. - Is batch rendering supported?
Absolutely. You can batch render all your saved view records (alternative rendering) in one go, streamlining your output process. - How do I update an existing view record?
Use the “Refresh Record” feature to update a view record with the current camera settings. - Can I rename my view records?
Yes, the add-on includes a “Rename View Record” function, making it easy to organize and identify your saved configurations. - Why should I save camera settings instead of using manual methods?
Saving camera settings minimizes repetitive tasks, reduces errors, and maintains consistency across your project—boosting both productivity and quality. - How does The View Keeper integrate with animation workflows?
You can keyframe the switching of view records, allowing seamless transitions between different camera setups in your animations. - Is The View Keeper suitable for both still renders and animations?
Yes, it works with both still images and dynamic sequences, making it versatile for all types of projects. - Who can benefit the most from using The View Keeper?
Freelancers, 3D artists, animators, agencies, and studios all benefit from the add-on due to its efficiency, consistency, and extensive feature set.

33. Conclusion
Managing camera settings in Blender can be a cumbersome, repetitive process when relying solely on the default tools. Constantly readjusting, duplicating, and manually keyframing cameras not only wastes time but also increases the risk of errors and inconsistent renders. The View Keeper offers a comprehensive solution to these challenges by allowing you to save unlimited view records, customize per-camera render settings, and batch render multiple camera views in one go.
By streamlining your workflow, The View Keeper lets you focus on the creative aspects of your project. Whether you’re a 3D artist perfecting your composition, an animator crafting cinematic sequences, or a studio striving for consistency across multiple projects, this add-on is an indispensable tool. It eliminates the need to duplicate cameras, reduces manual reconfiguration, and ensures that every shot is captured with precision and professionalism.
Moreover, combining The View Keeper with other Blender animation tools further enhances its power—enabling realistic camera shakes, organized shot management, and smooth transitions between different camera views. This all-in-one solution not only saves time but also opens up new possibilities for experimentation and creative expression.
In conclusion, if you work with multiple camera angles in Blender, adopting The View Keeper is a game-changing decision. It streamlines the process of saving, managing, and reusing camera settings, thereby transforming your workflow into one that’s efficient, consistent, and truly cinematic.
Recommended
The Ultimate Guide to the Most Popular Black Hairstyle Options
Redefining Representation: Authentic Black Hairstyles in Video Games
The Ultimate Guide to Hair for Games: Techniques, Tools, and Trends
