Introduction: Understanding MetaHumans and Blender’s Potential
MetaHumans have revolutionized digital character creation with highly realistic, rigged human models. However, Blender allows for further customization of these characters beyond the stock options available in Unreal Engine’s MetaHuman Creator. Blender provides advanced modeling, sculpting, and texturing tools, offering complete control over the 3D mesh, including facial details, body proportions, and external asset integration like custom hair or clothing. The guide explains how to import MetaHumans into Blender for refinement, enhance textures, and sculpt intricate features, ultimately exporting the improved character back to Unreal Engine. This combination of MetaHuman and Blender enables creators to refine characters and meet specific artistic goals.
What Are MetaHumans?
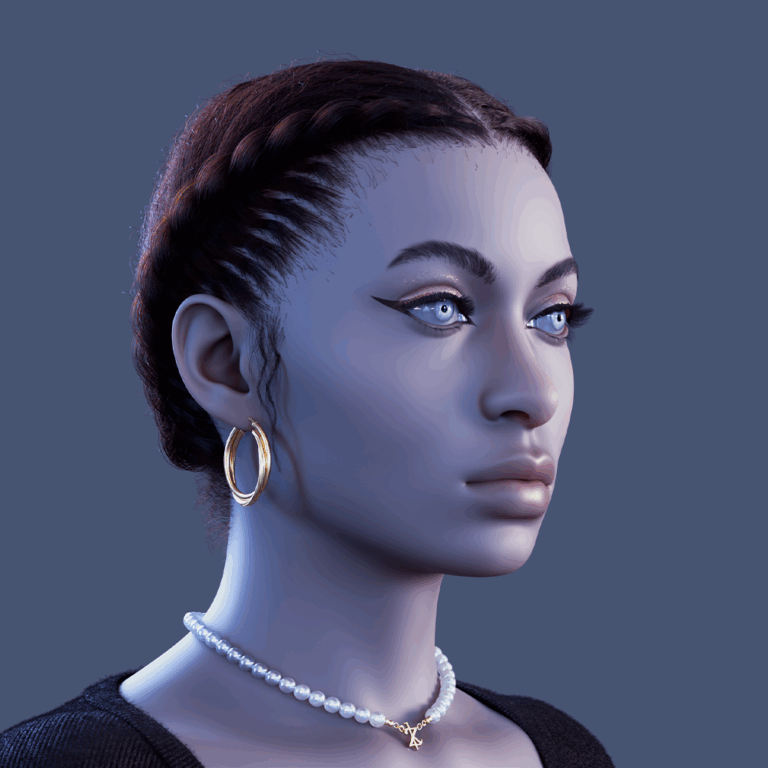
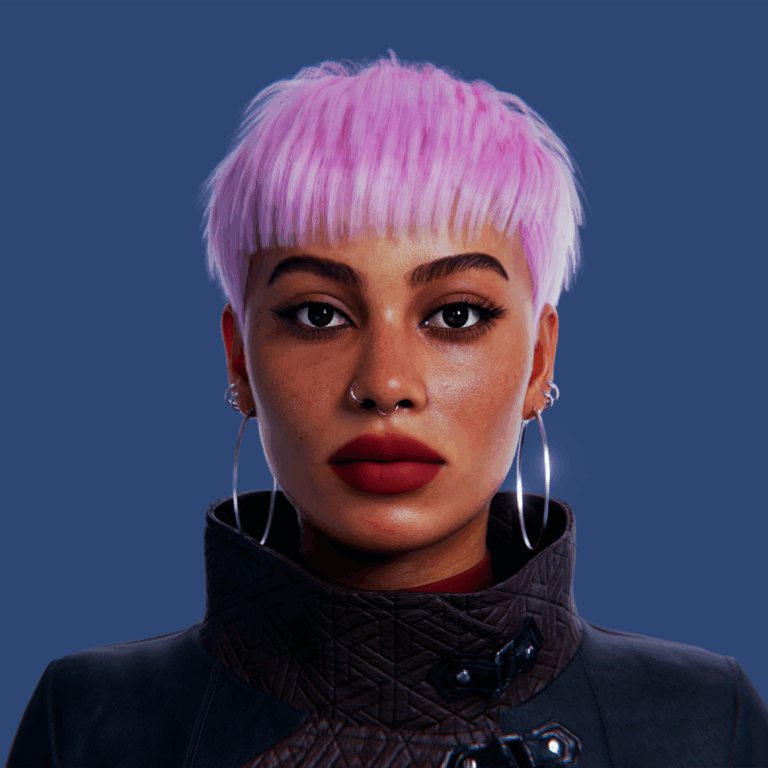
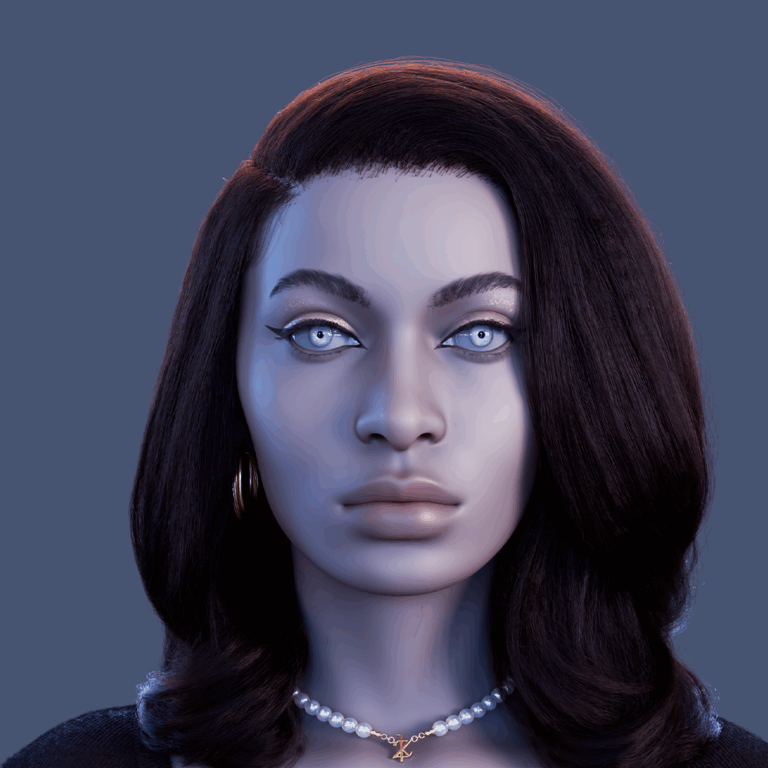
MetaHumans, created by Epic Games, are fully rigged, photorealistic digital humans designed for Unreal Engine. Built using the MetaHuman Creator tool, they feature customizable faces, skin tones, and hair, with lifelike textures and detailed rigs dev.epicgames.com. The stock MetaHumans offer realistic models with standardized features and are compatible with Unreal’s animation tools. However, customization options are limited within the MetaHuman Creator, and specific or unique features (such as scars or exaggerated traits) are difficult to achieve. For more distinct characters, further editing in Blender is necessary to add custom details, such as unique scars, facial adjustments, or hairstyles, before importing the enhanced character back into Unreal Engine for productioncgchannel.com.

Why Improve Your MetaHuman in Blender?
Editing MetaHumans in Blender unlocks greater creative freedom and advanced customization beyond the limitations of the MetaHuman Creator. Key benefits include:
- Enhanced Realism: Blender allows for finer details like asymmetry, wrinkles, scars, and tattoos, making characters more lifelike and unique.
- Unique Features: Modify the mesh to add or remove body parts, such as supernatural traits, cybernetic implants, or amputations, while keeping the MetaHuman rig intact.
- Advanced Customization: Create highly stylized characters with exaggerated proportions, unique musculature, or fantasy elements not possible in MetaHuman Creator.
- Seamless Integration: Combine MetaHumans with external assets, adjust outfits, optimize performance, and prepare characters for different platforms.
By using Blender, creators can turn standard MetaHumans into fully bespoke digital actors tailored for their specific projects.
Importing MetaHuman Assets into Blender
To import a MetaHuman into Blender for editing, follow these steps:
- Export from Unreal: Use Unreal’s Content Browser to locate and export the MetaHuman’s skeletal mesh (body and face) as FBX files. Also, export the textures (albedo, normal, roughness).forums.unrealengine.com
- Import into Blender: In Blender, import the FBX files (body and face) and enable “Import Morph Targets” for facial blendshapes. Adjust orientation and scale if necessary due to differences between Unreal and Blender’s units.
- Reapply Materials and Textures: Link the exported textures to Blender’s materials (for skin, face, body, eyes, and teeth) to match the Unreal look as closely as possible.
- Check the Skeleton and Orientation: Test the armature in Blender’s Pose Mode to ensure proper deformation. Adjust the skeleton’s orientation if needed, but for non-animated edits, minimal adjustments are required.
Following these steps will successfully set up your MetaHuman in Blender for further customization and editing.

Customizing Facial Features and Expressions
To personalize a MetaHuman, facial sculpting in Blender is a powerful tool. Here’s how to do it effectively:
- Facial Sculpting: Use Blender’s sculpting brushes like Grab, Smooth, and Clay to modify the face. Focus on refining features like the jawline, nose, lips, and brow ridge. Make gradual changes, ensuring the character looks natural. Add subtle asymmetry for realism (e.g., different eyebrow shapes or eye squints).
- Preserving Rig and Morphs: Keep the vertex order intact to preserve the MetaHuman’s facial rig and morph targets. Avoid adding or removing vertices while sculpting to maintain the function of shape keys (morphs) like blinking or smiling. Test key shape keys after sculpting to ensure expressions still work as expected.
- Adding Fine Details: Use multiresolution sculpting or texture painting for fine details like pores, scars, or skin textures. Rather than modifying the base mesh, paint these details onto textures or bake them into normal maps for a more efficient and detailed result.
- Adjusting Expressions: If you want to alter expressions (e.g., a larger smile), you would need to edit the morph targets or facial rig, which is advanced. Tools like the MetaHuman DNA Blender add-on allow direct modifications to the facial rig. Without this tool, you can modify the sculpt but may need to rely on existing morphs.
Facial sculpting in Blender allows you to create unique and more lifelike MetaHuman faces, provided you maintain the rig’s compatibility.
Improving Body Proportions and Anatomy
To improve the body proportions and anatomy of a MetaHuman in Blender:
- Reshaping the Body: Use Edit or Sculpt Mode to adjust body features like height, shoulder width, muscle bulk, or limb size. Proportional editing helps make smooth adjustments, like creating a more muscular or slimmer character. Use references to guide changes (e.g., swimmer vs. bodybuilder builds).
- Maintaining Rig Compatibility: Ensure changes don’t affect the body rig’s compatibility. As long as you don’t alter the topology, the rig will continue working. Proportional changes like scaling work well, but for localized changes (e.g., thicker forearms), check weight painting to ensure smooth deformation. Avoid moving bones if you want to retain original animations.
- Extreme Changes: For drastic edits (like removing limbs or extreme body proportions), you may need to adjust the rig or use different techniques. Unreal can handle missing mesh parts (like a removed arm) if the skeleton matches, but extreme changes may cause animation issues. For cartoonish proportions, consider modifying the rig or using different animation methods.
- Anatomy Details: For significant muscle changes, bake normal maps to avoid high poly counts while maintaining detail (like abs or veins). Ensure UVs are intact to prevent texture issues when exporting.
Adjusting the MetaHuman’s body in Blender offers flexibility to achieve any desired physique while maintaining compatibility with the rig and optimizing performance with normal maps.
Enhancing MetaHuman Textures
- Customizing Skin Textures: You can edit MetaHuman skin textures (diffuse, normal, and roughness maps) in Blender using Texture Paint or external tools like Photoshop or Substance Painter. Common customizations include adding scars, tattoos, or makeup. Ensure the edits align with the UV layout and adjust material properties (like roughness) for realism. For instance, scars may require tweaking the roughness map to appear shinier or duller.
- Improving Material Properties: While Blender can’t replicate Unreal’s complex skin shader (including subsurface scattering), you can make texture changes that will need material adjustments in Unreal to match. For example, darker features like birthmarks may require adjustments in Unreal’s material settings to ensure accurate lighting and skin appearance.
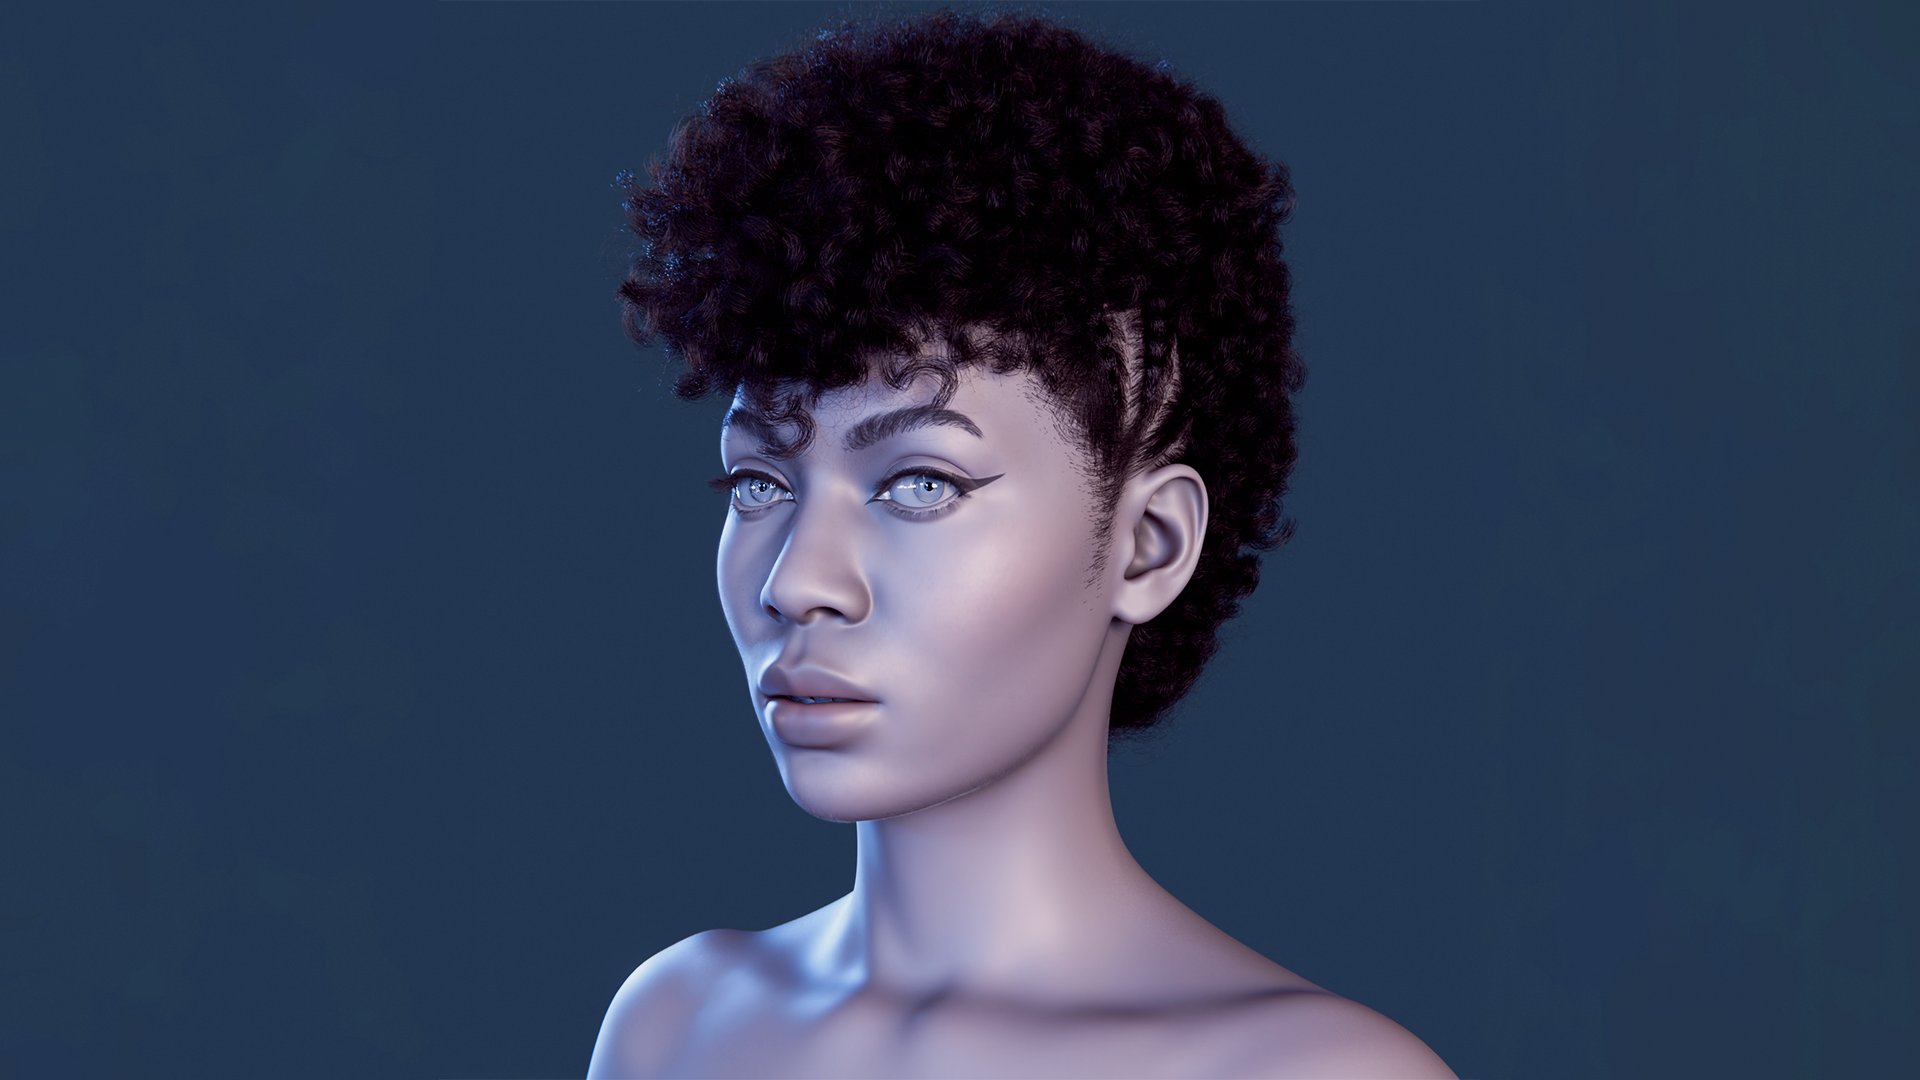
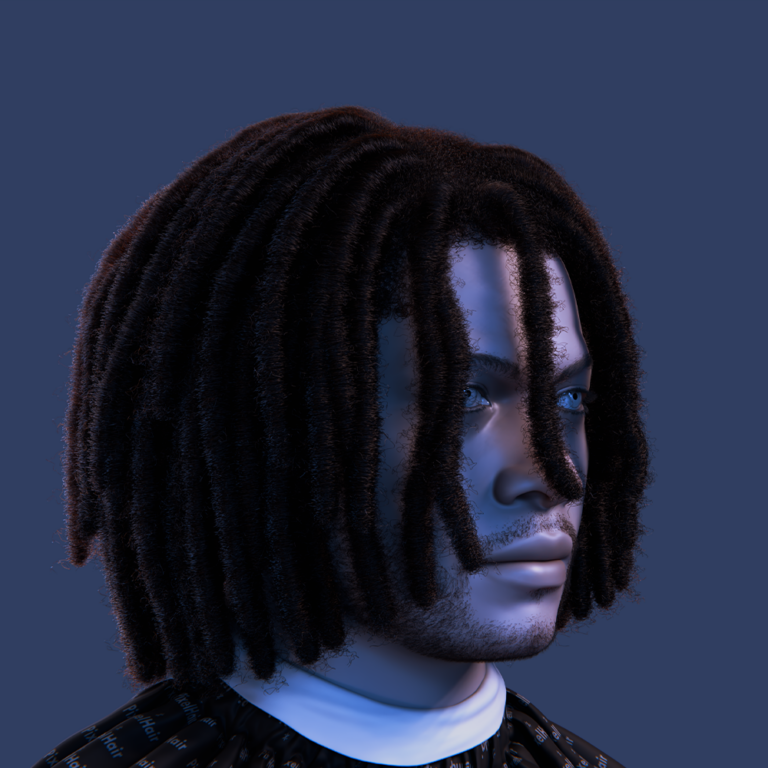
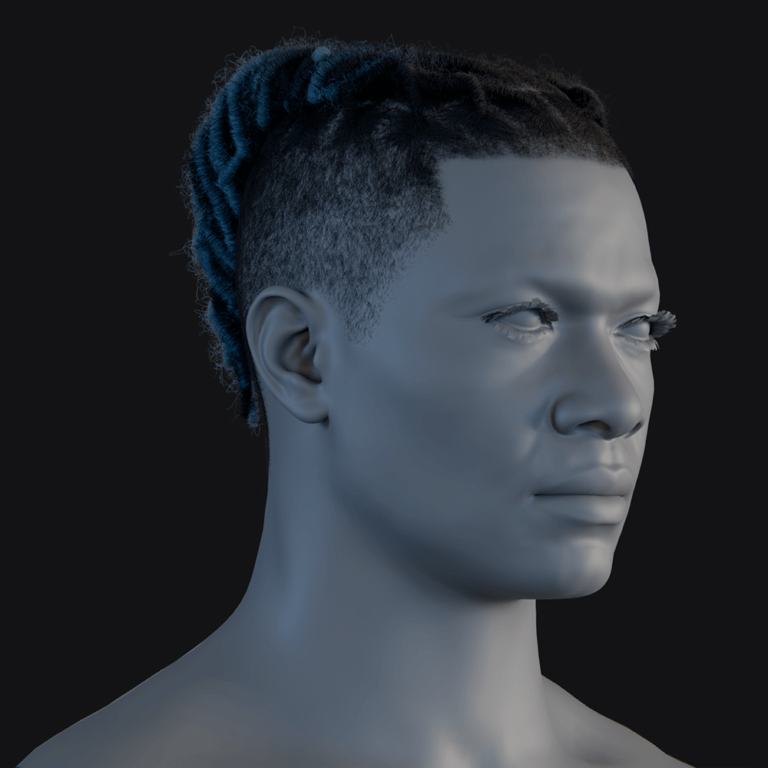
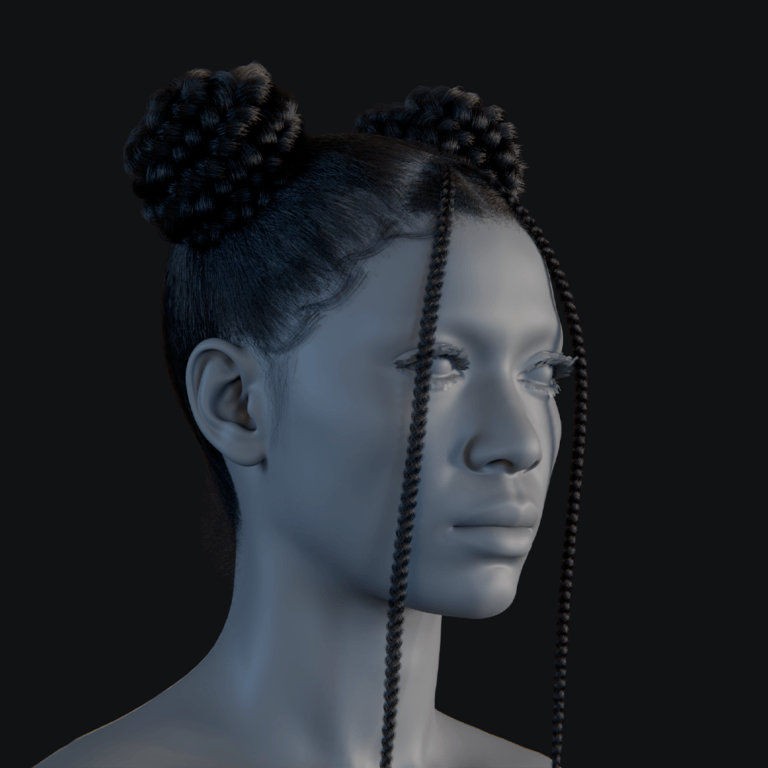
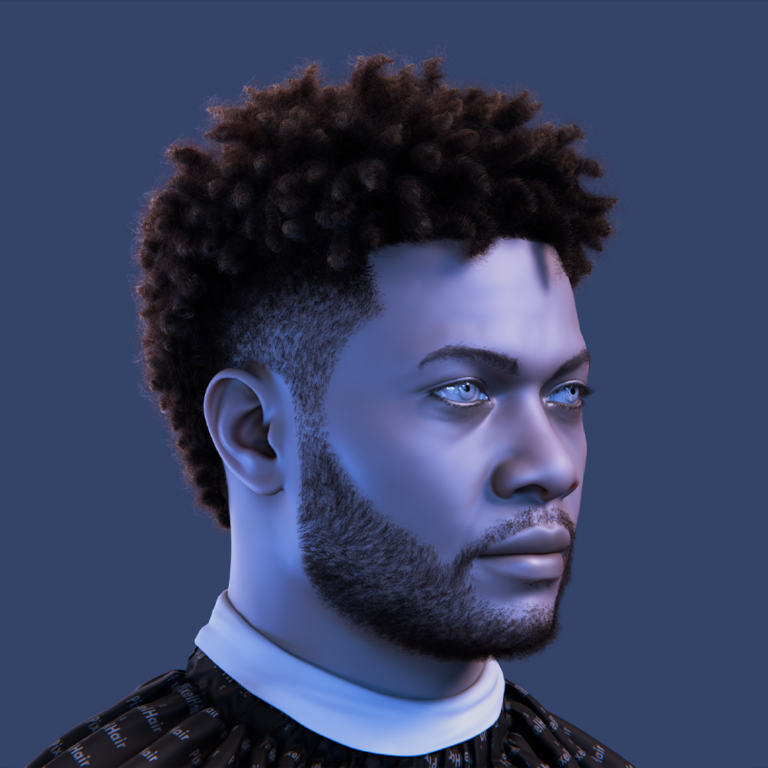
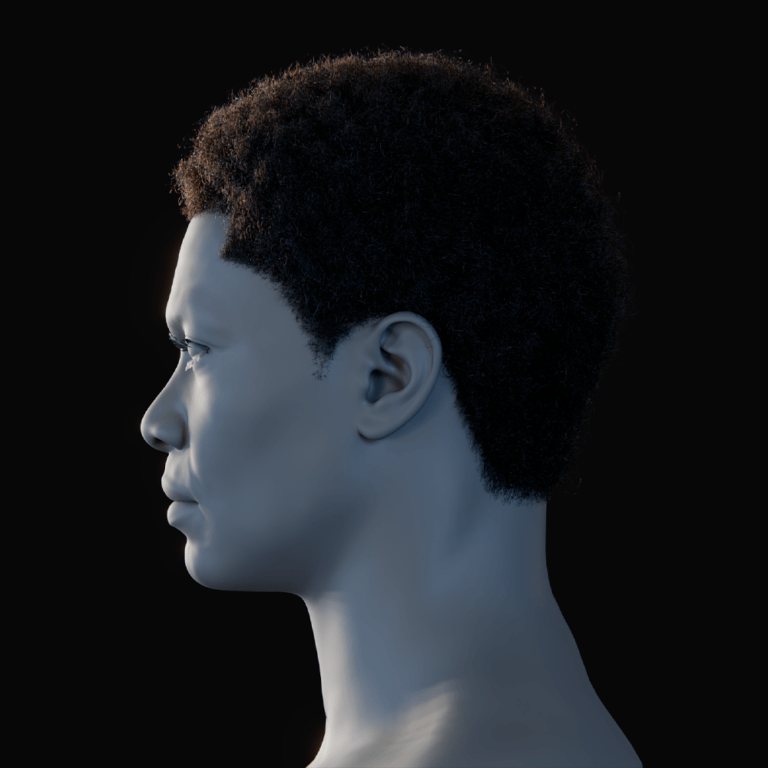
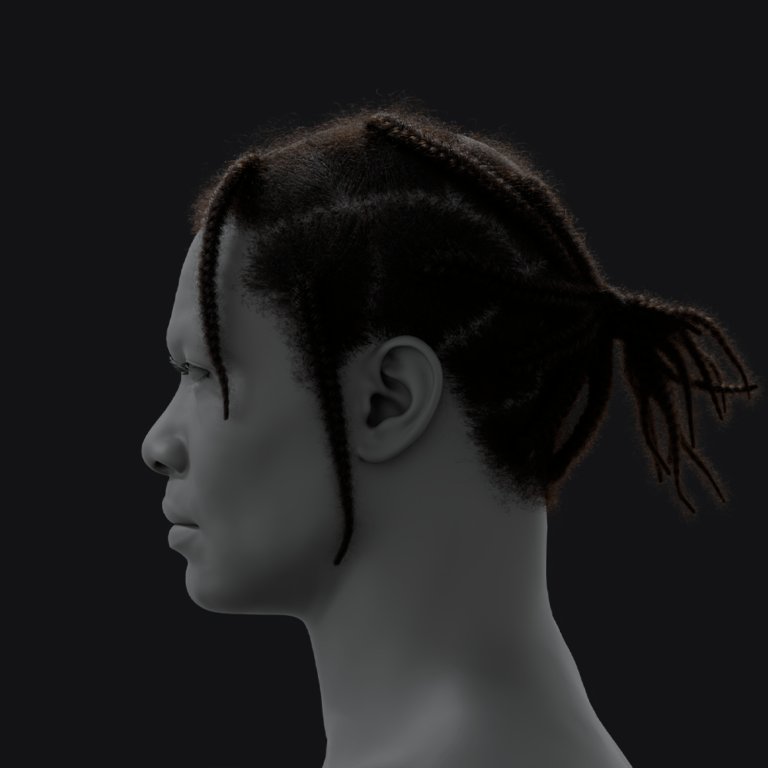
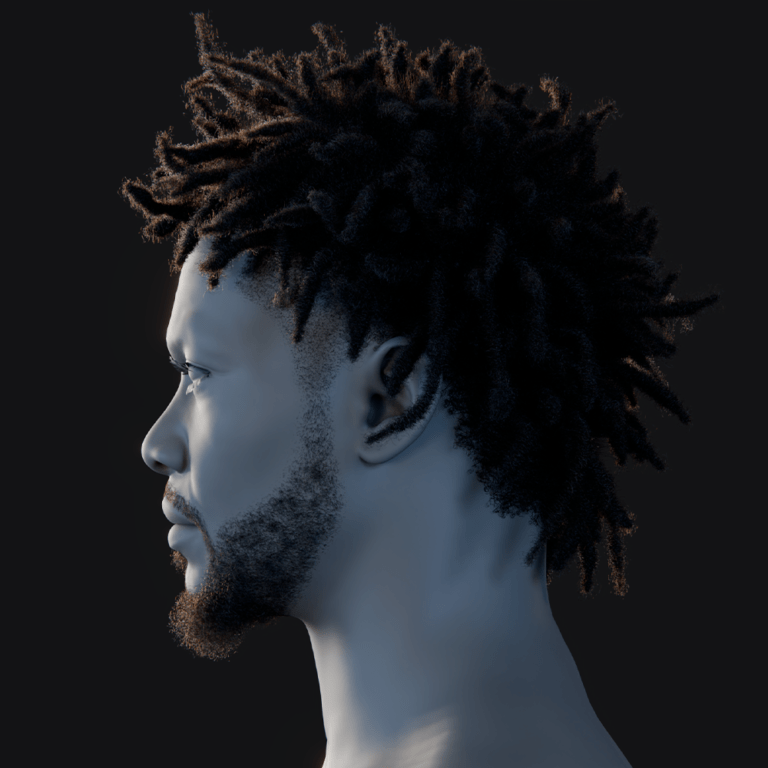
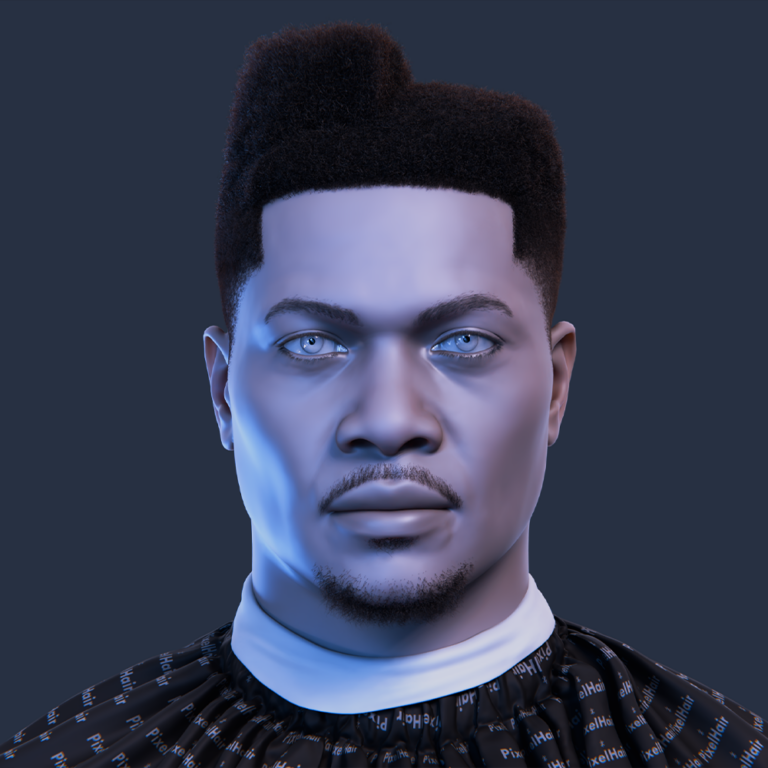
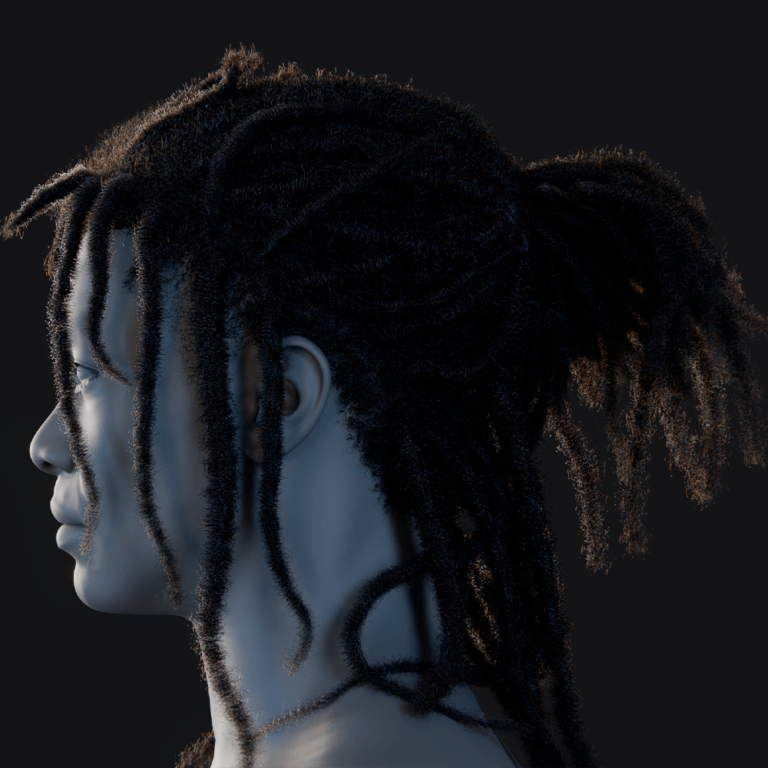
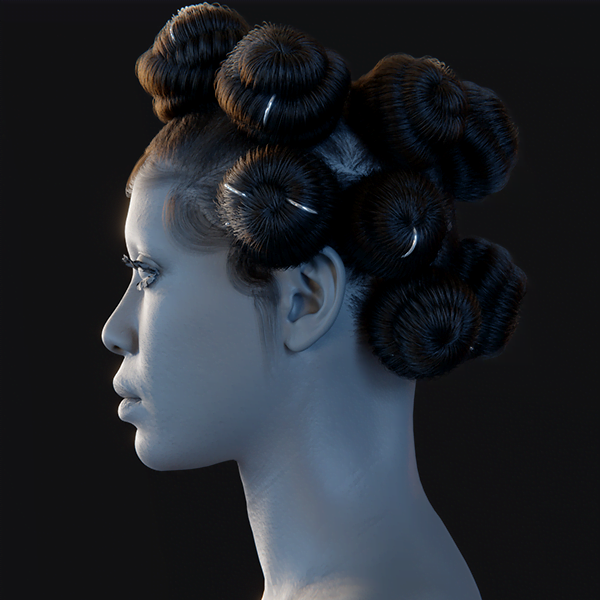
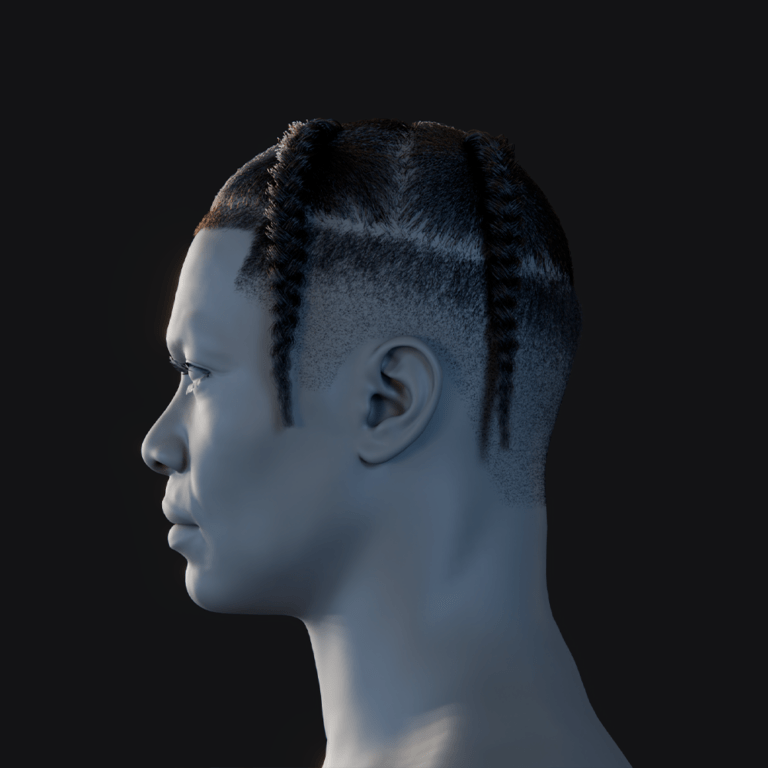
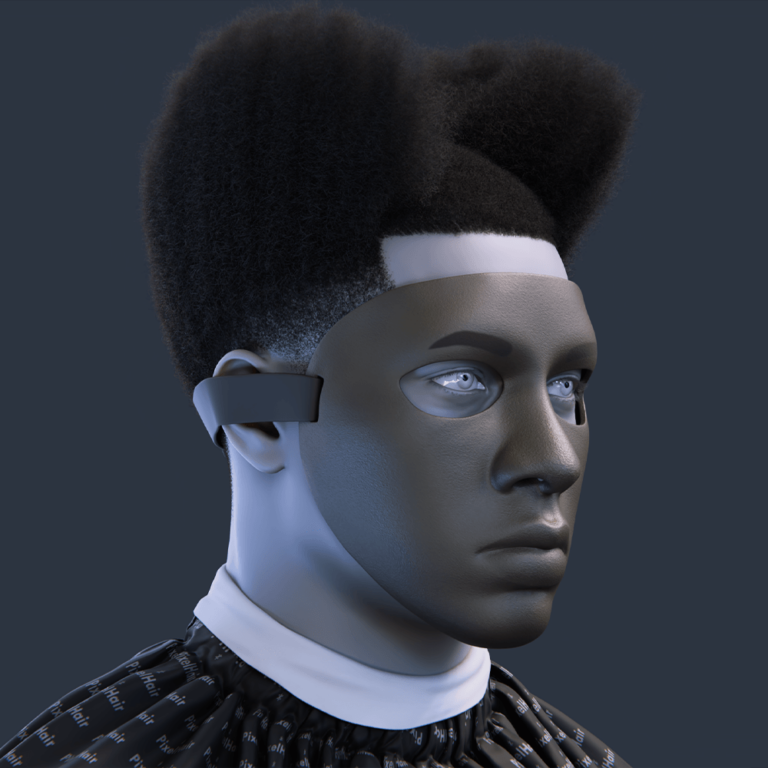
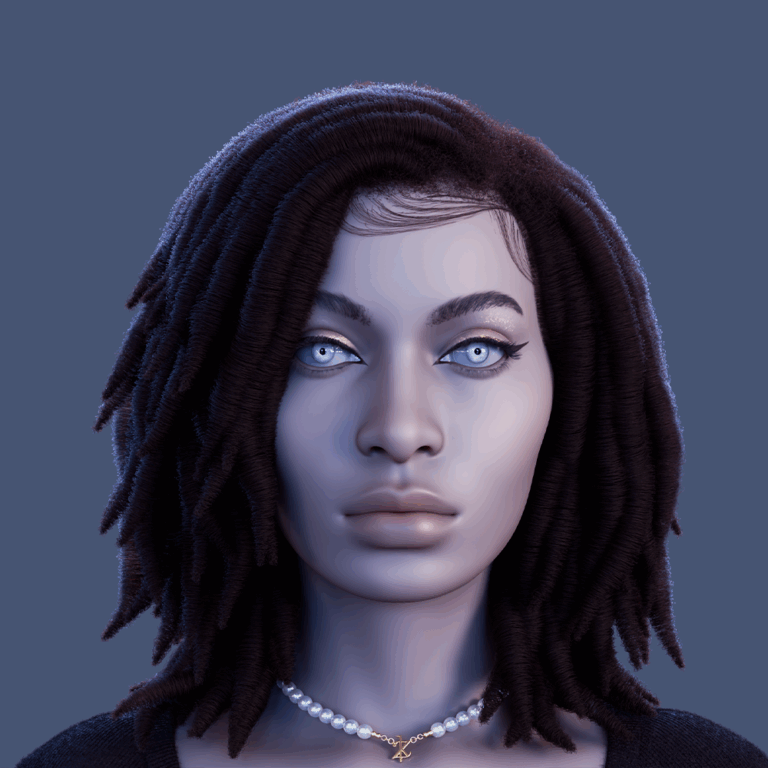
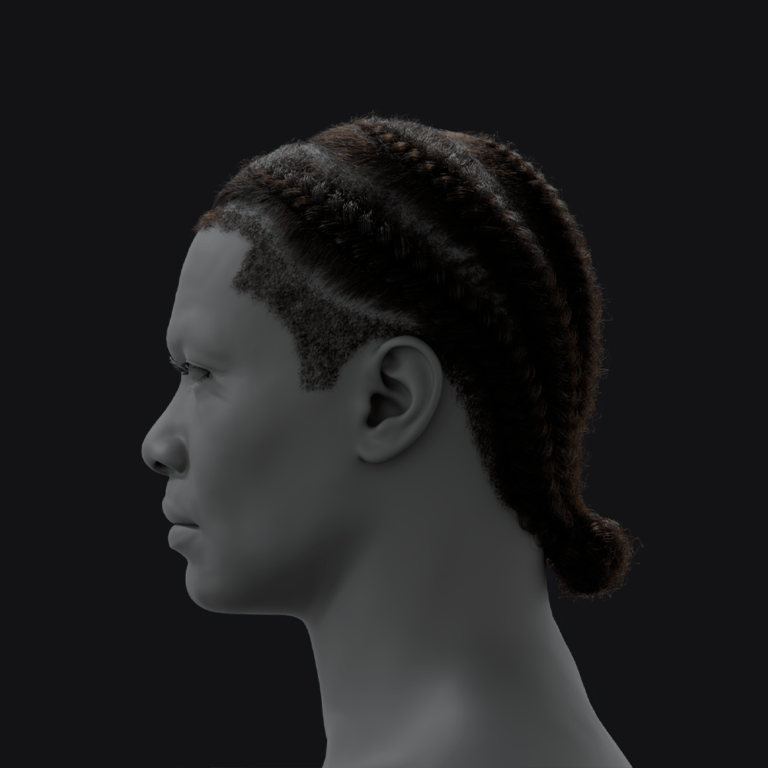
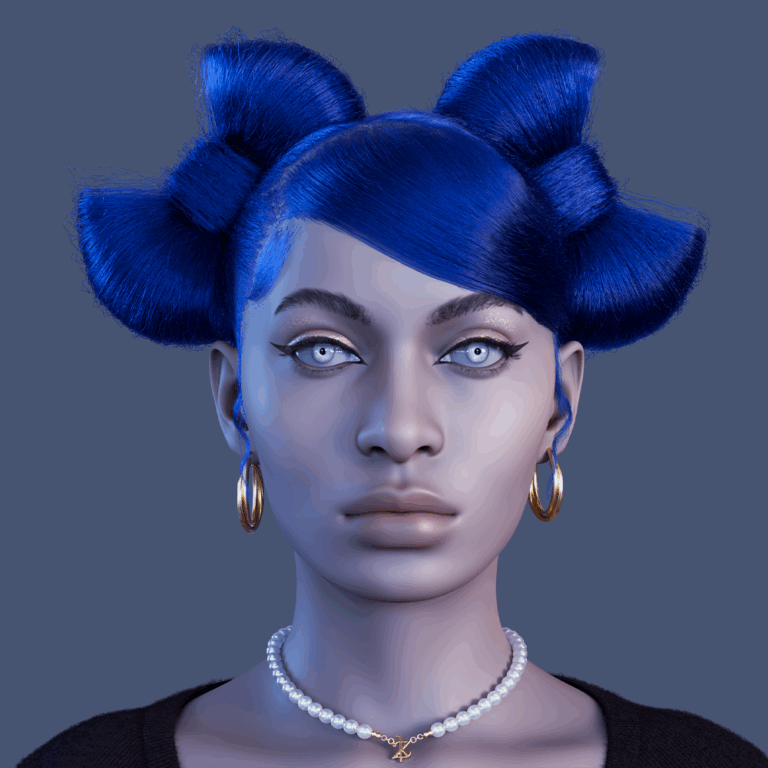
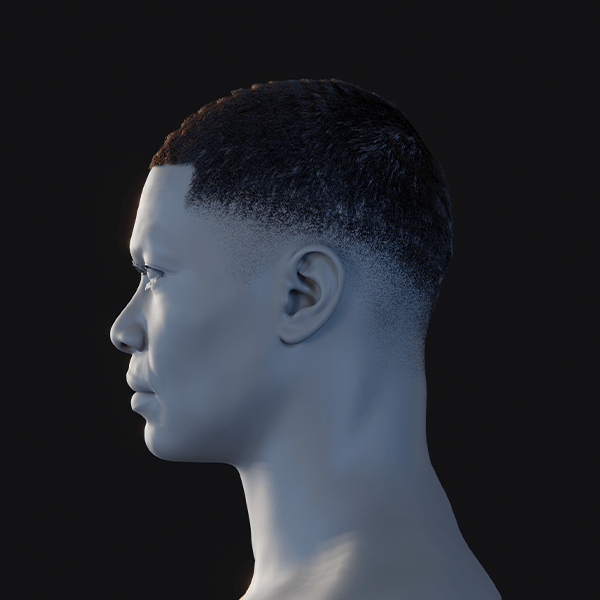
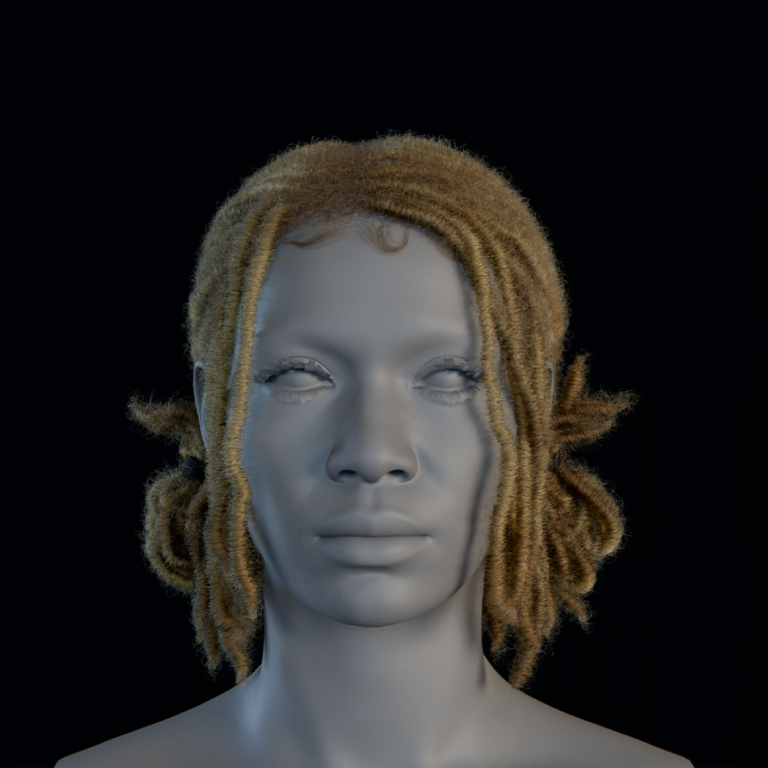
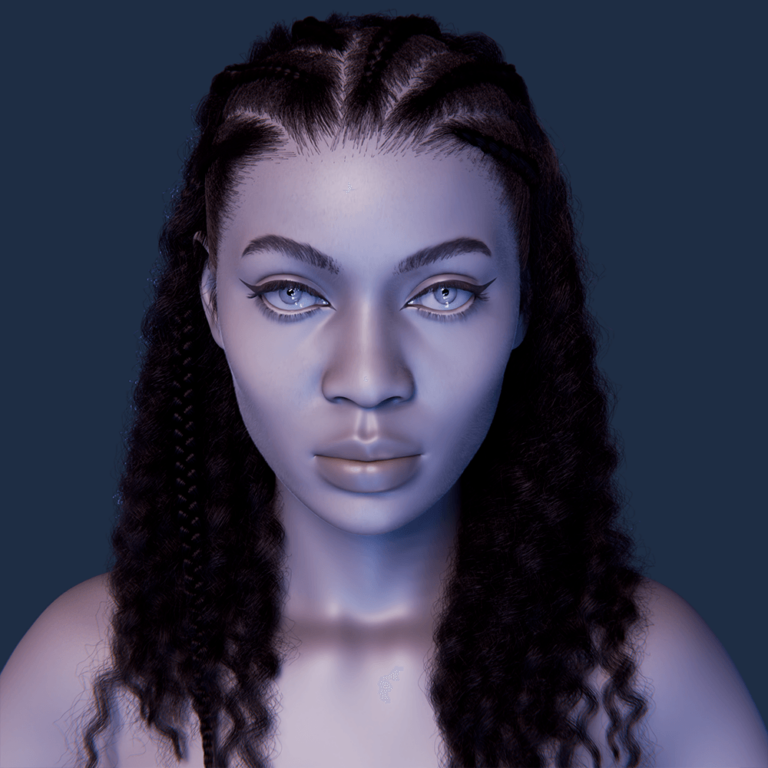
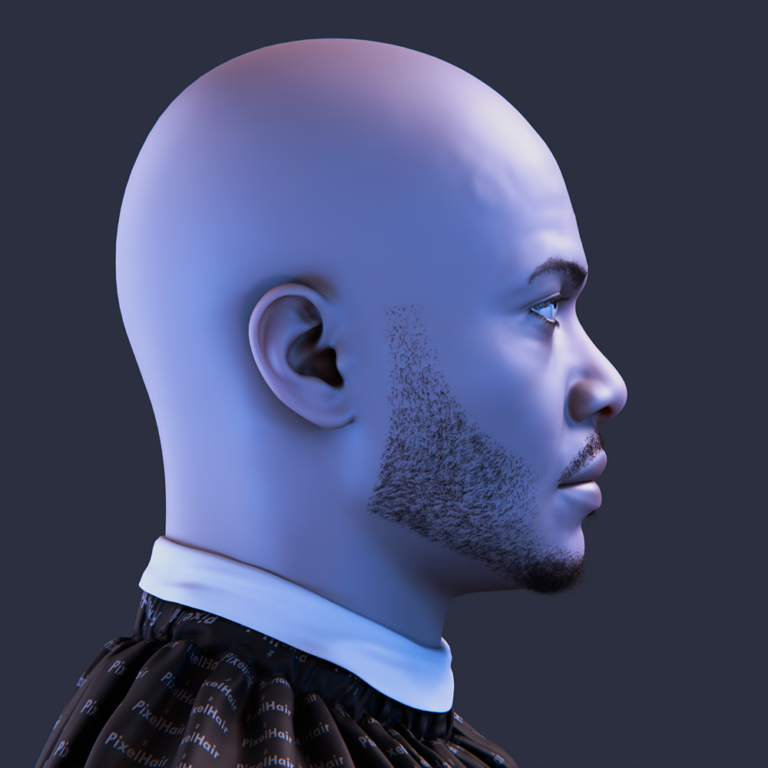
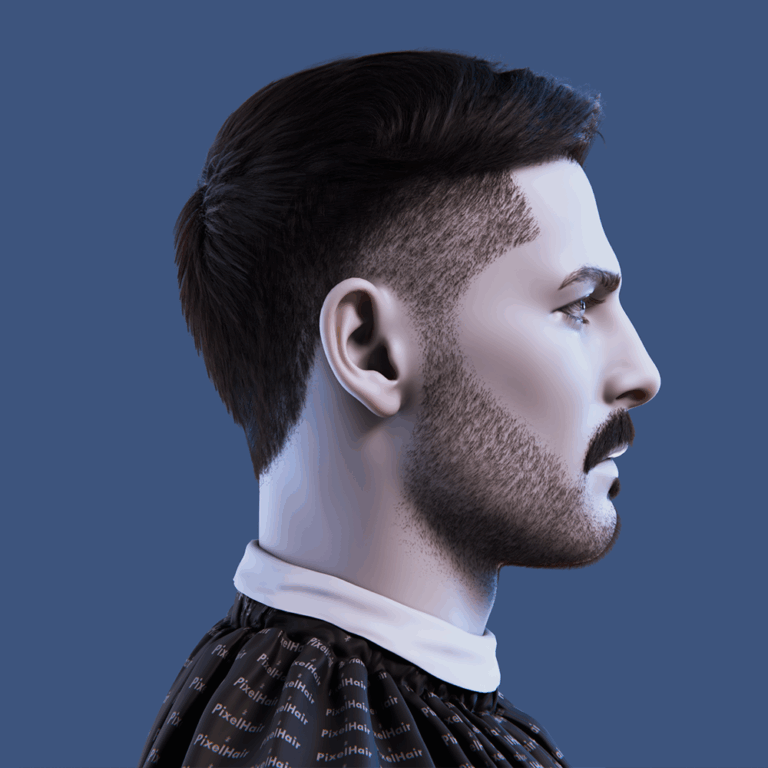
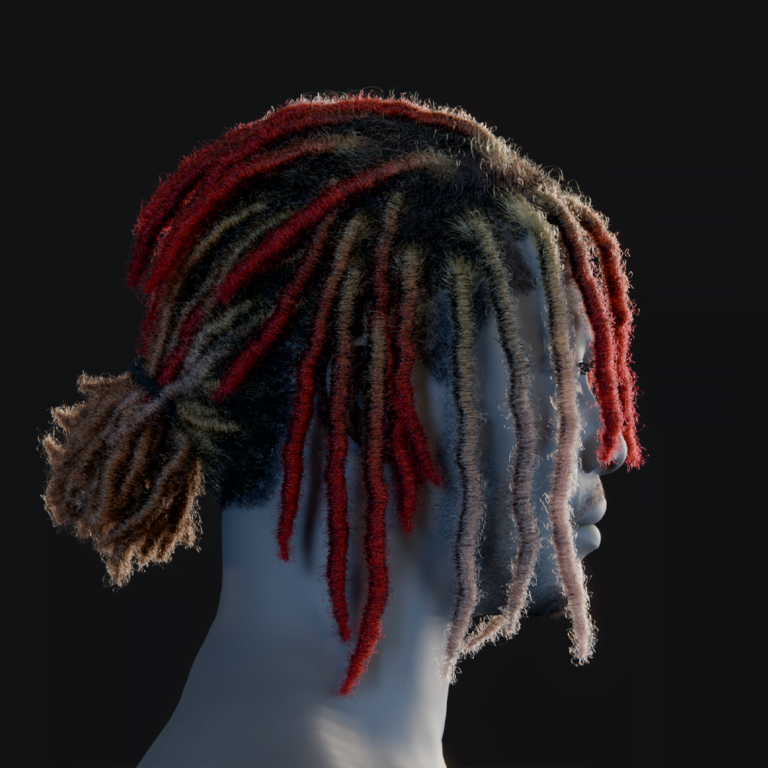
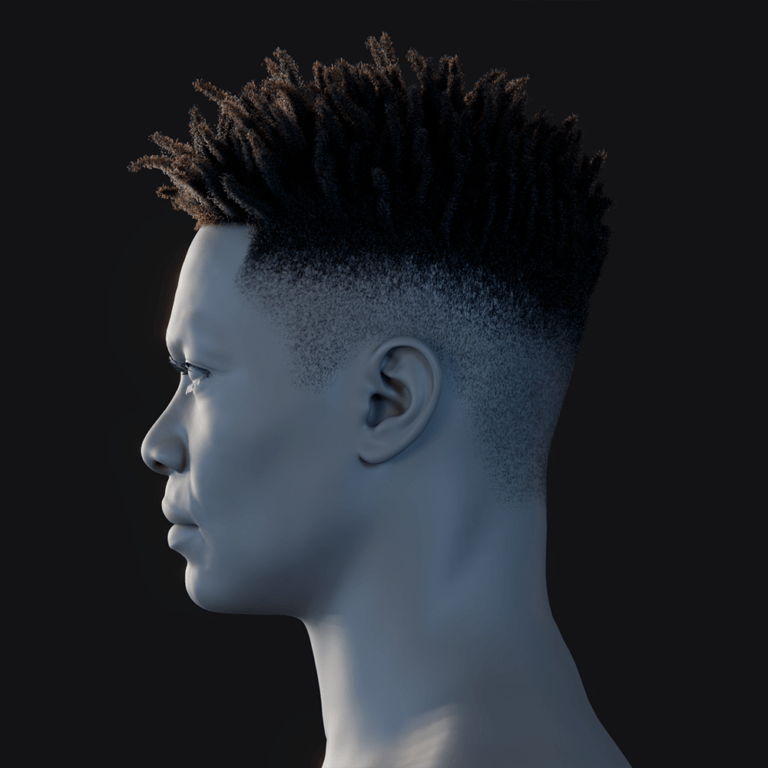
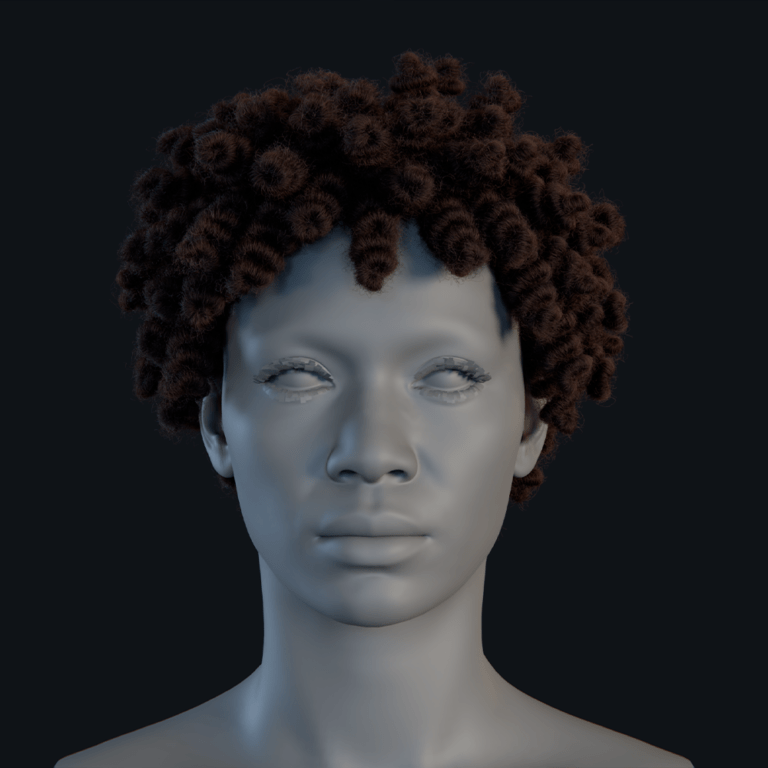
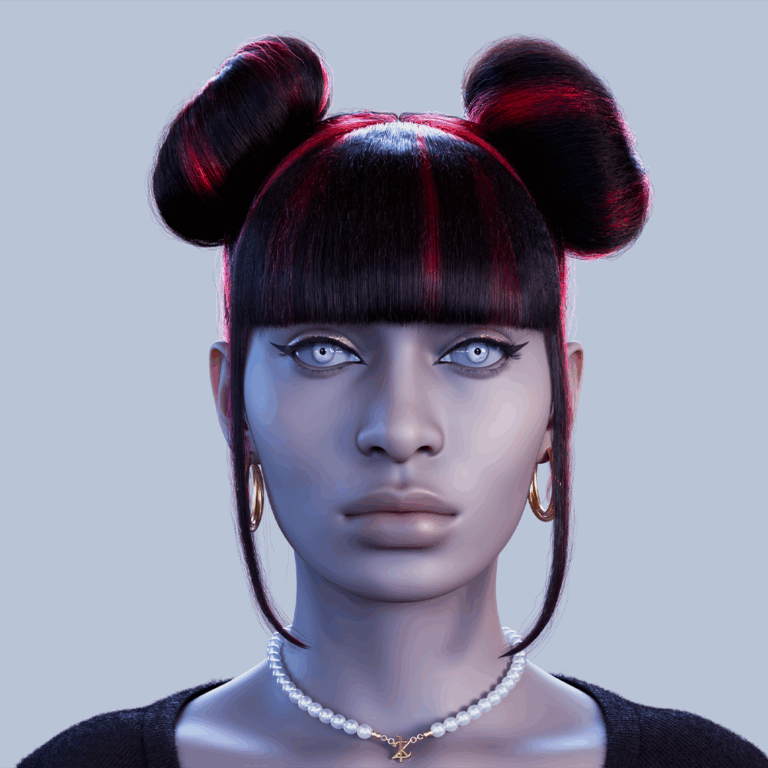
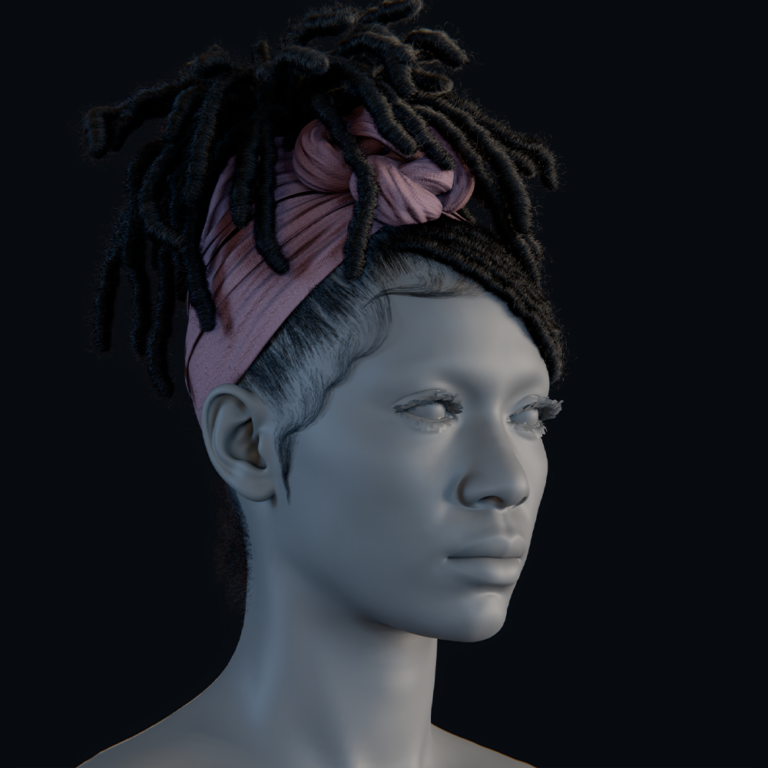
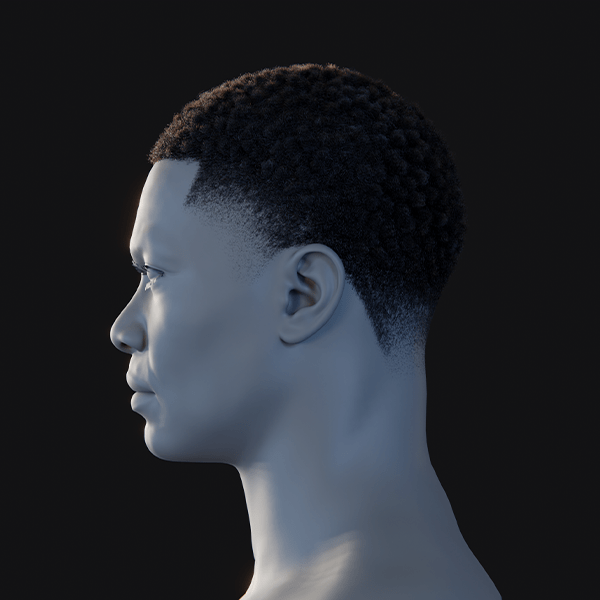
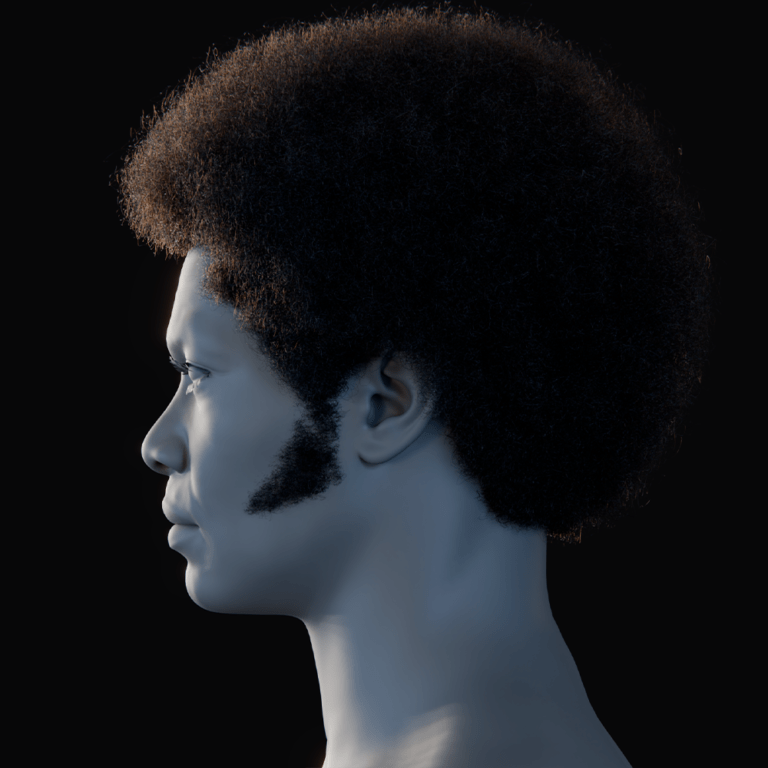
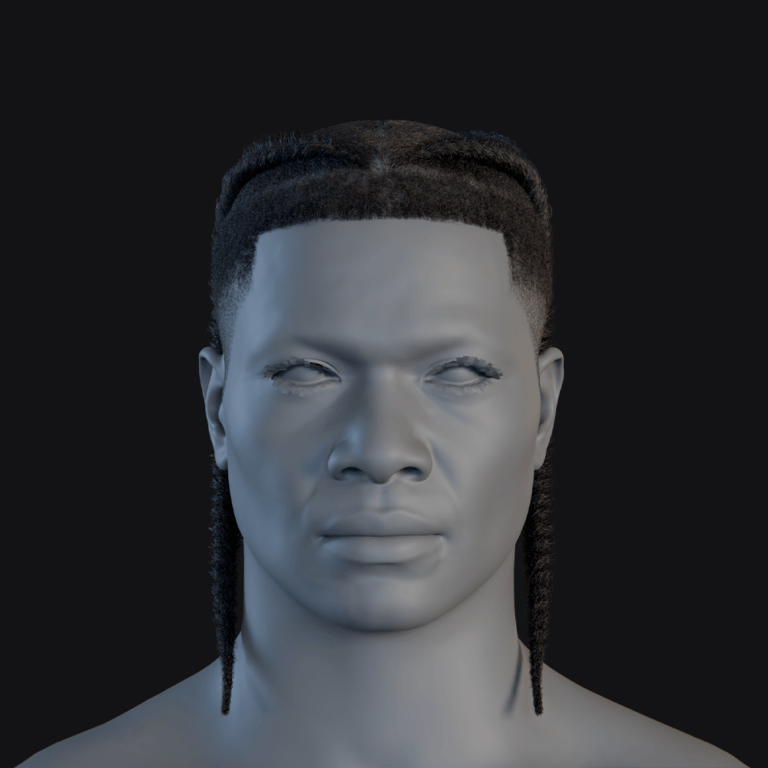
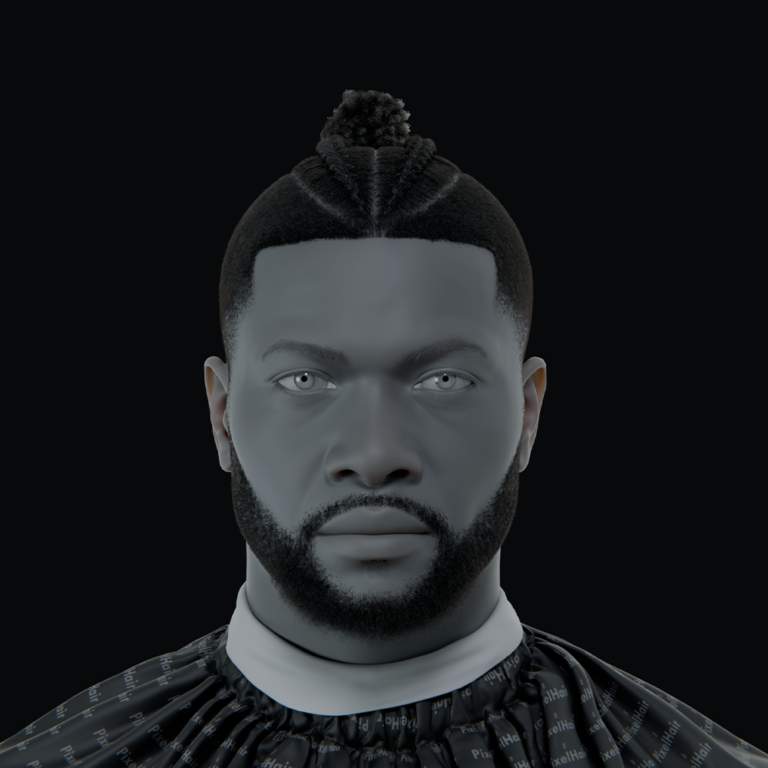
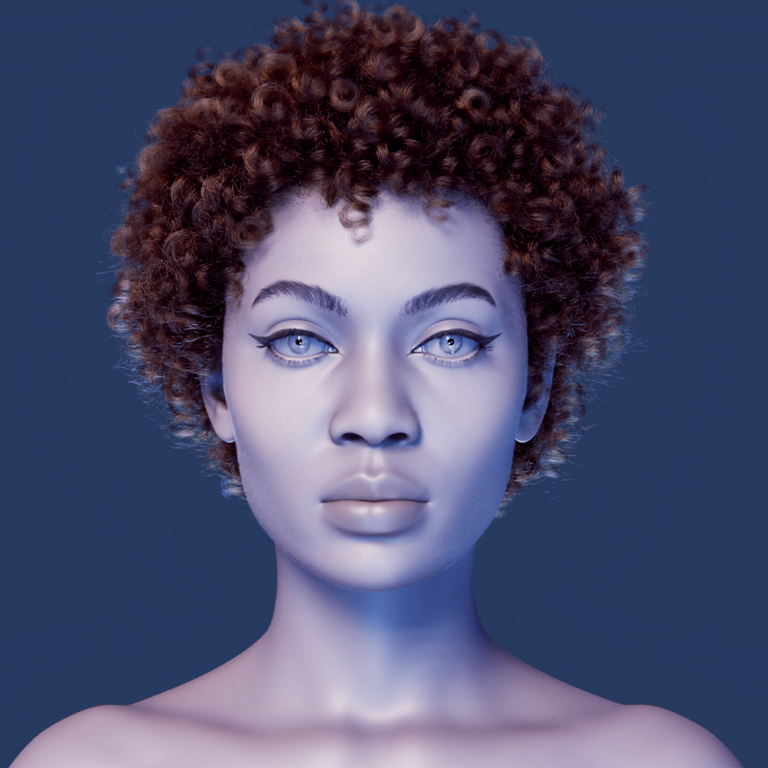
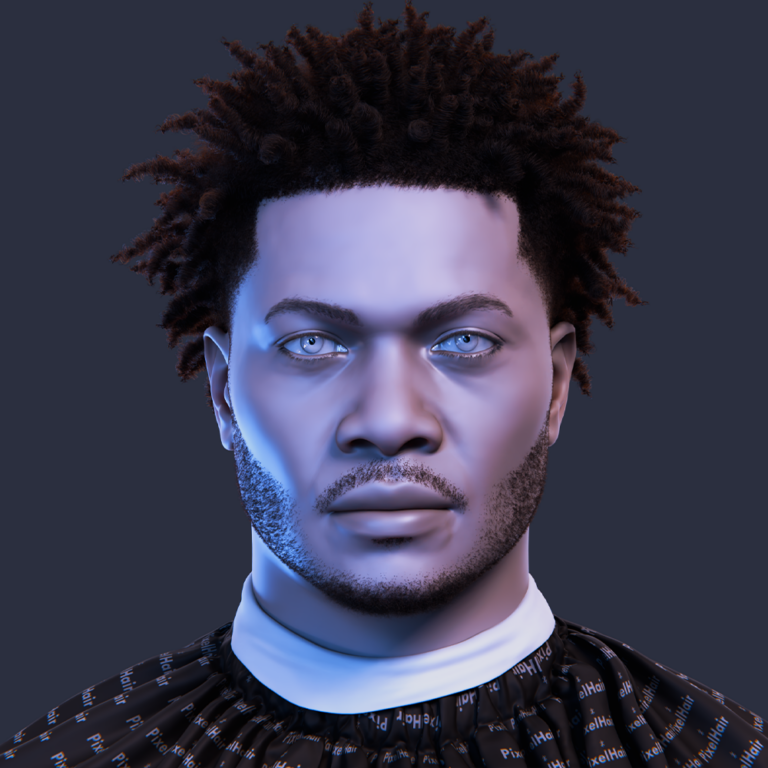
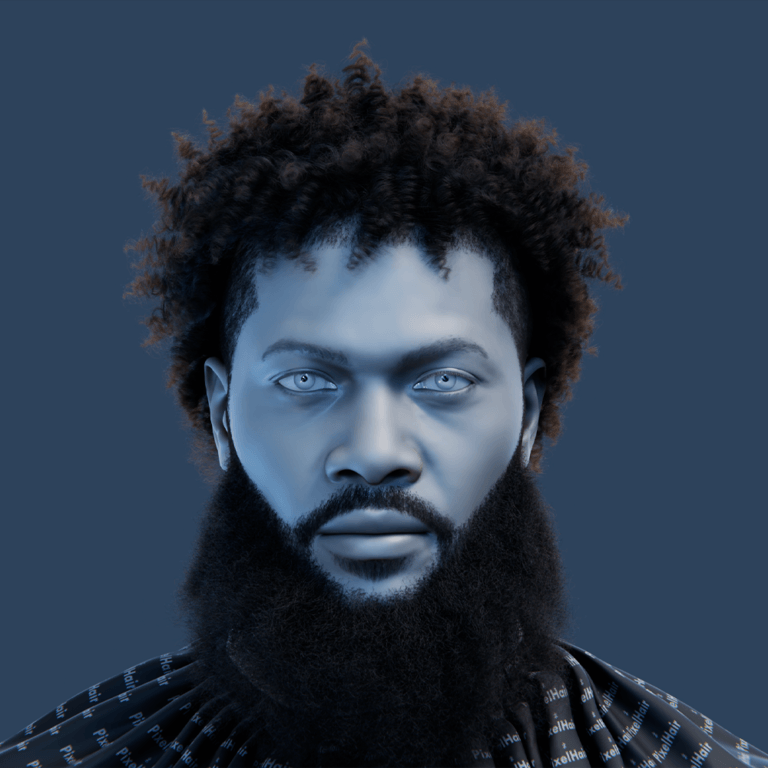
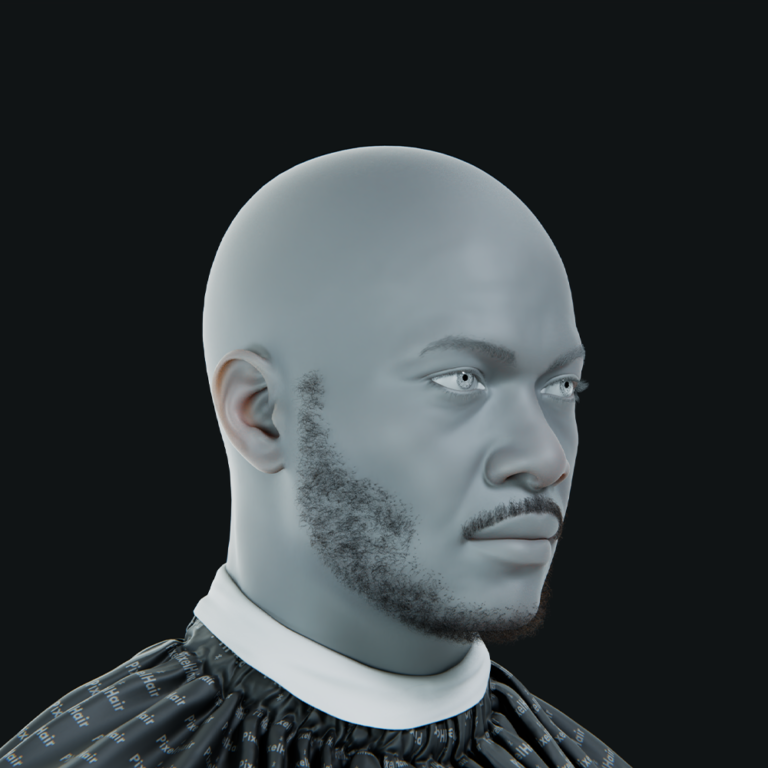
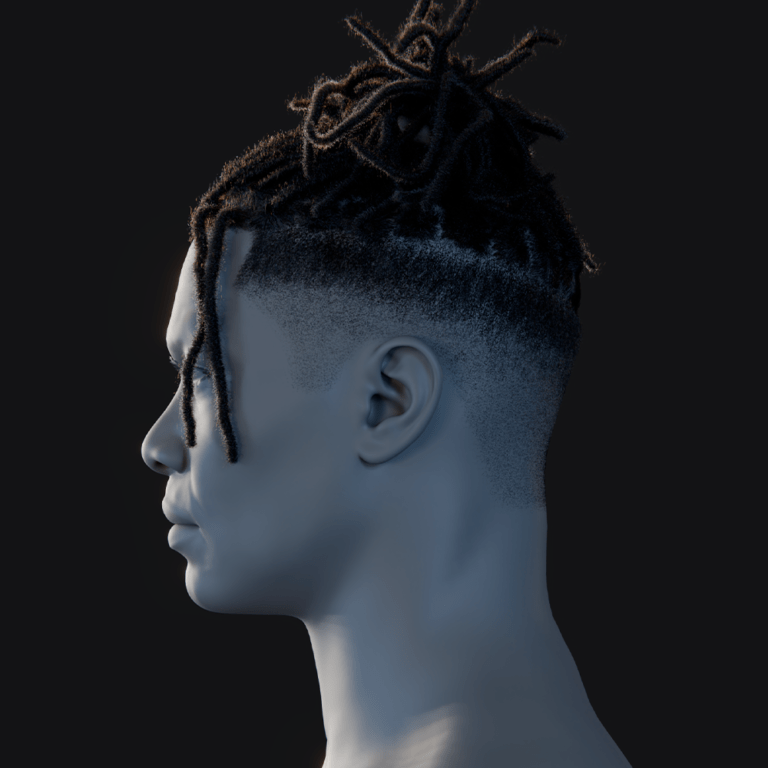
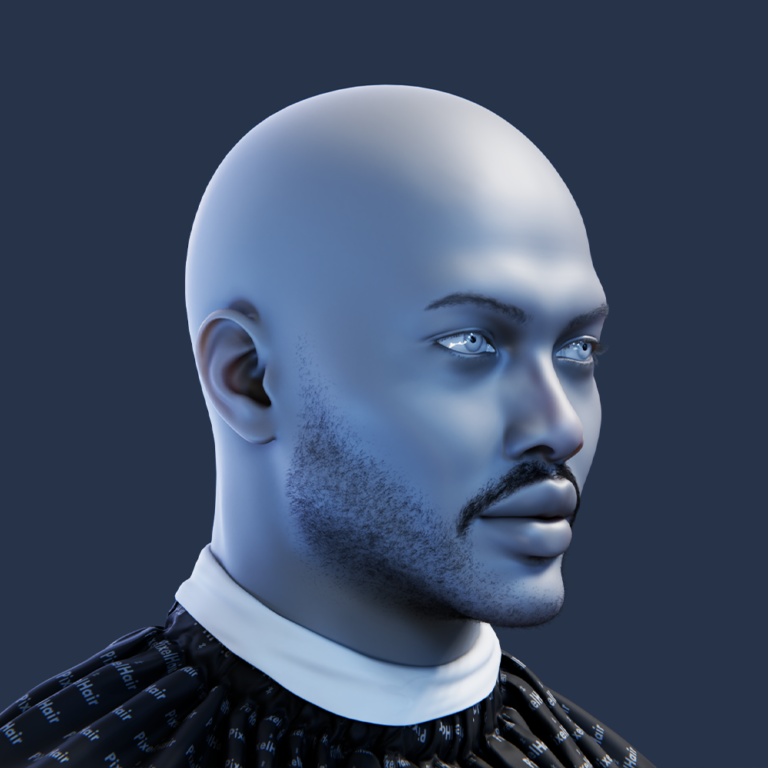
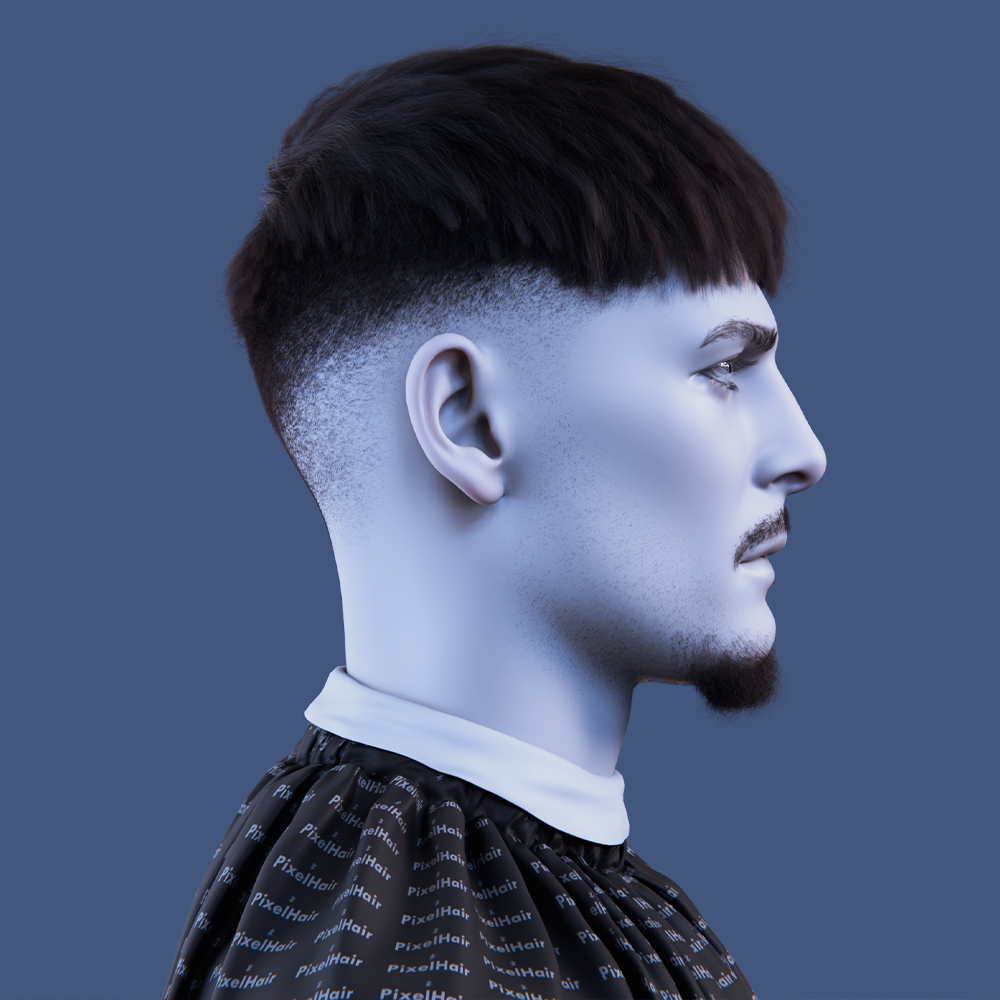
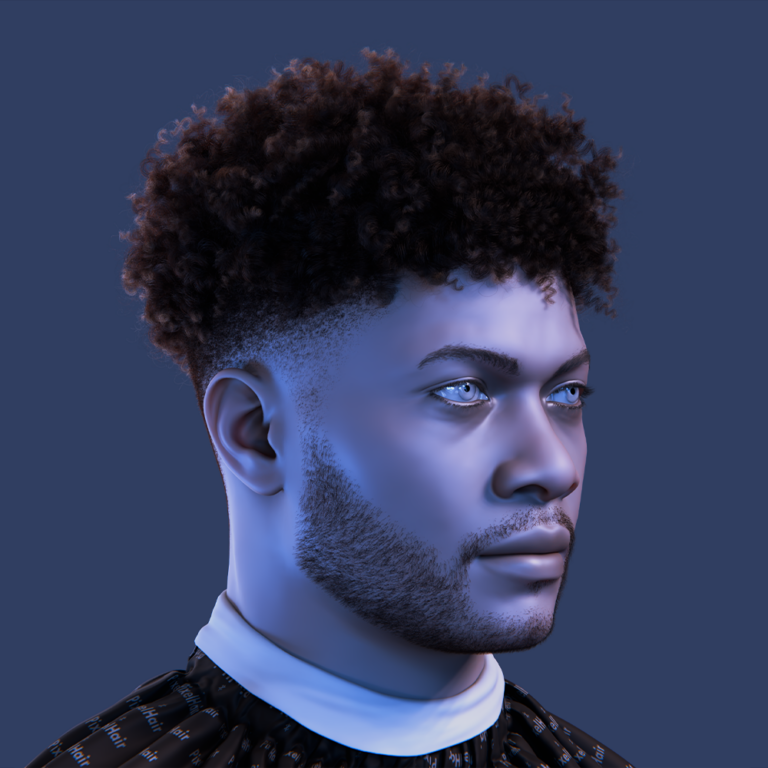
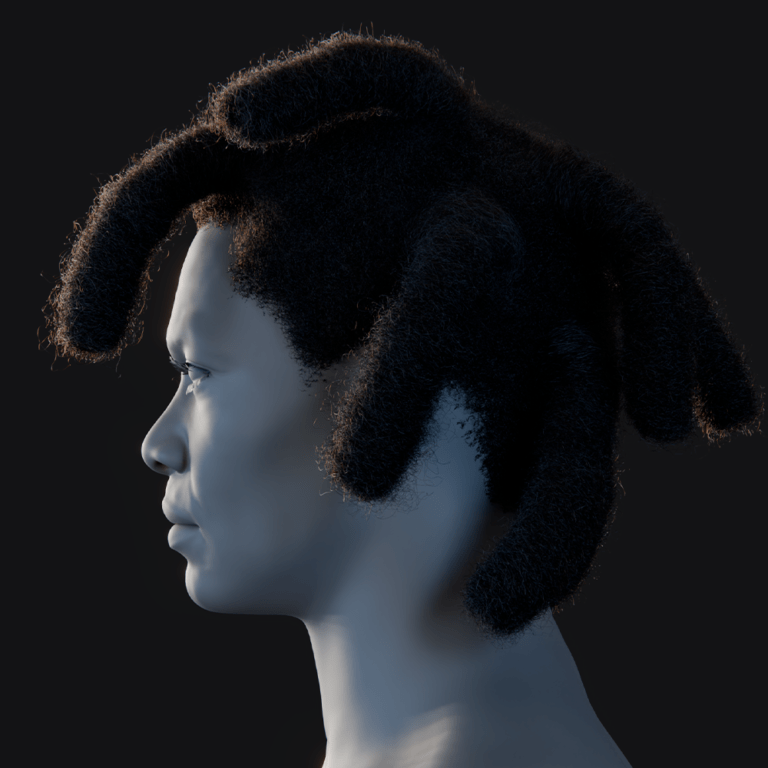
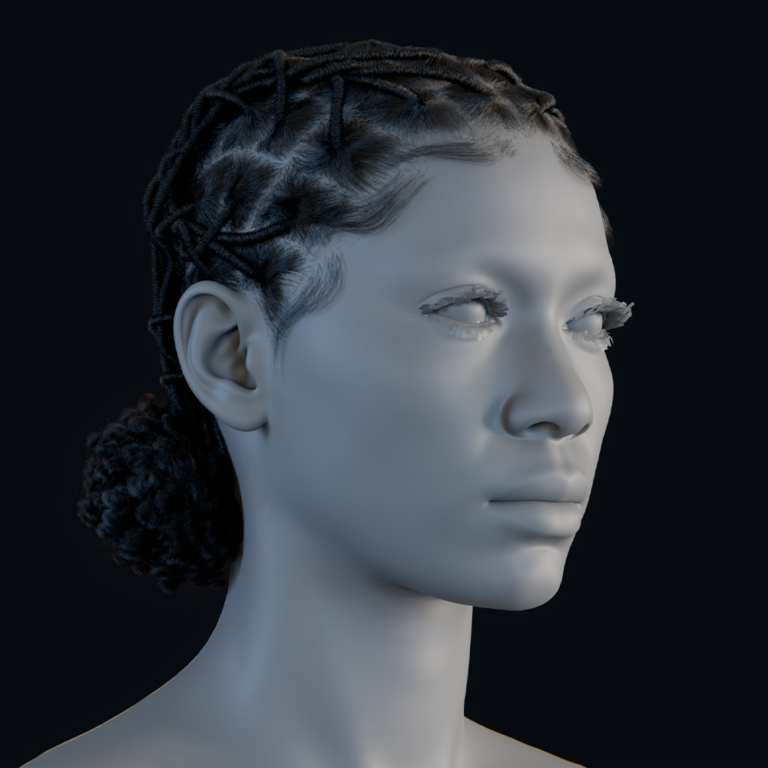
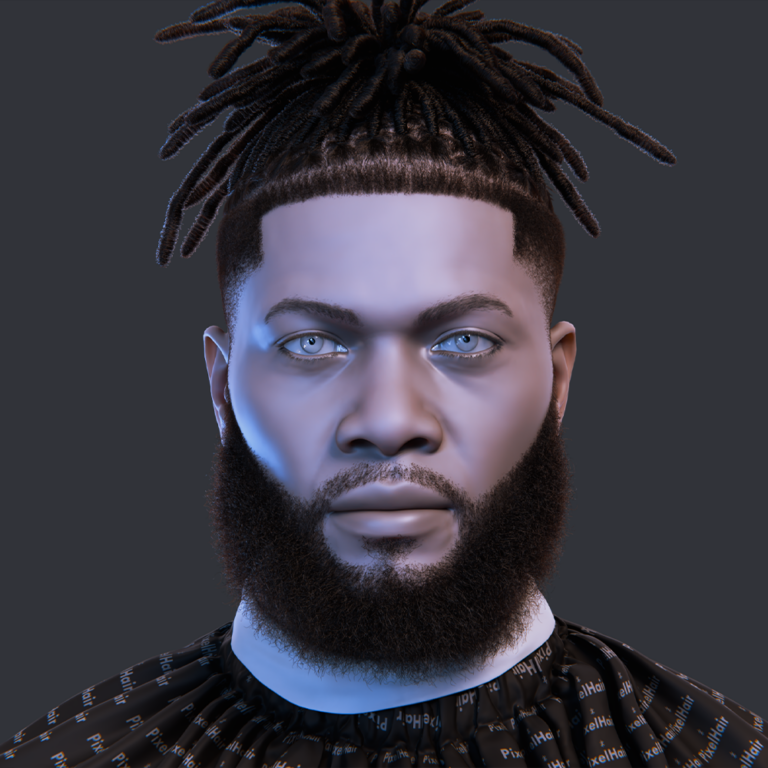
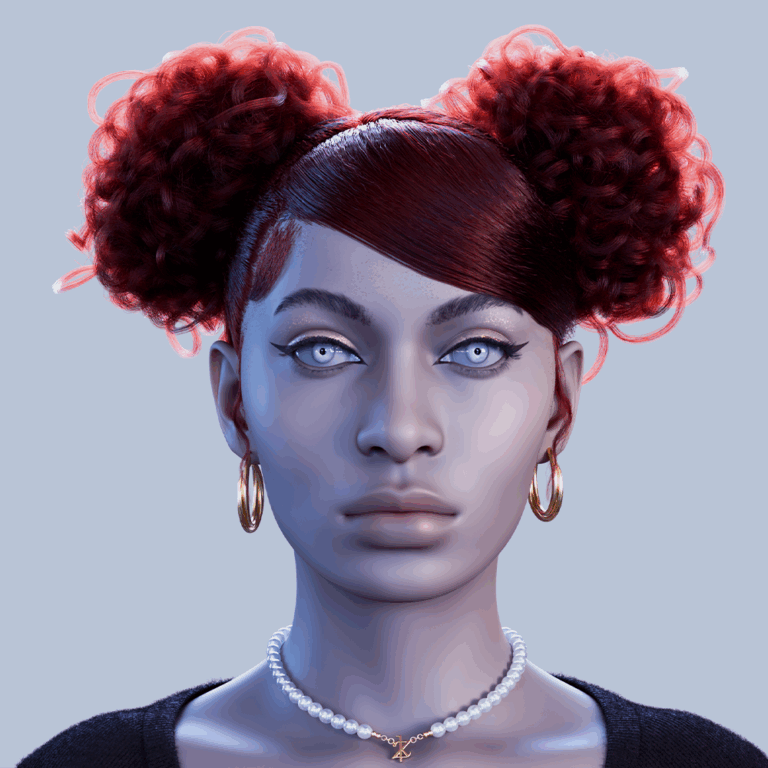
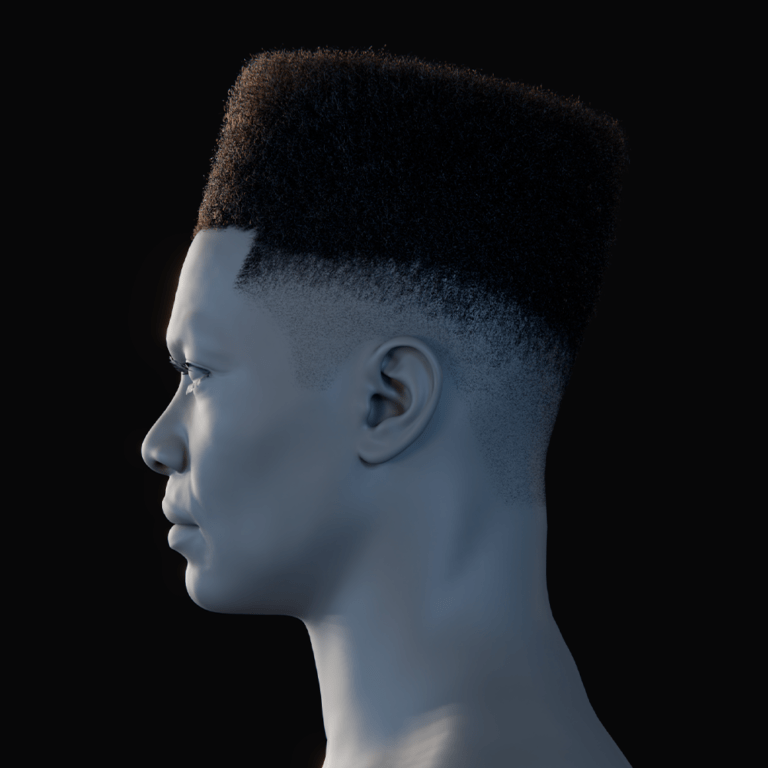
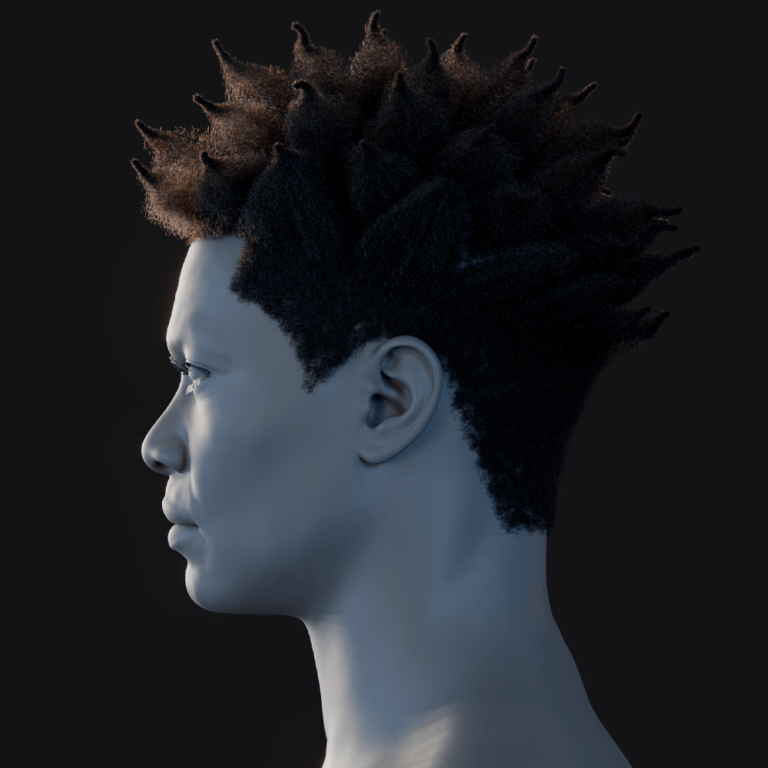
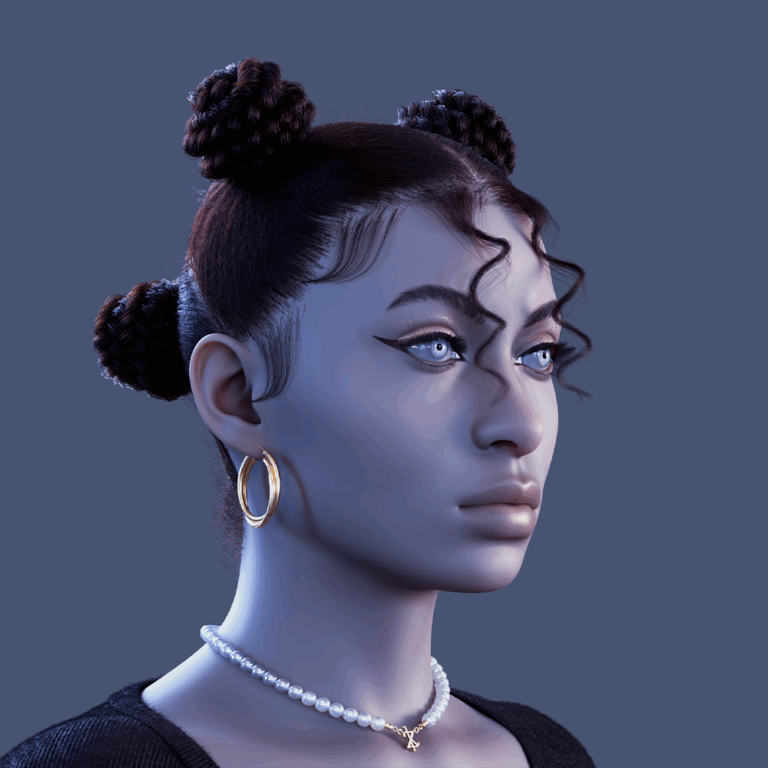
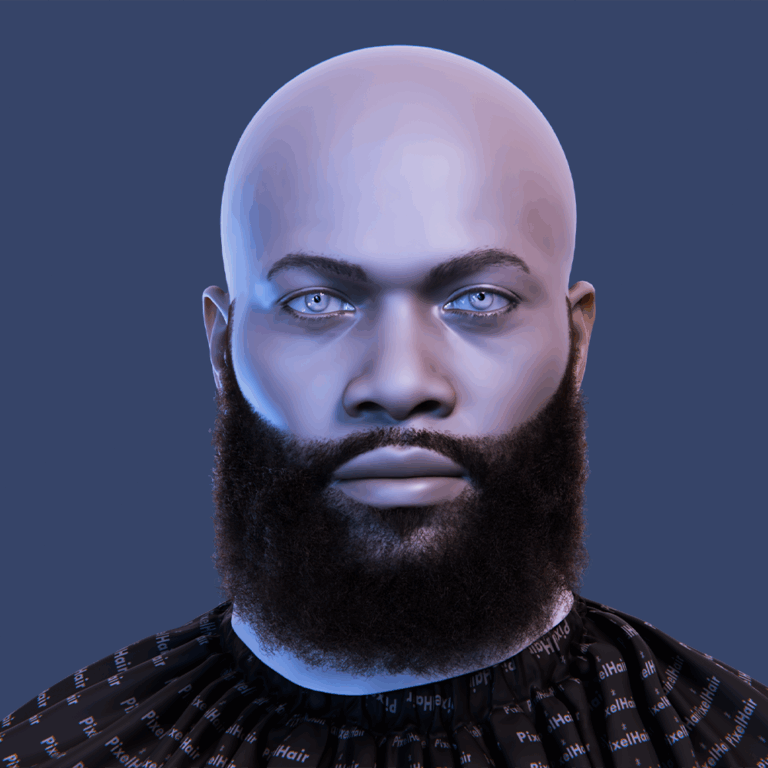
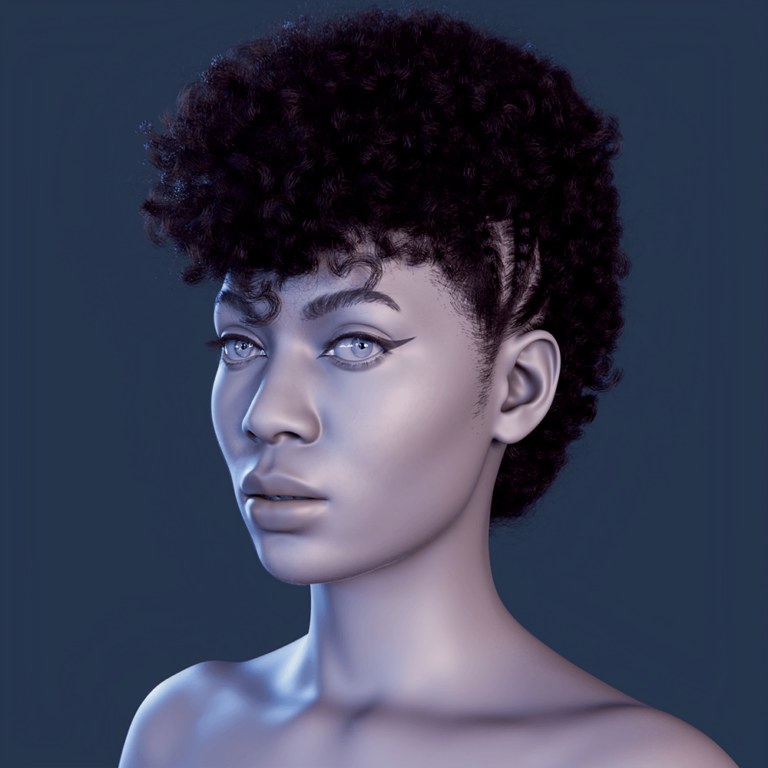
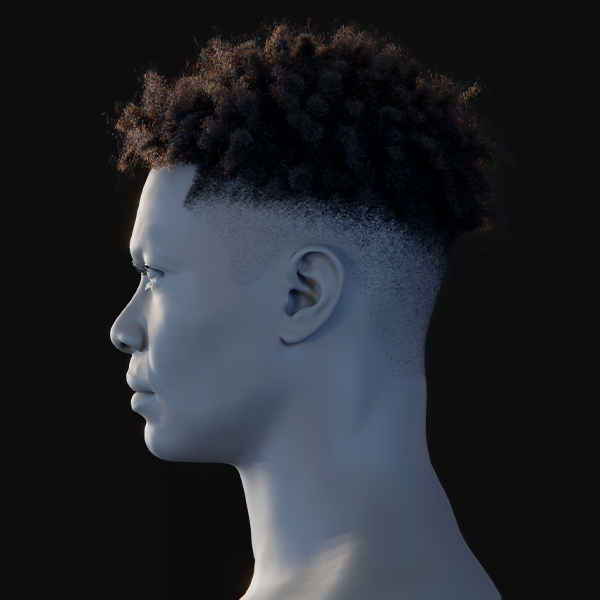
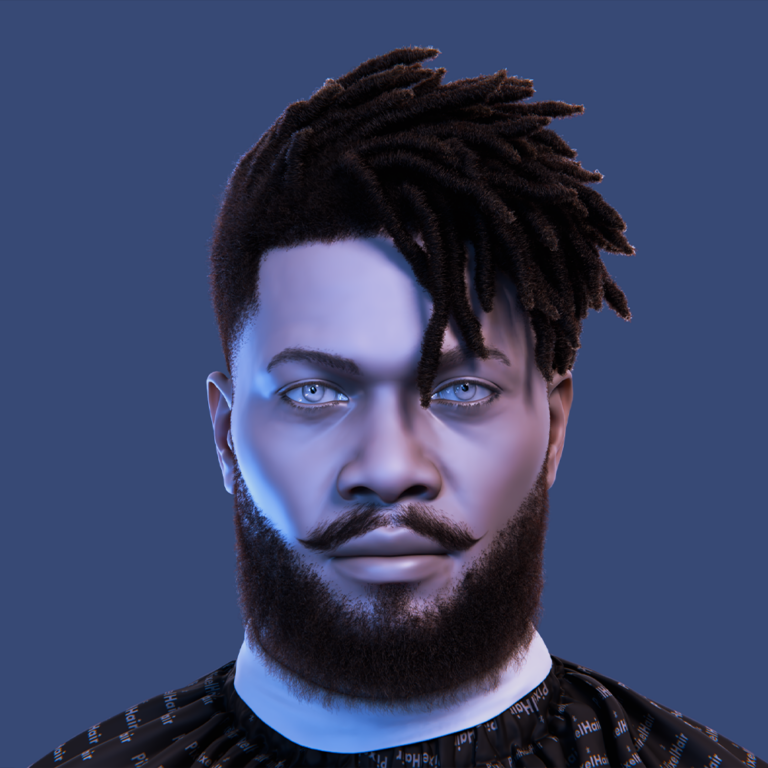
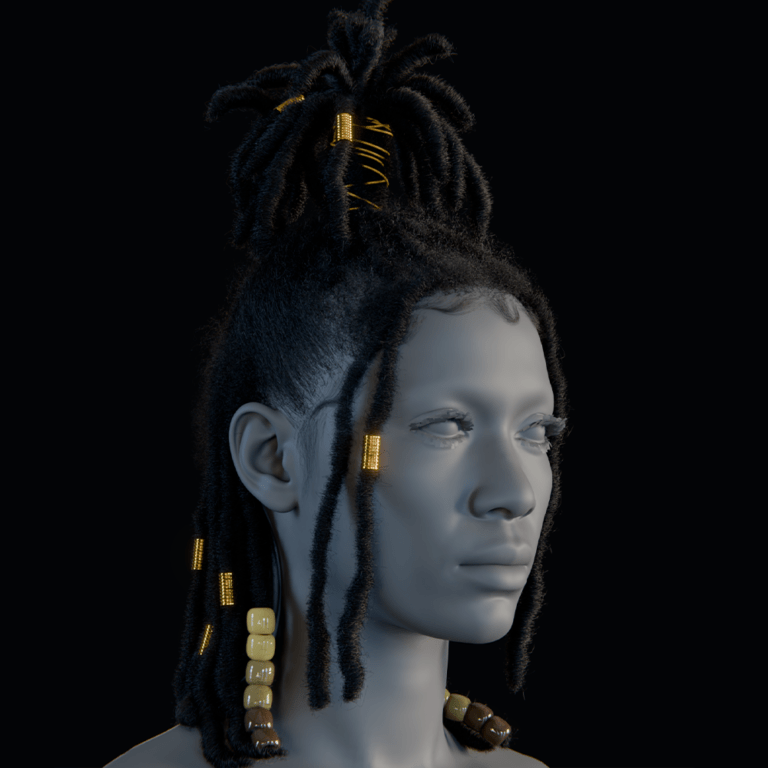
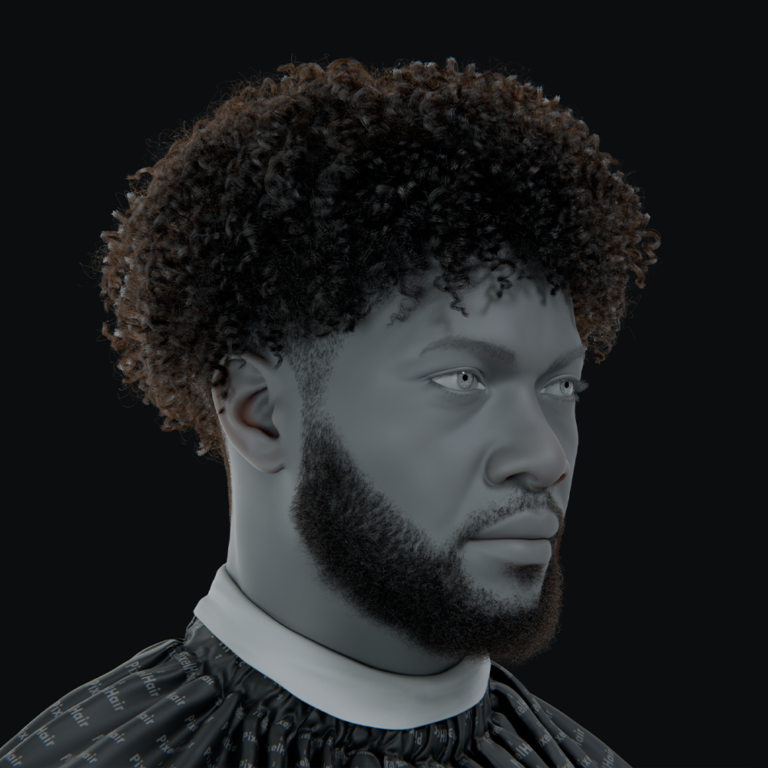
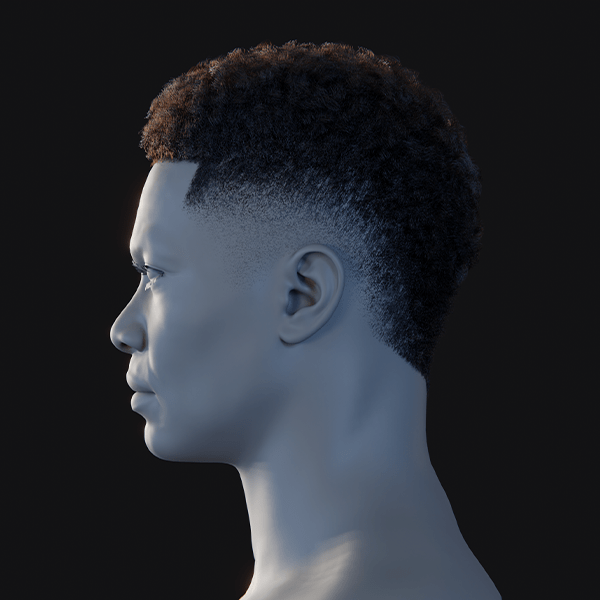
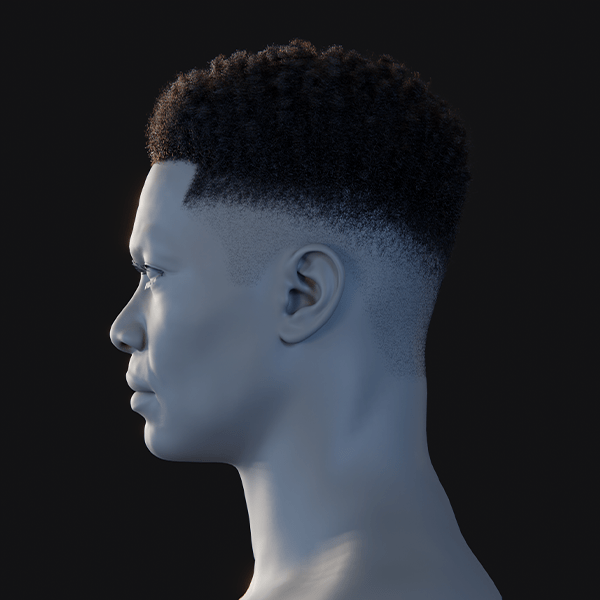
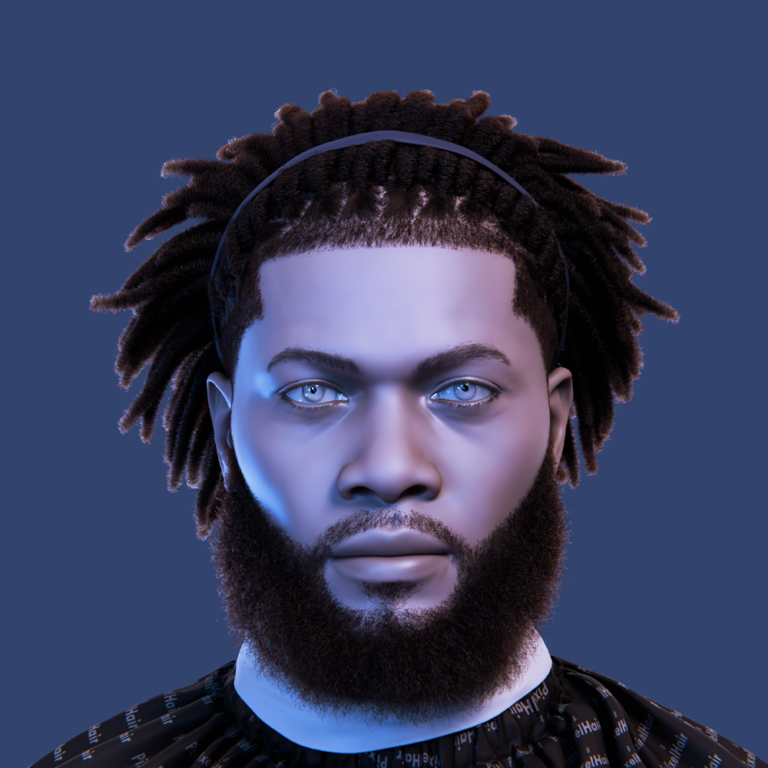
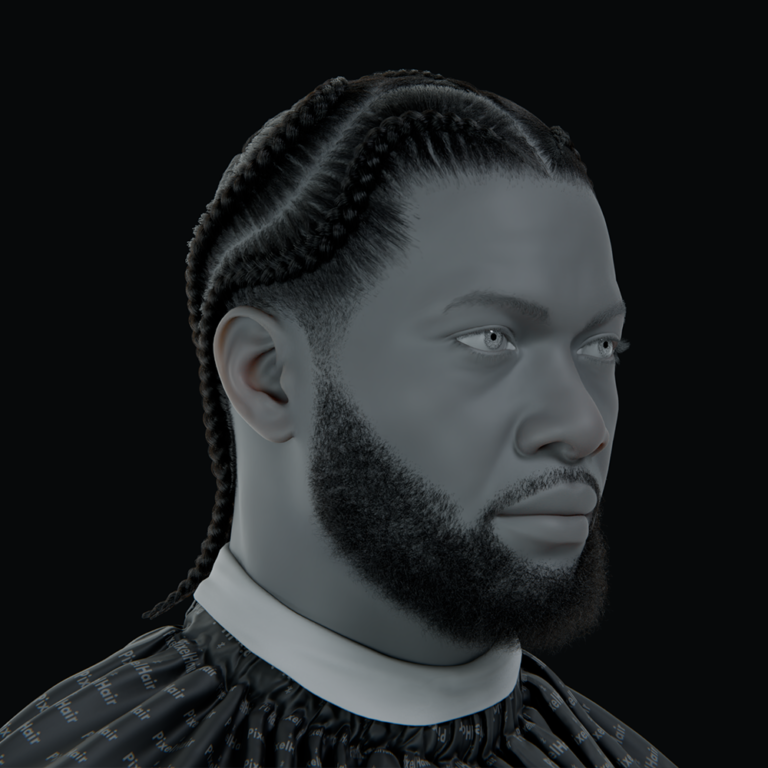
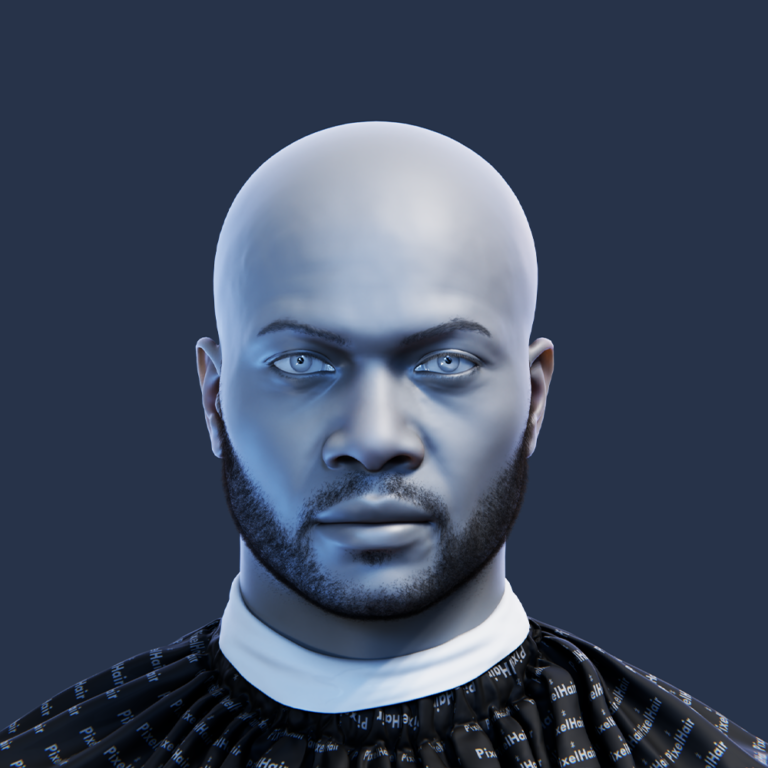
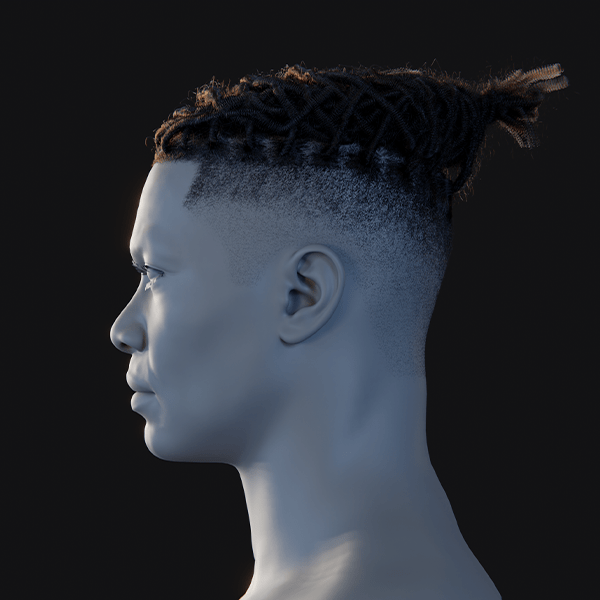
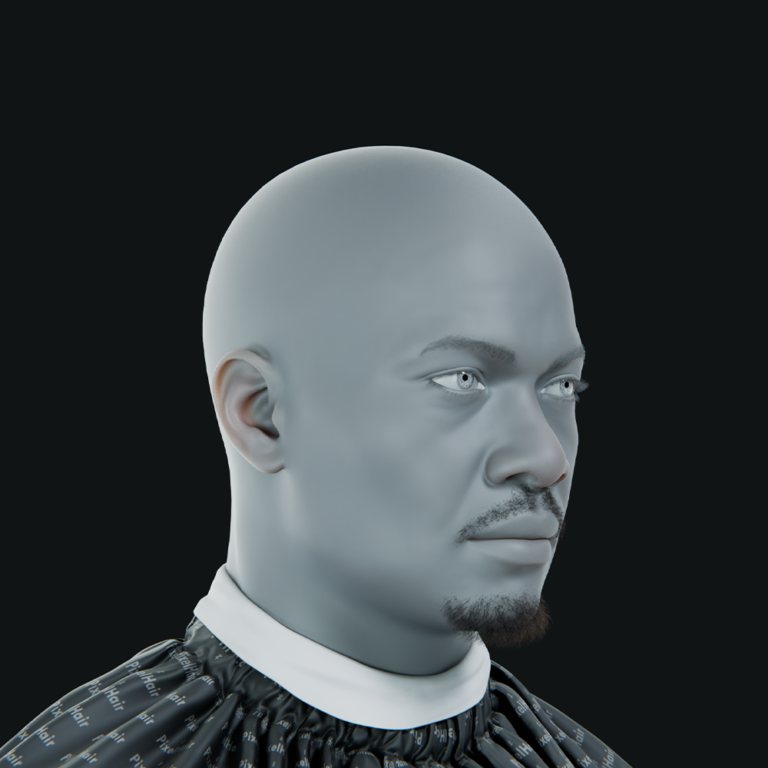
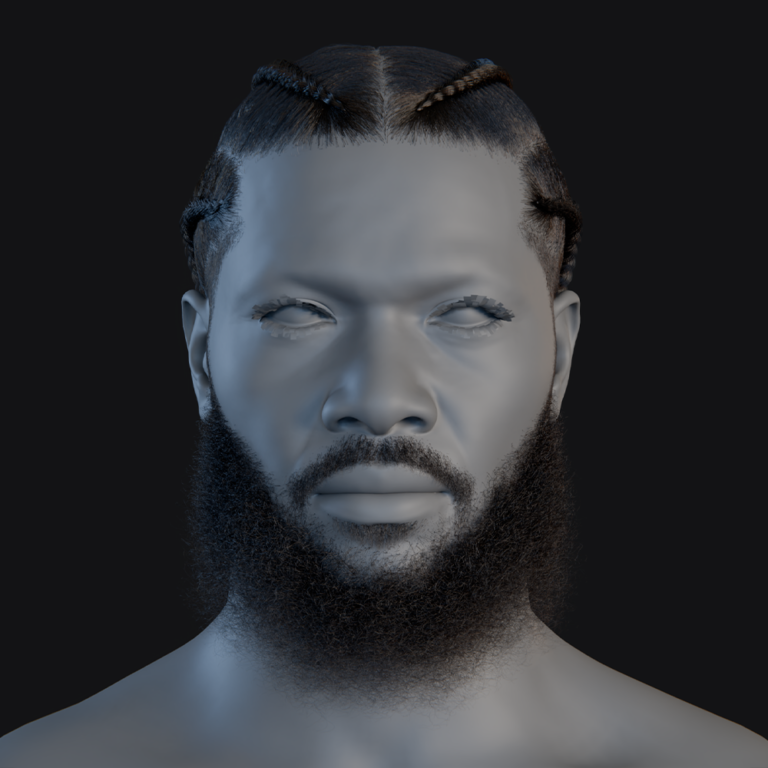
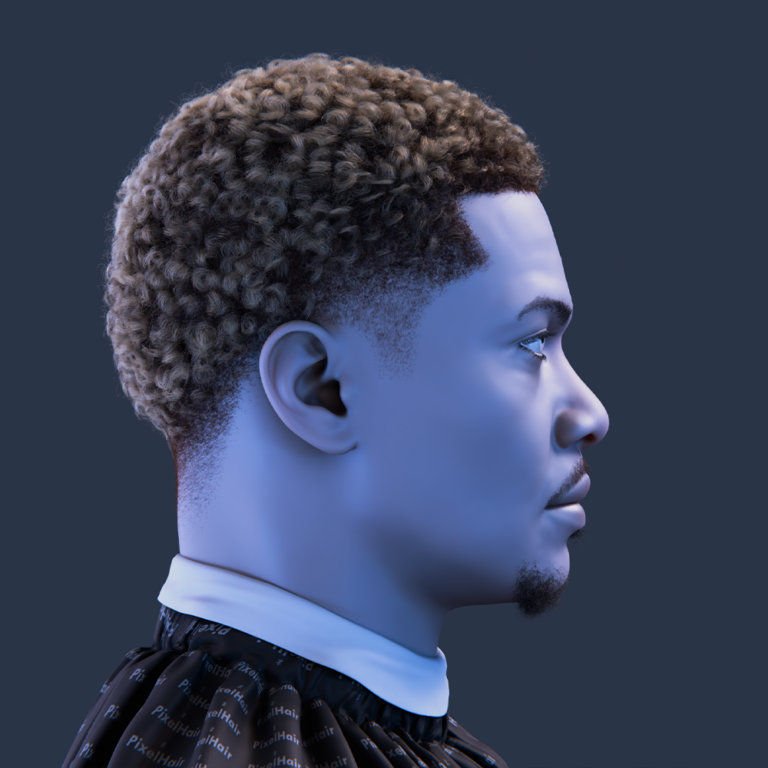
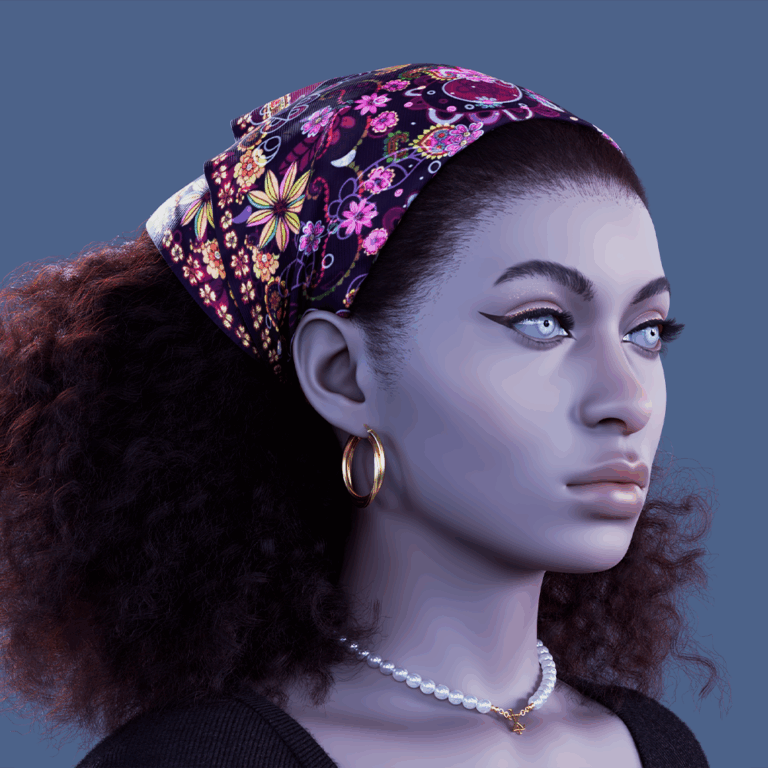
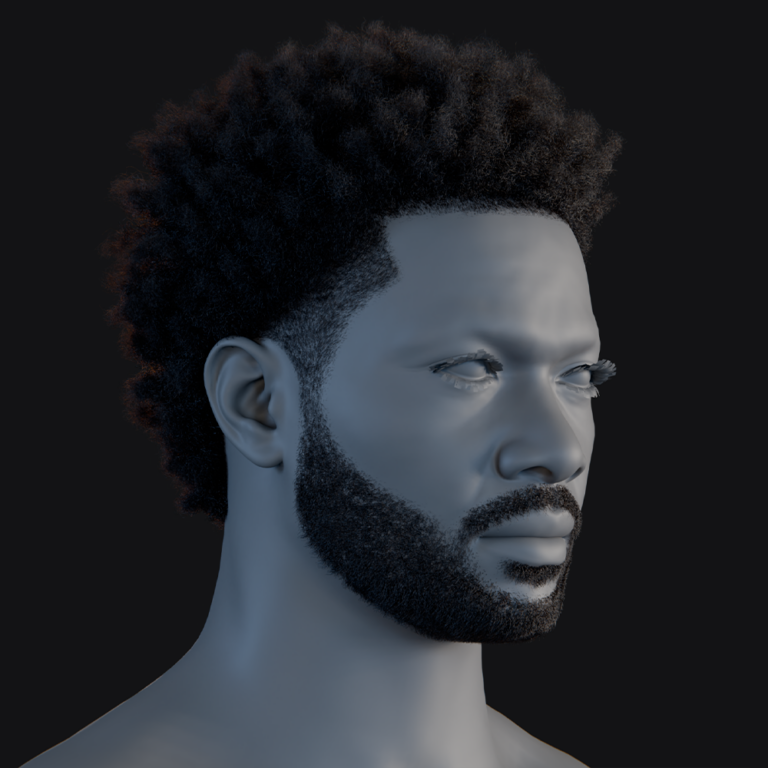
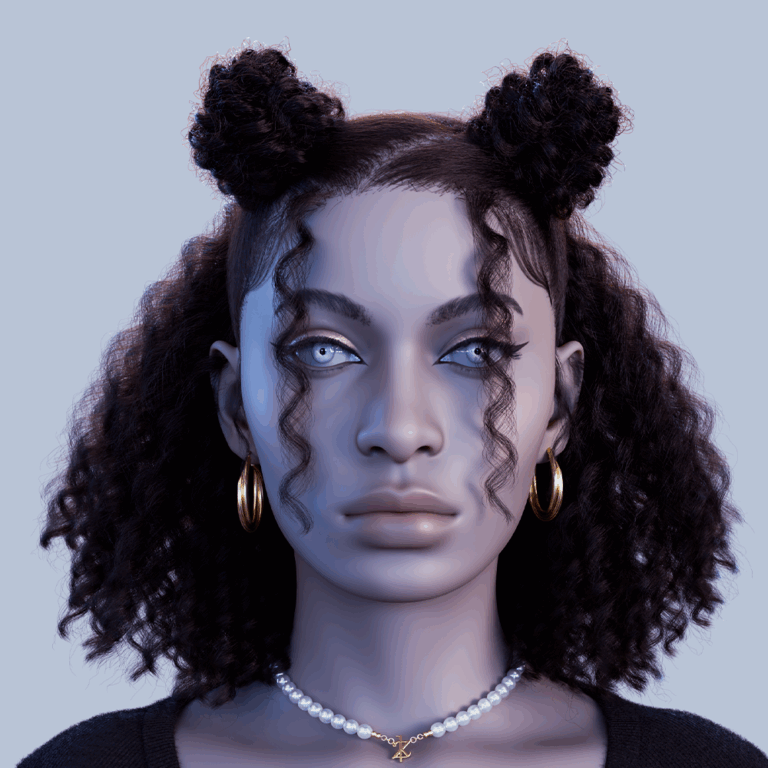
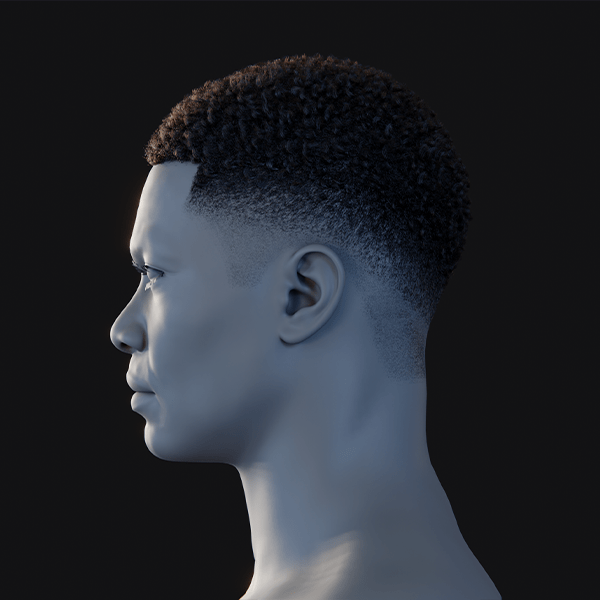
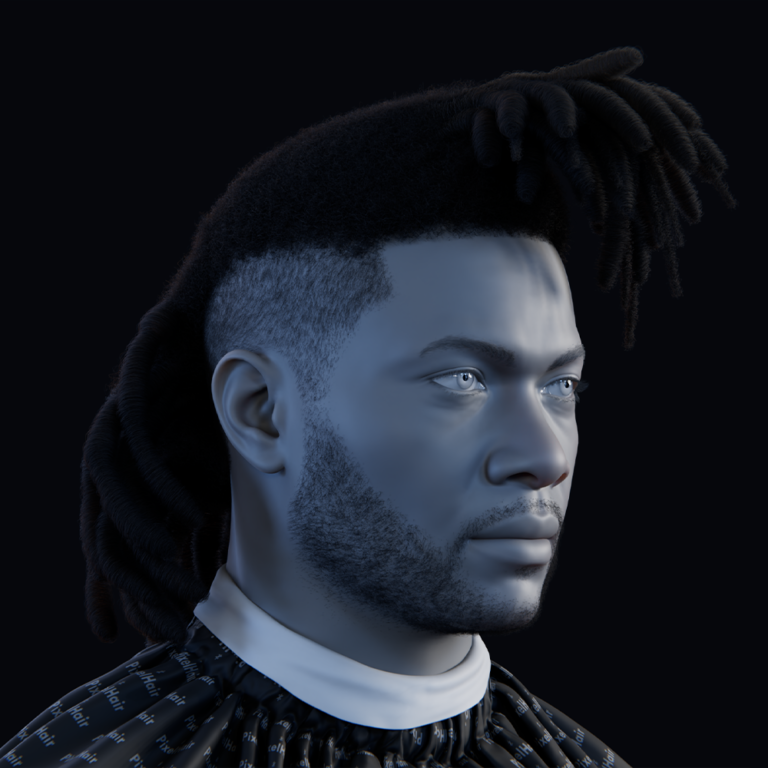
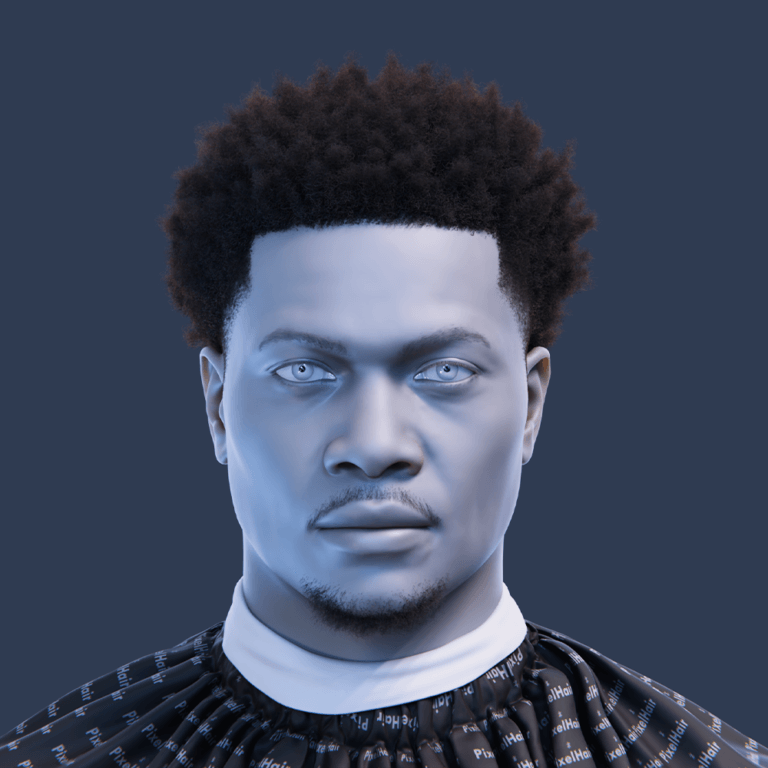
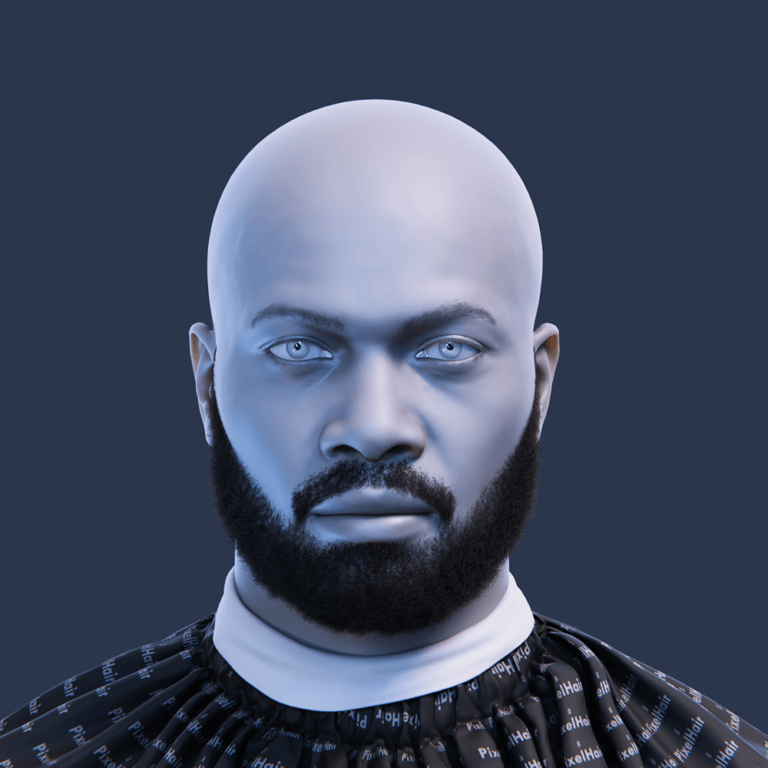
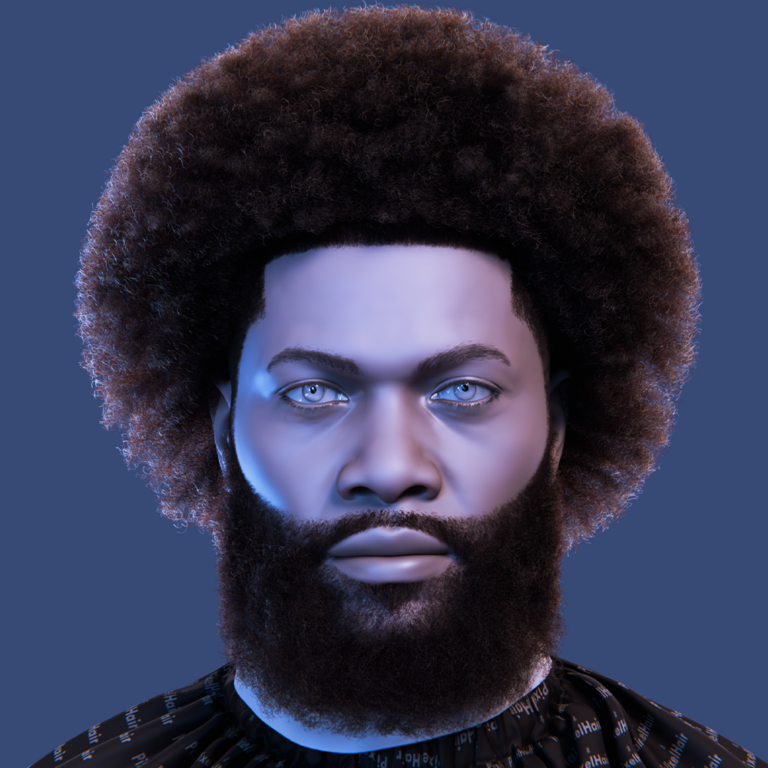
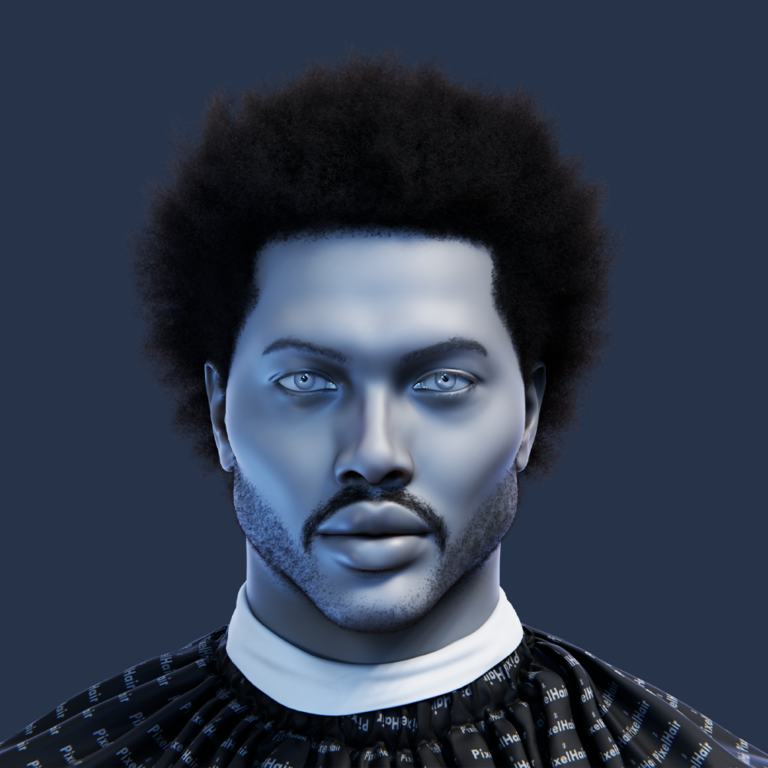
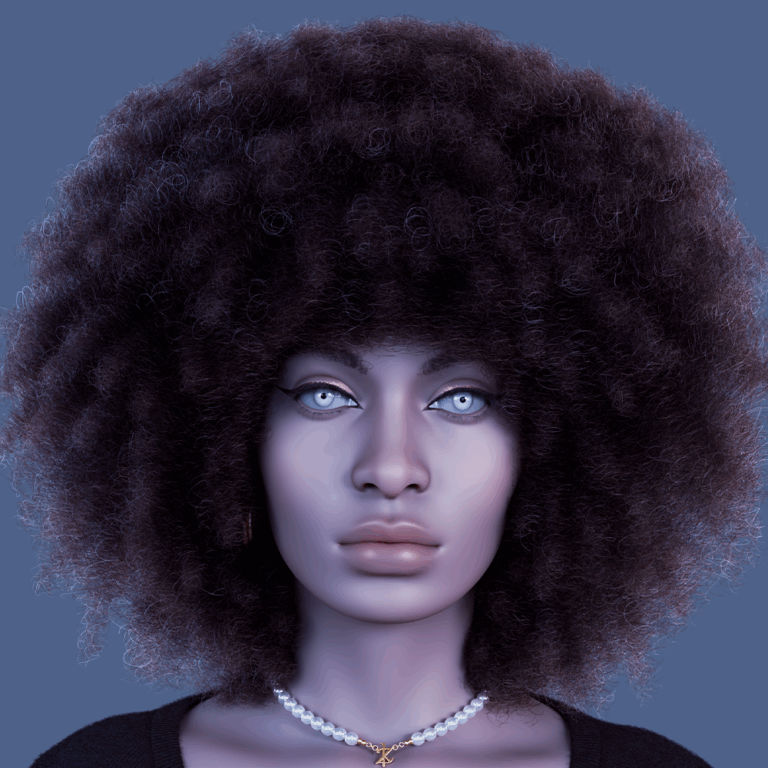
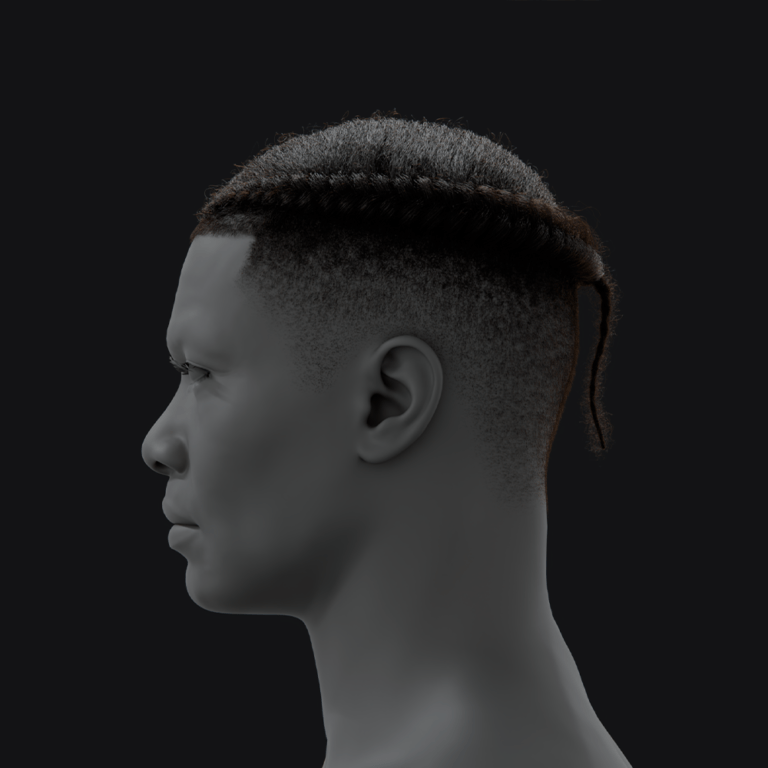
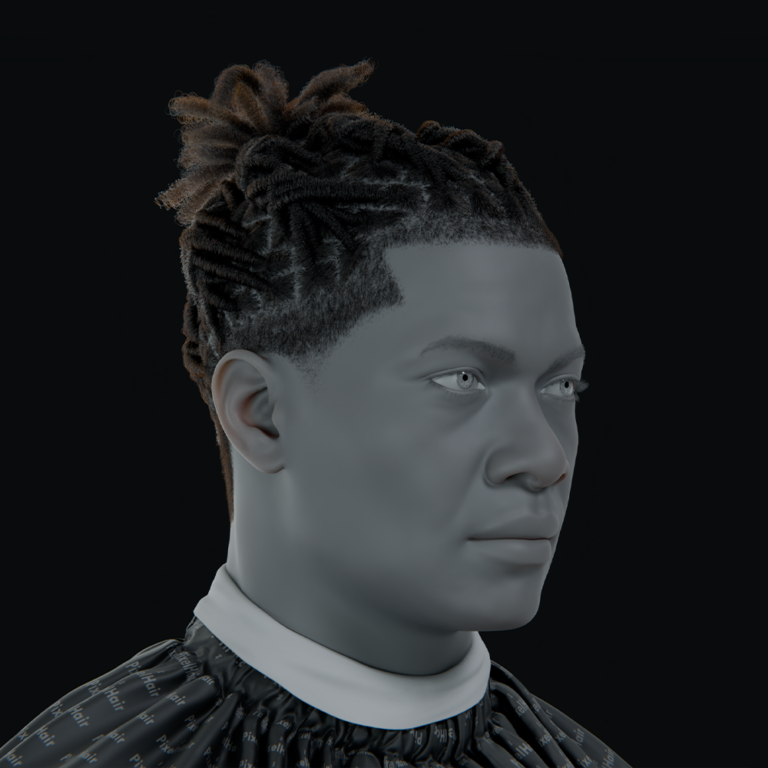
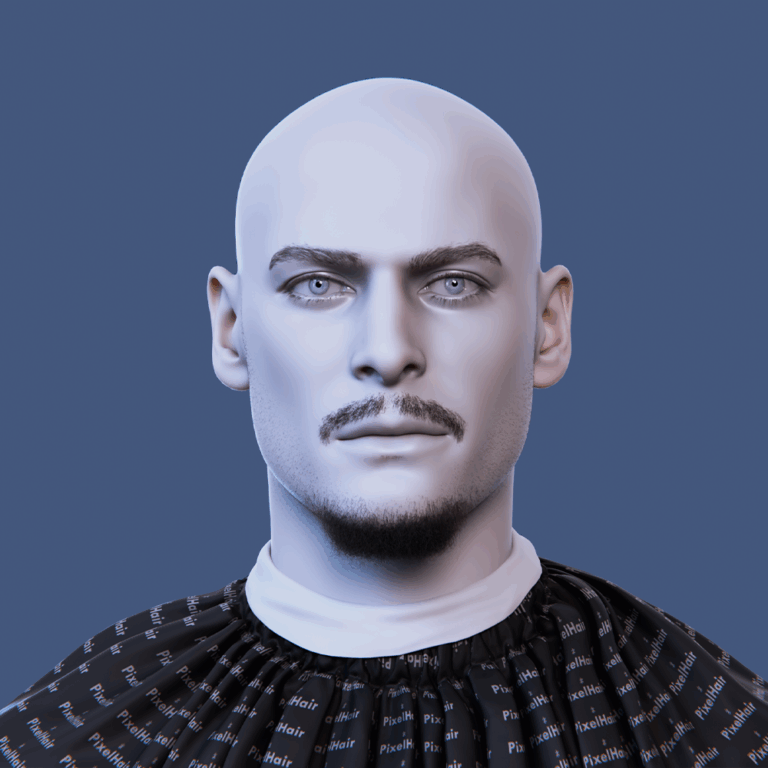
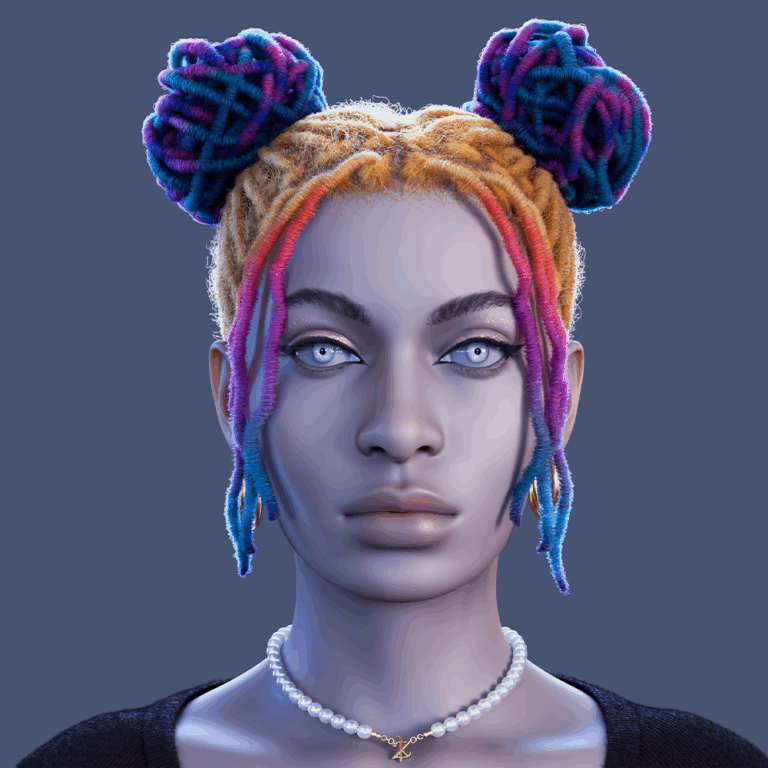
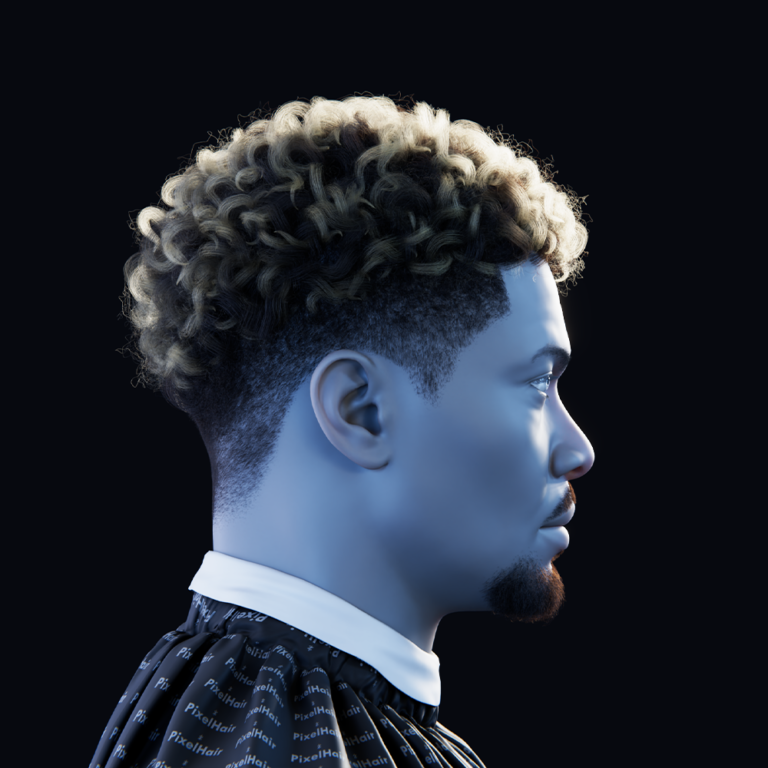
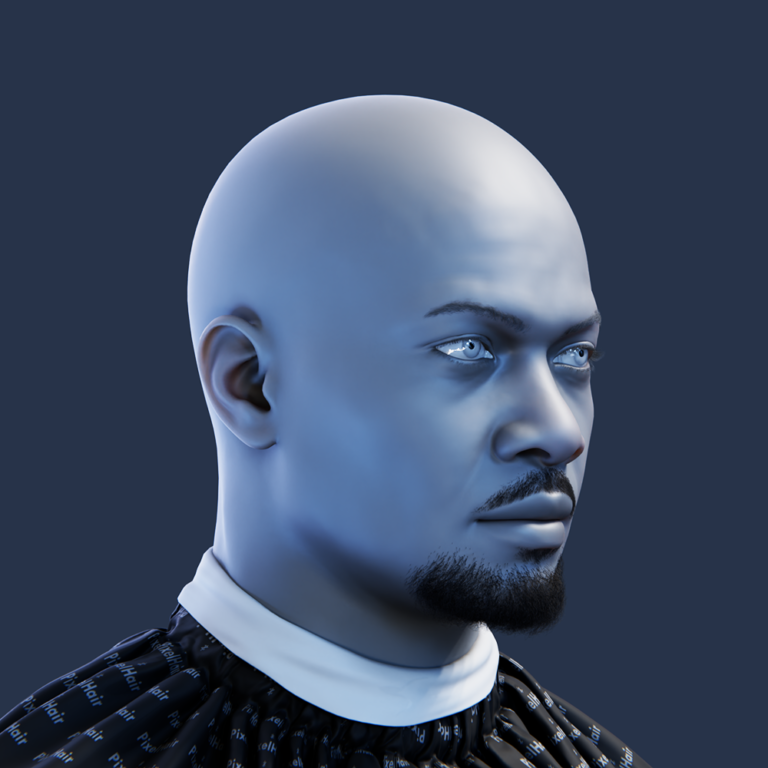
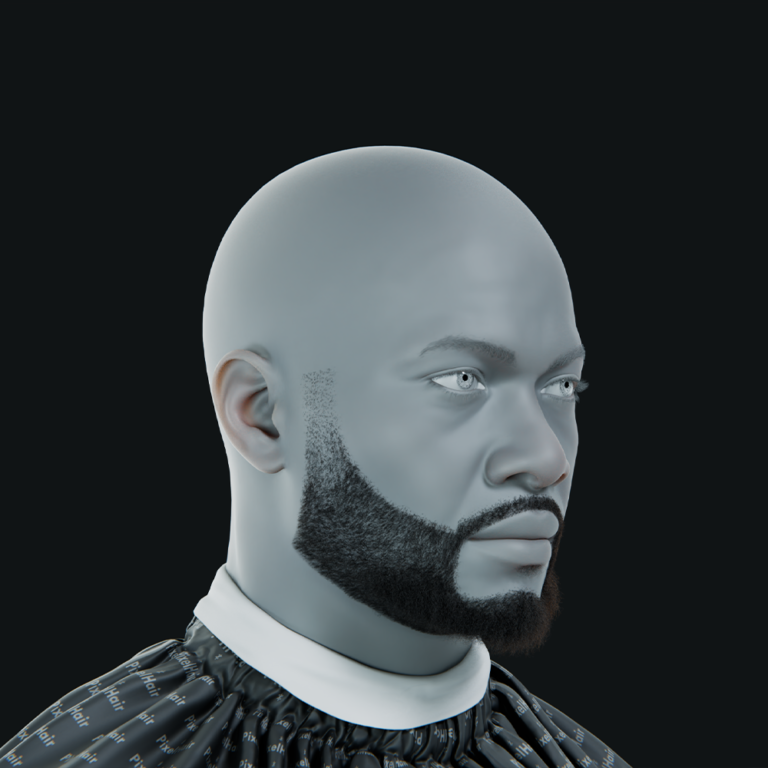
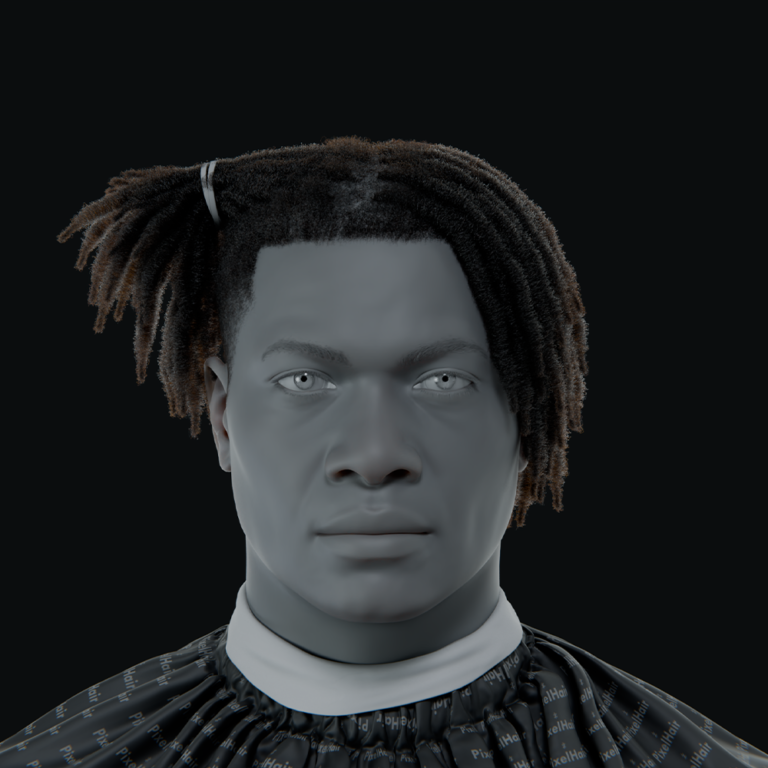
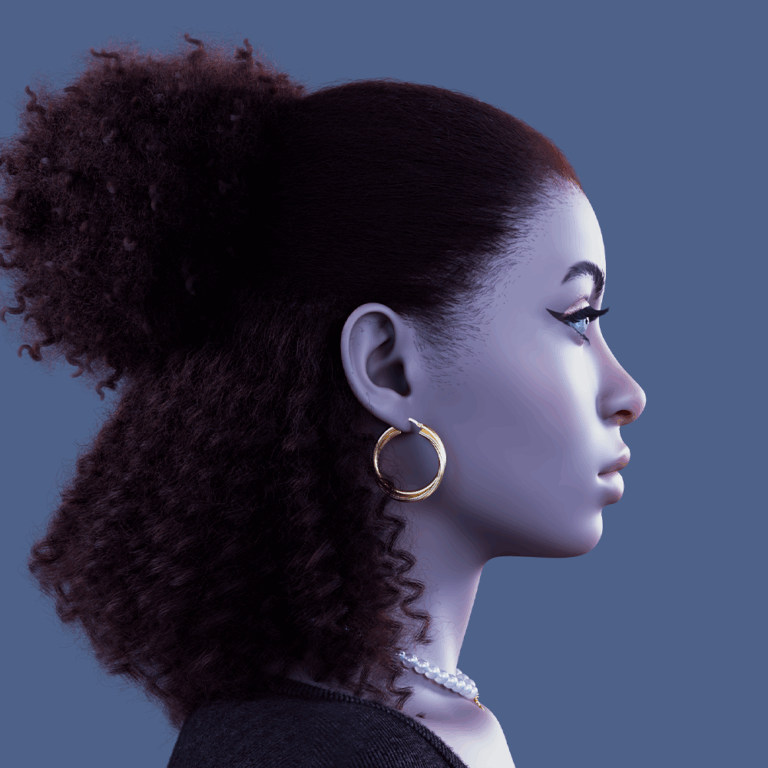
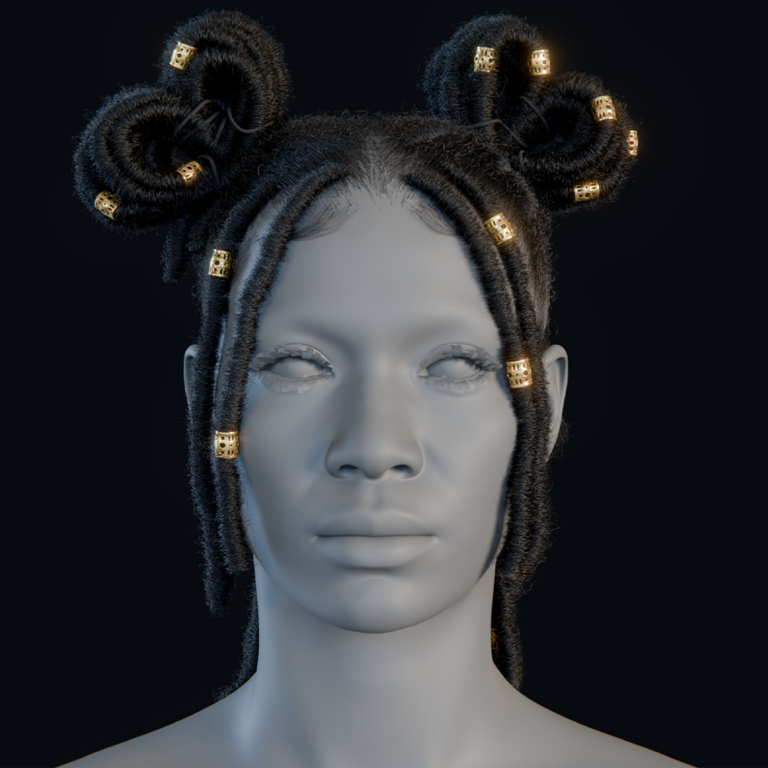
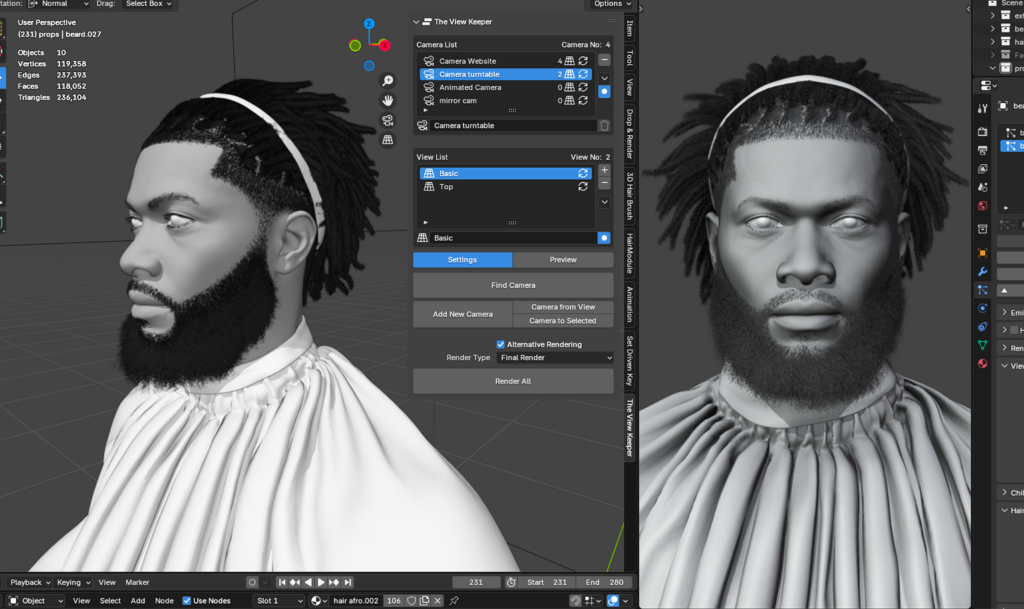
- Applying Hair with PixelHair: MetaHumans in Blender don’t have their original groom hair, but you can use PixelHair, a collection of ready-made Blender hairstyles. To apply PixelHair, append the desired hair from a PixelHair .blend file, adjust the position of the hair cap, and use Sculpt Mode to ensure it fits perfectly on the character’s head. You can further customize the hair by altering its texture, length, or color. PixelHair gives high-quality, realistic hair grooming that enhances your character’s appearance.
By refining textures and adding PixelHair in Blender, you can significantly enhance your MetaHuman’s look, creating a more unique and realistic character for Unreal Engine.

Exporting Your Improved MetaHuman from Blender to Unreal
- In Blender, select your edited MetaHuman mesh and armature, then export them as an FBX file. Ensure to export with the skeleton, set the orientation to -Z Forward, Y Up to match Unreal’s orientation, and turn off Blender’s extra leaf bones. If you used shape keys (morphs), ensure to export them as well.
- In Unreal, you have two import options: either reimport the FBX onto the existing MetaHuman skeletal mesh, which will update the mesh while keeping all materials and animations intact, or import as a new skeletal mesh, which requires you to update the MetaHuman Blueprint to use the new mesh. Ensure morph targets are included if prompted, and after importing, test the character in Unreal to confirm the body and face show your custom edits.
- Import the newly created or edited texture maps (albedo, normal, roughness) into Unreal. Apply these textures to the corresponding material channels (e.g., BaseColor, Normal, etc.). In the material instance (e.g., MI_Face), ensure the textures are properly assigned, and tweak the skin shader parameters like melanin or subsurface color if necessary.
- In Blender, export the hair as an Alembic (.abc) file, enabling the “Export Hair” option to include hair curves while excluding the scalp mesh geometry. In Unreal, import the Alembic file as a Groom asset, and use a Groom Component or Groom Binding to attach it to the MetaHuman’s head. If Unreal gives an error about strand control points exceeding 255, reduce the number of segments in Blender and re-export. After importing, apply a hair material to the imported groom.
- Once all components are imported, test the updated MetaHuman in Unreal by playing animations to ensure the rig works properly (test facial expressions and body movements). Check for any glitches or errors (like vertex issues during expressions). If issues arise, they are likely related to morph targets or weight paint, and you may need to re-edit and re-export from Blender. If everything works as expected, your custom MetaHuman is now ready for use in Unreal.
Once your MetaHuman is updated in Unreal with your custom changes, test it by playing an animation to ensure the rig functions correctly. Check facial expressions and body movements. If you notice glitches, like a vertex appearing off during an expression, it may indicate a morph target issue. If this happens, revisit your Blender file, adjust, and re-export. If everything was done correctly, your sculpted face should animate properly, and the character will look as intended.
Troubleshooting Common Issues
When working with MetaHumans across Blender and Unreal Engine, you might face issues. Here are common problems and their solutions:
- Character Import is Rotated or Scaled Wrong: This typically results from axis or unit mismatches. Use correct FBX export settings for alignment or adjust rotation during import in Unreal or apply transformations in Blender before export.
- Missing or Broken Morph Targets: If facial expressions are not working correctly, ensure you’re using the FBX 2013 format for importing and exporting to preserve morph targets. Always enable “Import Morph Targets” in Unreal and avoid changing vertex counts.
- Weight Paint or Rig Issues: If parts of the mesh deform incorrectly, paint weights in Blender and re-export. Ensure bone names and hierarchy are not altered.
- Textures Look Wrong in Unreal: Check that UVs match and that correct import settings are applied. Ensure textures are assigned correctly in the material instance.
- Hair Groom Issues: Ensure the groom is attached to the head by creating a Groom Binding. Adjust groom settings in Unreal for density, width, and performance (like turning off physics or using hair LODs).
- Performance Optimizations: Use LODs for both meshes and grooms. Reduce texture sizes and simplify features for performance optimization.
Most issues can be resolved with careful adjustments. Check community forums or documentation for additional help if needed.

Expert Tips and Best Practices
Here are key expert tips for enhancing MetaHumans in Blender:
- Preserve Topology: Avoid changing the vertex count. Sculpting without adding geometry or using masks/displacement textures maintains proper rig logic and keeps morph targets intact.
- Use the MetaHuman DNA Tool: If you frequently edit MetaHumans, use Epic’s MetaHuman DNA Calibration or Blender DNA add-on to adjust custom shapes while ensuring full compatibility with Unreal’s facial rig.
- Leverage Blender Add-ons: Use Epic’s official Send to Unreal Blender add-on for correct scale/axes during export. For complex rig changes, tools like Auto-Rig Pro help, but sticking to the original skeleton simplifies the process.
- Hair and Clothing Workflow: Treat hair and clothing as separate meshes for flexibility. PixelHair can quickly add high-quality hairstyles, while clothing should be modeled and weighted to the MetaHuman skeleton independently.
- Test in Engine Often: Regularly test your work in Unreal during the process, such as exporting the head for facial animations or testing the hair groom. This iterative approach makes catching and fixing issues easier.
By following these practices, you ensure efficient workflows and reliable final results for production.
How Blender and MetaHuman Are Shaping the Future
The synergy between Blender and Epic’s MetaHuman technology is transforming digital character creation in significant ways:
- Democratization: Blender and MetaHumans together have lowered the barrier to creating photorealistic characters. Indie developers and small teams can now achieve results that once required large studios and budgets.
- Modular Assets: The rise of specialized asset libraries (like PixelHair for hairstyles) means creators can easily mix and match high-quality components to customize MetaHumans. This modular approach speeds up workflow and encourages a marketplace of character add-ons.
- Better Tool Integration: New tools are emerging to integrate Blender and MetaHumans more seamlessly (for example, the MetaHuman DNA add-on for Blender, or Epic’s Mesh to MetaHuman feature). These make transferring custom changes into Unreal Engine easier and more accurate.
- Expanded Creativity: Community experiments – such as stylized MetaHumans or hybrid creatures – are pushing the boundaries. This may influence future updates to MetaHuman technology, potentially offering more flexibility (perhaps support for non-human characters or more extreme morphs) as Epic sees what creators do with Blender.
The combination of Blender and MetaHuman is empowering creators to build high-end digital characters like never before. The process is becoming faster, more accessible, and more creative. As tools evolve and more artists adopt this workflow, we can expect even greater levels of customization and innovation in the world of digital humans.
FAQ
- Can I edit a MetaHuman in Blender without breaking it? Yes, you can edit MetaHumans in Blender as long as you don’t alter the topology (vertex count). This keeps the rig and morph targets intact. Always test in Unreal after editing.
- How do I import my MetaHuman into Blender? Export the MetaHuman from Unreal using FBX for the meshes and textures. In Blender, use File > Import > FBX and enable morph targets. Adjust orientation if necessary.
- Will the MetaHuman rig and animations work after editing in Blender? Yes, as long as you don’t alter the bone hierarchy or vertex count. Use the original MetaHuman skeleton in Unreal to ensure proper rigging and facial expressions.
- How do I improve my MetaHuman in Blender and bring it back to Unreal? Export the MetaHuman meshes and textures, edit them in Blender (sculpt, add hair or accessories), then export the edited files (FBX for mesh, Alembic for hair) and import them back into Unreal.
- Can I use PixelHair for a new hairstyle? Yes, PixelHair provides ready-made hairstyles for Blender. Import and attach it to your MetaHuman, then export it as an Alembic file for use in Unreal.
- Can I render MetaHumans outside of Unreal? No, according to Epic’s license, MetaHumans should only be rendered within Unreal Engine for final output.
- What if my MetaHuman’s face looks distorted after Blender edits? This issue usually occurs when the morph targets don’t align. Ensure you don’t change the vertex count or order. If issues persist, re-edit the face, preserving the topology.
- How can I optimize my customized MetaHuman for performance? Use LODs for meshes and hair, reduce texture sizes, and simplify materials. Also, remove or hide any unnecessary geometry.
- What is PixelHair, and is it better than MetaHuman hair? PixelHair is a set of pre-made hairstyle assets for Blender, offering more variety and easier styling than MetaHuman Creator. It provides high-quality hair that can be customized and looks just as good as the default MetaHuman hair.
- What tools or resources are recommended for learning MetaHuman–Blender workflows? Use Epic’s official MetaHuman documentation, community guides on forums or YouTube, and PixelHair documentation. Also, consider tools like the MetaHuman DNA Blender add-on for advanced rig editing.
Conclusion: Unlock Your Creative Potential with Blender and MetaHumans
MetaHumans provide a high-quality foundation for realistic digital characters, and Blender enhances this by offering the freedom to customize and refine these models. Combining MetaHuman’s base with Blender’s powerful editing tools allows for the creation of truly unique characters, while maintaining the integrity of the original rigs and shaders. The guide demonstrates that it’s possible to improve and personalize your MetaHuman using Blender, unlocking creative possibilities beyond the default options.
From sculpting facial features, adjusting body shapes, painting custom textures, to adding hair with PixelHair, this workflow suits both beginners and advanced users. Beginners can create custom looks without starting from scratch, while advanced users can incorporate Blender into professional pipelines. Experimenting with MetaHumans in Blender brings characters closer to your vision, whether for games, films, or character design. With MetaHumans and Blender, your creative potential is limitless.

References & Further Resources
- dev.epicgames.comEpic Games – MetaHuman Documentation: Definition and overview of MetaHumans.
- cgchannel.comCG Channel – MetaHuman Usage Terms: Explanation of MetaHuman license restrictions.
- forums.unrealengine.comUnreal Engine Forums – Exporting MetaHuman to Blender: Advice on skeleton orientation and editing geometry.
- forums.unrealengine.comforums.unrealengine.comUnreal Engine Forums – Sculpting MetaHuman Face in Blender: User steps for exporting, sculpting, and reimporting a MetaHuman face.
Recommended
How do I toggle between camera views in Blender?
How to Put Pattern on Texture in Blender: A Step-by-Step Guide to Creating Custom Materials
How do I make the camera follow a path in Blender?
What is the camera’s field of view in Blender?
How do I create a cinematic camera effect in Blender?
What is the difference between Perspective and Orthographic Camera in Blender?
Best Blender Add-ons for Camera Management: Why The View Keeper Stands Out


