


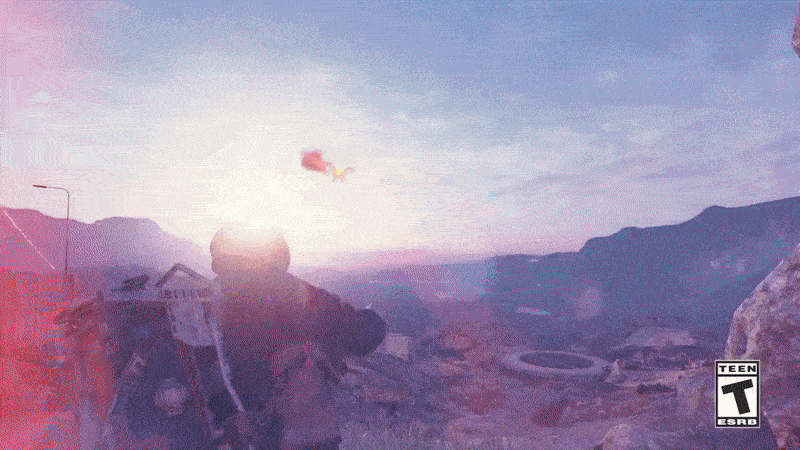


Creating a cinematic camera effect in Blender involves simulating real-world cinematography techniques to enhance the visual storytelling of your 3D scenes. Whether you’re making an animated short, a visual effect sequence, or a 3D-rendered film, using proper camera settings, composition, and movement can significantly improve the final output. Here’s a step-by-step guide to achieving a cinematic look in Blender.
What Is a Cinematic Camera Effect?
A cinematic camera effect replicates the techniques used in filmmaking to create professional-looking shots. These effects enhance storytelling by controlling how the viewer perceives motion, focus, and composition. Key elements of a cinematic camera effect include:
- Depth of Field (DoF): Blurring the background to draw attention to the subject.
- Smooth Camera Movements: Avoiding stiff or unnatural motion for dynamic shots.
- Cinematic Framing: Following film composition rules like the rule of thirds.
- Motion Blur: Adding realism to fast-moving elements.
- Lighting and Contrast: Adjusting exposure and shadows for a dramatic effect.
Techniques for a Cinematic Look
1. Choose the Right Focal Length
- 35mm – 50mm: Standard film look for natural framing.
- 18mm – 24mm: Wide-angle shots for dramatic perspectives.
- 85mm+: Close-up shots with background compression.
2. Use Depth of Field (DoF)
- Enable Depth of Field in the Camera Properties.
- Set an object as the focus target and adjust the F-Stop.
- Lower values create a stronger blur, simulating high-quality cinematic lenses.
3. Apply Motion Blur
- In Render Properties, enable Motion Blur to add realism.
- Adjust Shutter Speed for stronger or weaker blur effects.
4. Frame Your Shots Cinematically
- Use Composition Guides (enable them in Viewport Display).
- Follow the Rule of Thirds for balanced subject positioning.
- Experiment with Dutch Angles for dramatic tension.
Animating Cinematic Camera Movements
Real-world cinematography relies on smooth, controlled camera movement. Blender offers multiple ways to achieve this:
1. Keyframing Camera Motion
- Insert Location & Rotation keyframes at important points.
- Use the Graph Editor to refine and smooth movements.
2. Using a Camera Rig for Stability
- Parent the camera to an Empty Object for better motion control.
- Animate the Empty instead of the camera for smoother results.
3. Creating Tracking Shots with Paths
- Add a Bezier Curve and set the camera to follow it.
- Apply a Follow Path Constraint for automated movement.
4. Adding a Handheld Camera Effect
- Use Noise Modifier in the Graph Editor to create subtle shakes.
- Manually animate slight positional offsets for realism.
Lighting and Composition
Cinematic quality depends heavily on lighting and composition techniques:
Three-Point Lighting Setup
- Key Light: Main light source, placed at an angle.
- Fill Light: Softens shadows and adds depth.
- Back Light: Separates the subject from the background.
Using HDRI for Natural Light
- Load an HDRI texture in the World Settings for realistic global illumination.
Adjusting Exposure and Contrast
- Use Filmic Color Management for better dynamic range.
- Increase Contrast to enhance mood and drama.
Managing Multiple Cinematic Shots with The View Keeper
When working with multiple cinematic shots in Blender, managing different camera angles and movements manually can be tedious considering the amount of shorts required to provide maximum engagement for your audience. The View Keeper streamlines this process by allowing you to:
- Store and switch between multiple camera setups.
- Save and use multiple camera angles, focal lengths, depth of field, motion blur and more all using one camera.
- Keyframe and automate different cinematic shots effortlessly.
- Render multiple camera angles/shots without having to render one at a time or reconfiguring settings manually.
For instance, in an action sequence, you can set up a close-up shot, a wide establishing shot, and a tracking shot, then effortlessly switch between them using The View Keeper.
Common Questions About Cinematic Camera Effects
Why does my Depth of Field look unnatural?
- Ensure your F-Stop value is not too low.
- Adjust the focus distance manually if auto-focus is inaccurate.
How do I avoid jittery camera movements?
- Use the Graph Editor to smooth abrupt transitions.
- Apply the Bezier Interpolation Mode for natural motion.
Can I combine multiple cinematic effects?
- Yes! You can use Depth of Field, Motion Blur, and Lighting Adjustments together for a high-quality result.
What’s the best frame rate for a cinematic look?
- Set your project to 24 FPS for film-style motion.
- Higher frame rates (60 FPS) work better for slow-motion effects.
How can I create a dramatic slow-motion shot?
- Increase the render frame rate and slow down the playback speed in the Video Sequence Editor.
Can I switch between multiple camera angles in one scene?
- Yes, use The View Keeper to store multiple camera setups and switch between them seamlessly.
Creating a cinematic camera effect in Blender requires a combination of proper framing, motion, lighting, and post-processing techniques. By mastering camera settings, depth of field, and smooth movements, you can achieve professional quality visuals. Using The View Keeper further streamlines workflows, making it easier to manage multiple cinematic shots within a single project.
The View Keeper lets you experiment with different setups, focal lengths, and motion styles to develop your unique cinematic style and bring your Blender scenes to life.


