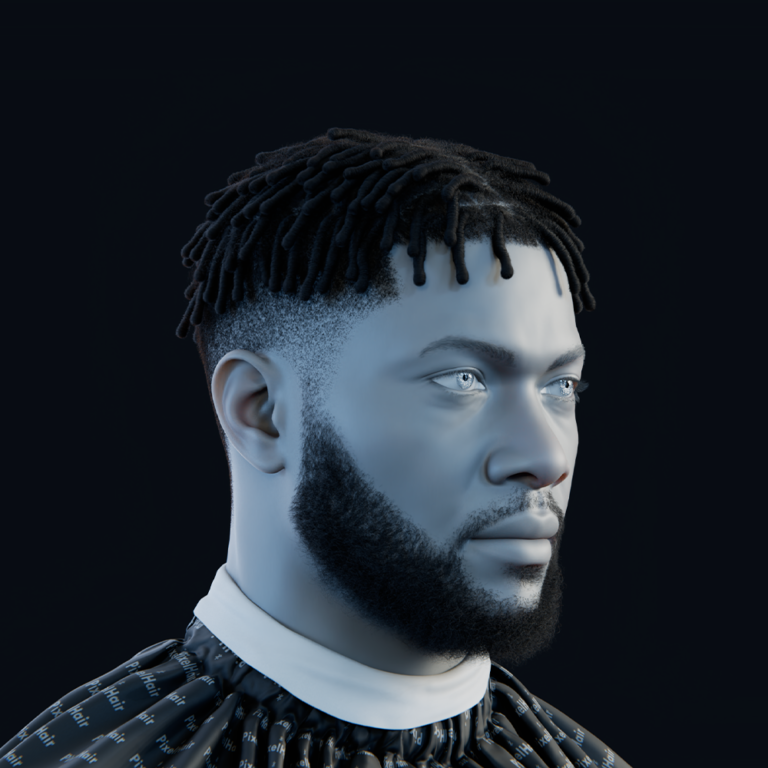
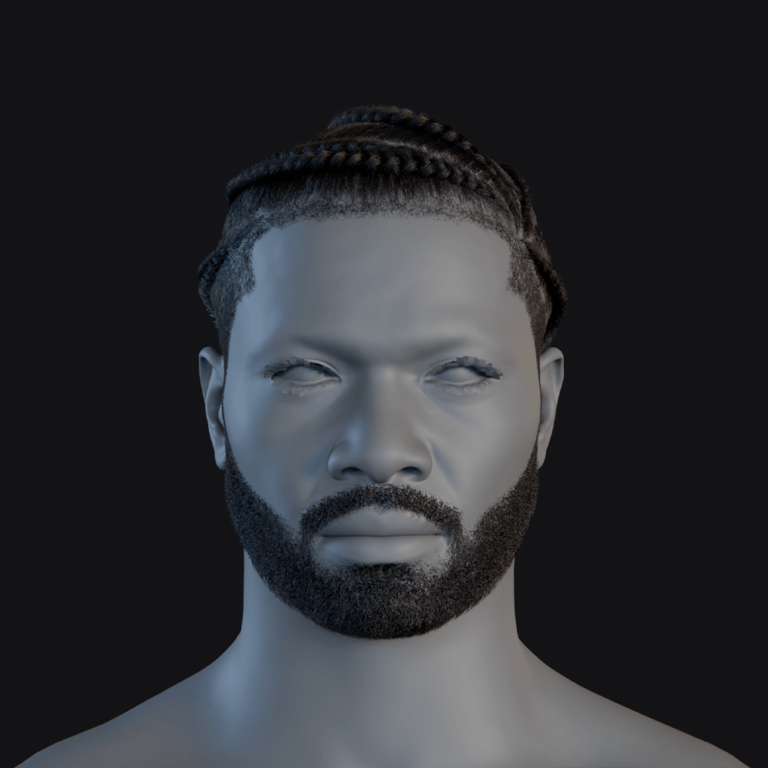
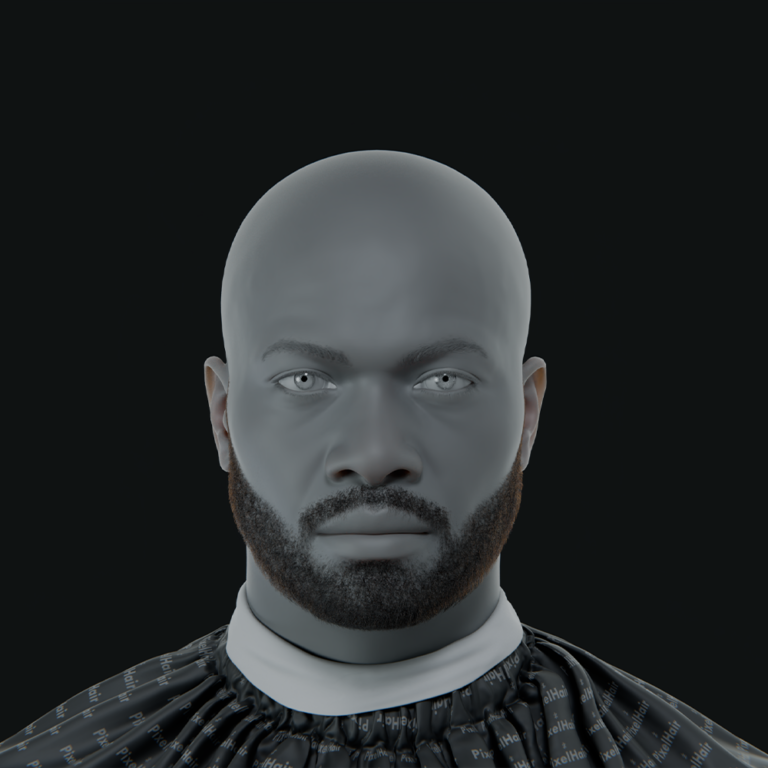
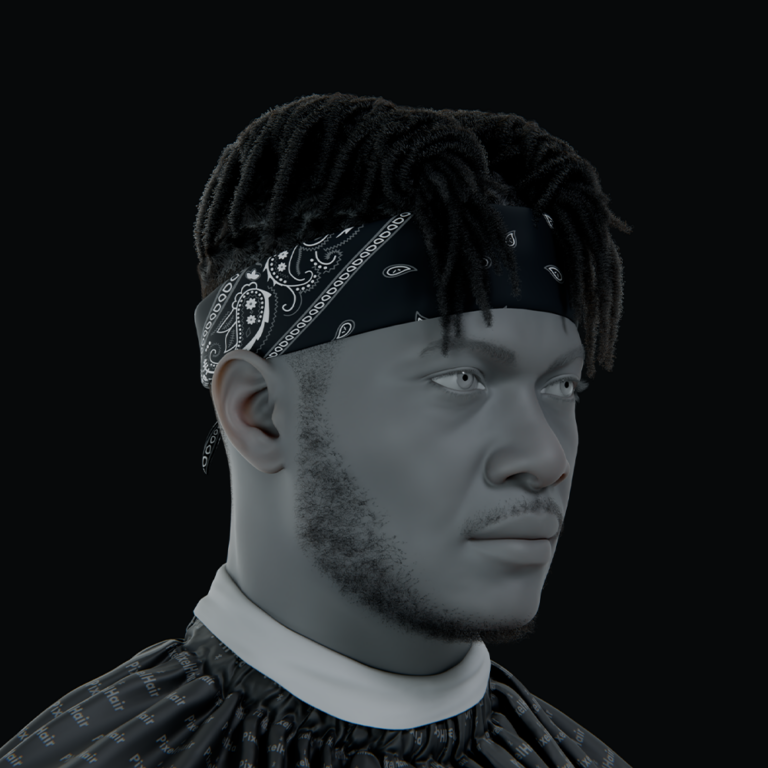
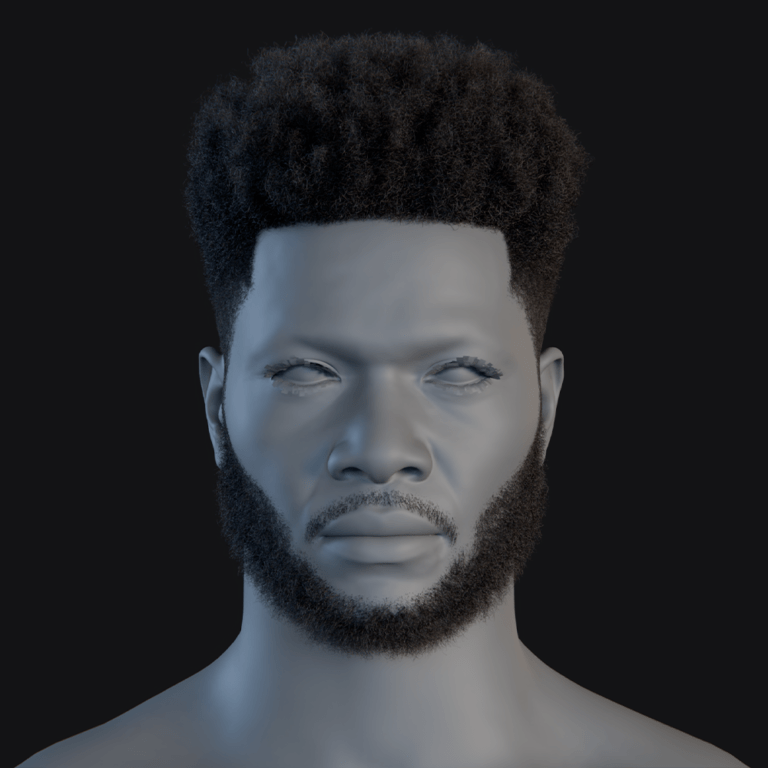
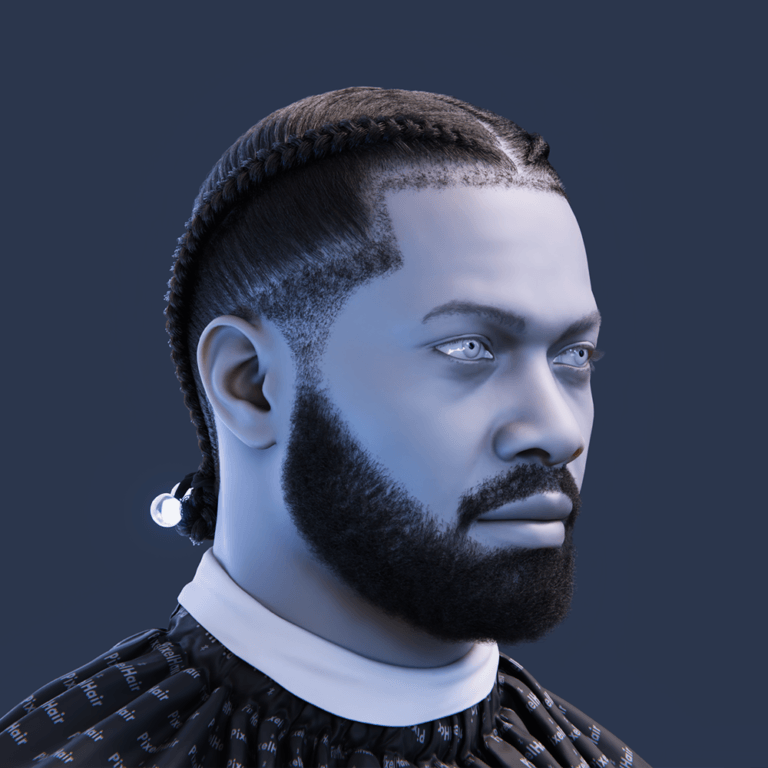
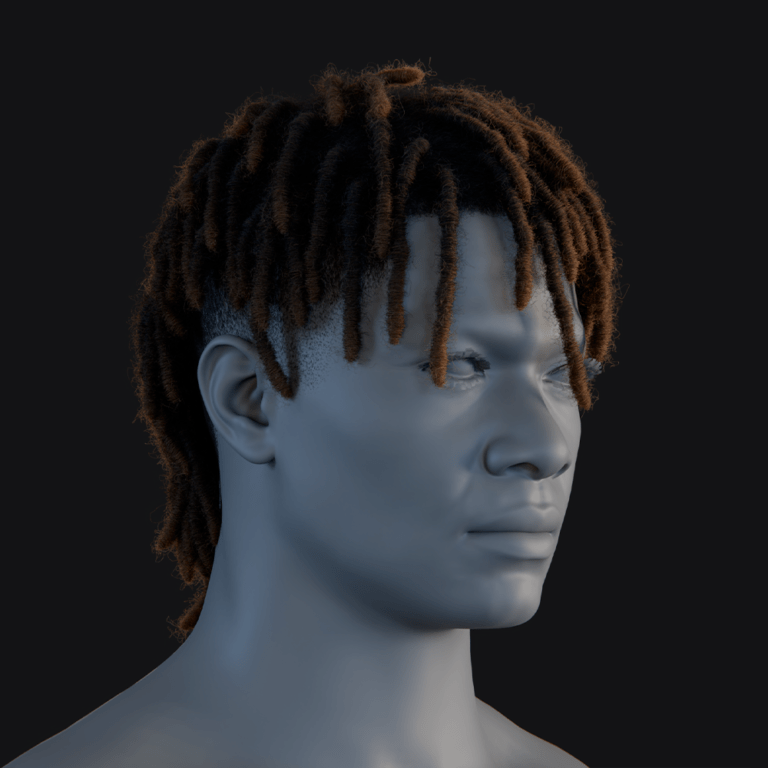
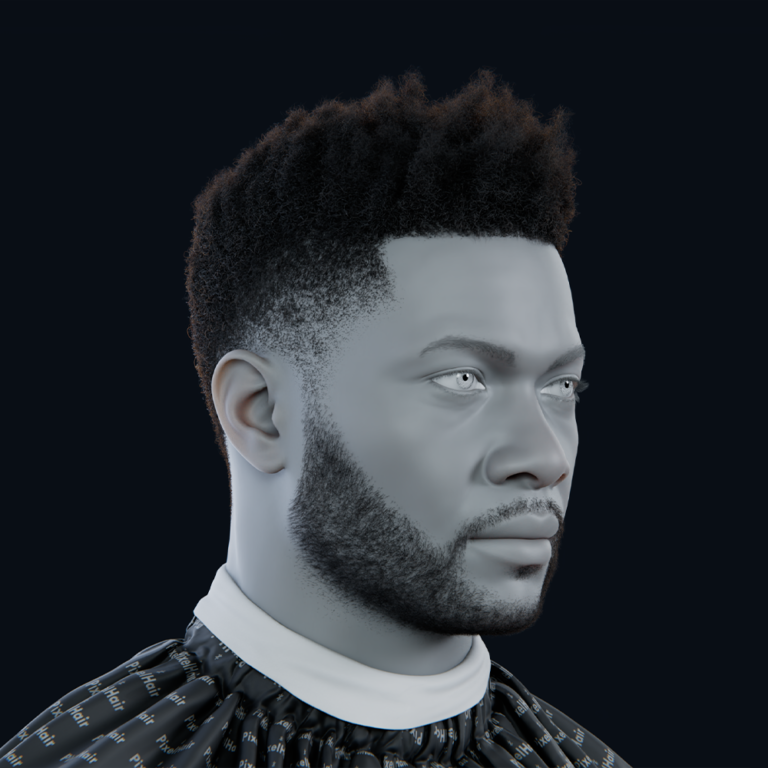
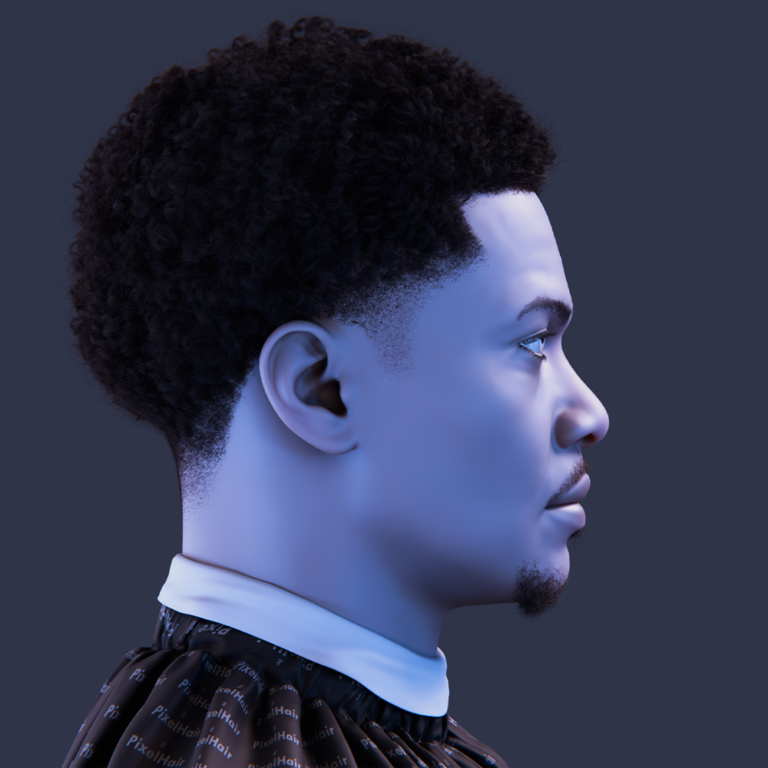
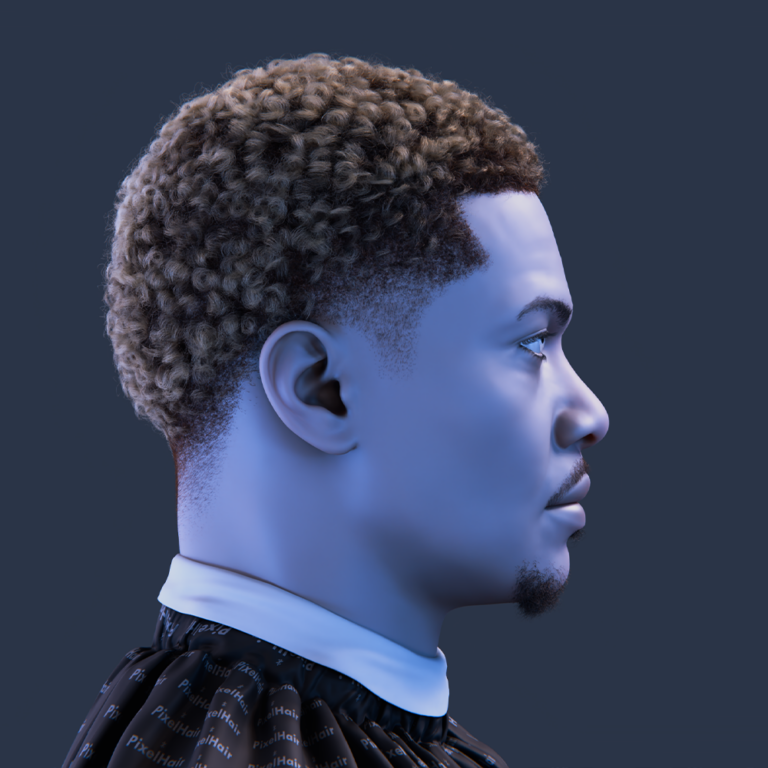
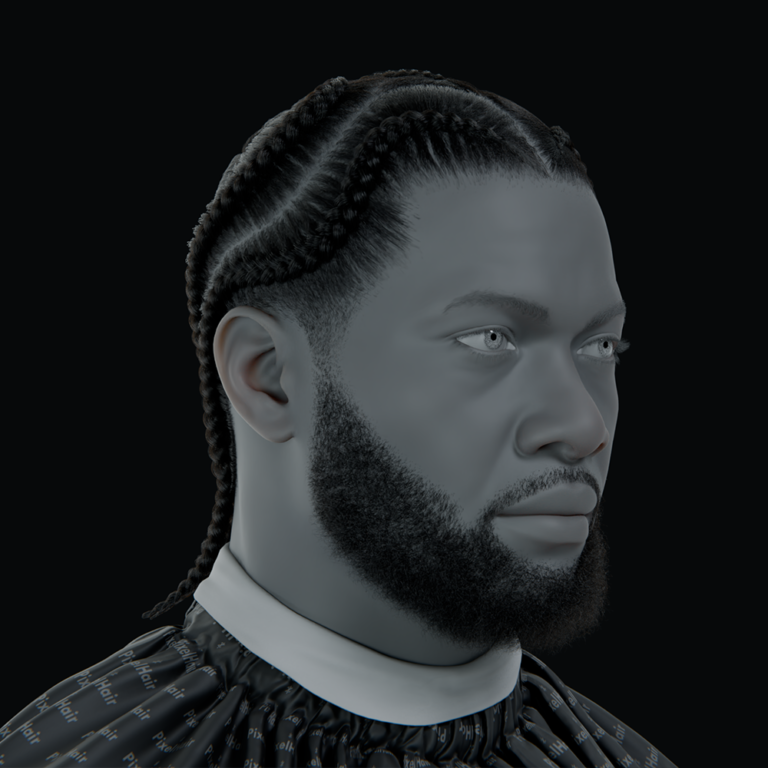
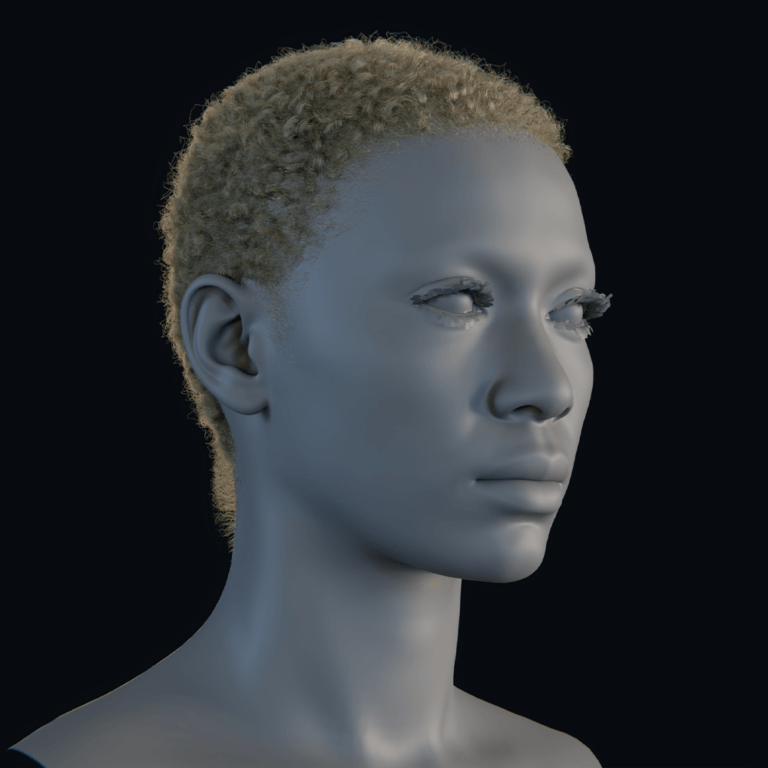
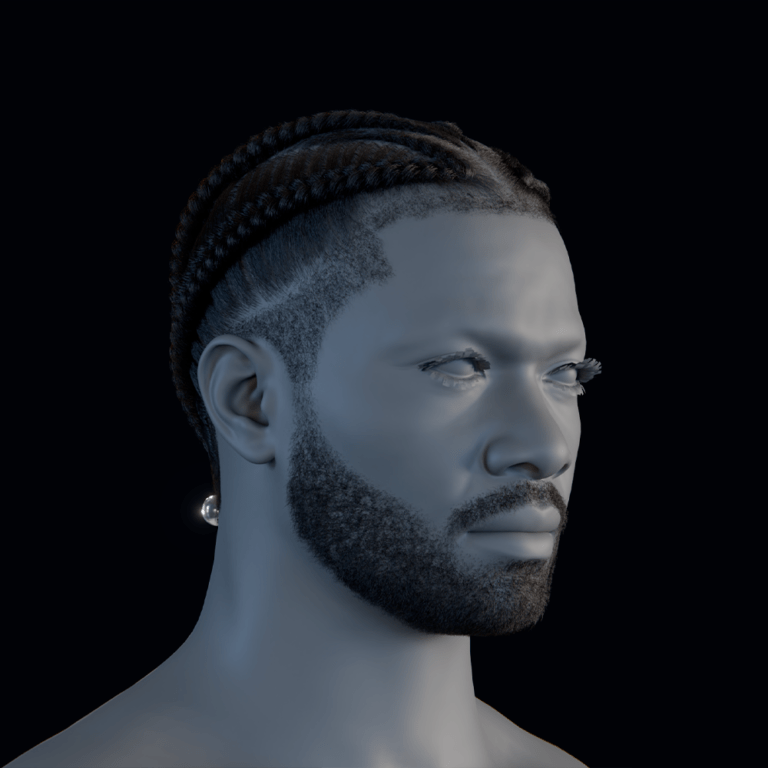
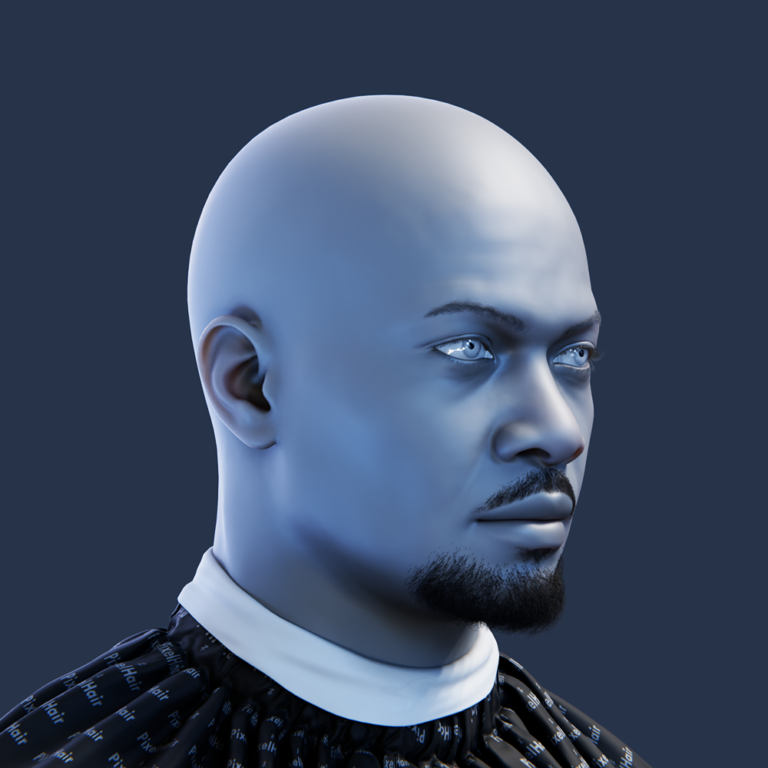
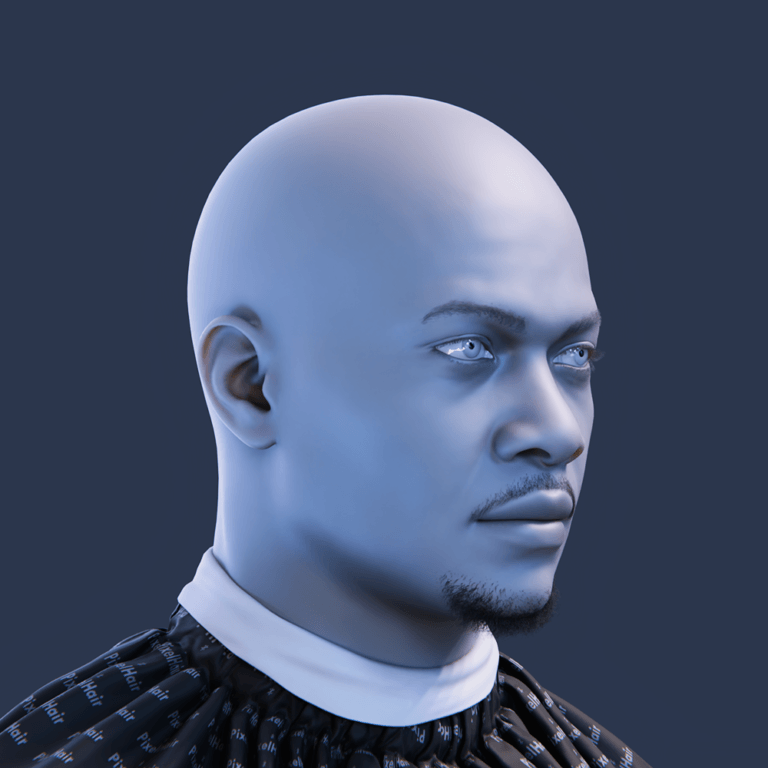
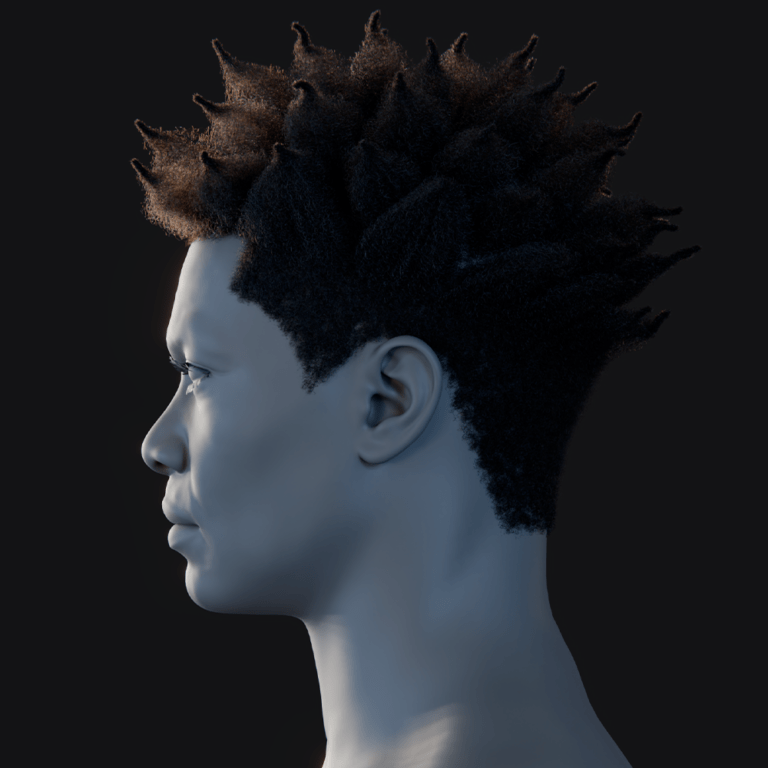
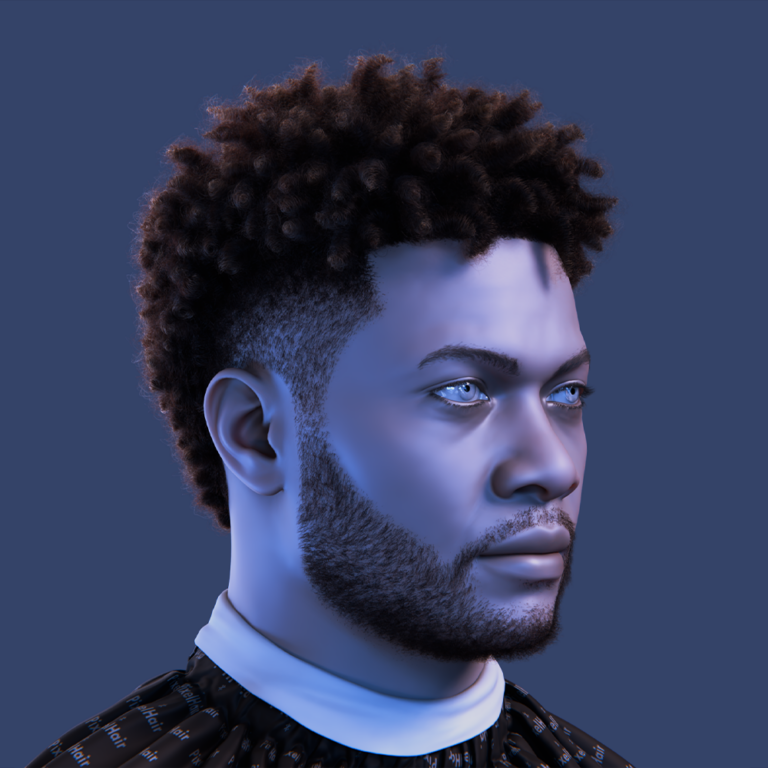
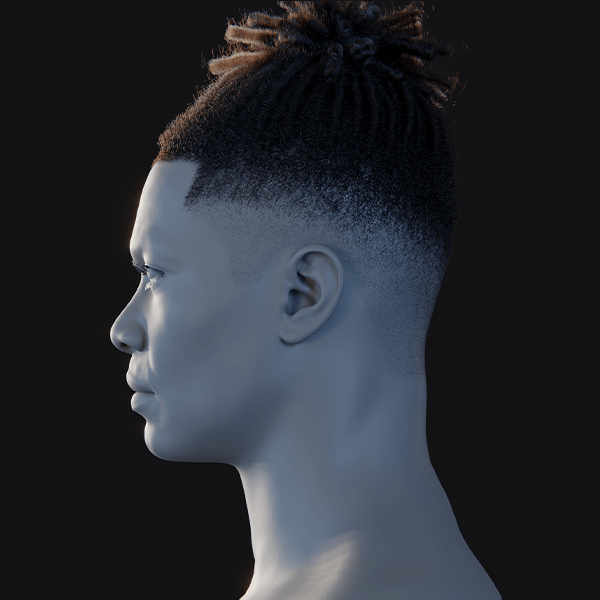
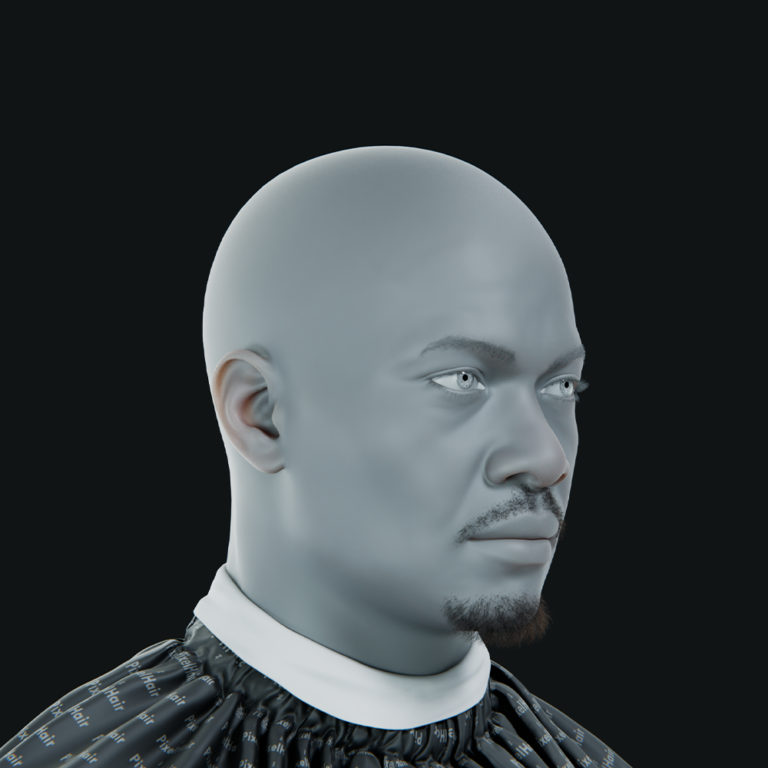
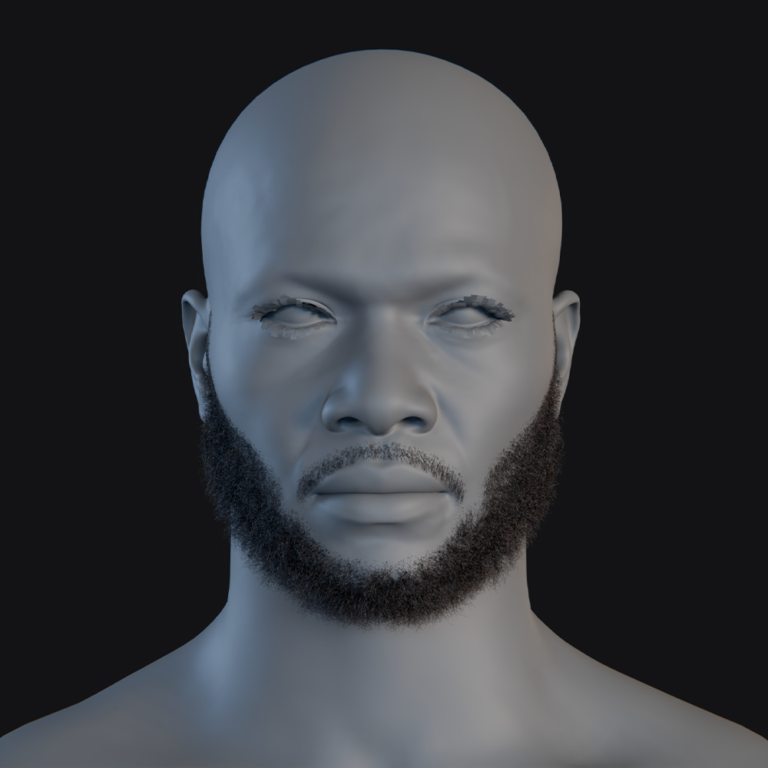
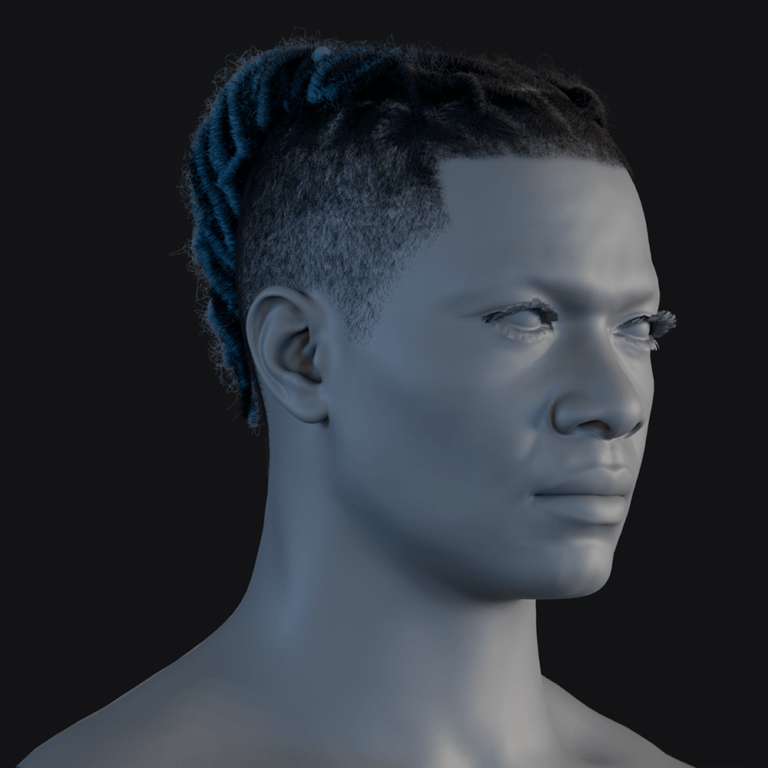
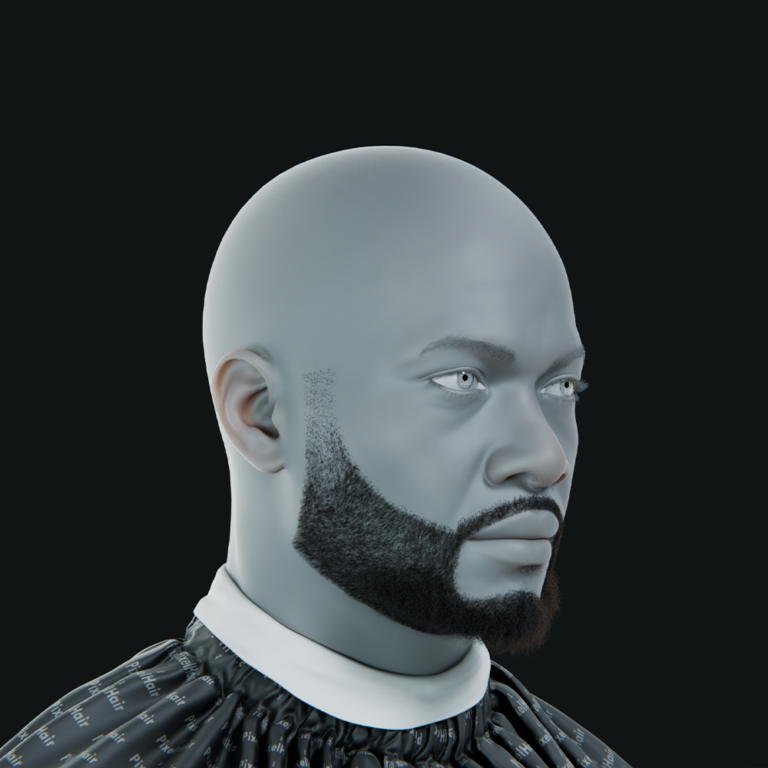
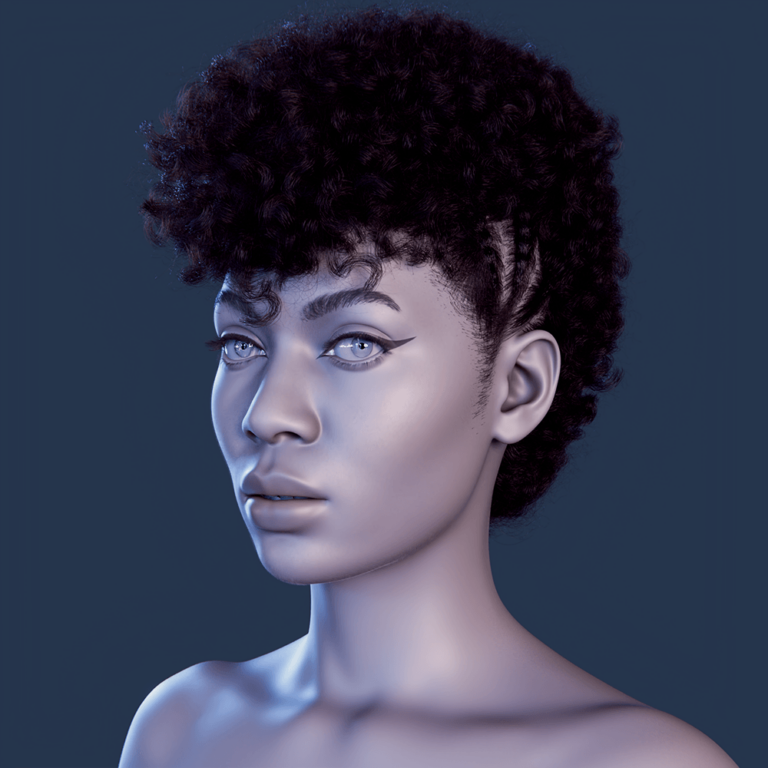
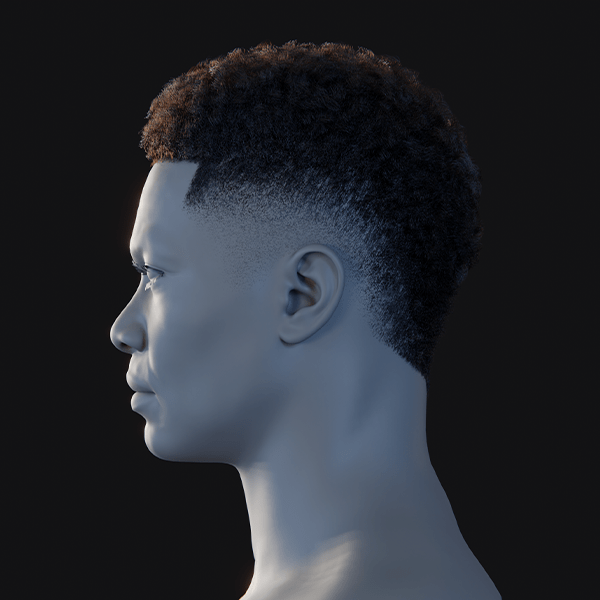
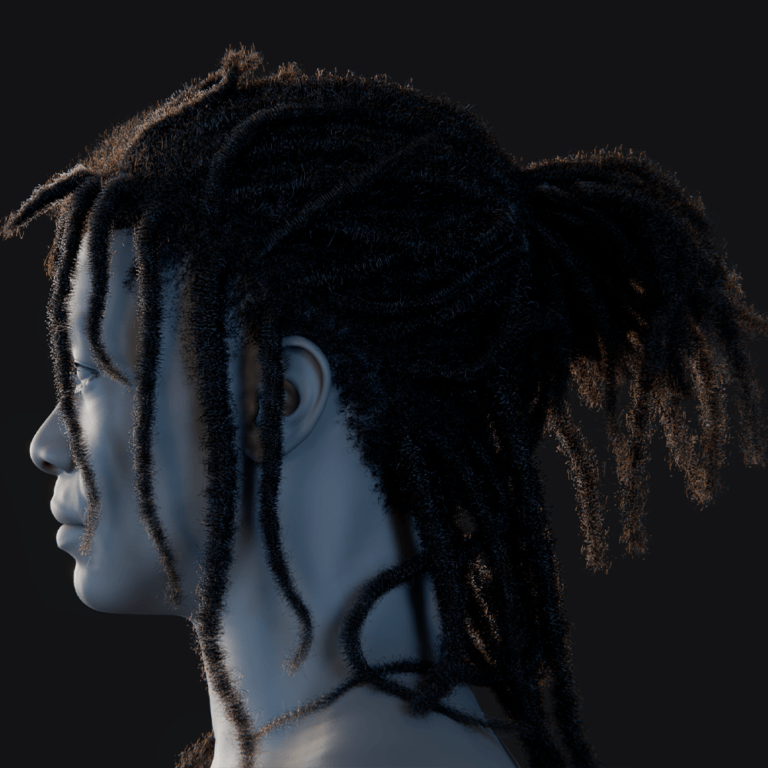
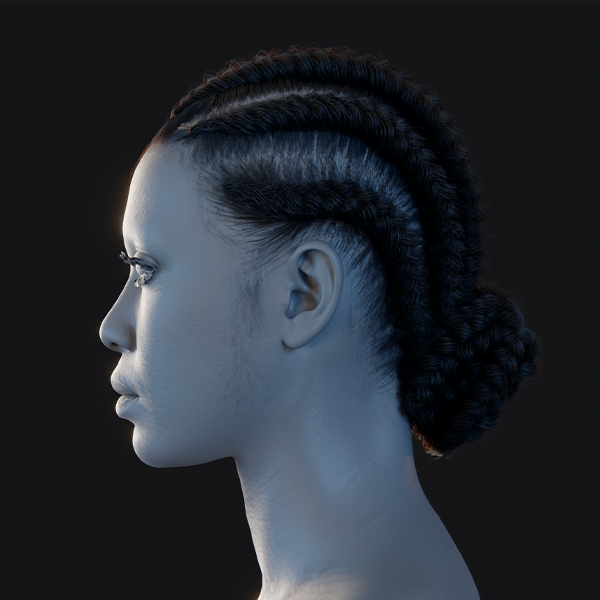
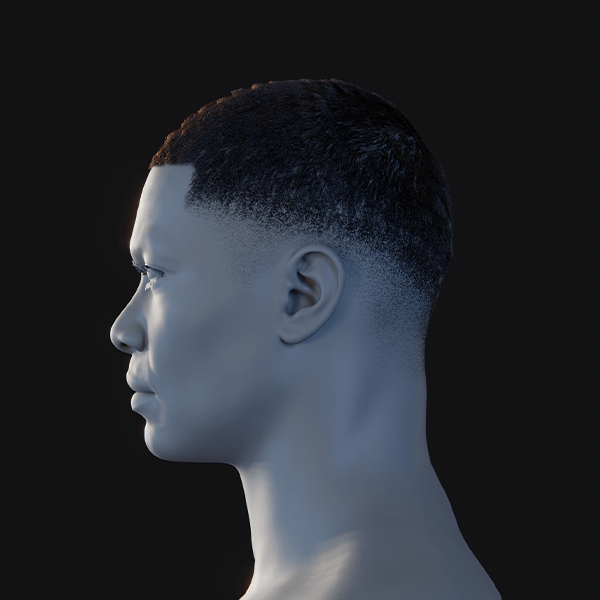
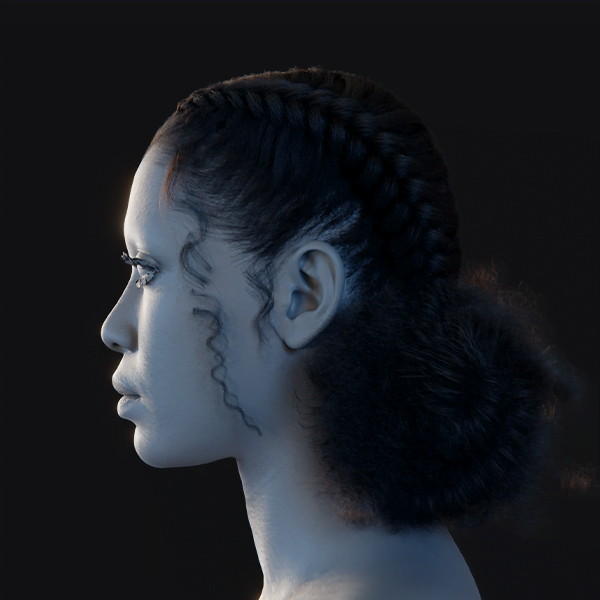
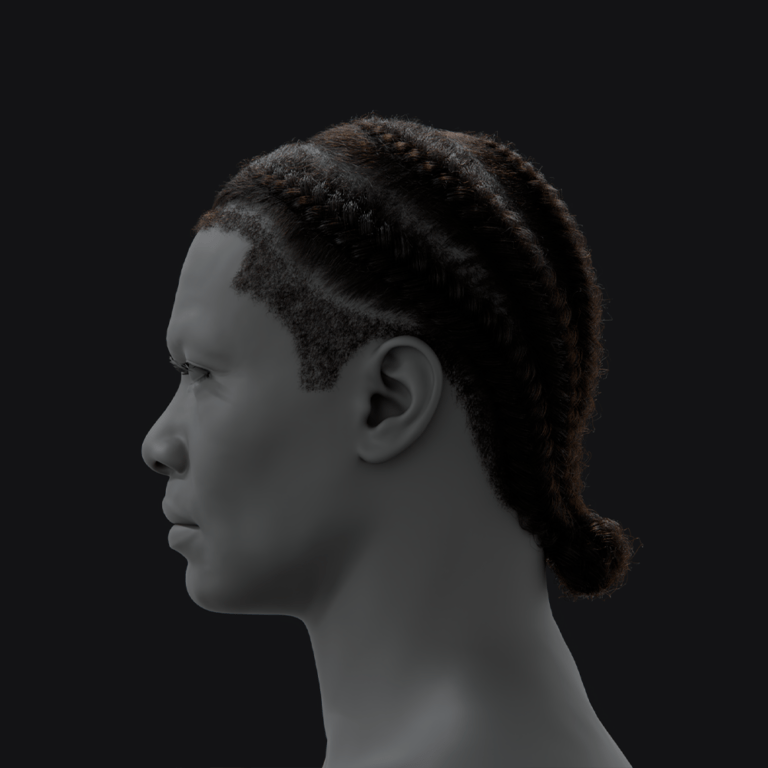
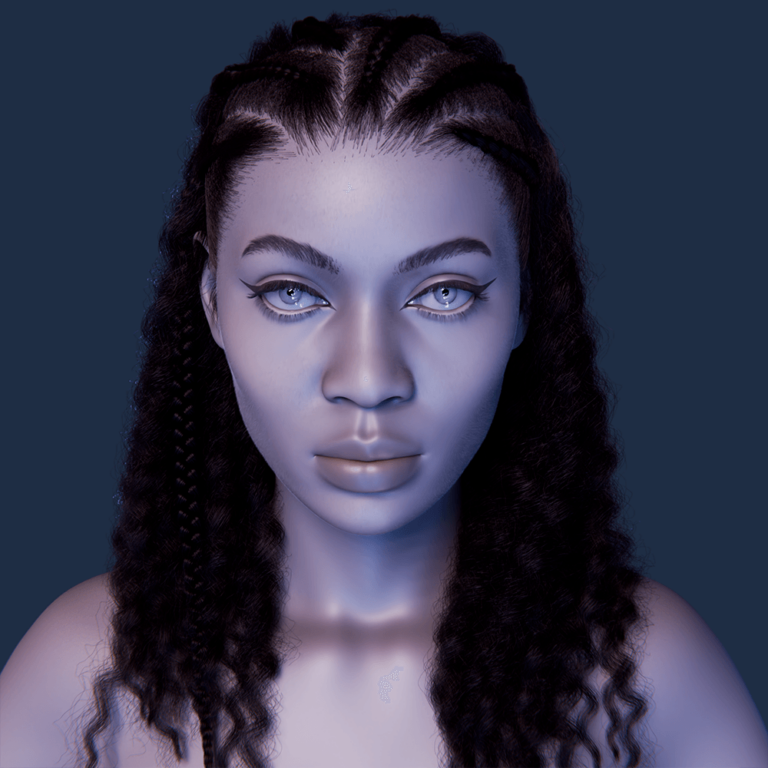
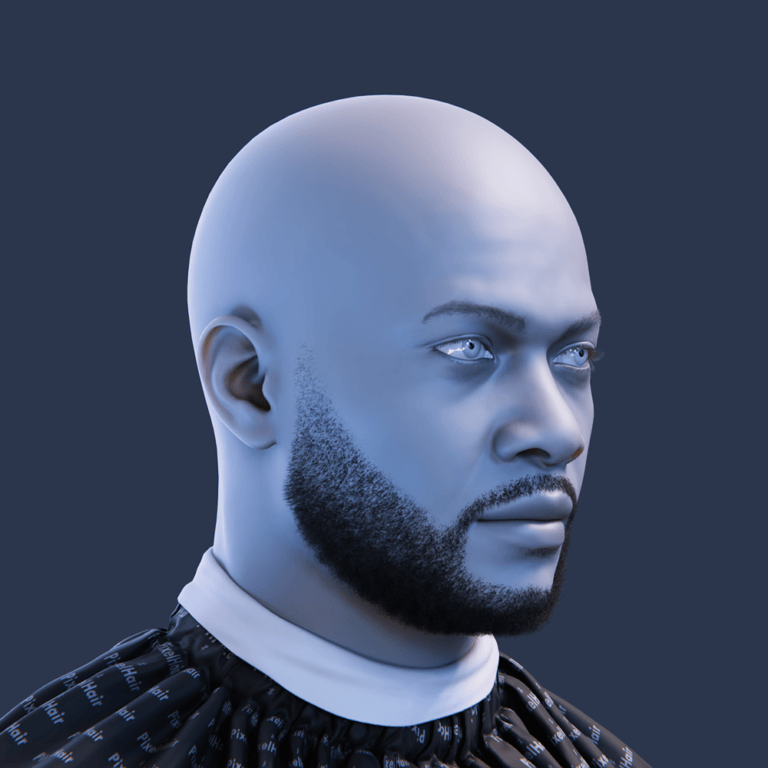
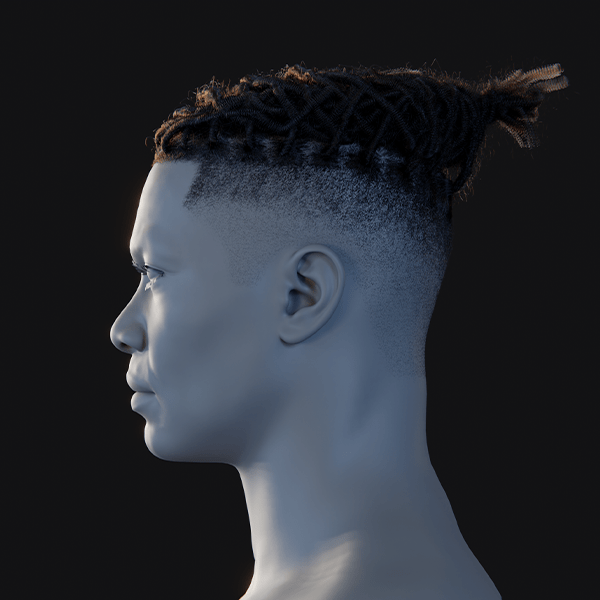
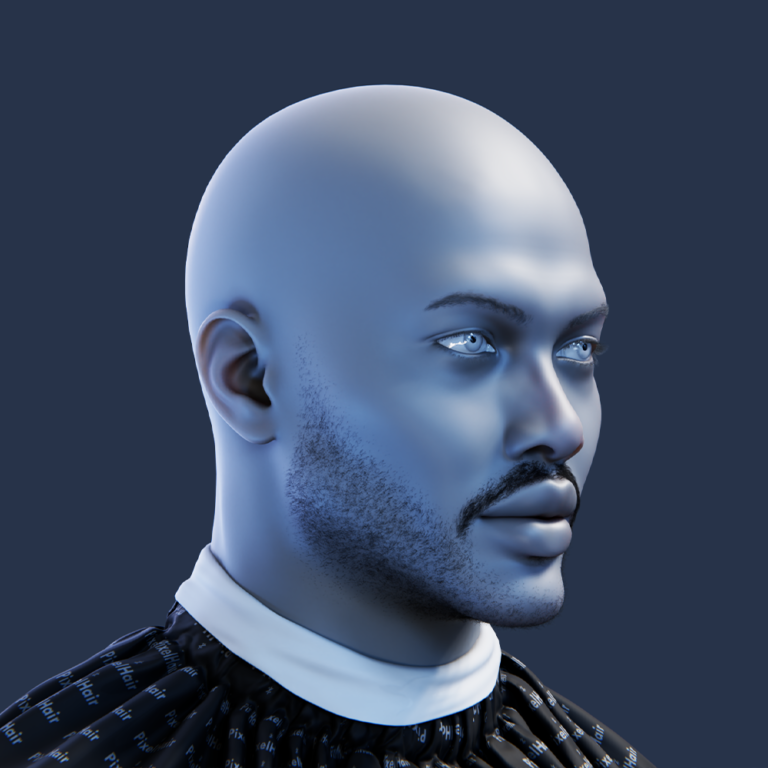
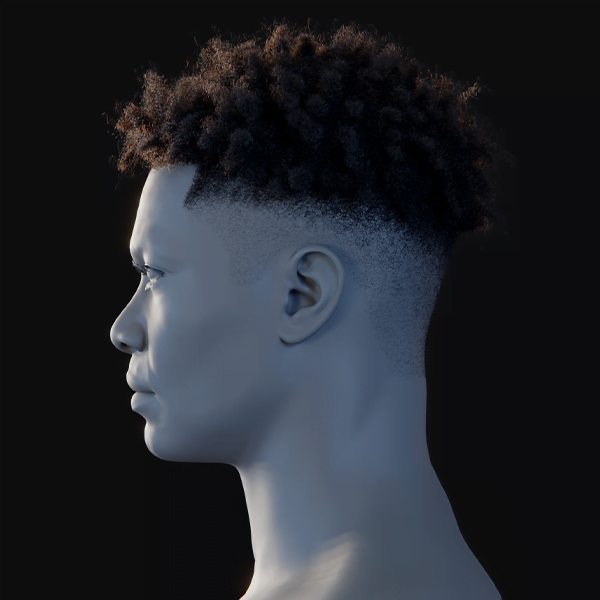
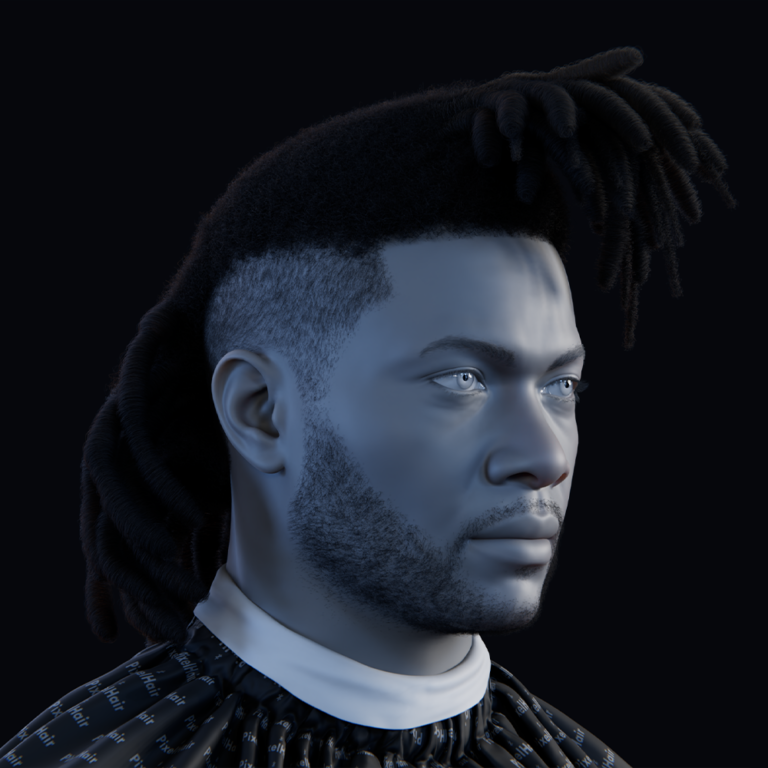
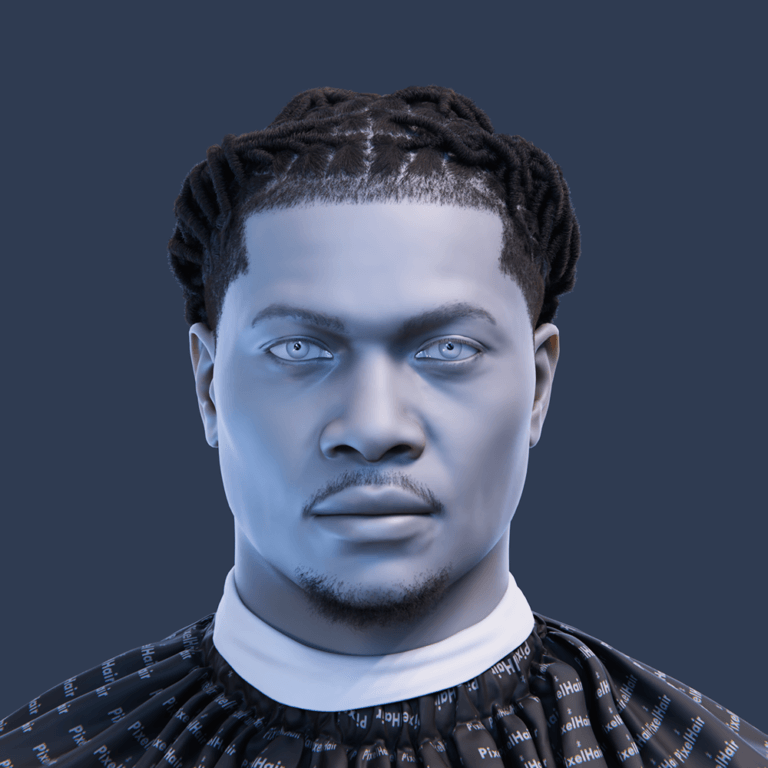
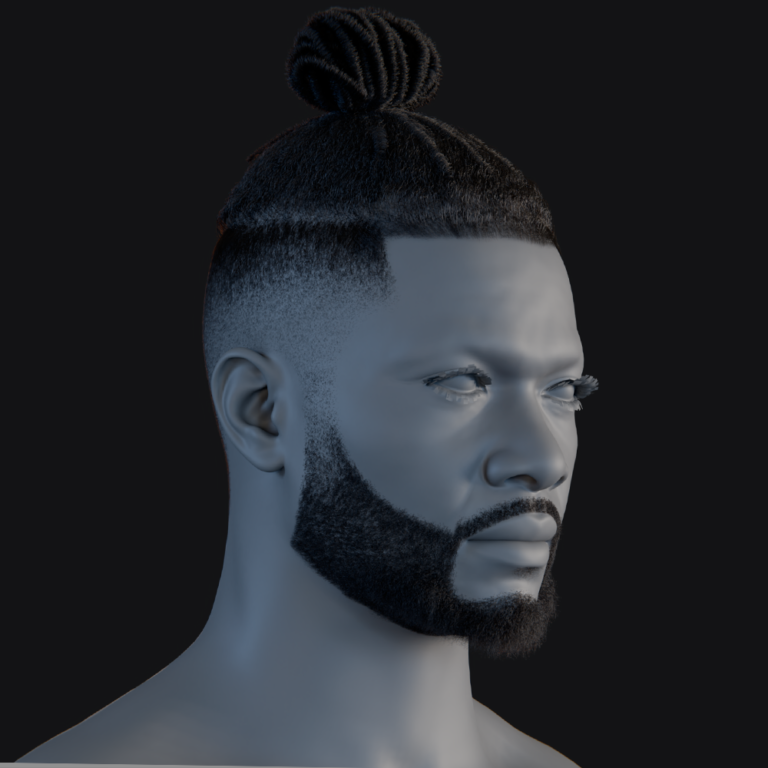
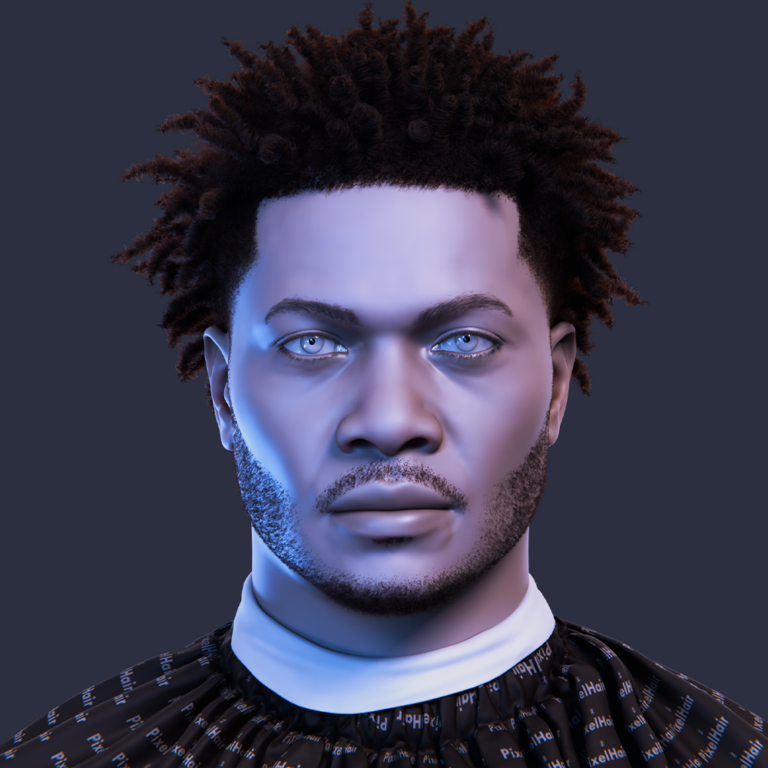
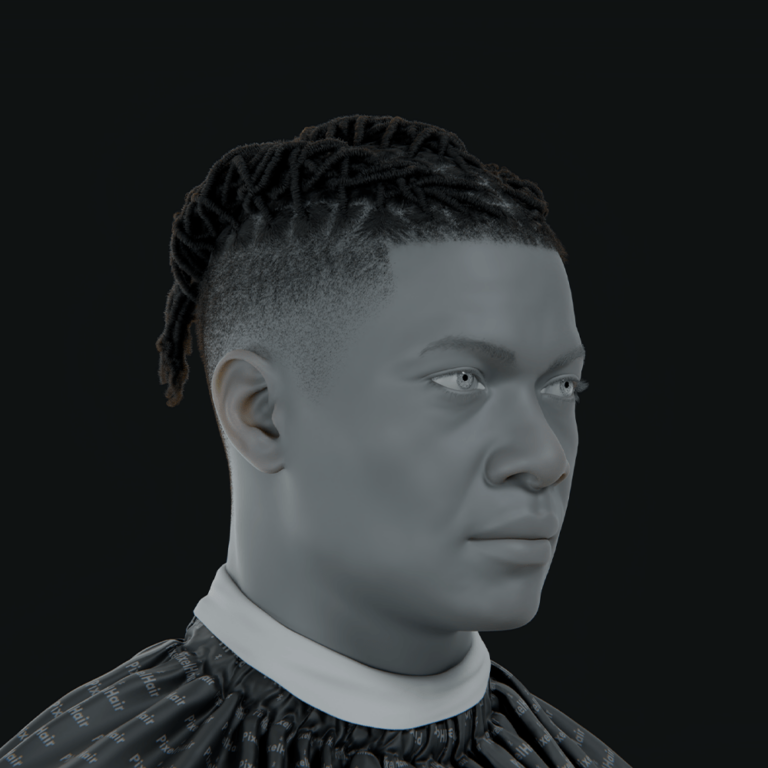
Unreal Engine 5’s MetaHuman framework simplifies creating a realistic digital double through the “Mesh to MetaHuman” process. This guide outlines transforming a 3D scan of your head into a fully rigged MetaHuman character, suitable for beginners digitizing their likeness and advanced users refining their workflow. It covers scanning your face for a high-quality 3D mesh, importing it into the Mesh to MetaHuman pipeline, and customizing and animating the lifelike avatar using the provided tools, techniques, and best practices.
What is Mesh to Metahuman in Unreal Engine 5?
Mesh to MetaHuman, a feature in Unreal Engine 5’s MetaHuman Plugin, converts a custom 3D face mesh, created via 3D scanning or digital sculpting, into a fully rigged MetaHuman character with realistic materials and a standard facial rig. The resulting animatable digital human can be refined in MetaHuman Creator for facial features, skin, and hair, or used directly in Unreal Engine 5 for animation and gameplay. Introduced by Epic Games, this tool uses real-world data like face scans to create accurate “digital doubles,” simplifying the process for game developers, VFX artists, and hobbyists by eliminating manual rigging and detailed sculpting.
Can I scan myself and turn it into a Metahuman character?
Yes – Mesh to MetaHuman, a feature in Unreal Engine 5’s MetaHuman Plugin, converts a custom 3D face mesh, created via 3D scanning or digital sculpting, into a fully rigged MetaHuman character with realistic materials and a standard facial rig. The resulting animatable digital human can be refined in MetaHuman Creator for facial features, skin, and hair, or used directly in Unreal Engine 5 for animation and gameplay. Introduced by Epic Games, this tool uses real-world data like face scans to create accurate “digital doubles,” simplifying the process for game developers, VFX artists, and hobbyists by eliminating manual rigging and detailed sculpting.

What tools do I need to scan my face or head for Metahuman creation?
To create a MetaHuman from your own face, start by getting a quality 3D scan of your head using a smartphone or camera paired with appropriate app/software, rather than requiring a Hollywood-grade setup. The key tools and equipment needed for a successful head scan are outlined here:
- A camera (or smartphone): To make a 3D model of your face, use a device like a modern smartphone with a good camera (e.g., iPhone or Android) or a DSLR/mirrorless camera for better quality. Take multiple photos of your head from different angles manually, or use a scanning app to guide you through the process.
- Good lighting: Use even, diffuse lighting on your face during capture, avoiding harsh shadows or bright highlights. Soft indoor lighting or an overcast sky works best. Good lighting helps scanning software capture face texture and shape clearly, while uneven lighting, like shadows on one side and brightness on the other, can confuse photogrammetry algorithms. Keep light uniform all around.
- A helper or tripod (optional but helpful): Scanning your own head is simpler with someone else taking photos while you stay still. If alone, you can use a tripod with a video or timed photo burst, slowly rotating your head or moving the camera to capture all angles of your face and head. Some use a swivel chair to turn slowly during video recording. Keeping the camera stable and avoiding shakes is crucial.
- A neutral background: When doing photogrammetry, a plain, non-reflective background like a wall or backdrop helps the software focus on your face, improving scan quality, though it’s not a strict necessity.
- Scanning software or app: To create a 3D model of your head, you need a camera and software to convert 2D photos or sensor data into a 3D mesh. This can be a mobile app or desktop software, processing images either on the phone, via cloud services, or on a PC using photogrammetry software after transferring photos from a regular camera.
- (Optional) A computer with 3D software: After capturing the scan, using software like Blender or MeshLab on a computer can help clean up the scanned mesh by removing artifacts or trimming unwanted parts. While not strictly required for using Mesh to MetaHuman, this cleanup can greatly improve results. Unreal Engine 5 is necessary on a PC or Mac to run the MetaHuman Plugin and complete the conversion, so the system must be capable of running UE5.
In summary, the basic toolset is: a camera (often your phone), a scanning app or photogrammetry software, and Unreal Engine 5 with the MetaHuman plugin. Good lighting and either a helper or a careful setup will greatly improve the scan quality. With these in hand, you’re ready to create a 3D scan of your head.
How do I create a 3D scan of myself using a phone or photogrammetry?
Creating a 3D scan of your head for MetaHuman conversion relies on photogrammetry, using a phone or camera to capture multiple photos. Preparation involves a neutral expression, open eyes, and tied-back hair to avoid obstructions, as facial hair may scan poorly. Capture 20–100 photos or a short video from all angles, ensuring overlap for stitching, with consistent distance to maintain scale. Staying still or moving slowly prevents blur, and processing via mobile apps or desktop software like RealityCapture generates a textured OBJ/FBX mesh.
High-quality scans require multiple attempts and good coverage for clear facial features. Cleanup in Blender or MeshLab enhances the mesh for Unreal Engine import and MetaHuman conversion.

Which apps or software can I use to scan my head for Metahuman?
There are several scanning apps and photogrammetry software options you can use – ranging from easy one-click mobile apps to professional desktop programs. Here are some recommended tools (both free and paid) for scanning your head:
- RealityScan (Mobile, Free): Epic’s free app uses AR for photo capture and cloud processing. Ideal for beginners, it uploads models to Sketchfab. Compatible with Unreal Engine. Outputs MetaHuman-ready meshes.
- Polycam (Mobile/Desktop, Freemium): Offers photogrammetry and LiDAR modes for high-quality textures. Free with limits; subscriptions unlock better resolution. User-friendly across platforms. Excels in facial detail.
- RealityCapture (Desktop, Paid/Freemium): Fast, high-quality photogrammetry software for detailed scans. Free limited version available. Requires strong PC/GPU. Includes MetaHuman-specific tutorials.
- Meshroom (Desktop, Free): Open-source tool for budget users. Slower and technical but effective. Outputs OBJ with textures. Suits tinkerers willing to optimize.
- Agisoft Metashape (Desktop, Paid with Trial): Professional software for high-quality scans. Offers trial version. Fine control over process. Exports MetaHuman-compatible OBJ.
- 3DF Zephyr (Desktop, Free/Paid): Free version supports 50 photos for basic scans. Paid versions allow more detail. Good for experimentation. Limited by photo cap.
- Mobile Depth Scanners (various, Mixed results): Apps like Scaniverse use iPhone LiDAR for quick scans. Lower resolution than photogrammetry. Requires refinement for MetaHuman. Convenient but less detailed.
- Professional 3D Scanners: Devices like Artec Eva offer high accuracy. Multi-camera rigs used in film. Outputs OBJ/FBX with textures. Ideal if accessible.
Recommended apps like RealityScan or Polycam suit most users, while RealityCapture excels for advanced detail. Inspect meshes to ensure clarity before Unreal import.
What are the requirements for a mesh to be compatible with Mesh to Metahuman?
Not every 3D model will seamlessly convert to a MetaHuman – Epic has outlined some requirements and best practices for the input mesh to ensure the Mesh to MetaHuman process works correctly. Before trying to convert your scan, make sure your head mesh meets these criteria:
- Format: Export the scan in FBX or OBJ format, which are accepted by Unreal Engine for static meshes. OBJ is often recommended for very high-poly meshes (200,000 vertices or more) since FBX can be slower to import at high density.
- Texture/Material: For optimal results, your mesh needs a skin texture map (albedo) ideally matching your actual skin color from photos, or at least basic materials. Without a texture, apply a simple material distinguishing the eye whites (sclera) from facial skin to aid MetaHuman in eye detection. Photogrammetry typically yields a good skin texture, but with a depth scanner lacking textures, manually add a basic material in Blender, using distinct colors for the eyeball area.
- Eyes open and visible: The scan requires open eyes; closed or covered eyes are unsuitable. Textured eyes on sockets without 3D eyeballs are fine if eyelids and eye whites are distinct. Empty eye sockets may cause tracking and fitting issues, potentially needing fixes or a rescan. The eye area should look normal in the mesh, simple eyeballs or spheres can be added, though photogrammetry typically captures it as textured concave surfaces, which is acceptable.
- Neutral expression and pose: Your mesh must have a neutral facial expression (no smiles, closed eyes, etc.) and a roughly neutral head pose, facing forward. If the head is tilted or rotated, you may need to adjust it in a 3D program before or during import. The scan should be oriented upright, with the head facing forward and the neck straight, similar to a standard T-pose for the head.
- Even lighting on texture (if no true albedo): For a mesh without an extracted albedo texture, appearing solid with baked-in lighting, use flat lighting during scanning. Without true skin albedo, vertex colors or material should be evenly lit with minimal shadows, avoiding strong lighting effects like dark facial shadows. Photogrammetry separates lighting well under diffuse light, but dramatic lighting can reduce MetaHuman skin matching accuracy.
- Mesh completeness: The mesh must encompass the full face and preferably the entire head, with minor skull roughness from hair allowed, but the forehead-to-chin area, including ears, must be high quality. Some neck and shoulders can be included if the head and face remain clear. It should be a single, contiguous piece, combining separate parts like hair and face or removing extras. In UE5, use “Combine Meshes” during import to keep the OBJ as one mesh for MetaHuman plugin compatibility.
- Polycount considerations: No strict polycount is required, but high detail is preferred for the MetaHuman fitting algorithm to capture features like wrinkles. Extremely high-poly meshes (millions of triangles) are hard to handle, so a target of a few hundred thousand triangles is recommended after cleanup or decimation. FBX imports may lag with meshes over 200,000 vertices, making OBJ format preferable. A 5-million-polygon scan should be reduced to 500,000–1 million, preserving key facial details around the nose, eyes, and mouth.
- UVs: Ensure your mesh has UV coordinates for textures, typically included in photogrammetry outputs. If created or edited elsewhere, preserve UVs for correct texture application. Use one UV set, ideally with the albedo map, as multiple sets may cause vertex or triangle splitting.
Provide a clean, textured head mesh in OBJ/FBX format with open eyes and a neutral expression for optimal Mesh to MetaHuman results. Edit scans failing these criteria (e.g., use Blender or MeshLab to fix holes or adjust eyes).

Do I need to clean or retopologize my scanned mesh before using it with Metahuman?
Cleaning up your scanned mesh is highly recommended, though full retopology isn’t required since MetaHuman handles that. Cleanup involves removing artifacts, closing small holes, smoothing out noise, and trimming excess geometry not part of the head. These steps should be done after obtaining the raw scan and before importing it into Unreal:
- Remove floating or broken geometry: Scans may include unwanted background elements or floating hair chunks, which should be removed using 3D editing tools like MeshLab, Blender, or ZBrush. MeshLab provides filters to eliminate small isolated components. Ensure only the head (and possibly the neck) remains, and clean up non-manifold edges or spikes, as they can interfere with the solving process.
- Fill or fix holes: Missing patches on the top of the head or under the chin are common if those areas weren’t scanned properly. These holes can be filled in Blender or MeshLab and don’t need to be perfectly shaped, just patched enough to avoid large gaps. Although a fully closed surface isn’t strictly required for the MetaHuman fitting algorithm, it helps improve results and prevent tracking artifacts.
- Smooth out noisy surfaces: If your scan has high-frequency noise, like bumpy skin from errors, you can lightly smooth or denoise it. Be careful not to remove real facial detail, but eliminate artifacts such as spiky areas. Tools like a median filter or a light smoothing brush in Blender can help. Since MetaHuman projects the overall shape, a slightly smoother but accurate mesh is preferable to one with too much noise.
- Decimate if necessary: For a dense mesh, use tools like Instant Meshes or Blender’s decimate modifier to lower polygon count while keeping the shape, avoiding manual low-poly retopology to preserve detail. MetaHuman will fit its template mesh to your triangulated scan. Optionally, remove odd-looking scanned parts like eyeballs or teeth, though MetaHuman will handle them during processing if left in.
- Retopology (not required): Manual retopology isn’t required for animation since the Mesh to MetaHuman process auto-conforms scans to MetaHuman topology. Tools like Wrap3D can enhance topology, but this is optional. A raw scan mesh works after basic cleanup, provided broken geometry (e.g., non-manifold parts or duplicate vertices) is fixed to avoid process issues.
Import the scan into MeshLab or Blender for initial cleanup: remove floating bits, fill holes, simplify large meshes, and align properly. Clean major flaws without rebuilding topology, aiming for a closed mesh with good eyes and a neutral pose, ready for UE5’s Mesh to MetaHuman process.
How do I import a scanned mesh into Unreal Engine 5 for Mesh to Metahuman?
Once you have a prepared head mesh (OBJ/FBX) and its texture, the next step is to bring it into Unreal Engine 5 and use the MetaHuman plugin to convert it. Here’s the step-by-step workflow:
- Set up your Unreal project: Ensure the MetaHumans plugin is enabled in UE5. Sign into Quixel Bridge with your Epic account. Prepares project for MetaHuman conversion. Syncs cloud assets.
- Import the mesh: Import OBJ/FBX via Content Browser, enabling “Combine Meshes.” Disable collision generation and adjust scale. Creates Static Mesh and Material assets. Ensures proper import.
- Verify the imported mesh: Check mesh orientation in Mesh Editor, reimporting if needed. Link texture to material’s Base Color if untextured. Confirms correct appearance. Prepares for Identity setup.
- Create a MetaHuman Identity asset: Right-click in Content Browser, select MetaHuman Identity. Name the asset for Creator. Opens Identity Editor. Initiates conversion process.
- Add your mesh to the Identity: In Identity editor, select “Create Components” and choose imported mesh. Links mesh to Face component. Displays scan in viewport. Sets up conversion.
- Select a body type (optional): Choose a MetaHuman body preset in Components panel. Matches build and height. Adjustable later in Creator. Enhances character realism.
- Align the Neutral Pose: Set viewport to 15–20° FOV, align mesh to face camera. Use “Track Active Frame” for facial landmarks. Ensures accurate tracking. Critical for solver.
- The tracking step can be iterative: If tracking fails, adjust camera or markers. Proceed when alignment is correct. Fine-tunes facial features. Prepares for Identity Solve.
- Run the Identity Solve: Click Identity Solve in editor toolbar to map mesh to MetaHuman template. Enables MetaHuman creation. Resolves alignment issues. Completes setup.
- Submit to MetaHuman (Mesh to MetaHuman): Click “Mesh to MetaHuman,” select auto-rigging. Uploads data to Epic’s cloud. Processes in minutes. Generates new MetaHuman.
- Internet requirement: Cloud processing requires internet connection. Takes a few minutes. Handles rigging remotely. Ensures efficient conversion.
- Retrieve your MetaHuman: In Quixel Bridge, select MetaHuman under My MetaHumans. Download with desired LODs. Adds to project. Provides game-ready asset.
- MetaHuman in the scene: Locate MetaHuman Blueprint in Content Browser. Drag into level for use. Includes full rig and materials. Ready for gameplay or cinematics.
Importing and converting a mesh involves enabling plugins, importing, and aligning in the Identity Editor. The cloud-based process delivers a rigged MetaHuman efficiently.

How does the Mesh to Metahuman process convert a scan into a rigged character?
The Mesh to MetaHuman process maps a scanned head to a MetaHuman template, automating retopology and rigging. The Identity Solve calculates a delta mesh to fit the scan’s shape, producing a MetaHuman with matching facial proportions. The output includes a conformed face mesh, the scan’s texture initially, standard MetaHuman eyes, teeth, hair, body, and a full rig with ARKit blendshapes. The process projects the scan’s texture onto MetaHuman UVs, requiring manual skin material selection for optimal realism.
The automated pipeline creates a game-ready, animatable MetaHuman in minutes. It ensures high-quality rigging while maintaining the scan’s likeness, with minor material adjustments needed.
How long does it take to turn a 3D scan into a Metahuman?
The time required can be broken into a few parts: scanning time, processing time, and MetaHuman conversion time. Here’s a rough breakdown:
- Scanning time: Photo capture takes 1–5 minutes. Phone apps streamline video-based scans. Quick and efficient. Minimal time investment.
- Photogrammetry processing: Cloud apps process in 5–15 minutes. Desktop software takes 2–40 minutes, depending on hardware. GPU accelerates significantly. Outputs mesh and texture.
- Cleanup (optional): Mesh cleanup takes 10–30 minutes in Blender/MeshLab. Fills holes, removes artifacts. Optional for decent scans. Enhances conversion quality.
- Import and MetaHuman processing: Importing and aligning takes 5–10 minutes. Cloud processing takes 2–5 minutes. Fast and iterative. Prepares rigged MetaHuman.
- Downloading the MetaHuman assets: Download takes 2–10 minutes, depending on internet speed. Asset size 0.5–1 GB. Selectable LODs optimize. Finalizes project integration.
The scan-to-MetaHuman process typically takes under an hour, often 20–40 minutes. Familiarity and efficient tools streamline repeated conversions.

Can I customize the generated Metahuman after the scan?
Absolutely yes – once your MetaHuman is generated from the scan, you can customize it just like any other MetaHuman. In fact, Epic expects you to fine-tune and polish your character using the MetaHuman Creator tools. There are a couple of ways to do customization:
- MetaHuman Creator (cloud/browser-based or in-editor): Open MetaHuman in Creator via Quixel Bridge. Adjust facial features with sliders or sculpting. Maintains scan likeness. Enhances realism.
- Skin, eye, and hair customization: Switch to MetaHuman skin material, select matching tone. Choose eye color, iris, and hairstyle. Adds realism. Completes character look.
- Body and clothing: Adjust body presets for build and height. Select casual or business clothing. Matches physique. Finalizes appearance.
- Name and identity: Assign a name for organization. Doesn’t affect functionality. Simplifies project management. Personalizes character.
MetaHuman Creator enables detailed customization without re-scanning. Adjustments to skin, eyes, hair, body, and clothing refine the digital double’s realism.
How do I match skin tone, eyes, and other details from my scan to the Metahuman?
Matching the finer details of your appearance on the MetaHuman involves using the customization tools to align things like skin tone, eye color, and other distinguishing features to your real self (as captured by the scan). Here are some tips for each aspect:
- Skin tone and texture: Select a MetaHuman skin preset matching scan’s tone. Adjust freckle intensity, roughness. Scan texture usable initially. Presets enhance shader quality.
- MetaHuman Creator lets users tweak freckle intensity and acne: Patterns may not match exactly. Scars require external texture edits. Roughness suits skin types. Presets ensure realism.
- Eye color and appearance: Choose preset iris colors in Creator. Adjust sclera brightness if needed. Ensures accurate eye matching. Maintains neutral alignment.
- Hair and eyebrows: Select hairstyle matching color and style. Adjust eyebrow thickness, color. Closest match enhances likeness. Completes facial appearance.
- Facial hair: Add preset grooms for beards, matching style. Adjust length, color. Skip if clean-shaven. Enhances character authenticity.
- Eye details and makeup: Apply lip color, eyeliner to match scan’s makeup. Adjust complexion settings. Reflects cosmetic details. Enhances realism.
- Matching other details: Manually add accessories like earrings in Unreal. Avoid glasses during scanning. Limited preset options. Ensures clean mesh.
- Body skin tone: Ensure body skin matches face preset. Check neck blending. System handles consistency. Finalizes cohesive look.
Manual adjustments in MetaHuman Creator align skin, eyes, and hair with the scan. Fine-tuning ensures a convincing digital double despite preset limitations.

Can I use my scanned Metahuman in gameplay or cinematics?
Your scanned MetaHuman functions like any MetaHuman, fully usable in gameplay and cinematics with standard UE5 integration. It supports animation retargeting, LODs for performance, and physics for hair and clothing.
- Gameplay usage: Use as playable character or NPC. Compatible with Epic’s animation blueprints. LODs optimize real-time performance. Suits modern hardware.
- Control and physics: Supports standard movement inputs. Hair and clothes feature physics simulation. Enhances realism in gameplay. Fully controllable character.
- Cinematics and animation: Animate via Sequencer for cutscenes. Supports keyframing, mocap, or pose library. Ideal for films, virtual production. Delivers realistic expressions.
- Using Live Link or real-time puppeteering: Drive MetaHuman with Live Link for real-time performance. Enables live facial mocap. Suits virtual avatars. Enhances interactivity.
- Usage in AR/VR: Include in AR/VR experiences. Performance optimization needed for mobile. Supports social VR settings. Expands immersive applications.
- Integration with gameplay systems: Add components, scripts for abilities. Humanoid rig supports standard systems. Enables custom mechanics. Fully customizable character.
- Remember the context: Optimize for mobile with lower LODs, hair cards. Suits next-gen platforms best. Ensures smooth performance. Balances quality and efficiency.
- Licensing and usage rights: Free for UE projects, including commercial. Restricted outside Unreal. Simplifies usage rights. Supports broad applications.
The MetaHuman is game-ready for real-time gameplay and high-quality cinematics. It integrates seamlessly with UE5’s animation and rendering systems, optimized for various platforms.
How do I add facial animations to a custom Metahuman made from a scan?
Animating the face of your custom MetaHuman (the one created from your scan) is done in the same ways you animate any MetaHuman’s face. There are several approaches ranging from manual keyframing to performance capture. Here are the common methods:
- Manual keyframe animation (Control Rig or Blendshapes): Keyframe expressions via Sequencer’s Control Rig or ARKit blendshapes. Time-consuming for complex sequences. Offers precise control. Suits detailed animations.
- Live Link Face (facial motion capture with an iPhone): Use Live Link Face app for real-time iPhone mocap. Captures expressions, speech via ARKit. Drives MetaHuman instantly. Enables lifelike performance.
- External facial capture solutions: Tools like Faceware map animations to MetaHuman rig. Integrates external mocap data. Enhances flexibility. Supports professional workflows.
- Audio-driven animation: Epic’s plugin generates lip-sync from audio. Automates jaw, mouth movements. Quick but less precise. Ideal for basic talking.
- Using the MetaHuman facial animation sample library: Apply Epic’s premade expression animations. Retargets to custom MetaHuman rig. Simplifies animation process. Provides quick results.
The standard MetaHuman rig ensures compatibility with all animation methods. Live Link Face or MetaHuman Animator offers efficient, high-fidelity facial animations for custom MetaHumans.

What are the limitations of scanning yourself for Metahuman conversion?
While the Mesh to MetaHuman workflow is powerful, there are some limitations and caveats to be aware of when scanning yourself to create a MetaHuman:
- Hair and transparency: Hair doesn’t scan well, requiring preset hair addition. Unique hairstyles may not match MetaHuman’s catalog. Facial hair scans as geometry, not usable. Must use MetaHuman beard assets.
- Facial expression range constrained to MetaHuman rig: MetaHuman rig limits unique expressions. Only neutral poses are accepted. Non-standard expressions aren’t captured. Animation handles expression variations.
- Realism vs exact likeness: Results may be 90% accurate, with slight proportion differences. Iterative tweaking is often needed. Skin textures may differ subtly. Minor feature variations persist.
- Requirements of scan quality: Poor scans yield low-quality MetaHumans. Missing data, like blurry ears, affects results. Blotchy textures mismatch skin. High-quality input is essential.
- No support for non-human or highly stylized features: Only realistic human faces convert well. Non-human or cartoonish scans fail tracking. Expects standard facial layout. Stylized faces need Creator blending.
- Current inability to do full body via scan: Only preset bodies are available. Full-body scans aren’t supported. Unique body shapes aren’t replicated. Preset adjustments approximate builds.
- Hardware and software limitations: Requires good camera, UE5-capable PC. Older devices struggle with pipeline. Not a feature flaw. Limits accessibility for some.
- Time and iteration: Multiple scan attempts may be needed. Process isn’t one-click perfection. Technical for beginners. Lighting adjustments improve results.
- MetaHuman Creator limitations: Adjustments are limited to morph targets. Arbitrary sculpting isn’t possible. Advanced fixes need external tools. Constrains fine-tuning options.
- Expression wrinkles and fine skin detail: Unique wrinkles, pores aren’t captured. Uses generic normal maps. Microscopic details are lost. MetaHuman skin generalizes features.
- Lighting differences: Scan texture may have baked lighting. MetaHuman skin responds differently. Shader tweaks ensure consistency. Calibration matches lighting conditions.
- No direct transfer of dynamic attributes: Scanned features like stubble are static. Manual updates are needed for changes. Represents scan snapshot. Limits real-time adaptability.
Despite limitations, Mesh to MetaHuman creates realistic avatars quickly. Workarounds like manual tweaking and preset selections address most issues effectively.
Is it possible to scan a full body and convert it to a Metahuman?
Currently, no, it is not possible to scan a full body and automatically convert it into a MetaHuman through the Mesh to MetaHuman tool. The feature is focused on the head and face. MetaHuman Creator provides a set of preset bodies (with adjustable height and build), but it does not create a custom body mesh from scan data:
- The Mesh to MetaHuman workflow: Expects head-only mesh input. Full-body scans are ignored or fail. Tracks facial features only. Body remains preset-based.
- MetaHuman bodies are standardized: Uses preset body meshes. No custom body shape input. Selects male/female, build variants. Limits body personalization.
- Workaround for body likeness: Manually rig scanned body to MetaHuman skeleton. Attach MetaHuman head in Unreal. Requires advanced rigging skills. Loses preset clothing benefits.
- Clothing scanning: Scanned outfits aren’t automatically applied. MetaHuman uses preset clothing. Manual clothing creation needed. Marvelous Designer aids custom outfits.
- Future possibilities: No full-body scanning integration announced. RealityCapture may enable future support. Currently preset-limited. Body conversion remains unavailable.
- Character proportions: Adjusts height, build via presets. Extreme body shapes aren’t replicated. Uniform scaling approximates differences. Limits unique physiques.
- Attaching scanned body as clothing: Treating scan as outfit is complex. Requires custom rigging, morphing. Rarely practical. Preset bodies are simpler.
Full-body conversion isn’t supported; only heads are customized. Preset bodies suffice for most, with manual rigging as an advanced workaround.

How do I match skin tone, eyes, and other details from my scan to the Metahuman?
To match the finer details of your appearance from the scan onto the MetaHuman, you’ll use MetaHuman Creator’s customization options and careful calibration. Here’s how to ensure those details carry over:
- Skin tone matching: Compare MetaHuman to scan/photo, select matching skin preset. Adjust hue, darkness for natural neck blend. Scan texture may be replaced. Eyeballing ensures accuracy.
- Texture details: Retain scan texture for freckles, moles, or use MetaHuman skin. Add freckles via settings, makeup decals for moles. Advanced texture editing possible. Balances detail, shader quality.
- Eye color and features: Select closest iris color, style from presets. Match limbal rings, sclera brightness. Scan’s iris guides selection. Ensures realistic eye appearance.
- Eyebrows and eyelashes: Match brow color, tweak lightness. Eyelashes use gender-based presets. Limited control over thickness. Aligns with natural look.
- Facial hair color: Adjust beard tint to match scan. Follows hair color by default. Ensures color consistency. Enhances facial realism.
- Makeup or distinctive style: Apply eyeliner, lip color matching scan’s look. Tweak intensity, shade for accuracy. Replicates daily appearance. Adds personal flair.
- Other details from scan: Add eye bags, redness via complexion sliders. Reintroduces scan’s subtle flaws. Enhances realistic skin details. Matches natural complexion.
- Teeth appearance: Choose teeth preset for spacing, color. Adjust brightness for natural look. Scan guides alignment choice. Ensures dental accuracy.
- Lighting check: Test MetaHuman in varied Unreal lighting. Tweak skin shader for consistency. Adjusts subsurface scattering. Matches scan’s appearance.
- Use references: Compare real photos to scan for accuracy. Adjust skin warmth, eye saturation. Corrects scan’s lighting issues. Refines visual fidelity.
Manual adjustments in MetaHuman Creator ensure accurate skin, eye, and detail matching. Reference photos and careful tweaking align the MetaHuman with the scan’s appearance.
Can I use body motion capture with a scanned Metahuman character?
Yes, you can use body motion capture with your scanned MetaHuman character just as you would with any MetaHuman or Unreal Engine character. Once your digital double is in UE5, it has the standard MetaHuman skeleton for the body, which is essentially the same as the UE4 Mannequin skeleton (with additional facial bones). This means it’s compatible with existing mocap retargeting tools and animation workflows:
- Standard Skeleton: Uses MetaHuman body rig, matching UE Mannequin. Compatible with mocap suits like Xsens. Retargets easily via Live Link. Drives realistic motion.
- Procedural control: Assigns mocap via Live Link to MetaHuman. Streams real-time motion for virtual production. Maps body movements accurately. Enhances performance capture.
- Retargeting in engine: Uses IK Retargeter for mocap FBX. Targets MetaHuman_Base_Skeleton directly. Simplifies animation mapping. Ensures natural motion transfer.
- Performance considerations: Combines body, facial mocap for full performance. MetaHuman is heavier but usable. Optimizes for real-time. Supports cinematic, game use.
- Physical accuracy: Adjusts for proportion differences via IK. Matches actor’s motion closely. Ensures lifelike movement. Scales naturally for body type.
- Finger tracking: Captures hand motions with gloves. Applies to MetaHuman finger bones. Enhances detailed gestures. Completes realistic animation.
- Body animation blueprint: Drives body via standard animation blueprint. Supports mocap sequences, Live Link. Integrates seamlessly. Enables flexible workflows.
- Mixing with keyframe animation: Combines mocap with hand-animated parts. Adjusts via Sequencer for precision. Offers creative control. Enhances animation versatility.
Body mocap integrates seamlessly with scanned MetaHumans, enabling realistic motion. Standard Unreal workflows like Live Link and IK Retargeter ensure compatibility.

Where are the best places to find tutorials for scanning yourself and using Mesh to Metahuman?
There are many resources available to help you through the process of scanning yourself and using Mesh to MetaHuman. Here are some recommended tutorials and sources of guidance:
- Official Epic Games Documentation: Epic’s Mesh to MetaHuman Quick Start guide details prerequisites, Identity setup, conversion. Importing Content page offers mesh prep tips. Well-illustrated, updated for UE5. Reliable starting point.
- Epic’s Official Video Tutorial – “Using Mesh to MetaHuman in UE”: Raffaele Fragapane’s YouTube video demonstrates scanning, conversion, customization. Covers practical tips visually. Made by Epic’s team. Ideal for visual learners.
- Capturing Reality’s face scanning tutorial: RealityCapture’s step-by-step guide shows scanning, importing to MetaHuman. Emphasizes neutral expression, avoiding hair. Includes video walkthrough. Great for RealityCapture users.
- Community Tutorials (YouTube): JSFILMZ’s video uses photogrammetry, Blender fixes for MetaHuman. Pixel Profi details Polycam scanning, Blender cleanup. Forum posts share real-world tips. Offers diverse user perspectives.
- 80 Level and CG forums: 80.lv covers user stories, scanning techniques. Unreal forums discuss workflow issues, solutions. Provides practical insights. Complements official guides.
- Blender and other communities: Blender tutorials on photogrammetry, retopology aid scan prep. StackExchange offers text-based cleanup guides. Applies to MetaHuman pipeline. Enhances mesh quality.
- YouTube channels focusing on photogrammetry: CG Geek, CrossMind Studio cover 3D scanning. Techniques apply to MetaHuman scanning. Pairs with Epic’s guides. Improves scan quality.
- Step-by-step blog posts: Medium, blogs detail iPhone scanning with Kiri Engine, Polycam. Guides cover scan-to-MetaHuman process. User-driven insights. Practical for beginners.
Official Epic resources and community tutorials provide comprehensive guidance. Combining YouTube videos, forums, and RealityCapture’s tips ensures a smooth scanning-to-MetaHuman workflow.
What are common mistakes when scanning a head mesh for Metahuman conversion?
When scanning your head for MetaHuman, people often encounter similar pitfalls. Being aware of these common mistakes can save you time and improve your results:
- Not capturing the full head (insufficient coverage): Missing angles like back of head, chin. Causes holes, deformed ears in scan. Requires 360° photo coverage. Focus on ears, top.
- Scanning with a non-neutral expression or moving during capture: Talking, smiling disrupts mesh accuracy. Produces odd, unusable blends. Maintain neutral, still pose. Use short shutter speeds.
- Eyes not handled properly: Closed eyes create empty sockets, poor tracking. Inconsistent gaze muddles eye region. Keep eyes open, fixed. Ensures coherent eye geometry.
- Including hair or accessories in the scan: Loose hair scans as blobs, glasses cause artifacts. Confuses solver, breaks mesh. Tuck hair, remove accessories. Captures true head shape.
- Low-resolution or low-quality scan (too low poly): Few photos, coarse LiDAR yield generic results. Lacks facial detail for MetaHuman. Use high-res photogrammetry. Ensures defined features.
- Poor lighting and high contrast in photos: Uneven lighting creates texture, geometry errors. Shadows misalign features. Use diffuse, even lighting. Prevents tracking issues.
- Not combining meshes on import or having multiple UV sets: Separate mesh parts, multiple UVs fail Identity solve. Requires combined, single-UV mesh. Check “Combine Meshes” import. Ensures solver compatibility.
- Misorienting the mesh in Unreal: Oddly rotated mesh fails tracking. Face must point forward. Adjust in Static Mesh editor. Ensures accurate pose alignment.
- Ignoring cleanup of scan artifacts: Spikes, background chunks confuse solver. Leads to tracking errors like phantom features. Clean mesh in Blender. Improves conversion quality.
- Expecting the scan’s texture to perfectly carry over: MetaHuman skin overrides scan texture. Mismatched skin tones cause “floating head.” Adjust skin to match scan. Ensures tone consistency.
- Rushing the scan process: Too few photos, unchecked mesh yield poor results. Reviewing scan prevents fixes later. Take time for quality. Minimizes post-processing.
- Using a single camera position (no parallax): Fixed height, distance weakens feature depth. Causes nose, brow distortions. Vary camera elevation. Enhances geometric accuracy.
Avoiding these mistakes ensures a high-quality scan for MetaHuman conversion. Proper photogrammetry practices and Epic’s guidelines minimize issues and streamline the process.

FAQ questions and answers
To wrap up, here are 10 frequently asked questions about the Mesh to MetaHuman process:
- Is the Mesh to MetaHuman feature free to use?
Yes – MetaHuman Creator and its Plugin (including Mesh to MetaHuman) are free for all Unreal Engine users. You only need an Epic Games account to access and use these tools. There are no additional fees to create, convert, or export MetaHumans. Everything operates within the free Unreal Engine ecosystem. - Do I need a super powerful PC or special hardware for this?
You need a machine capable of running Unreal Engine 5 and handling photogrammetry steps. A decent CPU and GPU accelerate RealityCapture or UE processing, but aren’t strictly mandatory. Many steps can be performed on a normal gaming PC or via mobile scanning apps. An internet connection is required to submit scans to the MetaHuman cloud backend. - Can I do the entire scanning process with just a smartphone?
Yes – apps like RealityScan or Polycam let you capture 3D scans on your phone and process them on-device or in the cloud. After capture, import the resulting mesh into Unreal Engine on a PC for conversion. The scanning stage needs only a good phone camera, no specialized gear. However, the final Mesh to MetaHuman step still requires Unreal Engine on desktop. - How many photos do I need for a good face scan?
Aim for about 40–100 photos around the head at various heights to cover all angles. Some users succeed with 20–30 images, but fewer shots risk missing detail. Ensure each shot overlaps with its neighbors to aid reconstruction. Alternatively, extract frames from a slow 10–20 second video pan around the subject. - What format should my scanned mesh be in for import?
Export your mesh as OBJ or FBX; OBJ is often faster for very high-poly models. If using FBX with multiple parts, enable “Combine Meshes” on import. Include any texture files (JPG or PNG) alongside the mesh. This ensures Unreal Engine can set up both geometry and materials correctly. - My scan has parts of my shoulders – is that okay or should I crop it?
Including neck and shoulders is fine and can improve alignment and neck shaping. MetaHuman focuses on fitting the facial region and replaces the body with its skeleton. Just make sure the face is unobstructed and properly aligned in the scan. Scale the mesh on import so the head appears at the correct proportion. - After conversion, can I export my MetaHuman to other programs (like Maya or Blender)?
Yes, you can export meshes, skeletons, and textures via FBX or glTF for external DCC tools. The proprietary DNA rig parameters won’t transfer, so advanced controls are lost outside UE. Materials and facial rig features require extra setup or community plugins to replicate. Within Unreal Engine, you retain full animation and rendering capabilities. - How close will the MetaHuman look compared to my actual face?
With a high-quality scan, you can achieve around 90% likeness in head shape and features. Minor differences in skin detail or subtle curves may occur due to standardized topology. Use MetaHuman Creator’s sculpt sliders to fine-tune features like nose width or jawline. Hair choice and lighting also influence the perceived similarity. - Will my MetaHuman have the same facial expressions as me?
MetaHumans support any human expression but require animation input to perform them. You can keyframe expressions manually or use performance capture (e.g., iPhone Live Link). Driving the rig with captured facial data yields faithful reproduction of your expressions. A static scan alone does not animate, motion data must be provided. - If I get a better scan later, can I update my MetaHuman?
You cannot refine an existing MetaHuman with new mesh data directly. Instead, generate a new MetaHuman from the improved scan for best results. Manually copy any custom adjustments from the original if desired. Treat each identity as a one-shot creation, redo the process for updates.
Conclusion
Mesh to MetaHuman in Unreal Engine 5 provides an accessible workflow to create highly realistic digital humans by scanning your face with photogrammetry and converting it into a fully rigged character.Success depends on high-quality inputs, neutral expression, full 360° coverage, good lighting, and careful mesh cleanup to ensure fidelity. The MetaHuman plugin automates rigging, after which Creator lets you fine-tune everything from skin and eye color to hair and clothing for personalization.
The result is a fully rigged, game-ready avatar you can animate manually or drive with motion capture for real-time facial and body performance. While hair must use presets, non-human features are out of scope, and body scans default to preset bodies, the workflow brilliantly unites photogrammetry, realistic rendering, and sophisticated rigging. By following best practices, avoiding scanning mistakes and leveraging community tutorials, hobbyists and indie creators can iterate quickly and deploy lifelike avatars using only a smartphone and PC. Happy scanning and see you in the Unreal digital world!
Sources and citation
- Epic Games – MetaHuman Plugin Description (Fab): “turn a custom mesh created by scanning… into a fully rigged MetaHuman”fab.comfab.com. This outlines what Mesh to MetaHuman does and is quoted in the article for definition.
- Epic Games Documentation – MetaHuman from Mesh Quick Start: Official guide covering the Mesh to MetaHuman workflow and requirementsdev.epicgames.comdev.epicgames.com. Used for step-by-step process and verifying features like needing Bridge sign-indev.epicgames.com.
- Epic Games Documentation – Importing and Ingesting Content (Mesh Preparation): Provides the recommended requirements for the input mesh (format, eyes open, lighting)dev.epicgames.comdev.epicgames.com and tips like combining meshes on importdev.epicgames.com. We cited these for the “requirements” and common mistakes sections.
- 80.lv – “Tutorial: Scanning Yourself for Mesh to MetaHuman in RealityCapture” by Gloria Levine: Introduces the Capturing Reality tutorial and advice “keep expression neutral and avoid scanning hair”80.lv, with result comment80.lv. We used this as authoritative advice on scanning best practices.
- Reddit – Discussion by user eulomelo: Shared experience “I tried making a MetaHuman of me…”. Comments highlighted issues like low-poly scanold.reddit.com and scanning coverage suggestionsold.reddit.com, as well as feedback on result likeness and postureold.reddit.comold.reddit.com. These community insights were used in common mistakes and realism expectations.
- Epic Games – MetaHuman Documentation FAQ: Various tidbits from FAQs and forum posts. For example, clarifying that only face mesh is converted, not full bodyunrealengine.com, and that skin tone must be manually matcheddev.epicgames.com.
- Blender StackExchange – Q&A on Photogrammetry Retopology: Provided recommendations for cleaning scan data (“MeshLab – fix floating objects, non-manifold issues, and holes”)blender.stackexchange.com and suggested auto-retopo toolsblender.stackexchange.com. Used in the cleanup section.
- Epic Games – RealityScan Official Page: We referenced features like exporting to Sketchfab and use in Mesh to MetaHumanunrealengine.com to assert that mobile scans can directly integrate.
- Unreal Engine YouTube – “Using Mesh to MetaHuman” Tutorial by Epicdev.epicgames.com: Confirmed some procedural aspects and served as a tutorial recommendation.
- Epic Games – MetaHuman Animator (Fab description): Explained that MetaHuman Animator can capture facial performance with an iPhone, translating it to the MetaHuman with high fidelityfab.com. Cited in context of facial animation possibilities.
Each of the above sources contributed to the accuracy and depth of this article, ensuring the information is up-to-date and reflecting real user experiences along with official guidelines.
Recommended
- What Is the Purpose of the Camera View in Blender?
- How do I create a camera shake effect in Blender?
- How do I toggle between camera views in Blender?
- Mastering Hair Creation in Blender: A Step-by-Step Guide
- Blender 3D vs Cinema 4D: The Ultimate 2025 Comparison Guide for 3D Artists
- How to Import Metahuman into Unreal Engine 5: Step-by-Step Guide for Beginners and Artists
- Best Places to Buy Unreal Engine Metahuman Assets: Top Marketplaces, Reviews, and Expert Tips
- Best Camera Settings in Blender for Rendering
- Best Blender Render Settings: Ultimate Guide to High-Quality Renders Without Wasting Time
- How to Turn a 2D Concept into a 3D Character: Start-to-Finish Workflow Using Blender and ZBrush


