


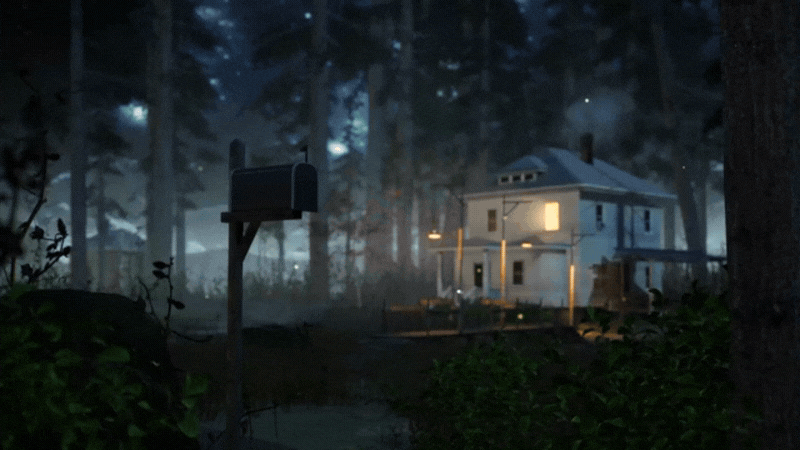
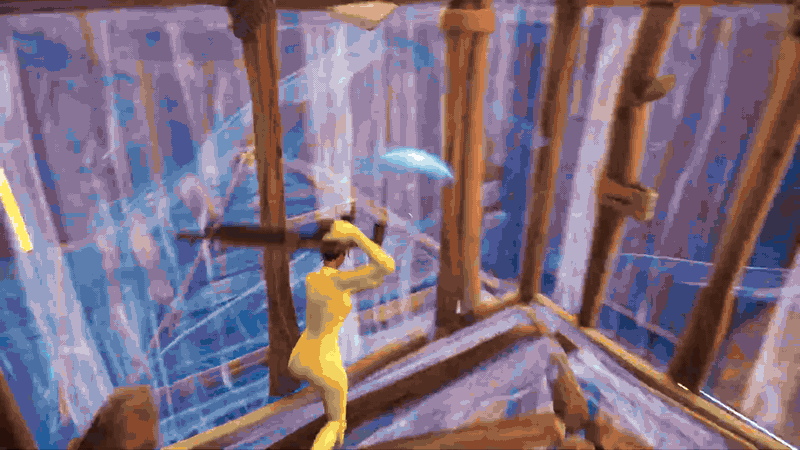
In the world of animation and film, camera shake can be a powerful tool. It adds a sense of realism, energy, and tension to your scenes. A well-executed camera shake effect makes your audience feel as if they are in the middle of the action. Whether it’s the rumble of an explosion, the jitter of a handheld camera, or the impact of a rough vehicle ride. Blender provides several ways to simulate camera shake, and in this comprehensive guide, we’ll explore step-by-step methods to create, fine-tune, and render a convincing camera shake effect.
Introduction
Camera shake is more than just an effect, it’s an essential cinematic tool that can add life and authenticity to your animations. In real life, no handheld camera remains perfectly still. Whether capturing the adrenaline of an action scene or conveying a character’s disoriented state, subtle camera shake can significantly enhance the narrative. In Blender, simulating this effect can be achieved through several techniques, ranging from keyframe animation with noise modifiers to scripting and post-processing methods.
This guide aims to provide you with an in-depth understanding of how to create a camera shake effect in Blender. We will cover the fundamental concepts, step-by-step workflows, and advanced techniques that will help you produce professional-quality results.
Why Use a Camera Shake Effect?
Before diving into the technical details, let’s explore why you might want to add a camera shake effect to your project.
Enhancing Realism
In the real world, camera shake is almost inevitable. There’s always a slight movement when you hold a camera by hand or when a camera is mounted on a moving object. By adding camera shake to your animations, you inject a dose of realism that makes the scene feel more natural and less static.
Creating Drama and Tension
Camera shake can be used to build tension in a scene. For example, during an explosion or a high-speed chase, a shaky camera can heighten the sense of urgency and chaos, drawing viewers deeper into the action.
Conveying Emotion
In narrative scenes, a subtle shake can reflect a character’s emotional state. A trembling camera might convey fear, nervousness, or disorientation, allowing the audience to connect with the character on a deeper level.
Artistic Expression
Sometimes, camera shake is used purely for artistic effect. Directors might choose to use an unstable camera movement to create a unique visual style or to evoke a particular mood. Whether it’s for experimental films, music videos, or interactive media, camera shake offers creative possibilities that enhance storytelling.
Understanding the Basics
What Is Camera Shake?
Camera shake is a simulated movement that replicates the natural vibrations or jitters of a real camera. In Blender, this effect is typically achieved by introducing subtle, randomized motion into the camera’s position and rotation over time. The goal is to create an effect that is noticeable yet natural enough not to distract from the scene’s main content.
How Does Blender Handle Camera Movement?
Blender’s powerful animation system allows you to keyframe any property of the camera, its position, rotation, focal length, and more. By carefully keyframing these properties and then adding modifiers (such as noise) to them, you can simulate the irregular, yet continuous, movement of a handheld camera.
The Role of the Graph Editor
The Graph Editor in Blender is an essential tool for fine-tuning your camera shake effect. It lets you adjust the interpolation of keyframes and add noise modifiers to the animation curves. This precision is what makes the difference between a camera shake that looks natural and one that appears too erratic.
Methods to Create Camera Shake in Blender
There are several approaches to creating a camera shake effect in Blender. We will explore three main methods:
Keyframe Animation with Noise Modifier
This method involves manually keyframing the camera’s position and/or rotation and then adding a noise modifier to simulate the shake.
Step-by-Step Process:
- Select Your Camera:
Open your Blender project and select the camera you want to animate. Press Numpad 0 to switch to Camera View. - Insert Initial Keyframes:
Go to the Timeline, position your camera at the desired starting point, and press I to insert keyframes for location and rotation. For example, insert a keyframe at frame 1. - Add a Noise Modifier:
Open the Graph Editor. Select the animated channels (for location or rotation) that you want to add shake to. With the keyframes selected, press N to open the sidebar and navigate to the Modifiers tab. Add a Noise modifier.- Adjust Strength:
Modify the strength and scale of the noise to achieve the desired level of shake. Too much noise can be distracting, so start with subtle values and increase gradually. - Refine the Noise:
Experiment with the modifier’s parameters (e.g., scale, strength, and offset) to create a natural, randomized shake.
- Adjust Strength:
- Preview and Tweak:
Play back your animation to see the camera shake effect in action. Use the Graph Editor to fine-tune the noise modifier until the shake looks realistic. - Render Your Scene:
Once satisfied, render your animation. The camera shake should add a dynamic, immersive quality to your final output.
This method is intuitive and gives you precise control over the intensity and frequency of the shake. It’s perfect for subtle, natural camera movements.
Using Drivers and Python Scripting
For advanced users, drivers and Python scripting offer a programmable approach to generating camera shake.
How It Works:
- Set Up Drivers:
Instead of manually adding noise, you can use drivers to control the camera’s location and rotation. Drivers can be set to use mathematical expressions or even external scripts to produce random movement. - Incorporate Python Scripts:
Write a Python script that generates random values over time. This script can be linked to the camera’s transformation properties via drivers. - Achieve Precise Control:
Drivers allow for dynamic adjustments based on other scene parameters (such as frame number or even user input), giving you more versatility and precision in your camera shake effect.
This method is highly customizable but requires a good understanding of Python and Blender’s driver system. It is ideal for projects where you need a complex, dynamically controlled shake effect.
Rendering with Motion Blur
Sometimes, camera shake is best simulated using motion blur in Blender. This goes a long way in enhancing the look of the camera shake and your animation sequence.
Steps to Achieve Motion Blur:
- Enable Motion Blur in the Render Settings:
Go to the Render Properties panel and enable Motion Blur. Adjust the settings such as shutter speed and sample count to achieve the desired effect. - Render Your Animation:
Render the scene normally. The motion blur will simulate a slight camera shake by blending successive frames together. - Fine-Tune in the Compositor:
Switch to the Compositing workspace. Use nodes like the Vector Blur node to further refine the effect. This node uses the motion vectors from your animation to generate a more pronounced blur effect, enhancing the camera shake.
While this method relies on the natural motion of the scene, it can be a powerful way to add an extra layer of realism, especially when combined with other techniques.

Enhancing Your Workflow with The View Keeper
For those working on more advanced projects or needing to experiment with multiple camera shake effects, The View Keeper is a highly crutial add-on. It not only helps you manage and store multiple camera setups but also makes it easy to save and switch between different camera shake configurations.
How The View Keeper Can Help:
- Store Multiple Camera Setups:
Save different camera shake set ups as camera records. This includes your shake as well as other settings (such as focal length, clipping distances, aspect ratio and more). This allows you to experiment with various levels of shake without losing your original configuration. - Quick Switching Between Setups:
Instead of reconfiguring the noise modifiers or keyframe settings every time you want to try a new effect, you can instantly save that setup and with the click of a button switch between different setups. For example, one record might have a subtle shake for intimate scenes, while another features a more pronounced effect for action-packed moments. With the click of a button, you can go from an intimate shot to an action packed shot with zero need to change camera settings. - Render Multiple Views Simultaneously:
Each camera record in The View Keeper can have its own render resolution, file format, and output folder. This means you can render different camera shake configurations at different render resolutions, in different file formats and to different folders all at once. This is especially useful for comparing results or delivering multiple outputs for clients. - Experimentation Made Easy:
With The View Keeper, the settings you save become part of your creative toolkit. This tool allows you to effortlessly toggle between various camera approaches. Switching shake effects without the hassle of reconfiguring your scene every time you need a new angle.
Integrating The View Keeper into your workflow not only speeds up the process but also opens up creative possibilities. It ensures that your camera shake effects are consistent and easily adjustable, making your animations more polished and professional.
Real-World Inspirations and Applications
Film and Television
Many filmmakers use camera shake to simulate handheld camera movements, adding tension or realism to a scene. For instance, in action sequences or documentary-style footage, the slight shake of the camera intensifies the viewer’s experience. By replicating this effect in Blender, you can give your animated sequences a gritty, realistic feel similar to those seen in blockbuster films.
Video Games
In video games, camera shake is often used during explosions, impacts, or high-speed chases. This dynamic effect can make cutscenes and interactive moments more immersive. This can be seen in the plane crash cutscene in The Last of Us.
Whether it’s a subtle shake during dialogue or a heavy jitter during a battle, animating camera shake in Blender can help simulate the adrenaline-pumping motion found in popular titles.
Virtual Reality and Interactive Media
In VR experiences, even minor camera shake can have a significant impact on immersion. A well-calibrated camera shake effect can mimic the natural movement of a user’s head, enhancing the sense of presence. However, it’s crucial to balance the shake to avoid causing discomfort or motion sickness.
Product Animations and Commercials
For product animations, camera shake can be used to draw attention to specific features of a product. For example, a slight shake can emphasize the ruggedness of an outdoor gadget or add energy to a car commercial. This effect can help make your product appear more dynamic and engaging.
Troubleshooting Common Issues
Even with detailed planning, you might encounter some challenges when creating a camera shake effect in Blender. Here are some common issues and solutions:
Camera Shake Is Too Intense or Too Subtle
In the Graph Editor, adjust the strength and scale of the noise modifier. Start with subtle values and gradually increase them until the shake appears natural.
Unwanted Jerky Movements
Check your keyframe interpolation. In the Graph Editor, use smooth Bezier curves to ensure the shake transitions are fluid. Avoid overly aggressive noise settings that create erratic movements.
The Shake Effect Causes the Subject to Lose Focus
Make sure the primary focus of your scene remains intact by adjusting the depth of field settings. Use the Camera Properties panel to fine-tune focus and keep your subject sharp despite the shake.
Render Performance Issues
High noise settings in keyframes and additional post-processing (like motion blur) can slow down rendering. Optimize your scene by reducing unnecessary high-resolution details and simplifying materials if needed.
Inconsistency Between Viewport and Final Render
Ensure that your render settings (resolution, sample count, etc.) match the settings in your viewport. Regularly preview your animation in Camera View (press Numpad 0) to verify consistency.
Common Questions
- How do I create a camera shake effect in Blender?
You can animate a camera shake by keyframing the camera’s location and rotation and then applying a noise modifier in the Graph Editor. - What is the easiest method for creating camera shake?
The simplest method is to use keyframes with a noise modifier on the camera’s transformation channels. - Can I use Python scripting for camera shake in Blender?
Yes, advanced users can write drivers or scripts to generate random movement, though keyframe noise is usually sufficient. - How do I ensure the shake looks natural?
Fine-tune the noise parameters in the Graph Editor and use subtle keyframe adjustments. Look at reference footage to mimic real handheld movement. - What role does motion blur play in simulating camera shake?
Adding motion blur in the Render Properties or using a Vector Blur node in the Compositor can enhance the realism of the shake effect. - Can I combine different techniques for a more dynamic shake?
Yes, you can combine keyframe noise with slight camera movements or motion blur for a layered, realistic effect. - Is it possible to store and reuse camera shake settings?
Tools like The View Keeper allow you to save, switch and reuse multiple camera setups, including those with specific shake settings. - How do I manage performance when rendering with camera shake?
Optimize your scene by adjusting the noise modifier strength and reducing complex materials or high-resolution textures. - Can I use a game controller to trigger camera shake in Blender?
With appropriate mapping or Python scripting, it is possible, although this is an advanced technique. - What are common issues with camera shake in Blender?
Issues may include overly aggressive shake, unwanted jitter, or loss of focus. These can be resolved by fine-tuning keyframes, noise modifiers, and depth of field settings.
Bringing It All Together
Creating a camera shake effect in Blender is a versatile technique that adds dynamism and realism to your animations. Whether you’re simulating the rough movement of a handheld camera during an explosion or the subtle vibration of a moving vehicle, the key is to blend precise keyframe animation with controlled noise modifiers. By using the Graph Editor to fine-tune your shake, you can achieve smooth, natural motion that enhances your storytelling without distracting from the main action.
Additionally, incorporating tools like The View Keeper can further streamline your workflow. The View Keeper lets you store multiple camera setups including specific camera shake setups, all within the same blend file. This means you can save a record for a subtle intimate shake, another for more intense action and so much more. With The View Keeper, you get the ability to render multiple setups simultaneously, you can easily compare different shots and choose the best one for your project. This organized, flexible approach not only saves time but also expands your creative possibilities.
Real-world applications of camera shake effects are abundant in film, video games, architectural visualizations, VR experiences, and product animations. By studying how directors and cinematographers use camera shake to evoke emotion and tension, you can replicate these effects in Blender to make your scenes more immersive and engaging.
The process begins with carefully setting up your camera and inserting keyframes for location and rotation. Adding a noise modifier in the Graph Editor introduces the desired shake. While additional effects such as motion blur can further enhance the effect. Testing your animation in Camera View (press Numpad 0) and adjusting the parameters until the motion feels natural is crucial for a successful outcome.
Final Thoughts
Animating a camera shake effect in Blender is both an art and a science. It involves understanding the mechanics of keyframe animation, using noise modifiers effectively, and leveraging Blender’s robust animation tools to simulate real-world camera movements. Whether you’re creating intense action sequences, immersive VR experiences, or subtle atmospheric effects, mastering camera shake can significantly elevate the quality of your work.
By following the detailed steps outlined in this guide and incorporating advanced techniques like using drivers and effects like motion blur, you’ll be well-equipped to create realistic and dynamic camera shake effects. And by integrating workflow tools such as The View Keeper, you can store, manage, and quickly recall different shake setups. This ensures that your creative process is both efficient and flexible.
Thank you for reading this comprehensive article on how to create a camera shake effect in Blender. We hope these detailed instructions, practical tips, and real-world examples have provided you with the insights and confidence to add dynamic camera shake to your projects. Enjoy your creative journey in Blender, and may your animations capture the raw energy and realism that bring your scenes to life!


