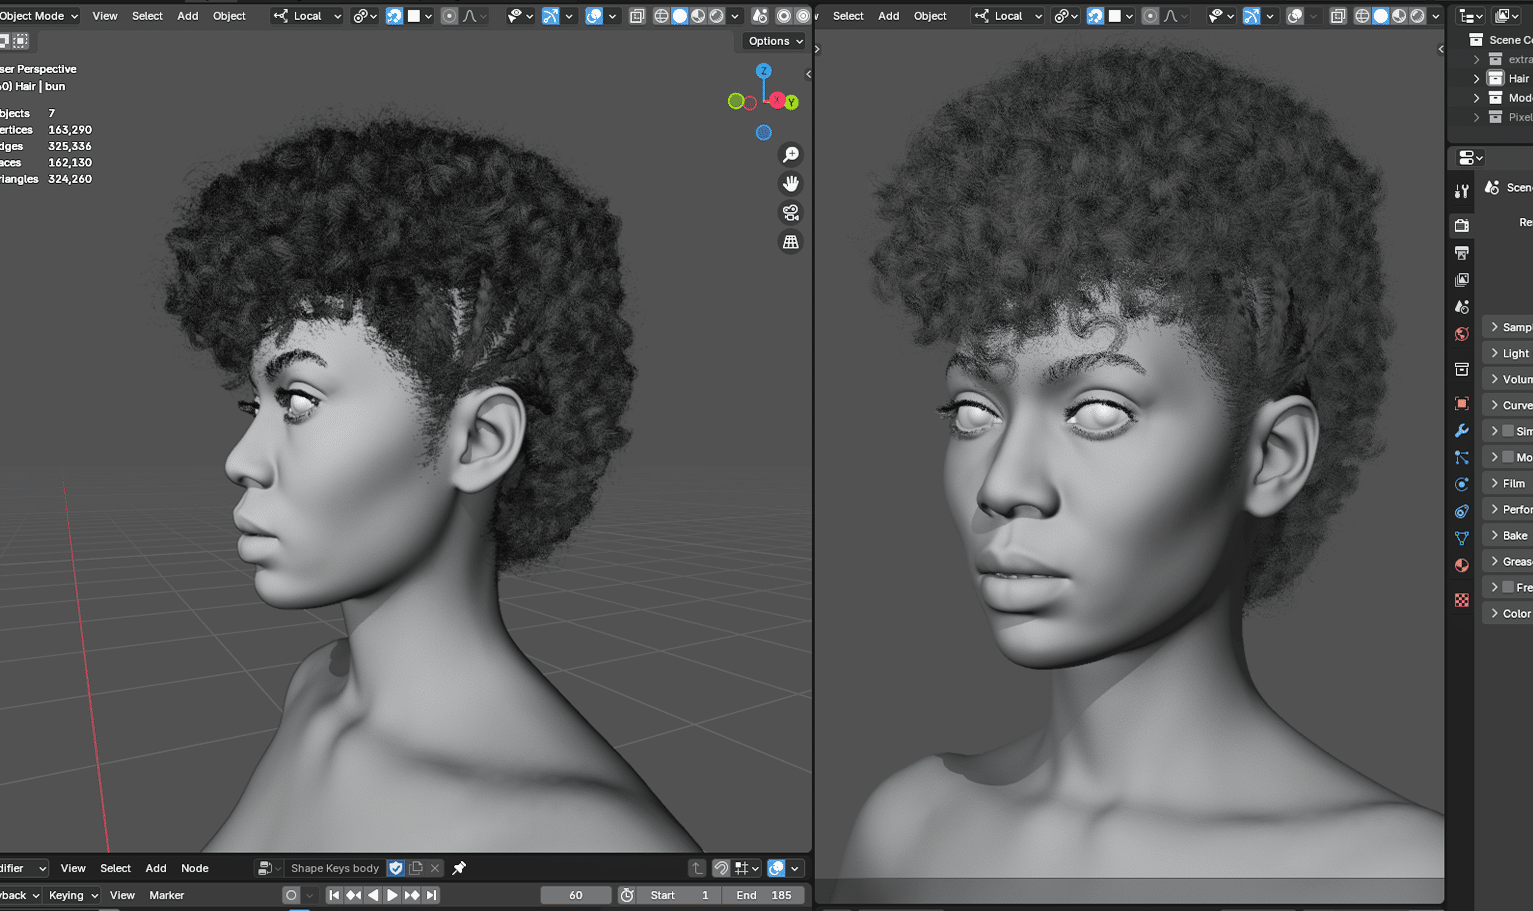
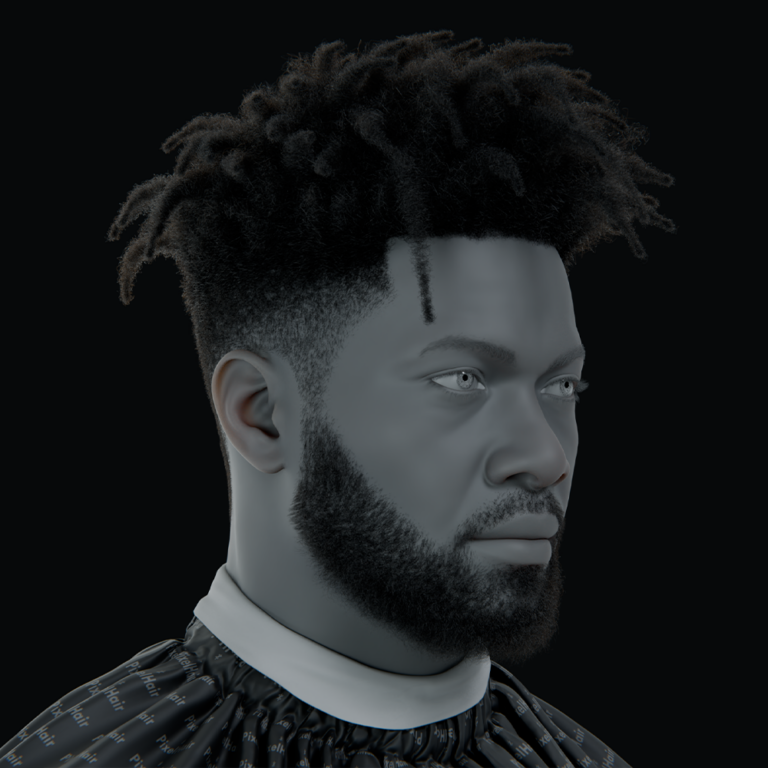
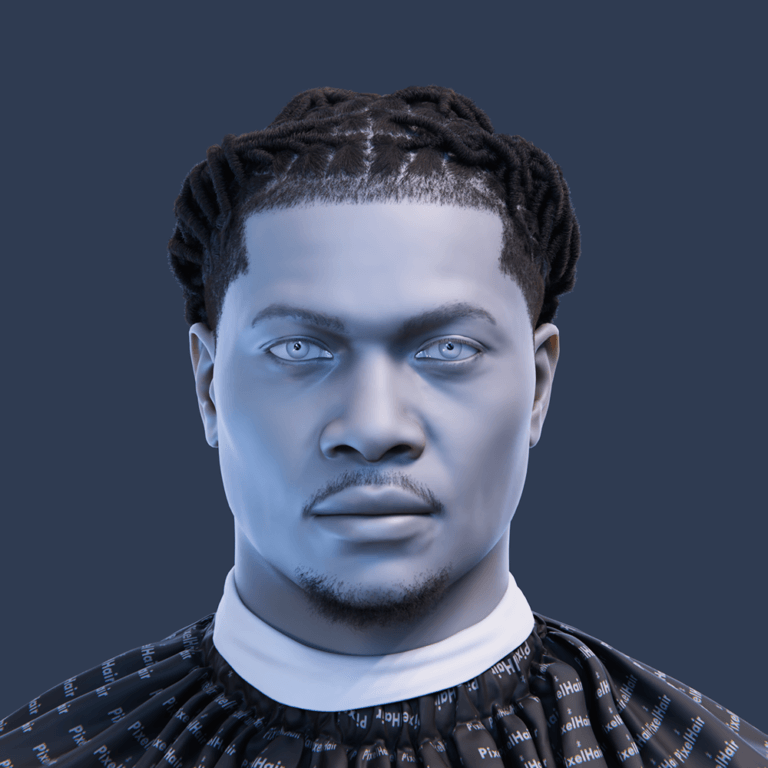
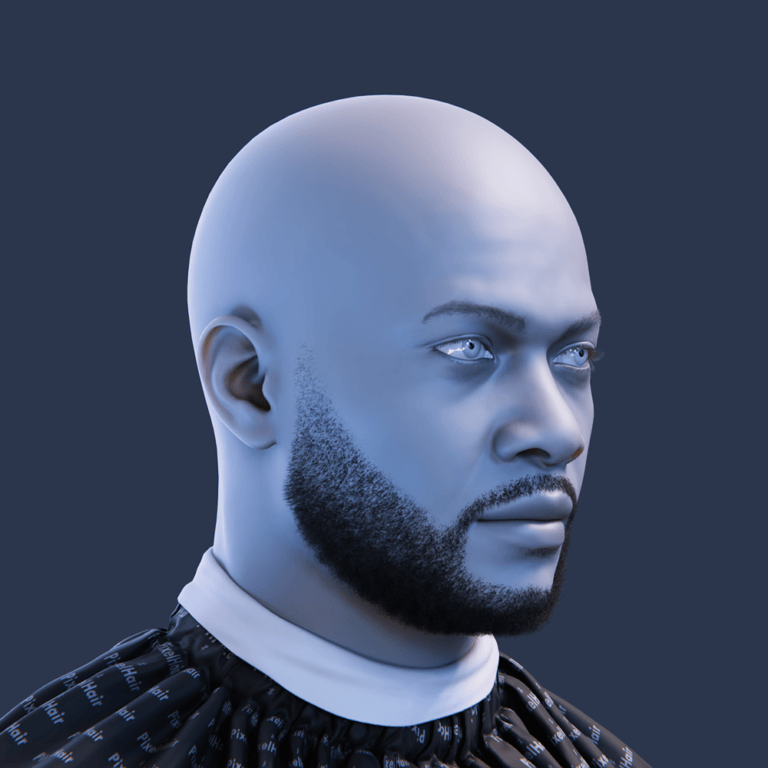
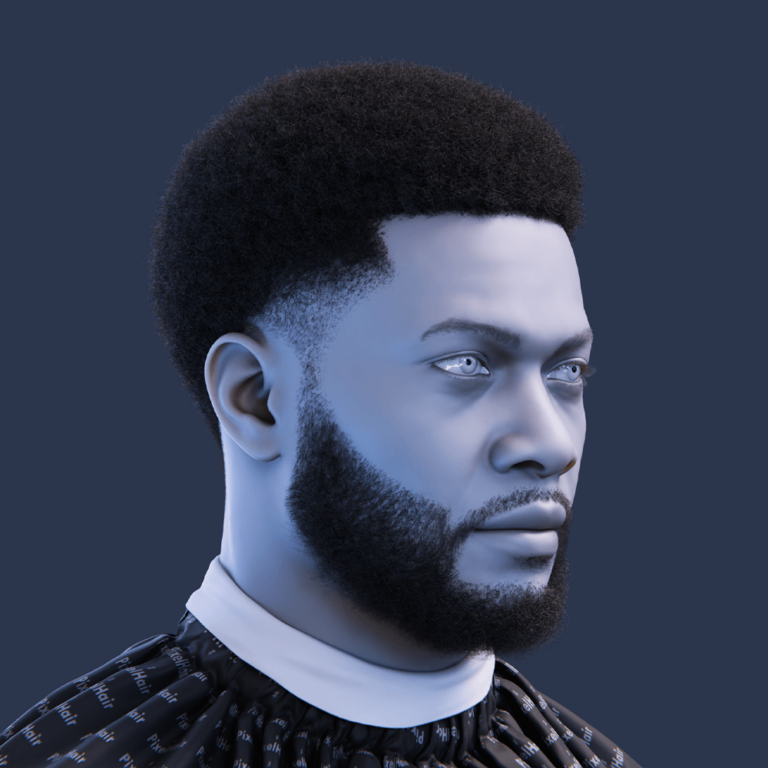
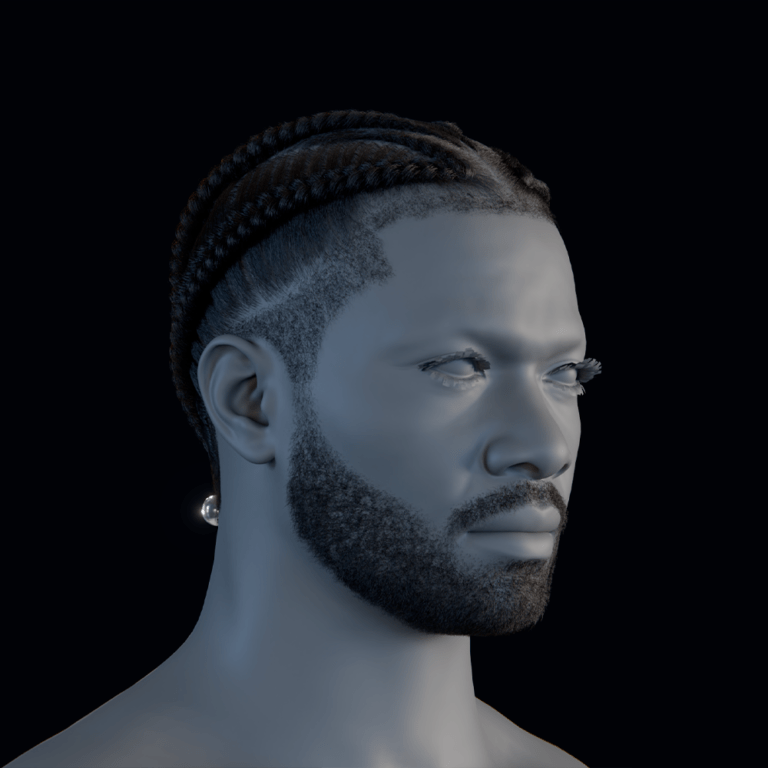
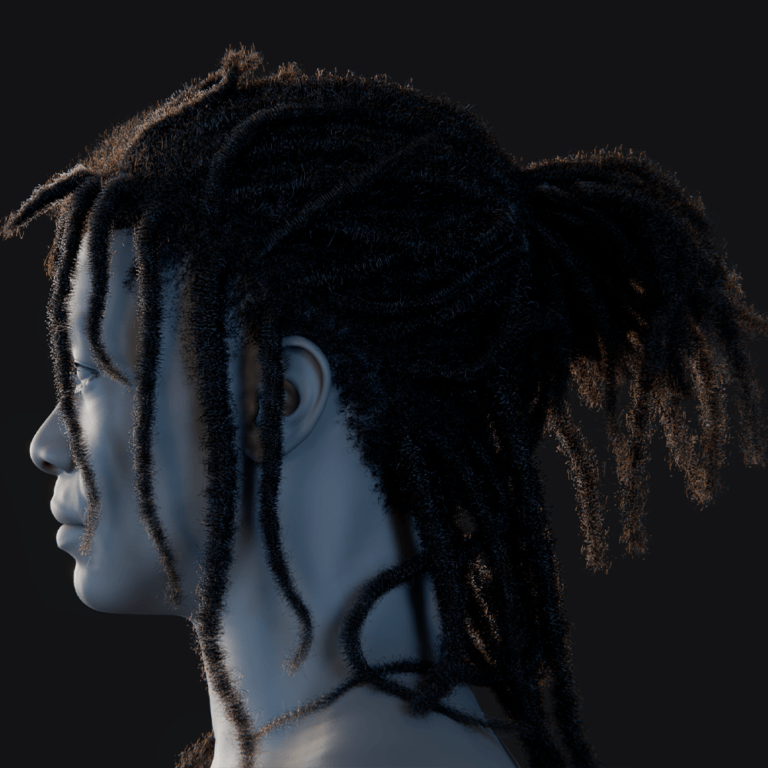
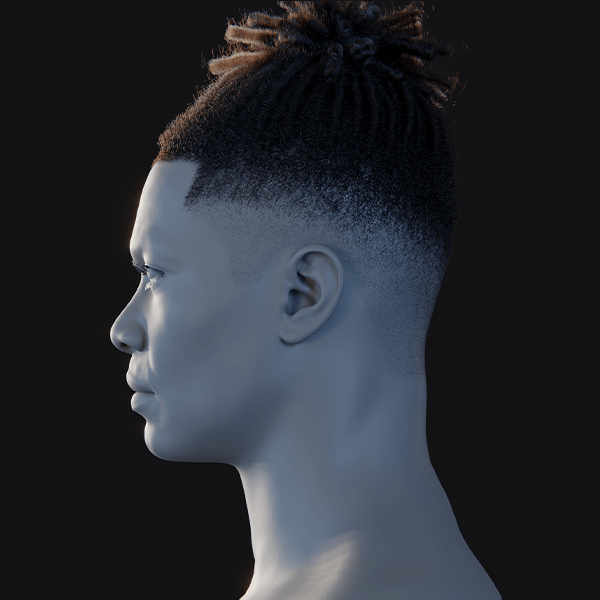
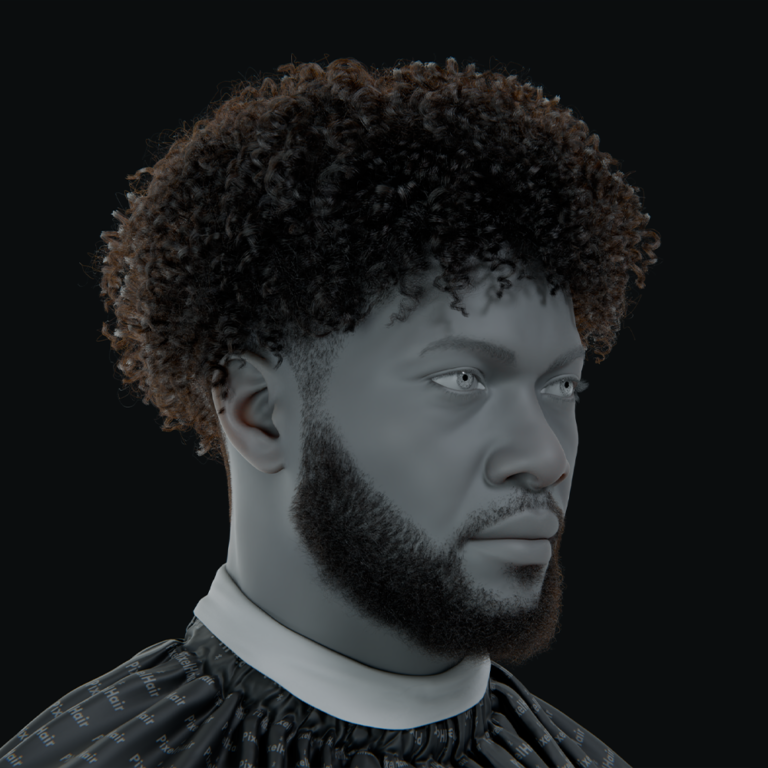
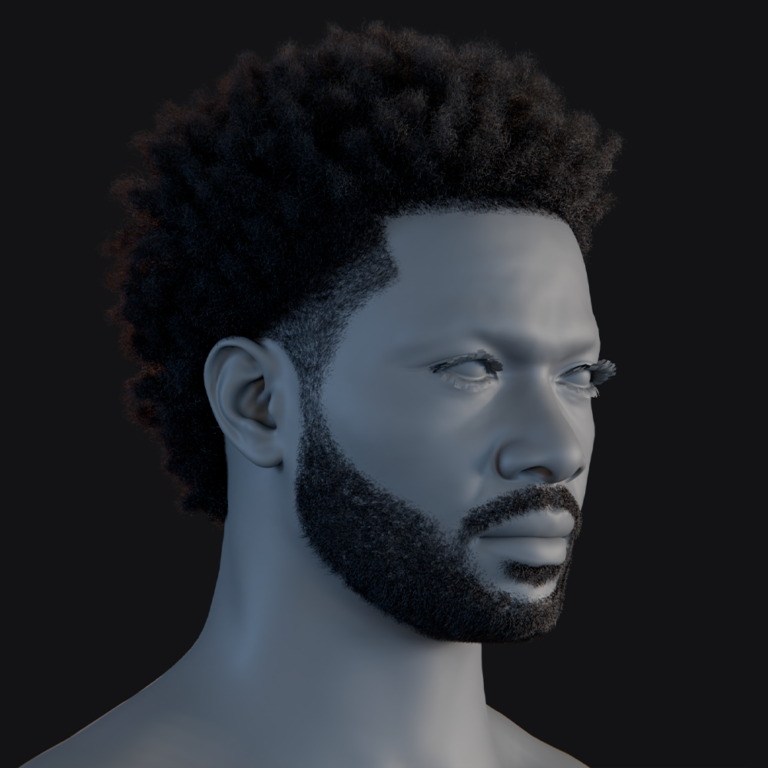
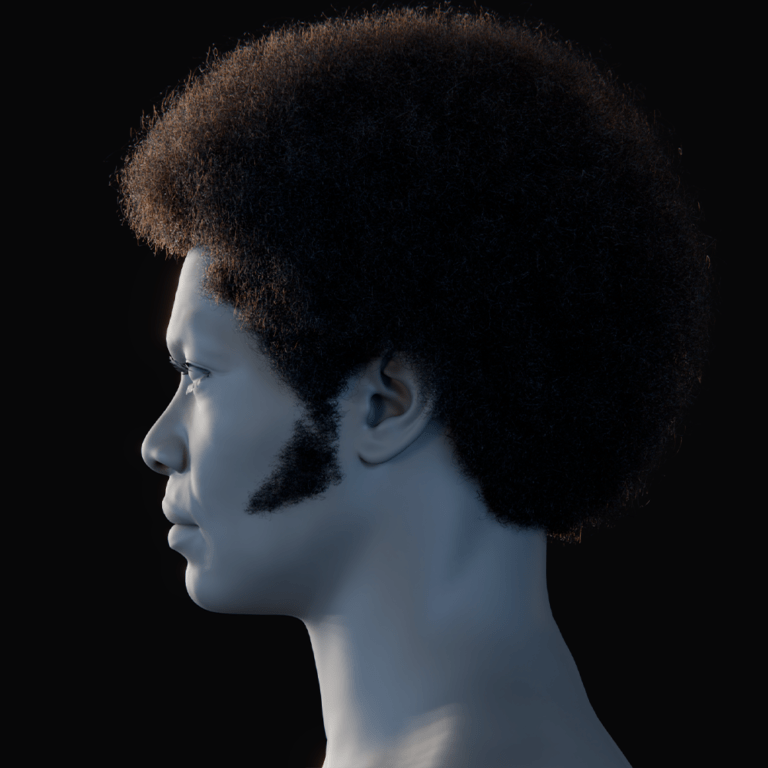
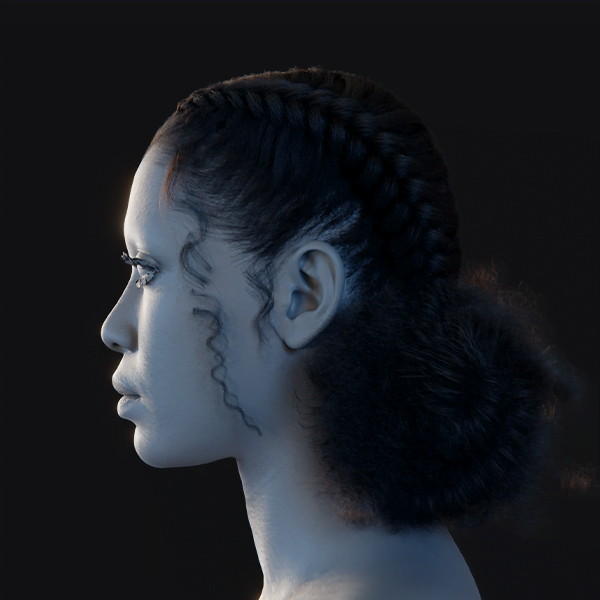
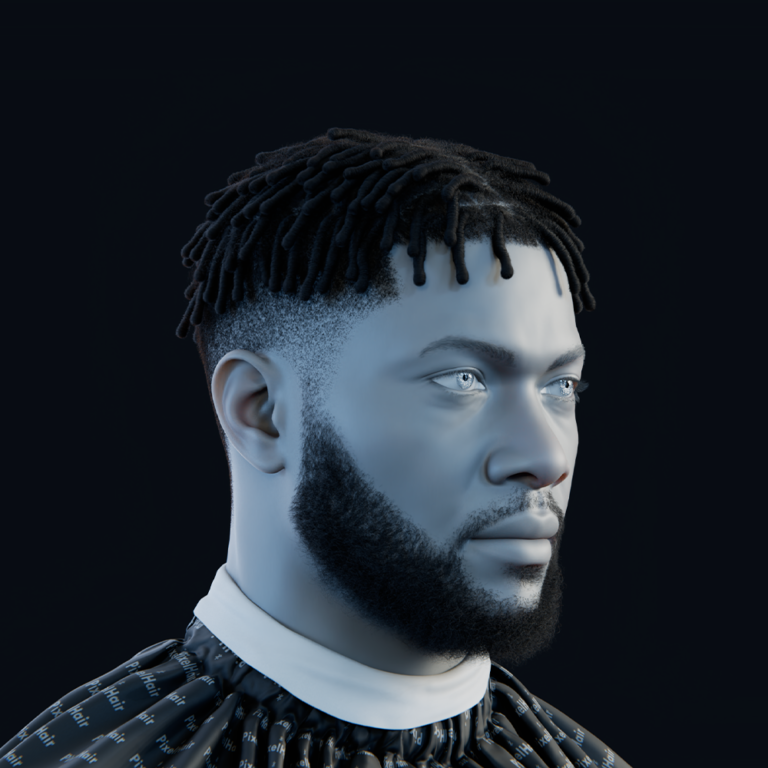
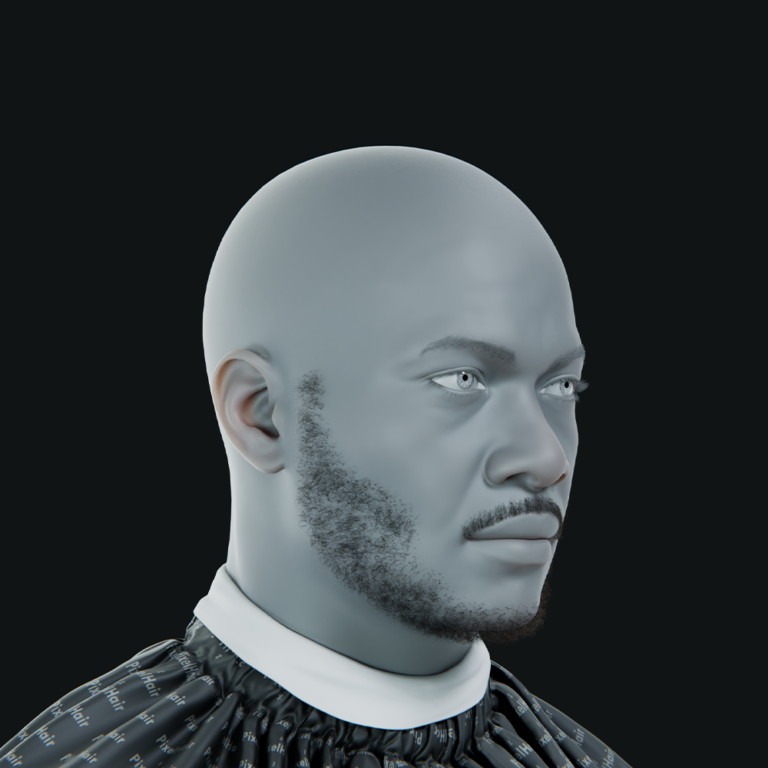
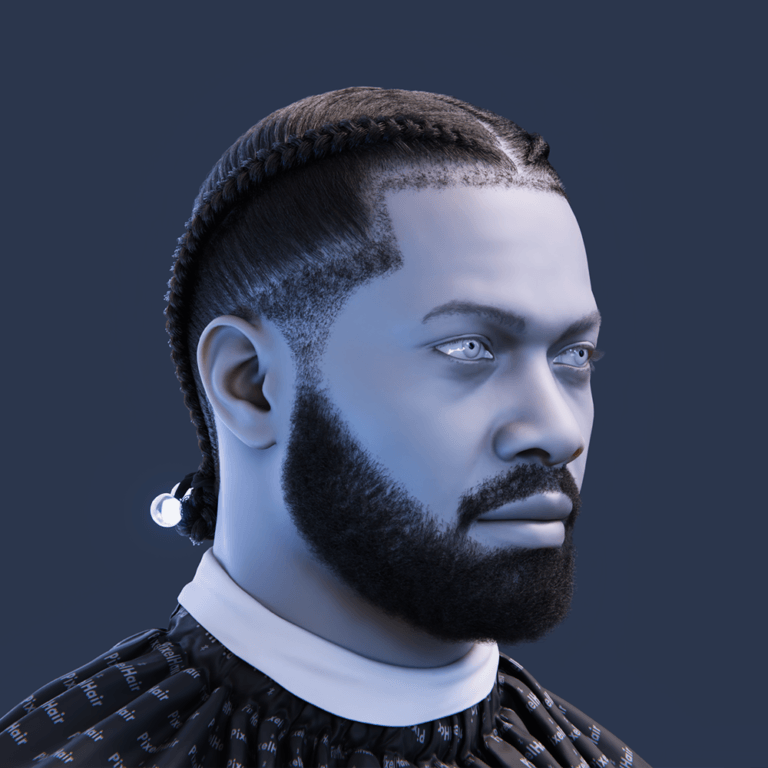
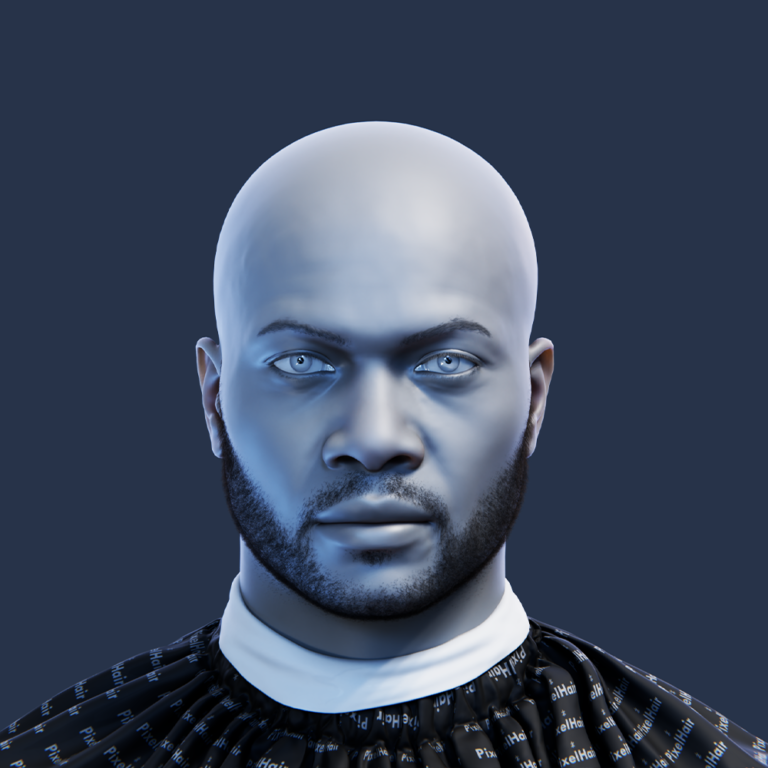
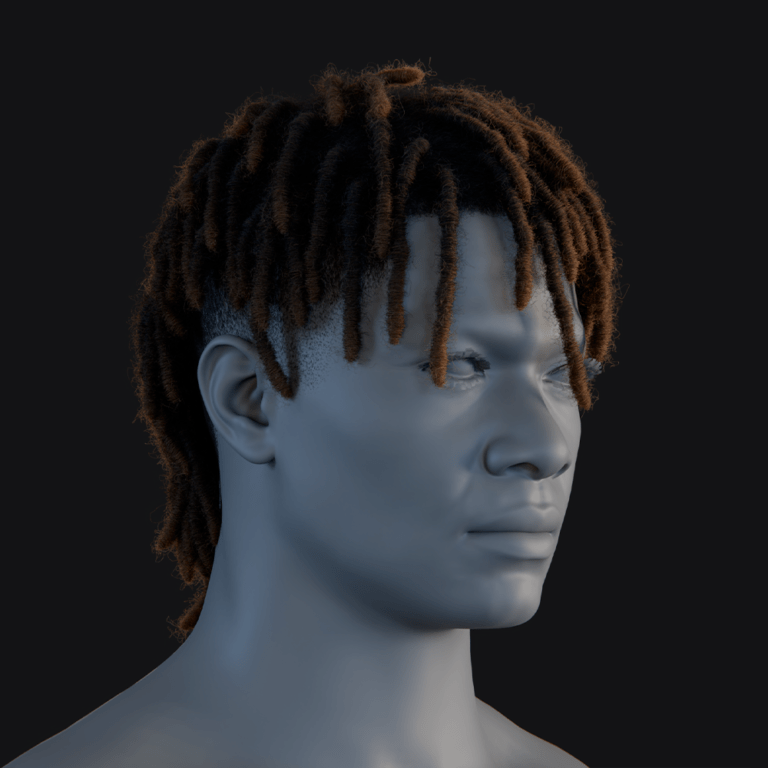
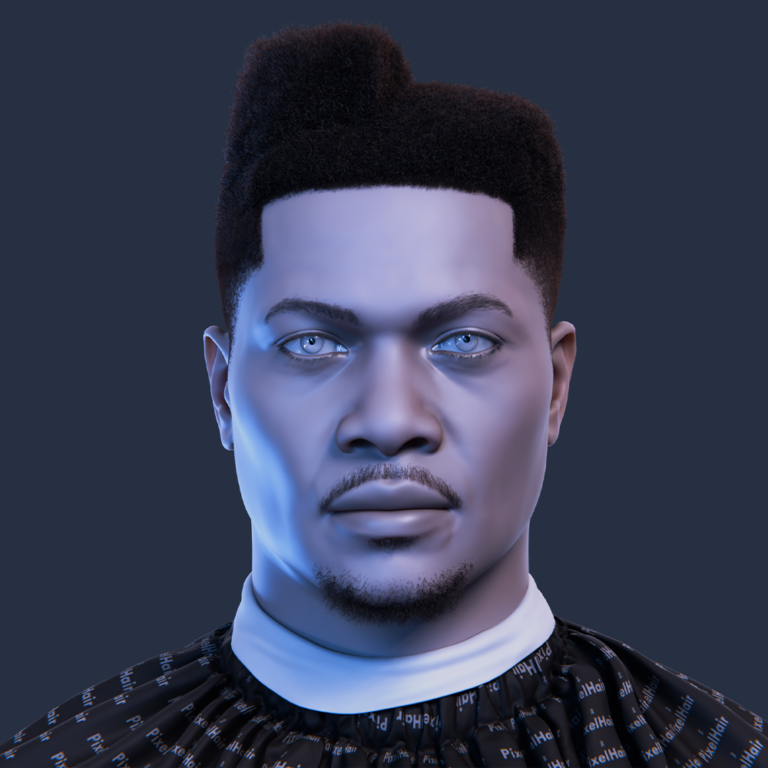
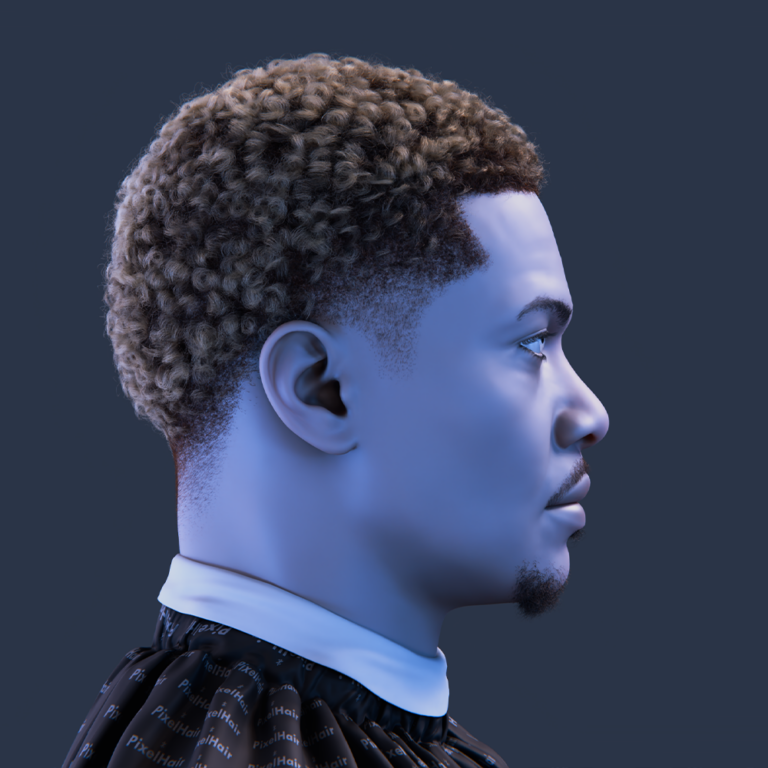
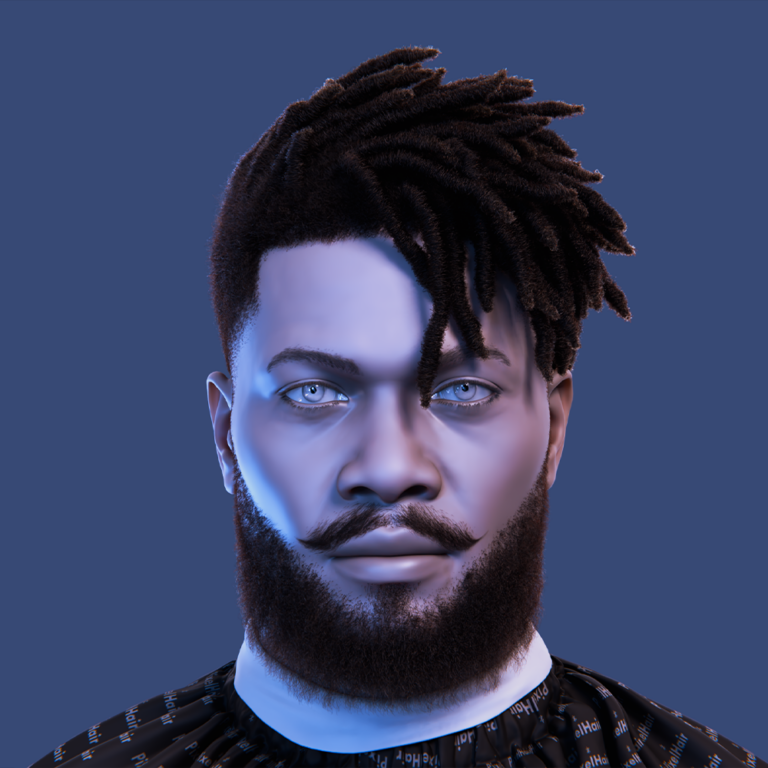
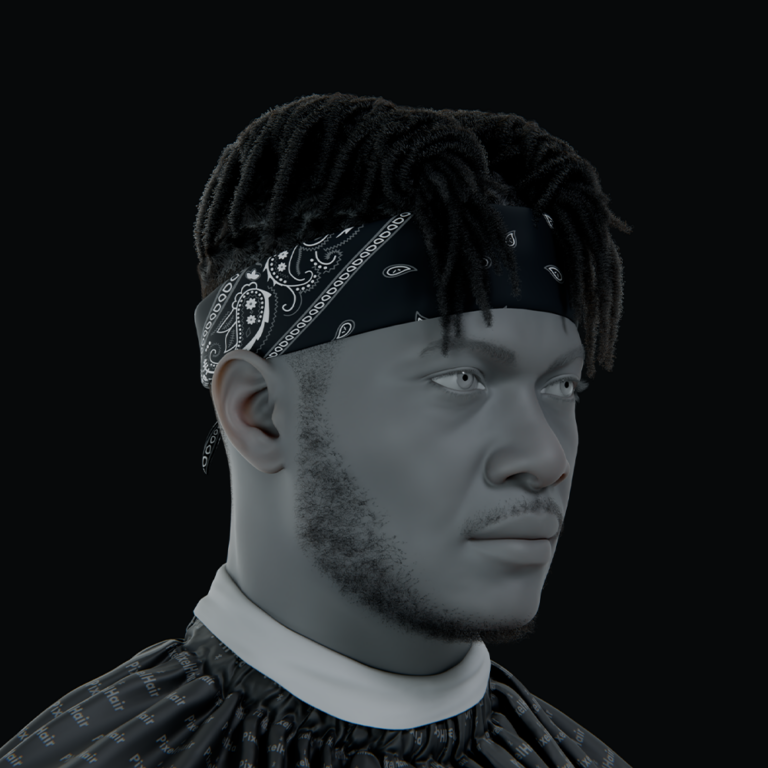
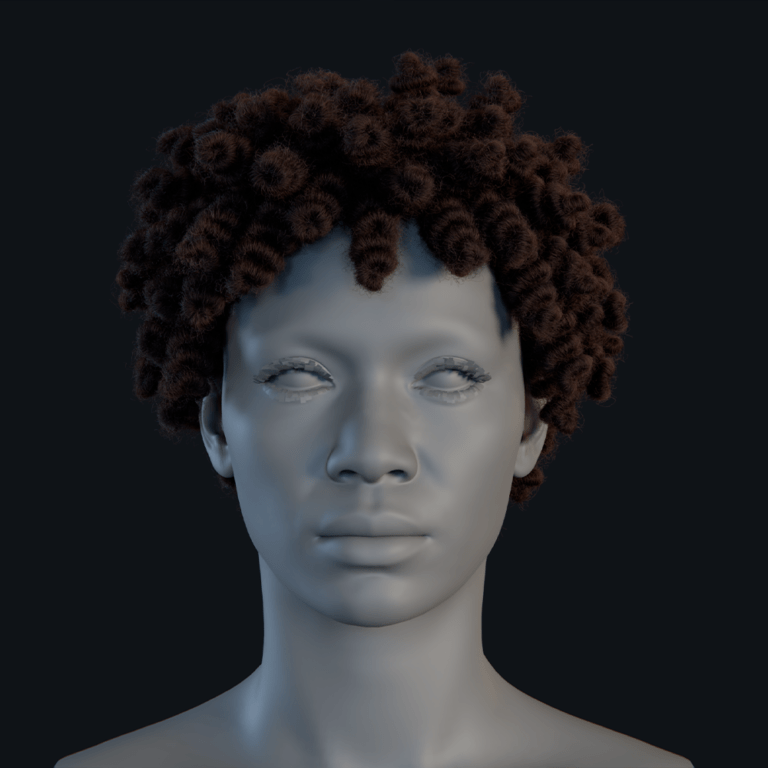
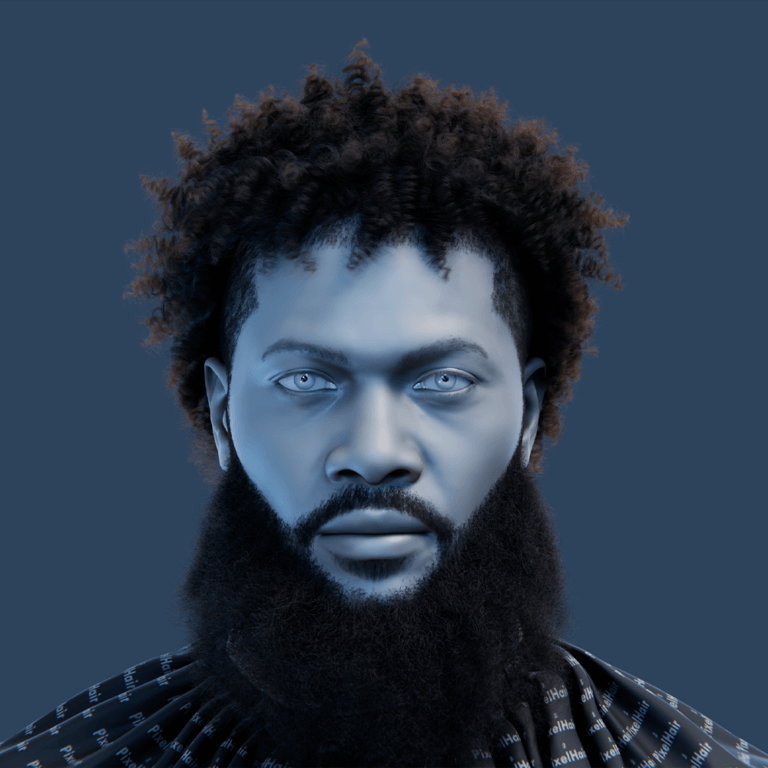
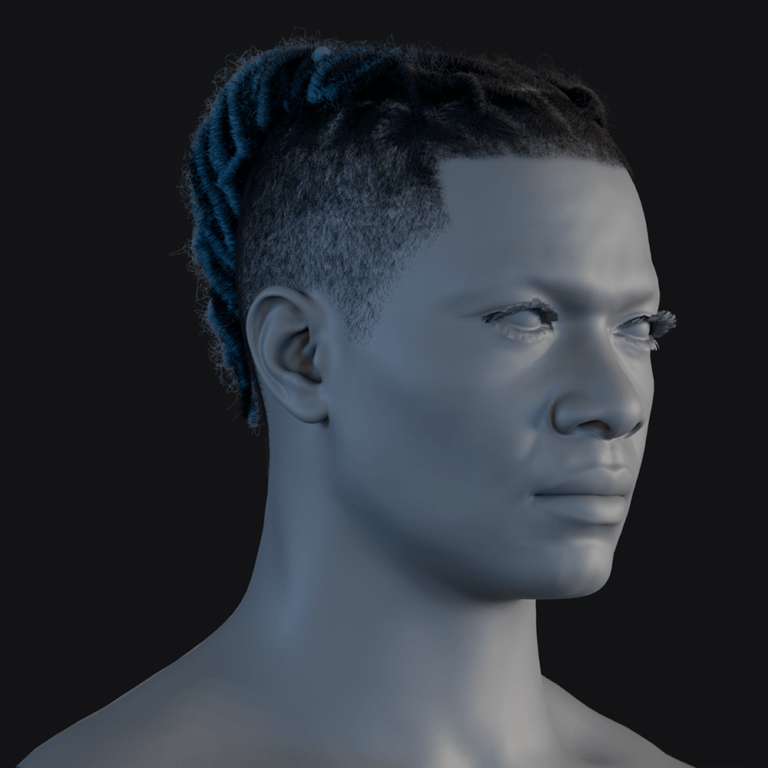
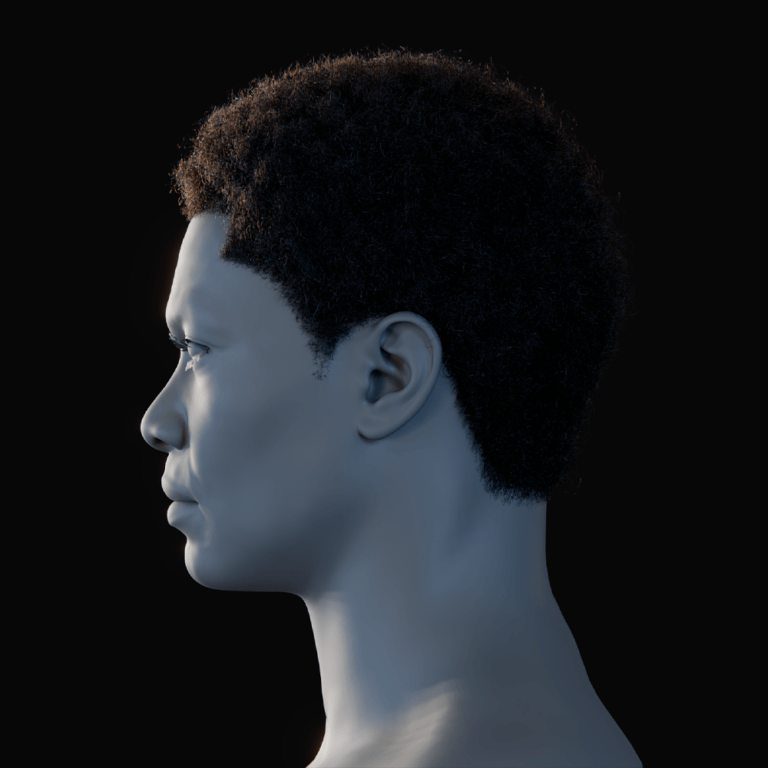
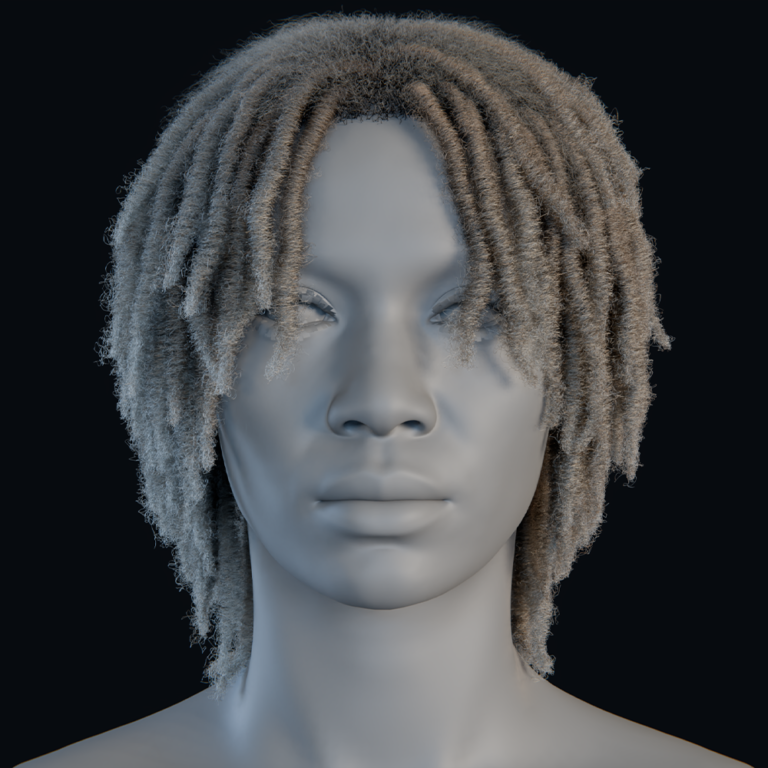
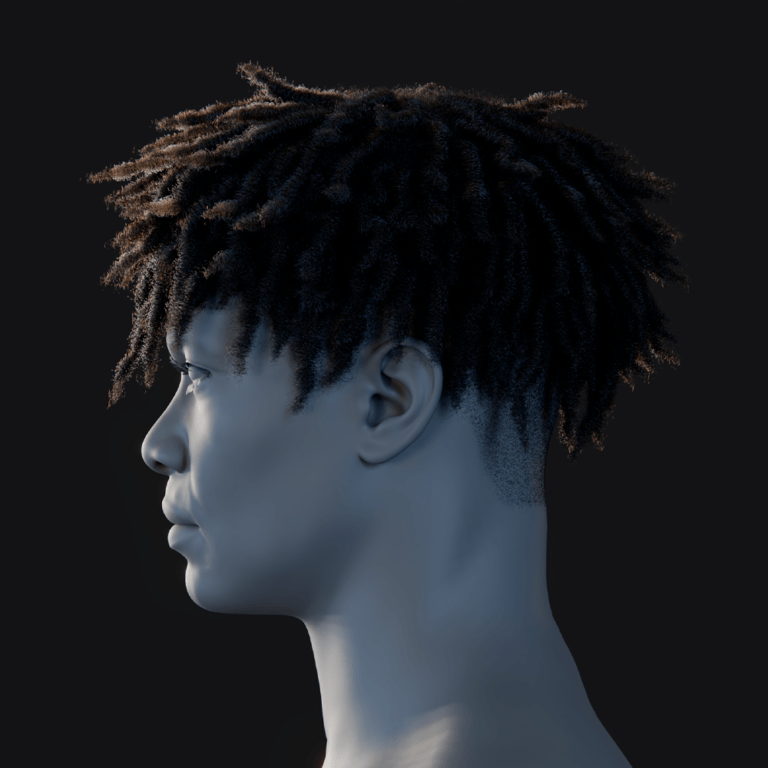
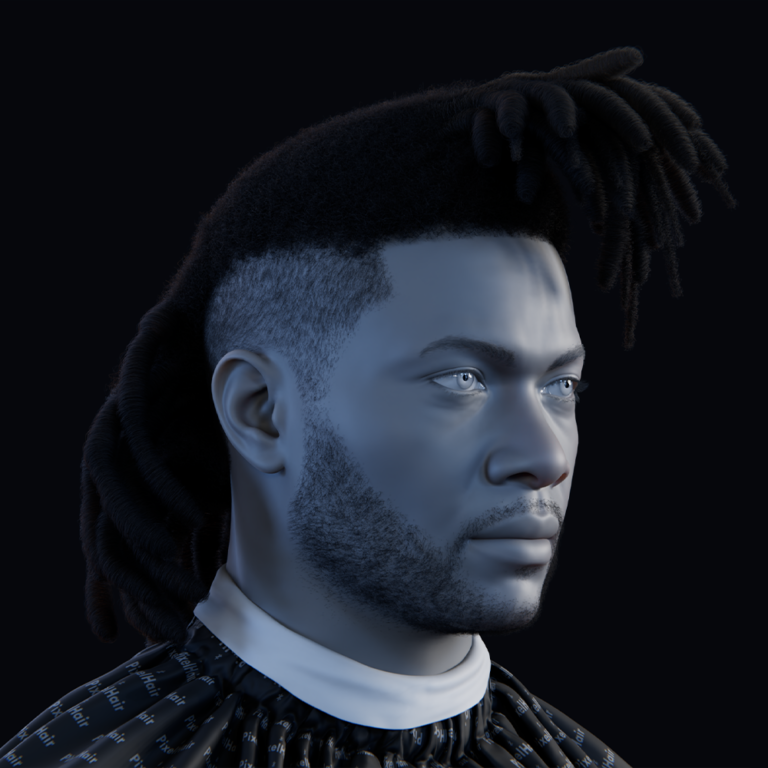
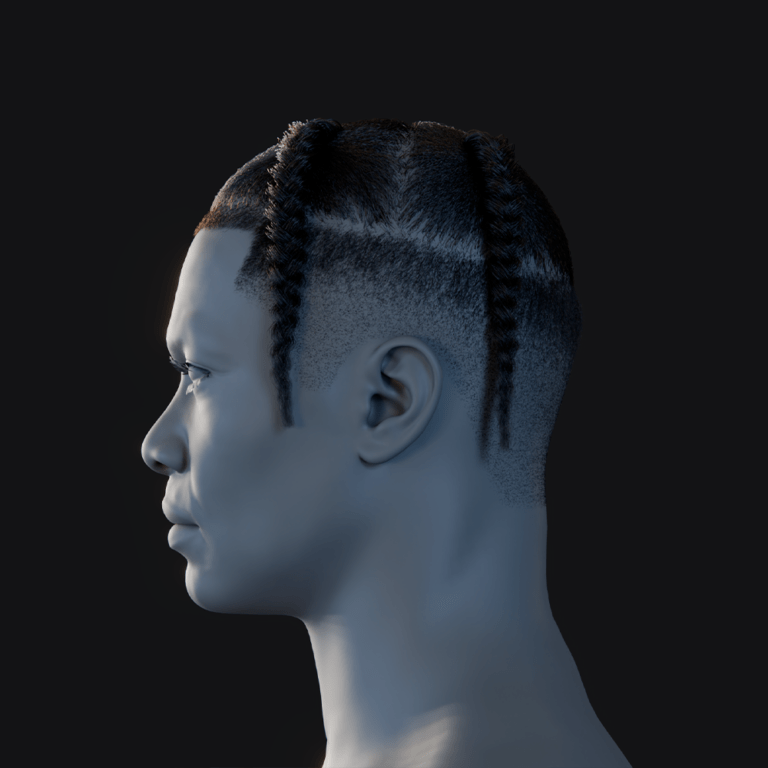
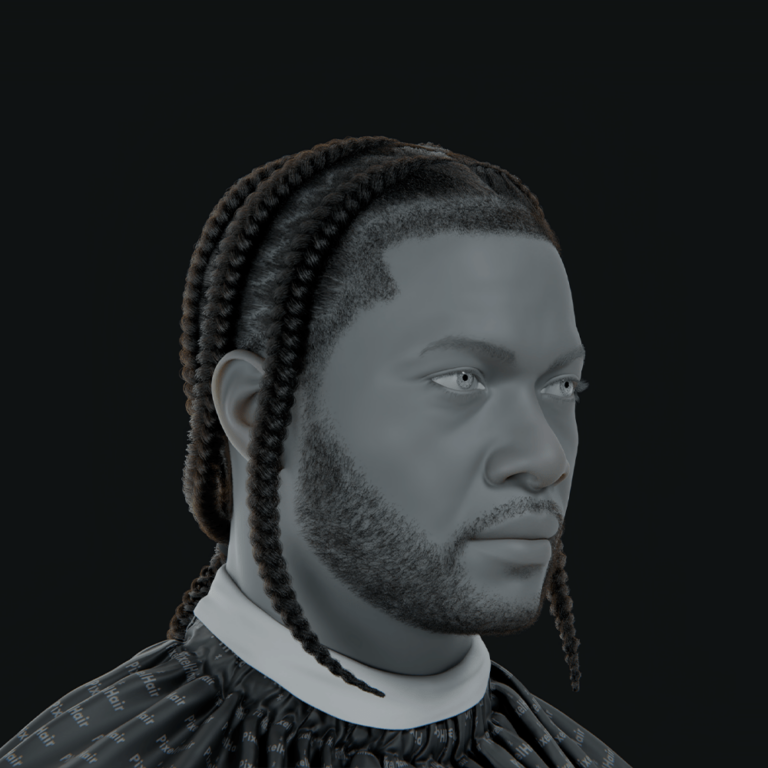
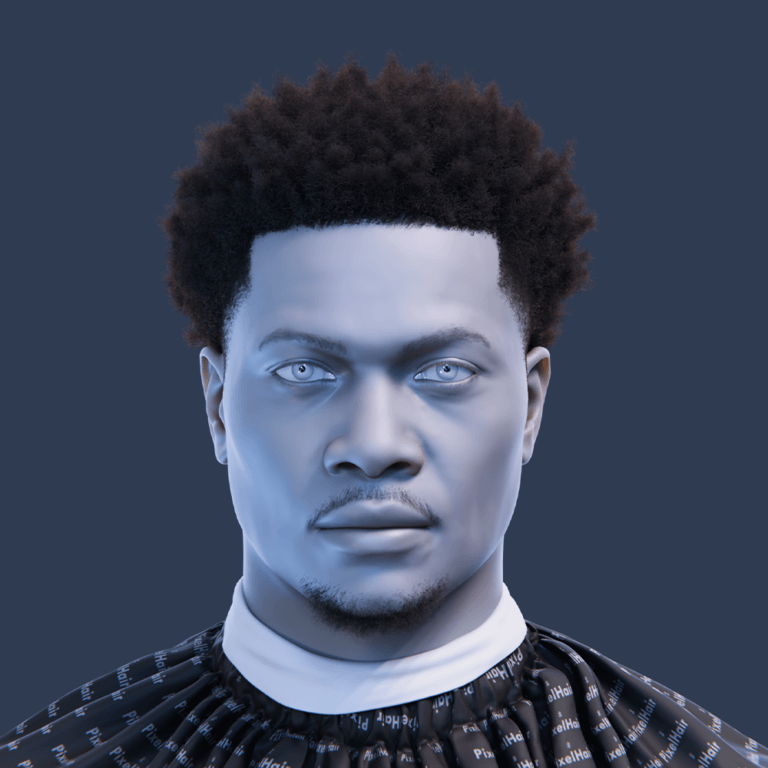
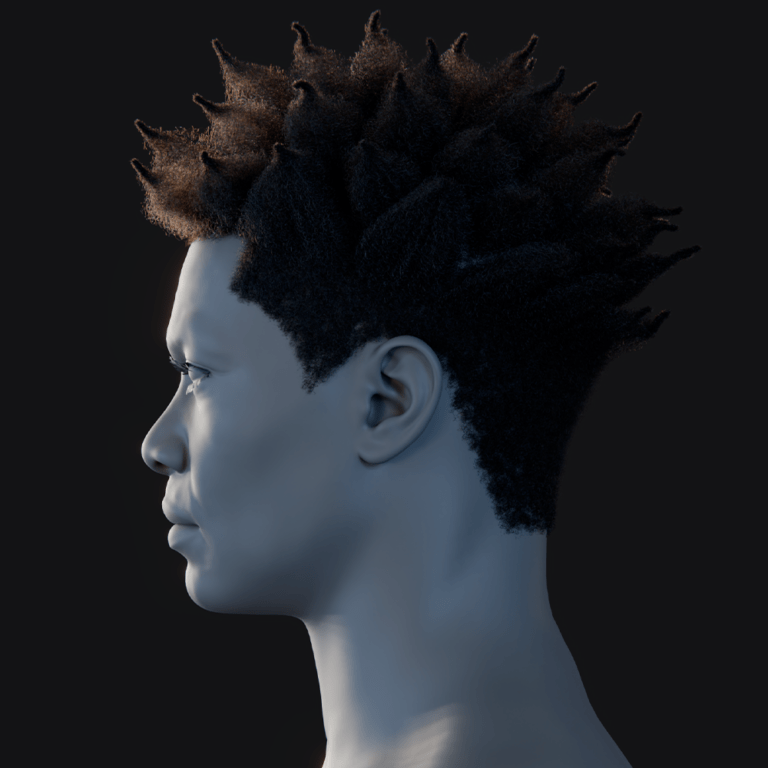
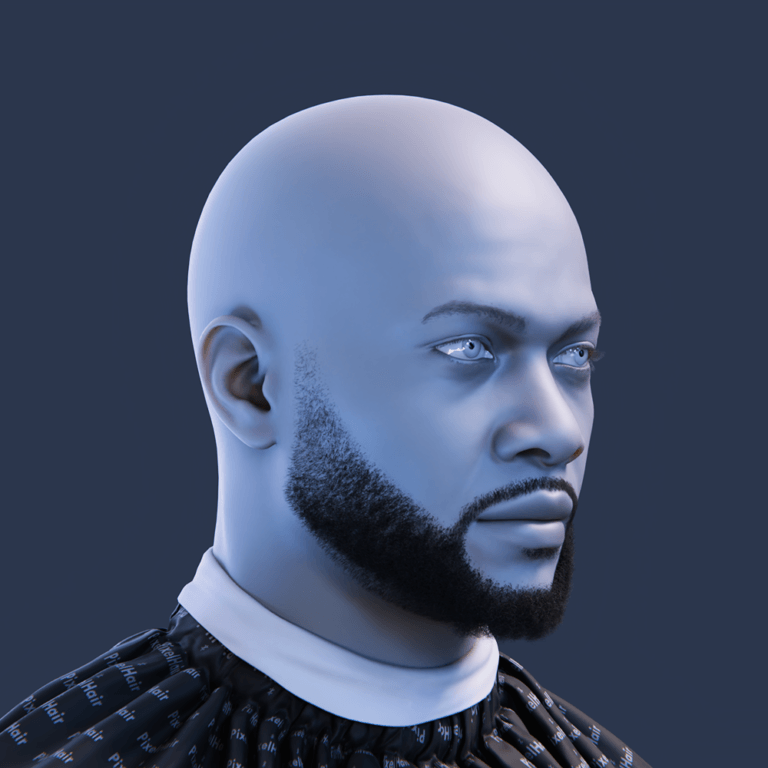
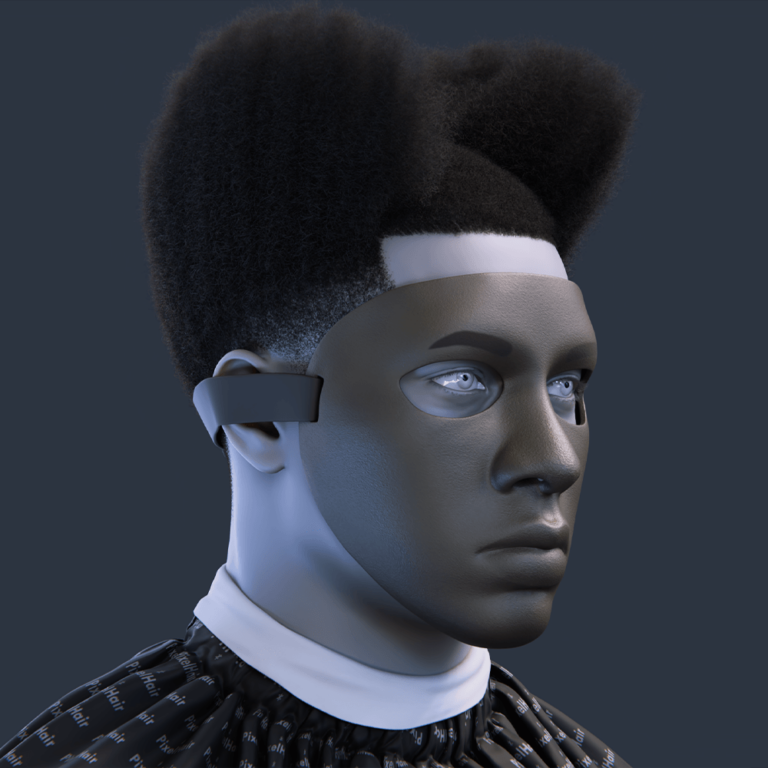
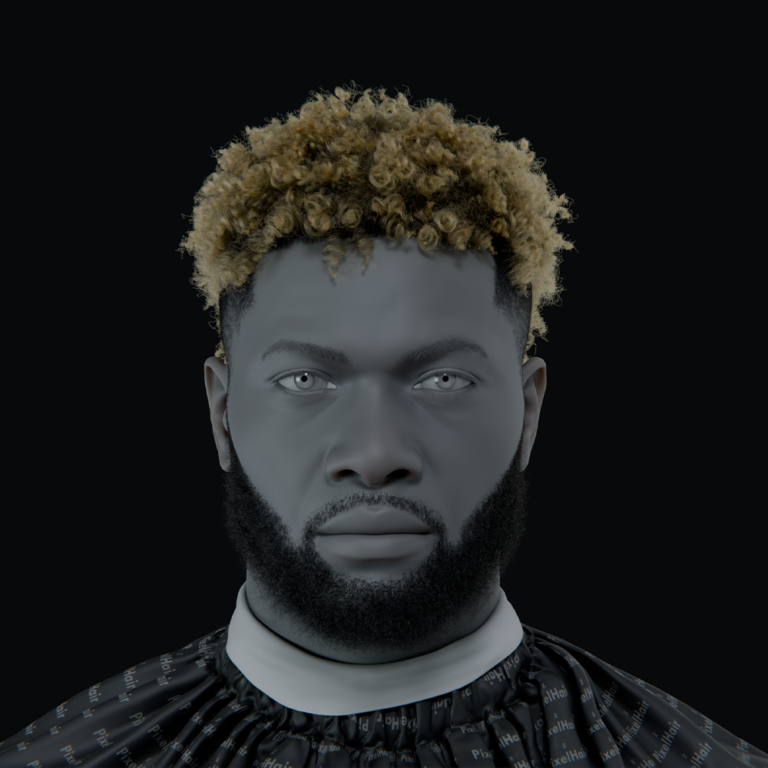
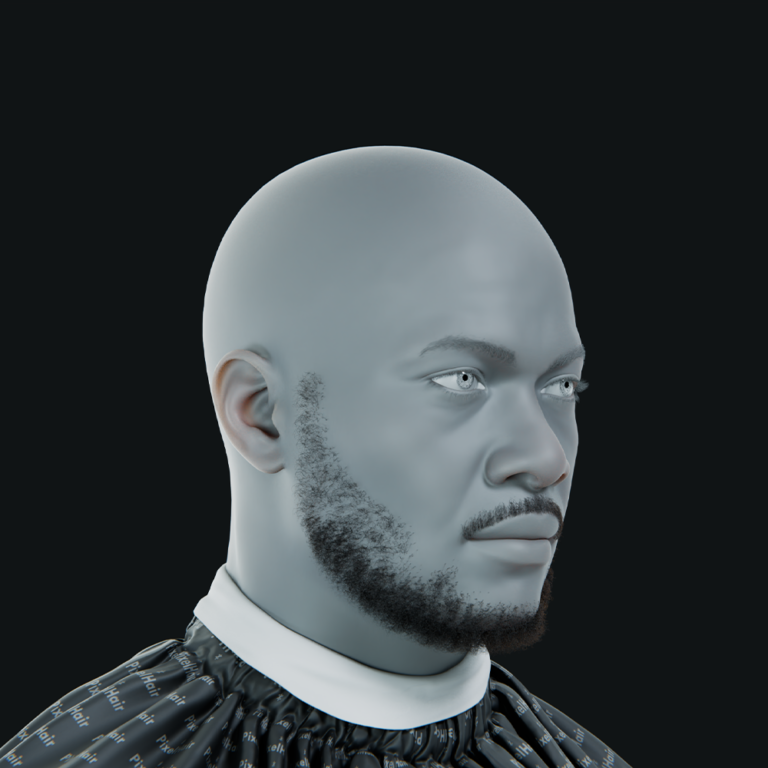
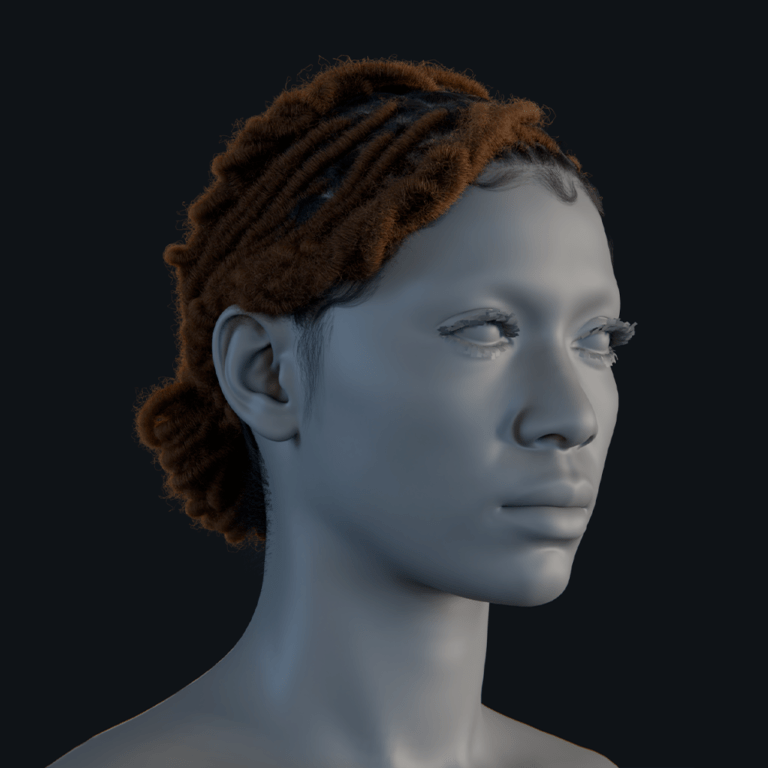
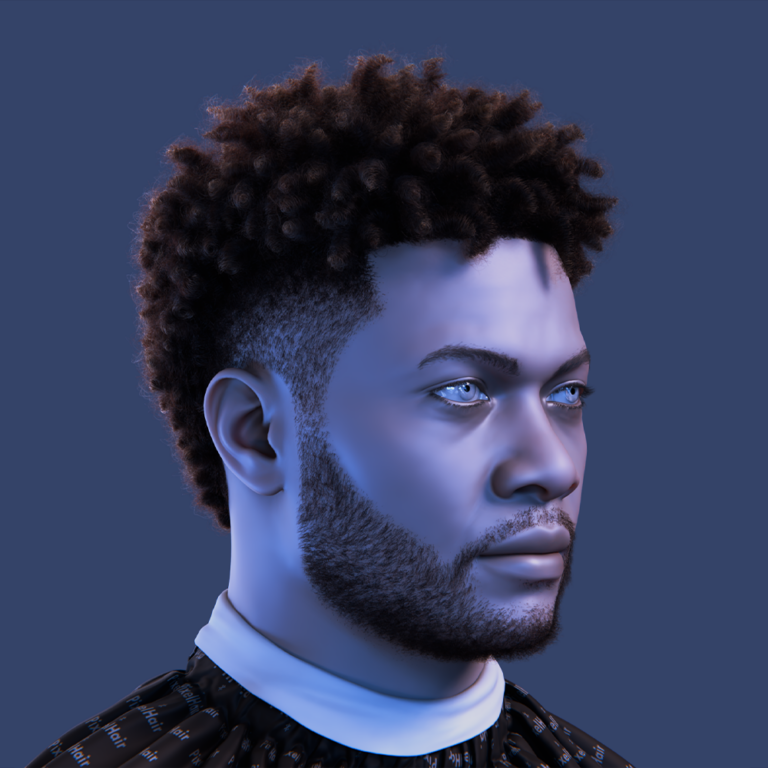
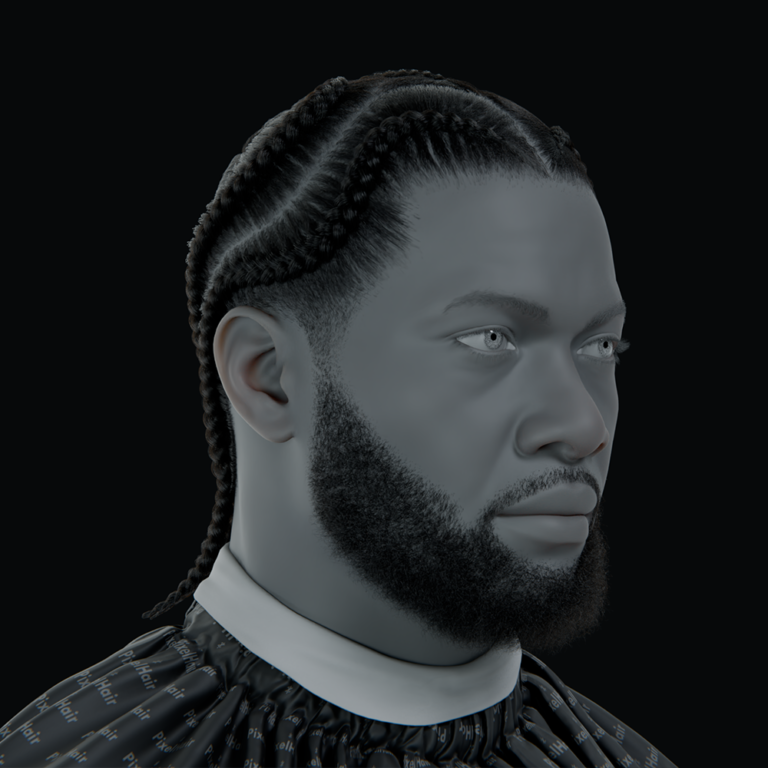
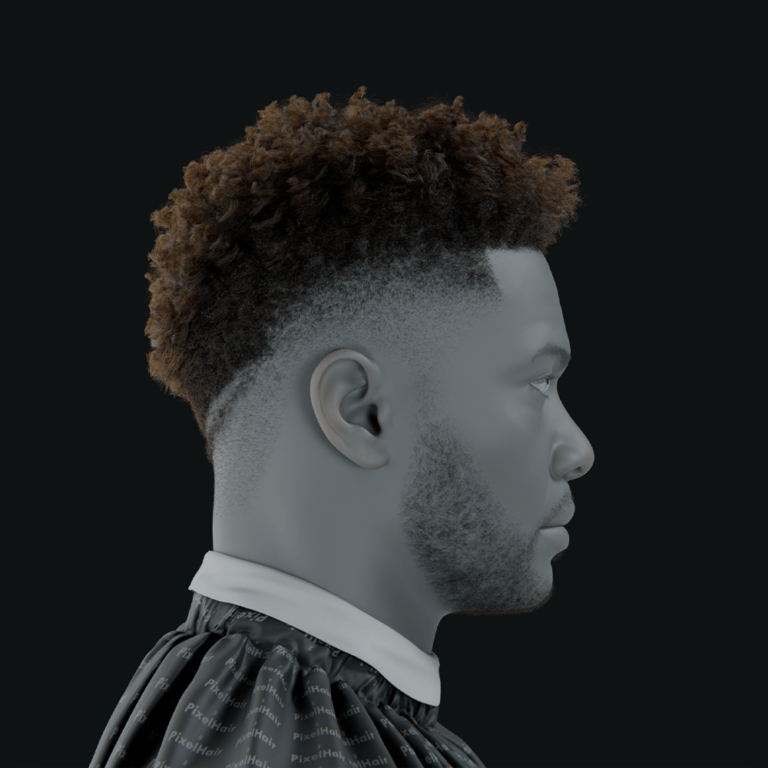
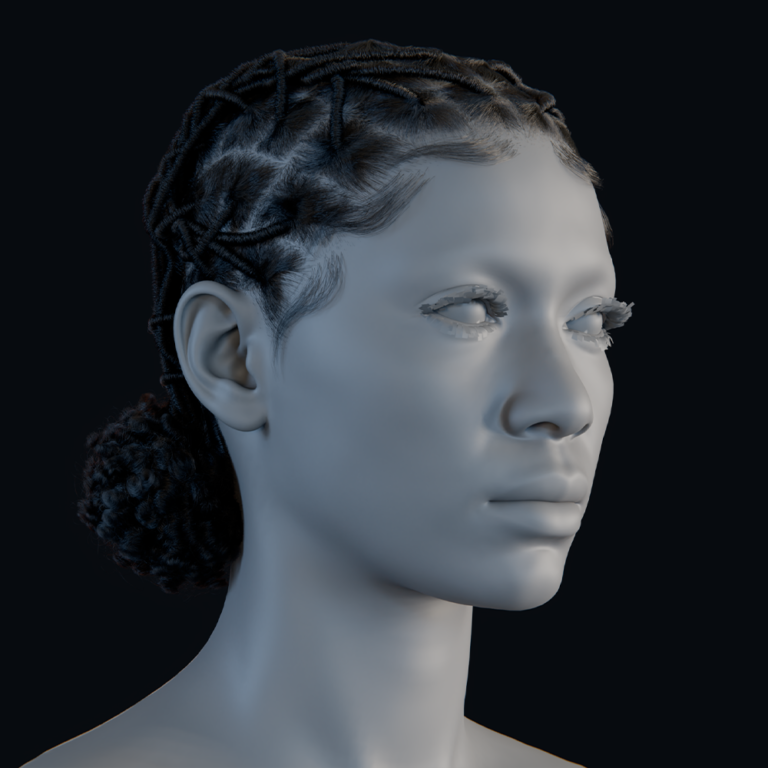
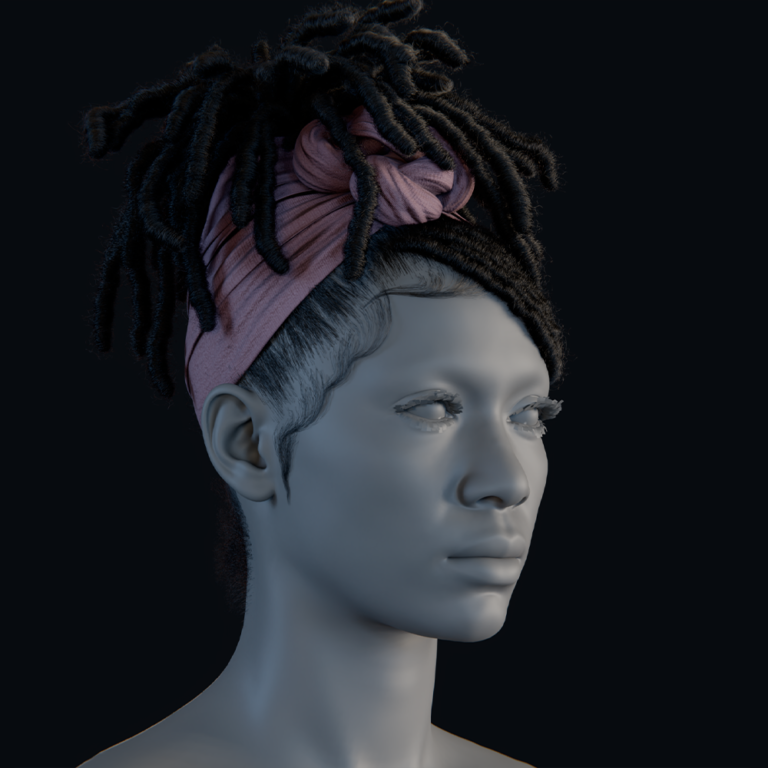
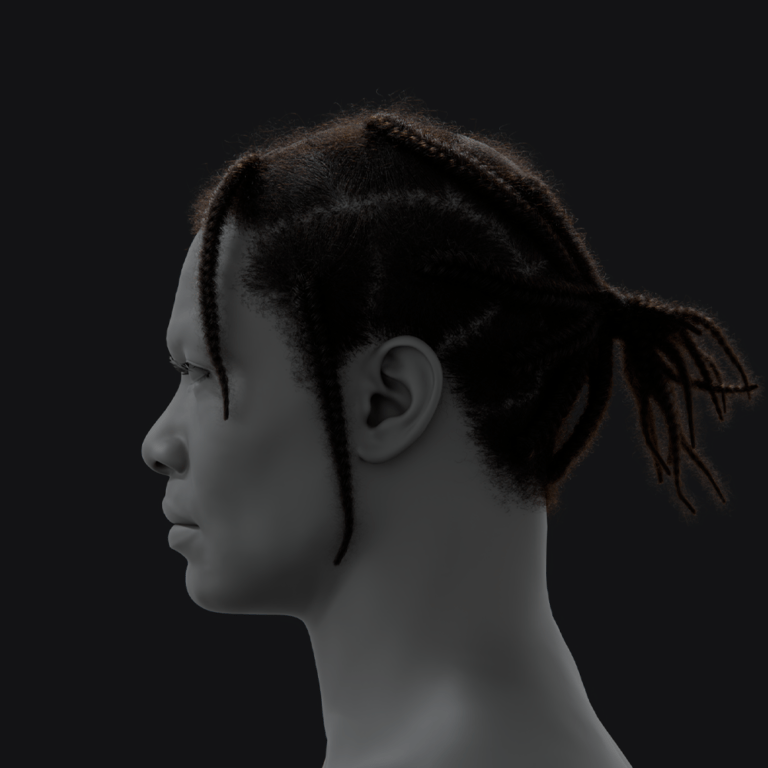
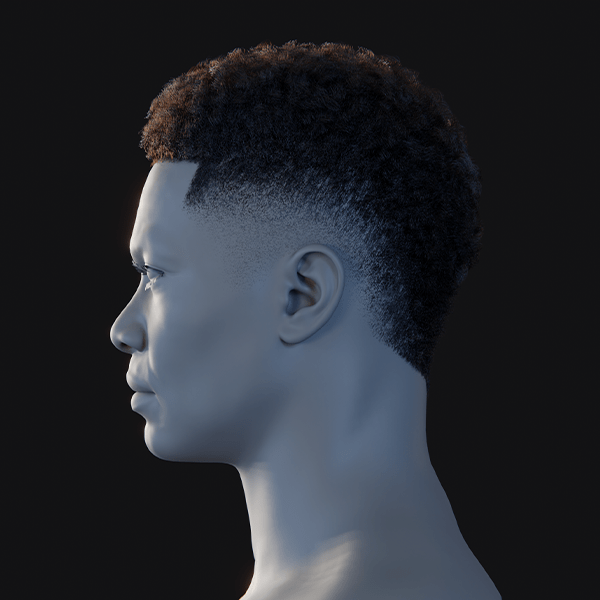
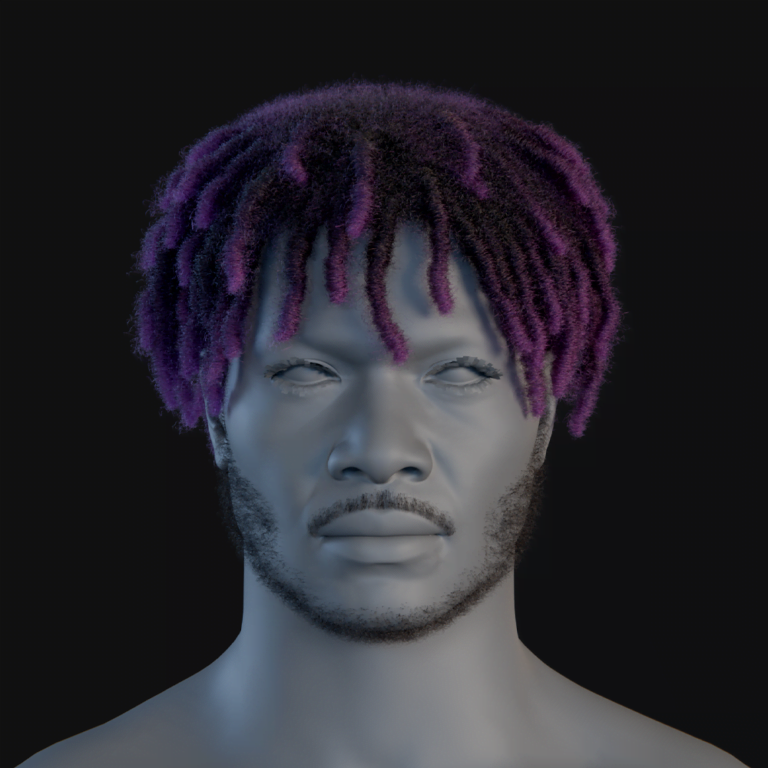
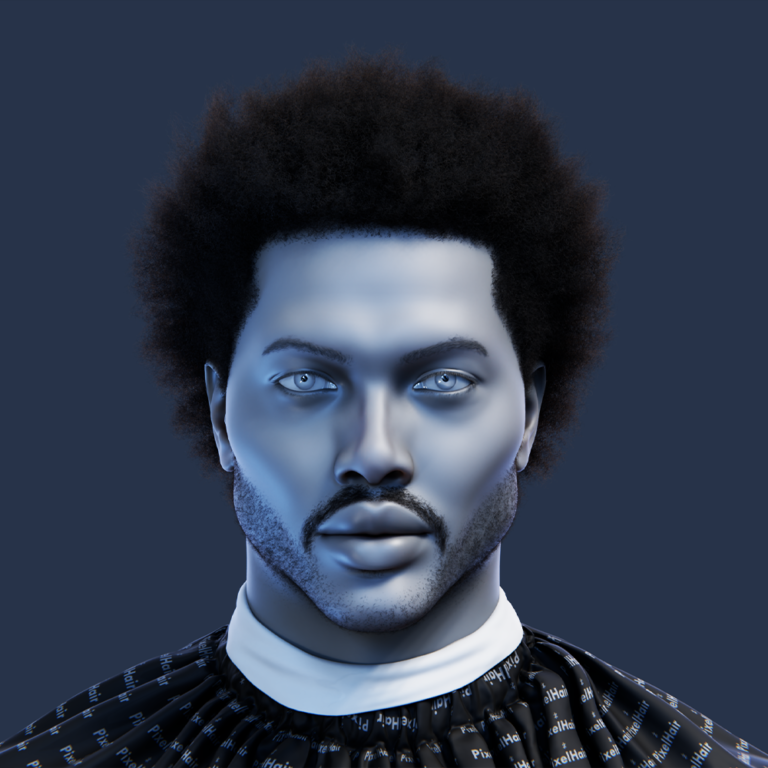
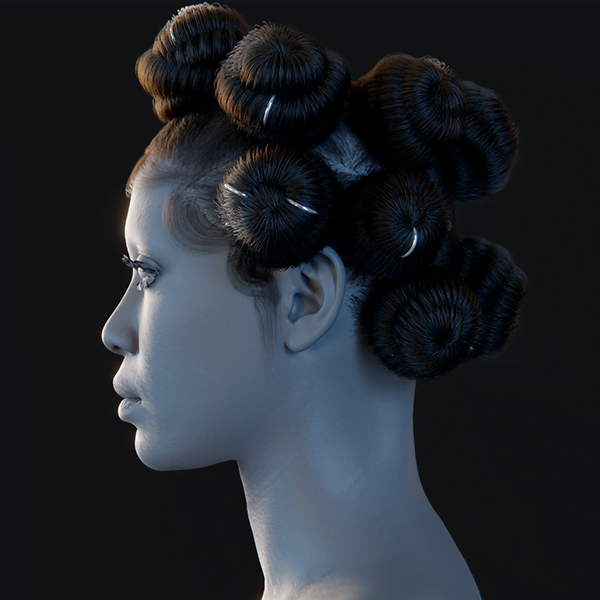
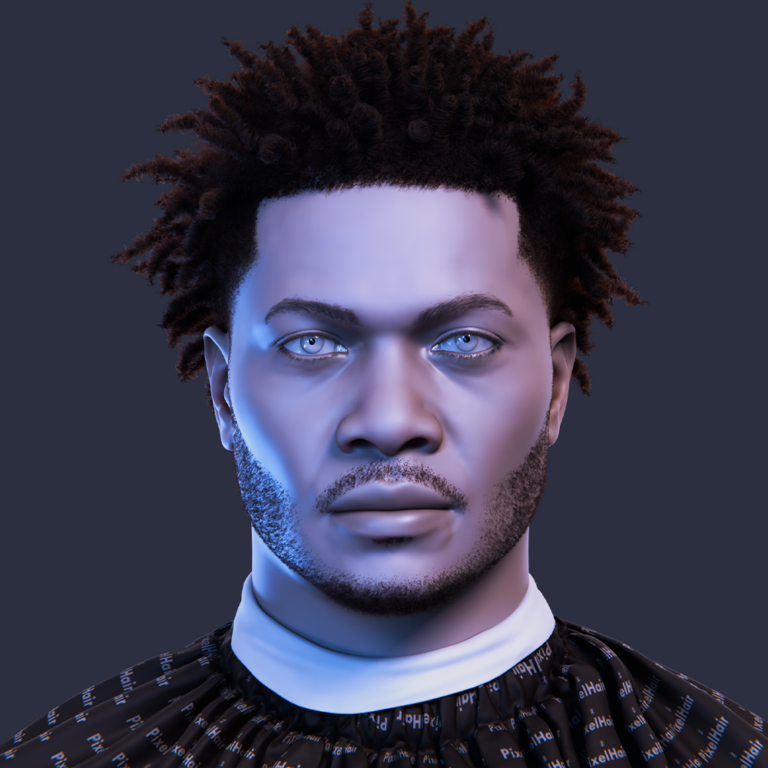
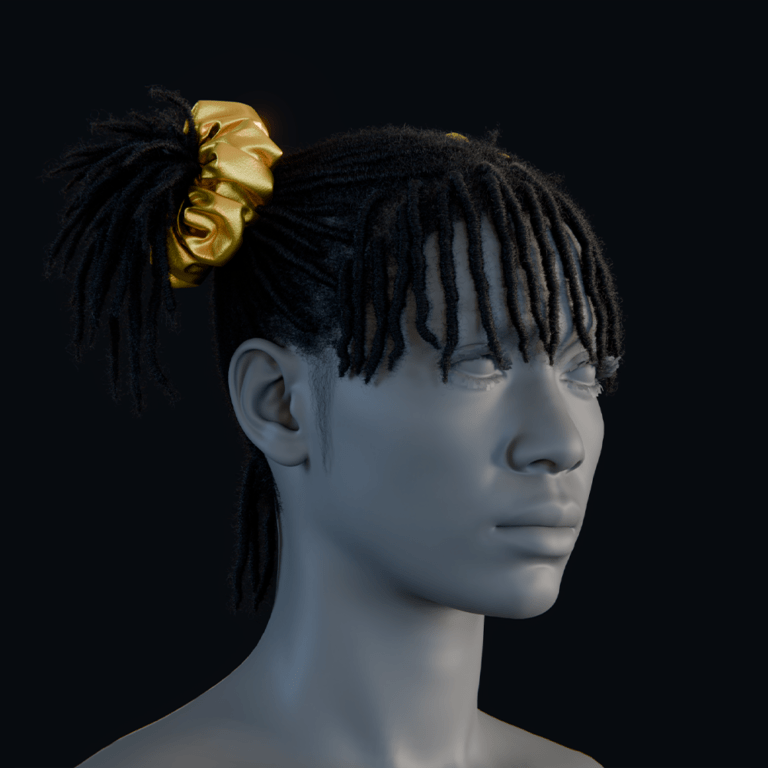
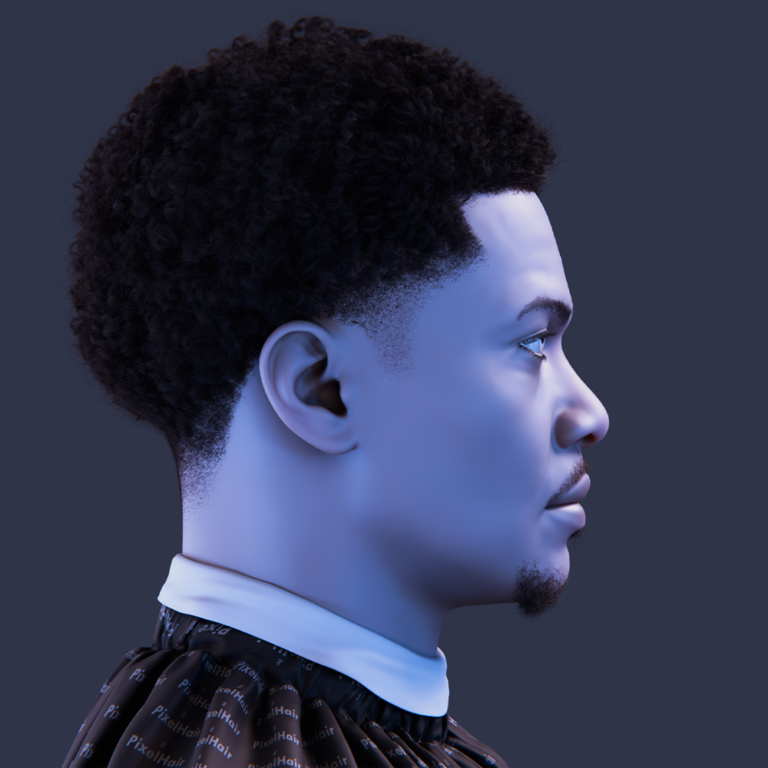
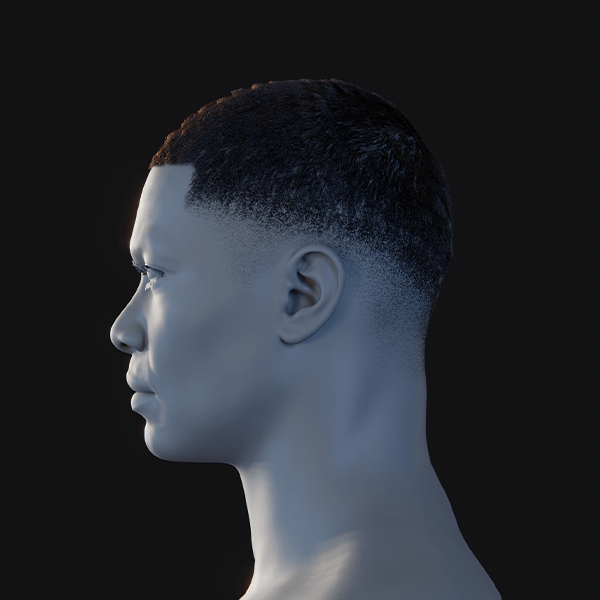
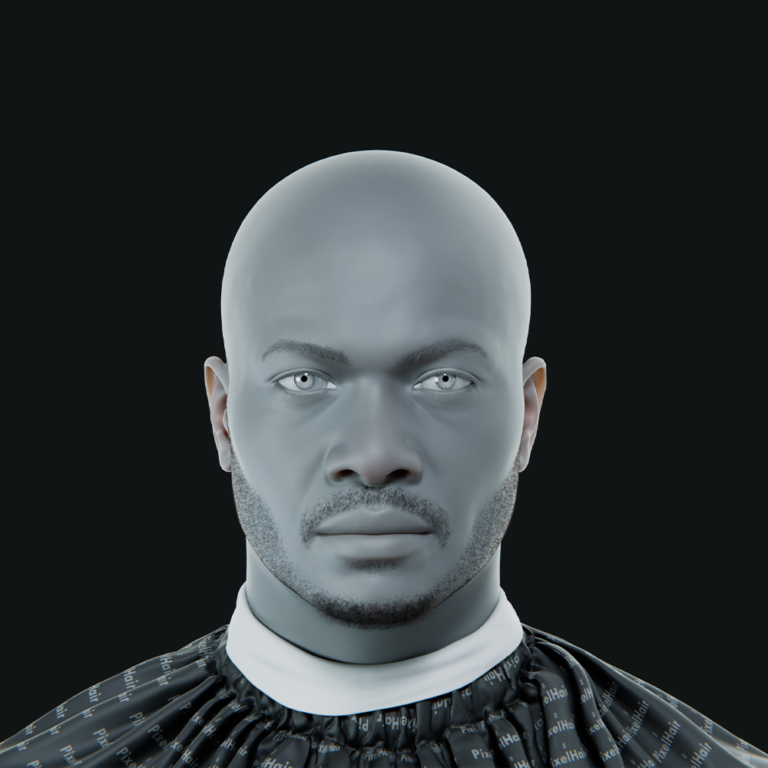
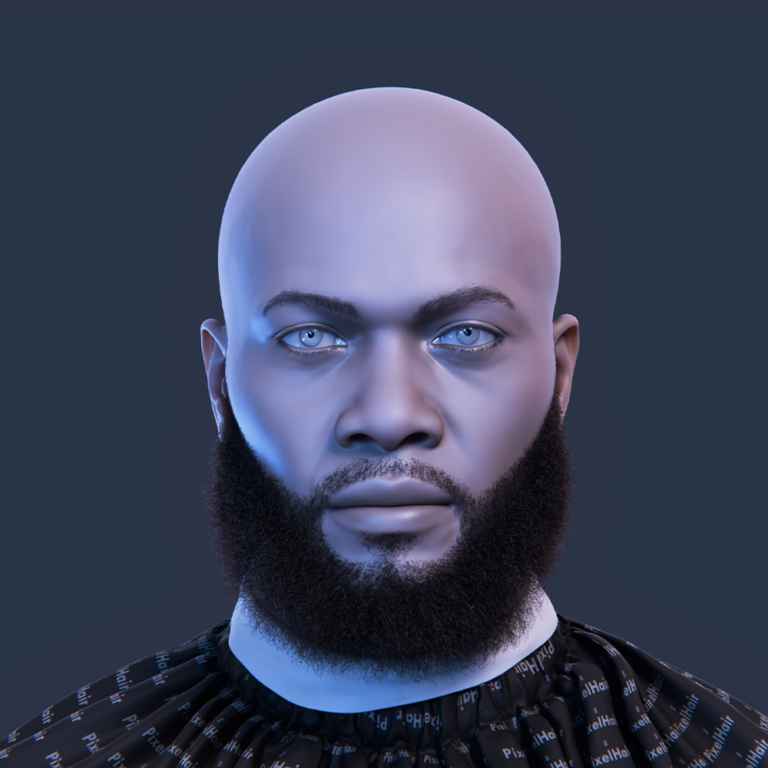
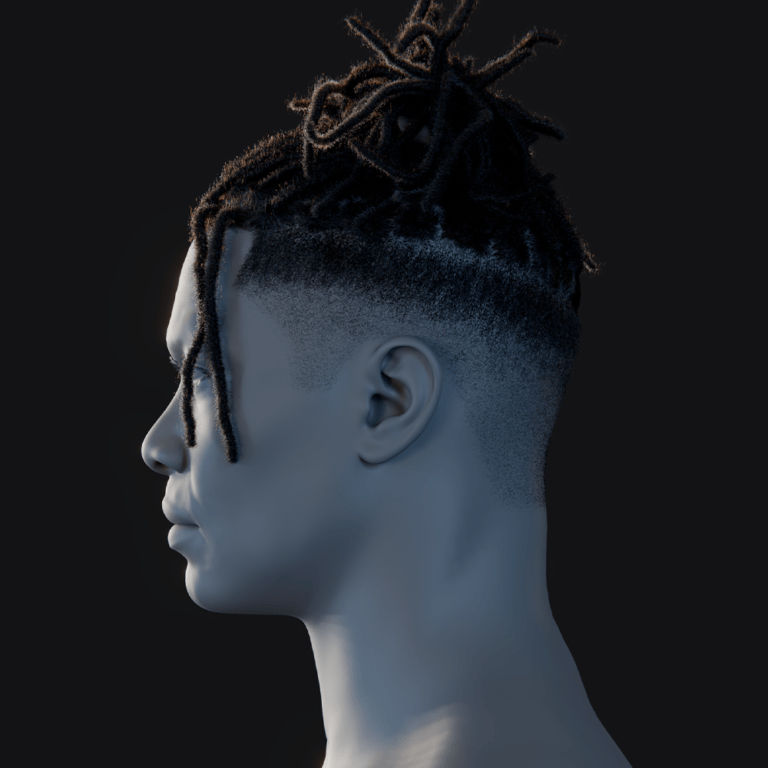
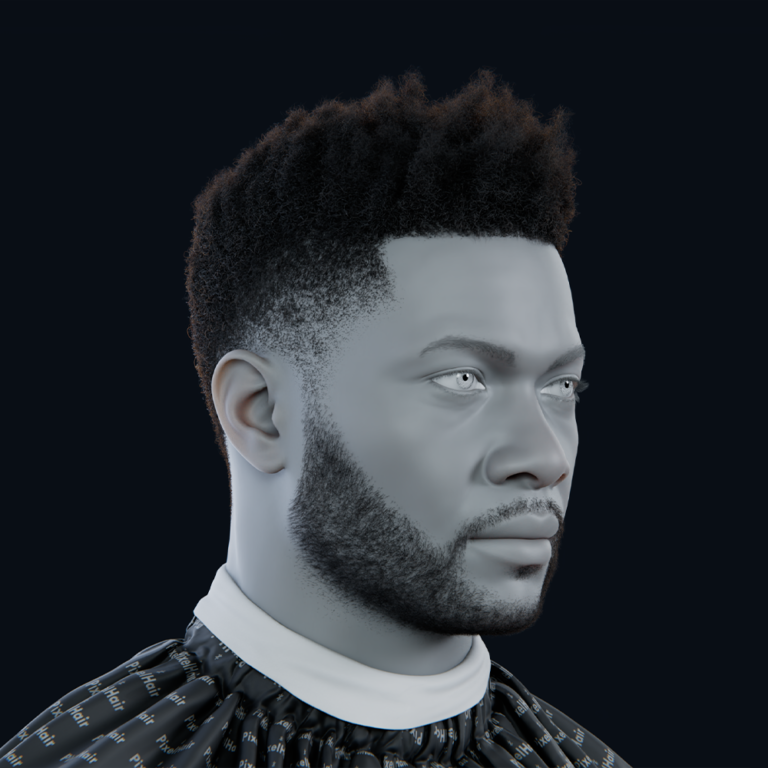
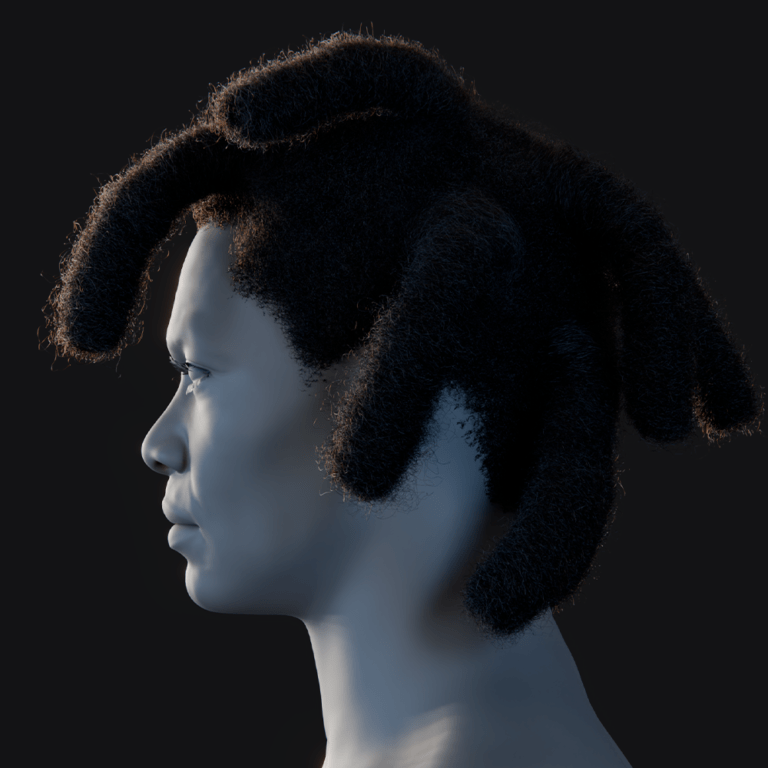
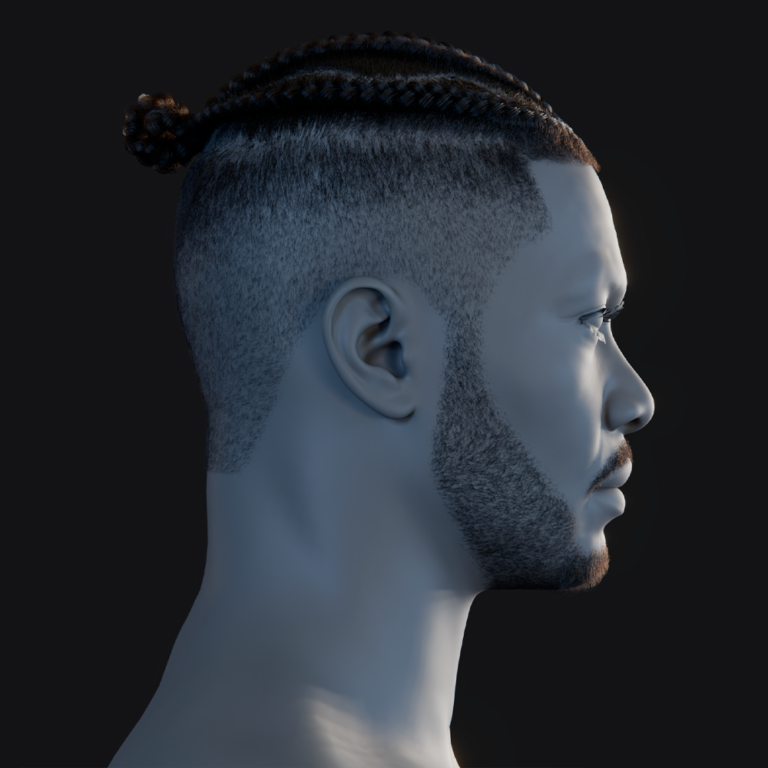
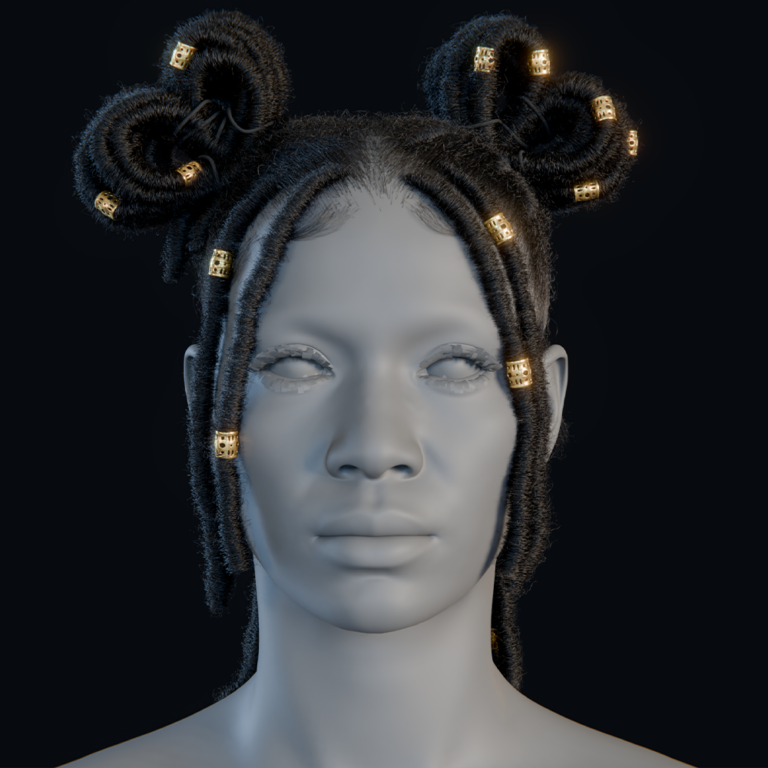
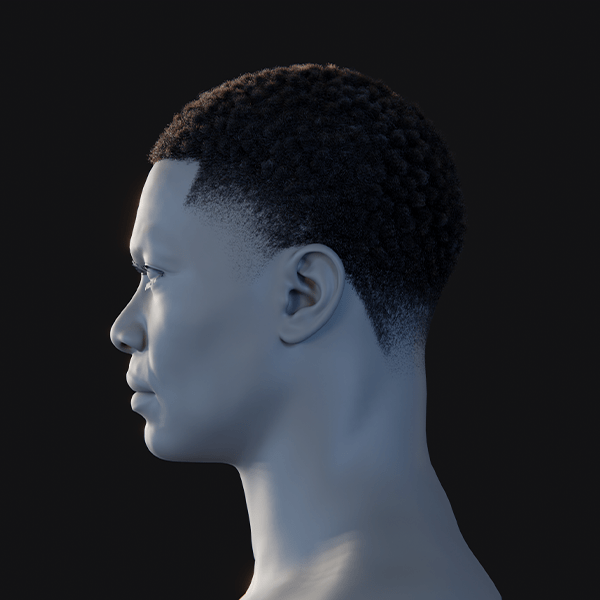
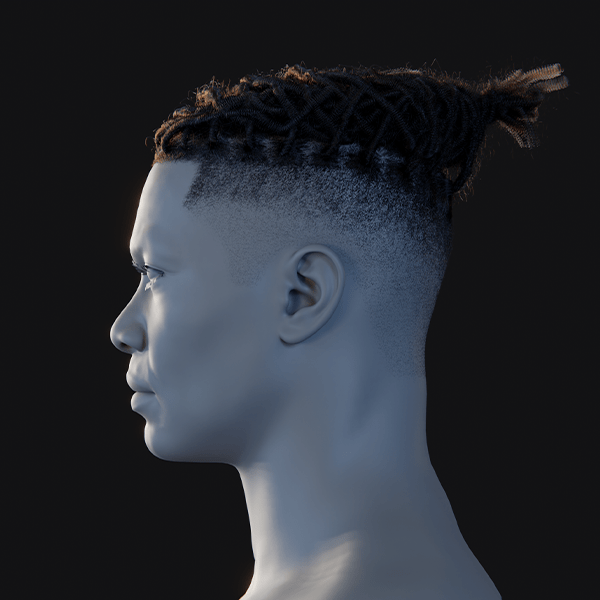
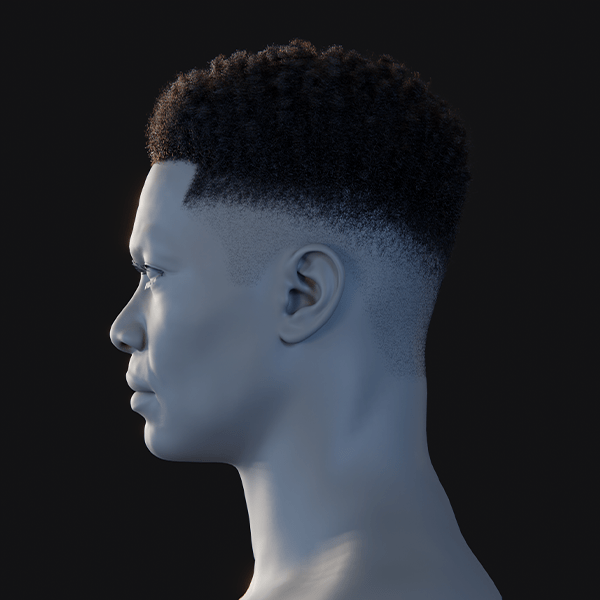
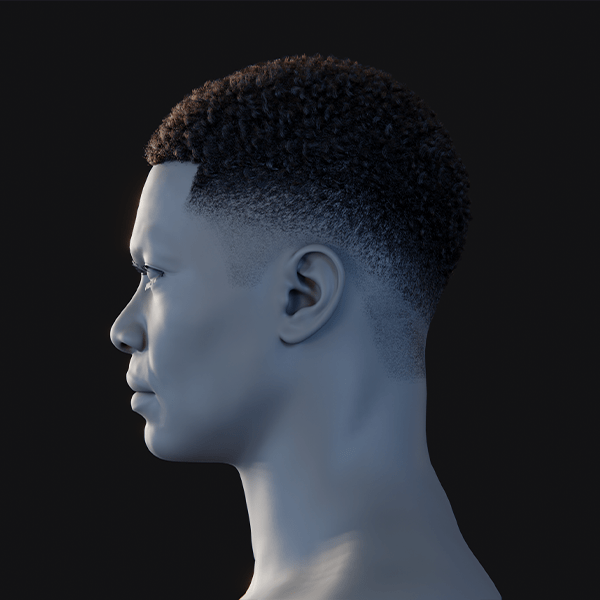
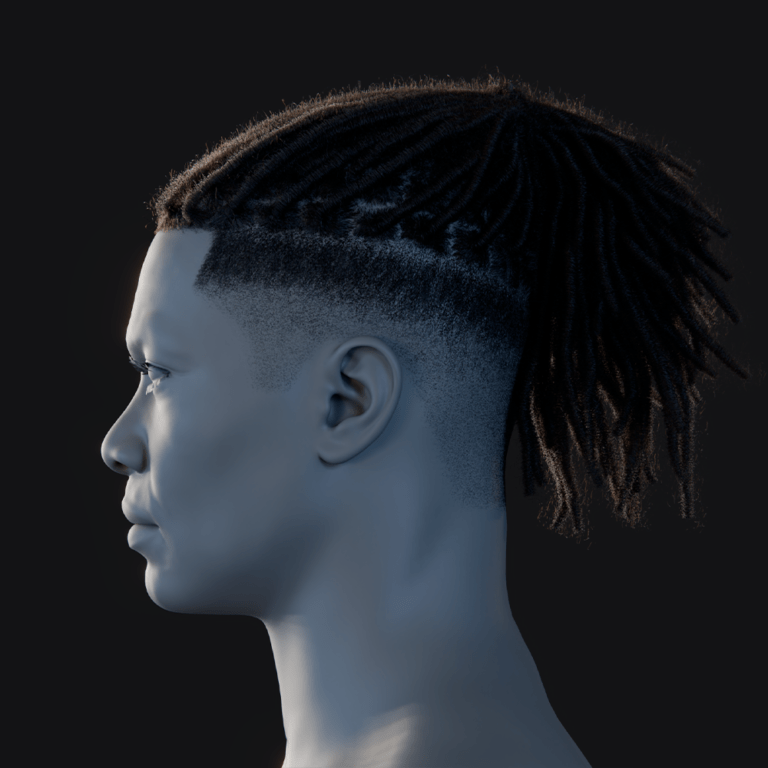
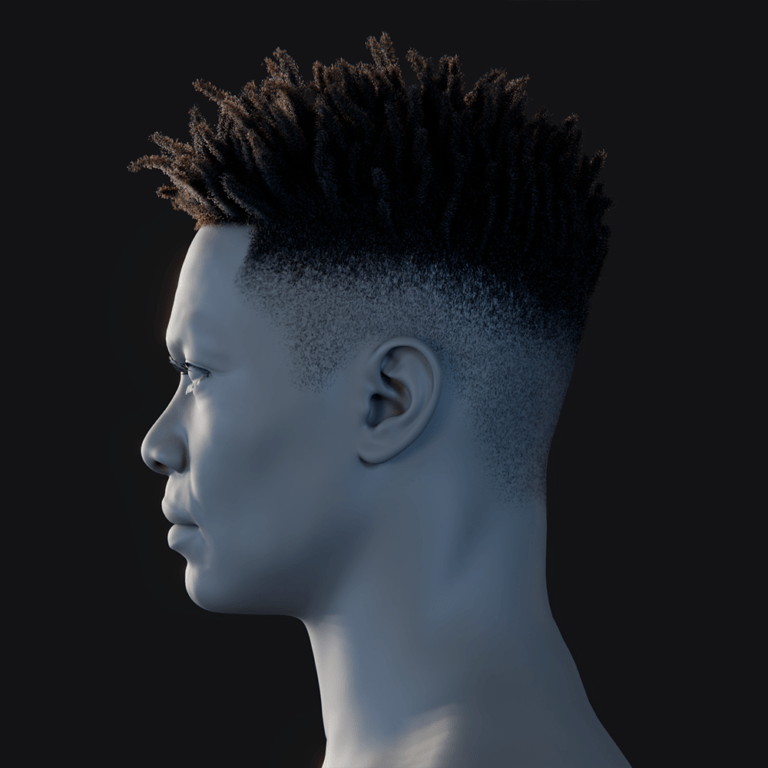
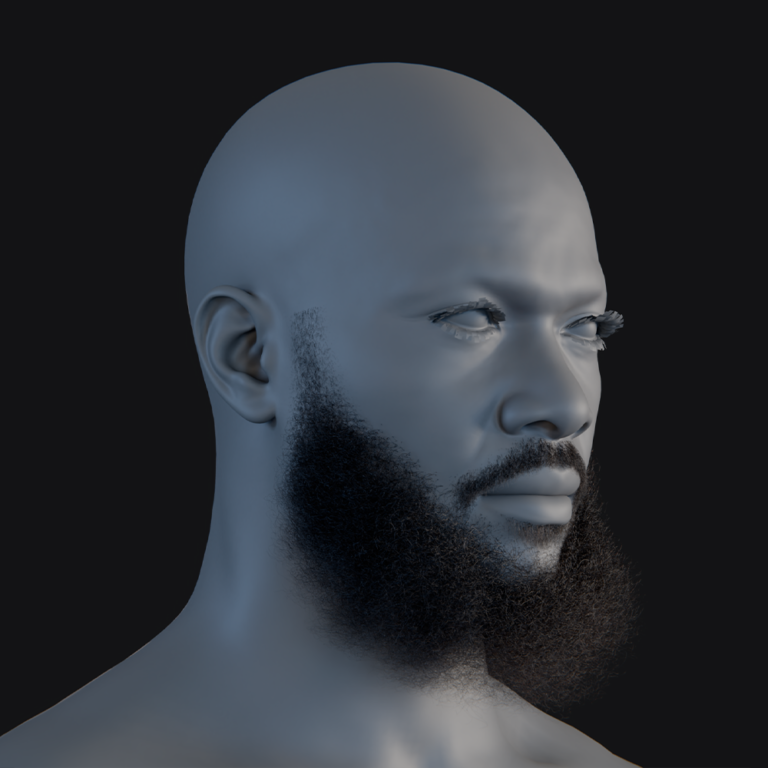
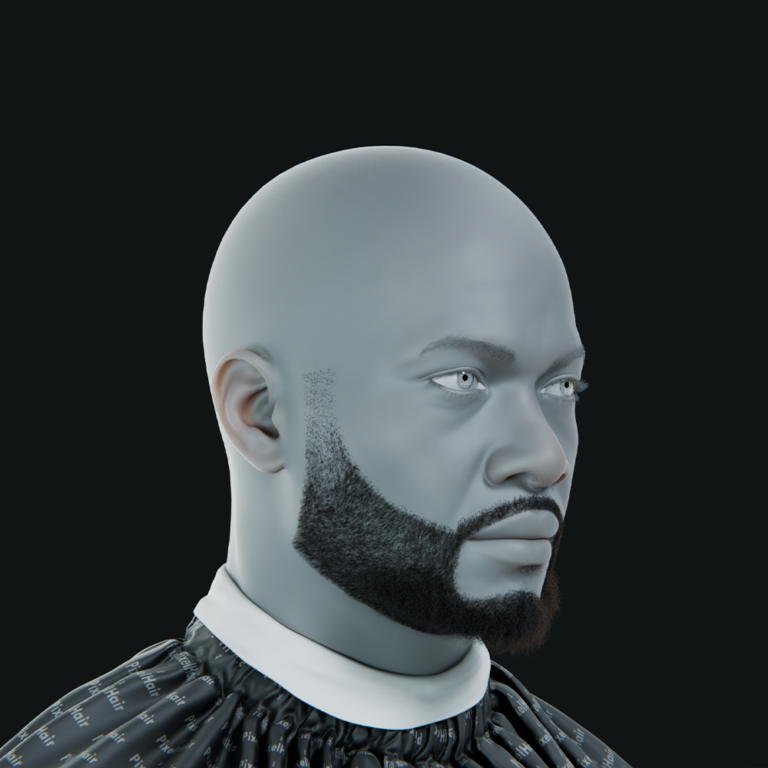
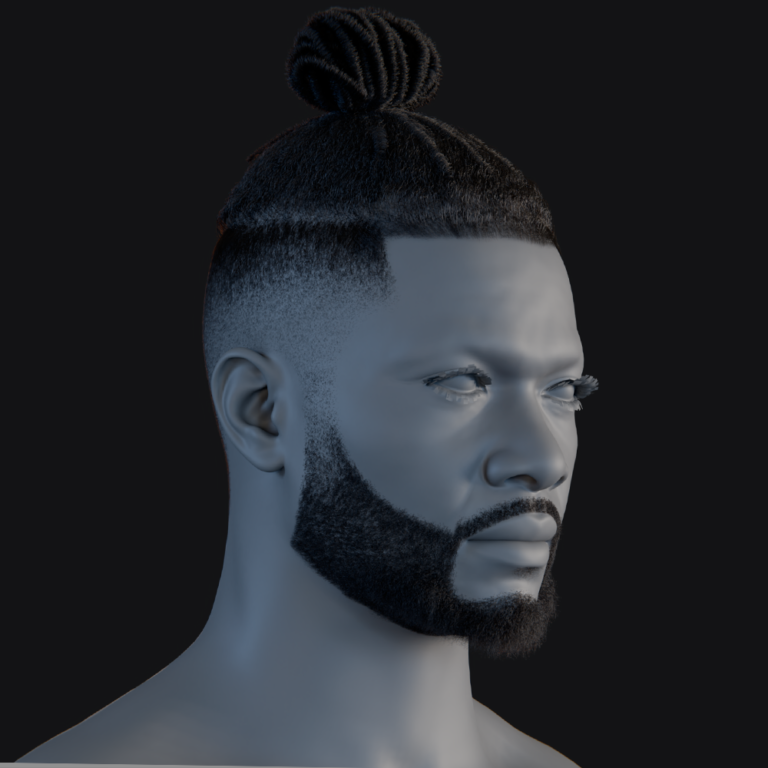
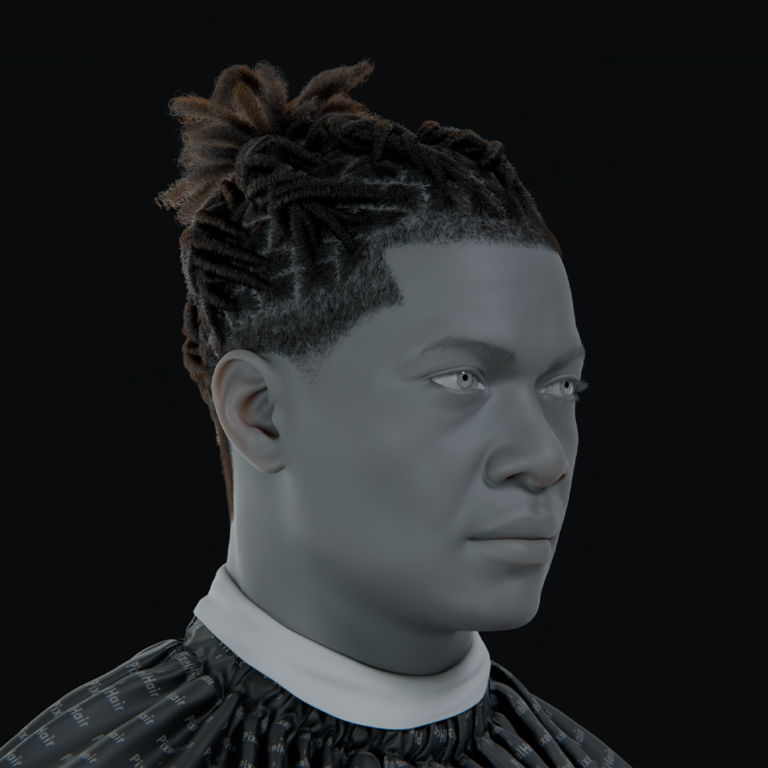
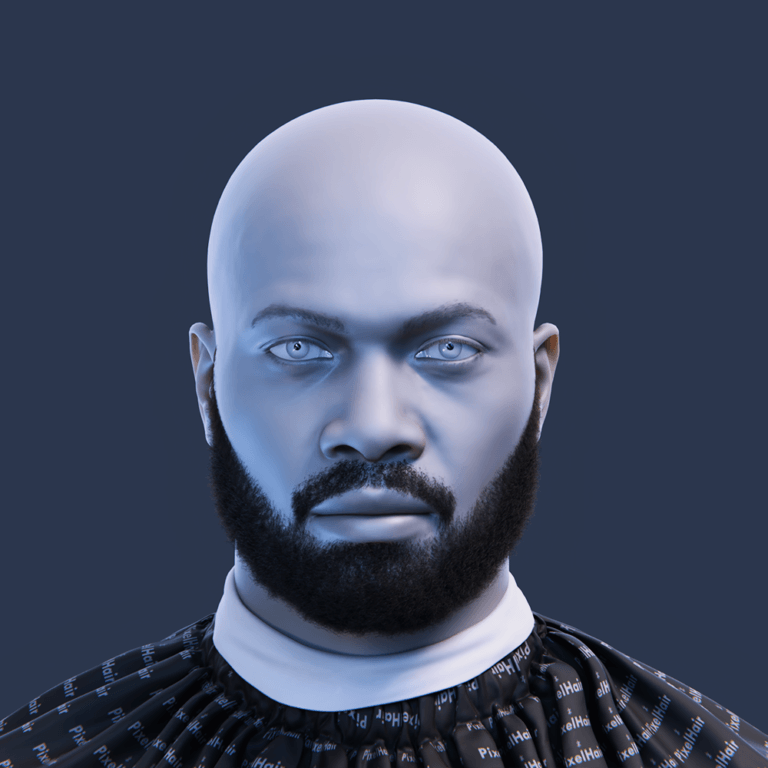
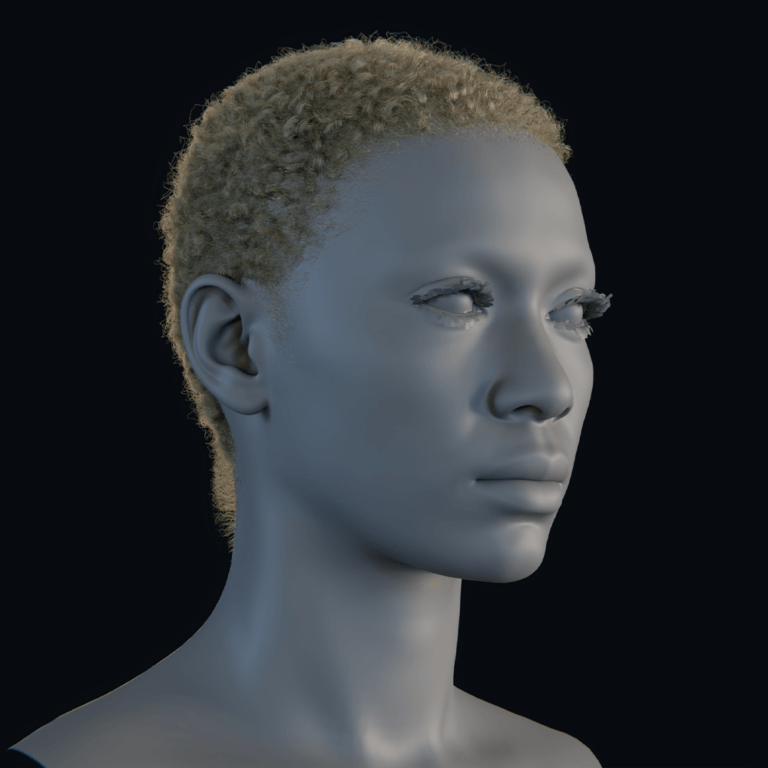
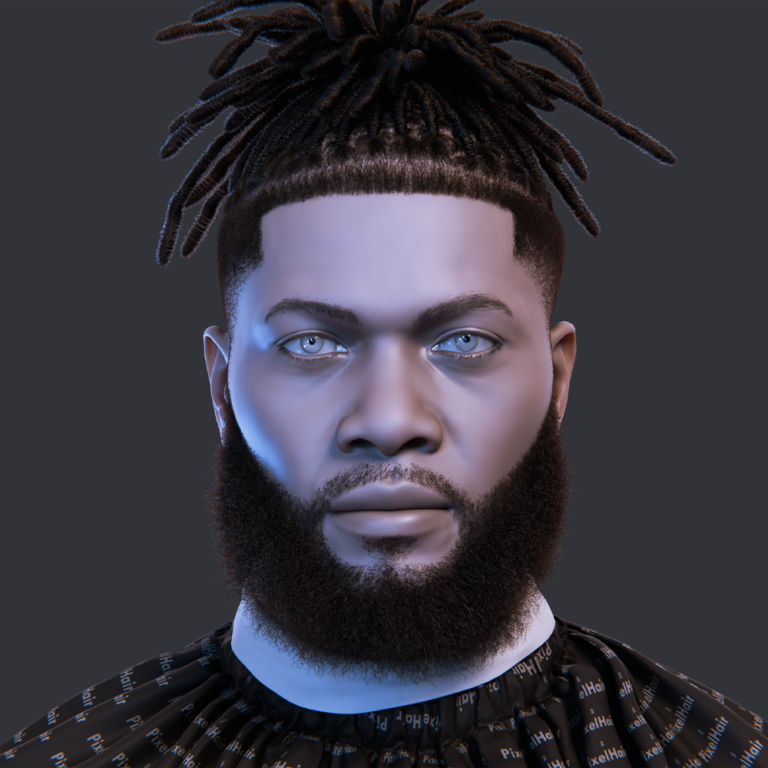
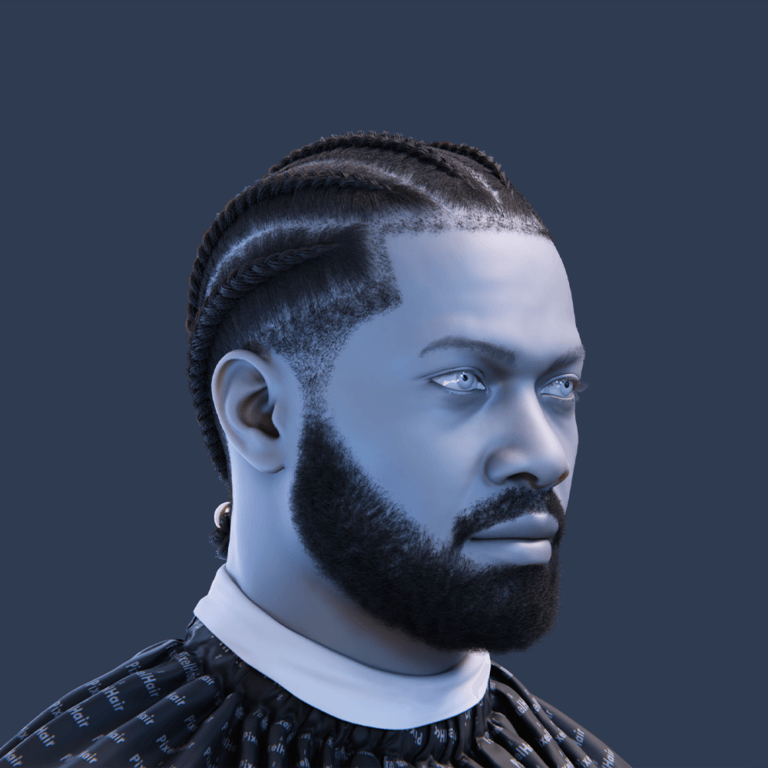
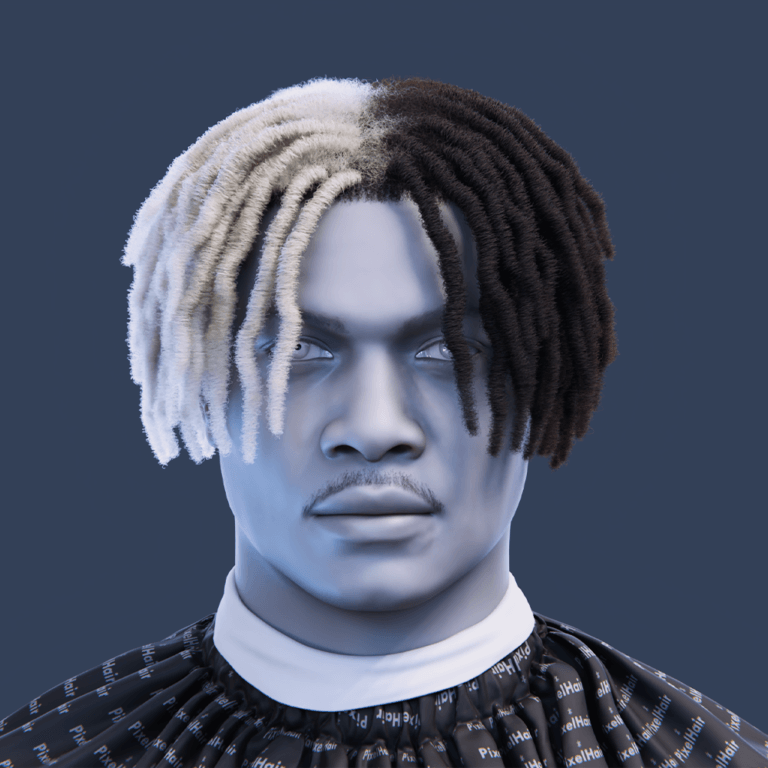
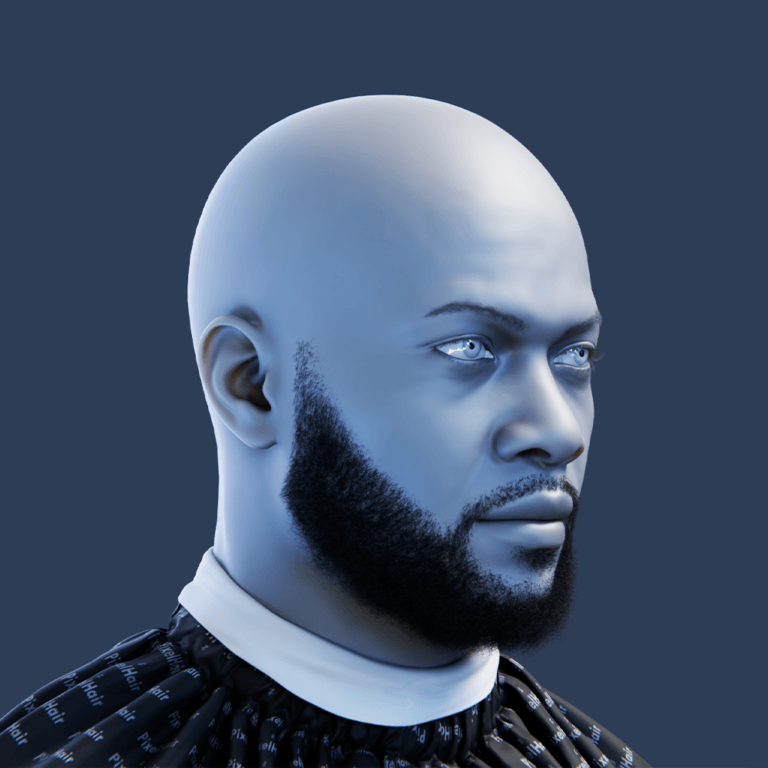
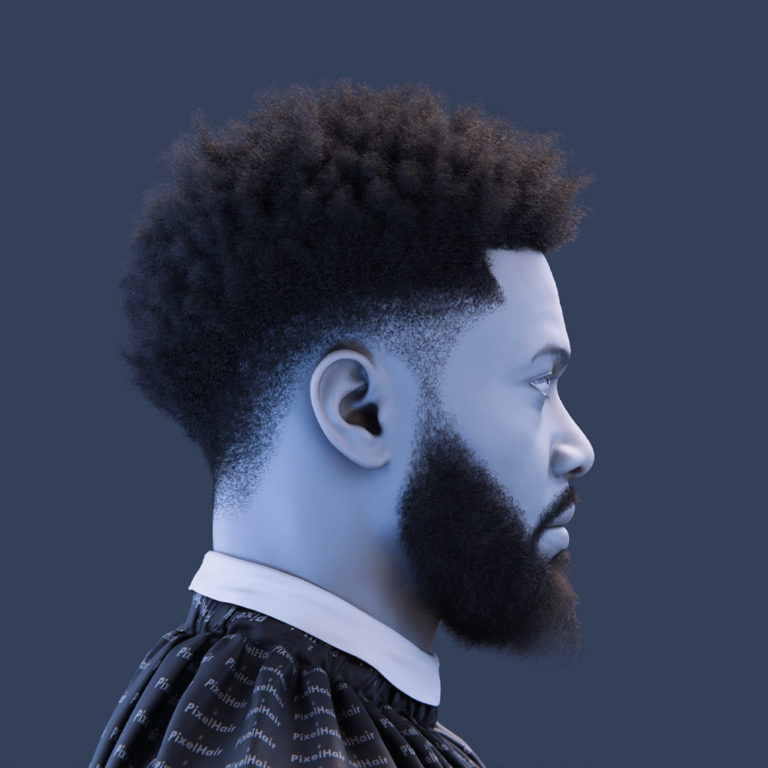
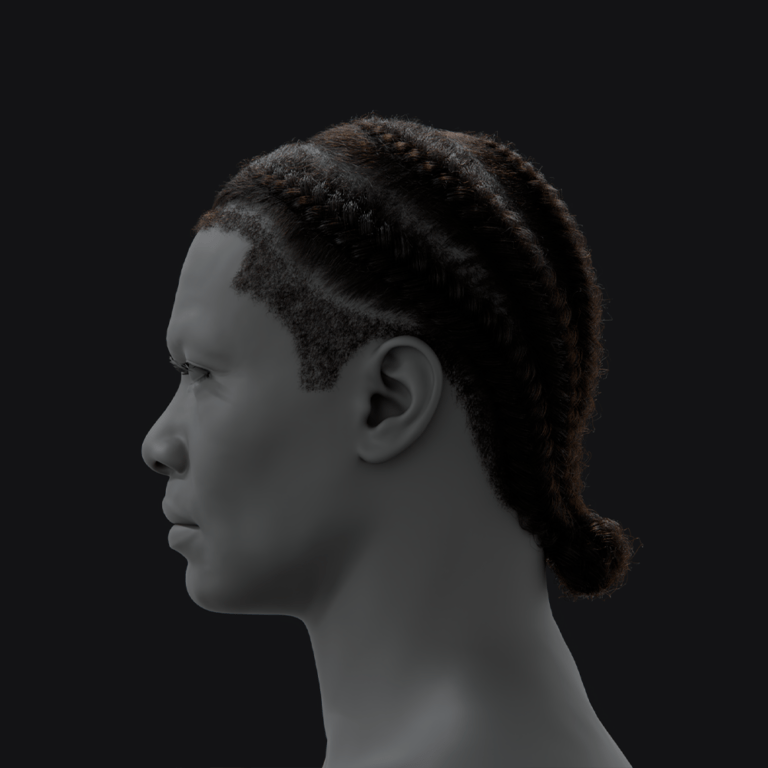
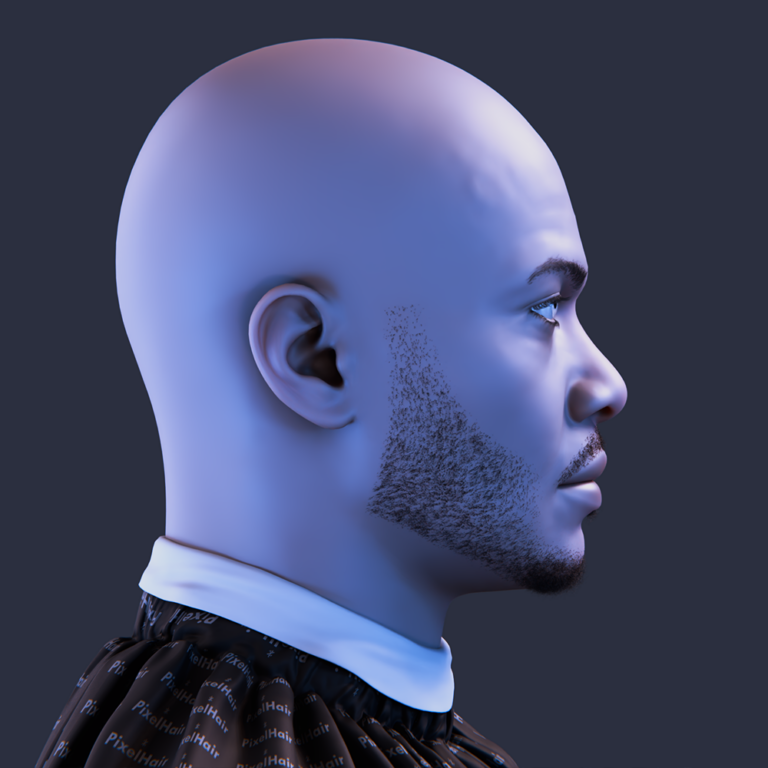
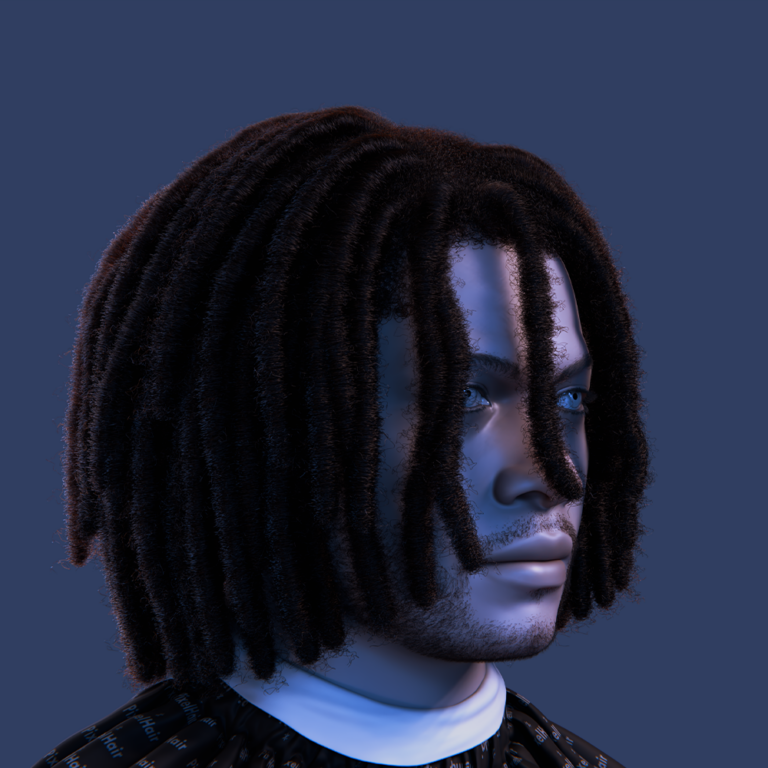
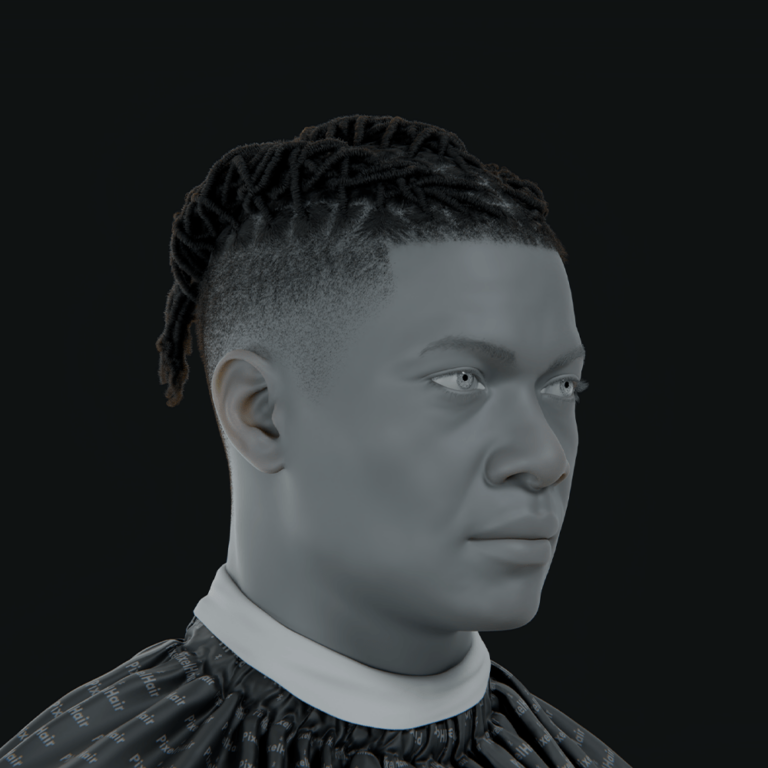
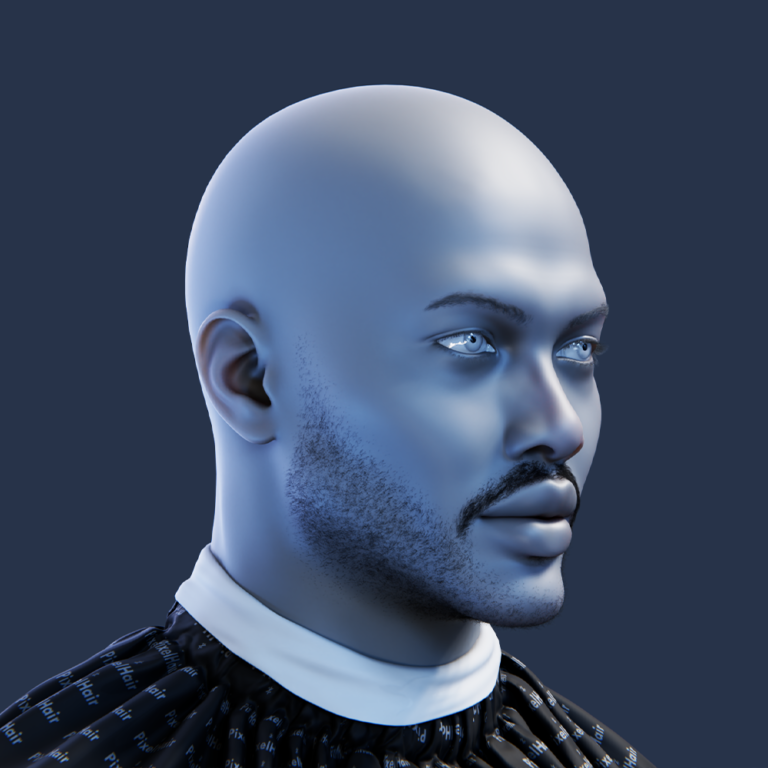
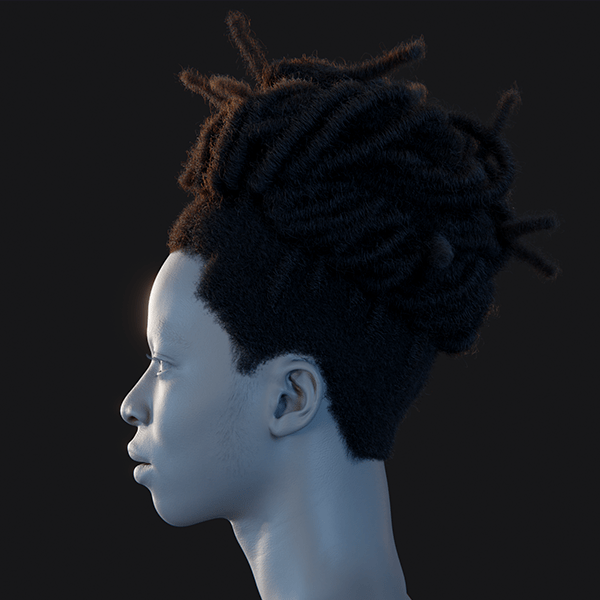
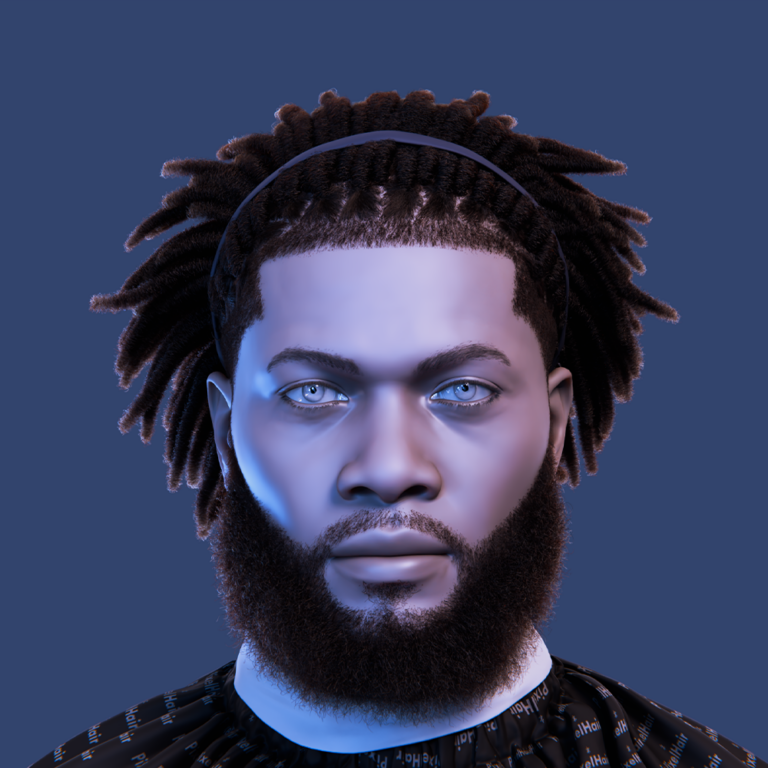
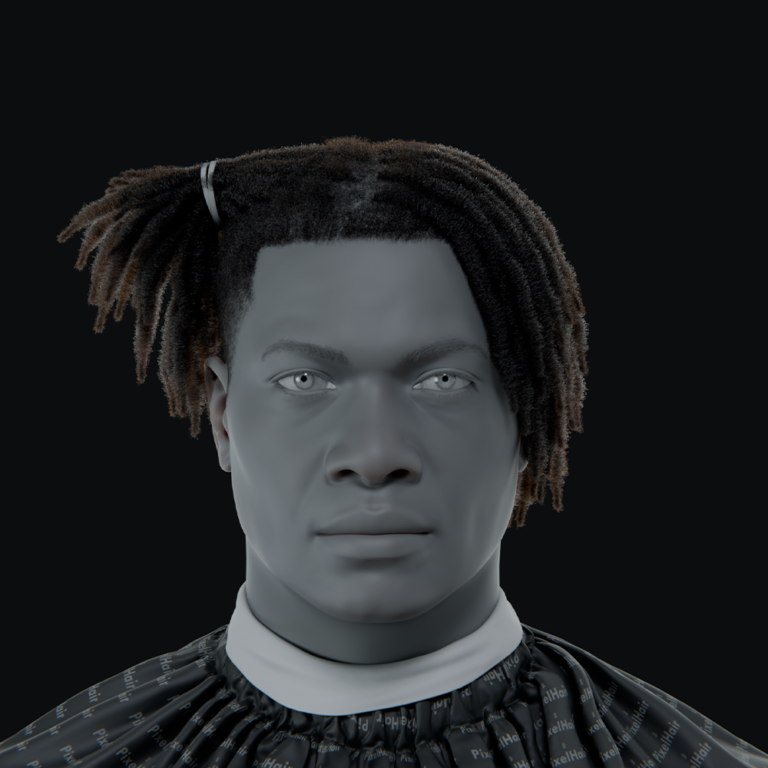
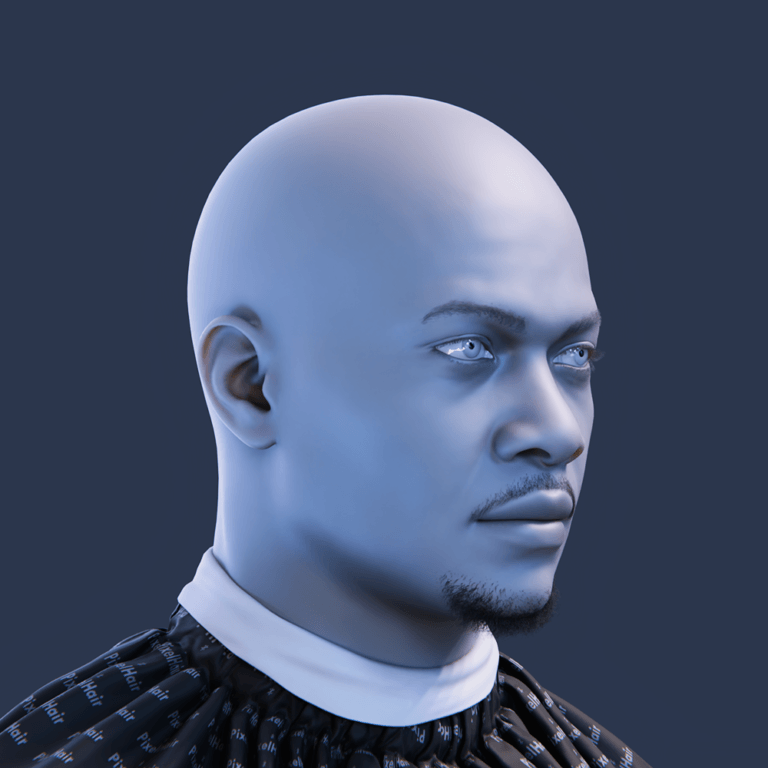
Creating a unique hairstyle for a MetaHuman enhances its realism and personality using Maya’s XGen grooming tools and Unreal Engine’s strand-based Hair and Fur system. This guide details exporting custom MetaHuman grooms from Maya XGen to Unreal Engine, covering preparation, export with the xGen to Unreal script, import, integration, and optimization.
Understanding MetaHuman Grooms and Maya XGen
- MetaHuman Grooms: In Epic Games’ MetaHuman framework, grooms are strand-based hair assets (scalp hair, eyebrows, eyelashes, beards) applied to digital humans. Preset grooms are included, but custom grooms allow unique looks, imported as Groom Assets in Alembic format for Unreal Engine.
- Maya XGen: Autodesk Maya’s XGen generates realistic hair and fur, offering tools to comb hair, adjust strands, and simulate motion. It has two modes: XGen Classic (Legacy) using guide curves and descriptions, and XGen Interactive Groom with intuitive tools. Both can be exported to Unreal, requiring specific data (hair width, group IDs, root UVs) in the Alembic file.
- Why XGen to Unreal?: XGen’s industry-standard hair creation integrates with Unreal’s strand-based system, enabling highly realistic, bespoke hairstyles for MetaHumans beyond default options, using the correct Alembic format.

The XGen to Unreal Script: Installation and Usage
The “xGen to Unreal” script, a third-party Python/MEL tool by Maria Z. (~$15 USD), simplifies exporting XGen grooms to Unreal Engine by automating attribute and formatting tasks. It’s installed in Maya’s scripts or plug-ins and launched via a command to access its UI.
What the Script Does:
- Adds Root UV attributes to hair curves, embedding scalp mesh UV coordinates for texture application in Unreal.
- Assigns Group ID attributes to separate groom parts (e.g., scalp hair, eyebrows) for distinct materials in Unreal.
- Ensures hair width data is exported for accurate strand thickness in Unreal.
- Converts legacy XGen to Interactive Groom format if needed, merging curves for compatibility.
- Combines dense groom curves to prevent export issues, ensuring a cohesive groom.
Maya Version Compatibility: Works with Maya 2022, 2023, 2024, and Unreal Engine 4.27, 5.x, but not Maya 2019, 2020, or 2025. Requires an XGen legacy description; pure Interactive Groom Splines without a description node are unsupported.
Using the Script:
- Open the groom in Maya, modeled on the MetaHuman’s head using XGen (ensure a legacy XGen description for Interactive Grooms).
- Launch the xGen2UE script UI, selecting the base mesh (scalp with UVs) and XGen Description(s).
- Configure via UI buttons: pick UV mesh, convert to descriptions, create/process guides, and export, automatically assigning attributes (root UV, group ID).
- Export an Alembic (.abc) file, ready for Unreal Engine import.
The xGen to Unreal script streamlines grooming export, saving time and reducing errors, though manual export is possible with additional steps if the script isn’t used.
Exporting Custom MetaHuman Grooms from Maya XGen to Unreal Engine
Whether you use the script or not, it’s important to understand the manual export process for XGen hair to Unreal. Here we will go through the step-by-step workflow. If you used the script, many of these steps are done for you, but we’ll note where the script streamlines the process.
Step 1: Prepare the Groom in Maya
Before exporting, make sure your groom is properly set up in Maya:
- Groom on a Base Mesh: Use the MetaHuman’s head or a proxy scalp mesh with proper UVs in the Maya scene. Groom hair in the correct position, as scalp UVs provide root UV attributes for texture inheritance.
- XGen Description: For legacy XGen, use an XGen Description with guides; for Interactive Groom, convert to a description or prepare curves. Epic suggests converting legacy to interactive or exporting/re-importing interactive curves. The xGen to Unreal script automates conversion, but manually use XGen’s Convert to Interactive Groom or reverse as needed for Unreal compatibility.
- Finalize the Hairstyle: Perfect the hair’s shape, length, and density. Simulation or animation is unnecessary for static grooms, as Unreal handles physics. Launch the xGen to Unreal script here if using it; otherwise, proceed manually.

Step 2: Assign Required Groom Attributes
Unreal Engine requires specific attributes on hair curves, added manually (via Python/MEL per Epic’s documentation) if not using the xGen to Unreal script:
- Group ID: For multi-part grooms (e.g., scalp hair, eyebrows), assign a unique groom_group_id integer (e.g., 0,1,2) and a groom_group_id_AbcGeomScope (“con” string) to each curve group’s top node for Unreal material assignment. Epic’s script or manual node selection adds these; the xGen to Unreal script automates this.
- Root UVs: Each strand’s root needs a UV coordinate in the “groom_root_uv” vector array attribute, calculated from the scalp mesh’s closest UV. Epic’s create_root_uv_attribute script or the xGen to Unreal script automates this complex task, ensuring constant scope.
- Hair Width: Enable “Write Final Width” in Maya’s Cache Export to include XGen’s Width parameter. The xGen to Unreal script ensures width capture; manually, check the export option to avoid default thickness.
- Guides (Optional): The groom_guide attribute for simulation is non-functional in the xGen to Unreal script. Unreal generates simulation guides, so most users can ignore this attribute, treating all strands as render hairs.
The xGen to Unreal script automates all attributes with one click, ensuring each hair curve group has a groom_group_id and top-level groups carry a groom_root_uv array.
Step 3: Export the Hair as Alembic
Export the groom as an Alembic (.abc) file for Unreal import:
- Select Hair Curves: For Interactive Grooms, select nurbsCurve groups (e.g., under “OutputCurves”); for legacy XGen, use XGen Editor’s Cache > Export Cache with the Description selected, opening Alembic export options.
- Export Settings:
- Cache Time Range/Frame: Use Current Frame for static grooms.
- Multiple Transforms: Disable to treat hair as a single object hierarchy, avoiding duplicate transform data.
- Write Final Width: Enable to include strand widths.
- UV Write: Enable if available for per-vertex UVs, though custom root UV attributes are used.
- Format: Select Alembic (.abc).
- Attributes to Export: Include groom_root_uv and groom_group_id if possible; attributes set in Step 2 with “AbcGeomScope” are included automatically.
- Set output file name/location (e.g., “MyCharacterHair.abc”).
- Export: Create the Alembic file, which may take time for large grooms. Verify by re-importing into Maya to check NURBS curves; custom attributes are visible in Unreal upon import.
- Using the Script: The xGen to Unreal script’s “Export (ABC)” button automates export with correct settings (Current Frame, necessary attributes), producing a ready Alembic file.

Step 4: Verify and Troubleshoot Export (if needed)
It’s Common export issues and solutions:
- Export Hanging or Slow: Dense grooms (e.g., 300k strands) may hang Maya. The xGen to Unreal script merges curve groups to optimize; manually, reduce density or split grooms, though this complicates imports. Ensure sufficient memory.
- Missing Attributes in Alembic: If Root UV or group ID attributes are absent in Unreal, verify Step 2 attributes and export settings. The xGen to Unreal script prevents this; manually, use Epic’s Python scripts or check export options.
A verified Alembic groom file is ready for Unreal Engine import.
Integrating Custom Grooms with MetaHumans in Unreal Engine
Now for the Unreal Engine side of the pipeline: importing the Alembic groom and attaching it to your MetaHuman character. We will assume you are using Unreal Engine 5 (the process is similar in UE4.26+ as well). Here’s the step-by-step integration process:
Integrating a custom groom into a MetaHuman in Unreal Engine involves importing the Alembic file and attaching it to the character. The process includes enabling plugins, importing the groom, optionally creating a binding, attaching it to the MetaHuman, applying materials, and testing. Proper setup ensures the groom aligns with the head and moves correctly during animations.
Plugin activation is crucial for groom file recognition, and material assignment achieves realistic rendering. The optional binding asset supports complex deformations, though Transfer Skinning often suffices for MetaHuman hair. Testing verifies the groom’s behavior under animation and physics, ensuring seamless integration with the MetaHuman framework.
Step 1: Enable the Groom Plugins in Unreal
Go to Edit > Plugins in the Unreal Editor. Under the Rendering category (or search for “Groom”), find and enable “Hair Strands” or “Groom” (the exact name may be just “Groom”). Also enable “Alembic Groom Importer”. These plugins allow Unreal to recognize groom Alembic files and create Groom Assets.
The editor will prompt a restart after enabling. Restart the engine to activate the plugins.
Step 2: Import the Alembic Groom Asset
In the Content Browser, right-click and select Import to bring in the .abc file. The Groom Import Options dialog will appear, with settings to validate the import:
- Validate Attributes: The dialog checks for Root UV and Group ID attributes to ensure the file is a valid groom. Missing attributes indicate an export error from Maya. Verify the Alembic file includes these for successful import. Correct export issues if validation fails.
- Conversion Settings: Adjust rotation or scale if needed, though Maya-to-Unreal typically uses a scale of 1.0 for consistency. Incorrect settings can misalign or resize the groom in Unreal. Ensure units match between Maya and Unreal. This maintains the groom’s intended appearance.
- Decimation: Set Decimation to 0 for the highest LOD to preserve all strands in the import. Higher decimation reduces strand count, impacting quality. This ensures maximum fidelity for close-up rendering. Adjust only for performance optimization later.
The Groom Import Options dialog ensures the groom is imported correctly with all attributes intact. After setting options, click Import to create a Groom Asset, or troubleshoot if generic Alembic options appear.

Step 3: Create a Binding (Optional)
Unreal’s Groom Binding Asset maps the groom to a MetaHuman’s skeletal mesh for proper deformation during animation. This step is optional, as Transfer Skinning may suffice, but a binding is recommended for MetaHumans:
- Create Binding: Right-click the Groom Asset in the Content Browser and select Create Groom Binding to start the process. This generates a binding asset for the groom. The binding ensures strands follow the mesh accurately. It’s ideal for dynamic head movements.
- Select Target Mesh: Choose the MetaHuman head skeletal mesh as the target for the binding asset. This maps the groom to the head’s surface and deformation. Ensure the correct head mesh is selected for alignment. Incorrect meshes cause hair misalignment.
- Select Skeleton: Assign the MetaHuman head’s skeleton to the binding to link strands to bone movements. This ensures the hair follows animations like head tilts or turns. The skeleton must match the target mesh for consistency. This step completes the binding setup.
Binding is optional for rigid attachments but enhances deformation accuracy for MetaHumans. It ensures the groom follows head movements seamlessly during animations.
Step 4: Attach the Groom to the MetaHuman Character
There are a couple of ways to attach the groom to your MetaHuman. The goal is to have the groom follow the head of the character:
- Method A: Add via Blueprint (MetaHuman BP): In the MetaHuman Blueprint, add a Groom Component and assign the Groom Asset, attaching it to the head bone. Enable Transfer Skinning to pin strands to the skeletal mesh for animation compatibility. This setup ensures the hair moves seamlessly with the character. Compile the Blueprint for a permanent integration.
- Add Groom Component: In the Blueprint’s Components panel, add a Groom Component to the MetaHuman’s hierarchy. Assign the Groom Asset to this component for rendering. Attach it to the head bone for proper positioning. This integrates the hair into the character’s rig.
- Enable Transfer Skinning: Enable Transfer Skinning in the Groom Component to pin strands to the skeletal mesh. This ensures the hair follows animations without a binding asset. It’s a simpler alternative for rigid hair setups. Compile the Blueprint after enabling.
- Method B: Attach at Runtime/In Level: Drag the Groom Asset into the level to create a Groom Actor, then attach it to the MetaHuman’s head socket. Enable Transfer Skinning in the Groom Component for proper movement. This method is ideal for quick testing but less permanent. Blueprint integration is recommended for final setups.
- Create Groom Actor: Drag the Groom Asset into the level to spawn a Groom Actor for testing. This creates a standalone actor with the groom’s properties. Attach it to the MetaHuman’s head socket in the Details panel. This allows quick visualization of the hair.
- Attach to Head Socket: In the Groom Actor’s Details panel, set the attachment to the MetaHuman’s head socket for proper alignment. Enable Transfer Skinning to ensure movement with animations. This is a temporary setup for iteration. Use Blueprint for final integration.
After attachment, verify the hair aligns with the scalp, adjusting the Groom Component’s transform if needed. This ensures the groom integrates seamlessly with the MetaHuman.

Step 5: Assign Hair Materials
At this stage, the groom is in place but may appear white or default-colored. You need to apply a hair material to it:
- Use MetaHuman Hair Material: Reuse a MetaHuman hair material instance, tweaking colors or melanin for customization. This shader supports realistic rendering with root UVs for accurate color gradients. Assign it in the Groom Asset editor or Groom Component. It ensures compatibility with MetaHuman’s rendering pipeline.
- Select Material Instance: In the Groom Asset editor, assign a MetaHuman hair material instance to the material slot. These materials are located in the MetaHuman content folder. Tweak melanin or color parameters for customization. This ensures realistic hair rendering.
- Apply to Groom Component: Alternatively, assign the material in the Groom Component’s Details panel in the Blueprint. This applies the material to the rendered hair. Ensure the material supports root UVs for texture mapping. This maintains rendering consistency.
- Multiple Groups: For grooms with multiple groups (e.g., hair, eyebrows), assign materials to each group slot in the Groom Asset editor. For example, use a hair material for Group 0 and an eyebrow material for Group 1. This enables unique rendering per section. Group IDs provide precise material control.
- Assign Group Materials: In the Groom Asset editor, locate the Groups section and assign materials to each group slot based on Group IDs. For example, Group 0 for hair, Group 1 for eyebrows. This allows distinct shaders per hair part. Ensure Group IDs match export settings.
- Verify Rendering: Preview the groom in the editor to confirm each group renders with the correct material. Adjust material parameters like opacity for eyebrows if needed. This ensures visual distinction between hair parts. Test in play to validate rendering.
With materials applied, the groom displays correct color and shading, leveraging root UVs for realism. The MetaHuman hair material ensures optimal rendering quality.
Step 6: Test in Action
With the groom attached and materials applied, test it to ensure it works as expected:
- Animate the MetaHuman: Add an animation sequence to the MetaHuman in the level or Blueprint to test hair movement. Ensure the hair follows the head during tilts, turns, or facial animations. Verify that Transfer Skinning or the binding keeps strands attached. This confirms integration with the character’s rig.
- Enable Physics: In the Groom Asset editor, enable physics simulation for dynamic hair, especially for long styles. Unreal auto-generates guides (10% of strands) for simulation, applying gravity and stiffness. Adjust physics settings like damping or stiffness for natural motion. This adds realism to hair behavior.
- Check Simulation Guides: Verify Unreal’s auto-generated simulation guides are active in the Groom Asset’s Physics settings. If simulation is stiff, ensure Enable Simulation is checked and guides are sufficient. Increase guide count for complex physics if needed. This ensures dynamic hair moves correctly.
- Adjust Physics Settings: Fine-tune physics parameters in the Groom Asset editor, such as gravity, stiffness, or collision radius, for desired behavior. For example, reduce stiffness for flowing hair or increase for rigid styles. Test in play to observe real-time results. This optimizes the groom’s dynamic appearance.
The groom should move naturally with the MetaHuman’s animations and physics. Adjust settings or bindings if issues like lag or stiffness occur during testing.

Optimization and Performance Best Practices
Optimizing high-fidelity grooms for real-time performance involves reducing XGen strand count, using Unreal’s LOD system to scale strands by distance, and employing hair cards for distant LODs. Simplifying physics by limiting guide hairs or disabling simulation and optimizing materials reduces computation. Profiling tools pinpoint bottlenecks, maintaining visual quality while ensuring efficient resource use.
Here are some optimization and performance best practices to consider:
- Limit Strand Count: Reducing strands in XGen to the minimum needed lowers rendering costs while maintaining visual quality. Interpolation fills gaps to preserve the groom’s appearance effectively. This optimization significantly improves frame rates in real-time scenarios. Testing density ensures a balance between quality and performance.
- Use Level of Detail (LOD): Configure LODs in the Groom Asset editor to reduce strands at distance, e.g., 100% at LOD0, 10% at LOD2. Auto LOD bias simplifies setup by progressively dropping strands. This boosts performance without noticeable visual pops. Preview LODs to maintain consistency across distances.
- Hair Cards for Distant LODs: Use hair cards, flat polygons with hair textures, for far LODs to approximate hair volume efficiently. Unreal 4.27+ supports generating Procedural Hair Cards from grooms for crowds or low-end hardware. This reduces rendering costs significantly at distance. Cards can replace strands in gameplay scenarios.
- Simplify Physics: Disable simulation for short hair or reduce guide hair count to lower physics computation costs. Unreal interpolates motion from fewer guides, maintaining visual quality. Tune collisions to affect only guide strands for efficiency. This ensures performance without sacrificing realism.
- Optimize Materials: Use simple hair materials, avoiding costly features like dynamic strand variations or deep shadows. MetaHuman hair materials are optimized but can be profiled for efficiency. LOD materials with grooms reduce rendering costs further. This maintains fast rendering with realistic visuals.
- Profile and Test: Use Unreal’s GPU profiler to measure hair simulation and render times for optimization. Adjust strand count, physics, or materials if performance lags. Hybrid approaches, like fewer strands with cards, compensate for volume loss. Test across platforms to ensure broad compatibility.
Optimizing strands, physics, and materials with Unreal’s LOD system balances quality and performance. This ensures efficient rendering for various platforms and character counts.
What is the xGen to Unreal Script for exporting custom MetaHuman grooms?
The xGen to Unreal Script is a specialized tool designed to transfer hair grooms created in Maya’s XGen into Unreal Engine, specifically for use with MetaHuman characters. Developed by Maria Zatorska (Virtual People Stylist) with Roman Zhuk, this script automates the conversion of Maya XGen hair into an Alembic format groom that Unreal Engine can import. In essence, it bridges the gap between Maya’s powerful grooming system and Unreal’s strand-based hair system, enabling artists to create custom MetaHuman hairstyles in Maya and then easily use them on MetaHuman models in Unreal Engine.
This script was built to expedite what would otherwise be a complex manual workflow. With the xGen to Unreal Script, hair designers can bypass many tedious steps and export hair with correct attributes in one click. The result is an Alembic hair asset that retains all necessary data (such as root UV mapping and strand width) to look and behave correctly in Unreal’s Groom system. By using this script, creators are not limited to the default hair options in MetaHuman Creator – they can design unique styles in Maya XGen and bring those into Unreal’s MetaHuman framework, unlocking a new level of personalization for digital humans.

How does the xGen to Unreal Script automate the export process from Maya to Unreal Engine?
The xGen to Unreal Script automates these steps, greatly simplifying the workflow. Here’s how it streamlines the process:
- One-Click Attribute Assignment: The script assigns Root UV, Group ID, and width attributes to hair curves with a single button press for Unreal compatibility. This eliminates the need for manual scripting or MEL commands in Maya. These attributes ensure accurate texture mapping and material assignments in Unreal. Artists can focus on creative grooming rather than technical tasks.
- Automated Curve Conversion: For legacy XGen, the script converts guides to NURBS curves programmatically, replicating Maya’s conversion functions seamlessly. This prepares the groom for Alembic export without requiring user intervention. The resulting curves are compatible with Unreal’s import pipeline. This automation ensures a smooth transition from XGen to export.
- Batch Processing and Merging: The script merges dense groom curve groups to simplify export and prevent fragmented Alembic files. This reduces clutter and ensures a cohesive groom asset in Unreal. It optimizes performance for high-strand-count grooms effectively. The result is a unified file that imports cleanly.
- Alembic Export Execution: The script triggers Maya’s Alembic export with correct settings, including attributes and constant scope for Unreal compatibility. It produces an .abc file ready for Unreal’s Groom Importer without manual configuration. This streamlines the export process significantly. The output is plug-and-play for Unreal integration.
The script accelerates the workflow by automating complex tasks and ensures reliable exports. Artists can focus on design while the script handles technical requirements.
What are the prerequisites for using the xGen to Unreal Script with Maya and Unreal Engine?
Before using the xGen to Unreal Script, there are several prerequisites and compatibility considerations to ensure a smooth experience:
- Maya Version: The script supports Maya 2022, 2023, and 2024, leveraging their XGen APIs and Python 3 compatibility. Older versions like Maya 2019 or 2020 are unsupported due to API differences, as is Maya 2025. Using an unsupported version will cause script failures. Ensure a supported Maya version is installed for proper functionality.
- Maya XGen (Legacy): The groom must use legacy XGen with Descriptions and guide curves, not Interactive Groom Splines, which the script cannot process. A legacy XGen Description node is required in the scene for detection. Interactive Grooms need conversion to legacy XGen first. This ensures the script can recognize and export the groom.
- Unreal Engine Version: The script supports Unreal Engine 4.26/4.27 and all UE5 versions, which include the Alembic Groom Importer plugin. These versions ensure compatible groom import and rendering systems. The plugin must be enabled in the project for imports. This allows seamless integration of exported grooms.
- MetaHuman Base & UVs: The groom requires a MetaHuman head or scalp mesh with non-overlapping UVs in 0–1 space for root UV calculations. This mesh is typically imported into Maya as a grooming reference. Proper UVs ensure accurate texture mapping in Unreal. The MetaHuman head geometry provides a standard base.
- Maya Plugins: The Alembic export plugin (AbcExport) and legacy XGen must be enabled in Maya, typically active by default in 2022+. Ensure XGen is accessible in Maya’s menus for grooming. These plugins are essential for the script’s export functionality. Verify their activation to avoid errors.
- Unreal Engine Plugins: Enable the Alembic Groom Importer and Groom plugins in Unreal, along with Chaos or Niagara for physics if simulation is needed. These plugins allow Unreal to process and render groom files correctly. Check the Plugins menu to confirm they are active. This ensures proper import and functionality.
- Hardware Considerations: Dense grooms require sufficient RAM, and Unreal’s hair simulation demands a capable GPU/CPU for smooth performance. While not strict requirements, adequate hardware prevents slowdowns during export and testing. Plan for high-strand-count grooms to avoid bottlenecks. This ensures efficient workflow execution.
These prerequisites establish a solid foundation for the script’s effective operation. Proper setup avoids compatibility issues during export and import.

How to install and set up the xGen to Unreal Script in Maya?
Installing the xGen to Unreal Script in Maya is straightforward. Once you have purchased or obtained the script (as a .py or .mel file), follow these general steps to set it up:
- Download the Script Package: Extract the ZIP file (e.g., xGen2UE_RealtimeHair.zip) containing the script and supporting files to an accessible location. Check for a readme with specific installation instructions to guide the process. This ensures all necessary components are available. The package is typically provided after purchase or download.
- Locate the Script File: Identify the main script file (e.g., xGen2UE.py or .mel) within the extracted package for loading in Maya. The readme may clarify the file’s role and usage instructions. This file is the core tool for export automation. Ensure it’s easily accessible for setup.
- Copy to Maya Scripts Folder (Optional): Place the script in Maya’s user scripts directory (e.g., Documents/maya/<version>/scripts) to simplify access. This allows Maya to locate it without specifying a full path. It’s an optional step but enhances workflow efficiency. Restart Maya if needed after copying.
- Load the Script in Maya: In Maya’s Script Editor, drag and drop the script file or use a Python import command (e.g., import xGen2UE; xGen2UE.show_ui()). For MEL scripts, use source “xGen2UE.mel” with the correct path. This loads the script and opens its UI for export. Ensure the Script Editor is set to the appropriate mode (Python or MEL).
- Drag and Drop: Drag the script file into Maya’s Script Editor to execute it directly. This runs the script and opens the UI for immediate use. Ensure the file path is correct to avoid errors. This is the simplest loading method.
- Python Import: Use a Python command like import xGen2UE; xGen2UE.show_ui() in the Script Editor to load the script. This requires the script to be in Maya’s script path or a specified directory. It provides a programmatic way to access the UI. Ensure Python mode is active.
- MEL Source: For MEL scripts, use the command source “path/to/xGen2UE.mel” in the Script Editor to load it. Specify the full file path if not in the scripts folder. This executes the MEL script and opens the UI. Ensure MEL mode is active in the editor.
- Add to Shelf (Recommended): Drag the script’s command to Maya’s shelf to create a button for quick access, labeling it (e.g., “xGen2UE Export”). Assign an icon if provided in the package for clarity. This eliminates the need to reload the script manually. The button streamlines repeated exports.
- Verify Installation: Run the script to confirm the UI opens, typically displaying an export button without errors. Check the Script Editor for any error messages indicating installation issues. Ensure a legacy XGen groom is present in the scene. This verifies the script is correctly set up.
- Environment Setup: Prepare a Maya scene with a legacy XGen groom, selecting the XGen Description if required by the script. Consult the readme for specific selection or setup instructions. This ensures the script can detect and process the groom. The scene must be ready for export.
The script integrates into Maya’s workflow via the shelf button, enabling quick exports after a one-time setup. This ensures efficient access for grooming projects.
What are the steps to export hair created with XGen in Maya to Unreal Engine using the script?
With the script installed, exporting an XGen hair groom from Maya to Unreal is a mostly automated process. Below is a step-by-step guide, combining the script’s usage with general best practices:
- Prepare the Hair Groom in Maya: Create or open a legacy XGen groom, finalizing its shape, density, and guides on a MetaHuman head with proper UVs. This ensures the groom is fully prepared for export to Unreal. The scalp mesh’s UVs are critical for root UV calculations. The script requires a completed groom to function correctly.
- Select or Highlight the XGen Description: Select the XGen Description in the Outliner or ensure it’s the only one in the scene, as specified by the script’s requirements. This allows the script to detect the groom accurately. Some scripts auto-detect without selection, but confirming ensures reliability. This step prevents errors during export initiation.
- Launch the xGen to Unreal Script UI: Run the script via the shelf button to open its UI, which typically includes an “Export” button and optional settings. The UI may allow specifying the Alembic file path or attribute options. This provides a user-friendly interface for initiating the export. Adjust settings if necessary based on project needs.
- Initiate the Export: Click the Export button to convert guides to curves, assign attributes (Root UV, Group ID, width), and export as an Alembic (.abc) file. The script automates these operations, prompting for a save location for the file. This single action handles the entire export process. Save the file in an accessible location, such as the Unreal project folder.
- Convert Guides: The script converts XGen guides to NURBS curves programmatically for export compatibility. This replicates Maya’s conversion process without manual intervention. The curves are formatted for Unreal’s Groom Importer. This ensures a seamless transition to Alembic.
- Assign Attributes: The script assigns Root UV, Group ID, and width attributes to curves in one step. These attributes ensure texture mapping, material assignment, and thickness in Unreal. This eliminates manual scripting for attribute setup. The process is error-free and efficient.
- Export Alembic: The script triggers Maya’s Alembic export with correct settings, producing an .abc file. It includes all attributes and constant scope for Unreal compatibility. The file is saved to the specified location. This completes the export with a single click.
- Wait for Export to Complete: Allow time for the export, especially for dense grooms, as Maya processes thousands of curves, which may take seconds to minutes. Monitor Maya’s progress bar or Script Editor for completion messages. The result is an Unreal-compatible Alembic file. Check for confirmation to ensure successful export.
- Import into Unreal Engine: In Unreal’s Content Browser, import the .abc file using the Groom Importer, adjusting scale if needed (typically 1.0 for Maya-Unreal compatibility). This creates a Groom Asset with a hair icon. Confirm the import dialog recognizes it as a groom. Adjust import settings as necessary for accuracy.
- Verify in Unreal: Test the Groom Asset by adding it to a MetaHuman or level, checking its shape and alignment with the Maya groom. The hair may appear gray until materials are applied, which is expected. This confirms the export’s fidelity to the original design. Address any positioning or material issues in subsequent steps.
The script condenses complex manual steps into a single action, enabling rapid iterations. This streamlined process supports efficient creation of custom MetaHuman grooms.

How does the script handle Alembic exports and necessary attribute assignments?
The xGen to Unreal Script is specifically designed to meet Unreal Engine’s Alembic Groom format requirements, so it handles attribute assignment meticulously during the export:
- Root UV (groom_root_uv): The script calculates UV coordinates for each hair strand’s root on the scalp mesh, storing them in the groom_root_uv attribute. This is marked as constant per-hair data in the Alembic file for Unreal compatibility. It ensures precise texture mapping, aligning with MetaHuman scalp UVs. Without this, Unreal would rely on less accurate default UV projections.
- Group ID (groom_group_id): The script assigns unique Group IDs to separate hair sections (e.g., hair, eyebrows) for material assignments in Unreal. It enumerates XGen descriptions or curve groups, tagging them with incremental IDs embedded in the Alembic. This allows distinct rendering and simulation settings per group. The automation simplifies managing complex grooms.
- Hair Width (Width / groom_width): The script preserves Maya’s curve width data to ensure strands render with the intended thickness in Unreal. It may add a groom_width attribute or rely on Maya’s built-in width property for export. This data is included in the Alembic for accurate rendering. Unreal converts it to groom_width on import for consistency.
- Guide Attributes (groom_guide): The script’s guide attribute feature is non-functional, so it skips marking guide curves explicitly. Unreal automatically selects 10% of strands as guides for simulation, mitigating this limitation. This doesn’t impact standard exports, as Unreal handles guides internally. Advanced users may need to configure guides manually in Unreal.
- Alembic Constant Attributes: The script sets attributes with a _AbcGeomScope = “con” to ensure Alembic treats them as constant per-curve data, following Epic’s guidelines. This applies to Root UV, Group ID, and others for Unreal readability. The automation eliminates manual configuration of scope settings. This ensures attributes are correctly interpreted during import.
- File Structuring: The script organizes curves under a single transform (e.g., |curvesGroup|) to produce a unified Alembic file with sub-groups for multiple IDs. This ensures one Groom Asset in Unreal, avoiding fragmented imports. The structure simplifies integration and maintains group integrity. The result is a cohesive, Unreal-friendly groom file.
The script ensures the Alembic file is fully compatible with Unreal’s Groom Importer, automating attribute assignment and file structuring. This results in reliable, plug-and-play grooms for rendering and simulation.
What are the common issues faced during the export process and how to troubleshoot them?
Despite the script simplifying the workflow, users may still encounter some issues when exporting and importing grooms. Here are common problems and their solutions:
- Script Not Running / Errors in Maya: Errors occur if using unsupported Maya versions (e.g., 2020, 2025) or lacking a legacy XGen groom in the scene. Use Maya 2022–2024 and ensure a legacy XGen Description is present to avoid failures. Verify script installation and check for missing modules. Convert Interactive Grooms to legacy XGen if necessary to meet requirements.
- No XGen Component Found: The script requires a legacy XGen Description; Interactive Grooms trigger errors as they’re not recognized. Ensure the groom uses legacy XGen or convert Interactive Grooms to curves and re-import as legacy. Confirm an XGen Description node exists in the scene. Select it explicitly if the script requires selection.
- Alembic Import Issues in Unreal: If the Alembic file imports as geometry or fails, the Alembic Groom Importer plugin may be disabled in Unreal. Enable it in the Plugins menu and re-import to use the Groom Importer. Ensure the import dialog selects the Groom option, not skeletal/static mesh. Verify the file contains valid groom data from Maya.
- Hair Not Visible or Appears Invisible: Invisible hair may result from fine strands, lack of a material, or scale mismatch between Maya and Unreal. Increase density or scale in the Groom Asset and apply a hair material to ensure visibility. Check import scale (e.g., 100x if Maya used meters). Enable viewport grooming settings to display the hair correctly.
- Strands Appearing in Wrong Position: Offset hair indicates incorrect world coordinates or pivot issues in Maya during grooming. Ensure the groom and head were positioned at the origin in Maya to avoid import offsets. Adjust the groom’s transform or binding in Unreal to align it properly. Groom on the MetaHuman head at origin to prevent positioning errors.
- Root UV or Texture Issues: Incorrect textures suggest missing or faulty root UVs, often due to improper scalp UVs in Maya. Verify the scalp mesh had non-overlapping UVs and was assigned in XGen for accurate UV calculation. Re-export with correct UVs or test with a MetaHuman hair material. Check the Groom Asset editor to confirm Root UV presence.
- Hair Import Splits into Multiple Assets: Multiple assets result from unmerged curves in Maya, despite the script’s merging feature. Ensure all curves are parented under one node before export to produce a single Groom Asset. Export each XGen description separately if issues persist. This maintains a unified import in Unreal.
- Lighting and Normal Issues: Odd lighting, such as black strands or harsh highlights, relates to Unreal’s hair tangent calculations, especially for short hairs. Enable Stable Rasterization in the hair material or adjust tangent settings to improve lighting consistency. Use MetaHuman hair materials for optimal shading. Tweak material settings to resolve visual anomalies.
- Simulation (Physics) Not Working: Static hair indicates disabled simulation or missing binding in Unreal. Enable simulation in the Groom Asset’s Physics settings and ensure a binding or Transfer Skinning is applied. Verify Unreal’s auto-generated guides are active for physics. Confirm physics plugins (Chaos/Niagara) are enabled for simulation support.
Monitoring Maya’s console and Unreal’s Output Log provides clues like missing attributes or UV warnings. Adhering to prerequisites and troubleshooting steps ensures successful exports with minimal issues.

How to integrate the exported grooms into Unreal Engine’s MetaHuman framework?
Integrating a custom groom into a MetaHuman involves attaching the imported groom to the MetaHuman character and ensuring it moves properly with the head. Here’s how you can integrate the exported hair into the MetaHuman framework:
- Assign the Groom to the MetaHuman Blueprint: In the MetaHuman Blueprint, replace an existing Hair Groom Component or add a new one, assigning the Groom Asset and Binding Asset. Attach it to the head bone to ensure proper movement with animations. This integrates the custom hair into the character’s rig seamlessly. Compile the Blueprint to apply the changes permanently.
- Add Groom Component: Add a Groom Component to the Blueprint’s Components panel and assign the Groom Asset. Attach it to the head bone for correct positioning. This integrates the hair into the MetaHuman’s rig. Ensure the component is properly named for clarity.
- Assign Binding Asset: Assign the Groom Binding Asset to the Groom Component in the Details panel. This links the hair to the head’s skeletal mesh for deformation. It ensures the hair follows animations accurately. Compile the Blueprint after assignment.
- Attach to Head Bone: Set the Groom Component’s attachment to the head bone in the Blueprint hierarchy. This ensures the hair moves with head animations like tilts or turns. Verify alignment with the scalp geometry. This secures the hair’s position.
- Adjust Position if Needed: If the hair is slightly offset, adjust the Groom Component’s Relative Location/Rotation in the Blueprint for precise scalp alignment. Grooming on the MetaHuman head should ensure initial accuracy, but minor tweaks may be needed. This ensures the hair sits correctly on the character. Avoid scaling unless units were mismatched during export.
- Apply Hair Materials: Assign a MetaHuman hair material instance to the Groom Asset’s material slots, leveraging root UVs for realistic color gradients. Use separate materials for multiple groups (e.g., hair, eyebrows) in the Groom Editor for distinct rendering. This enhances visual fidelity with MetaHuman’s advanced shaders. Materials ensure proper rendering and color accuracy.
- Verify in Play: Test the MetaHuman in a level, playing animations to confirm the hair follows the head correctly. Ensure physics simulate for dynamic hair if enabled, checking binding or Transfer Skinning functionality. This verifies the integration’s success and animation compatibility. Adjust physics settings in the Groom Asset if needed for natural movement.
- No Binding vs Binding: Rigid attachment to the head bone may not require a binding, but a Binding Asset is recommended for MetaHumans to handle slight deformations. It supports engine features like LOD interpolation for optimal performance. This ensures robust hair behavior during animations. Use binding for the best integration results.
- Multiple Groom Parts: For separate grooms (e.g., hair, eyebrows, beard), add multiple Groom Components to the Blueprint, each with its own Binding Asset bound to the head mesh. This allows complex hairstyles with distinct parts. Ensure each component is configured correctly for rendering and movement. This supports comprehensive character customization.
The custom groom integrates like native MetaHuman hair, leveraging the rig and shaders for seamless results. Proper binding and material assignment ensure a professional appearance.
What are the benefits of using the xGen to Unreal Script over manual export methods?
The xGen to Unreal Script automates XGen groom exports from Maya to Unreal, saving time, reducing errors, and ensuring compatibility with Unreal’s requirements. It enables rapid iterations and professional results for small teams or solo artists without extensive scripting expertise. Community-validated and cost-effective, it outperforms manual methods or alternative plugins, aligning with Epic’s best practices for high-quality MetaHuman grooms.
Using the xGen to Unreal Script offers several clear advantages compared to exporting hair manually from Maya to Unreal:
- Dramatic Time Savings: The script condenses an hour-long manual process into seconds with a single click, automating guide conversion, attribute assignment, and export. This allows artists to iterate quickly on hairstyles without repetitive tasks. Manual exports require significant time for each step, slowing workflows. Rapid exports enhance productivity and creative flexibility.
- Reduction of Human Error: Manual exports risk errors like mistyped attribute names or incorrect export settings, causing import failures. The script ensures attributes are correctly named and scoped for Unreal, eliminating common mistakes. This reliability reduces debugging and rework time. Exports are consistent and professional-grade.
- Automation of Complex Steps: Tasks like merging curve groups or calculating root UVs are technically demanding and error-prone manually. The script handles these seamlessly, requiring no scripting expertise from artists. This makes the export process accessible to all skill levels. Complex operations are executed accurately and efficiently.
- Adherence to Best Practices: The script follows Epic’s guidelines, implementing recommended attribute naming and export settings for optimal Unreal compatibility. Manual exports may overlook documentation subtleties, leading to suboptimal results. This ensures professional-quality grooms by default. Best practices are embedded in the tool’s automation.
- Simplified Workflow for Multiple Grooms: Manually exporting multiple hair systems (e.g., hair, eyebrows) is time-intensive and complex. The script processes multiple descriptions quickly, possibly in one export, with efficient group ID management. This streamlines setups for characters with complex hairstyles. The automation handles multi-part grooms effortlessly.
- Focus on Creativity: By removing technical barriers, the script allows artists to focus on refining the groom’s artistic quality in Maya. Manual exports can discourage experimentation due to their complexity and time demands. This encourages creative exploration of hairstyles. Artists can iterate without export overhead.
- Comparable (or Better) than Other Solutions: Alternatives like Ornatrix are costly and have steep learning curves, while custom scripts lack polish. The script is tailored for XGen-to-Unreal, offering a cost-effective, optimized solution. It addresses this specific pipeline efficiently. This ensures targeted functionality for MetaHuman grooms.
- Community Validation: High ratings and artist reviews confirm the script’s reliability in real-world projects, reducing adoption risks. Its proven effectiveness in professional workflows builds trust. The script is battle-tested across various use cases. This community support validates its value for grooming pipelines.
The script saves time, reduces errors, and simplifies the pipeline, enabling professional results with minimal technical expertise. Its cost-effectiveness and validation make it ideal for MetaHuman hair creation.

How does the script support different versions of Maya and Unreal Engine?
The xGen to Unreal Script supports Maya 2022–2024 and Unreal Engine 4.27 and all UE5 versions, leveraging consistent XGen APIs, Python 3, and the Alembic Groom Importer. Maya 2019, 2020, and 2025 are unsupported due to API issues, requiring upgrades or manual exports. The standardized Alembic format ensures seamless groom imports across supported Unreal versions, maintaining a reliable pipeline.
The script provides a stable pipeline for Maya 2022–2024 and UE4.27/UE5+, with standardized output ensuring reliability. Users must use supported versions to leverage its automation.
What are the limitations of the xGen to Unreal Script and how to work around them?
The xGen to Unreal Script, effective for exporting XGen grooms to Unreal, lacks support for Interactive Groom Splines, requiring legacy XGen or manual conversion, and is limited to Maya 2022–2024, necessitating workarounds for other versions. It doesn’t support guide attributes, dynamic hair caches, or optimization, requiring Unreal-side fixes like LODs and material assignments, and lacks developer updates, relying on community support. The paid script saves time despite large file sizes and single-frame export limitations.
While the xGen to Unreal Script is powerful, it does have some limitations. Being aware of them allows you to plan workarounds or manage expectations:
- No Support for Interactive Groom Splines: The script doesn’t support Maya’s Interactive Groom Splines, requiring legacy XGen for exports. Convert interactive grooms to curves using Maya’s Export Curves function and manually add attributes. Community scripts like Simple_hair_uv may assist, or use plugins like Ornatrix. Plan projects with legacy XGen to avoid conversion issues.
- Guide Attributes Not Functional: The script’s groom_guide attribute feature is non-functional, relying on Unreal’s default 10% guide selection. Use Unreal’s automatic guides for most simulations or manually add groom_guide attributes via a custom Maya script. This is sufficient for standard hairstyles. Advanced users can bypass the script’s export for specific guide control.
- Limited Maya Version Range: The script only works with Maya 2022–2024, excluding 2020 or 2025. Use a supported Maya version or export curves from 2025 and finalize in 2024. Manual exports with Epic’s guidelines are an option for unsupported versions. Ensure pipeline compatibility with supported versions.
- No Developer Support / Updates: The lack of official support or updates means relying on community forums like CG groomers Discord. Technically skilled users can modify the Python script for personal use, respecting license terms. Maintain a Maya 2024 setup for stability. Community knowledge can address bugs or workarounds.
- Large Groom File Sizes: Dense grooms create large Alembic files, impacting Unreal performance. Export fewer strands (e.g., 20k) and use Unreal’s interpolation to add density. Split complex grooms into parts for manageability. Plan LODs in Unreal to optimize file size.
- Material Assignments Must Be Done in Unreal: The script doesn’t assign materials, requiring manual application in Unreal. Always apply a MetaHuman hair material post-import to avoid flat appearances. This is a standard step in the pipeline. Ensure materials are ready for quick assignment.
- Single Frame Export: The script exports static grooms, not animated caches for Maya simulations. Use Maya’s Alembic cache export for animated hair, outside the script’s scope. Static grooms suit most MetaHuman needs with Unreal physics. Plan animation workflows separately.
- Cost (Not Free): The script requires a paid license ($15 personal, $100 commercial), unlike free manual methods. Purchase the script for time savings or use Epic’s documentation for manual exports. The cost is justified by efficiency gains. Choose the appropriate license for your project.
The limitations are manageable with workarounds like using legacy XGen, relying on Unreal’s features, and leveraging community support. These constraints don’t significantly detract from the script’s utility for MetaHuman hair pipelines.

How to customize the exported grooms for different MetaHuman characters?
Customizing exported grooms for different MetaHuman characters can refer to two scenarios: reusing a groom on multiple characters or tailoring a groom for a specific character. Let’s address both and how to handle them:
- Reusing a Groom for Multiple Characters: Grooms can be reused across MetaHumans with similar head topology by applying the same Groom Asset. For identical head shapes, simply bind the groom to each character’s head mesh in Unreal. Adjust the binding for minor shape differences using interpolation. This ensures compatibility across similar characters.
- Same Base Mesh or Proportions: If MetaHumans share head size and topology, reuse the groom directly with a new binding. The standardized MetaHuman topology ensures good fit across clones. Only rebind to the target head mesh in Unreal. Minor tweaks may align the groom perfectly.
- Different Face Shapes: For varying face shapes, use Unreal’s binding interpolation to conform the groom. Specify the original head as Source and new head as Target in the binding asset. This adjusts hair to prevent clipping or floating. Manual Maya adjustments may be needed for significant differences.
- Customizing Hair Color and Material: Use Unreal’s material instances to vary hair color or texture on the same groom geometry. Create multiple instances of MetaHuman hair materials with different parameters. Assign these to each character’s groom component for diversity. This keeps the groom model consistent while changing appearance.
- Adapting Length or Style: Edit the groom in Maya to create style variations, like toggling bangs or ponytails. Use modular XGen Descriptions to export different combinations as separate Alembics. This allows unique hairstyles per character from a base groom. Re-export with the script for quick iterations.
- Scaling for Character Size: Adjust the groom’s transform in Unreal for MetaHumans of different scales, like child versus adult. Re-export a scaled version from Maya if needed for non-uniform scaling. Ensure the groom aligns with the skeletal mesh. This accommodates size differences effectively.
- Gender and Topology Differences: For male-to-female transfers, re-export the groom in Maya using the target head due to UV and shape differences. Adjust guides to fit the new topology and re-run the script. Unreal’s binding may work if UVs are similar, but Maya tweaks are often necessary. This ensures accurate texture alignment.
- Multiple Grooms per Character: Apply multiple groom assets (e.g., hair, brows) to a MetaHuman, selectively using custom or default parts. Import and attach only the desired grooms in the Blueprint. Disable unneeded default grooms for flexibility. This supports complex character customization.
Customizing grooms involves reusing assets with bindings or re-exporting tailored versions from Maya. The script’s rapid export supports efficient style variations for diverse MetaHumans.
What are the best practices for optimizing groom performance in Unreal Engine?
Real-time performance with strand hair can be demanding. Here are best practices to ensure your custom groom performs well in Unreal Engine:
- Use Groom LODs: Configure LODs in the Groom Asset editor to reduce strand count at distance (e.g., 50% at LOD1). This improves performance for distant characters without compromising close-up quality. Set up at least two LODs for balanced rendering. Test LOD transitions to ensure visual consistency.
- Limit Strand Count and CVs: Export fewer strands (e.g., 20k) and use Unreal’s interpolation to add density at runtime. Optimize CVs in Maya’s XGen for shorter hair to reduce segments. This lowers rendering and simulation costs significantly. Balance density with visual quality.
- Optimize Hair Width and Clumping: Use slightly thicker strands or clumped hairs to reduce anti-aliasing costs. MetaHuman shaders with coverage maps simulate clumps efficiently. Avoid excessive transparency for faster rendering. Adjust shader settings for optimal performance.
- Physics Optimization: Reduce guide strands for simulation and tune solver iterations or collisions. Disable simulation for short hair or off-screen characters to save CPU. Use local simulation for long hair to limit extreme forces. Test physics for natural movement.
- Binding and Interpolation Settings: Set RBF interpolation points to around 100 in the binding asset for efficient deformation. High values increase costs with minimal quality gains. Ensure bindings align with the MetaHuman head for accuracy. Test bindings with animations.
- Use Groom Asset Density/Scale Settings: Lower Hair Density (e.g., 0.5 at LOD1) in the Groom Asset editor to reduce rendered strands. Scale down hair width at distance to minimize overdraw. This provides quick performance tweaks without re-exporting. Preview density changes in the editor.
- Groom Culling: Cull grooms when off-screen or far away to save resources. Unreal’s frustum culling may handle this, but verify settings. Disable simulation for non-visible characters to reduce CPU load. Test culling in gameplay scenarios.
- Wind and Anim Dynamics: Use Unreal’s Wind effect for simple hair movement instead of full physics. Enable wind integration in the groom component for outdoor scenes. This is less costly than collision-based simulations. Add Wind actors for realistic effects.
- Profile and Iterate: Use Unreal’s GPU profiler to measure groom performance impacts. Adjust strand count, physics, or density if frame rates drop. Small visual sacrifices can improve performance significantly. Test across platforms for compatibility.
- Fallback to Hair Cards for Extreme Cases: Use hair cards for distant LODs or background characters to reduce strand rendering. Unreal can generate cards from grooms for crowds. This is ideal for large scenes with many characters. Ensure cards match the groom’s style.
- Material Complexity: Stick to MetaHuman hair materials to avoid costly custom shaders. Simplify textures or calculations if performance lags. Use LOD-specific materials for distant rendering. Profile materials to ensure efficiency.
Optimizing LODs, strand count, physics, and materials ensures grooms balance visual quality and performance. Unreal’s tools like interpolation and profiling help achieve efficient rendering for MetaHumans.

How to apply physics simulations to the imported grooms in Unreal Engine?
Once your groom is imported and attached to a MetaHuman, adding physics simulation will make the hair move naturally with gravity and motion. Here’s how to enable and configure hair physics in Unreal Engine:
- Enable Simulation in Groom Asset: In the Groom Editor, check Enable Simulation in the Physics section to activate hair physics. This allows the groom to use Unreal’s physics solver for dynamic movement. Ensure the groom is properly bound to the MetaHuman head. Test in Play mode to confirm activation.
- Physics Settings: Adjust solver settings like Hair Mass, Stiffness, Damping, and collision options for realistic motion.
- Solver Settings: Use Niagara or Chaos solvers, ensuring the default solver asset is active. Adjust iteration counts for simulation accuracy versus performance. Chaos may offer experimental features in newer Unreal versions. Verify solver compatibility with your project.
- Strand Gravity and Stiffness: Set Hair Mass and Stiffness for appropriate flexibility (e.g., low stiffness for long hair). Increase Damping to prevent excessive oscillation in motion. Short hair may need high stiffness for minimal movement. Test settings for natural behavior.
- Environment Drag and Collision: Enable collisions with the MetaHuman’s physics asset (e.g., shoulders) for long hair. Specify the physics asset in the Groom Editor to avoid clipping. Collisions add CPU cost, so use sparingly. Test with character movements for accuracy.
- Wind Influence: Enable Wind in the groom settings and add a Wind actor for environmental sway. This enhances outdoor scenes with subtle hair movement. Adjust wind strength for realism without overpowering physics. Test with level wind sources.
- Guide Strands and Simulation: Adjust the percentage of guide strands (default 10%) in the Groom Editor’s Interpolation settings. Increase guides for accurate simulation or decrease for performance. Unreal interpolates non-guide strands for efficiency. Test guide counts for balanced motion.
- Testing Simulation: Play the game to observe hair movement during character actions. Reduce stiffness if hair is too rigid or increase damping if too bouncy. Adjust settings iteratively for realistic sway. Ensure bindings prevent simulation errors.
- Activating/Deactivating at Runtime: Use Blueprints to toggle simulation via the Groom Component’s Simulation Toggle property. Disable physics for off-screen NPCs or cutscenes to save performance. Ensure toggling doesn’t disrupt animations. Test runtime changes for seamless integration.
- Use of Niagara (if applicable): Enable simulation to auto-attach a Niagara system for physics in UE4/UE5. Modify the DefaultGroomSimulation Niagara asset for advanced control if needed. This is typically automatic but allows customization. Ensure Niagara plugins are active.
- Performance and Stability: Use local simulation for long hair to reduce extreme forces. Increase solver iterations if hair stretches unnaturally during fast motions. Profile CPU usage to optimize guide counts and collisions. Test extreme animations for stability.
- Hair Physics in MetaHumans: Reference MetaHuman hair assets for tuned stiffness and damping values. Mimic settings for similar hairstyles (e.g., stiff for short bobs, flexible for ponytails). This provides a starting point for custom grooms. Adjust based on visual reference.
Enabling and tuning physics ensures realistic hair movement for MetaHumans. Balancing parameters like stiffness and damping achieves natural sway without performance issues.
What are the licensing options and pricing for the xGen to Unreal Script?
The xGen to Unreal Script is a commercial product, and it comes with a couple of licensing options to accommodate different users:
- Personal (Standard) License: The personal license costs ~$15 USD for individual creators or non-commercial projects. It’s ideal for indie developers, students, or hobbyists creating personal work. Upgrading to a commercial license is required for revenue-generating projects. The license prohibits redistribution or competing products.
- Commercial (Extended) License: Priced at ~$100 USD, this license suits studios or professionals for commercial projects. It allows use in revenue-generating work or client projects, potentially covering multiple users. Terms may limit seats or prohibit redistribution. It ensures legal use in commercial settings.
- License Terms: Both licenses prohibit redistribution or creating competing products. The personal license may limit commercial use to one project or a revenue cap, while the commercial license supports broader professional use. Always review the license text included with purchase. Compliance ensures fair compensation for the developer.
- Updates and Support: Purchase grants access to the current version with no updates or support promised. The script functions as-is for supported Maya versions (2022–2024). Community forums may provide workarounds for issues. Expect no additional costs unless a new version is released.
- Pricing Value: At $15, the personal license is affordable for individuals, saving significant time. The $100 commercial license is cost-effective for studios, equivalent to a few hours of artist time. The pricing encourages adoption across user types. It reflects the script’s efficiency benefits.
- Where to Buy: Purchase through ArtStation, FlippedNormals, or Gumroad under Maria Zatorska’s listings. ArtStation and FlippedNormals offer reliable platforms with account libraries. Gumroad provides direct downloads, handling VAT for some regions. Choose based on regional availability or preference.
- Licensing Example: A freelancer creating a non-profit film can use the personal license. A contract job for a game studio requires the commercial license. Studios should buy commercial licenses for team use. Compliance supports the creator’s work.
The script’s pricing ($15 personal, $100 commercial) makes it accessible for hobbyists and professionals. Choosing the correct license ensures compliance and supports the developer.

Where to find tutorials and community support for using the script effectively?
Learning resources and community support can greatly help you get the most out of the xGen to Unreal Script:
- Official Tutorial by the Developer: The creator’s YouTube video demonstrates the script’s export process step-by-step. It provides visual guidance on setup and expected outcomes. Watching it clarifies the tool’s functionality. The video is referenced on product pages.
- AG_Groom YouTube Channel: The @AG_Groom channel offers tutorials on grooming, including XGen and Unreal pipelines. Videos cover hair materials, physics, and transfers, complementing the script’s use. It’s a valuable resource for broader hair workflows. Subscribe for ongoing learning.
- Discord Community for CG Grooming: The CG groomers Discord server allows users to ask questions and share knowledge. It’s ideal for troubleshooting script issues or learning grooming tips. Other users may offer workarounds for common problems. Join to connect with the community.
- Epic Games Documentation and Tutorials: Epic’s XGen Guidelines and Alembic Groom Import guides explain the script’s automated processes. Community tutorials on MetaHuman hair creation provide context. These resources enhance troubleshooting and pipeline understanding. They’re essential for Unreal integration.
- Unreal Engine Forums: Forums have threads on groom hair, discussing XGen exports and issues like multiple groups. Searching “XGen groom MetaHuman” yields relevant tips. Users may mention the script, offering indirect support. Engage to find solutions.
- 80.lv Article: The 80 Level article on the script outlines its purpose and functionality. User comments may include minor tips or experiences. It’s a quick read for context, not a tutorial. It reinforces the script’s value.
- ArtStation & FlippedNormals Reviews: Marketplace reviews on ArtStation and FlippedNormals share user experiences and tips. Comments may confirm compatibility (e.g., Maya 2024) or suggest tricks. These insights aid effective use. Browse for practical advice.
- Tutorials on MetaHuman Hair Creation: YouTube tutorials on custom MetaHuman hair creation cover similar workflows. Some may use the script or manual methods, offering adaptable steps. Search “XGen MetaHuman hair tutorial” for relevant videos. They provide pipeline context.
- Grooming Courses: CG courses on hair grooming teach XGen and real-time hair fundamentals. They don’t focus on the script but improve its use through better XGen knowledge. These are ideal for comprehensive learning. Look for workshops on grooming techniques.
Leveraging YouTube, Discord, Epic’s documentation, and community forums ensures proficiency with the script. These resources support both script-specific and broader grooming workflows.
How does the script compare to other tools available for exporting grooms from Maya to Unreal?
There are a few different approaches and tools for getting Maya grooms into Unreal. Here’s how the xGen to Unreal Script stacks up against them:
- Manual Export (No Tool): Manual exports follow Epic’s guidelines, converting XGen to curves and adding attributes via MEL/Python. This is time-consuming, error-prone, and requires scripting expertise. The script automates these steps, saving hours and ensuring accuracy. It’s ideal for non-technical artists seeking efficiency.
- Epic’s Sample Scripts (Simple_Hair_UV etc.): Epic’s free scripts, like Simple_Hair_UV, add basic attributes but struggle with multiple groups. They require manual tweaks and coding to match the script’s functionality. The script handles all attributes and groups comprehensively. It’s a more polished, user-friendly solution.
- Ornatrix Plugin: Ornatrix, a costly grooming plugin, supports Alembic exports but isn’t tailored for XGen-to-Unreal pipelines. It’s overkill for XGen users due to its price and learning curve. The script leverages native XGen for affordability and simplicity. It’s better for Maya-centric workflows.
- Peregrine Yeti: Yeti, a high-end VFX plugin, exports curves but isn’t optimized for games. It’s expensive and less common for MetaHuman pipelines compared to XGen. The script is more accessible and purpose-built for Unreal exports. It suits artists already using XGen.
- Houdini: Houdini’s grooming tools export Alembic grooms but require a different skillset. It’s less common in Maya-centric MetaHuman pipelines. The script keeps workflows in Maya, simplifying integration. It’s more artist-friendly for Unreal-focused projects.
- Blender to Unreal: Blender’s hair system exports curves but may need manual attribute tagging. It’s viable for Blender users but less integrated with Maya-based MetaHuman workflows. The script ensures seamless XGen-to-Unreal exports. It’s preferred for Maya users.
- Marketplace Tools: No other marketplace tools match the script’s visibility or MetaHuman focus. It uniquely addresses XGen-to-Unreal needs with community validation. Competitors may emerge, but none are as established. The script remains the go-to solution.
- MetaHuman Creator vs Custom: Using MetaHuman Creator’s default hair avoids exports but limits uniqueness. The script enables custom grooms for distinctive characters. It’s essential for bespoke hairstyles. Default assets can’t match its creative flexibility.
The script excels in ease, cost, and specificity for XGen-to-Unreal pipelines. It outperforms manual methods and partial scripts while being more accessible than full grooming plugins.

Where to purchase or download the xGen to Unreal Script for exporting custom MetaHuman grooms?
The xGen to Unreal Script is available through a few online marketplaces and platforms where the creator has listed it. Here’s where you can get it:
- ArtStation Marketplace: The script is sold on ArtStation under “xGen to Unreal Script – Export custom MetaHumans grooms from Maya xGen to UnrealEngine5 in Alembic” by Maria Zatorska. Purchase provides a downloadable zip file with the script and license. ArtStation stores purchases in your account library. It supports various payment methods.
- FlippedNormals Marketplace: Available on FlippedNormals with identical pricing and content as ArtStation. The platform’s UI may appeal to some users for ease of purchase. Search “xGen to Unreal Script” to find the listing. Downloads include the script and license details.
- Gumroad: Purchase via Gumroad at realtimehair.gumroad.com/l/xGen2UE for direct downloads. Gumroad is an alternative for regions where ArtStation is unavailable and handles VAT for some customers. The zip file contains the script and license. Choose based on regional or tax preferences.
- 80.lv Article: The 80 Level article confirms ArtStation as a primary source but doesn’t host the script. Use it to verify the script’s legitimacy before purchasing from official platforms. Always buy from ArtStation, FlippedNormals, or Gumroad. Avoid unofficial sources for security.
- No Official Autodesk/Epic Download: The script isn’t available through Autodesk or Epic platforms, as it’s a third-party tool. It’s exclusively distributed by Maria Zatorska on the listed marketplaces. Don’t expect it on official app stores or GitHub. Purchase from verified sources only.
- Download Package Contents: The ~925 KB zip file includes the script and license text. Read any included instructions for setup guidance. Save the file for backup, as marketplace listings may change. The package is compact and easy to store.
- Updates Access: Purchased copies may receive update notifications via the marketplace, though updates aren’t expected. Check ArtStation, FlippedNormals, or Gumroad accounts for any new versions. Retain purchase records for access. Monitor the author’s profiles for news.
- Pricing and Checkout: Select the personal ($15) or commercial ($100) license at checkout. Platforms display both options clearly (e.g., on FlippedNormals). Downloads are immediate post-purchase. Ensure the correct license for your use case.
Purchase from ArtStation, FlippedNormals, or Gumroad for a legitimate copy with clear licensing. Follow installation steps post-download to integrate the script into your workflow.
If you encounter any trouble purchasing (say regional pricing issues or payment issues), trying a different platform (ArtStation vs Gumroad) can help, as one might accept your payment method over another.
In summary, you can buy the xGen to Unreal Script from:
- ArtStation Marketplace (search for the script title or author).
- FlippedNormals store.
- Gumroad (RealTime Hair’s profile).
Stick to these legitimate sources to ensure you get the authentic script and to support the creator directly. Once acquired, you’ll be on your way to exporting your custom MetaHuman grooms with ease.

Frequently Asked Questions
- Does the “xGen to Unreal” script really exist and is it an official tool?
The xGen to Unreal script is a real, third-party tool created by a technical artist, not an official Epic Games or Autodesk product. Available on platforms like ArtStation Marketplace, it automates exporting Maya XGen hair to Unreal’s groom system. It manages root UV and group ID attributes for seamless integration. Users must purchase and install it in Maya. - How do I install and use the xGen to Unreal script in Maya?
Copy the purchased script (.py or module) to Maya’s scripts directory and follow the seller’s instructions, such as running a Python command or adding a shelf button. The script’s Maya UI lets you select a scalp mesh and XGen hair description to export an Alembic file with attributes. It often requires one click to handle all steps, producing an .abc file for Unreal. Use Maya 2022+ for compatibility. - Can I export XGen hair to Unreal without using this script?
Absolutely. The script is essentially a convenience. You can perform all the needed steps manually:- Prepare your XGen groom and convert it to an interactive groom (if it’s legacy) using Maya’s built-in tools.
- Manually add the groom_group_id attribute to hair groups (via scripting) and the groom_root_uv attribute (using the Python snippet provided by Epic or your own method).
- Use Maya’s Cache > Export Cache (Alembic) with the proper settings (Current Frame, no transforms, with final width) to export the hair.
- Then import that Alembic into Unreal with the Groom plugins enabled.
In fact, Epic’s official documentation “XGen Guidelines for Hair Creation in Unreal” covers exactly how to do these steps manually. The process can be a bit technical, which is why the community script was created to simplify it. But if you prefer not to rely on the script, following the steps in this guide (and Epic’s docs) will let you export custom grooms successfully.
- Does this workflow support XGen Interactive Groom, or only legacy XGen?
Both legacy XGen and Interactive Groom can produce Alembic grooms with correct attributes. The script requires legacy XGen, converting it internally, but doesn’t support pure Interactive Grooms. For Interactive Grooms, manually export curves, re-import, and add root UVs, or use a minimal legacy XGen node with the script. Legacy XGen is simpler for script-based exports. - What versions of Maya and Unreal Engine do I need for this process?
Use Unreal Engine 5+ (e.g., 5.0–5.2) for full groom support, with 4.26 as the minimum for MetaHumans. The script requires Maya 2022–2024; earlier versions like 2020 are unsupported. Manual exports work with Maya 2018.6+ for Alembic compatibility. Maya 2022 and Unreal 5.1 are a reliable setup. - How do I attach the imported groom to my MetaHuman?
Import the groom as a Groom Asset, then add a Groom Component to the MetaHuman’s Blueprint. Assign the Groom Asset, attach it to the head bone, and enable Transfer Skinning for skeletal movement. For split meshes, attach to the head mesh. Use a head socket with binding for animation. - I imported my Alembic, but it’s not showing up as a Groom – Unreal didn’t give me groom import options. What went wrong?
If Unreal didn’t recognize the Alembic as a groom, a few things could be the cause:- Plugins not enabled: Double-check that Alembic Groom Importer and Groom plugins are enabled in your project.
- Wrong Alembic content: The Alembic file must contain Nurbs curves with certain metadata for Unreal to see it as a groom. If you exported something else (like polygon cards or got an empty file), it won’t import as groom. Make sure you followed the export steps – e.g., exported the curves, not the guide mesh or anything.
- Missing attributes/schema: In some cases, if the Alembic doesn’t have the expected attributes (groom_root_uv, etc.), Unreal might still import it, but you won’t see those attributes listed. This wouldn’t necessarily stop it from importing as a groom, but you’d lose some functionality. Usually, though, Unreal will still show the Groom import dialog as long as there are curves in the Alembic in a supported format.
- File extension or format issues: Ensure the file has a .abc extension and that it was written in a format Unreal supports (Ogawa is the default and is fine; just don’t use some exotic Alembic settings).
If the import just creates an empty asset or nothing at all, try importing the Alembic into Maya or another program to see if it contains the hair curves. If not, re-export from Maya. If it does, then likely a plugin issue or a bug – as a workaround, you might try a different engine version or re-export with slightly different settings. Generally, with the plugins on, Unreal should pop up the Groom import window for any Alembic that has at least one curve.
- The hair appears in Unreal but it’s all white (or the wrong color). How can I apply textures and color to the groom?
By default, the groom will use a default material (which is usually just a gray/white hair shader). To get color and texture:- Material Assignment: Create or use a Hair material (as discussed in Integration Step 5). The MetaHuman hair material is ideal because it’s already set up to use root color textures. Assign that material to your groom.
- Root UV usage: With the exported groom_root_uv attribute, the MetaHuman hair material applies the scalp’s color texture to strands using UV mapping, reading the Root UV attribute for accuracy. Assign the head’s scalp texture to ensure consistency, so strands reflect root colors (e.g., brown) and can fade to lighter tips (e.g., blonde) via the shader. This creates a natural, cohesive hair color effect.
- Setting Colors Manually: If you don’t have a scalp texture, you can also just globally tint the hair in the material (set a root color and tip color manually in a Material Instance). The Unreal Hair shader allows specifying a color, and even without root UVs you can get a uniform color or a simple gradient. But using root UVs with the character’s texture gives a highly realistic result, as each strand inherits the natural variation from the underlying scalp.
- The performance is slow after adding the groom – what can I do to improve it?
High-density hair will impact performance. There are several strategies to improve it:- Use LODs: Set up the groom LOD in Unreal to reduce strand count at distance. This is the first thing to do. Even just enabling Auto LOD will help by not rendering all strands when the character is far away.
- Lower strand count if possible: If you suspect you imported far more strands than needed, consider going back to Maya, reducing the groom density, and re-importing a lighter groom. For instance, hair that is simulated in film might have hundreds of thousands of strands, but in real-time you might only need tens of thousands and can rely on the hair’s thickness and shader to fill volume.
- Adjust physics: If you don’t need the hair to simulate, turn off Enable Simulation on the groom component (it will then just follow the head rigidly). If you do need simulation, reduce the number of guide hairs (increase Interpolation Guide Decimation or lower Guide Density so that fewer guides are computed), and tweak physics settings for stability (overly bouncy hair can also strain CPU).
- Use Cards for far LODs: As noted, you could generate hair cards for when the character is far away or for lower-spec modes. This is a bit complex to set up but can drastically cut down on poly count when the character isn’t close to camera.
- Simplify materials: Ensure the hair material’s lighting features are as optimized as possible. Every pixel of hair is drawn with transparency and special shading – features like deep shadows, self-shadowing, transmittance can be turned down or off in lower quality settings.
Even after all this, keep expectations realistic. As one experienced user pointed out, strand-based grooms can still be quite expensive even with optimizations, often making them best suited for cinematic uses or hero characters. Don’t be discouraged, though – with continual improvements in Unreal (and techniques like Niagara for physics, etc.), hair grooms are becoming more viable. Just be prepared to budget performance and test on target hardware.
- Can I use other hair grooming tools (Blender, Ornatrix, etc.) instead of Maya XGen for MetaHuman hair?
Yes, you’re not limited to Maya XGen – Unreal’s Groom system is tool-agnostic as long as you provide a properly formatted Alembic. Maya XGen is featured here because it’s a common tool and has established workflows. But you could use PixelHair or create hair in Blender (using Particle Hair or the new Geometry Nodes grooming) or 3ds Max with Ornatrix or Houdini, etc. The key is exporting an Alembic file of the hair curves with equivalent attributes: - Can the xGen to Unreal Script be used with XGen Interactive grooming (the newer Maya grooming system)?
The xGen to Unreal script supports only legacy XGen, not XGen Interactive Groom Splines. Interactive grooms need manual curve conversion and attribute addition or other export methods. Use legacy XGen for compatibility with the script. This ensures smooth Unreal exports. - Do I need a MetaHuman specifically to use this script, or can I use it for any groom?
The script works for any Unreal character with a skeletal mesh and proper materials, not just MetaHumans. It exports Alembic grooms for universal use. MetaHumans are a common use-case for hair customization. Ensure binding and root UV support for non-MetaHumans. - The script created an Alembic file. How do I actually get that into Unreal as a usable hair asset?
Enable the Alembic Groom Importer plugin and import the .abc file in Unreal’s Content Browser to create a Groom asset. Add a Groom Component to a character, assign the asset, and include a binding asset. The hair requires this setup to display. Ensure the plugin is active. - The imported hair looks all white and flat in Unreal. Did something go wrong?
The white appearance indicates a missing hair material, not an import issue. Apply a MetaHuman hair material (e.g., MI_Hair) in the Groom asset editor’s element slots. This restores color and highlights. Verify the material is assigned to all groups. - Why are some hair strands black or dark on one side when I view them in Unreal?
Dark strands stem from normals/tangents issues in hair rendering, not export errors. Enable Stable Rasterization in the hair material to even out lighting. Adjust Scatter and Backlighting settings for uniformity. Material tweaks resolve anisotropic lighting issues. - The hair isn’t moving at all when my MetaHuman moves or during animations. How do I fix that?
Enable hair physics in the Groom asset’s Physics section and assign a Groom Binding asset. This binds the groom to the skeletal mesh for movement. Adjust gravity or stiffness for noticeable motion. These settings ensure dynamic hair behavior. - I tried using the script in Maya 2025 and nothing happens. Is there a way to make it work?
The script is incompatible with Maya 2025 due to XGen or Python updates. Export using Maya 2024 or 2023, creating the groom in 2025 if necessary. Save and open the scene in an older version for export. This maintains script compatibility. - Does the script export facial hair and other grooming (beard, eyebrows) as well?
The script exports any XGen description, including facial hair like beards or eyebrows, as separate Alembic files. Run it for each description and attach grooms to the relevant mesh in Unreal. Separate exports aid organization. Group IDs support combined descriptions if needed. - Are the hair grooms exported with this script compatible with Unreal Engine 5’s latest features (like groom cards or Chaos physics)?
Alembic grooms from the script are compatible with Unreal Engine 5’s strand-based hair features, including groom cards and Chaos physics (UE 5.2+). The script delivers standard strand data for all UE5 tools. Use features like card generation freely. No incompatibilities exist. - I have multiple characters; do I need to buy multiple licenses of the script?
Licenses are per user or studio, not per character. A personal license covers all personal projects, while a commercial license applies to studio use (verify node-locked or floating terms). Multiple artists may need separate licenses. Check with the seller for specifics.

Conclusion
Exporting custom MetaHuman grooms from Maya XGen to Unreal Engine involves creating strand-based hair in XGen (legacy or interactive) and exporting it as an Alembic file. The xGen to Unreal script automates adding root UVs, group IDs, and exporting for legacy XGen in Maya 2022+, while manual export requires preparing the groom, adding attributes, and setting correct Alembic cache settings.
In Unreal, enable grooming plugins, import the Alembic, and attach the groom to a MetaHuman’s head using a Groom Component with Transfer Skinning for natural movement. Apply realistic hair materials leveraging root UVs for visual fidelity. Optimize performance by reducing strand count, using LODs, decimating guides, or switching to hair cards for distant views. This process allows creative control over unique hairstyles, ensuring a high-quality, performance-balanced MetaHuman groom. Happy grooming!
Sources and Citation
- Epic Games Documentation – XGen Guidelines for Hair Creation in Unreal Engine (UE 4.27/5.1): Detailed official guide on exporting Maya XGen hair (legacy) as Alembic for Unreal, including attribute scripts and export settingsdev.epicgames.comdev.epicgames.com.
- Epic Games Documentation – Using Alembic for Grooms & Importing Grooms into Unreal: Covers the Alembic grooming import process, required plugins, and grooming asset setup in Unreal Enginedev.epicgames.comdev.epicgames.com.
- ArtStation Marketplace – “xGen to Unreal Script – Export custom MetaHumans grooms from Maya XGen to UnrealEngine5 in Alembic” by Maria Z.: Product description of the script, outlining its features (Root UV, Group ID, width attributes assignment, version compatibility)artstation.comartstation.com.
- Unreal Engine Forums – User discussion on Groom performance: Insights from developers about performance tips for grooms (reducing strands, using LODs, etc.) and the heavy cost of hair in gamesforums.unrealengine.com.
- Unreal Engine Forums – Q&A on XGen Alembic groom issues: Community troubleshooting for exporting dense grooms with root UV and handling multiple spline groups in Maya (issues that the script addresses)forums.unrealengine.comforums.unrealengine.com.
- Epic Developer Community – Groom Import Options reference: Information on what Unreal’s groom importer expects (attributes like Root UV, etc.) and how it interprets themdev.epicgames.com.
- Autodesk Maya Documentation/Forums: General guidance on XGen grooming and Alembic export for hair, and user discussions on assigning UVs to groom (used for understanding context, though Epic’s docs were primary).
Recommended
- Secrets to Blender Photorealism: How to Make Your Renders Look Real
- Wonder Dynamics and Wonder Studio: Revolutionizing VFX and Character Animation with AI
- Intergalactic Reveal Trailer Breakdown: First Look at Naughty Dog’s Sci-Fi Epic “The Heretic Prophet”
- Blender Hair Tutorial: How to Use Hair Cards, the New Hair System, and Hair Tool Add-on for Realistic Results
- inZOI vs The Sims 4: A Comprehensive Comparison of Life Simulation Games
- Devil May Cry Nero: Character Backstory, Abilities, Game Appearances, and Lore Explained
- How do I align the camera to my view in Blender?
- How The View Keeper Speeds Up Animation Rendering in Blender
- How to Use Film Grain: A Complete Guide to Achieving a Cinematic Look
- Best Places to Buy Unreal Engine Metahuman Assets: Top Marketplaces, Reviews, and Expert Tips


