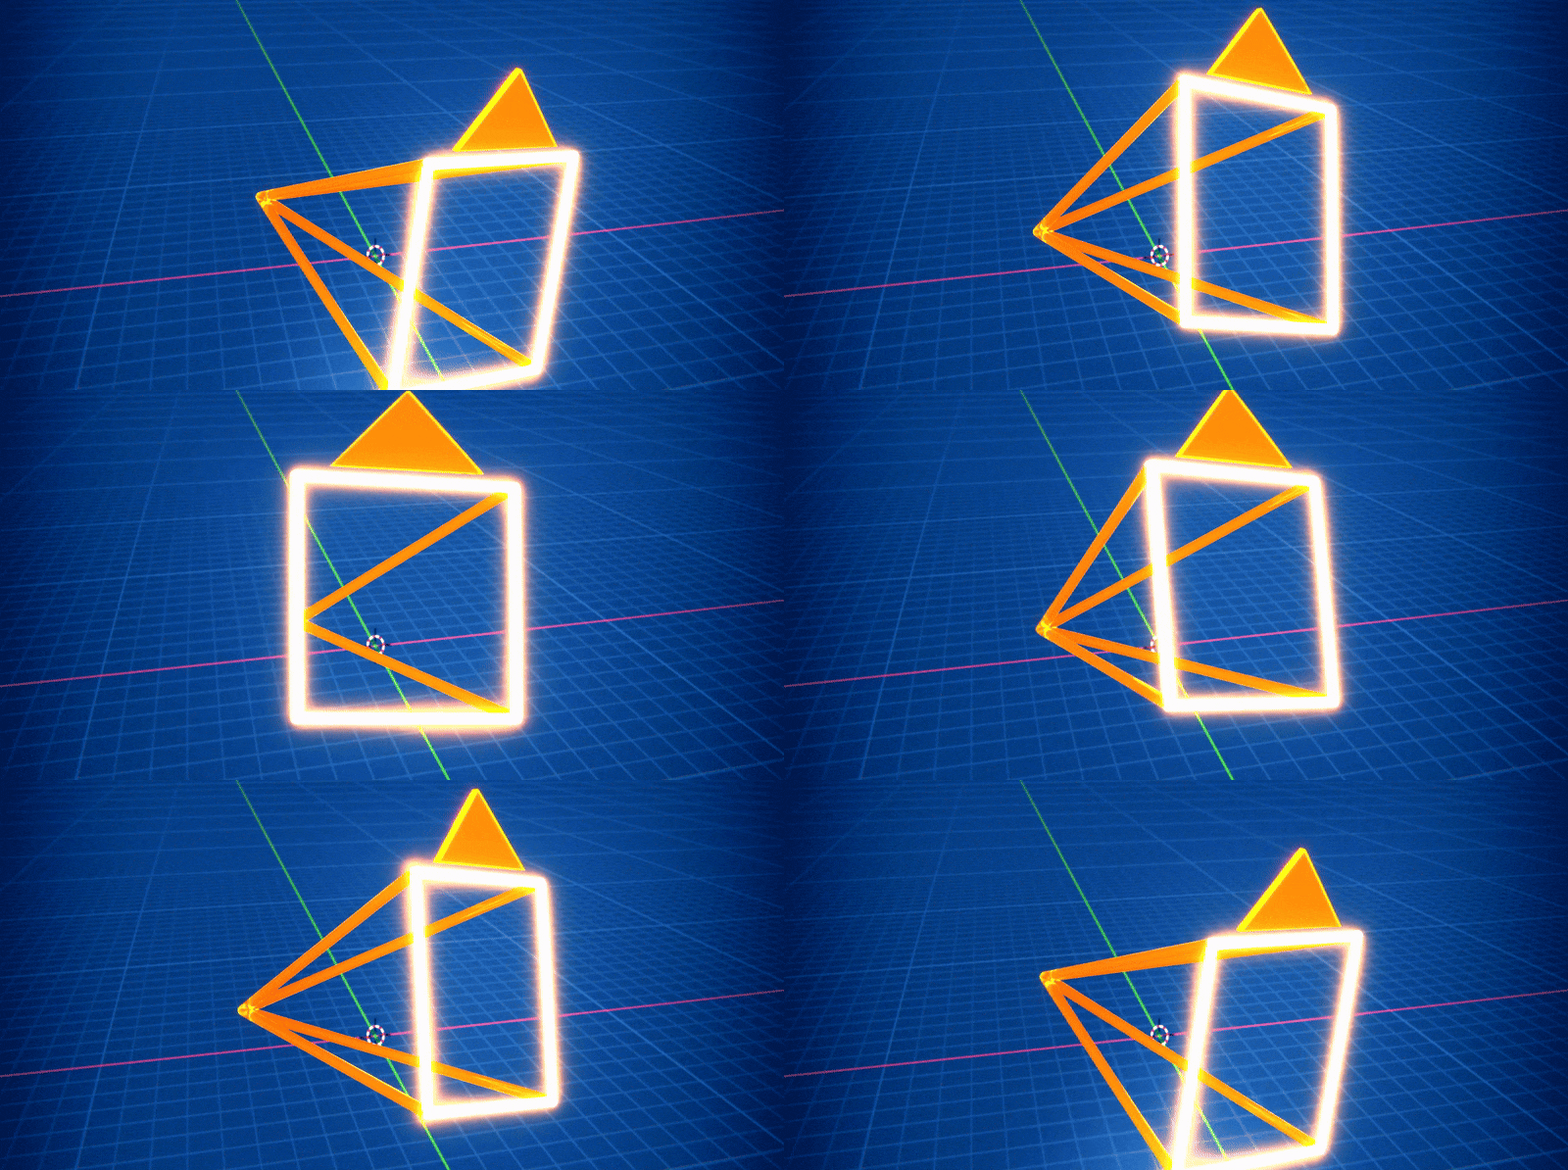
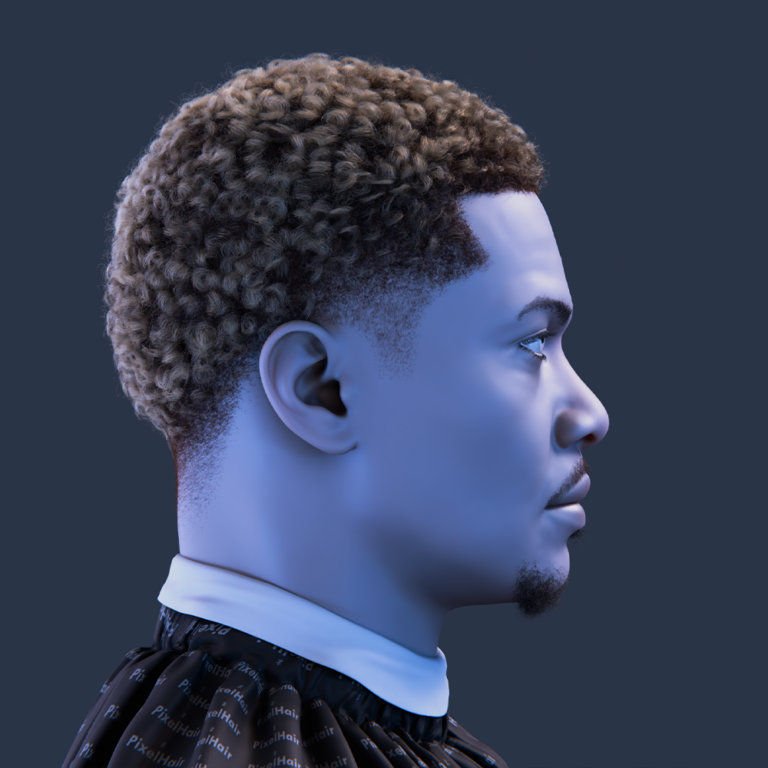
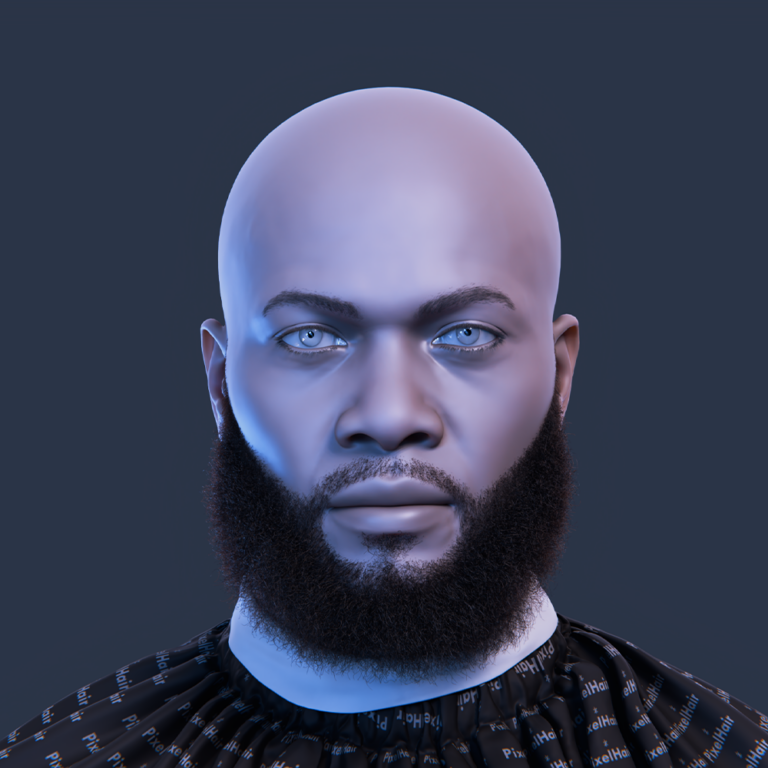
The ability to align the camera to an object’s surface is a vital technique in 3D animation, architectural visualization, product photography, and more. When your camera is perfectly aligned with an object’s surface, it can capture that object in a true, undistorted view.
Ideal for detailed shots, technical illustrations, and artistic renderings. In this comprehensive guide, we’ll explore what it means to align the camera to an object’s surface, why it’s useful, and several methods to achieve it in Blender. We’ll cover everything from simple viewport alignment shortcuts to advanced techniques using custom transform orientations and add-ons like The View Keeper to streamline your workflow. This article provides detailed instruction, troubleshooting advice, real-world examples, and practical tips to help you master the art of camera alignment.
Introduction
In any 3D project, the way a scene is framed can have a tremendous impact on the final render. When you align the camera to an object’s surface, you ensure that your shot is perfectly perpendicular to the object. This technique is especially important when you need to capture accurate details without distortion. This can be for technical illustrations, product renders, or even dramatic artistic compositions.
The process to align the camera to an object’s surface might seem challenging at first, but with Blender’s powerful tools and a few handy shortcuts, you can achieve a precise and professional result. In the following sections, we’ll discuss the theory behind surface alignment and provide a variety of practical methods to get your camera looking exactly where you want it to.
Understanding Object Surface Alignment
Before diving into the techniques, it’s essential to understand what aligning the camera to an object’s surface entails. Essentially, you want the camera’s viewing direction to be perpendicular (or at a specified angle) to the surface’s normal vector.
Surface Normals
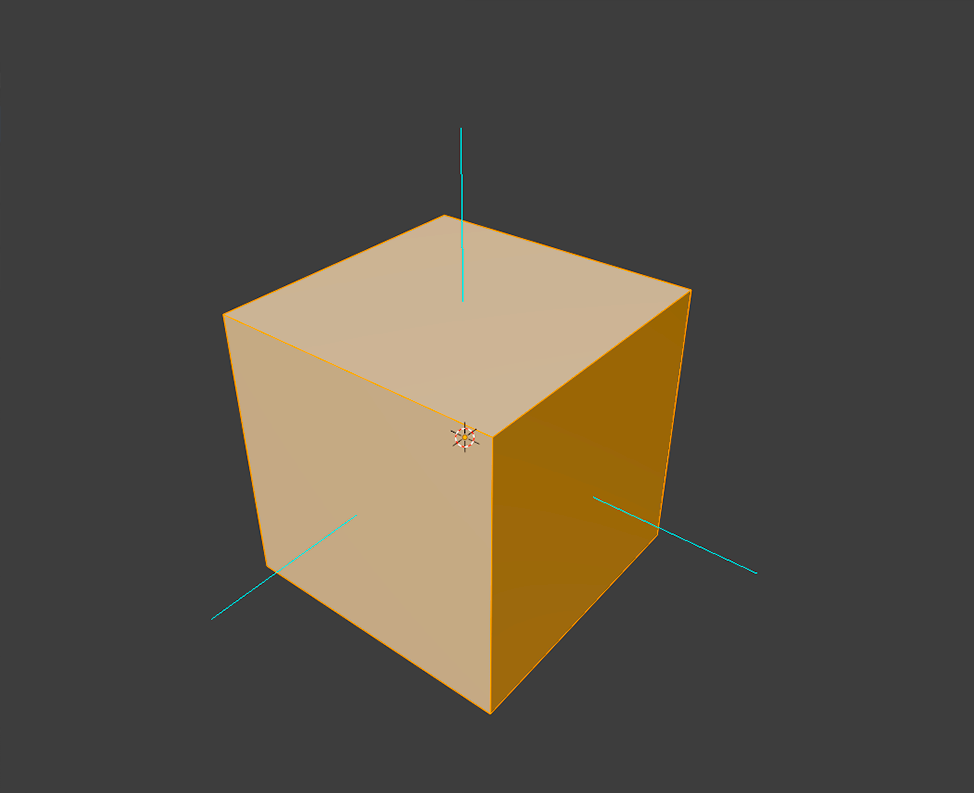
Every face of a 3D object has a normal vector a direction that is perpendicular to that face. When you align the camera to an object’s surface, you’re orienting the camera so that its view is directly aligned with this normal. This ensures that the camera captures the object in a “true” view, with minimal distortion and an accurate portrayal of the object’s details.
Importance of Accurate Alignment
- Technical Precision: For product visualizations and architectural renders, accurate alignment is crucial for conveying the correct proportions and details.
- Artistic Consistency: When you want to create a specific aesthetic or dramatic effect, such as a flat lay or a direct front-on shot, aligning the camera with the object’s surface can help achieve that vision.
- Efficiency in Workflow: Proper alignment can save time during compositing or post-processing by ensuring that the initial shot is exactly as desired.
Why Align the Camera to an Object’s Surface?
Align the camera to an object’s surface isn’t just a technical exercise it has several creative and practical benefits:
Enhanced Detail Capture
When the camera is perpendicular to the surface, it captures the details without skew or perspective distortion. This is vital for close-up product photography or when you need to show intricate textures and materials.
Consistent Perspective
For projects that require multiple shots of the same object (like a product catalog or an architectural presentation), consistent camera alignment ensures that all images have a unified look. This consistency is critical when stitching images together or when creating a series of renders for comparison.
Improved Post-Processing
A well-aligned shot simplifies the work in post-production. For example, if you need to apply depth maps, textures, or additional effects, starting with a correctly aligned camera makes the process smoother and reduces the need for corrective adjustments.
Real-World Applications
- Product Visualization: Show off a product’s design by aligning the camera perfectly to its surface.
- Architectural Renderings: Capture walls, floors, or facades accurately to communicate design intent.
- Artistic Photography: Achieve a dramatic and professional look by controlling the perspective precisely.
Step-by-Step Tutorial: Align the Camera to an Object’s Surface
Let’s dive into a step-by-step tutorial that explains how to align the camera to an object’s surface using a practical workflow.
Step 1: Prepare Your Scene
- Open Blender and load your project with the object you want to render.
- Add a camera to your scene if one isn’t present.
Step 2: Methods to Align the Camera
There are several techniques to align the camera to an object’s surface in Blender. Here, we detail multiple methods ranging from simple viewport shortcuts to manual adjustments.
Aligning the Viewport to a Face Normal
One of the simplest ways to align the camera is by aligning the 3D Viewport to the normal of a selected face. This is particularly useful when you want to see the object head-on.
- Enter Edit Mode:
Select your object and press Tab to enter Edit Mode. - Select a Face:
Choose the face you want the camera to align with. - Align the View:
Press Shift + Numpad 7 to align the view to the active face. This shortcut rotates your viewport so that you’re looking directly at the selected face. - Set the Camera to the View:
Once you have the desired view, press Ctrl + Alt + Numpad 0. This moves and rotates the active camera to match your current viewport view.
This method is quick and effective for getting a precise head-on view of your object.
Using the “Align Active Camera to View” Shortcut
Another efficient method is to align the camera (active camera) directly to your current viewport view.
- Position the Viewport:
Manually navigate in the 3D Viewport until you have the view you want. - Align the Camera:
Press Ctrl + Alt + Numpad 0 to align the active camera to the current view. This instantly updates the camera’s position and orientation.
This approach is handy when you’re satisfied with how the scene looks and want the camera to mimic that exact perspective.
Using the Copy Attributes Add-on
Blender’s Copy Attributes Add-on can simplify the process by allowing you to copy the orientation of an object’s directly to the camera.
- Enable the Add-on:
Go to Edit > Preferences > Add-ons and search for “Copy Attributes.” Enable the add-on. - Select the Object:
select the camera then hold down shift and select the object whose orientation you want to copy. - Copy the Orientation:
With the object and camera selected, use the Copy Attributes menu (ctrl + C) to copy the orientation from the object to the camera. - Adjust as Needed:
You might need to adjust the camera’s location afterward to make sure it is aligned to the object as needed.
Step 3: Utilize The View Keeper to save your camera setup
- Once the camera is aligned, open The View Keeper panel.
- Save the current camera configuration as a record. This record will store the camera’s position, rotation, clipping values, and other settings.
- By saving this record, you can quickly return to the precise alignment later even if you change the camera orientation. This is particularly useful if you need to iterate on your scene or switch between different camera setups.
Step 4: Test the Alignment
- Press Numpad 0 to view through the camera and verify that the object’s surface is perfectly aligned.
- If the camera’s view is slightly off, go back and adjust the the camera position manually for further refinement.
Step 5: Render and Review
- With the camera properly aligned, set your render settings (resolution, file format, etc.) in the Output Properties panel.
- Render a test image or animation to ensure that the alignment looks as expected.
- Use The View Keeper’s ability to store these render settings and multiple other camera angles if you want to compare between different alignments. Render each record’s view to decide which best suits your project.
Advanced Techniques and Automation
For projects that require repeated alignments or involve complex surfaces, you may want to explore advanced techniques.
Python Scripting for Alignment
If you frequently need to align the camera to an object’s surface, consider automating the process with Python scripting. Blender’s API provides access to the camera and object data, enabling you to write a script that:
- Retrieves the normal vector of a selected face.
- Calculates the appropriate rotation for the camera.
- Sets the camera’s orientation accordingly.
This approach requires some programming knowledge but can save time in repetitive tasks.
Using Drivers
Drivers allow you to control camera properties dynamically based on other parameters in your scene. For instance, you can set up a driver on the camera’s rotation so that it always aligns with the normal of a specific face. This method offers real-time adjustments and can be extremely useful in interactive projects.
Enhancing Workflow with The View Keeper
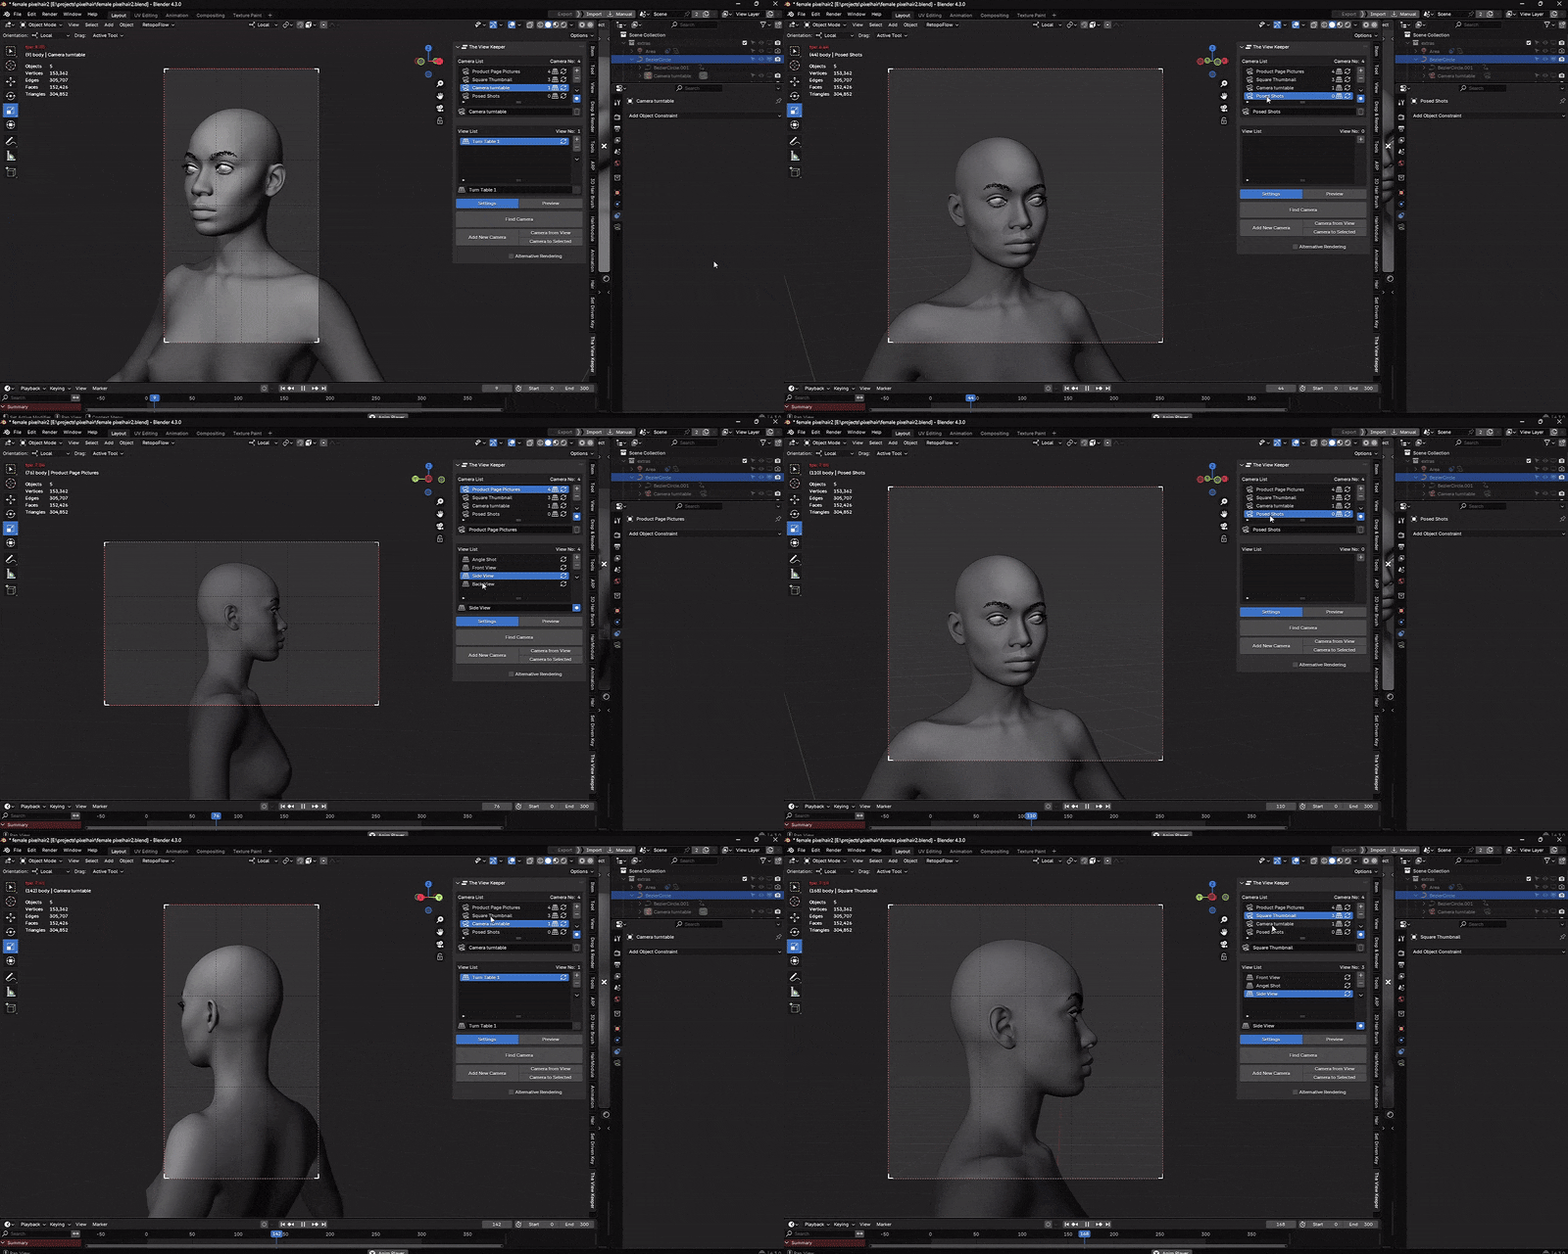
The View Keeper is an excellent add-on for managing camera setups. When aligning your camera to an object’s surface, you might experiment with different alignments to see which one works best. The View Keeper enables you to:
- Store Multiple Camera Records:
Save different camera configurations with varying orientations, clipping distances, custom transform and render settings. This is especially useful if your scene requires multiple angles of the same object. - Instant Recall:
Quickly switch between different alignment setups without changing or settings things up from scratch. - Render Multiple Setups:
Each saved record can have its own render settings. This means you can render different views simultaneously and compare them to choose the best alignment. - Keep Your Workflow Organized:
Instead of cluttering your scene with duplicate cameras, The View Keeper allows you to manage all your configurations in one place. This helps maintain a clean workspace and improves efficiency.
By integrating The View Keeper into your process, you ensure that your camera alignments are not only precise but also easily accessible for future iterations or comparisons.
Real-World Inspirations and Applications
Architectural Visualization
In architectural renderings, precise camera alignment is critical. For instance, when capturing a façade or an interior detail, you can align the camera to the surface which ensures that the proportions and textures are rendered accurately. This technique is used to create stunning, distortion-free images that help clients understand the design details.
Product Photography
For product animations and visualizations, when you align the camera to the object’s surface, it guarantees that the product is shown in its true form. This is essential for marketing materials where accuracy and aesthetic appeal are paramount. A perfectly aligned shot highlights the product’s design, texture, and functionality without unwanted distortion.
Film and Animation
In cinematic animations, the ability to align the camera to an object’s surface can create a dramatic and immersive experience. Whether it’s a close-up of a character’s face or a detailed shot of a prop, correct alignment ensures that the visual storytelling is clear and impactful.
Technical Illustrations and Tutorials
Many technical tutorials and educational materials require clear, precise shots of objects. Aligning the camera to an object’s surface ensures that every detail is visible, making it easier for viewers to understand complex processes or designs.
Troubleshooting Common Issues
Even with the best techniques, you might run into some challenges when aligning the camera to an object’s surface. Here are some common issues and their solutions:
Misaligned Camera
- Problem: The camera isn’t perfectly perpendicular to the surface.
- Solution: Double-check your alignment by entering Edit Mode and selecting the face. Use Shift + Numpad 7 to align the viewport, then press Ctrl + Alt + Numpad 0 to snap the camera to the view. Fine-tune manually if needed.
Unwanted Camera Roll
- Problem: The camera appears rotated or tilted even after alignment.
- Solution: Adjust the camera’s roll manually. In the 3D Viewport, select the camera and use the R key to rotate it along the Z-axis. If necessary.
Inconsistent Alignment on Curved or Non-Planar Surfaces
- Problem: The object’s surface is curved, and the camera alignment is off in some areas.
- Solution: For curved surfaces, select a representative flat section or create a custom transform orientation based on the average normal. Alternatively, use multiple camera records with The View Keeper to capture different sections of the object, then composite them if needed.
Difficulty with Manual Adjustments
- Problem: Manual adjustments are time-consuming and imprecise.
- Solution: Use the Ctrl + Alt + Numpad 0 to snap the orientation from a selected face to the camera. This ensures the camera’s rotation exactly matches the surface normal without manual guessing.
Rendering Discrepancies
- Problem: The final render does not match the viewport view.
- Solution: Ensure you are in Camera View (press Numpad 0) when aligning and previewing your camera. Also, double-check the camera’s clipping distances and focal length settings in the Camera Properties panel.
Tips and Tricks
- Utilize The View Keeper:
Save your aligned camera configurations as records in The View Keeper. This allows you to quickly switch between different alignment setups and compare results, making it especially useful for projects requiring multiple views or iterative adjustments. - Practice with Simple Objects:
Before aligning the camera on complex surfaces, practice with simple planar objects. This will help you get a feel for the alignment process and the relevant shortcuts. - Monitor Orientation Visually:
Use the viewport’s overlay options to display the camera’s frustum and orientation. This visual aid helps in verifying that the camera is aligned as intended. - Leverage the Graph Editor:
Use the Graph Editor to adjust keyframe interpolation if you are animating the camera’s alignment. Smooth transitions will help maintain the correct orientation throughout the animation. - Combine Methods:
For best results, combine viewport alignment shortcuts with manual adjustments and add-ons like Copy Attributes. This multi-faceted approach ensures accuracy and saves time.
Frequently Asked Questions
To help you further understand the nuances of aligning the camera to an object’s surface and managing camera views with The View Keeper in Blender, here are ten commonly asked questions along with their answers:
- Is it possible to automate the camera alignment process using scripts?
Yes, Blender’s Python API allows you to write custom scripts to automate camera alignment. Such scripts can calculate the normal of a selected face and adjust the camera’s orientation accordingly, further streamlining your workflow. - How do I align the camera to an object’s surface in Blender?
To align the camera, first select the object and enter Edit Mode. Choose a face, then press Shift + Numpad 7 to align the viewport to the face’s normal. Finally, press Ctrl + Alt + Numpad 0 to snap the active camera to the current view. This ensures the camera is perpendicular to the object’s surface. - What are surface normals, and why are they important for camera alignment?
Surface normals are vectors perpendicular to a face of an object. Aligning the camera with a face’s normal ensures that the camera captures the object head-on, reducing distortion and preserving details. This is crucial for technical renders and close-up product shots. - Can I use The View Keeper to save multiple camera alignments?
Yes! The View Keeper allows you to save multiple camera views along with their unique render settings. This lets you switch between different alignments effortlessly without duplicating cameras, keeping your scene organized. - What is batch rendering, and how does The View Keeper facilitate it?
Batch rendering enables you to render all saved camera views simultaneously. The View Keeper’s batch rendering feature renders each saved view with its respective settings all in one go, ensuring consistency across your renders and significantly reducing production time. - How do I automate camera switching in animations using The View Keeper?
You can save camera views as camera records using The View Keeper. Then Keyframe the points in your animation where you need a camera switch. - What are the benefits of using The View Keeper for multi-camera management?
The benefits include reduced scene clutter by storing multiple views in one camera object, time savings from automated view switching and batch rendering, consistent render quality with custom settings for each view or render, and a streamlined workflow that minimizes manual adjustments. - How do I update a saved camera view if I make changes to the render settings?
After adjusting the render settings in Blender’s Render Properties panel, use The View Keeper’s “Refresh View” feature to update the saved camera record. This ensures that the latest settings are applied when you switch back to that view. - Can I use The View Keeper with other Blender add-ons?
Absolutely. The View Keeper integrates seamlessly with Blender’s native tools and can be used alongside add-ons like Animation Nodes, Rigify, and Grease Pencil. This integration allows you to create a comprehensive, streamlined animation workflow. - What if my object’s surface is curved? How can I align the camera properly?
For curved or non-planar surfaces, select a representative flat area of the object or create a custom transform orientation based on the average normal. You may also need to use The View Keeper‘s multiple camera records to capture different sections of the object accurately.
Final Thoughts
Being able to align the camera to an object’s surface in Blender is an essential skill that enhances the accuracy, realism, and artistic quality of your renders. Whether you’re creating a detailed product visualization, a precise architectural rendering, or a dramatic cinematic shot, the ability to align the camera perfectly with an object’s surface ensures that every detail is captured correctly.
This comprehensive guide has explored multiple methods for achieving perfect alignment. We discussed simple viewport shortcuts like Shift + Numpad 7 and Ctrl + Alt + Numpad 0 for quick alignment, manual adjustments using snapping and custom transform orientations, and the use of add-ons such as the Copy Attributes Add-on for precision. We also examined advanced techniques like using Python scripting and drivers for automation, which can further streamline your workflow.
In addition, we highlighted the power of The View Keeper. A tool that allows you to save and recall multiple camera setups, including detailed alignment configurations. With The View Keeper, you can effortlessly switch between different alignment records, experiment with various settings, and even render multiple views simultaneously. This level of organization and flexibility is particularly valuable in complex projects where consistency and efficiency are paramount.
Real-world applications of this technique span across film, video games, architectural visualization, VR experiences, and technical tutorials. By mastering camera alignment, you not only improve the quality of your renders but also gain a significant advantage in conveying your creative vision with precision.
By following the detailed steps, tips, and best practices outlined in this article, you’ll be well-equipped to align your camera to an object’s surface in Blender. Experiment with the different methods, refine your workflow with The View Keeper, and enjoy the process of creating stunning, accurately framed shots that capture your subject in all its detail.
Thank you for reading this comprehensive article on how to align the camera to an object’s surface in Blender. We hope that the in-depth instructions, practical tips, and real-world examples provided here give you the confidence and tools needed to master this technique. Enjoy your creative journey in Blender, and may your renders always capture the perfect perspective!


