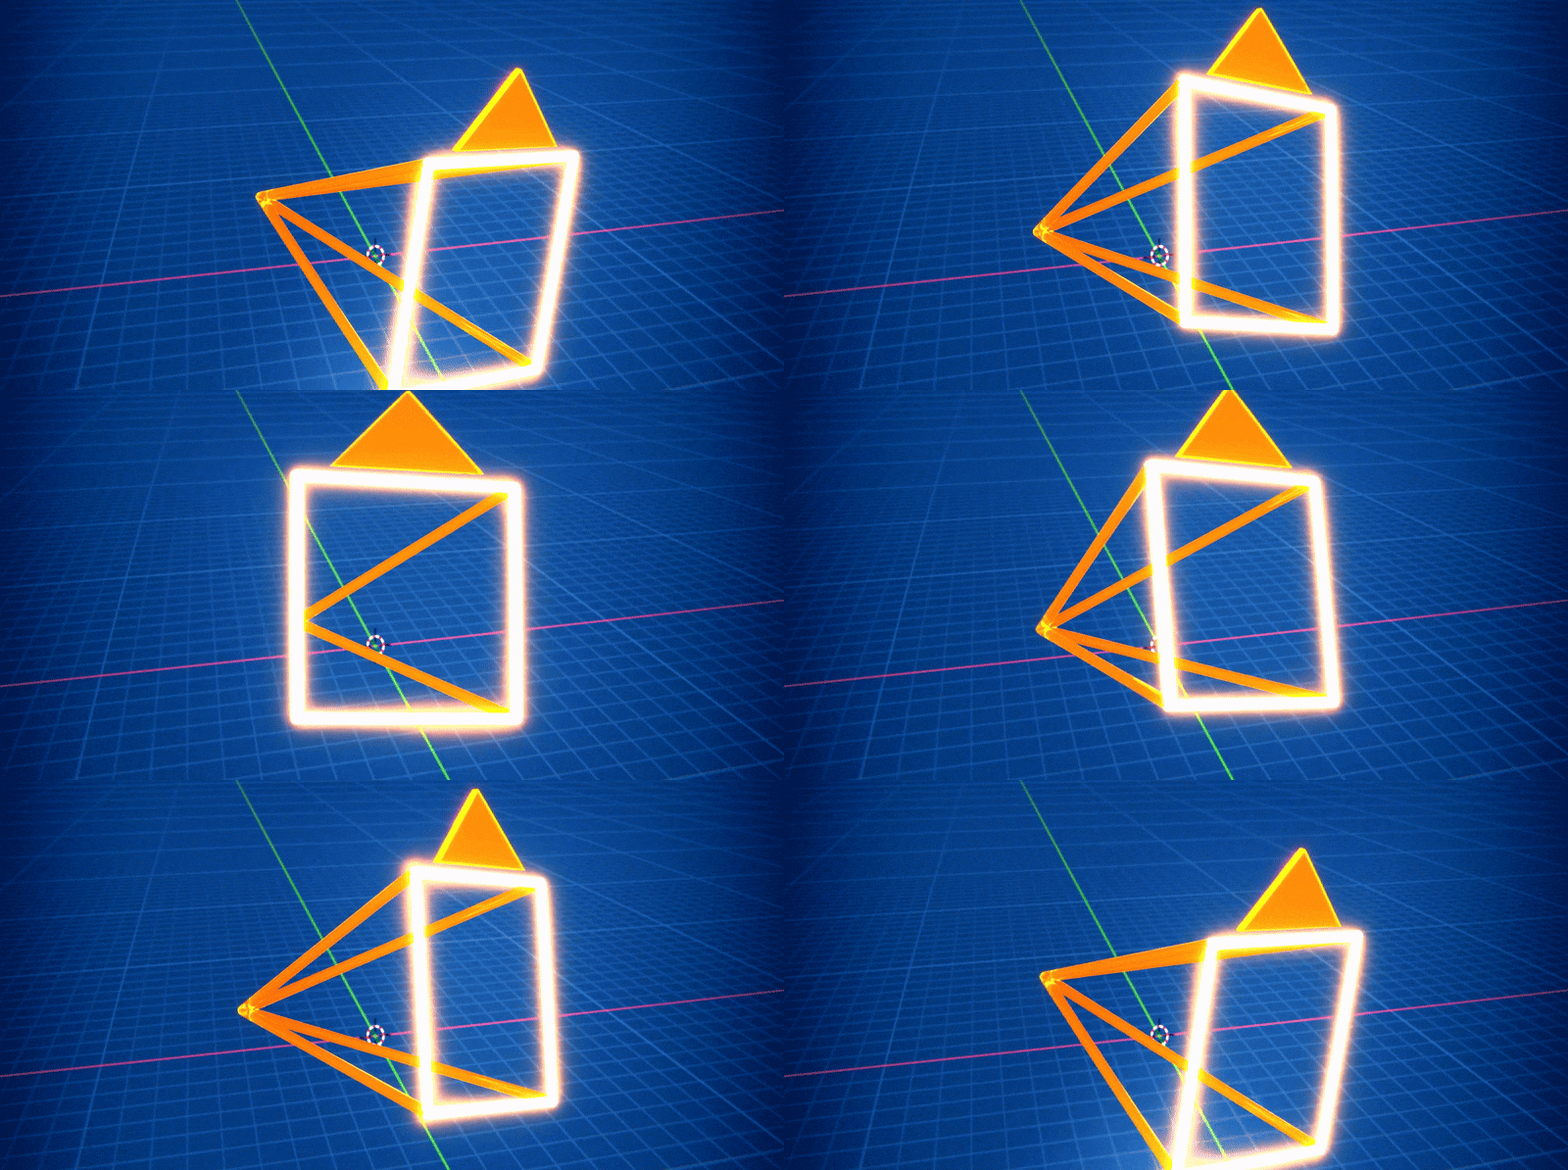
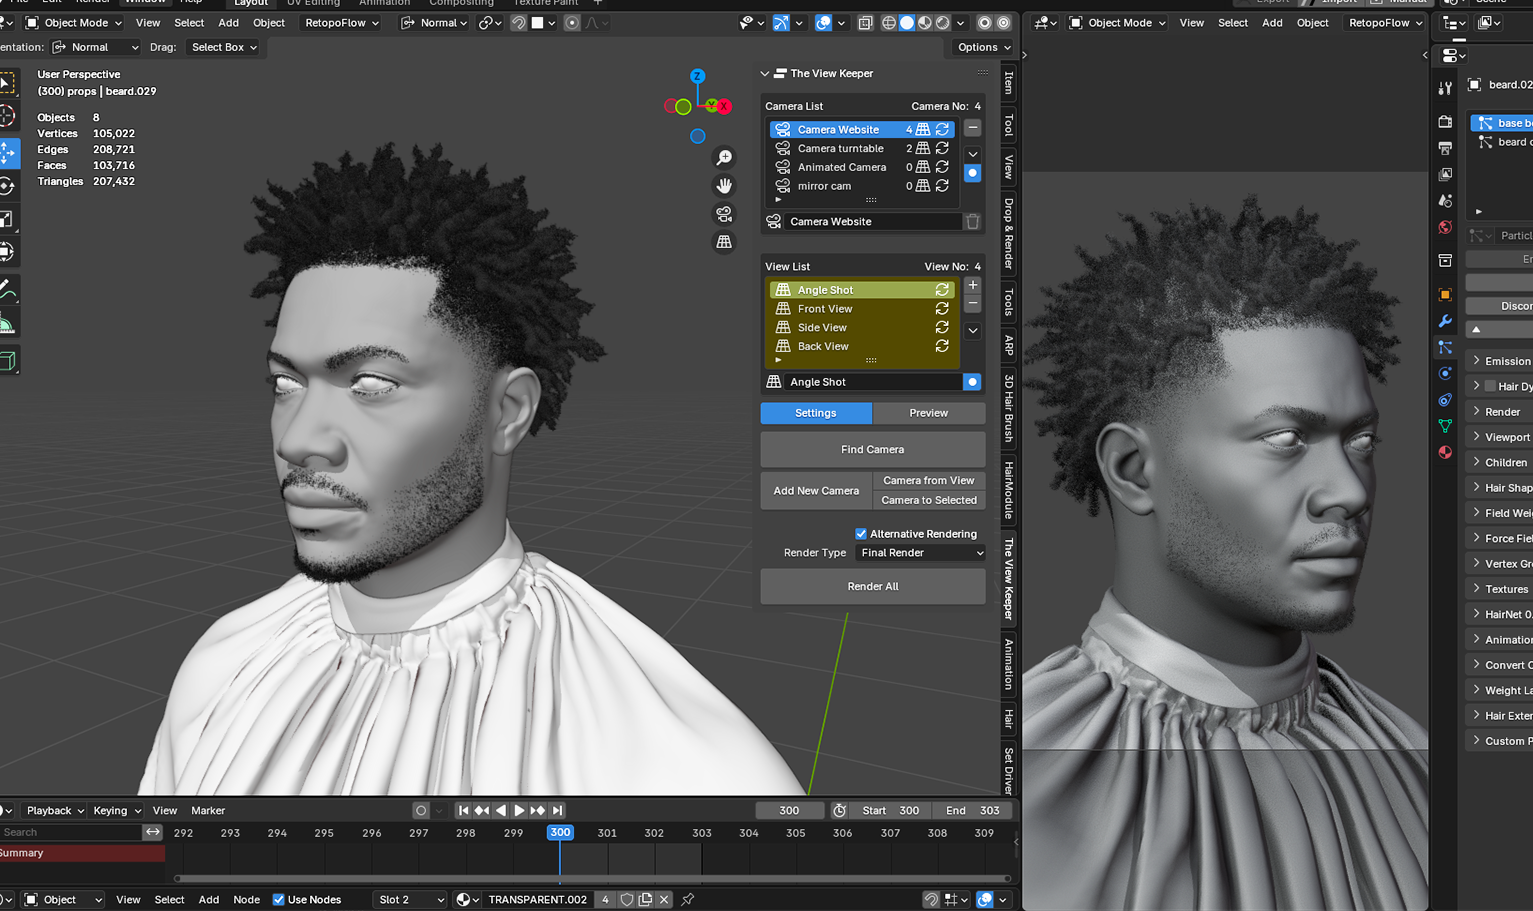
Blender’s animation workflows can be significantly enhanced with the right add-ons. In a field where creativity meets technical precision, add-ons streamline processes, automate repetitive tasks, and unlock new possibilities for artists. Among the vast array of tools available, The View Keeper stands out for its ability to streamline camera management, ensuring that every shot and angle is captured exactly as envisioned. This article dives deep into why The View Keeper is an essential tool for animators, how it integrates with other top Blender add-ons, and how it transforms complex animation projects into efficient, organized, and visually stunning productions.
Featured Image Idea:
Imagine a split-screen image: on one side, a Blender animation project cluttered with multiple duplicated camera and manual settings adjustments; on the other, a sleek, organized workspace with The View Keeper interface open in the N-panel, showcasing a clean Camera List Table with several saved cameras and custom render settings. This image visually communicates the efficiency and organization The View Keeper brings to animation workflows.
Introduction: Enhancing Animation Workflows with Add-ons
Blender is renowned for its versatility and power, but as projects grow in complexity, so does the need for specialized tools that can simplify and optimize workflows. Animators, in particular, face a myriad of challenges: setting up complex rigs, generating procedural animations, managing 2D and 3D elements, and—perhaps most critically—controlling the camera to tell a compelling story.
The Role of Camera Work in Animation
The camera is not merely a static viewpoint; it is an integral part of the storytelling process. In any animation, the way the camera moves, the angles it captures, and the transitions between shots all contribute to the narrative flow. For example:
- Establishing Shots: These set the stage for the story, giving viewers context about the environment.
- Close-Up Shots: These capture the emotion and subtle details of a character’s performance.
- Tracking Shots: These follow characters or objects dynamically, adding energy to action sequences.
Each of these shots requires different settings, such as varying resolutions, focal lengths, depth of field adjustments, and even unique lighting configurations. Manually managing these settings across multiple cameras can be overwhelming. Traditional workflows often involve duplicating cameras and individually tweaking settings, which can lead to inconsistencies, wasted time, and cluttered scenes.
The Power of Blender Add-ons
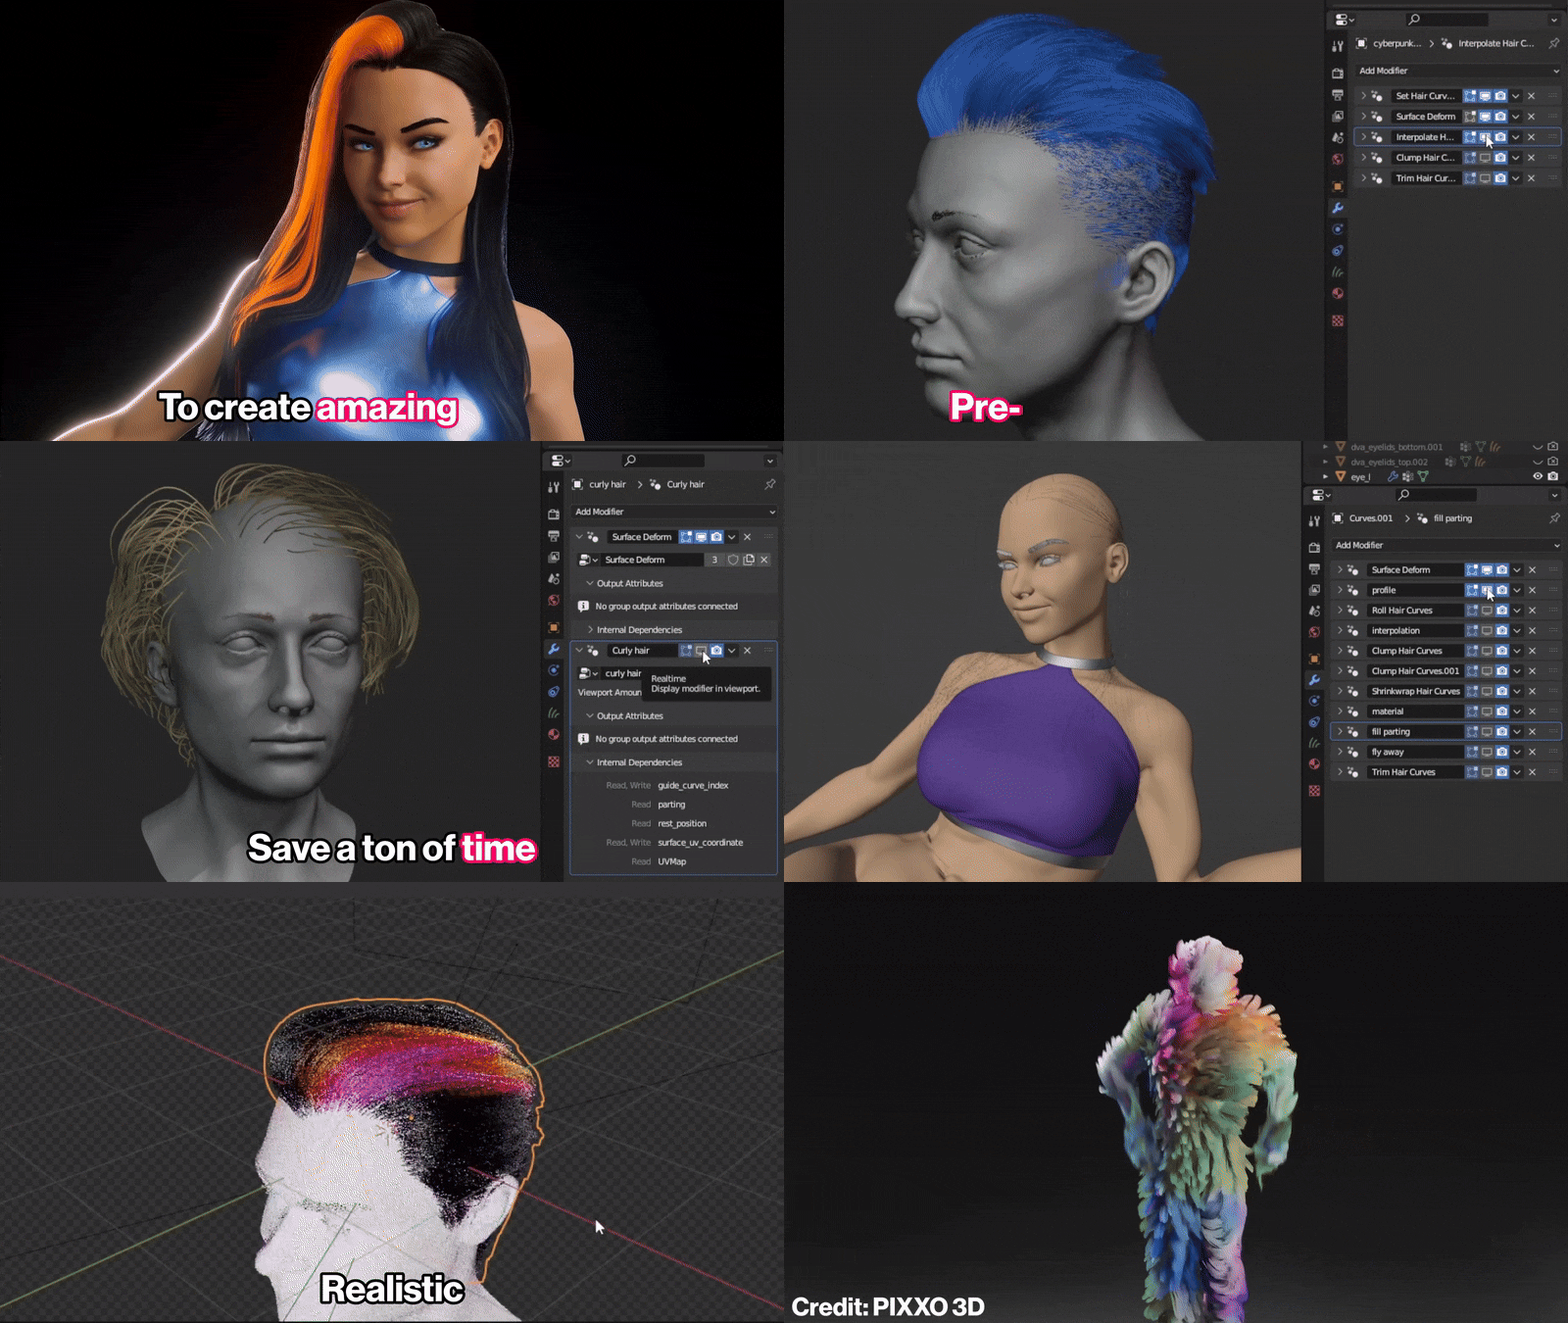
This is where Blender add-ons come into play. Add-ons extend Blender’s functionality, making it possible to handle complex tasks more efficiently. Essential add-ons like Animation Nodes for procedural animation, Grease Pencil Tools for 2D elements, and Rigify for character rigging have become staples in many animators’ toolkits. However, when it comes to managing camera views and rendering settings, The View Keeper shines as a game-changer.
Essential Blender Add-ons for Animators
Before focusing solely on The View Keeper, it’s worth considering the broader ecosystem of Blender add-ons that are essential for animators. Here’s a brief overview:
- Animation Nodes: Animation Nodes is a node-based visual scripting system that allows animators to create complex procedural animations. It can be used to generate motion effects, manipulate objects, and even drive camera movements procedurally. This add-on offers a high degree of flexibility and can significantly reduce the time required for creating intricate animations.
- Grease Pencil Tools: Blender’s Grease Pencil is a powerful tool for 2D animation and drawing within a 3D space. It enables animators to combine traditional hand-drawn animation techniques with 3D elements, making it ideal for storyboarding, motion graphics, and hybrid animations. Grease Pencil’s intuitive interface and robust feature set have made it a favorite among many artists.
- Rigify: Rigify is Blender’s advanced rigging system that simplifies the creation of character rigs. It automates many of the complex tasks involved in rigging, such as creating control bones and setting up IK (inverse kinematics) chains. This add-on allows animators to focus more on performance and less on technical rigging details, accelerating the animation process significantly.
- The View Keeper: While Animation Nodes, Grease Pencil, and Rigify each address specific aspects of the animation workflow, The View Keeper is uniquely focused on one critical element: camera management. Its ability to store multiple camera records, manage custom render settings, automate camera switching, and batch render multiple shots makes it indispensable for animators who require precise control over their visual storytelling.
Visual Aid Suggestion:
An infographic listing these top Blender add-ons for animators, with The View Keeper highlighted as the essential tool for camera management.
What Makes The View Keeper Stand Out?
In the realm of camera control and scene management, The View Keeper offers a suite of features that directly address the challenges animators face:
- Multiple Camera Views in One Interface: Traditional workflows often require duplicating cameras for each new angle, leading to scene clutter and increased complexity. The View Keeper allows you to store numerous camera views within a single camera, thereby reducing duplication and keeping your scene organized. Each saved view, known as a “view record,” includes not only the camera’s position.
- Custom Render Settings for Each Camera: Every camera saved in The View Keeper can have unique render settings tailored to its requirements. Whether you need different resolutions, sampling rates configurations, each Camera is stored with its precise settings. This ensures consistency across your project, as switching to a saved Camera automatically applies the correct settings.
- Batch Rendering Capabilities: One of the most powerful features of The View Keeper is its batch rendering function. Once you have multiple camera views saved, you can render them all simultaneously with a single click. Batch rendering not only saves time but also ensures that every view is processed under uniform conditions, resulting in a cohesive final product.
- Automated Camera Switching: For dynamic animations, smooth camera transitions are critical. The View Keeper allows you to automate camera switching by assigning saved views to specific frames in your animation timeline. This means you can set up keyframes to control exactly when the camera should switch angles, creating seamless transitions that enhance the storytelling.
- User-Friendly Interface and Customization: Integrated directly into Blender’s N-panel, The View Keeper offers an intuitive, easy-to-use interface. Its design minimizes the learning curve, and customization options—such as hotkeys, labels, and presets—allow you to tailor the tool to your specific workflow needs.
Visual Aid Suggestion:
A detailed screenshot of The View Keeper’s Camera List Table, with annotations highlighting features like custom render settings, batch rendering, and automated switching.
Enhancing Animation Workflows with The View Keeper
For animators, effective camera control is essential not only for visual quality but also for efficiency. Let’s explore how The View Keeper improves overall animation workflows:
- Efficient Shot Planning: A well-planned storyboard is the foundation of any successful animation. The View Keeper allows you to set up and save all necessary camera views early in the production process. By doing so, you can ensure that every shot has been thought out and that the appropriate render settings are applied from the beginning. This proactive approach minimizes last-minute adjustments and streamlines the entire production.
- Consistent Visual Quality: Consistency in Camera settings is critical in animation. Each saved view in The View Keeper includes its own set of parameters, ensuring that every shot is rendered with the intended quality. This uniformity is vital for maintaining a cohesive visual narrative across multiple scenes and camera angles.
- Streamlined Production Process: The automation and batch rendering features of The View Keeper reduce the manual workload significantly. Instead of spending hours tweaking individual camera settings and rendering shots one by one, you can automate these tasks, freeing up more time for creative work. This leads to faster turnaround times and a more efficient production pipeline.
- Flexibility for Creative Exploration: Every project is unique, and The View Keeper provides the flexibility to customize each camera view. Whether you need a close-up that highlights intricate details or a wide shot that captures the full environment, you can adjust the settings for each view independently. This level of control empowers you to experiment with different angles and settings, ultimately enhancing the storytelling and visual impact of your animation.
Visual Aid Suggestion:
A short video demonstrating The View Keeper in action within an animation project—showing how multiple camera views are saved, switched, and batch rendered to produce a consistent final output.
Step-by-Step Guide: Using The View Keeper for Multi-Camera Management
The following step-by-step guide provides detailed instructions on how to integrate and use The View Keeper in your Blender projects for efficient camera management and rendering.
Step 1: Installing and Enabling The View Keeper
- Download the Add-On:
Visit the official website or Blender Market to download the latest version of The View Keeper that is compatible with your version of Blender. - Install the Add-On:
Open Blender and navigate to Edit > Preferences > Add-ons. Click Install, select the downloaded ZIP file, and proceed with the installation. - Enable the Add-On:
Once installed, locate The View Keeper in the list of add-ons and check the box to enable it.
Visual Aid Suggestion:
A screenshot showing Blender’s Preferences window with The View Keeper add-on enabled.
Step 2: Accessing The View Keeper Interface
- Open the N-Panel:
Press the N key in the 3D Viewport to display the side panel. - Locate The View Keeper Tab:
Scroll through the N-panel until you find The View Keeper tab, then click on it to open the interface. You’ll see the Camera List Table where your saved Cameras will be displayed.
Visual Aid Suggestion:
An image highlighting The View Keeper tab in the N-panel with annotations pointing out key features.
Step 3: Saving Camera records with Custom Render Settings
- Position Your Camera:
Set your camera at the desired angle for your first shot. Adjust the render settings in Blender’s Render Properties panel, such as resolution, and sampling rates. - Add a View:
With the camera positioned and settings configured, click Add View in The View Keeper to save the current configuration as a camera record. - Name the record:
Provide a descriptive name (e.g., “Establishing Shot”, “Close-Up Detail”) so that you can easily identify it later.
Visual Aid Suggestion:
Annotated screenshots showing the process of adjusting render settings and saving a camera view in The View Keeper.
Step 4: Managing and Editing Saved Views
- Switch Between Views:
Use the viewList Table to click on any saved view and instantly apply its settings to the active camera. This allows for quick comparisons and adjustments. - Edit and Update Views:
If you need to change the Camera settings for a saved view, select it, adjust the settings in the Camera Properties panel, and then click Refresh View in The View Keeper to update the record. - Organize Your Views:
Organize your camera views with labels and categories to keep your project file clean and easy to navigate.
Visual Aid Suggestion:
A short video or animated GIF demonstrating switching between camera views and updating settings with The View Keeper.
Step 5: Automating Camera Switching in the Timeline
Smooth transitions between camera views are essential in dynamic animations. The View Keeper can automate this process by integrating with Blender’s timeline:
- Plan Your Timeline:
Create a storyboard or shot list and map out the key frames where camera transitions should occur. - Insert Keyframes:
For each saved camera view, select it in The View Keeper and insert keyframes at the designated frames in the timeline. Repeat for every transition point. - Adjust Interpolation:
Use Blender’s Graph Editor to fine-tune the interpolation curves between keyframes. Experiment with different interpolation modes—linear, Bezier, ease in/out—to achieve smooth, natural transitions.
Visual Aid Suggestion:
A video tutorial demonstrating keyframe insertion and interpolation adjustment using The View Keeper, with the Graph Editor visible.
Step 6: Batch Rendering Multiple Camera Views
Once your camera views and transitions are set, batch rendering can save a significant amount of time:
- Select All Views:
In The View Keeper interface, select the camera views you wish to render. - Initiate Batch Render:
Click the Batch Render button to render all selected views simultaneously. Each view will be rendered with its unique, pre-saved settings. - Review the Output:
After batch rendering, review the rendered images to ensure that all shots meet your quality standards and that settings are consistent across the project.
Visual Aid Suggestion:
A flowchart or diagram illustrating the batch rendering process, highlighting time savings and the consistency benefits of this approach.
Benefits of Using The View Keeper for Animation Workflows
The View Keeper provides significant advantages that directly impact the efficiency and quality of your animation projects:
- Time-Saving Efficiency: Automating camera management and batch rendering saves countless hours compared to manual adjustments. This time can be reinvested in the creative process, allowing you to focus on storytelling and character development rather than technical minutiae.
- Consistent and High-Quality Outputs: By saving unique Camera settings for each camera view, The View Keeper ensures that every shot is rendered exactly as planned. This consistency is essential for producing professional-quality animations where every frame contributes to a cohesive narrative.
- Enhanced Flexibility: With the ability to customize Camera settings for each view, you have the flexibility to adapt each shot to its specific needs. Whether you need a different aspect ratio for a close-up or specific lighting for a wide shot, The View Keeper allows you to tailor each view without compromising on overall quality.
- Organized Workflow: A cluttered scene can hinder productivity. The View Keeper consolidates all your camera views into one manageable interface, reducing scene clutter and making it easier to navigate and modify your project. This organized approach not only improves efficiency but also minimizes the risk of errors.
- Automated Transitions: For dynamic animations, smooth camera transitions are crucial. The View Keeper’s integration with Blender’s timeline allows you to automate camera switching with precision. This automation ensures that every transition is smooth and consistent, enhancing the overall cinematic quality of your animation.
Visual Aid Suggestion:
An infographic summarizing these benefits, such as time efficiency, consistent quality, flexibility, organization, and automated transitions, provides a quick reference guide for users.
Best Practices for Using The View Keeper in Animation Workflows
To fully leverage the power of The View Keeper, consider the following best practices:
- Plan Your Camera Angles Early: Develop a detailed storyboard or shot list before starting your project. Clearly outline all the camera angles you need and set up your views accordingly. Early planning reduces the need for last-minute adjustments and ensures that every shot is considered from the beginning.
- Use Descriptive Labels: When saving camera views, use clear and descriptive labels (e.g., “Intro_Wide,” “Character_CloseUp”). Consistent labeling helps you quickly switch between views and keeps your project organized.
- Regularly Test and Refresh Settings: Perform test renders periodically to ensure that each camera view is set up correctly. If you make adjustments to a camera’s settings, use the Refresh View feature to update the saved configuration. This iterative process helps maintain consistency and high quality.
- Leverage Batch Rendering: Once all camera views are saved and verified, utilize the batch rendering feature to process all shots simultaneously. Batch rendering not only speeds up production but also ensures that every render is produced under the same conditions, leading to a cohesive final output.
- Maintain an Organized Workspace: Keep your Blender scene clutter-free by managing all camera views through The View Keeper. Regularly review and remove any unnecessary or outdated views. An organized workspace enhances efficiency and minimizes the likelihood of errors.
- Document Your Workflow: Keep detailed records of your render settings and camera configurations. Documenting your workflow is invaluable for replicating successful setups in future projects and troubleshooting any issues that arise during production.
- Gather Feedback and Iterate: Seek feedback from peers or colleagues on your camera setups and transitions. Continuous improvement based on constructive criticism is key to refining your workflow and achieving professional-quality results.
Visual Aid Suggestion:
A checklist infographic summarizing these best practices for using The View Keeper can serve as a handy reference during your projects.
Practical Applications: Real-World Use Cases
The View Keeper’s efficiency and organization enhance multi-camera rendering across diverse projects. Here are key scenarios where it significantly impacts workflows:
- Cinematic Animations: Enables animators to manage multiple camera angles (e.g., establishing shots, close-ups, tracking shots) with unique settings, ensuring smooth transitions and consistent rendering for compelling visual storytelling.
Example: A short film animator uses The View Keeper to automate camera switches and batch render a dramatic sequence, delivering a fluid, engaging narrative. - Architectural Visualizations: Facilitates saving specific camera views for exterior, interior, and detail shots, each with tailored settings, to produce a uniform, professional set of images showcasing a structure comprehensively.
Example: A visualization studio employs The View Keeper to document a building, optimizing each view for its purpose, resulting in a polished portfolio that impresses clients. - Product Design and Marketing: Allows artists to save camera views highlighting product features (e.g., close-ups for details, wide shots for context) with customized settings, ensuring impactful, cohesive renders.
Example: A freelance designer uses The View Keeper for a smartphone ad, managing detailed and broad views to create a unified, effective marketing image set. - Social Media Content: Supports saving camera views optimized for various platform aspect ratios (e.g., square for Instagram, vertical for TikTok), enabling consistent, rapid content production.
Example: An influencer manages 3D animation views with The View Keeper, batch rendering tailored formats for a polished, consistent social media presence. - Virtual Reality and Interactive Media: Helps VR developers save and manage 360-degree camera views with uniform settings, ensuring consistent quality for immersive, seamless experiences.
Example: A VR team uses The View Keeper to render a 360-degree environment, optimizing each view for immersion and batch rendering for cohesive output.
The View Keeper streamlines multi-camera workflows, ensuring precision, consistency, and efficiency across cinematic, architectural, product, social media, and VR projects, enhancing professional output.
Advanced Techniques and Future Trends
For those seeking to push the boundaries of multi-camera rendering, advanced techniques can further enhance the workflow provided by The View Keeper.
- Custom Scripting and Automation: Blender’s Python scripting capabilities allow for the automation of repetitive tasks. By creating custom scripts, you can automatically update render settings across multiple cameras whenever changes are made to the scene. This automation minimizes manual effort and ensures that every camera view remains current without additional adjustments.
- AI-Driven Optimization: Future developments may include AI-driven tools that analyze your scene and suggest or automatically apply optimal Camera settings for each camera view. This AI-assisted approach could further streamline the process, reducing the need for manual adjustments and ensuring that every shot is rendered at peak quality.
- Real-Time Render Feedback: As real-time rendering technology advances, you may soon be able to see immediate feedback on your render settings as you switch between camera views. This capability will allow for faster iterations and more precise adjustments, ensuring that every shot meets your expectations before final rendering.
- Deeper Integration with Blender’s Ecosystem: With Blender continuously evolving, add-ons like The View Keeper are likely to integrate even more deeply with native tools, such as enhanced particle systems and new render engines. This deeper integration will result in a more seamless workflow and open up new possibilities for creative camera management.
- Collaborative Cloud-Based Workflows: In large-scale production environments, collaborative tools are becoming increasingly important. Future versions of The View Keeper may include cloud-based features that allow multiple artists to share and modify camera setups and render settings in real time. This collaborative approach can streamline the workflow on complex projects and ensure consistency across teams.
Visual Aid Suggestion:
A diagram or infographic highlighting these advanced techniques and future trends in multi-camera rendering, including custom scripting, AI optimization, real-time feedback, and collaborative workflows.
Visual Aids and Supplementary Materials
Enhancing your understanding of The View Keeper and multi-camera rendering with visual aids can make a significant difference. Consider incorporating the following supplementary materials:
- Interface Screenshots:
- Render Settings Panel: Annotated screenshots of Blender’s Render Settings panel, showcasing key parameters like resolution, focal length, and sampling rates.
- The View Keeper Interface: Clear images of the Camera List Table with multiple saved views and their custom settings, with annotations explaining each feature.
- Workflow Diagrams:
- Step-by-Step Flowchart: A flowchart outlining the process from setting up camera views and customizing render settings to saving them in The View Keeper and executing batch renders. This helps visualize the entire workflow.
- Camera Switching Diagram: A diagram illustrating how The View Keeper automates switching between camera views and ensures that each shot is rendered with its specific settings.
- Video Tutorials and Animated GIFs:
- Tutorial Videos: Short video tutorials demonstrating the entire process—from installation to batch rendering—can provide clear, visual guidance.
- Animated GIFs: Animated GIFs showing the process of switching between views, refreshing settings, and batch rendering can highlight the efficiency of the workflow.
- Infographics:
- Benefits Overview: An infographic summarizing the key benefits of using The View Keeper for multi-camera rendering (time savings, consistent quality, flexibility, streamlined workflow, and enhanced automation) serves as a quick reference guide.
- Best Practices Checklist: A visually appealing checklist of best practices for managing render settings across multiple cameras can be used as a handy reference during production.
Conclusion: Elevate Your Blender Rendering Efficiency with The View Keeper
Managing multiple cameras and their associated render settings in Blender has long been a cumbersome, error-prone process. The traditional approach of duplicating cameras, manually adjusting settings, and rendering each shot individually is not only time-consuming but also leaves plenty of room for inconsistencies that can impact the final quality of your project.
The View Keeper transforms this workflow by centralizing camera management into a single, intuitive interface. With its ability to save unique Camera configurations for every camera view, automate camera switching in the animation timeline, and enable batch rendering of all saved views, The View Keeper dramatically improves both efficiency and consistency in Blender rendering workflows.
By integrating The View Keeper into your production process, you gain several key advantages:
- Time Efficiency: Automate repetitive tasks and batch render multiple views, saving countless hours.
- Consistent Quality: Ensure that every shot is rendered with the exact settings you’ve specified, maintaining a unified look throughout your project.
- Flexibility and Customization: Tailor Camera settings for each camera view independently, optimizing every shot for its specific needs.
- Streamlined Workflow: Reduce scene clutter by managing all camera views from a single interface, minimizing errors and enhancing overall productivity.
- Advanced Automation: Features like instant view switching and automated keyframe insertion free you from manual adjustments, allowing you to focus on creative storytelling.
Whether you are working on cinematic animations, detailed architectural visualizations, product designs, social media content, or interactive VR experiences, The View Keeper equips you with the tools to capture every angle with precision and creativity. As the technology behind 3D production continues to advance—with real-time render feedback, AI-driven optimization, deeper integration within Blender, and collaborative cloud-based workflows—the future looks promising for tools like The View Keeper.
In conclusion, if you are committed to producing high-quality, consistent, and visually compelling renders in Blender, integrating The View Keeper into your workflow is an essential step. It simplifies the complex process of managing multiple cameras and render settings, allowing you to focus on your creative vision. With The View Keeper, you can elevate your Blender projects to professional standards, ensuring that every shot is rendered flawlessly and every angle is captured with clarity and precision.
