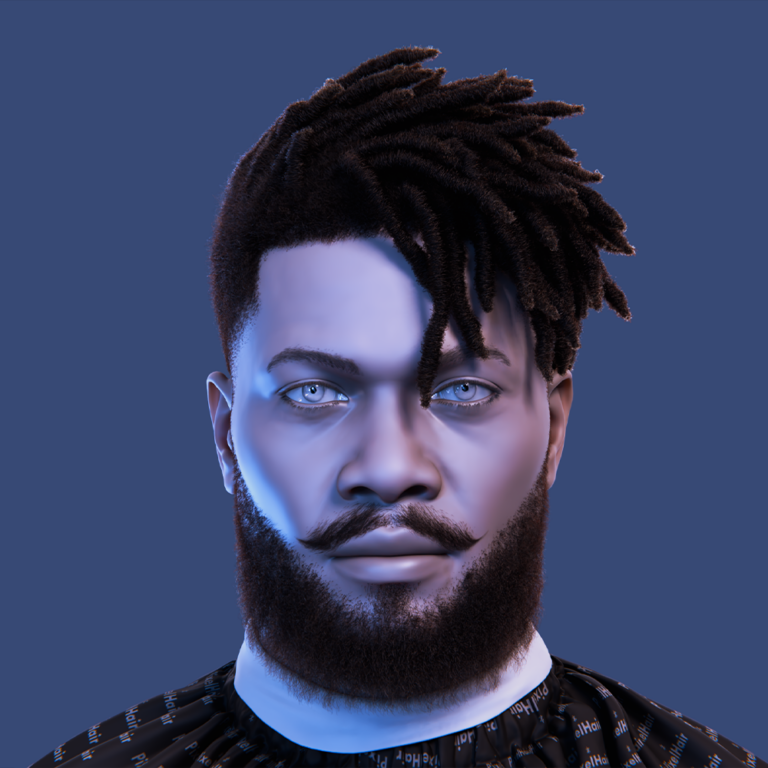

One important setting for a camera is the sensor size. The sensor size in Blender changes how wide or narrow your view looks. It is similar to how real cameras work. When you adjust the sensor size, you change the field of view and the perspective of your scene. In this article, we will learn what the camera sensor is, how to adjust its size, and why it matters. We will also share examples to show you the power of this setting.
What Is the Camera Sensor?
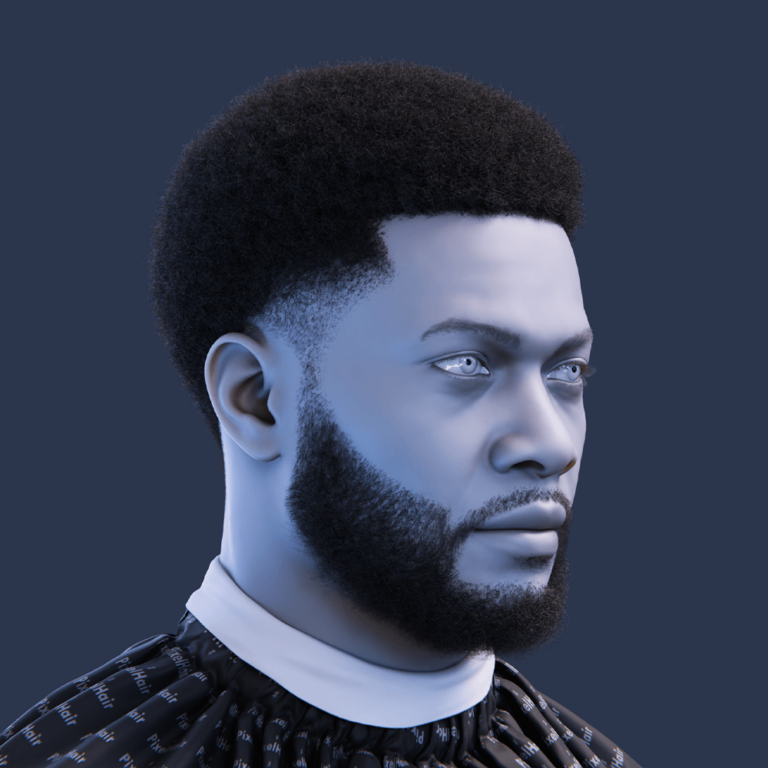
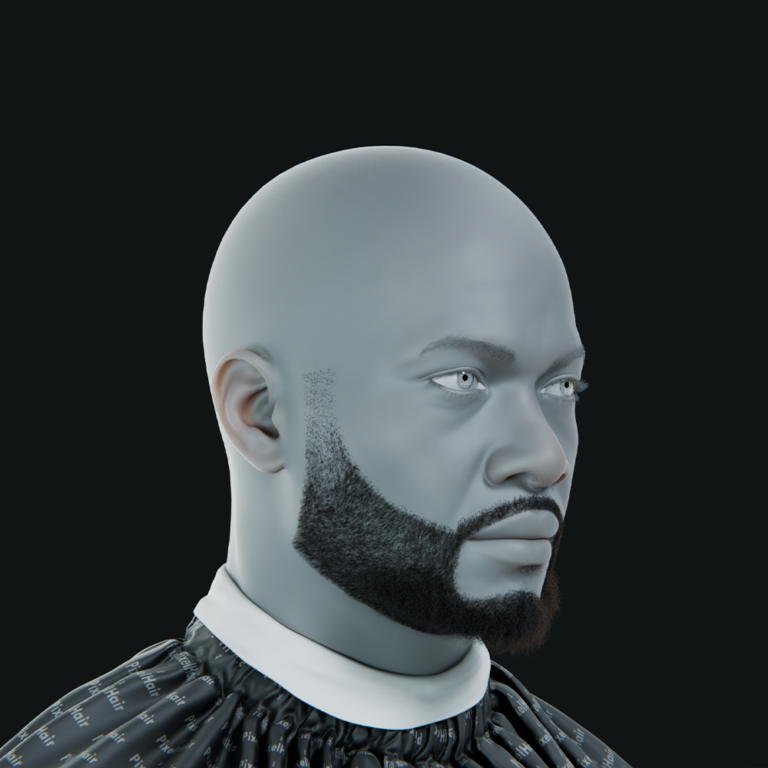
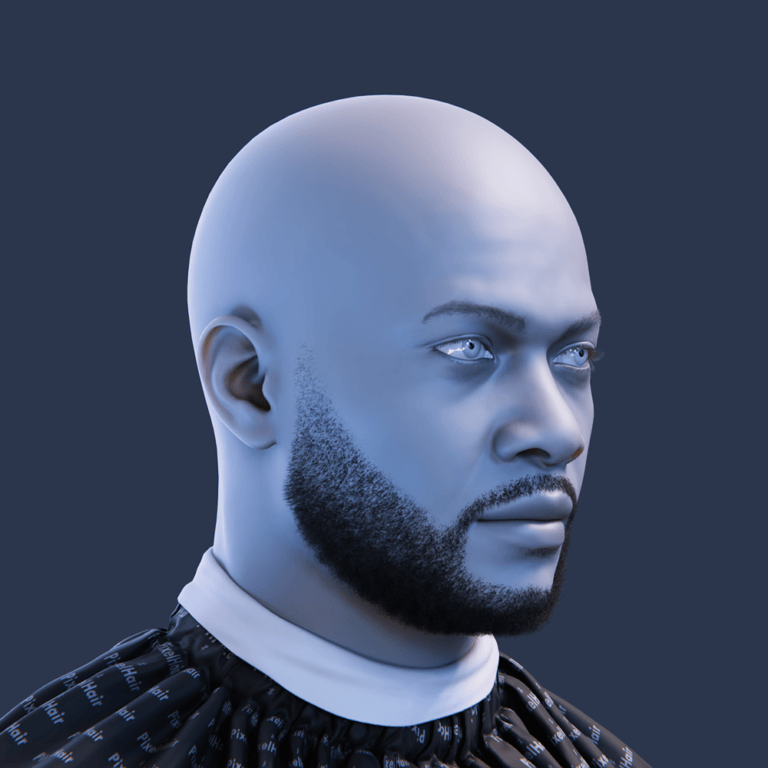
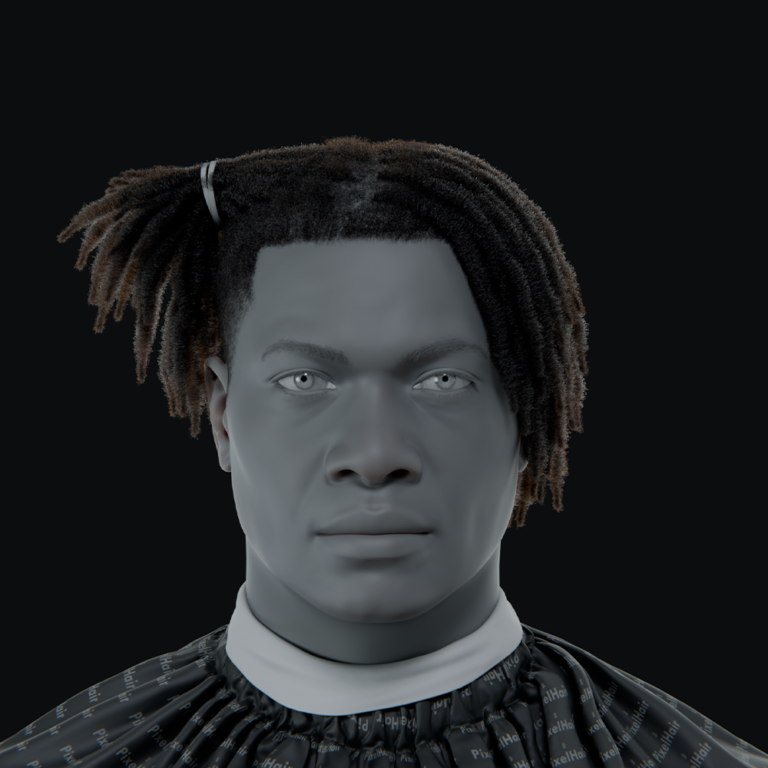
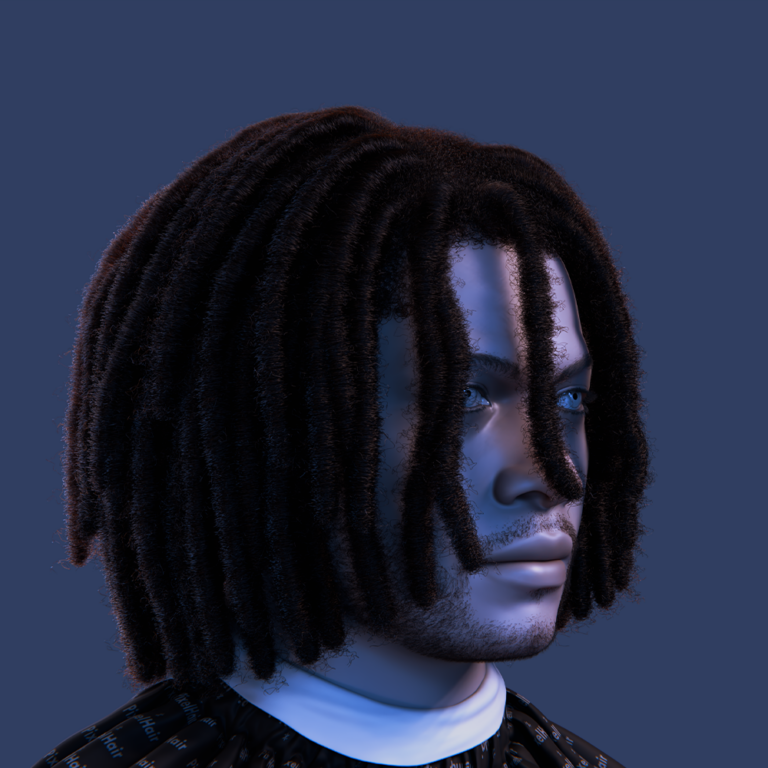
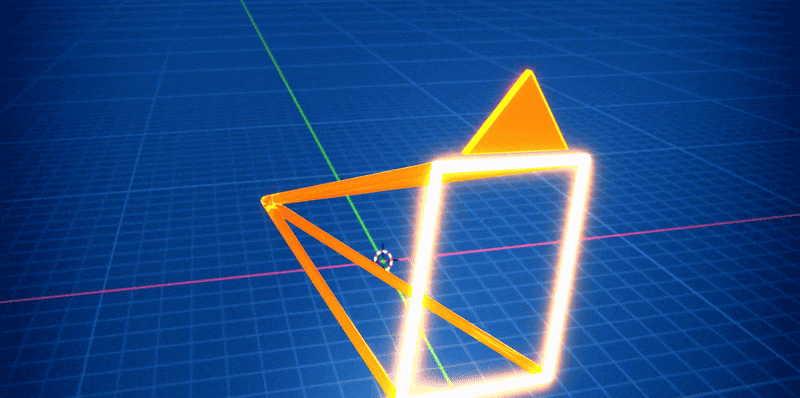
The camera sensor is like the film or digital plate in a real camera. It captures the light that makes up your image. In Blender, the sensor size affects the camera’s field of view. A larger sensor size shows a wider view of the scene. A smaller sensor size gives you a more zoomed-in look. Changing the sensor size is an easy way to change how your scene looks without moving the camera.
For example, think about the way a photographer uses different lenses to take a wide landscape shot or a close-up portrait. A wide lens has a larger sensor size effect and captures more of the scene. A telephoto lens has a smaller sensor effect and brings the subject closer. In Blender, adjusting the sensor size gives you a similar control over your image.

Why Adjust the Sensor Size in Blender ?
There are many reasons to adjust the sensor size in Blender. Here are some common examples:
- Creative Storytelling: In movies and TV, the choice of lens can change the feel of a scene. A wide lens shows more background and can make a room seem larger. A telephoto lens focuses on the subject and flattens the background. Changing the sensor size in Blender lets you tell your story in the same way.
- Architectural Visualization: When creating images of buildings, you want the perspective to look accurate. Adjusting the sensor size can help show the building in the best light. A larger sensor may capture the entire space, while a smaller sensor may focus on a detail.
- Game Design: Many video games use specific camera settings to create the right mood. A sensor size adjustment can help you get the look you want in cutscenes or in-game renders.
- Technical Illustration: For technical drawings or diagrams, you need clear and undistorted views. Adjusting the sensor size helps you control the perspective so that everything appears true to scale.
How to Adjust the Sensor Size in Blender
Now let us go through the steps to adjust the camera’s sensor size in Blender. These steps are easy to follow and use simple language.
Step 1: Open Your Blender Project
Start by opening Blender and loading your project. Make sure your scene is set up and that you have at least one camera in your scene.
Step 2: Select Your Camera
In the Outliner or the 3D Viewport, click on the camera you want to change. If you do not have a camera yet, press Shift + A and choose Camera from the menu. A camera will appear in your scene. Select it to work with its settings.
Step 3: Go to the Camera Properties Panel
On the right side of Blender, look for the Properties Editor. Click on the camera icon to open the Camera Properties panel. This panel shows all the settings for your selected camera.
Step 4: Locate the Sensor Settings
In the Camera Properties panel, look for the section labeled “Camera” right below the Lens settings, you will find a field called “Size.” It is labeled in millimeters (mm). This is where you can change the sensor size of your camera.
Step 5: Adjust the Sensor Size
Click in the Size field and type a new value. A larger number will give you a wider view. A smaller number will give you a more zoomed-in view. For example, if you change the sensor size from 36 mm to 18 mm, the view will look more zoomed in. Experiment with different values to see how the field of view changes.
Step 6: Preview Your Changes
Press Numpad 0 to switch to the camera view in the 3D Viewport. Look at your scene to see how the sensor size adjustment has changed the view. Notice how objects look larger or smaller, and how much of the scene is visible. If you are not happy with the result, go back and adjust the sensor size again.
Step 7: Save Your Settings
Once you have the sensor size set the way you want, save your settings using The View Keeper. This will store your changes so you do not lose your settings even if you decide to experiment down the line.
Real-World Examples and Inspirations
Adjusting the sensor size is a technique used in many areas of art and design. Let us look at a few examples from different media.
Film and Photography
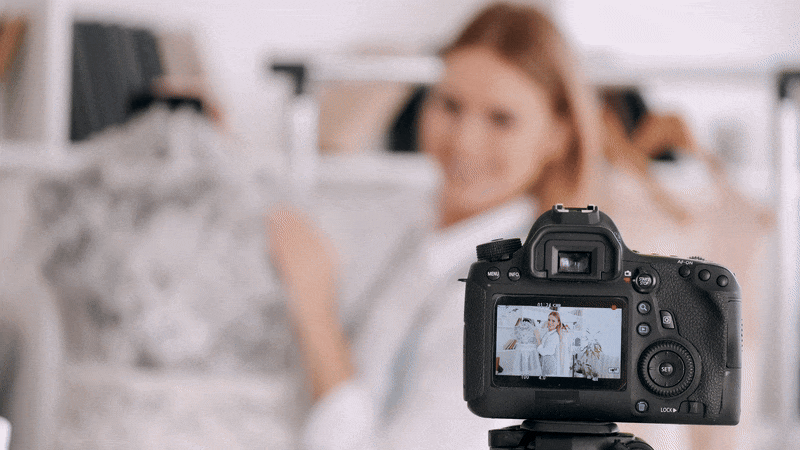
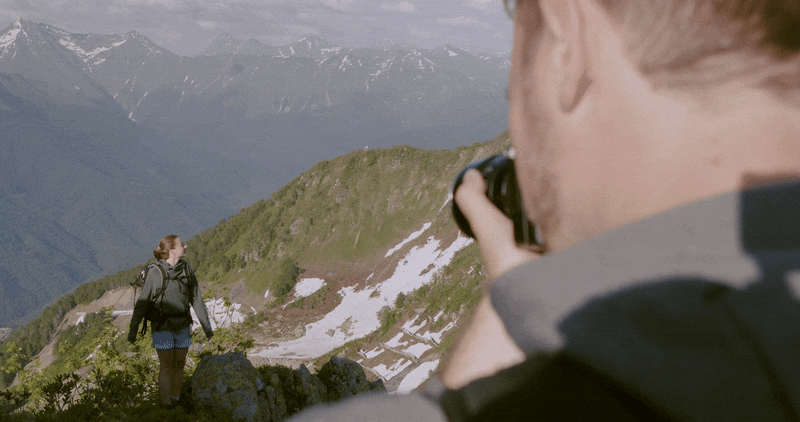
In film, directors choose different lenses to create various moods. For example, in the movie Blade Runner, wide shots use a large sensor effect to capture the vast, rainy cityscape. In contrast, close-ups use a smaller sensor effect to focus on a character’s emotions.
Photographers adjust their sensor size by changing lenses. In Blender, you can achieve a similar effect. Simply store different views with unique sensor size settings in The View Keeper, and switch to the one you need when desired. This is similar to a photographer switching lenses during a shoot.
With this technique in Blender, adjusting the sensor size can give your animation a unique look. Whether you are making a short film or a promotional video, the sensor size can help set the mood.
Architectural Visualization
Architects often use specific camera settings to showcase their designs. A wide sensor can capture the full layout of a room or building. When an architect wants to show off the open space of a modern home, a larger sensor size is used to display everything clearly. On the other hand, if the focus is on a particular detail, a smaller sensor can be used. In Blender, changing the sensor size allows you to create images that are both beautiful and true to scale. This makes it easier for clients to understand the design.
Video Game Design
Video game cutscenes often require a precise field of view to immerse the player in the story. Games use camera techniques that change the field of view to create dramatic moments. By adjusting the sensor size in Blender, you can simulate these effects in your game cinematics. This gives your scenes a professional look and helps guide the viewer’s attention to important details.
Graphic Design and Technical Illustration
In graphic design, clarity is very important. Designers may use a specific sensor size to ensure that their images are not distorted. Technical illustrations, such as those used in instruction manuals or product diagrams, rely on accurate perspectives. By adjusting the sensor size, you can control how the image appears. This makes your work more precise and easier to understand.
Tips and Tricks for Adjusting the Sensor Size in Blender
Here are some helpful tips to get the most out of your sensor size adjustments in Blender:
Experiment with Different Values
Do not be afraid to try many sensor sizes. A value that works for one scene may not work for another. Play around with different numbers to see the effect on your field of view. Take note of how the changes affect the look of your scene.
Use Reference Images
Look at photos or film stills that have the look you want to achieve. Note the field of view and perspective. Then try to match that look by adjusting the sensor size in Blender. This method can help you get a better understanding of how sensor size affects your final image.
Combine with Focal Length Adjustments
The sensor size and focal length work together to control your camera’s view. A smaller sensor size with a long focal length will have a similar effect to a larger sensor size with a short focal length. Experiment with both settings to find the perfect balance for your scene.
Use The View Keeper for Quick Changes
Using The View Keeper, you can save different camera setups with various sensor sizes. This makes it easy to switch between setups without having to change the settings each time manually.
Test in Different Lighting Conditions
Sensor size can also affect how light is captured in your scene. Test your camera settings in different lighting conditions. This will help you understand how the sensor size interacts with other settings, such as exposure and depth of field. Proper lighting can enhance the effect of a well-chosen sensor size.
Real-World Inspirations
Many creative fields use the concept of sensor size to achieve specific visual effects. These images allow viewers to feel as if they are standing right in the middle of the scene. Video games also benefit from these settings. Cutscenes and cinematic sequences use sensor size adjustments to create immersive experiences that draw players into the story.
In architectural visualization, clarity and precision are key. Architects use wide views to show entire rooms or buildings. They may also use close-up views to highlight intricate details. Adjusting the sensor size helps achieve both effects. This approach can be seen in presentations where clients view detailed floor plans alongside overall building layouts.
Graphic designers use sensor size ideas when creating layouts for posters and digital art. A flat, wide view can create a modern, clean look. By controlling the sensor size, designers ensure that every element is presented accurately. This clarity is essential in technical illustrations and infographics where every detail matters.
Advanced Techniques for Adjusting Sensor Size in Blender
Once you understand the basics, you can explore advanced techniques that combine sensor size adjustments with other camera settings. For example, you can animate changes in sensor size over time to create dynamic transitions. This method might be used in a video game cutscene where the view changes from a wide shot to a close-up to emphasize a key moment.
Another advanced technique is to combine sensor size changes with depth of field adjustments. By controlling both, you can create a sense of focus and depth even in a flat render. This technique is used in films to guide the viewer’s attention. Experiment with these settings in Blender to see how they work together.
Using The View Keeper is another way to automate sensor size adjustments. If you have an advanced scene where the camera needs to change its sensor size at certain points, you can save and switch between different camera sensor sizes automatically. This is a more advanced option but offers limitless customization for those who want to push their creative boundaries.
Troubleshooting Common Issues
When adjusting the sensor size, you might run into some common issues. Here are a few problems and solutions:
- The Field of View Looks Wrong:
If your scene appears too zoomed in or too wide, adjust the sensor size value. A lower value makes the view more zoomed in. A higher value widens the view. Experiment until you get the desired look. - The Image Appears Distorted:
Distortion can sometimes occur if the sensor size is not balanced with the focal length. Check both settings and adjust them together until the image looks natural. - Not Enough of the Scene Is Visible:
If you do not see enough of your scene, try increasing the sensor size. This will widen the field of view and capture more of your environment. - The Render Does Not Match the Viewport:
Ensure that you are in Camera View (press Numpad 0) to see the correct sensor effects. If the render differs, check your render settings and the sensor size value in the Camera Properties. - Slow Render Times:
Changing the sensor size does not usually affect render time directly. However, if you are rendering at very high resolutions to capture wide views, it may take longer. Adjust your output settings if needed.
Common Qustions about Sensor Size in Blender
- What is the camera sensor size in Blender?
It is the setting that controls the camera’s field of view. A larger sensor size shows more of the scene, while a smaller one gives a zoomed-in look. - How do I change the sensor size in Blender?
Select your camera, go to the Camera Properties panel, and adjust the Sensor Size value under the Camera settings. - Why should I adjust the sensor size?
Adjusting the sensor size in Blender changes how wide or narrow your view appears. This is useful for achieving different visual styles and for technical accuracy. - What units are used for sensor size in Blender?
Sensor size in Blender is measured in millimeters (mm). Changing this value alters the camera’s field of view. - How does sensor size affect the field of view?
A larger sensor size results in a wider field of view, while a smaller sensor size produces a narrower, more zoomed-in view. - Can I use sensor size adjustments for architectural renders?
Yes, architects use sensor size to control how much of a building or room is visible, ensuring accuracy in the final image. - What is the relationship between sensor size and focal length?
Both settings work together to determine the camera’s view. Changing one can affect the overall perspective of your scene. - Is sensor size important for virtual reality projects?
Yes, the sensor size can help achieve the desired field of view for immersive VR experiences. - How do I test different sensor size in Blender?
Change the Sensor Size value in the Camera Properties panel and press Numpad 0 to view the changes in the Camera View. - Can I save sensor size settings with The View Keeper?
Yes, if you use The View Keeper, you can save different camera records that include your chosen sensor size, making it easy to switch between setups.
Bringing It All Together
Adjusting the camera’s sensor size in Blender is a simple yet powerful way to control the look of your scene. By changing the sensor size in Blender, you can alter the field of view and create a wide, immersive view or a more focused, zoomed-in image. This setting is key for many types of projects, from architectural visualization to cinematic animations and video game design.
The process is straightforward. First, select your camera and open the Camera Properties panel. Then, find the Sensor Size field under the Lens settings and change the value to get the desired effect. Preview your changes in Camera View and adjust the value until you are happy with the result. Finally, save your project so that your settings are stored.
This technique is similar to how photographers and filmmakers choose different lenses for various shots. A wide sensor gives a broad view, perfect for landscapes and architecture. A narrow sensor creates a focused look, ideal for portraits and close-ups. By mastering sensor size adjustments, you add another tool to your creative toolbox.
The sensor size works hand in hand with other camera settings such as focal length, depth of field, and lighting. Together, these settings determine the final look of your render. For example, in a bright outdoor scene, a wider sensor may capture a lot of detail and create a sense of openness. In a studio scene, a smaller sensor might be used to emphasize the subject and blur the background.
Drawing inspiration from different fields can help you decide how to adjust the sensor size in Blender. In film, a wide lens can create a dramatic, expansive feel, while a telephoto lens brings the subject closer. In architectural visualization, accuracy and clarity are paramount, and the sensor size helps achieve that. Even in graphic design, controlling the field of view is important for creating clean, modern visuals.
Using The View Keeper, you can save your preferred sensor size settings along with other camera parameters. This means you can quickly switch between different setups without redoing your work each time. Imagine working on a project where you need both a wide panoramic view and a close-up detail view. With The View Keeper, you can save each setting as a camera or view record. Later, you switch between them with just one click. This organization makes your workflow efficient and keeps your creative ideas flowing.
It is important to practice and experiment. Change the sensor size in Blender and see how it affects your scene. Try different values and observe how the field of view changes. Use reference images from films, video games, or architecture to guide your choices. The more you experiment, the better you will understand how sensor size can transform your work.
Lighting also plays a big role. The way light interacts with your scene can change the appearance of your sensor size adjustments. Good lighting can enhance the wide view of a large sensor or add focus to a narrow view. Experiment with different lighting setups to see how they work with your camera settings.
Remember, there is no one right answer for every project. The best sensor size in Blender depends on what you are trying to achieve. For some projects, a wide sensor is ideal. For others, a smaller sensor that offers a more intimate view works best. Use the flexibility of Blender to try various combinations until you find the perfect look.