


Creating a cinematic camera shot in Blender can transform your 3D animation into a visually compelling story. A cinematic shot is more than just a static regular shot. It’s a carefully choreographed sequence that guides your audience’s attention, creates mood, and elevates the narrative. In this comprehensive guide, we will explore the steps, techniques, and advanced tips you need to craft a cinematic camera shot in Blender. We’ll cover everything from camera placement and movement to depth-of-field, composition, and post-processing. Additionally, we’ll discuss how tools like The View Keeper can streamline this workflow by allowing you to store, reuse and switch between multiple camera setups with ease.
Introduction
Cinematic camera shots are key to elevating the visual storytelling in any project. They are not merely about capturing a scene but about directing the viewer’s attention, building mood, storytelling and reinforcing the narrative. Whether you’re creating an animated short, a VR experience, or a cinematic cutscene in a video game, mastering cinematic camera techniques in Blender is crucial. This guide will walk you through every step of the process. From planning your shot to final render. It would also introduce advanced tools and strategies that help you achieve professional results.
Understanding Cinematic Camera Shots
Cinematic camera shots mimic the techniques used in films to create dramatic, emotionally engaging visuals. They involve careful control over camera movement, framing, and focus, and often include dynamic elements like depth-of-field and motion blur.
Key Elements of Cinematic Shots
- Framing and Composition:
The arrangement of elements within the frame is essential. Using principles such as the rule of thirds, leading lines, and symmetry helps create a balanced and visually appealing shot. - Camera Movement:
Smooth, intentional camera movements such as pans, tilts, and dolly shots are used to transition between scenes and guide the viewer’s eye. - Depth of Field:
A shallow depth of field can isolate the subject and create a sense of depth, while a deep focus ensures all elements are sharp. - Lighting and Color:
Cinematic lighting sets the mood and tone, while color grading in post-processing can further enhance the atmosphere.
Understanding these components is the foundation for creating compelling cinematic shots in Blender.

Planning Your Cinematic Shot
Before you jump into Blender, take time to plan your shot. A well-thought-out storyboard can save you hours of trial and error.
Storyboarding and Concept
- Outline Your Narrative:
Determine the purpose of the shot. Is it meant to build tension, showcase a character’s emotion, or provide an establishing view of the scene? - Sketch the Composition:
Draw rough sketches or use digital tools to outline the framing, camera angles, and movements you want to achieve. - Define Key Elements:
Identify the main subject, background elements, and lighting setup. Plan how these will interact with your camera movement.
Pre-Visualization
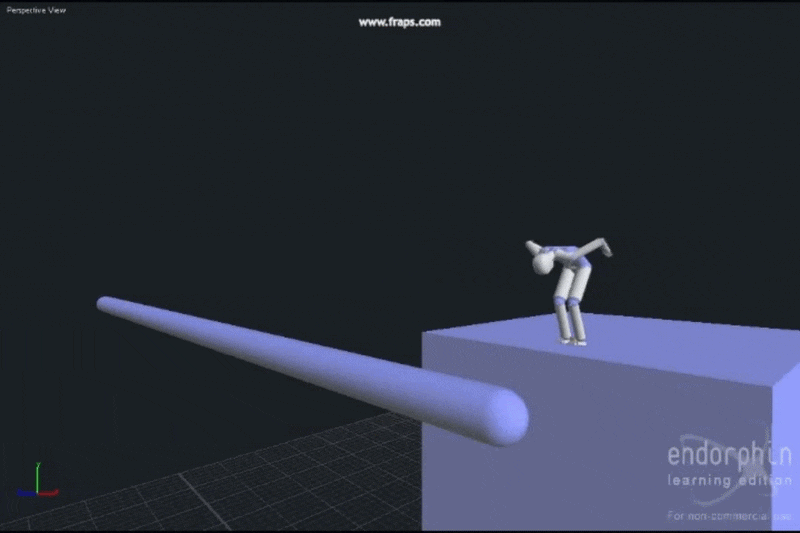
- Test in Blender:
Set up a rough version of your scene like a blockout in Blender to experiment with camera placement and movement before committing to detailed work. - Iterate:
Adjust your plan based on initial tests, ensuring your cinematic vision is achievable with the tools and techniques available in Blender.
Setting Up Your Scene in Blender
A well-prepared scene is crucial for creating effective cinematic shots.
Scene Organization
- Clean Outliner:
Organize objects into collections. Name your cameras clearly (e.g., “Cine_Cam1”) and group related objects. - Accurate Scale:
Ensure your scene is modeled to scale. Accurate dimensions are important for realistic depth and perspective. - Lighting Setup:
Configure your lighting early on. Use HDRIs, area lights, or spotlights to create the mood you want.
Configuring the Camera
The camera is your storyteller. Proper configuration is essential for achieving a cinematic look.
5.1 Camera Placement and Composition
- Position the Camera:
Place the camera to capture the scene effectively. Use The View Keeper to capture different angles if needed. - Align the View:
Use viewport alignment shortcuts (such as Ctrl + Alt + Numpad 0) to snap the camera to your current view. This ensures the camera’s orientation matches your desired composition. - Test the Framing:
Regularly preview the camera view (press Numpad 0) to ensure your framing is on point. Adjust the camera’s position with the G key and rotation with the R key.
5.2 Adjusting Camera Settings
- Focal Length:
Set the focal length according to the shot type. A wider focal length (e.g., 18mm) is ideal for expansive scenes, while a longer focal length (e.g., 35mm or 50mm) works well for close-ups. - Depth of Field:
Enable depth of field in the Camera Properties panel to create a cinematic look. Choose a focus object or set a specific focus distance, and adjust the F-stop to control the amount of blur. - Clipping Distances:
Adjust the near and far clipping distances to ensure your scene is captured fully without unwanted cropping.
Animating the Camera for Cinematic Movement
Dynamic camera movement can transform a static shot into a captivating visual narrative.
Keyframe Animation Techniques
- Establish Keyframes:
Set keyframes for the camera’s location and rotation at critical points in your timeline. Use these keyframes as anchor points for smooth transitions. - Fine-Tune with the Graph Editor:
Open the Graph Editor to smooth out keyframe curves. Adjust interpolation modes (Bezier, linear, etc.) to control the speed and fluidity of camera movements. - Add Subtle Motion:
Consider adding small, natural movements to mimic a handheld or dolly shot. This can be done by keyframing slight oscillations or using a noise modifier on keyframes.
Using The View Keeper for Camera Switching and Capturing Multiple angles
Cinematic shots often requires multiple angles of the scene to be able to properly convey the narrative to the audience. In Blender by default, you would have to add multiple cameras and manually cycle through them always making changes but using The View Keeper, this process becaomes a lot easier.
- Save Camera Views: Open The View Keeper panel in Blender. Select your camera, save it as a record and start capturing as many angles as you want. With each angle having it’s own settings for further customization.
- Switch Between Camera angles: To switch camera angles, open The View Keeper panel, select the saved view you want, and it becomes the active camera angle instantly.
- Render All Views: Once you are ready to render, use The View Keeper to render all saved views at once without manually adjusting settings or re-rendering. This keeps your workflow smooth and efficient.
Parenting and Constraints
For more complex camera movements, you can use parenting and constraints:
- Parenting:
Parent the camera to an empty object or a character’s rig so that it follows their movement. This is useful for dynamic scenes. - Constraints:
Apply constraints such as Track To or Locked Track to keep the camera focused on a specific target. This ensures the camera’s attention remains on key subjects throughout the scene.

Enhancing Depth and Focus
Cinematic shots often rely on depth-of-field and focus techniques to guide the viewer’s attention.
- Enable Depth of Field:
In the Camera Properties panel, enable Depth of Field and select a focus object. Adjust the F-stop to create a shallow depth-of-field effect that isolates your subject. - Keyframe Focus Distance:
For dynamic scenes, animate the focus distance to keep moving subjects sharp while softly blurring the background. - Use the Graph Editor:
Refine focus transitions using the Graph Editor to ensure smooth changes.

Post-Processing for a Cinematic Look
After rendering your scene, post-processing can add the final polish to your cinematic shot.
- Color Grading:
Use Blender’s Compositor to adjust color balance, contrast, and saturation. Cinematic color grading can evoke different moods and enhance the overall aesthetic. - Motion Blur:
Enable motion blur in the Render Properties to simulate realistic movement. Adjust shutter speed and sample count to achieve a natural blur. - Vignette and Grain:
Add subtle vignettes or film grain effects to give your shot a cinematic, analog feel. These effects can be applied using nodes in the Compositor.
Cinematic Shot Experimentaion with The View Keeper
The View Keeper is an add-on that can save and reuse various camera setups, making it easier to experiment with different cinematic shots. When creating cinematic shots, it is expected that you would try a couple of things out. By default, Blender doesn’t give you room to do this in a non-destructive way but The View Keeper does.
- Store Camera Setups:
Save different camera configurations as records within the same blend file. Each record can store settings like focal length, clipping distances, depth-of-field parameters, and more. - Quick Switching:
Easily switch between different setups with a single click. This is useful for comparing various cinematic approaches or when different shots require unique camera settings. - Render Multiple Views:
Each camera record can have its own render resolution, file format, and output folder. This allows you to render different cinematic shots simultaneously for further comparison. You can see what that same shot would look like in a 16:9 aspect ratio versus a 4:3 aspect ratio. - Maintain Consistency:
The View Keeper helps ensure that your cinematic settings remain consistent across your project even when running tests, reducing the risk of errors during manual reconfiguration.
Real-World Inspirations and Applications
Cinematic camera shots are used in a wide range of fields and industies. Here are a few examples:
Film and Television
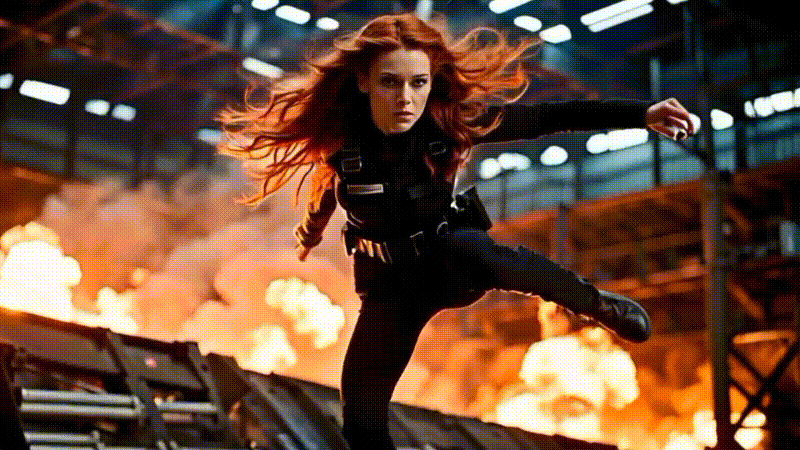
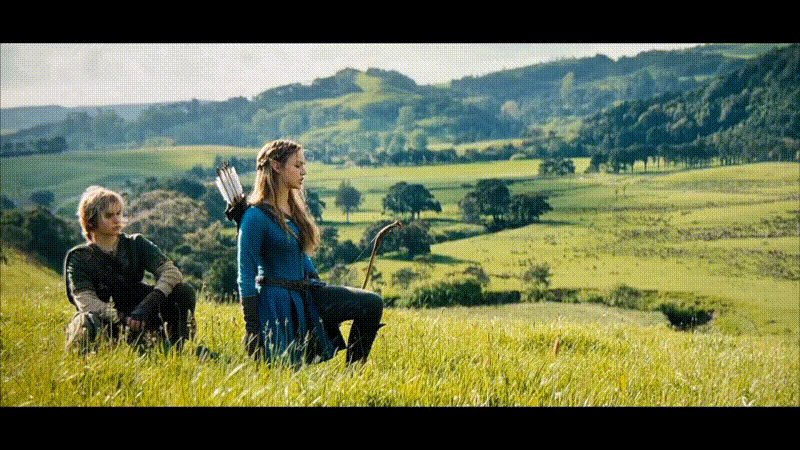
Directors use dynamic camera movements to capture emotionally charged scenes. Whether it’s a dramatic close-up during an intense dialogue or a sweeping panoramic view of a vast landscape or the emotional moments of a character. Cinematic shots are essential for storytelling. Movies like Breaking Bad showcase how carefully choreographed camera moves can transform a scene.
Video Games
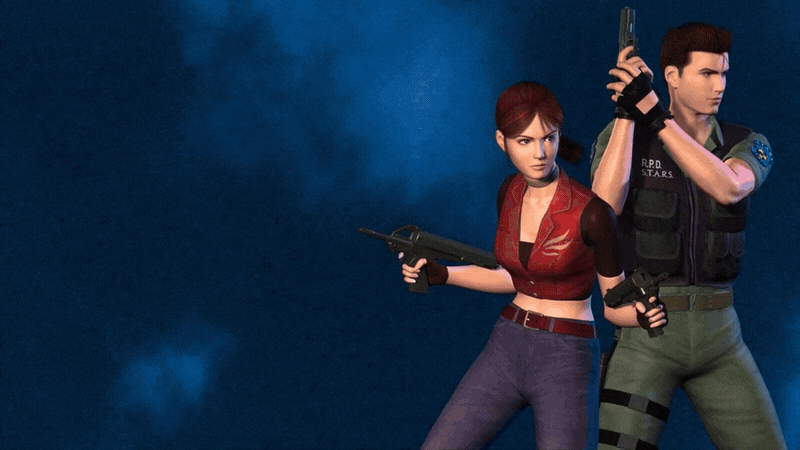
In video games, cinematic cutscenes and gameplay sequences benefit from multi-camera setups and dynamic movements. Titles such as The Last of Us and Uncharted utilize cinematic camera techniques to create immersive, emotionally engaging experiences. Replicating these techniques in Blender can help you design compelling game cinematics.
Architectural Visualization
Bird’s-eye views, interior walkthroughs, and detailed close-ups are all part of cinematic architectural visualization. A well-composed cinematic shot can highlight the intricate design of a building and guide the viewer’s attention to important features.

Virtual Reality
VR experiences rely on immersive camera movements to keep users engaged. A cinematic VR sequence can guide viewers through a virtual environment in a way that feels natural and intuitive, enhancing the overall sense of presence.
Commercials and Product Animations
In recent years, cinematic techniques are more widely used in commercials to showcase products in the best light. By using dynamic camera movements, you can emphasize a product’s design, functionality, and aesthetics, creating an impactful visual presentation.
Troubleshooting Common Issues
Even with careful planning, you might encounter challenges when creating cinematic camera shots in Blender. Here are some common issues and their solutions:
Jittery or Unnatural Movements
- Solution:
Use the Graph Editor to smooth out keyframe curves. Adjust interpolation modes (e.g., Bezier) to ensure transitions are fluid and natural.
Poor Focus or Depth-of-Field
- Solution:
Revisit your Depth of Field settings in the Camera Properties panel. Keyframe the focus distance if necessary and ensure the F-stop is set appropriately to isolate the subject.
Inconsistent Camera Transitions
- Solution:
If using Timeline markers, double-check that each marker is properly bound to the desired camera. Use the Dope Sheet to fine-tune the timing of your camera switches.
Render Discrepancies
- Solution:
Ensure that your render settings match your viewport configuration. Preview the cinematic shot in Camera View (press Numpad 0) and adjust render settings like resolution and sampling as needed.
Workflow Clutter
- Solution:
Organize your cameras in the Outliner using clear naming conventions. Utilize The View Keeper to store and manage multiple camera setups, keeping your scene clean and your workflow efficient.
People Also Ask
- How do I create a cinematic camera shot in Blender?
You can create a cinematic camera shot by carefully positioning your camera, adjusting settings such as focal length and depth of field, and animating smooth camera movements with keyframes and constraints. - What camera settings are essential for a cinematic look?
Key settings include a suitable focal length, depth of field for background blur, proper clipping distances, and sometimes a slight motion blur to simulate natural movement. - How can I animate smooth camera movements?
Use keyframe animation along with the Graph Editor to adjust interpolation curves. Additionally, The View Keeper can help manage transitions between multiple cameras. - What role does depth of field play in cinematic shots?
Depth of field isolates the subject by blurring the background, drawing attention to key elements and creating a more immersive, cinematic look. - Can I use multiple cameras for cinematic sequences in Blender?
Yes, Blender supports multi-camera setups. You can animate and switch between different cameras more efficiently with The View Keeper. - How do I add dynamic camera shake to a cinematic shot?
Introduce subtle camera shake using noise modifiers on keyframes in the Graph Editor. This mimics handheld movement and adds realism to the shot. - What are the benefits of using The View Keeper for cinematic shots?
The View Keeper lets you store multiple camera configurations, quickly switch between them, and render different outputs simultaneously, which streamlines your workflow and ensures consistency. - How do I achieve a cinematic color grade in Blender?
Use Blender’s Compositor to adjust color balance, contrast, and saturation. Adding film grain or vignettes can also enhance the cinematic quality. - What are common challenges when creating cinematic camera shots?
Common issues include jittery motion, focus problems, inconsistent transitions, and render discrepancies. These can be addressed through careful keyframe editing, proper use of depth-of-field, and organized workflow strategies. - Is it possible to automate cinematic camera movements in Blender?
Yes, advanced users can use Python scripting or drivers to automate camera movements, ensuring consistency and reducing manual adjustments.
Bringing It All Together
Creating a cinematic camera shot in Blender involves a blend of artistic vision and technical mastery. It starts with careful camera placement, ensuring that the composition follows cinematic principles such as the rule of thirds and balanced framing. Adjusting essential camera settings like focal length, depth of field, and clipping distances lays the foundation for a professional look. Next, animating the camera using keyframes, Timeline markers, and constraints enables smooth, dynamic movement that enhances the storytelling.
By fine-tuning these animations in the Graph Editor, you can create subtle transitions and natural motion that capture the viewer’s attention. Additionally, post-processing techniques in Blender’s Compositor such as motion blur, color grading, and lens effects further polish your final render, giving it that cinematic quality reminiscent of blockbuster films.
To reduce repetition from using multiple camera setups, advanced tools like The View Keeper prove invaluable. This add-on lets you store various camera configurations within the same project, making it effortless to switch between different cinematic setups. Whether you need a dramatic close-up, a sweeping wide shot, or a dynamic multi-camera sequence, The View Keeper ensures that your workflow remains organized and efficient.
Real-world applications of cinematic camera shots are everywhere. From immersive film and television scenes to engaging video game cutscenes, architectural walkthroughs, VR experiences, and even high-impact product commercials. By mastering these techniques in Blender, you gain the ability to transform your 3D projects into visually stunning narratives that captivate and inspire your audience.
Final Thoughts
Creating a cinematic camera shot in Blender is a transformative skill that elevates your storytelling. By meticulously planning your shot, setting up the camera with the right composition and settings, and animating smooth, deliberate movements, you can achieve a level of visual sophistication that rivals professional film production. Combining these techniques with post-processing effects and leveraging workflow tools like The View Keeper not only streamlines your process but also expands your creative horizons.
We hope this comprehensive guide has provided you with detailed insights, practical tips, and advanced strategies to create cinematic camera shots in Blender. Embrace the process, experiment with different techniques using The View Keeper and let your creative vision come to life. Enjoy your journey in Blender, and may your cinematic shots captivate your audience with every frame!


