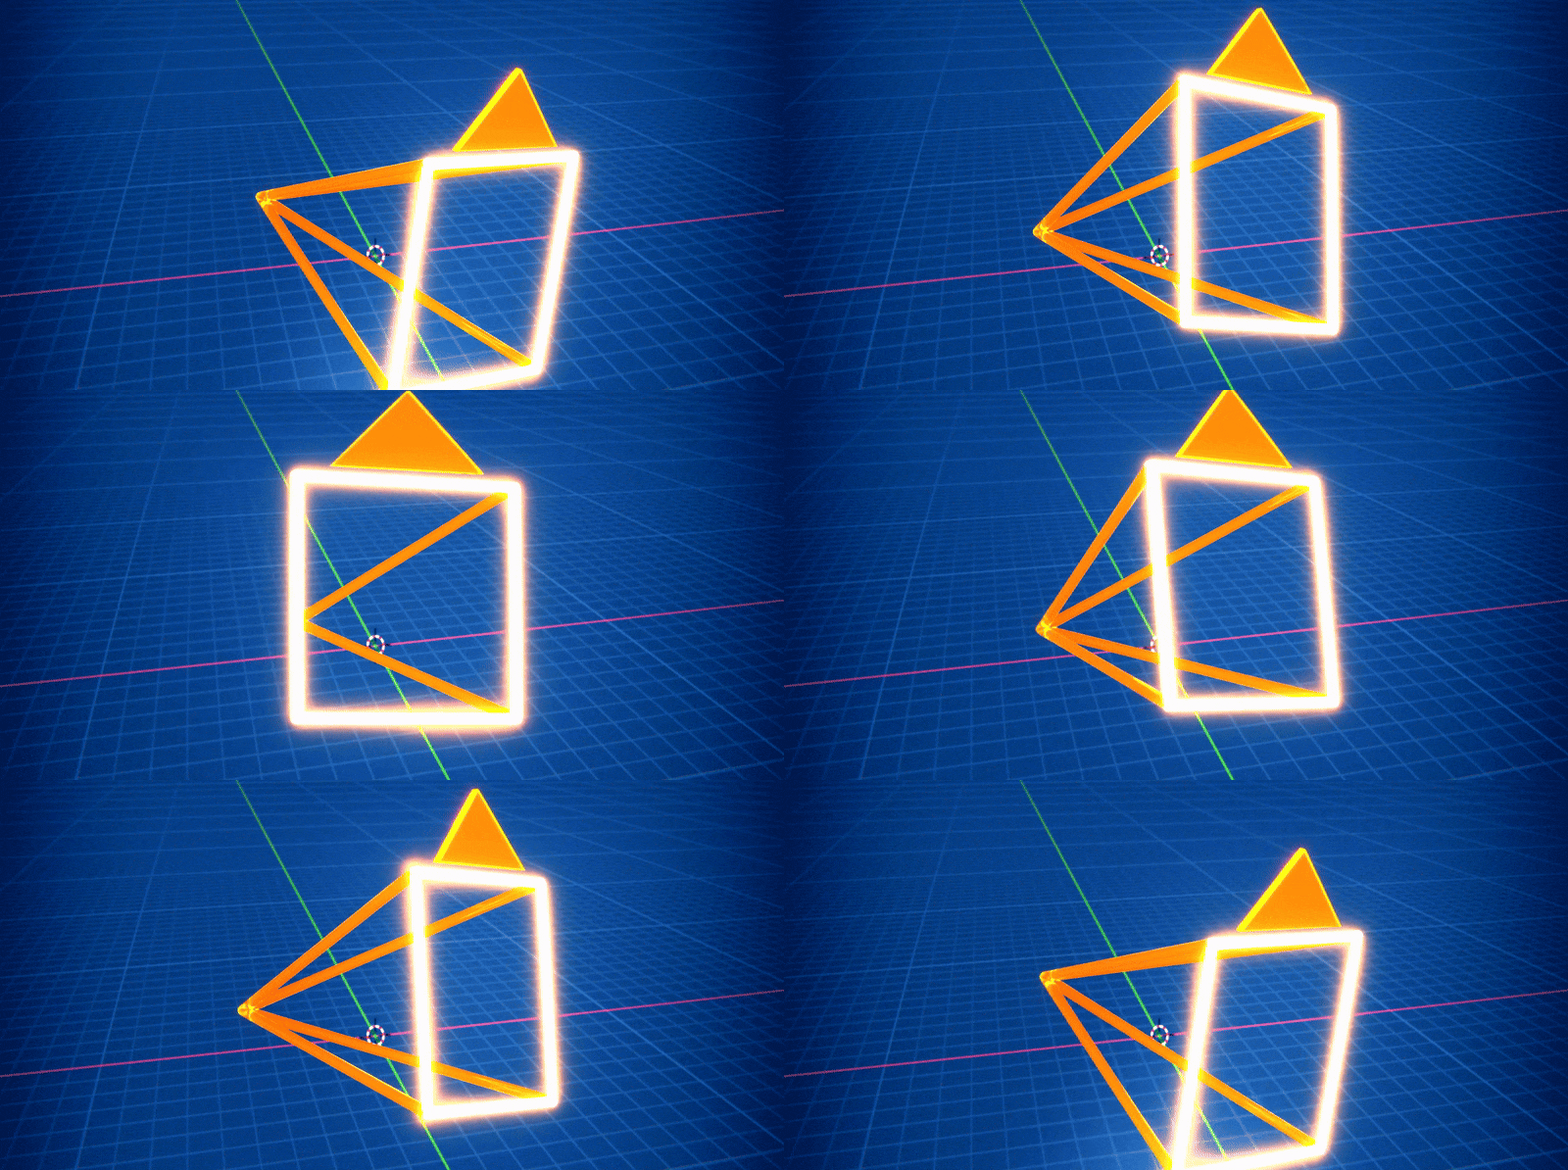
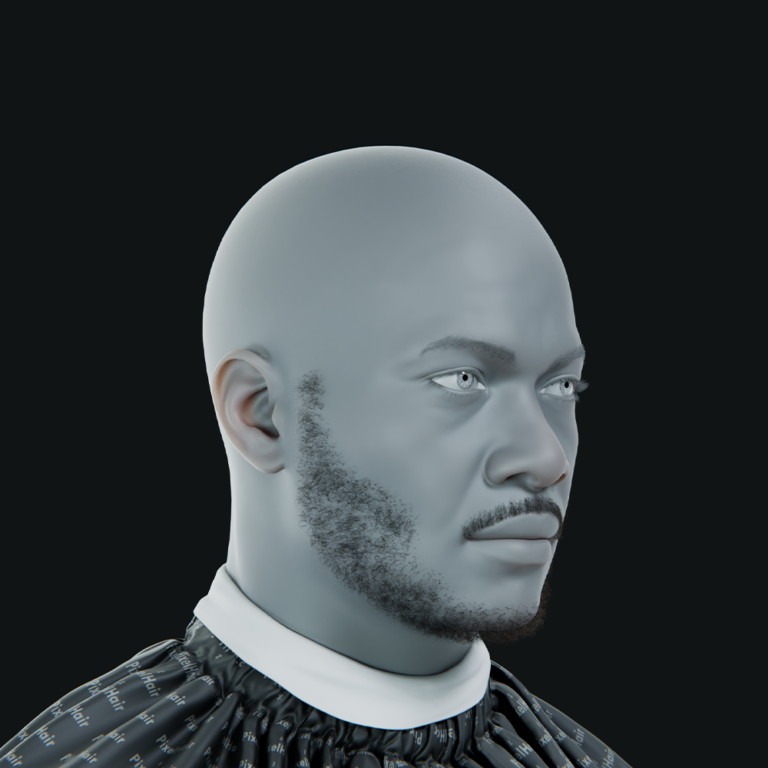
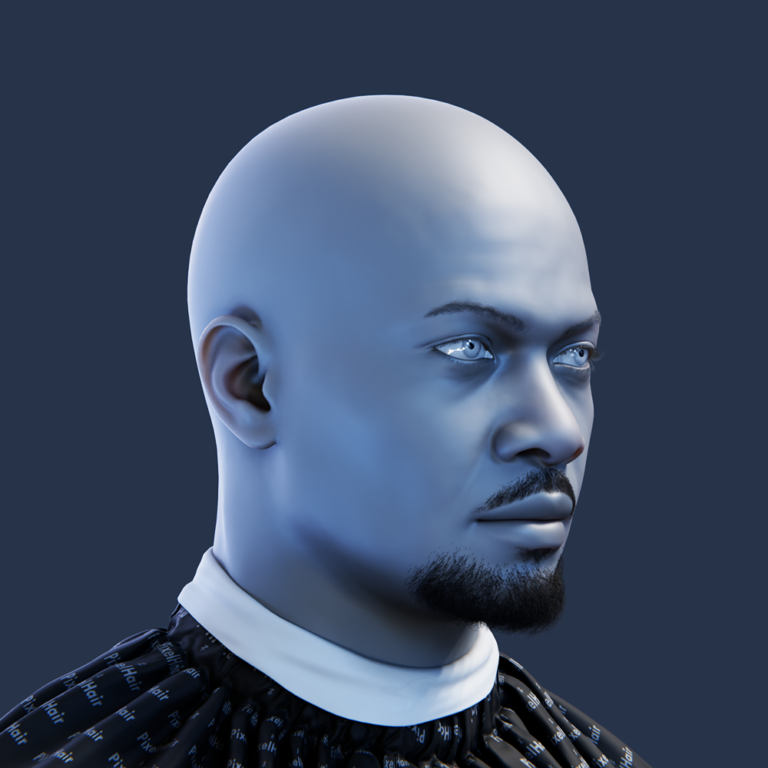
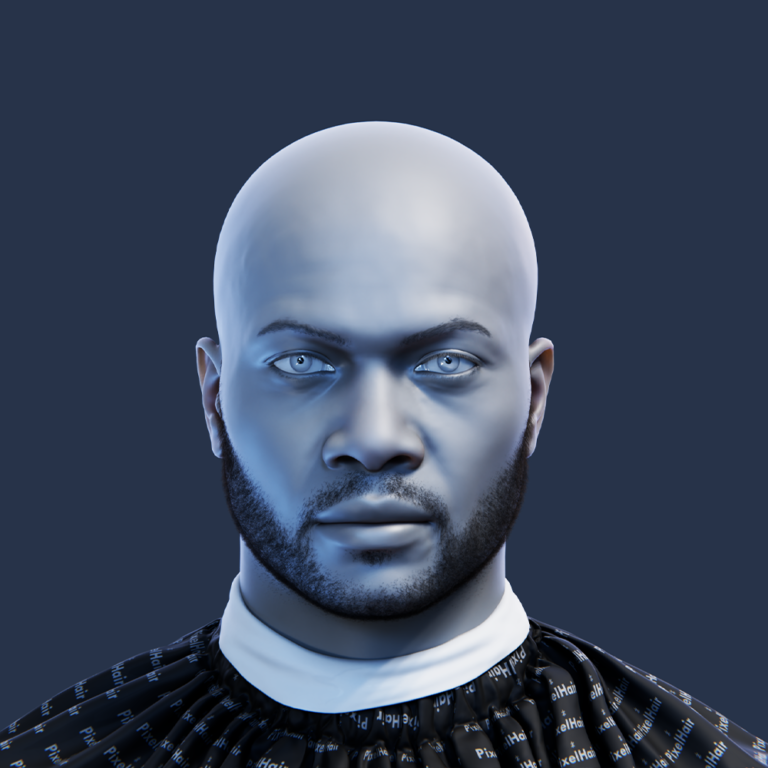
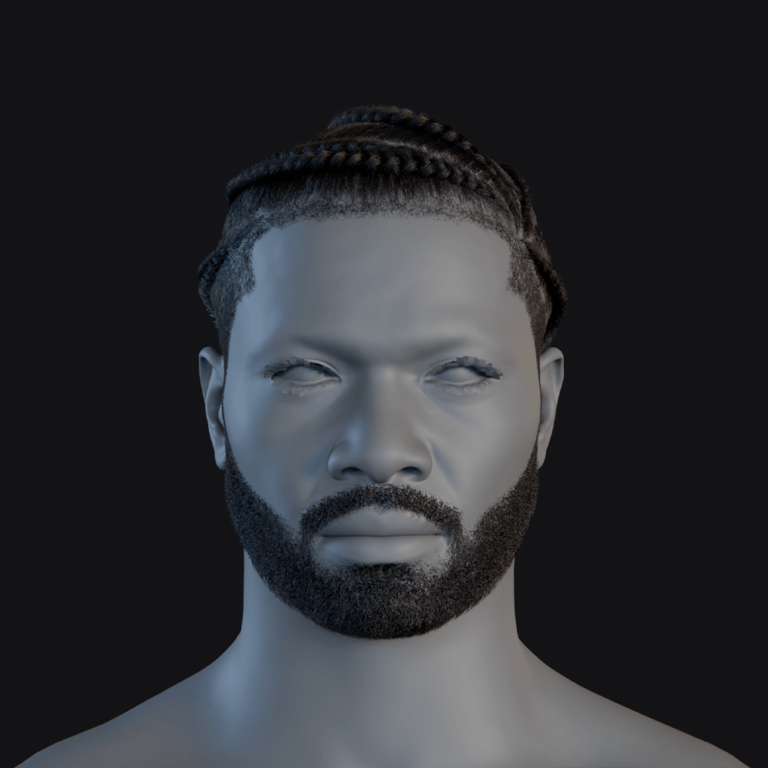
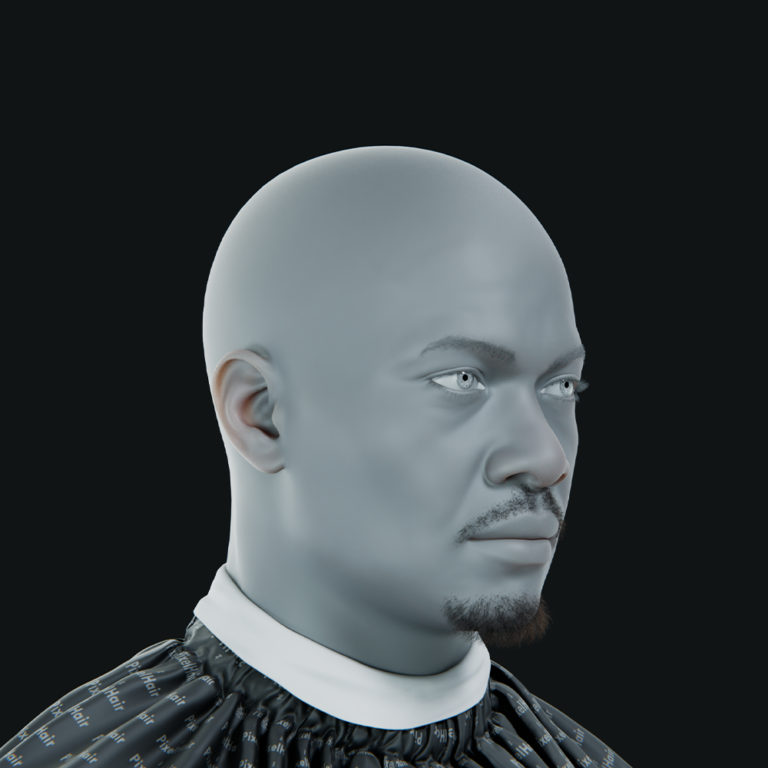
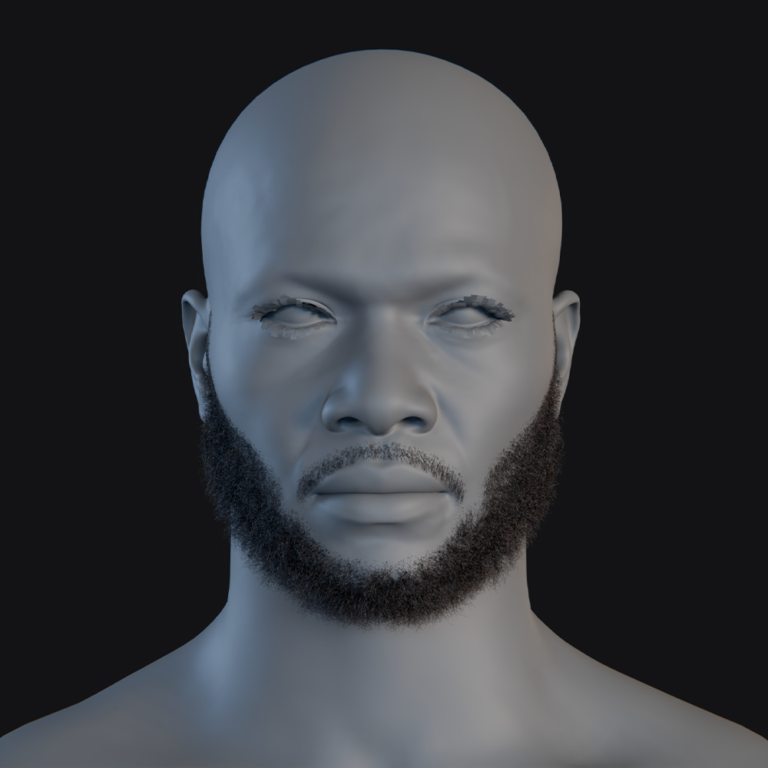
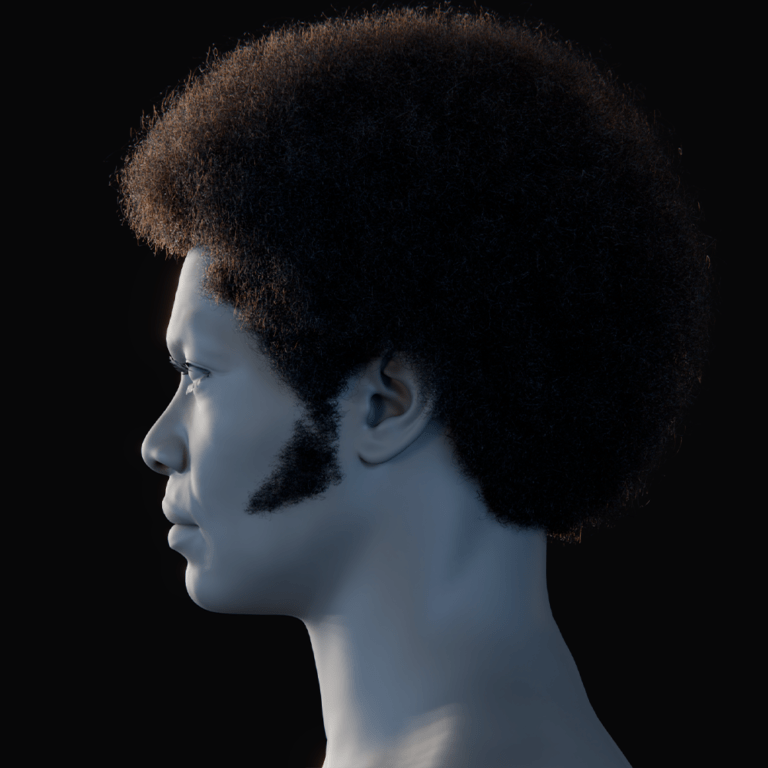
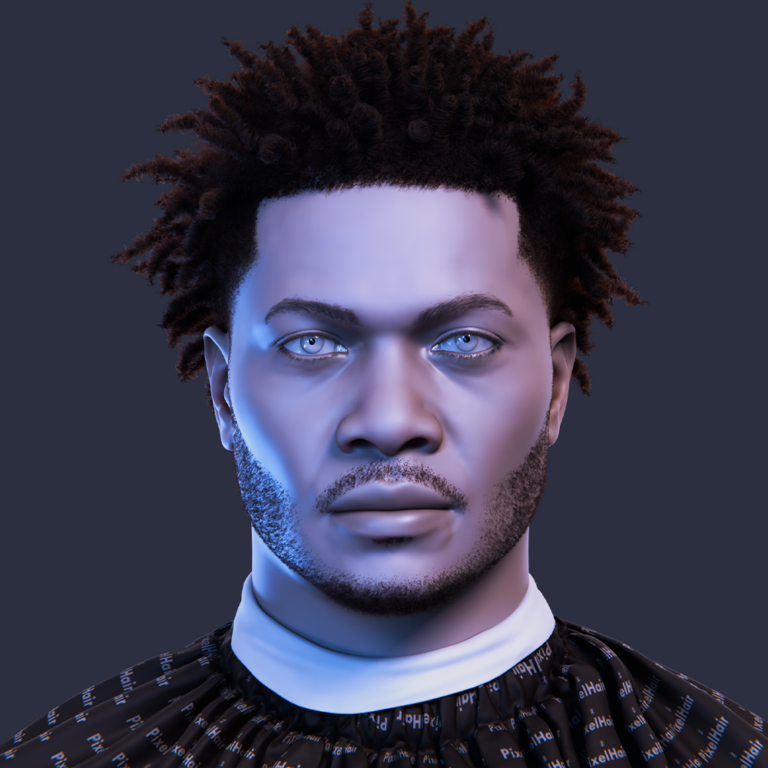
In the ever-evolving realm of 3D production, managing cameras in Blender is an essential yet often challenging aspect of the workflow. Whether you are crafting cinematic animations, immersive architectural walkthroughs, or dynamic product showcases, effective camera control is paramount to telling a compelling visual story. Every project requires multiple shots and angles, each with its unique render settings, to capture the full narrative of your scene. However, manually adjusting each camera’s settings can be both tedious and error-prone. This is where The View Keeper plugin comes into play, offering a streamlined solution to save, switch, and manage camera views all within Blender. In this comprehensive guide, we will delve into how The View Keeper enhances camera control, discuss its setup and key features, and explore best practices and future trends to help you master multi-camera management in your projects.
Introduction: The Importance of Effective Camera Control
Camera control is not just about positioning a camera in 3D space—it’s about crafting a visual narrative. The camera is the viewer’s eye, and the angles you choose directly influence how your story is perceived. In any animated sequence or visualization, the camera must capture not only the scene’s breadth but also its intricate details. Consider an animated film: wide establishing shots set the scene, close-ups convey emotion, and dynamic tracking shots add energy. Each of these requires distinct settings such as resolution, focal length, and depth of field. When done manually, this can be a complex, time-intensive process that leads to inconsistencies in your final render.
Traditional camera management in Blender involves duplicating cameras, tweaking each one individually, and constantly switching between the Render Properties panel and the 3D Viewport. This process not only clutters your scene but also increases the risk of human error. In contrast, The View Keeper centralizes all these tasks into one intuitive interface, allowing you to save multiple camera records, each with its own custom render settings, and switch between them seamlessly.
Why Camera Control Matters in Blender
Before diving into the technical details of using The View Keeper, it is crucial to understand why camera control is so important in Blender projects.
- Enhancing Narrative and Visual Flow: A well-executed camera switch can elevate a simple animation into a captivating story. Smooth transitions guide the viewer’s eye and maintain the continuity of the narrative. Conversely, abrupt or inconsistent camera movements can disrupt the storytelling and reduce the viewer’s immersion. By having precise control over each camera angle and render setting, you ensure that every shot contributes to the overall narrative and emotional tone of your project.
- Maintaining Consistency: When you render multiple shots in a project, consistency is key. Different camera views often need specific settings—for example, a close-up might require a higher resolution and a different depth of field compared to a wide shot. Inconsistent settings can result in a patchwork final product where one shot stands out awkwardly from another. The View Keeper ensures that each saved view retains its unique render settings, so every shot is consistent and meets the artistic vision of your project.
- Boosting Efficiency: Manually managing multiple cameras and their settings can slow down production. Every minute spent on duplicating cameras and adjusting parameters is time taken away from the creative process. With The View Keeper, you can automate many of these tasks—switching between views, saving settings, and even batch rendering all shots simultaneously. This efficiency allows you to focus more on the creative aspects of your work, such as composition and storytelling.
- Reducing Scene Clutter: A cluttered scene in Blender can be overwhelming. Duplicating camera for every shot not only makes the scene difficult to manage but also increases the likelihood of errors. By consolidating multiple camera views into a single camera with The View Keeper, you keep your workspace organized and reduce the risk of mistakes, leading to smoother production workflows.
The View Keeper: A Game-Changer for Camera Management
The View Keeper plugin is designed specifically to address the challenges of traditional camera management in Blender. Its core function is to allow you to save multiple camera views along with their camera settings, all within one central interface. This capability transforms the way you manage your scene, making it easier to switch between different angles and ensuring that each shot is rendered with the exact settings you need.
- Centralized Camera View Management: Instead of duplicating cameras for every new shot, The View Keeper enables you to store all your camera views in a single interface. Each view is saved as a “view record” that includes not only the camera’s position and angle but also the camera settings associated with that shot. This centralized approach dramatically reduces scene clutter and makes it much easier to manage complex projects.
- Custom Render Settings per Camera: One of the standout features of The View Keeper is its ability to store custom render settings for each saved Camera. Whether you need different resolutions, sampling rates, or specific settings for each Camera, The View Keeper keeps all these configurations intact. When you switch between views, Blender automatically applies the appropriate settings, ensuring consistency and high-quality renders across your project.
- Seamless View Switching and Automation: With The View Keeper, switching between camera views is as simple as a single click. This instant recall of saved views means you can quickly test different angles and compositions without the hassle of manual adjustments. Additionally, The View Keeper supports batch rendering, allowing you to render all saved views simultaneously. Automation features such as the “Refresh View” option keep your saved records up to date with any changes you make, further streamlining your workflow.
Step-by-Step Guide: Setting Up The View Keeper
Integrating The View Keeper into your Blender workflow is straightforward. Follow these detailed steps to get started with multi-camera rendering:
Step 1: Installing and Enabling The View Keeper
- Download the Add-On:
Visit the official website or Blender Market to download the latest version of The View Keeper that is compatible with your Blender version. - Install in Blender:
Open Blender and go to Edit > Preferences > Add-ons. Click on Install, then select the downloaded ZIP file and install the add-on. - Enable the Add-On:
In the add-ons list, locate The View Keeper and check the box next to its name to enable it.
Step 2: Accessing The View Keeper Interface
- Open the N-Panel:
In the 3D Viewport, press the N key to reveal the side panel. - Locate the The View Keeper Tab:
Scroll through the panel until you find The View Keeper tab, and click on it to open the interface. The panel displays the Camera List Table, where all saved views will appear.
Step 3: Saving Camera Views with Custom Render Settings
- Position Your Camera:
Set your camera to the desired angle for your first shot. Adjust settings in Blender’s Properties panel ( focal length, depth of field, etc.) to suit the shot’s requirements. - Save the View:
In The View Keeper interface, click Add View. This action saves the current camera configuration along with all Camera settings as a new view record. - Name Your View:
Provide a descriptive name for the view (e.g., “Wide_Shot_Exterior,” “CloseUp_Detail”) to easily identify it later.
Step 4: Managing and Editing Saved Views
- Switch Between Views:
Use the view List Table to click on any saved view and instantly apply its settings to your active camera. - Edit Individual Settings:
If you need to adjust a particular view’s settings, select it, modify the Camera settings in the Properties panel, and click Refresh View to update the saved record. - Organize Your Views:
Use labels and categories within The View Keeper to organize your camera views, making it easier to navigate large projects.
Step 5: Automating Camera Switching in the Timeline
Smooth transitions between camera views are essential for dynamic animations. Automate the process using keyframes:
- Plan Your Timeline:
Map out your animation timeline and determine the frames where camera switches should occur. Create a storyboard or shot list to visualize the sequence. - Insert Keyframes for Camera Views:
With a saved view selected in The View Keeper, insert a keyframe for the camera’s position and settings at the appropriate frame. Repeat for each desired transition. - Adjust Interpolation:
Use Blender’s Graph Editor to fine-tune the interpolation curves between keyframes. Experiment with linear, Bezier, or ease in/out modes to achieve smooth, natural transitions.
Step 6: Batch Rendering Multiple Camera Views
Once all camera views are set and keyframed, batch rendering allows you to process them all simultaneously:
- Select All Desired Views:
In The View Keeper interface, select the camera views you want to render. - Initiate Batch Render:
Click the Batch Render button. This command will render each saved view with its unique settings in one go. - Organize the Outputs:
After rendering, review the outputs. Each render will be saved according to the settings of the corresponding camera view, ensuring consistency across your project.
Benefits of Using The View Keeper for Scene Management
Integrating The View Keeper into your Blender workflow offers significant benefits that address the challenges of traditional camera management:
- Efficiency and Time Savings: By automating the process of saving, switching, and rendering camera views, The View Keeper drastically reduces the time required for manual adjustments. Batch rendering further speeds up production, allowing you to focus more on creative development rather than technical details.
- Consistent and High-Quality Renders: Every saved camera view retains its unique Camera settings, ensuring that each shot is rendered exactly as intended. This consistency is critical for producing a cohesive final product, whether it’s a cinematic animation or a detailed architectural visualization.
- Flexibility and Customization: The View Keeper allows you to customize Camera settings for each camera view. Whether you need different focal lengths, or depth of field configurations, you can tailor each view to meet the specific requirements of your project. This flexibility empowers you to optimize every shot for maximum visual impact.
- Streamlined Workflow and Reduced Clutter: Managing multiple cameras manually can lead to a cluttered and disorganized scene. The View Keeper consolidates all your camera views into one interface, making your workspace cleaner and your workflow more efficient. With everything organized in a single place, you can easily switch between shots and reduce the risk of errors.
- Enhanced Automation and Integration: Features like instant view switching, keyframe automation, and batch rendering minimize repetitive tasks and human error. The seamless integration with Blender’s native tools, such as the Render Properties panel and the N-panel, ensures that The View Keeper fits naturally into your existing workflow.
Best Practices for Managing Multi-Camera Scenes
To get the most out of The View Keeper and achieve professional-quality renders, consider these best practices:
- Plan Your Shots in Advance: Develop a detailed storyboard or shot list before you begin. Knowing in advance which camera angles you need and the specific render settings for each shot helps you save all necessary views from the outset. Early planning minimizes last-minute adjustments and ensures a cohesive narrative.
- Use Clear and Descriptive Labels: When saving camera views, use consistent and descriptive names (e.g., “CloseUp_Face,” “Wide_Shot_Exterior”). Clear labeling makes it easy to identify and switch between views quickly, reducing confusion during the production process.
- Regularly Test and Refresh Settings: Conduct regular test renders to ensure that the render settings for each camera view are optimal. If you make adjustments to a camera’s settings, use the Refresh View feature to update the saved record. This iterative testing helps catch any inconsistencies early, ensuring that the final output is uniform and high-quality.
- Leverage Batch Rendering: Batch rendering is a powerful feature that significantly speeds up production. Once you have all your camera views saved and verified, use the batch rendering function to process all shots simultaneously. This not only saves time but also ensures that every render is produced under consistent conditions.
- Maintain an Organized Workspace: A clean scene is essential for efficient work. Use The View Keeper to consolidate all your camera views in one interface, minimizing clutter and making it easier to navigate complex projects. Regularly review and remove any outdated or unnecessary views to keep your project file streamlined.
- Document Your Workflow: Keeping detailed documentation of your render settings and camera configurations can be invaluable for future projects. Documenting your process helps replicate successful setups and provides a reference if troubleshooting is needed later on.
- Iterate and Seek Feedback: Camera management and render settings are iterative processes. Don’t hesitate to make adjustments and gather feedback from peers or colleagues. Continuous refinement based on constructive feedback leads to a more polished final product.
Conclusion: Elevate Your Blender Projects with The View Keeper
Managing multiple cameras and render settings in Blender is complex, often involving time-consuming manual adjustments, duplicated cameras, and separate rendering, which risks inconsistencies. The View Keeper add-on revolutionizes this by centralizing camera management, automating custom render settings, and enabling batch rendering for multiple views, enhancing efficiency and quality.
By incorporating The View Keeper into your Blender workflow, you gain:
- Unique Render Configurations: Saves tailored settings for each camera, ensuring precise rendering for every shot as envisioned.
- Instant Camera Switching: Allows seamless, one-click transitions between views, minimizing manual tweaks and errors.
- Batch Rendering: Renders all camera views at once, saving significant time while maintaining uniform quality across outputs.
- Organized Workspace: Reduces scene clutter by consolidating camera management, freeing you to focus on creative tasks.
The View Keeper is ideal for cinematic animations, architectural visualizations, product designs, social media content, or VR experiences, offering precise, consistent camera control. Its integration with Blender’s tools and robust automation streamlines workflows, letting you prioritize creativity.
Future advancements, like real-time rendering, AI-driven optimizations, deeper Blender integration, and cloud-based collaboration, will further enhance The View Keeper’s capabilities. Adopting it now improves current projects and prepares you for next-generation 3D production tools.
In summary, The View Keeper is essential for Blender artists seeking high-quality, consistent renders. It simplifies multi-camera management, ensures precise shot execution, and delivers professional-grade results, elevating your projects with cohesive, visually compelling outputs.
Recommended
Blender 3D: How to Make a Character from Scratch – The Ultimate Step-by-Step Guide
Blender 3D vs Cinema 4D: The Ultimate 2025 Comparison Guide for 3D Artists
Why Does Hair Look Bad in Video Games? Exploring the Challenges of Realistic Hair Rendering
How to Modify MetaHuman: A Comprehensive Guide
Can I Improve My Metahuman in Blender? A Comprehensive Guide
