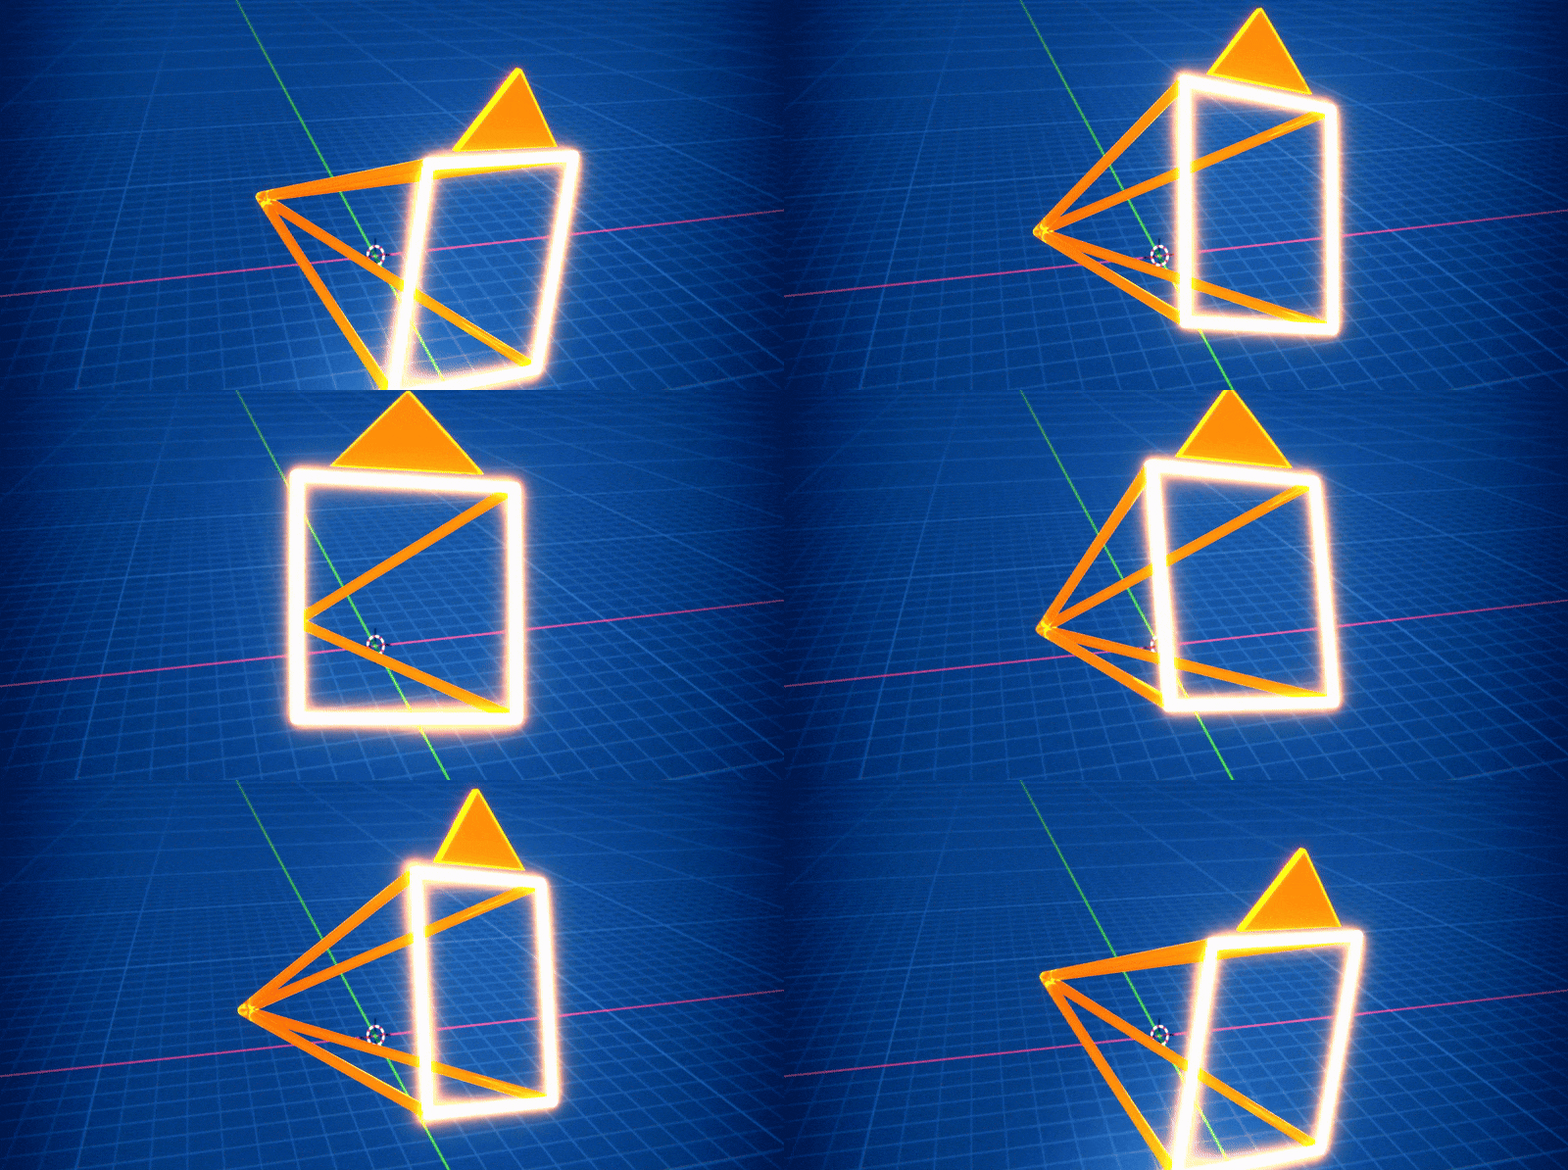
Managing camera angles in Blender can be a daunting task, especially when you’re working on projects that require multiple perspectives. Whether you’re creating cinematic animations, architectural walkthroughs, or product visualizations, setting up and switching between various camera views is essential to tell a compelling visual story. Traditional 3D artist workflows often involve duplicating cameras, manually keyframing positions, and using Timeline markers to switch active views. All of which can quickly clutter your scene and slow down your workflow.
The View Keeper is a powerful add-on for Blender that revolutionizes how artists manage camera angles. With its intuitive interface and streamlined functionality, The View Keeper allows you to save and switch between camera angles effortlessly. In this comprehensive guide, we’ll explore in depth how The View Keeper simplifies multi-camera animations in Blender. We’ll discuss its features, compare it to manual camera switching workflows, and provide real-world examples and troubleshooting tips. By the end of this article, you’ll have detailed insights to help you decide which workflow best suits your creative needs.

Introduction
In the realm of 3D animation and rendering, camera work is as important as the models and lighting in your scene. It defines the way your audience perceives your work and helps drive the narrative forward. For projects requiring multiple angles such as cinematic sequences, multi-perspective presentations, or even VR experiences, managing numerous camera setups can be challenging.
Traditionally, 3D artist switch between cameras manually: adding multiple camera objects, positioning them, keyframing their transformations, and using Timeline markers to designate the active camera at various points in the animation. While this method provides detailed control, it is labor-intensive, prone to human error, and can lead to a cluttered scene.
The View Keeper offers an alternative approach. This add-on is designed to streamline the process of managing multiple camera angles. By allowing you to store camera angles and their own associated settings, The View Keeper eliminates the need for duplicating cameras or manual reconfiguration. It simplifies switching between angles, ensures consistency across shots, and even supports rendering multiple cameras and views simultaneously. In this article, we’ll provide an in-depth comparison of manual camera switching versus using The View Keeper, backed by real-world examples and factual analysis, to help you decide which workflow best suits your creative projects.

The Challenge of Manual Camera Switching
Before diving into The View Keeper, it’s important to understand the traditional, manual approach to switching between camera angles in Blender.
Traditional Workflow Overview
Manual camera switching in Blender involves several steps:
- Adding Multiple Cameras:
Artists add several cameras to the scene using Shift + A. Each camera is positioned differently to capture unique angles or perspectives. - Keyframe Animation:
Once the cameras are in place, their positions and orientations are animated by inserting keyframes at desired points in the timeline. This allows the camera to move, rotate, or change settings over time. - Timeline Markers:
To manage which camera is active during different segments of the animation, artists add Timeline markers. These markers help bind specific cameras to certain frames. - Manual Adjustments:
Each camera’s properties such as focal length, depth of field, and render settings must be adjusted manually. This process can be repeated many times if the project requires frequent changes.
Strengths and Limitations of Manual Switching
Strengths
- Detailed Control:
Manual switching allows for a high level of control over every parameter. You can fine-tune each camera’s settings to match your precise vision. Though this is a very time consuming process. - Direct Interaction:
Working directly within Blender’s native tools gives you the flexibility to make immediate adjustments without needing to rely on blender addons.
Limitations
- Time-Consuming:
Adjusting each camera individually is repetitive and can slow down your workflow, particularly in projects with many camera angles. - Inconsistencies:
Manual adjustments increase the risk of slight discrepancies such as differences in camera settings between shots,. - Clutter:
Adding many cameras to your scene can lead to a cluttered Outliner, making it difficult to navigate and manage your project. - Inefficiency in Iteration:
If you need to experiment with different camera setups, manual switching requires you to reconfigure settings each time, which is both labor-intensive and error-prone.

Exploring The View Keeper
The View Keeper is an add-on for Blender that transforms how artists manage camera angles. It offers a user-friendly interface that simplifies the process of saving and switching between multiple camera setups.
What is The View Keeper?
The View Keeper is a lightweight Blender plugin designed to store various camera views/angles along with the camera’s respective settings without cluttering your scene. Instead of duplicating cameras for different angles, you can save all types of camera configurations as records within a single camera. This add-on not only saves camera positions and orientations but also captures complete camera setting such as focal length, depth of field, clipping distances, and so much more. The View Keeper also saves render settings for each indiviual camera like aspect ratio, render output location, render file format and so much more.
Key Features and Benefits
- Ease of Use:
The View Keeper has an intuitive interface that is exceptionally easy to use. Its simplicity allows even beginners to quickly understand how to save, reuse camera setups and switch cameras during an animation. - Efficient Workflow:
Save time by storing camera configurations as records. You can switch between these setups with a single click, eliminating repetitive manual adjustments. - Consistent Settings:
By storing all camera parameters in one place, The View Keeper ensures consistency across all your shots. This is especially important in large projects where uniformity is critical. - Render Management:
Each camera record can include its own render settings, such as resolution, file format, output folder and so much more. This enables rendering of multiple camera and views with vastly different settings all at the same time,. Thisis ideal for projects that require different outputs or 3D artists who need renders for multiple platforms or multiple use cases. - Reduction in Scene Clutter:
With The View Keeper, you don’t need to create and manage multiple cameras. You can have all your views are stored within a single camera, keeping your scene organized and easier to navigate.

Ease of Use and Learning Curve
The View Keeper is renowned for its low learning curve. Its design focuses on displaying only the necessary settings at any given time, which prevents users from being overwhelmed by too much information. This simplicity is one of its key advantages, making it more accessible than some of the more complex manual methods. Its intuitive controls allow you to store, reuse, and switch between camera setups seamlessly both in the 3D Viewport and in animations. This is a major benefit for both beginners and experienced artists.
Workflow Comparison: Manual vs. The View Keeper
In comparing manual camera switching with The View Keeper, we consider several critical factors: setup, configuration, efficiency, flexibility, consistency and accuracy.
Setup and Configuration
Manual Camera Switching
- Process:
Requires the manual addition of multiple cameras for every new shot, individual keyframing for each camera’s position and rotation, and the use of Timeline markers to switch the active camera. - Configuration:
Every camera’s settings must be manually adjusted, which can lead to a cluttered scene and time-consuming workflow. - User Interaction:
Artists must continuously manage and update each camera setup as their project evolves.
The View Keeper
- Process:
Allows you to save complete camera configurations as records within a single blend file. This means you only need one camera, and you can store multiple views within it. - Configuration:
Automatically saves detailed settings like focal length, depth of field, clipping distances, and more.This way you can reuse and switch between them instantly. - User Interaction:
Provides a clean, centralized interface (accessed via the N-panel) that keeps your scene uncluttered and minimizes repetitive work.
Efficiency and Flexibility
Manual Camera Switching
- Efficiency:
While it offers control, the manual process is time-consuming, especially when dealing with many camera angles. - Flexibility:
Manual switching is flexible in that you can make precise adjustments, but this flexibility is offset by the labor-intensive nature of the workflow. - Iteration:
Experimenting with different configurations requires reconfiguring each camera individually, which can slow down creative iteration.
The View Keeper
- Efficiency:
The View Keeper dramatically reduces setup time by allowing one-click storage and reuse of stored camera setups. This is especially beneficial for large-scale projects with many camera angles. - Flexibility:
You can easily experiment with different configurations and render multiple outputs simultaneously. The add-on supports unique render settings for each camera, providing unparalleled creative flexibility. - Iteration:
Rapid switching between saved camera configurations with a single click. Which allows for quick comparison of different shots and increases fine-tuning, which is essential in a fast-paced production environment.

Consistency and Accuracy
Manual Camera Switching
- Consistency:
Maintaining consistency across multiple manually adjusted cameras is challenging. Slight discrepancies in settings can result in an inconsistent final render. - Accuracy:
While manual methods allow for precise control, they rely heavily on the artist’s diligence. Even minor errors can lead to inaccuracies between shots.
The View Keeper
- Consistency:
By storing all camera settings as records, The View Keeper ensures that each saved configuration remains consistent, reducing the risk of errors. - Accuracy:
The centralized management of camera parameters minimizes the chances of discrepancies, ensuring that your renders are accurate and uniform across the board.
Real-World Applications and Examples
Real-world scenarios provide valuable insights into the practical benefits of each workflow. Here are some examples that illustrate when and why each method might be preferable.
Cinematic Productions
Manual Camera Switching Example:
In a small independent film, a director might choose manual camera switching for a short sequence where there is a small amount of shots required.
The View Keeper Example:
For a medium to large-scale cinematic production, The View Keeper allows the director to save multiple camera configurations, ensuring that transitions between wide-angle establishing shots and close-ups remain consistent. This efficiency is crucial when meeting tight production deadlines, as it eliminates the need to reconfigure cameras for each shot.
Video Game Cutscenes
Manual Camera Switching Example:
In a small video game production, a designer might manually switch cameras to capture key moments. However, this method can become inefficient if the scene requires frequent changes and multiple perspectives due to cut scenes.
The View Keeper Example:
In a complex video game cutscene, The View Keeper streamlines the process by allowing the designer to store each camera angle as a record. This makes it easier to switch between dynamic perspectives, for example switching from third person to a wide angle camer for a cut scene. This ensures that each scene is rendered with the correct settings and that transitions are smooth and consistent.
Architectural Visualizations
Manual Camera Switching Example:
An architect might manually set up several cameras to capture different aspects of a building. However, manually ensuring that each camera maintains consistent focus, and render settings can be challenging.
The View Keeper Example:
By using The View Keeper, the architect can save multiple camera setups with precise render and camera settings. For instance using one camera, one record might capture an exterior view with a wide-angle lens, while another captures a detailed interior view with a shallow depth of field. This ensures that all renders are consistent, professional, and ready for client presentations.

Virtual Reality Experiences
Manual Camera Switching Example:
VR projects often require multiple camera angles to create immersive experiences. Manual switching can work, but it’s often too slow and prone to errors when rapid transitions are needed.
The View Keeper Example:
VR designers benefit from The View Keeper by storing different camera configurations as records. This allows for quick switching between immersive views and ensures that every angle is optimized for the best user experience. Consistent settings are crucial in VR to maintain immersion, and The View Keeper delivers on this front.
Product Animations
Manual Camera Switching Example:
In product animations, manually adjusting each camera view for different angles (e.g., close-ups for detail, wide shots for context) can result in inconsistent shots and a lot of repitition.
The View Keeper Example:
The View Keeper allows a marketing team to save multiple camera configurations for a product demo, each tailored to highlight specific features. With one click, they can switch between views, ensuring that every angle is rendered perfectly and consistently, saving time and reducing the risk of error.
Troubleshooting Common Issues
Even the best workflows encounter challenges. Here are some common issues and strategies to address them:
Synchronization and Timing Issues
- Manual Workflow:
Misaligned keyframes or Timeline markers can lead to abrupt transitions between cameras. - Solution:
Use the Dope Sheet and Graph Editor to fine-tune keyframe interpolation and ensure smooth transitions. - The View Keeper:
Reduces these issues by automatically storing, easily updating camera configurations any keyframing camera transitions in an animation. This ensures that transitions remain synchronized without additional manual adjustments.
Inconsistent Camera Settings
- Manual Workflow:
Adjusting settings for each camera individually can lead to inconsistencies in focal length, depth of field, and render settings. - Solution:
Double-check each camera’s properties before rendering, and compare settings with reference images. - The View Keeper:
Automatically stores detailed settings for each camera record, ensuring that every saved configuration is accurate and consistent across different shots.
Scene Clutter
- Manual Workflow:
Multiple camera objects can clutter the Outliner, making navigation difficult. - Solution:
Organize cameras into collections and use clear naming conventions. - The View Keeper:
Consolidates camera configurations into a single interface, reducing clutter and simplifying project management.
Render Quality Variations
- Manual Workflow:
Inconsistent render settings between different cameras can result in varied output quality. - Solution:
Ensure that all cameras share the same render settings (resolution, sample count, etc.) before initiating the render. - The View Keeper:
Each camera record can have its own dedicated render settings, ensuring that the final outputs are consistent and meet project standards.
Active Camera Switching Problems
- Manual Workflow:
Binding cameras to Timeline markers requires careful management, and errors can result in the wrong camera being active during render. - Solution:
Double-check marker bindings and keyframe timings to ensure the correct camera is active. - The View Keeper:
Offers a centralized system for managing active camera configurations, minimizing the likelihood of errors and ensuring smooth transitions between views.
People Also Ask
- What is manual camera switching in Blender?
It involves adding multiple cameras, manually positioning and keyframing them, and using Timeline markers to switch the active camera during an animation. - How does The View Keeper simplify camera management?
The View Keeper allows you to save complete camera configurations as records, enabling quick recall and consistent settings across multiple shots without manual reconfiguration. - Which workflow is more efficient for large projects?
The View Keeper is generally more efficient for large projects because it streamlines the process and reduces the time spent on repetitive tasks. - Can I render multiple camera views simultaneously with The View Keeper?
Yes, each saved camera record can include its own render settings, allowing you to render several views at once. - How do Timeline markers work for camera switching?
Timeline markers designate specific frames for camera transitions, binding a marker to a camera so that Blender automatically switches the active camera at that frame. - Is manual camera switching more precise than using The View Keeper?
The View Keeper is more precise as it saved the camer and render settings as it is and with a single keyframe, you can switch between two cameras or camera views. Thereby maintains consistency and efficiency across multiple shots. - What are the benefits of using The View Keeper?
It streamlines workflow, saves time by storing camera setups, enables switching of cameras during rendering, ensures consistency across shots, and supports simultaneous rendering with vastly different settings for each camera or view. - How do I ensure smooth transitions between cameras?
Use the Graph Editor to refine keyframe curves and verify that Timeline markers are correctly bound; The View Keeper also makes maintaining smooth transitions a whole lot easier. - Can I automate camera switching in Blender?
The View Keeper already offers an intuitive, non-programmatic solution. - What real-world projects benefit from efficient camera management?
Cinematic productions, video game cutscenes, architectural visualizations, VR experiences, and product animations all benefit from streamlined camera management.

Bringing It All Together
Managing camera angles is an indispensable part of Blender workflow, especially in projects that require multiple perspectives. Manual camera switching provides granular control over every camera’s position and settings, allowing for highly customized adjustments. However, this method becomes increasingly labor-intensive and prone to inconsistency as project complexity grows. Each camera must be individually adjusted, keyframed, and managed via Timeline markers, which can clutter the scene and slow down the creative process.
In contrast, The View Keeper offers a streamlined solution that dramatically simplifies the entire process. With The View Keeper, you can save comprehensive camera configurations as records, including all the necessary settings such as focal length, depth of field, clipping distances, and even render output parameters. This enables you to quickly switch between different camera setups with just a few clicks, ensuring that every shot maintains consistent quality and precision.
Moreover, The View Keeper is designed with an intuitive interface that minimizes the learning curve, making it accessible for both beginners and seasoned professionals. Its ability to store multiple configurations without duplicating cameras keeps your scene organized and reduces the risk of errors. Whether you need to render multiple outputs simultaneously or rapidly iterate between different perspectives, The View Keeper offers the efficiency and flexibility required for advanced projects.
Final Thoughts
Both manual camera switching and The View Keeper offer robust solutions for managing multiple camera angles in Blender. Manual switching provides a high level of control and is suitable for smaller projects or scenarios where every minute detail must be meticulously adjusted. However, its labor-intensive nature and potential for inconsistency make it less ideal for large-scale or complex projects.
The View Keeper, with its streamlined workflow, ease of use, and powerful configuration management, emerges as the superior solution for most multi-camera projects. Its ability to store complete camera setups, enable quick switching, and maintain consistent render settings not only saves time but also enhances the creative process. By reducing scene clutter and minimizing repetitive tasks, The View Keeper allows you to focus on your creative vision and produce professional-quality animations with ease.
Ultimately, the decision between manual camera switching and The View Keeper depends on the specific needs of your project. For small, one-off sequences where precision is paramount, manual methods might suffice. For larger, more complex projects that demand efficiency, consistency, and flexibility, The View Keeper is the clear choice.
We hope this comprehensive guide has provided you with the detailed insights, practical tips, and factual comparisons needed to decide which workflow suits your creative projects best. Whether you choose to embrace the precision of manual camera switching or the streamlined efficiency of The View Keeper, mastering your camera management in Blender will undoubtedly elevate the quality of your work.
Enjoy your creative journey in Blender, and may your camera work capture your vision with unparalleled clarity and style!
