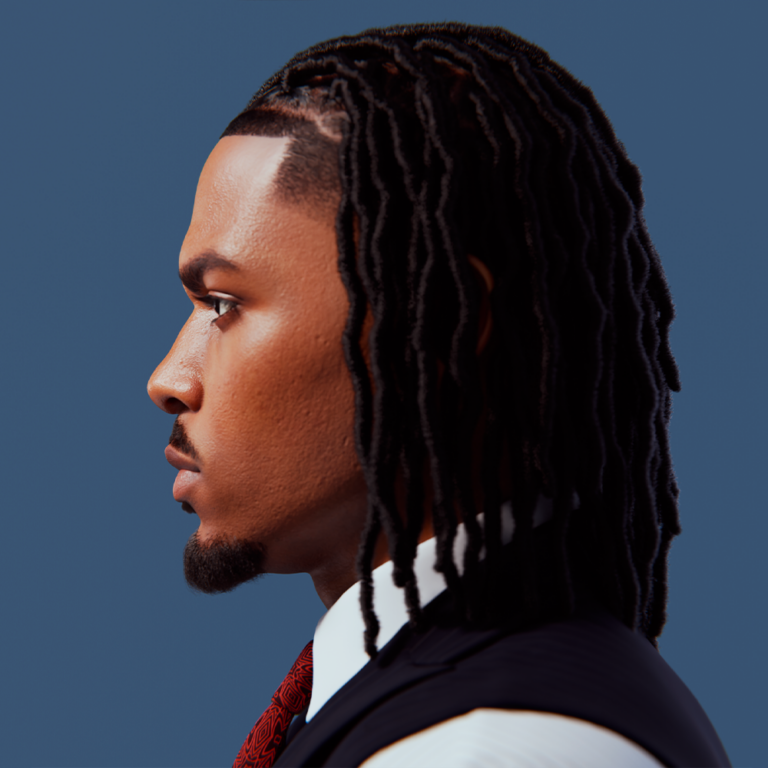
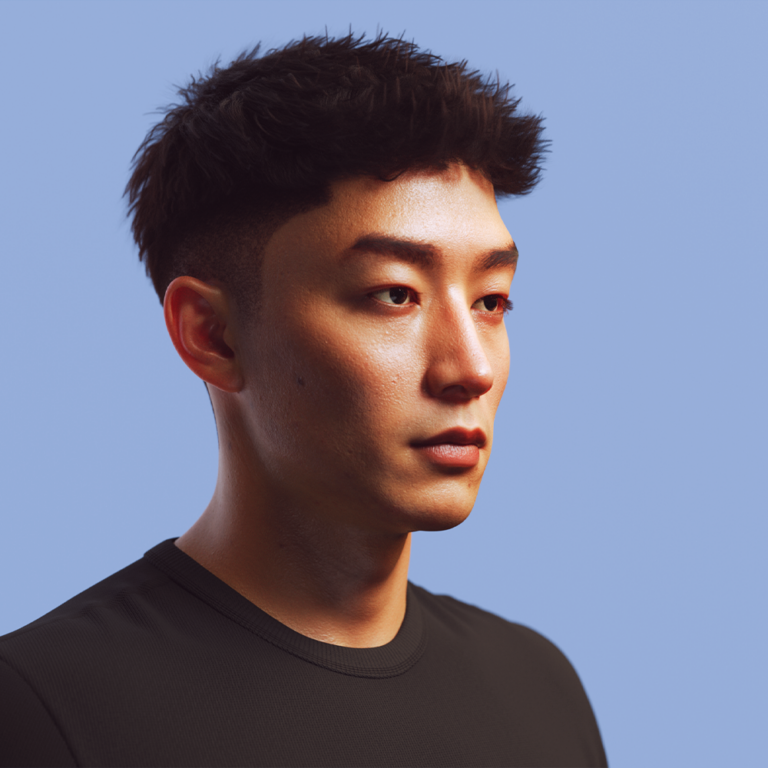
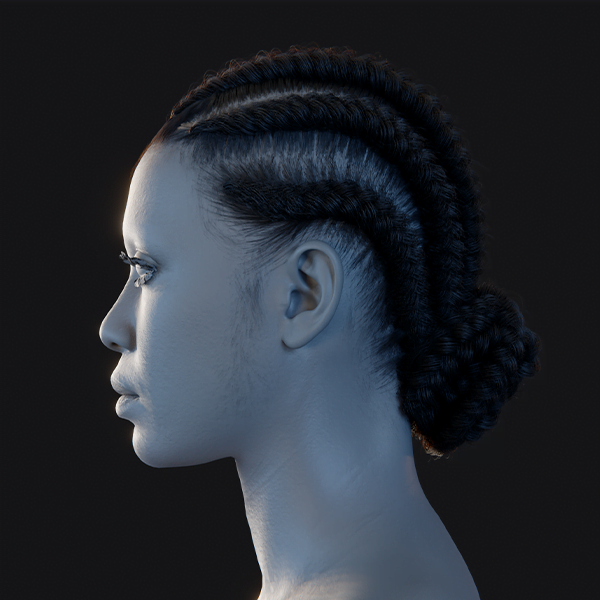
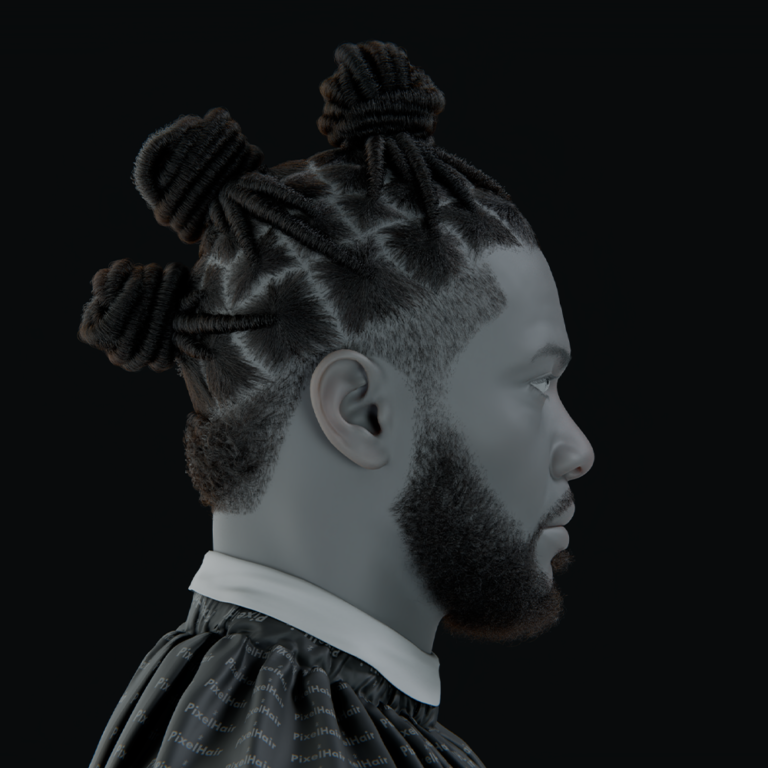
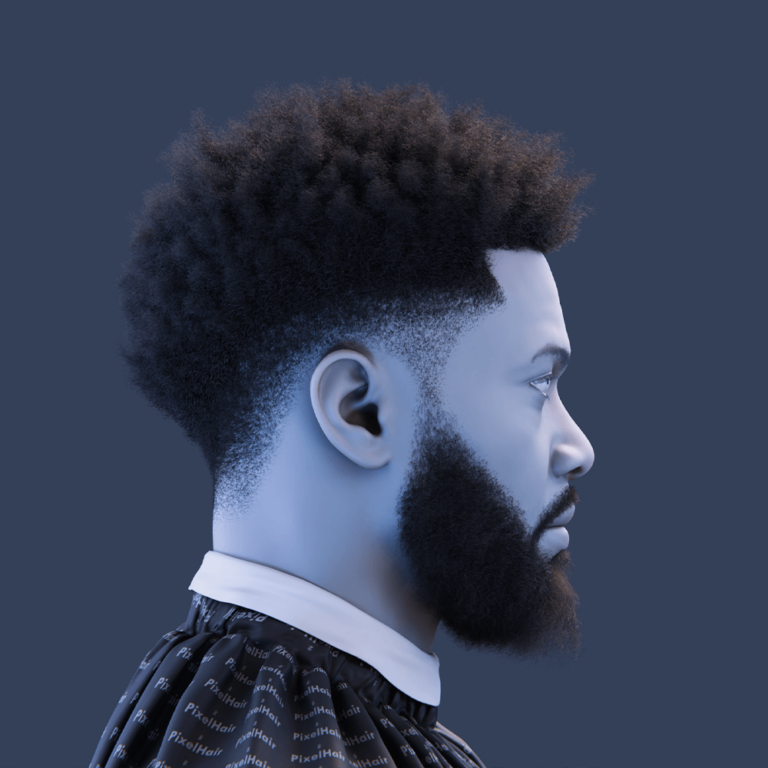
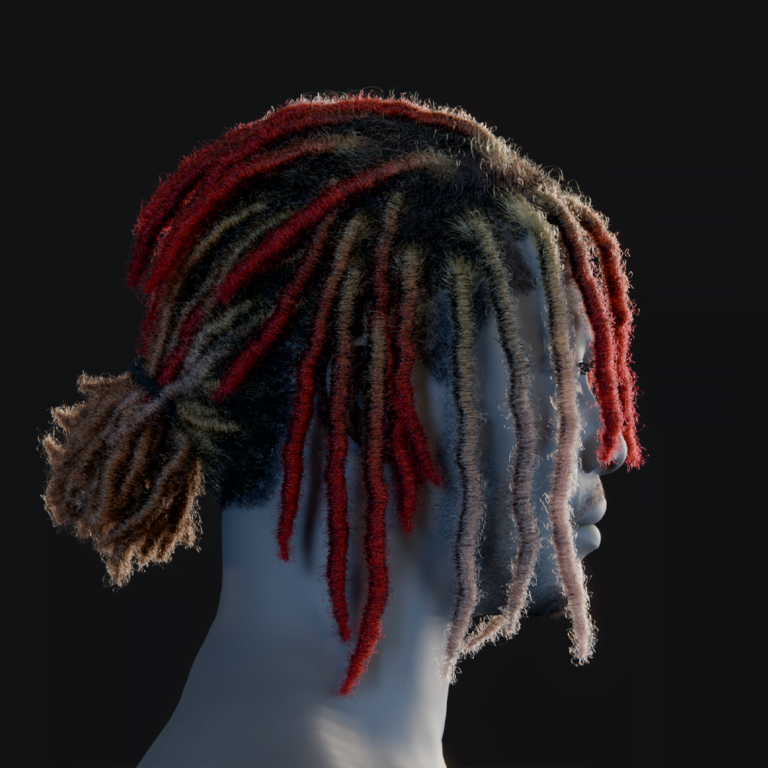
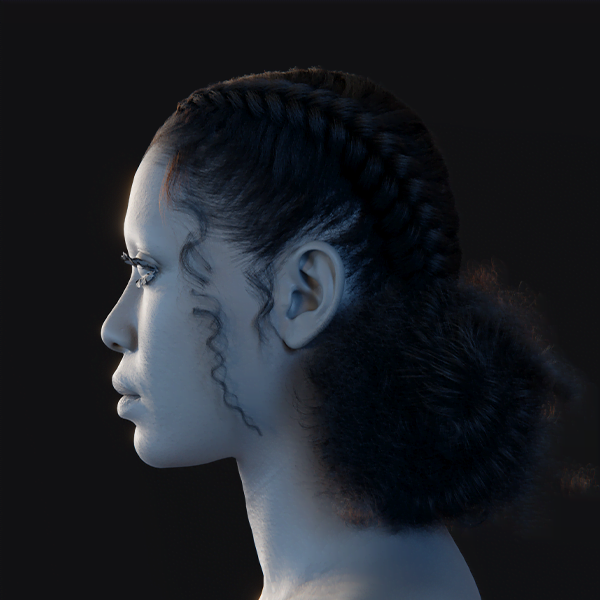
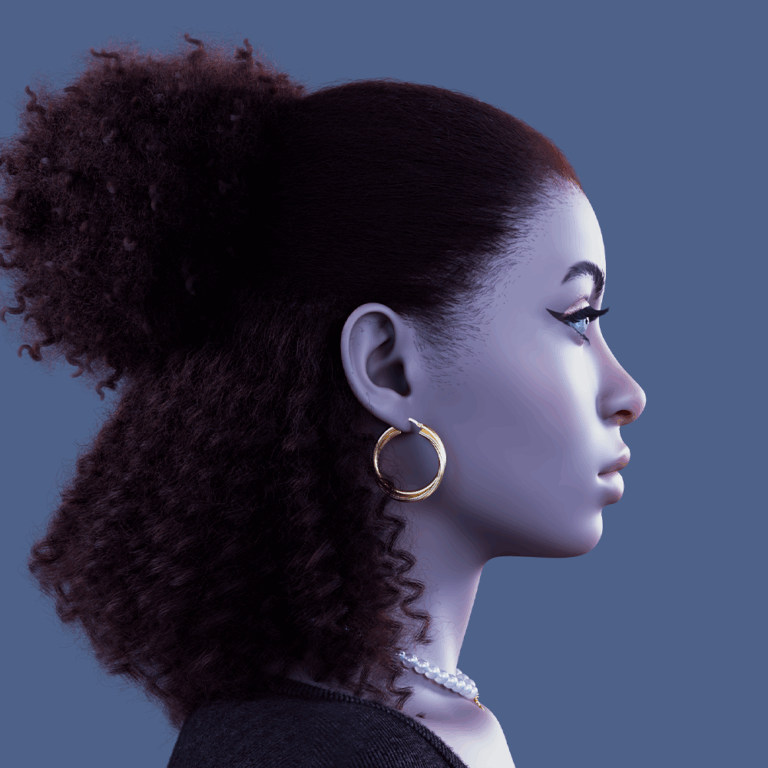
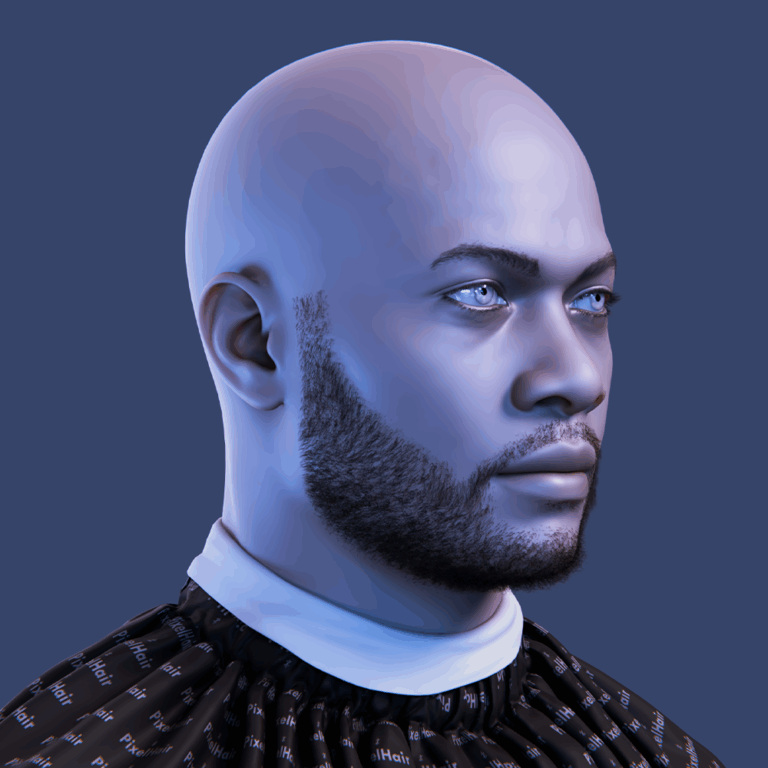
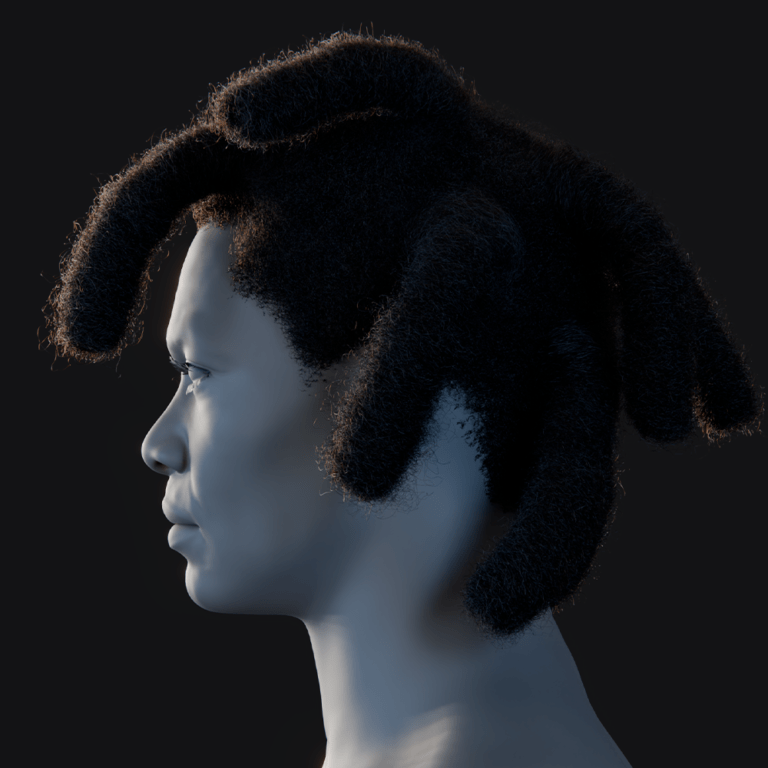
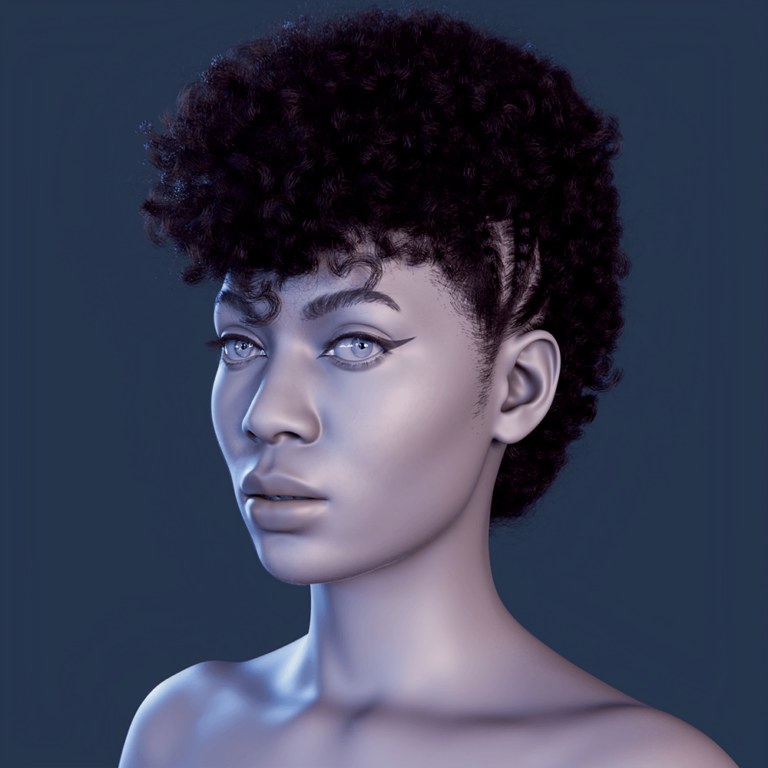
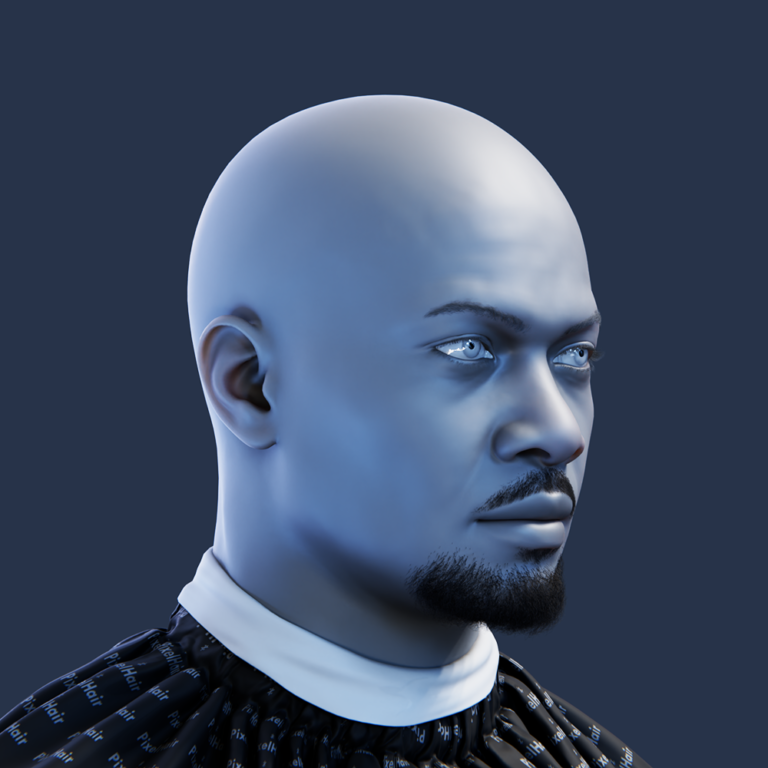
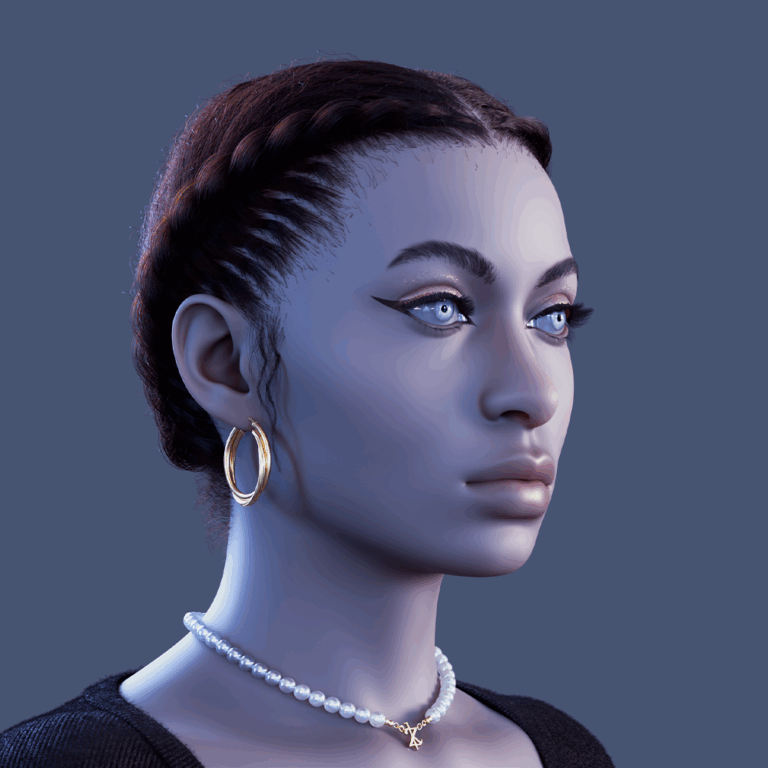
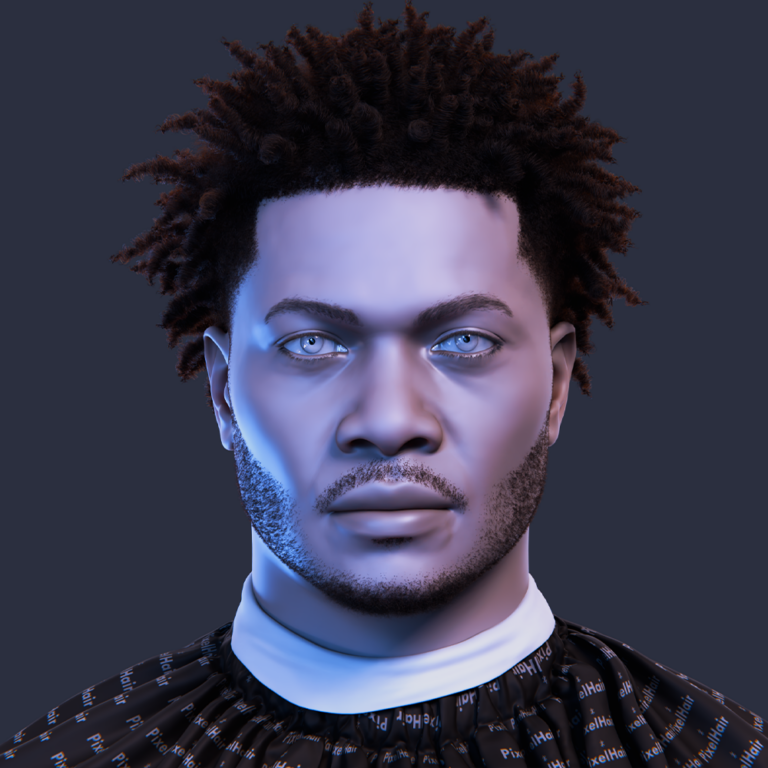
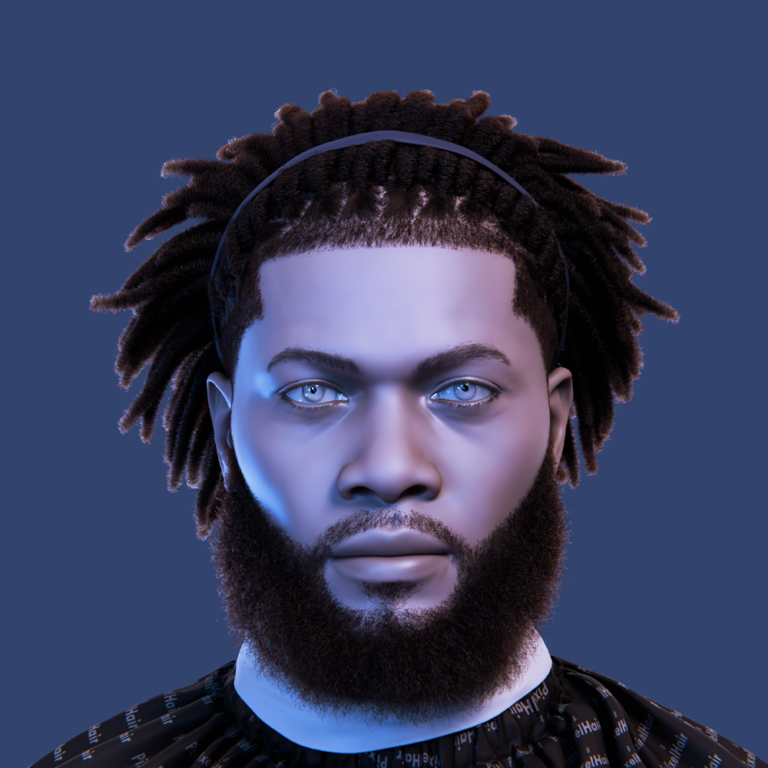
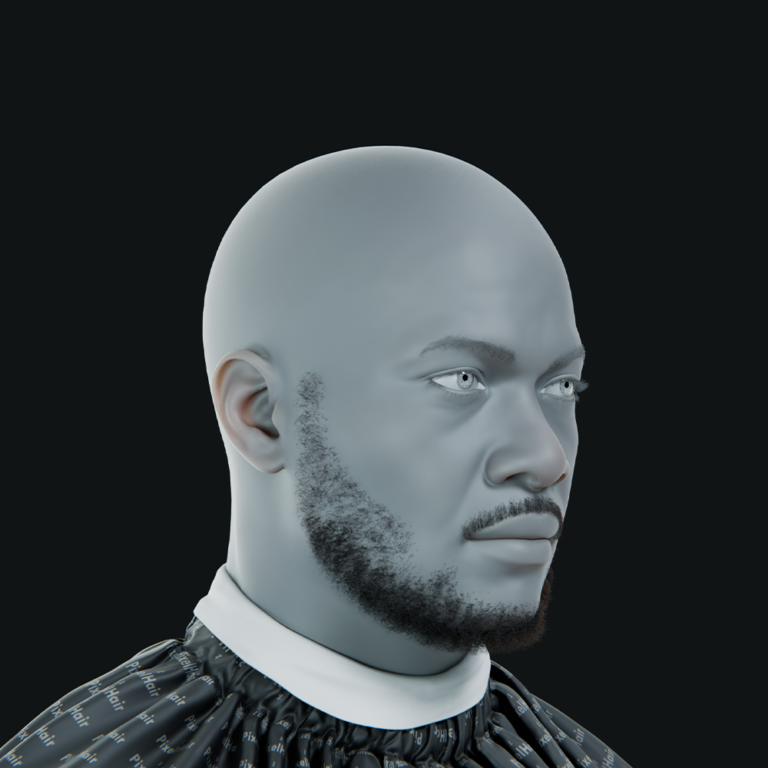
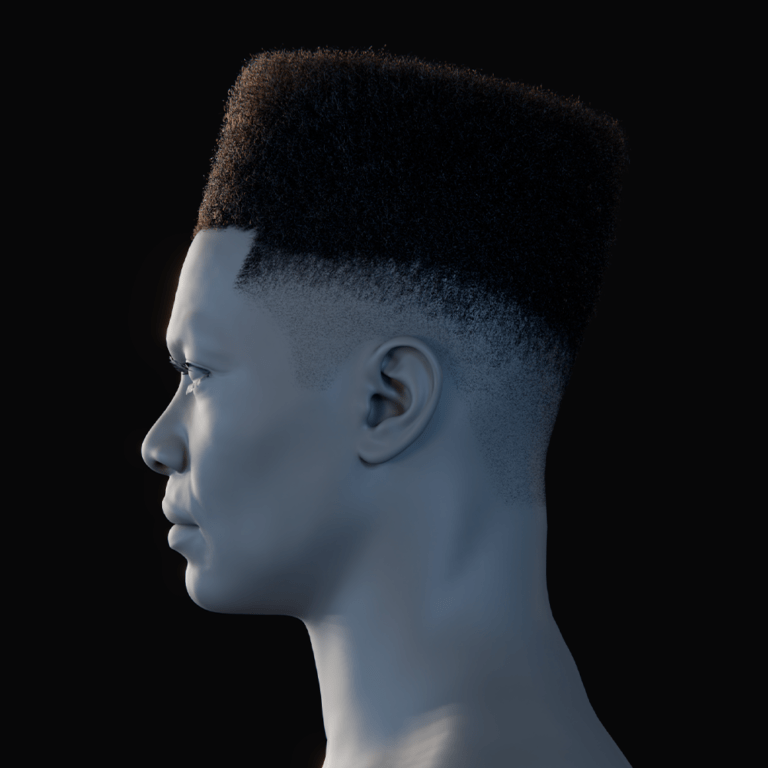
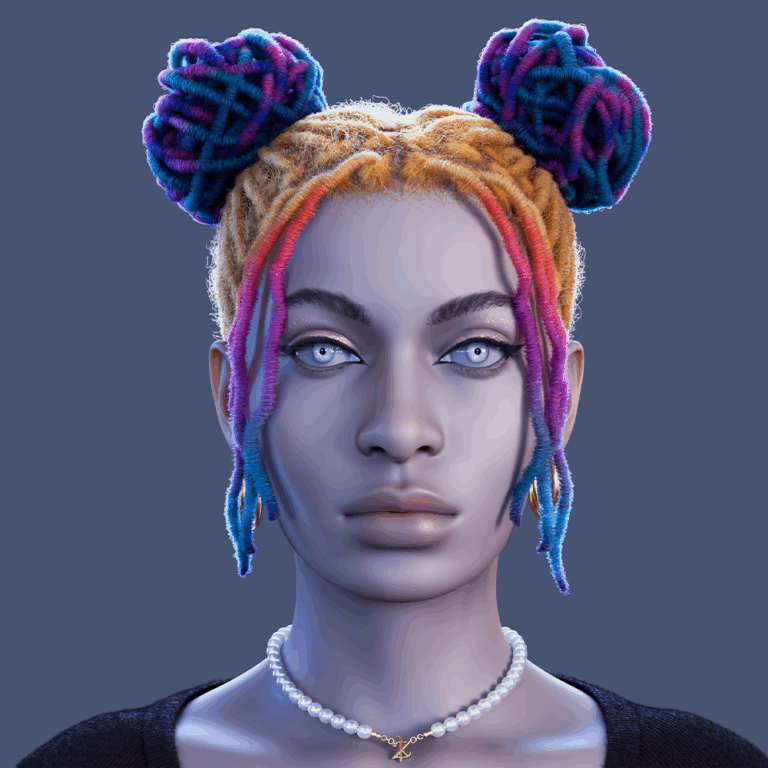
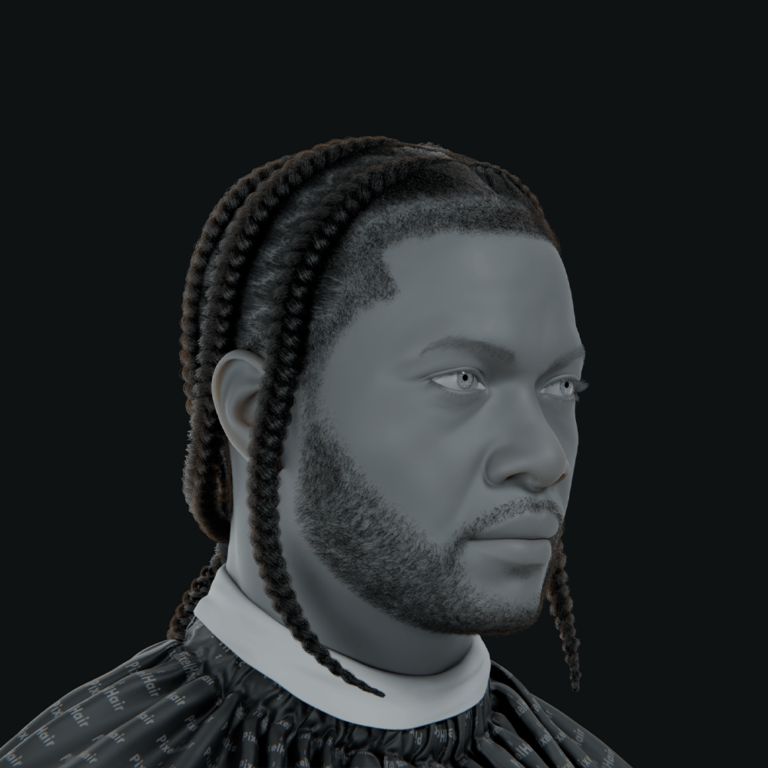
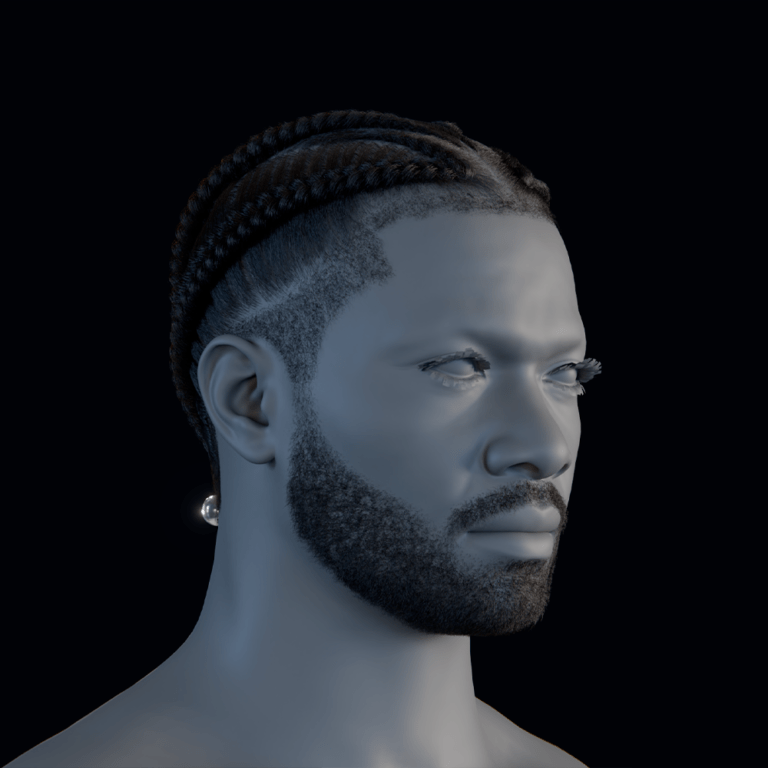
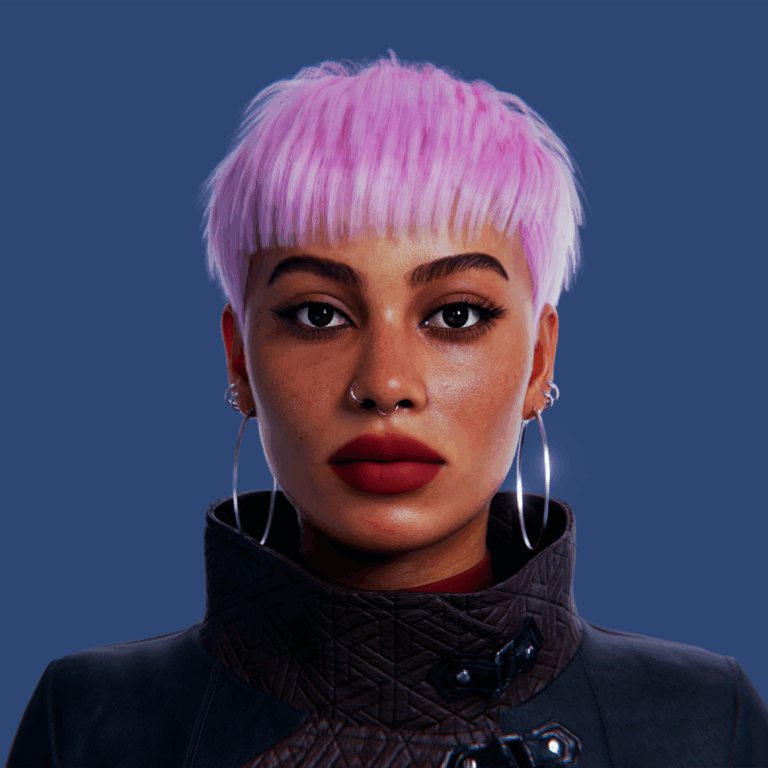
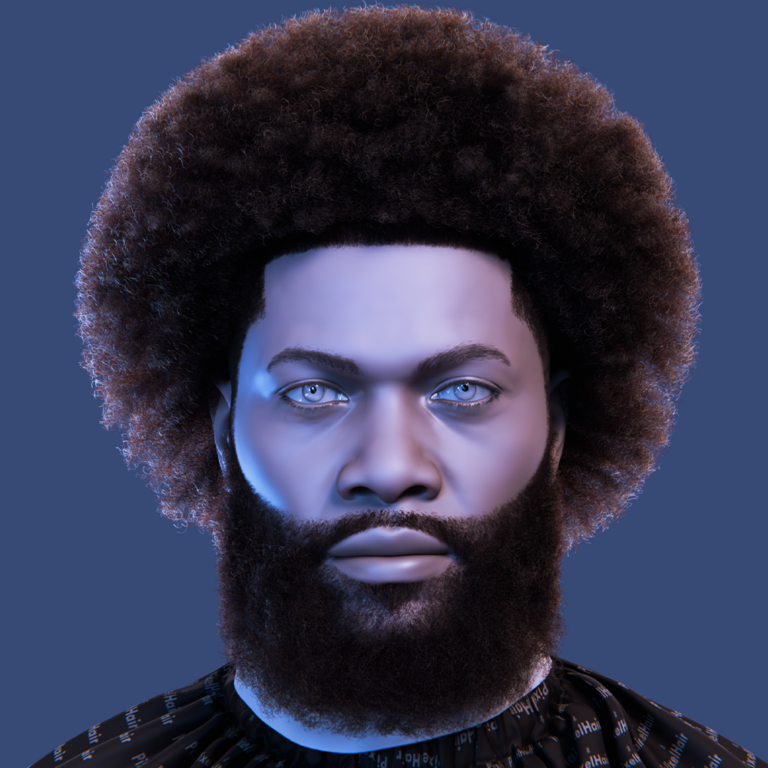
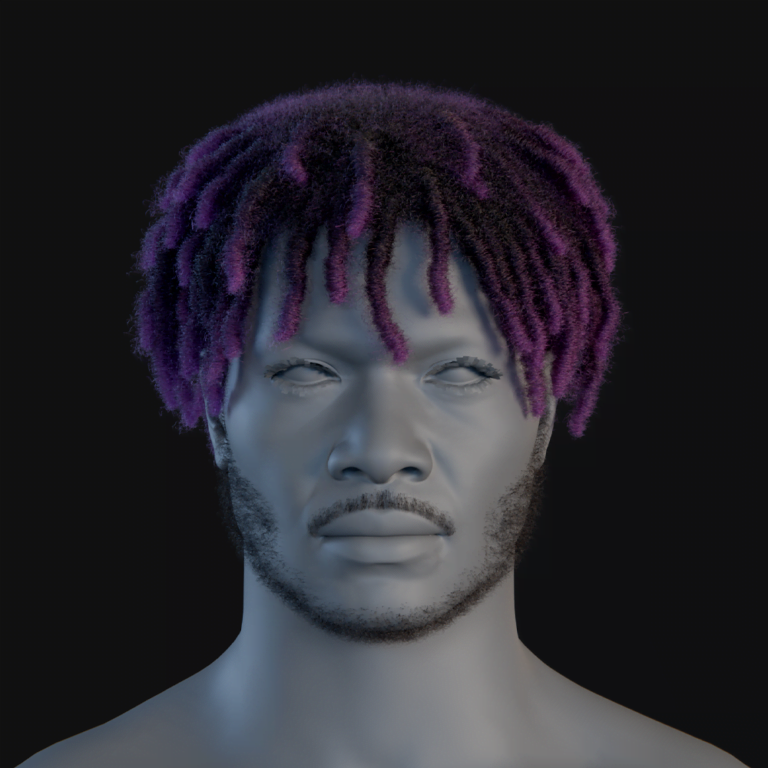
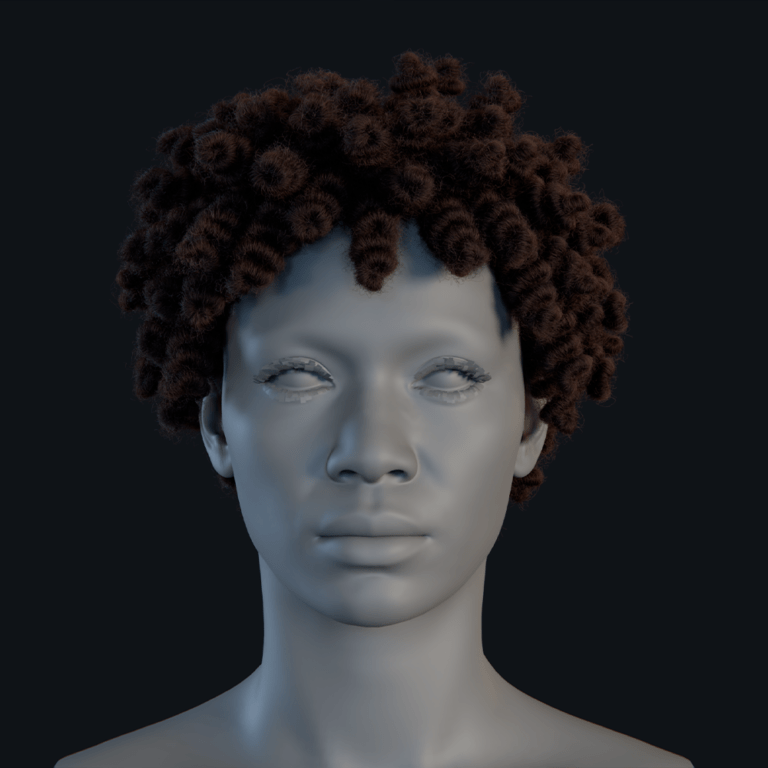
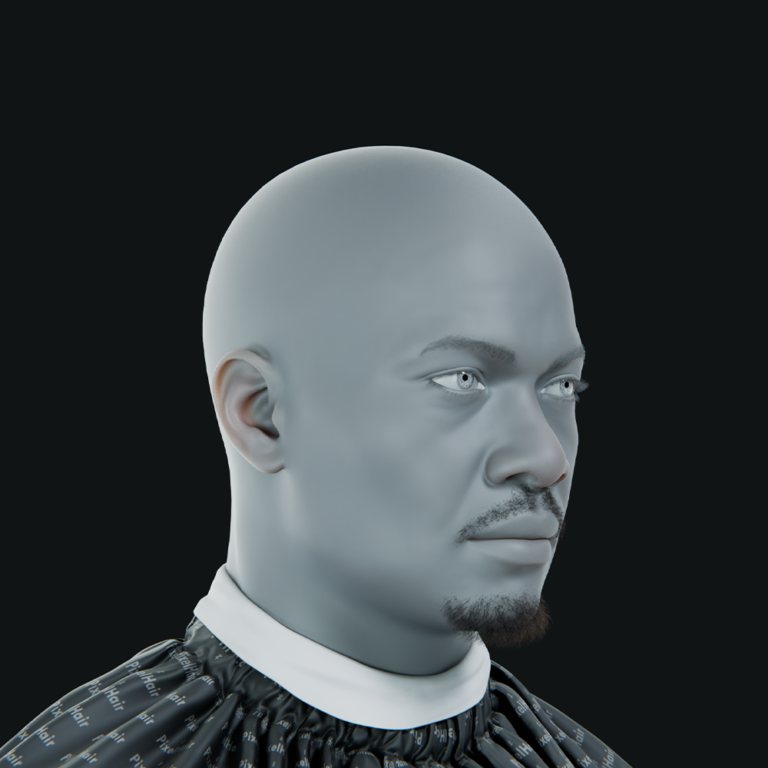
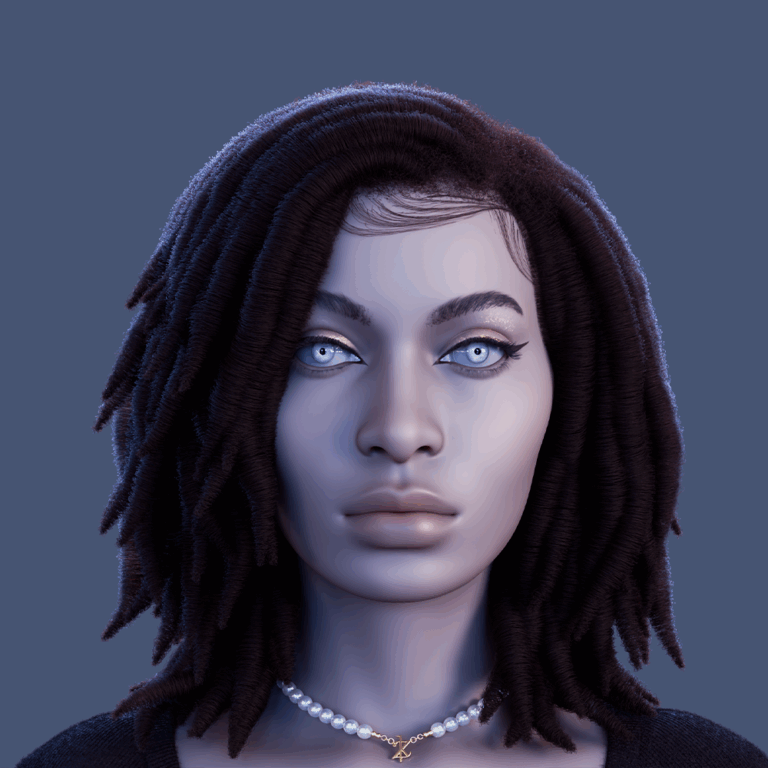
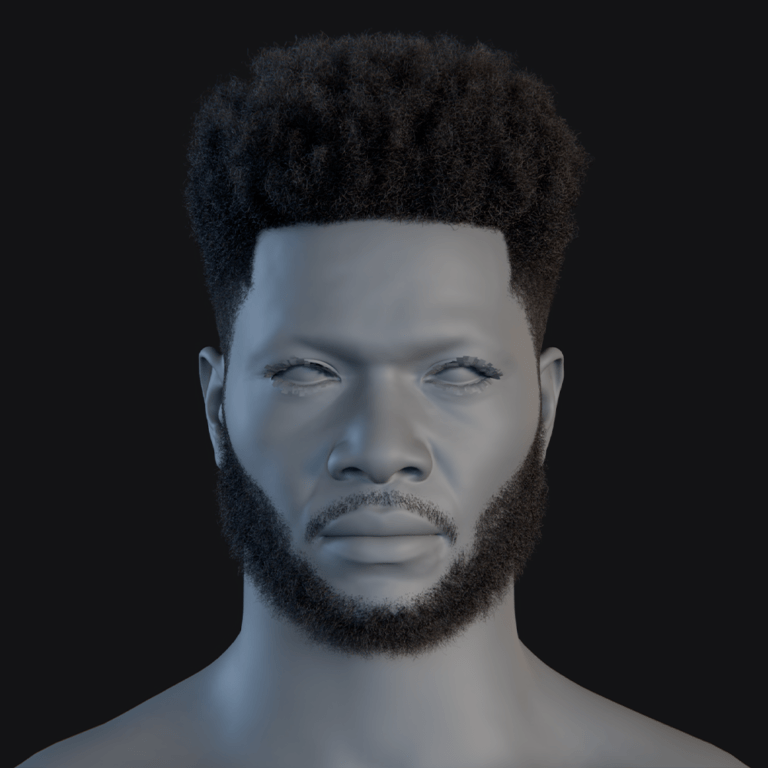
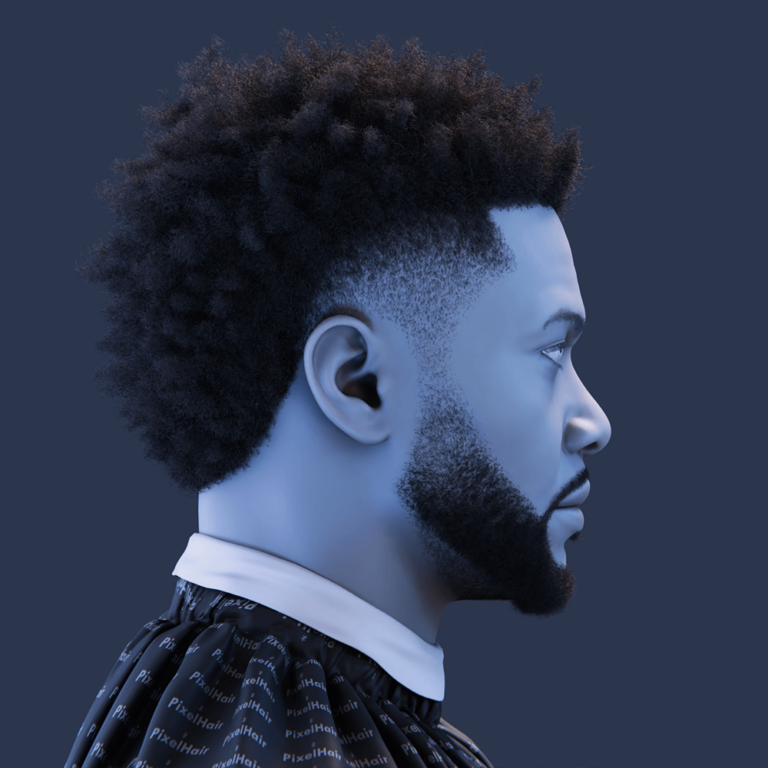
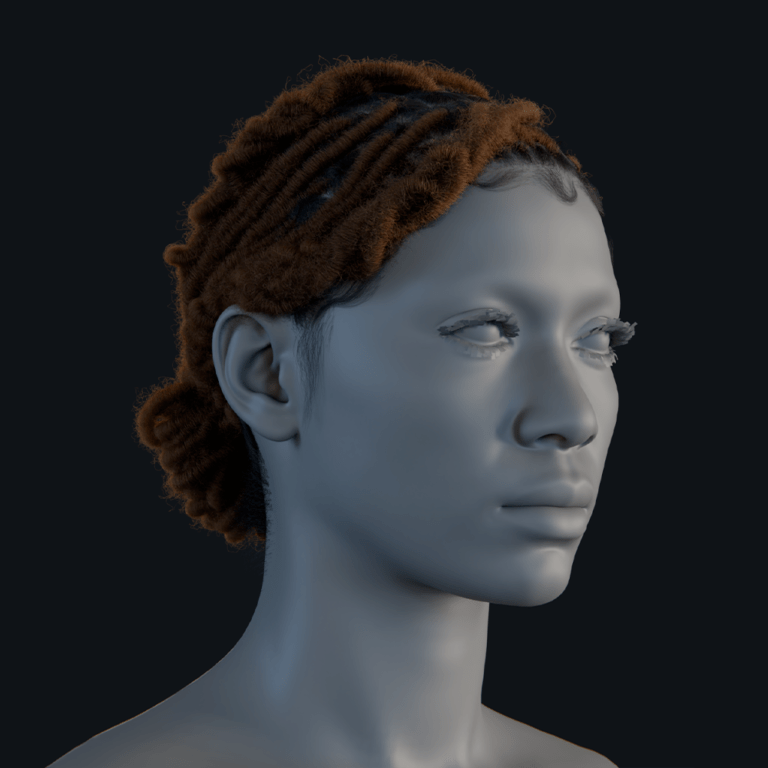
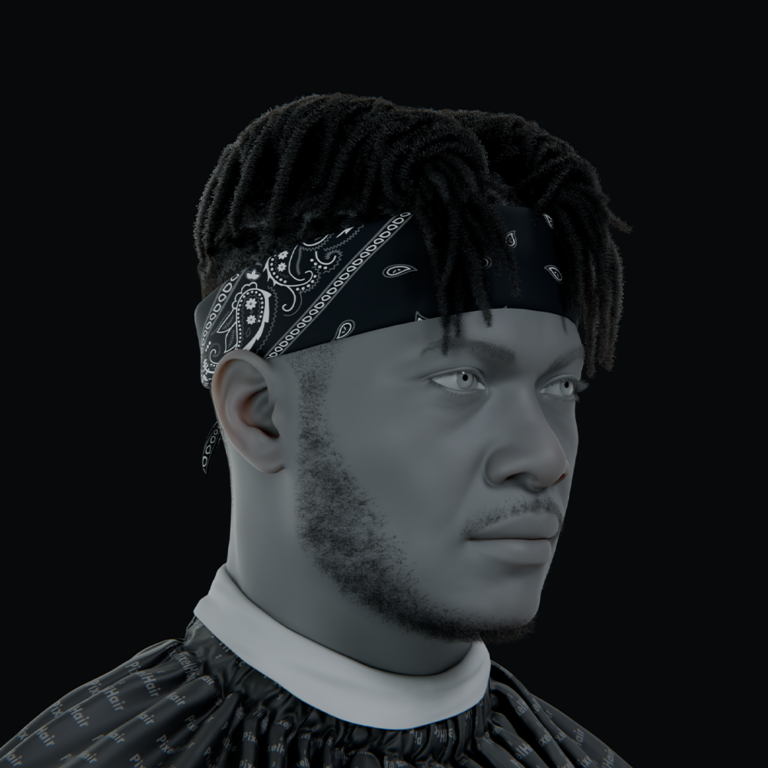
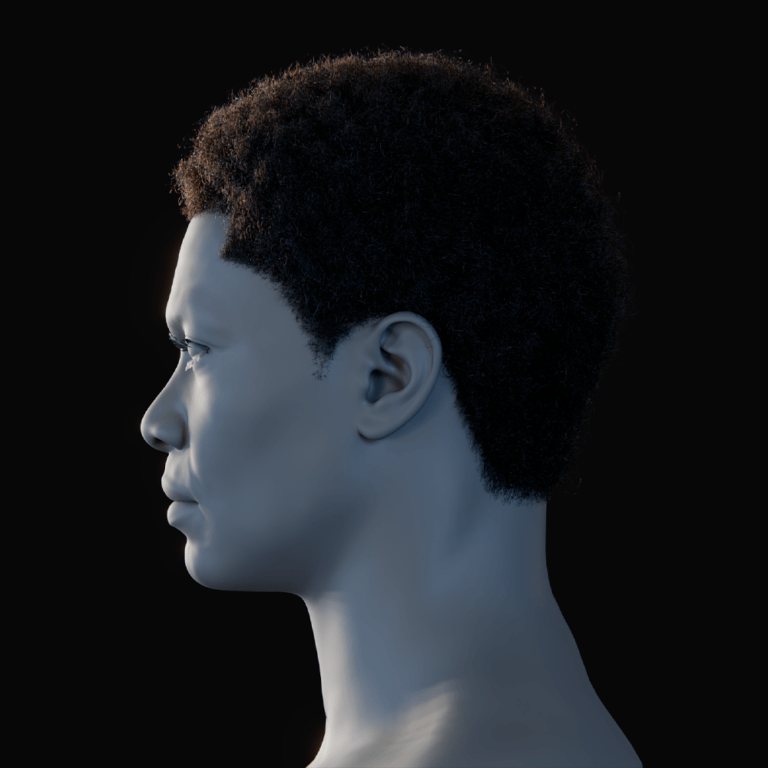
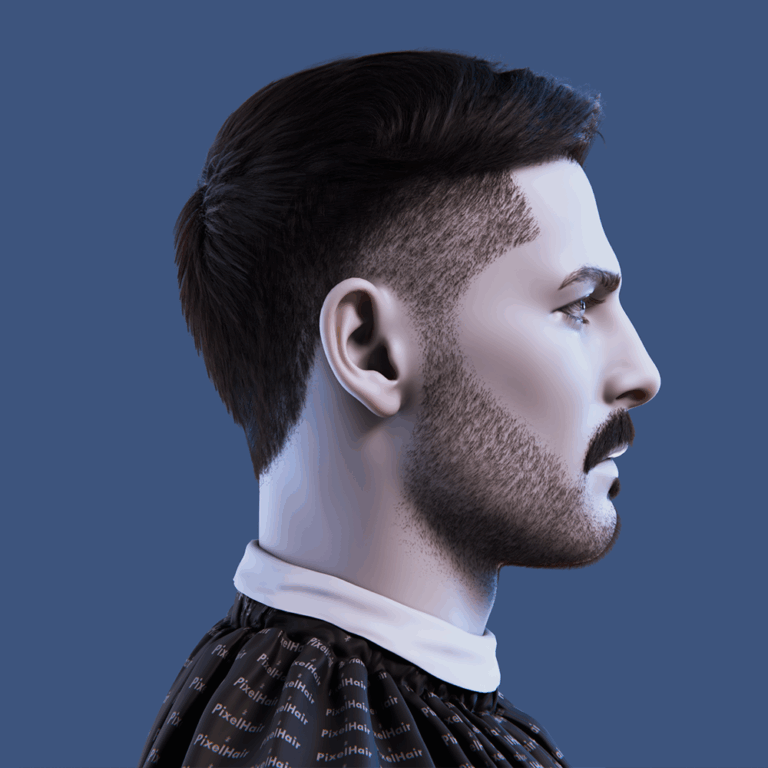
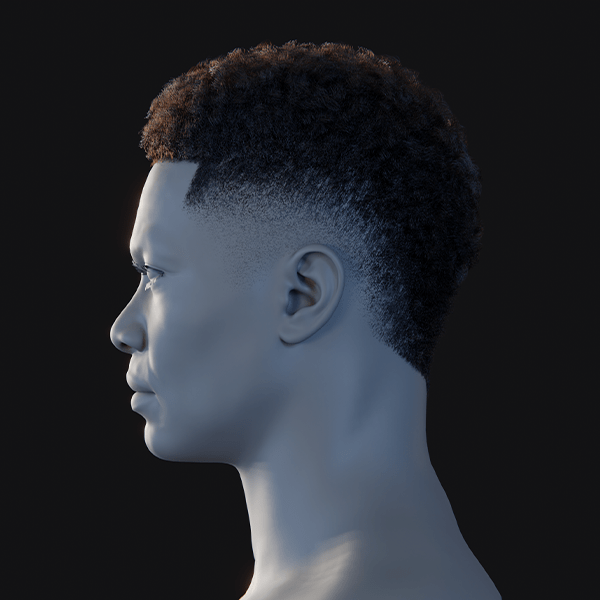
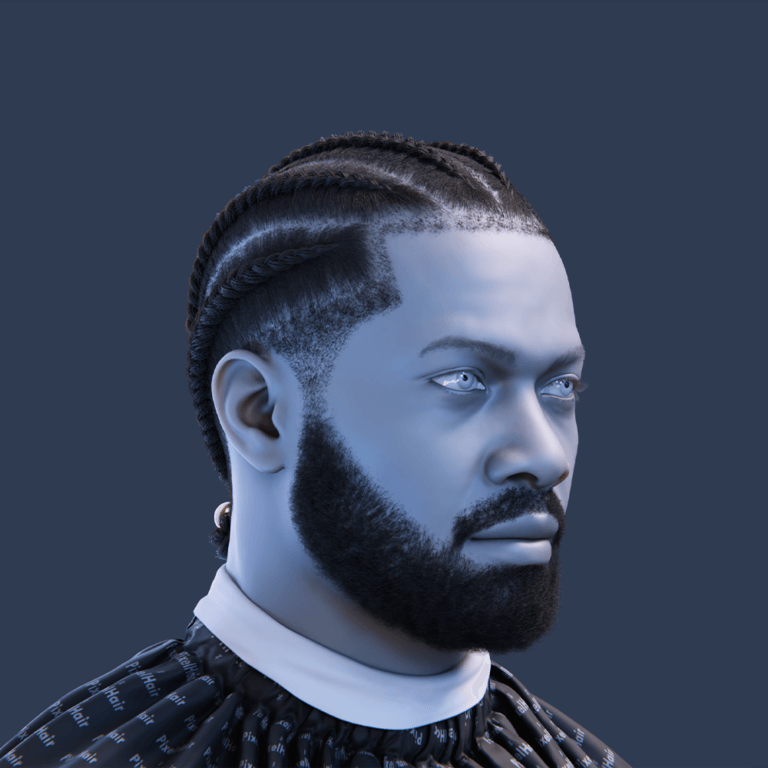
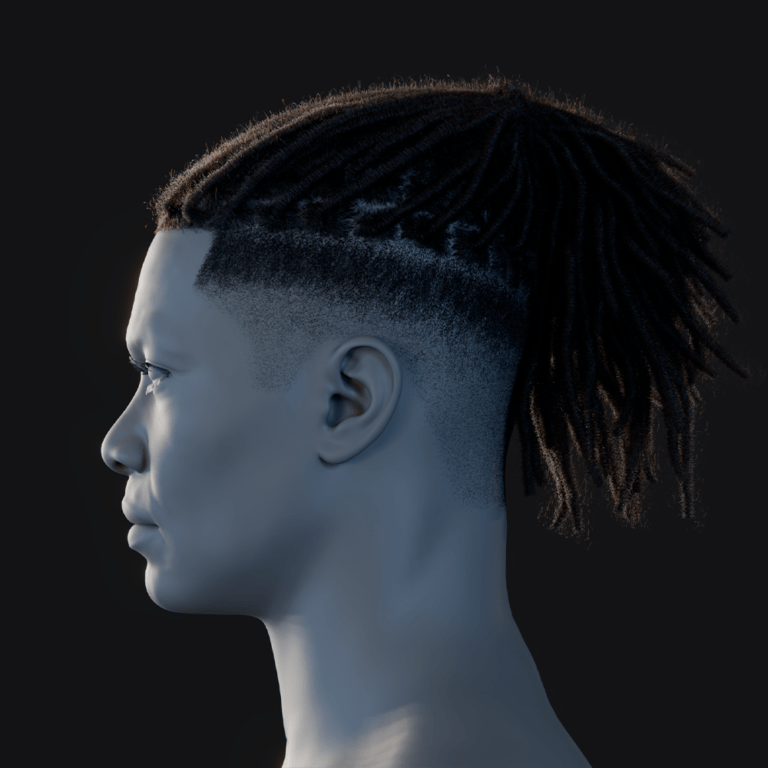
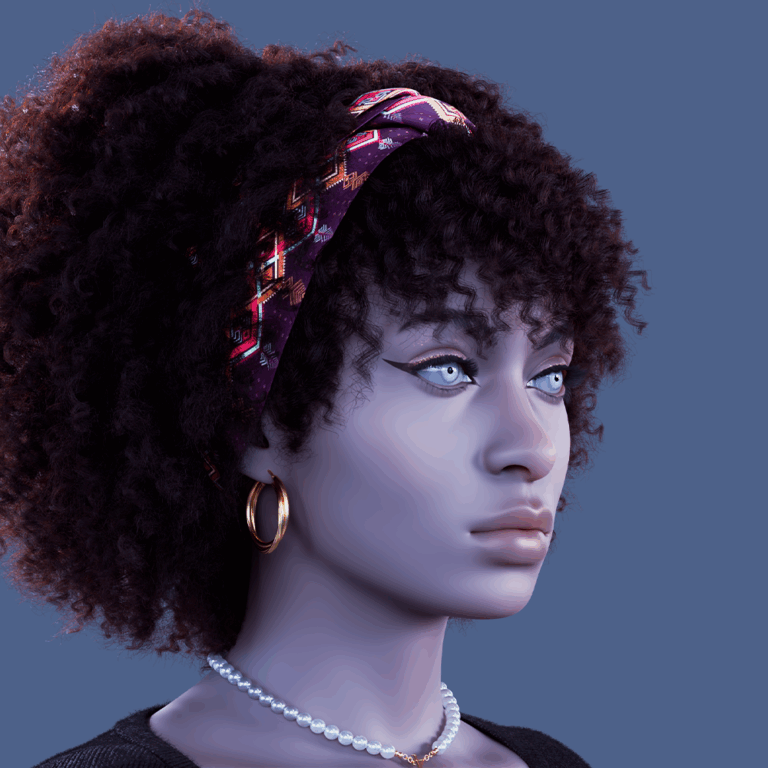
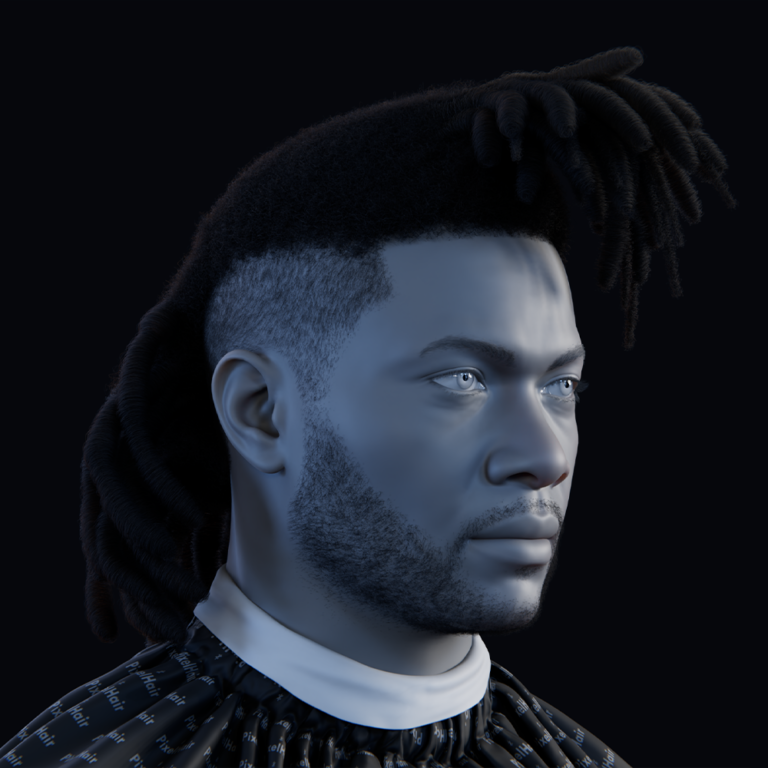
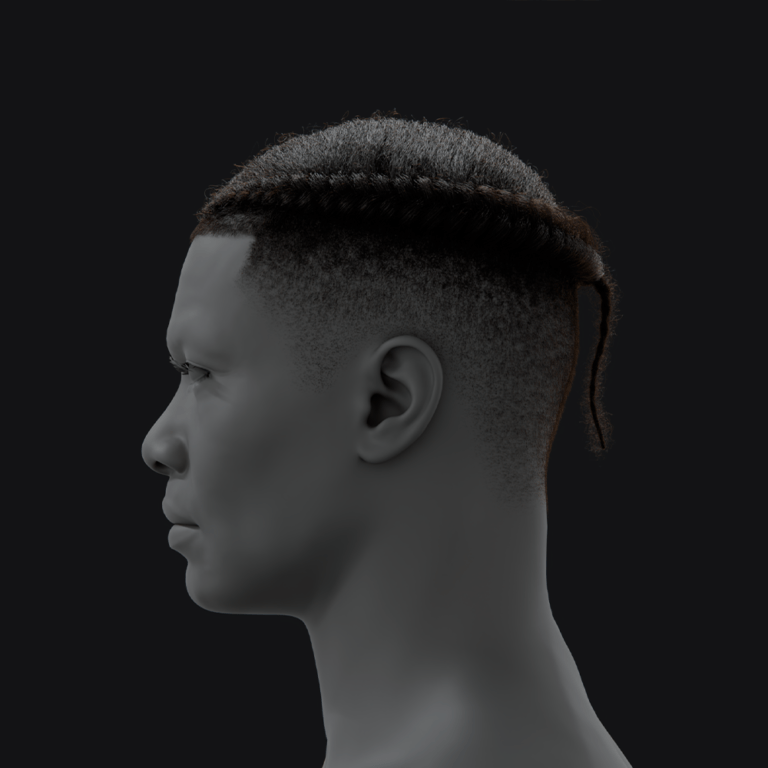
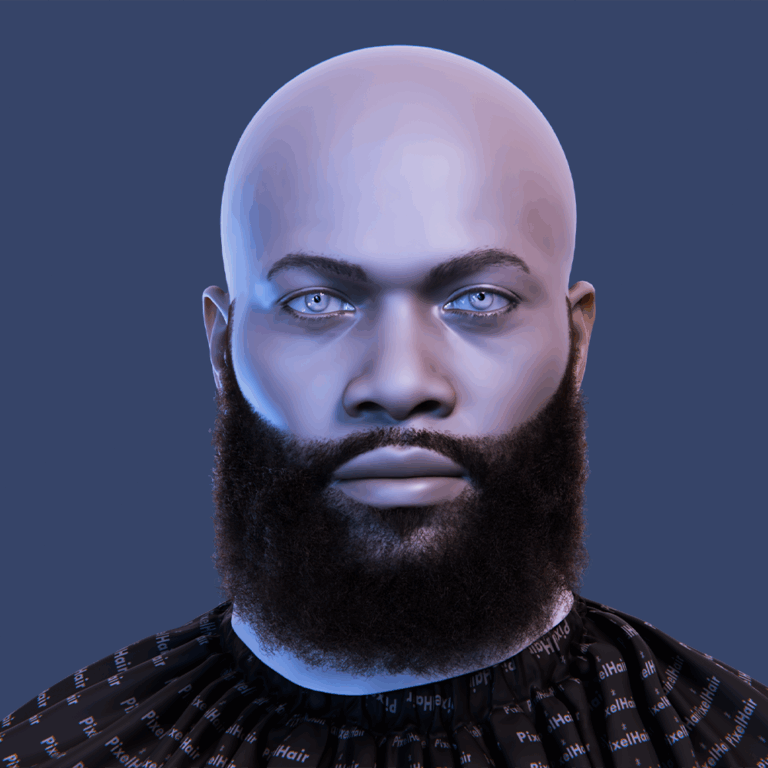
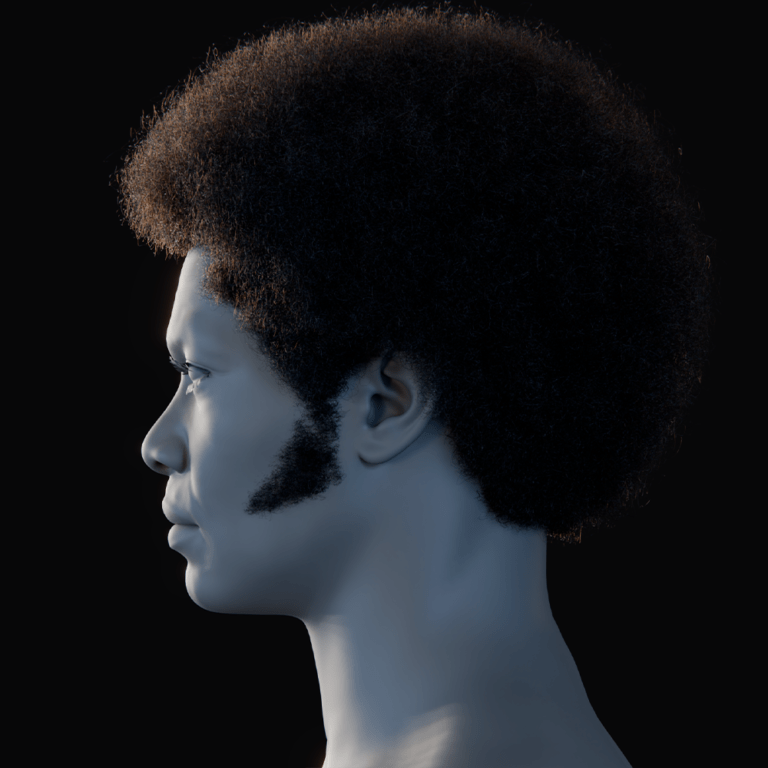
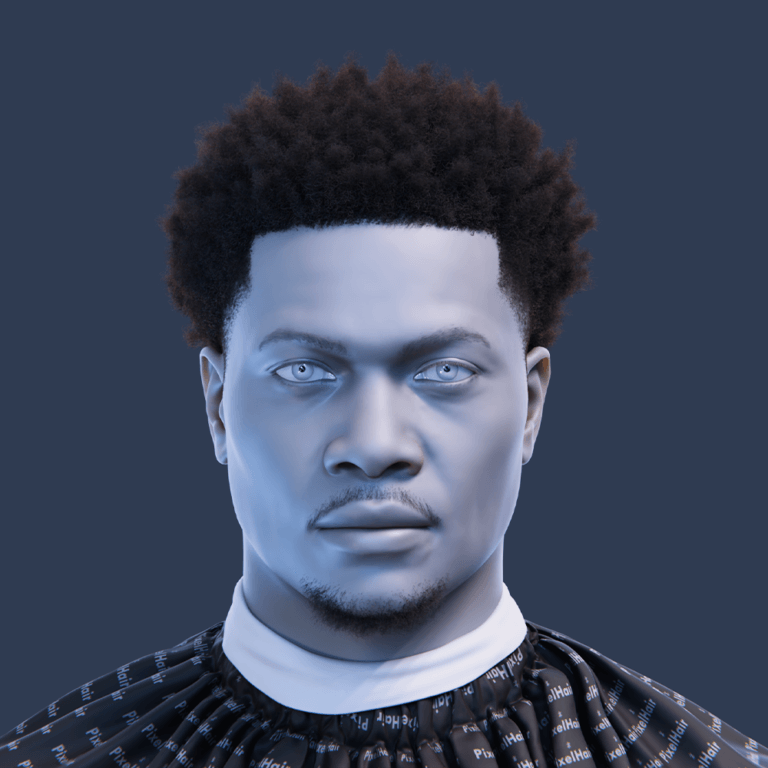
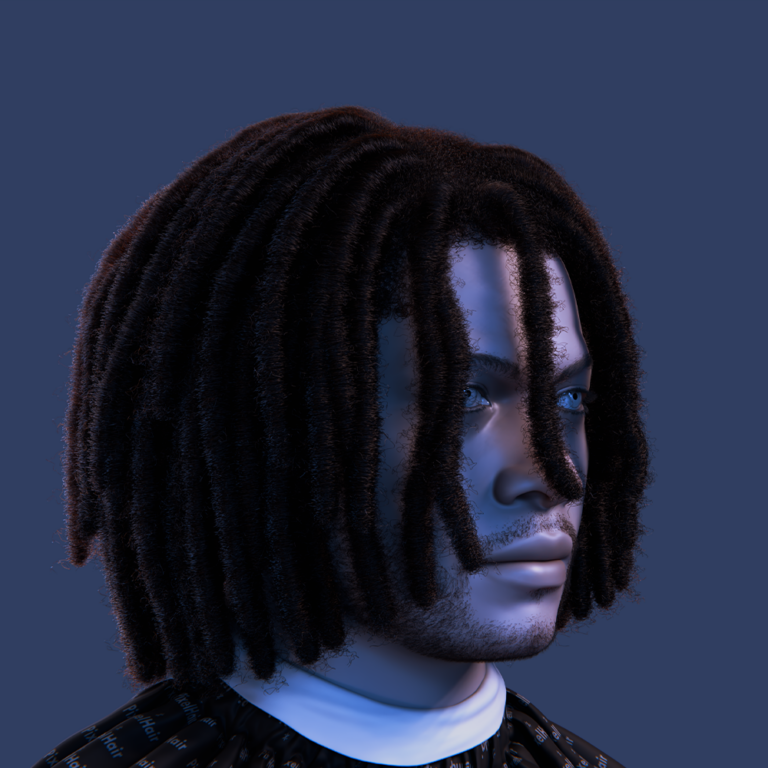
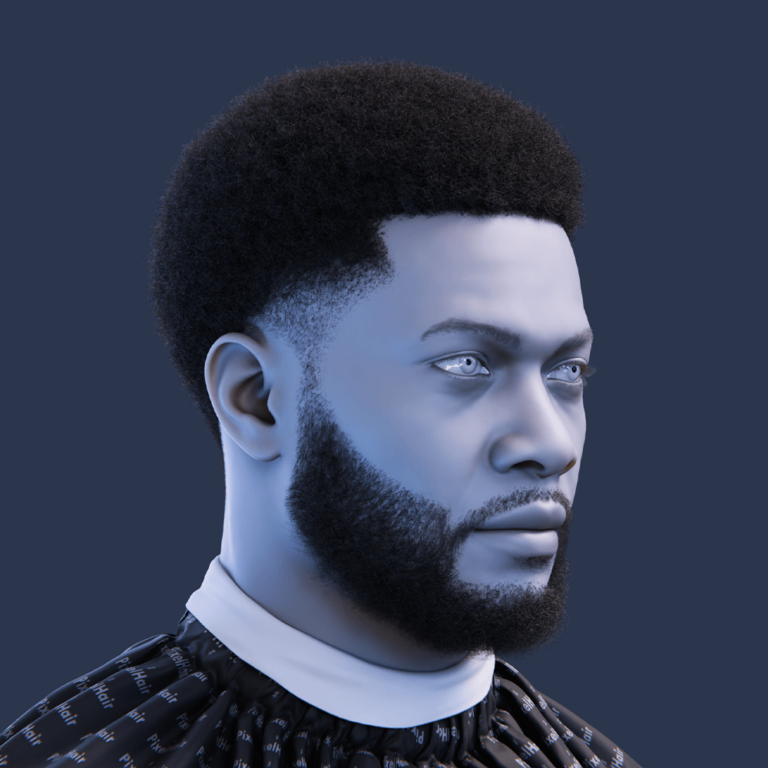
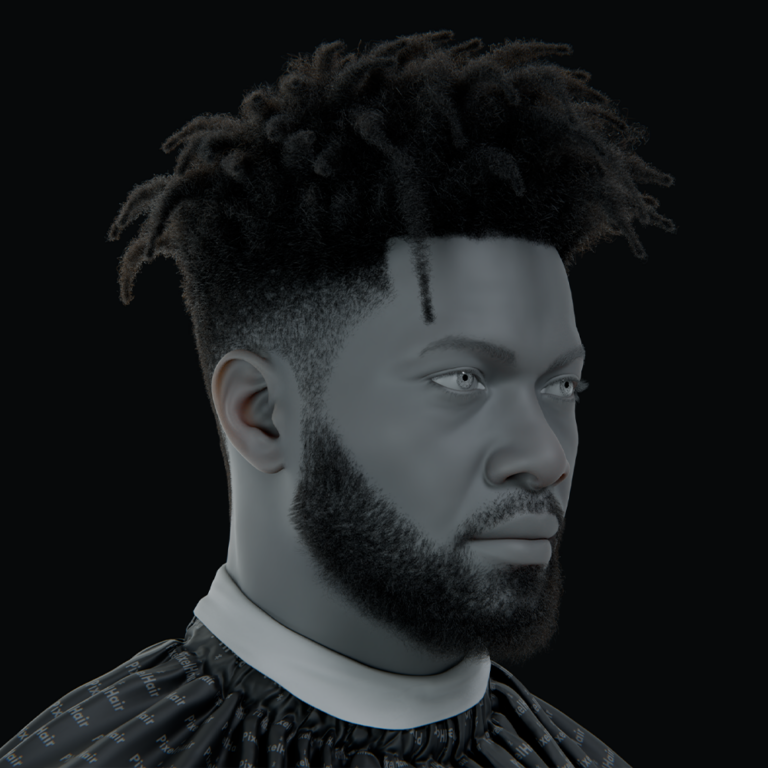
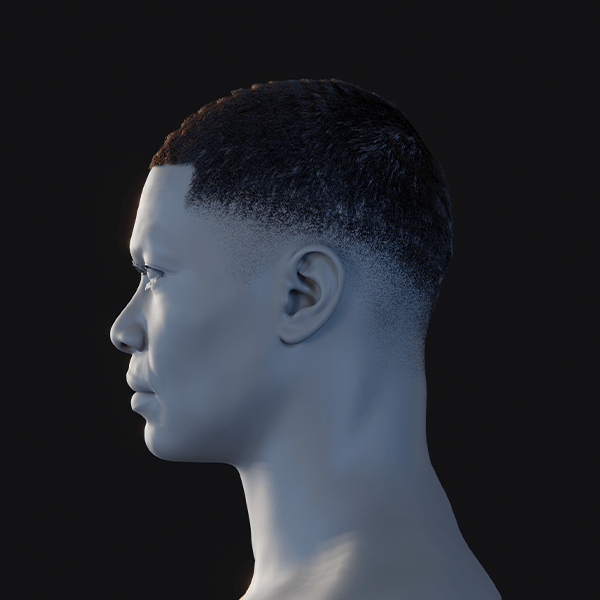
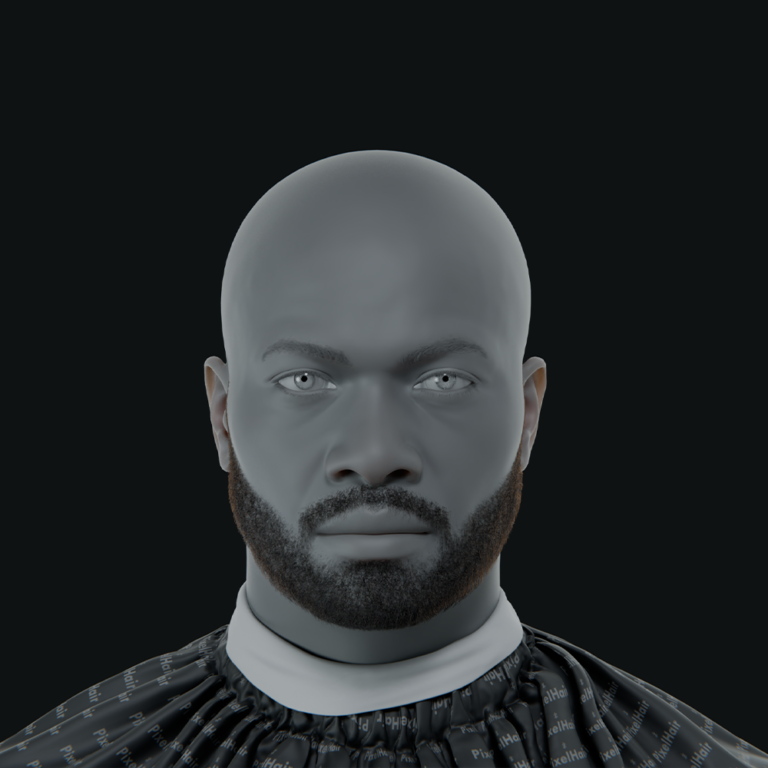
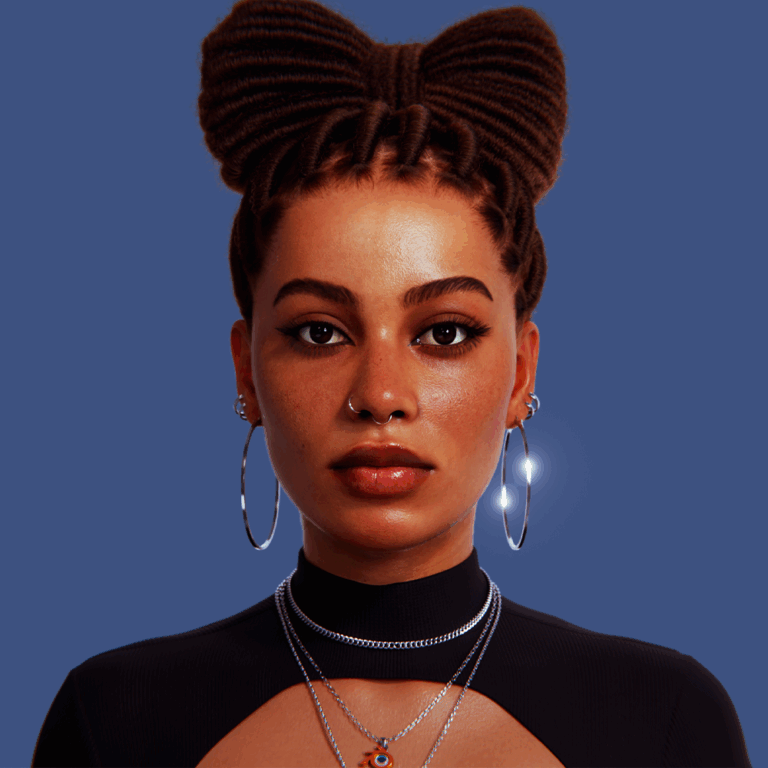
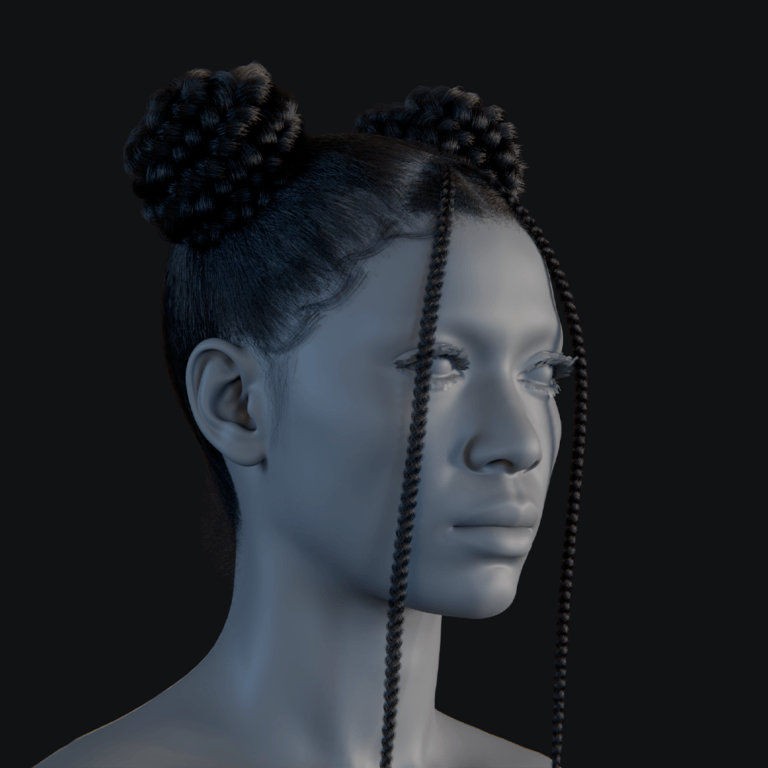
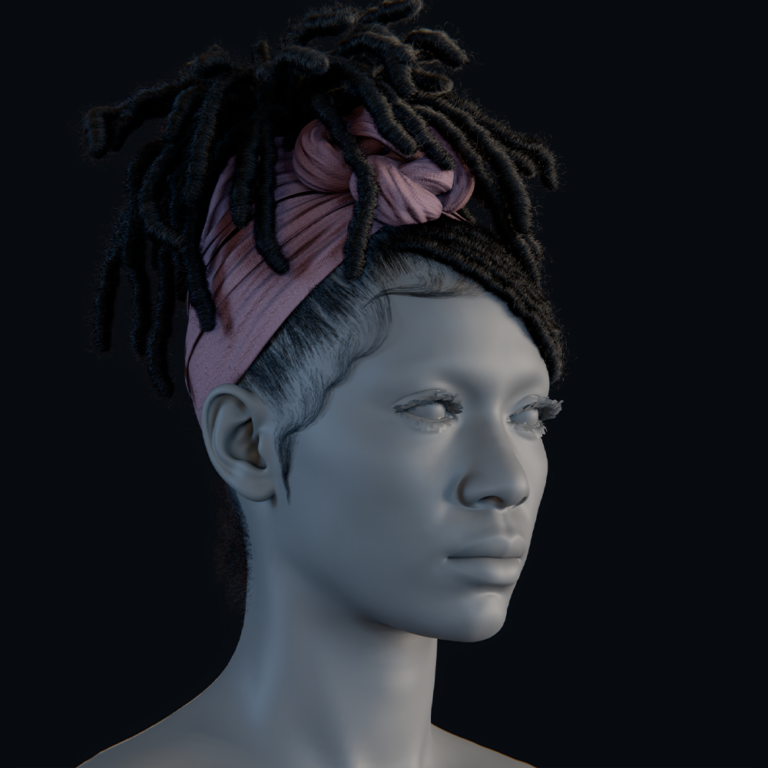
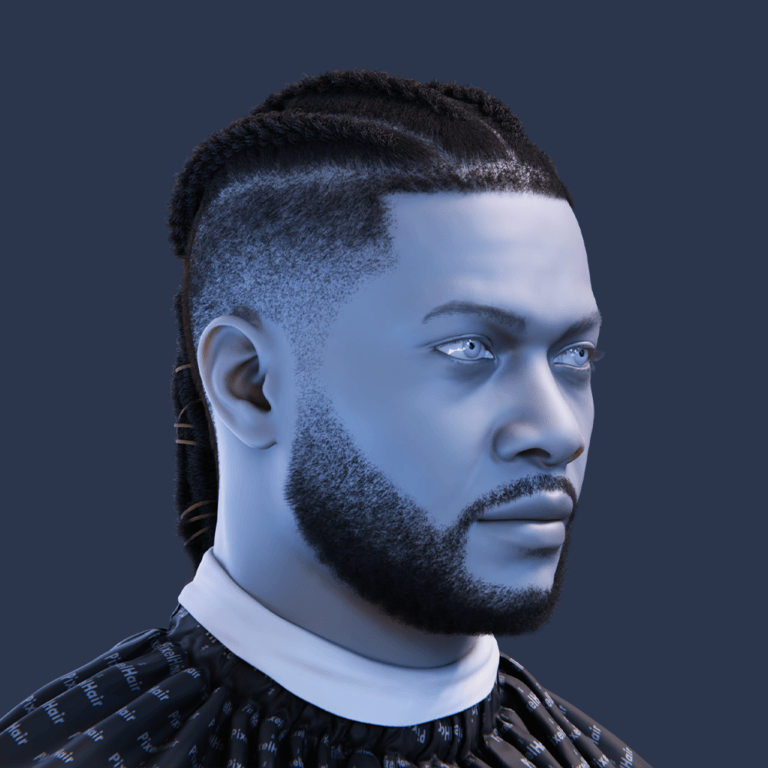
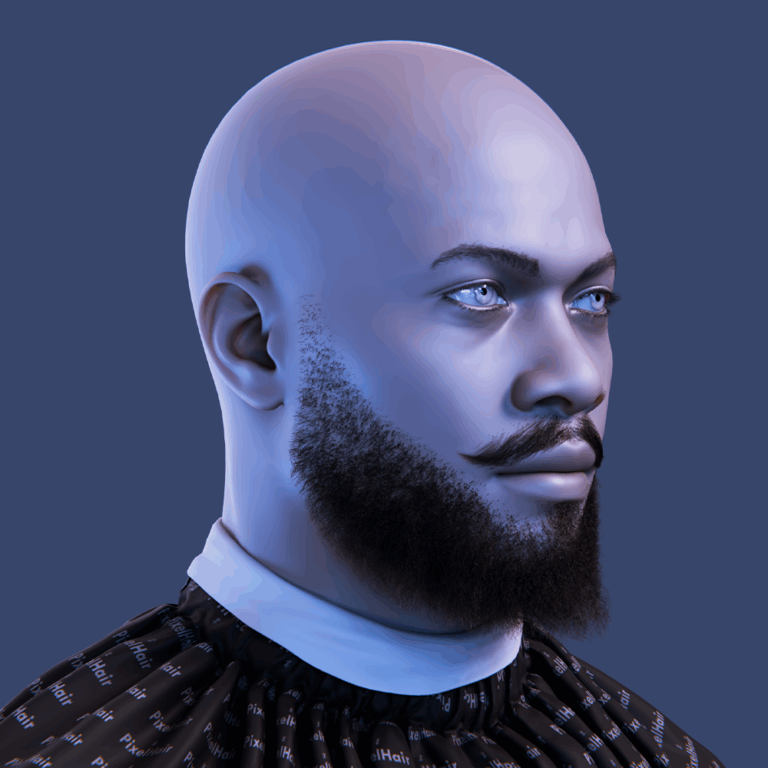
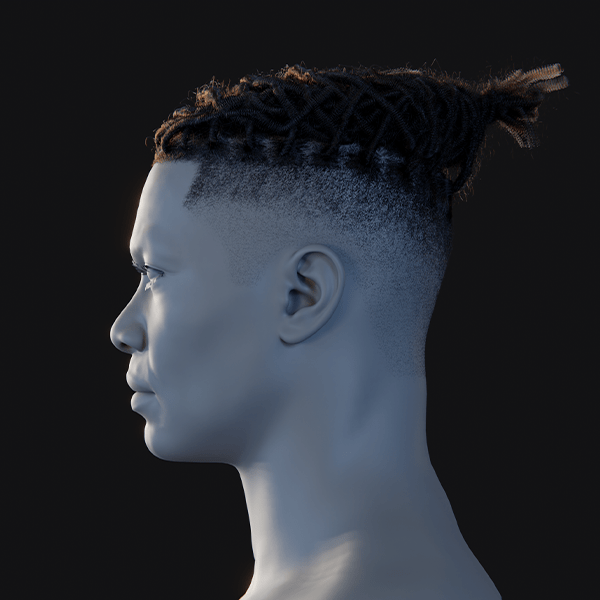
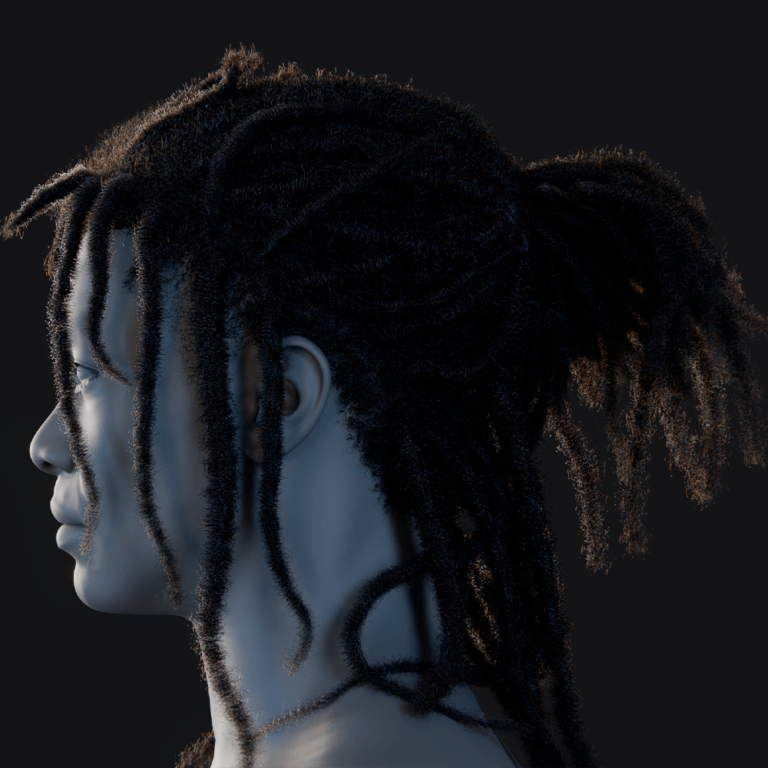
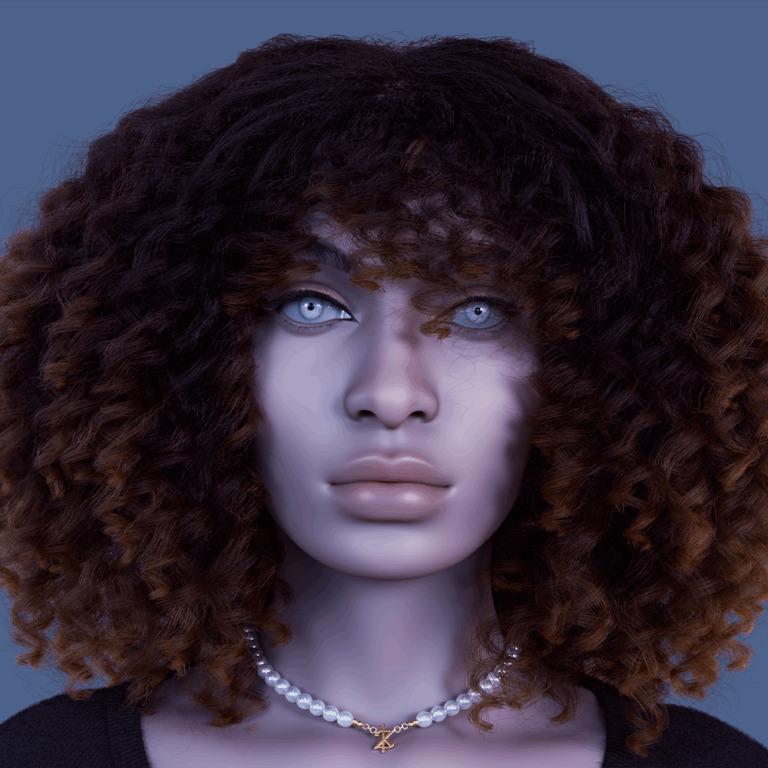
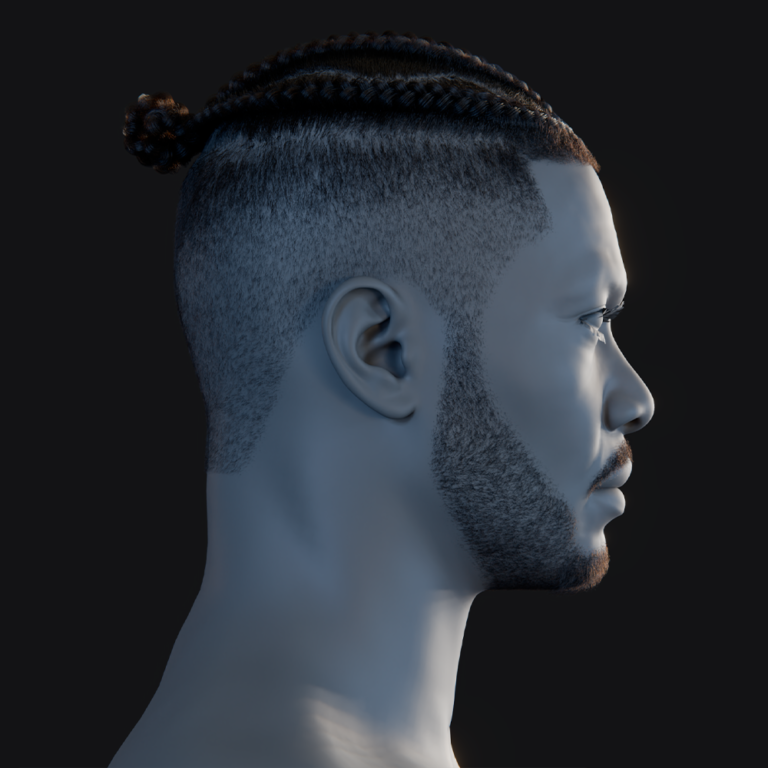
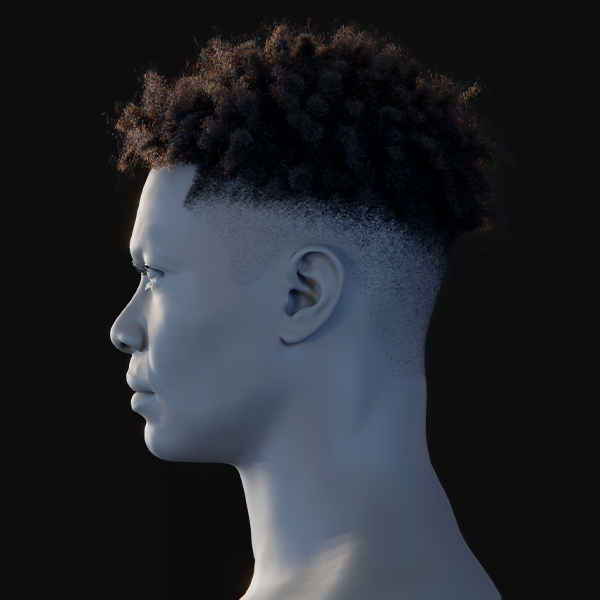
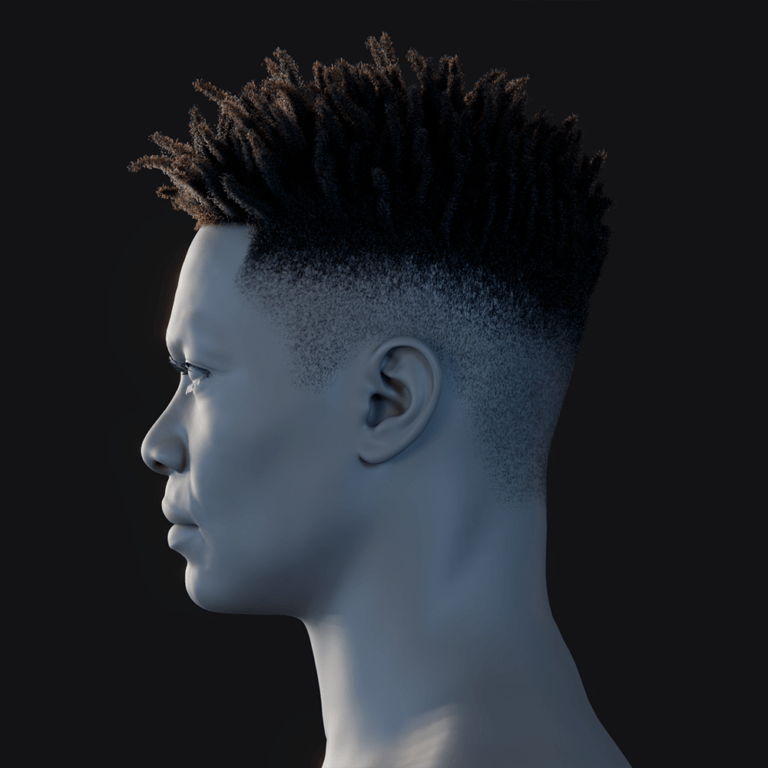
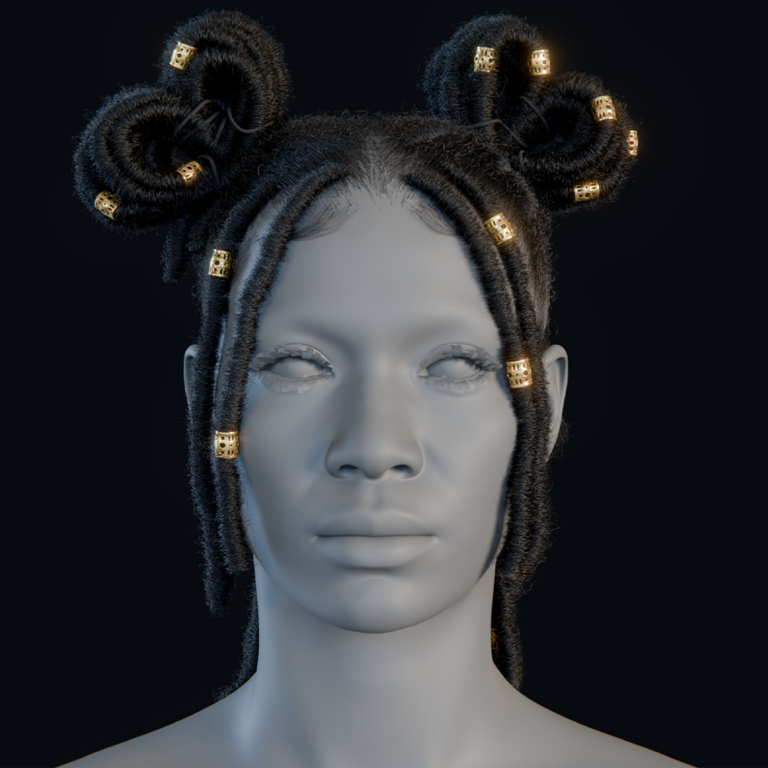
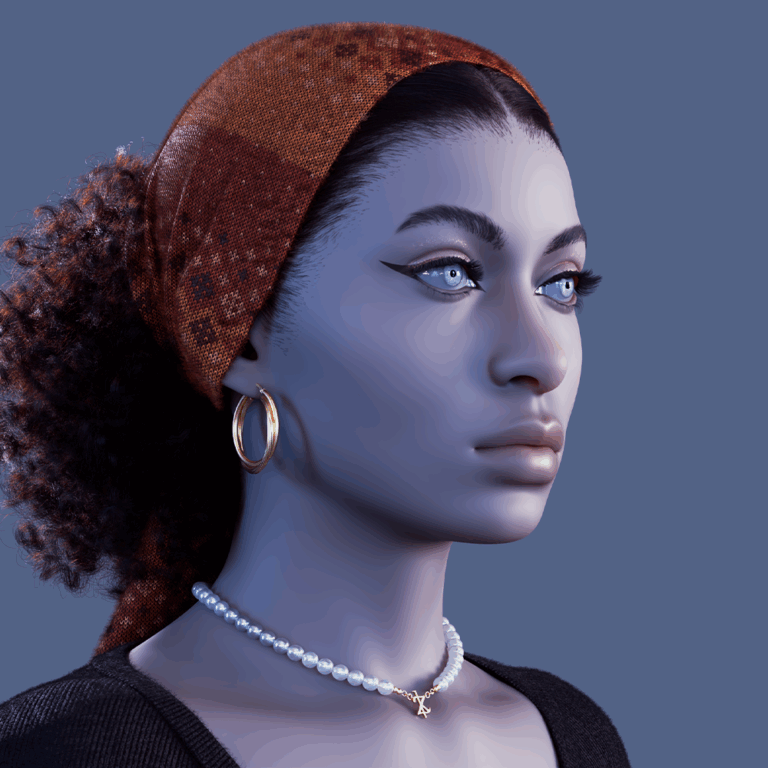
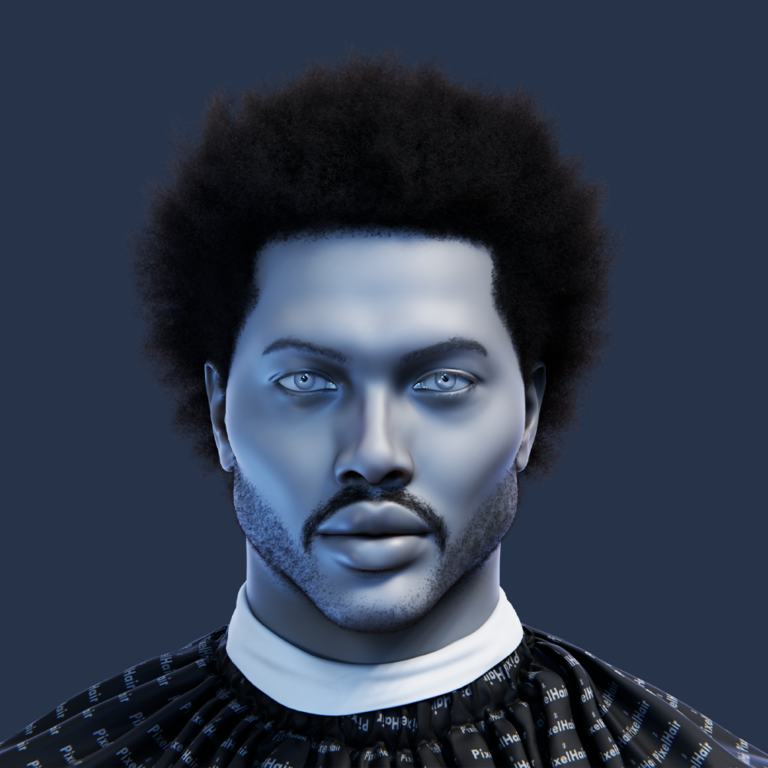
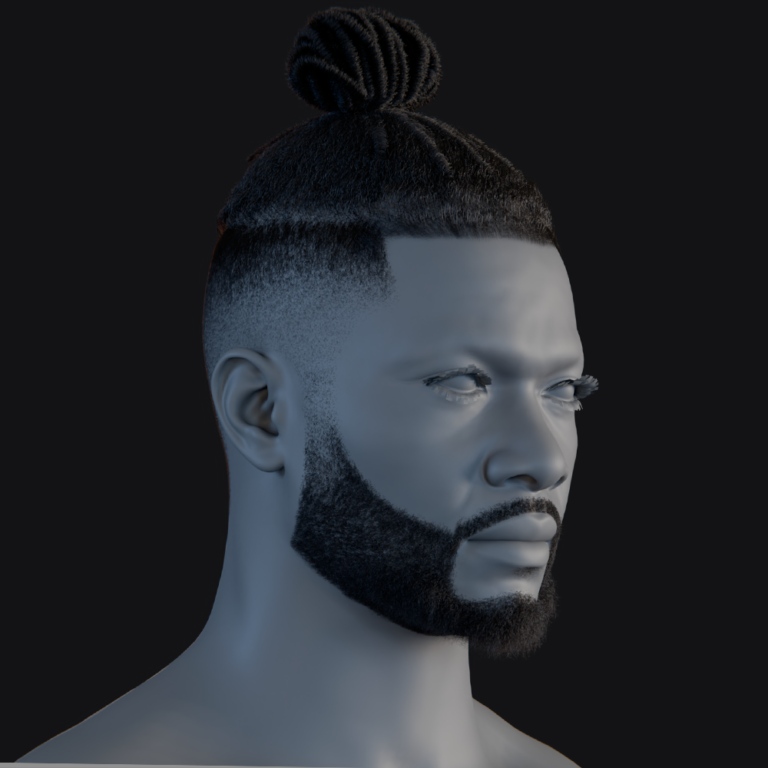
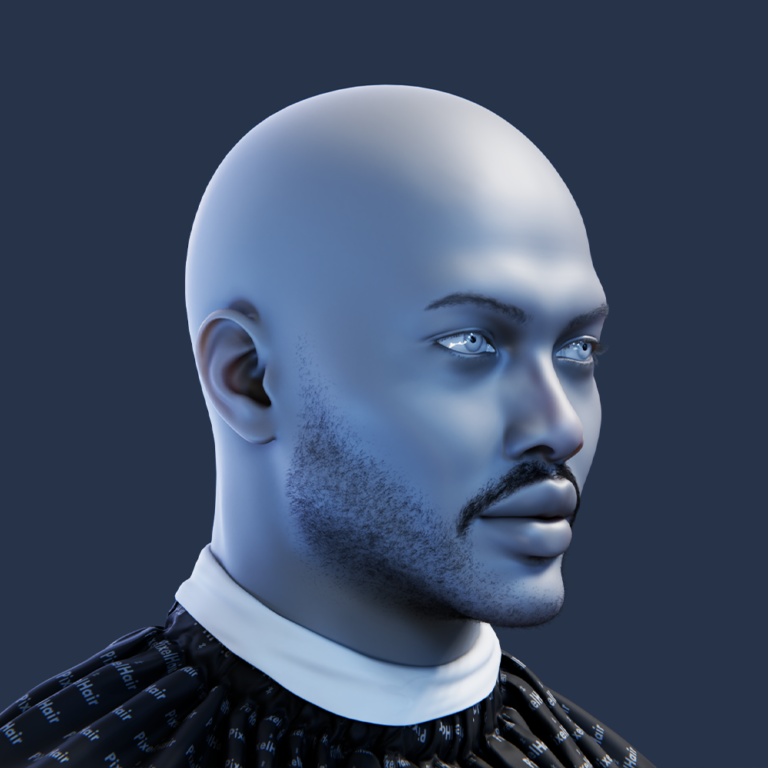
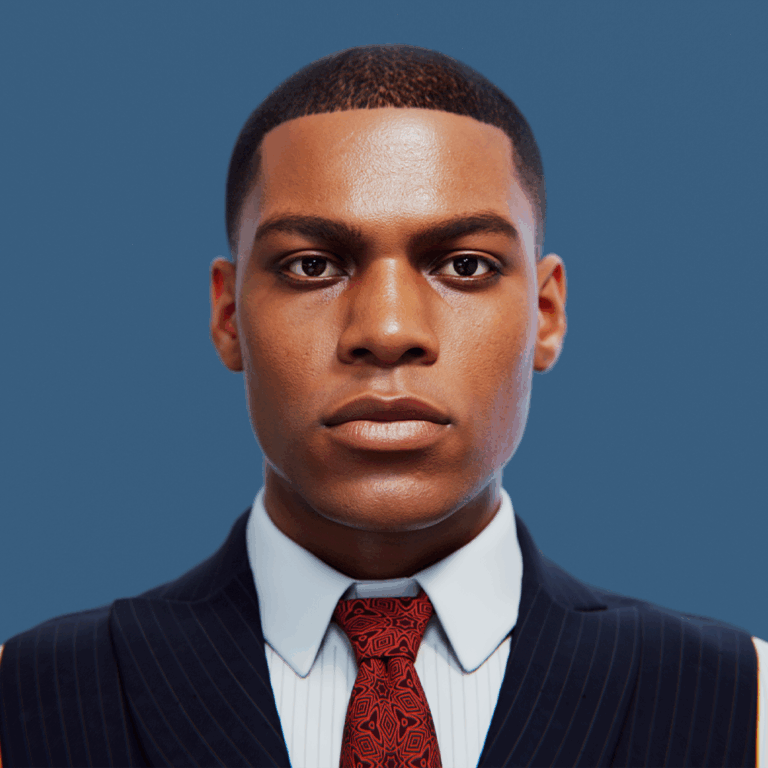
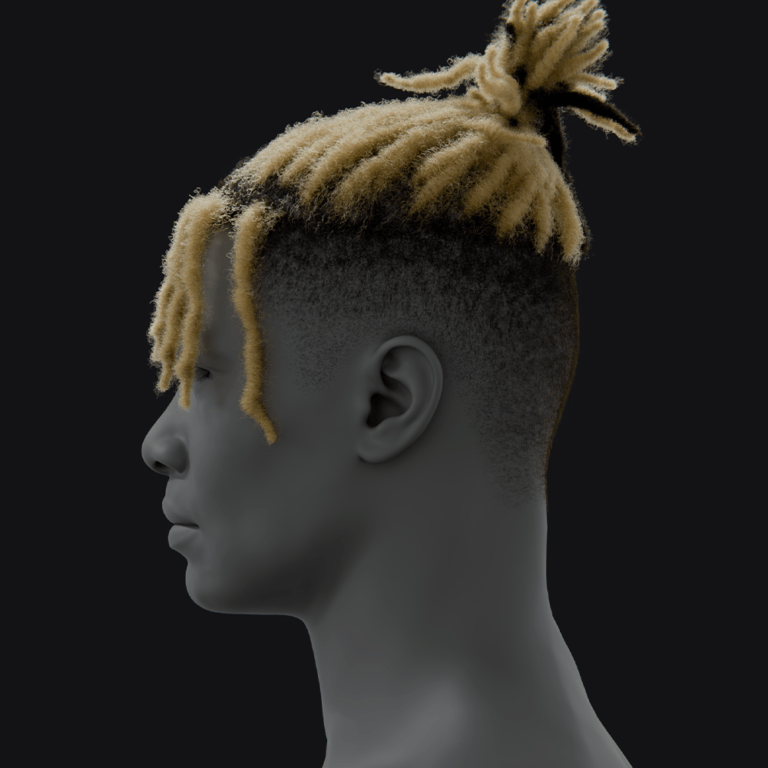
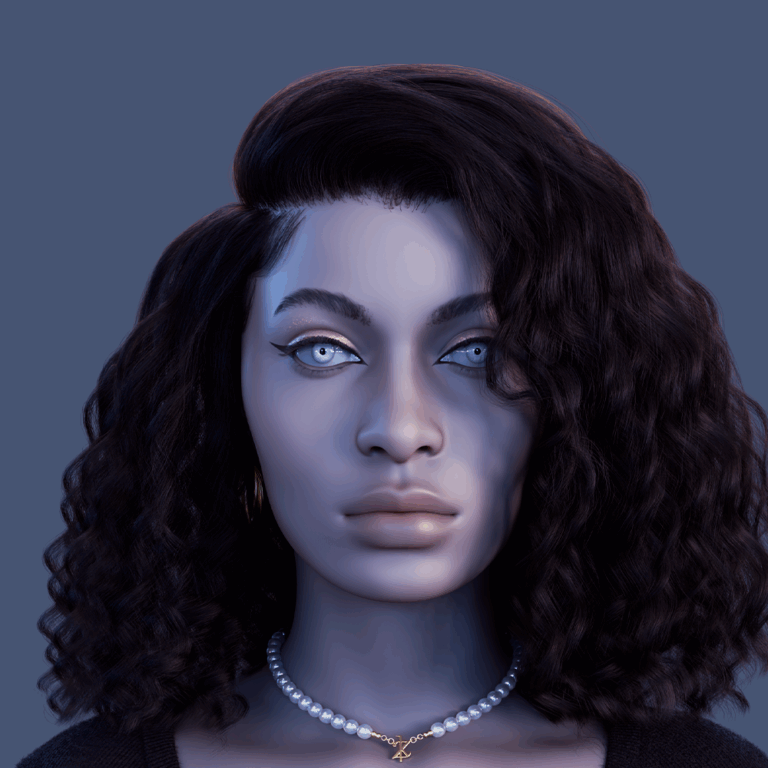
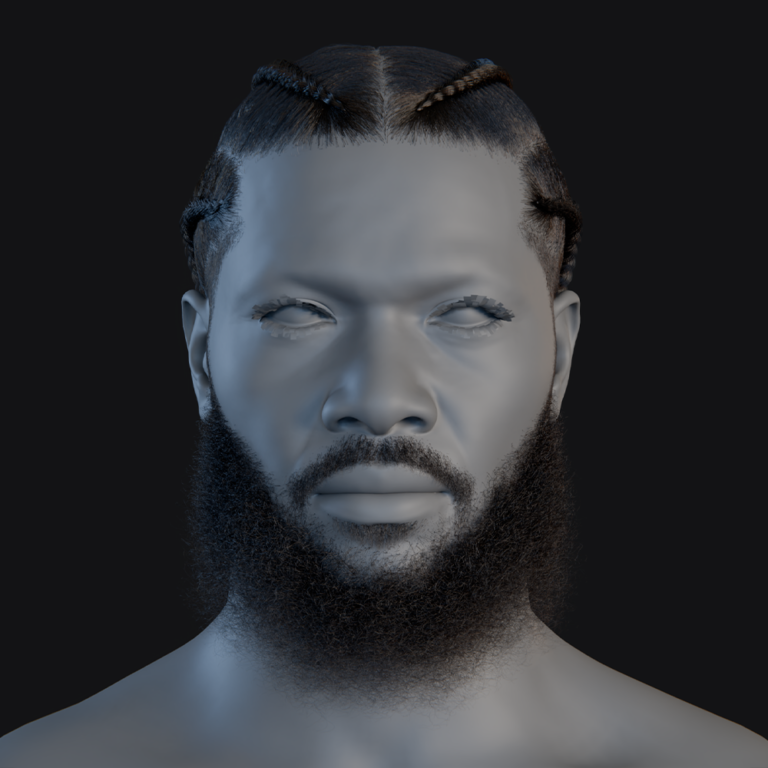
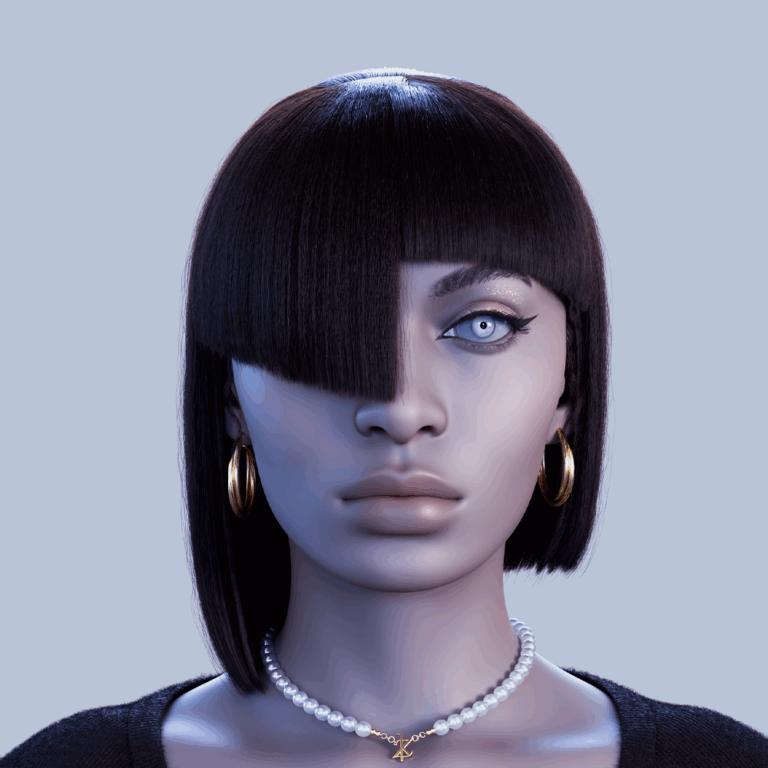
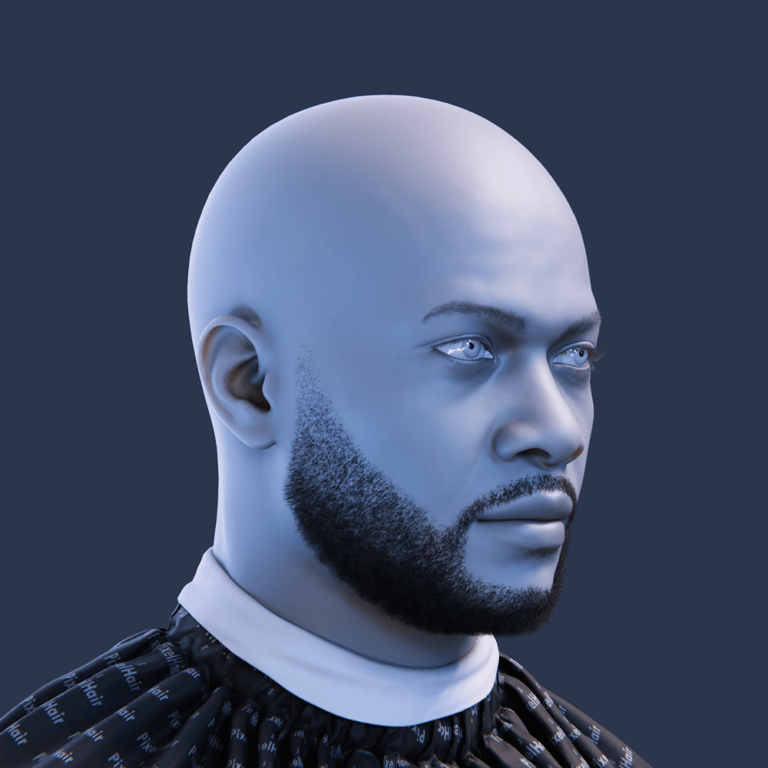
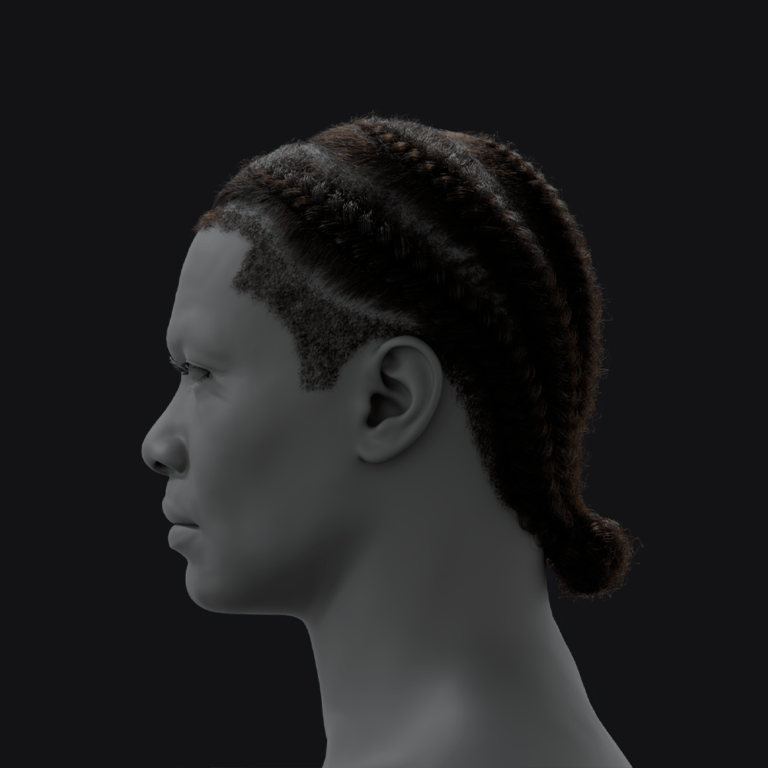
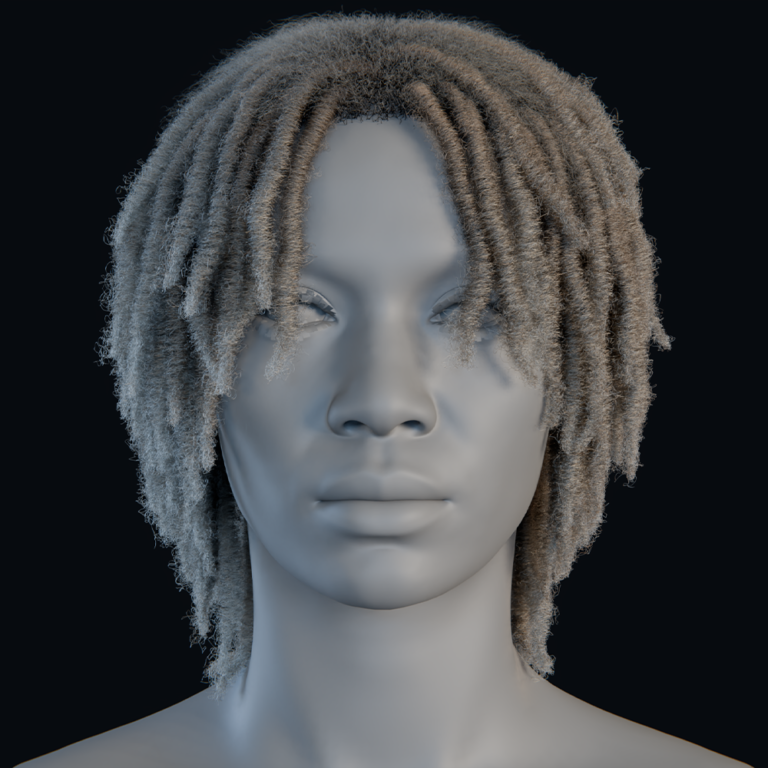
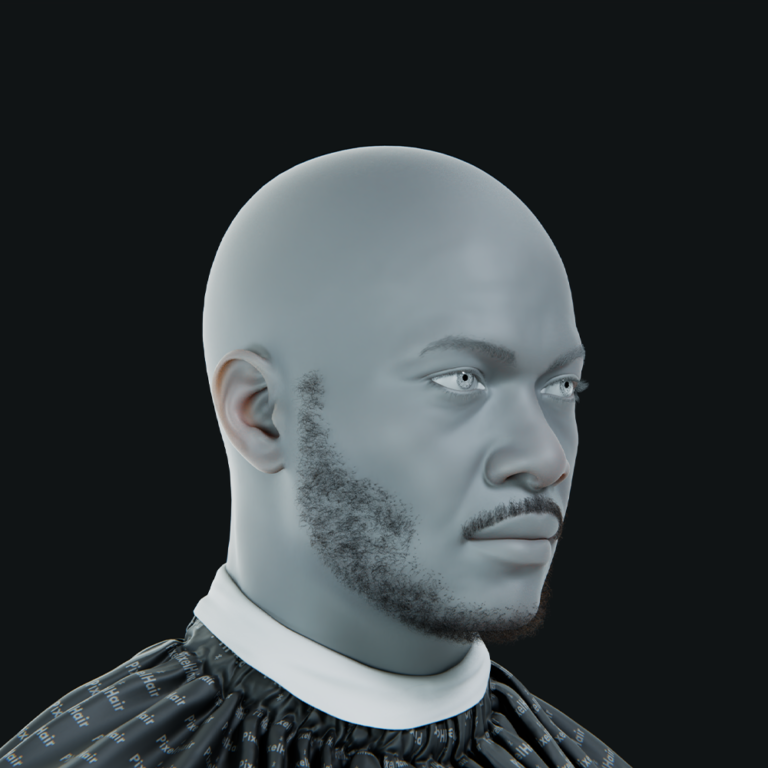
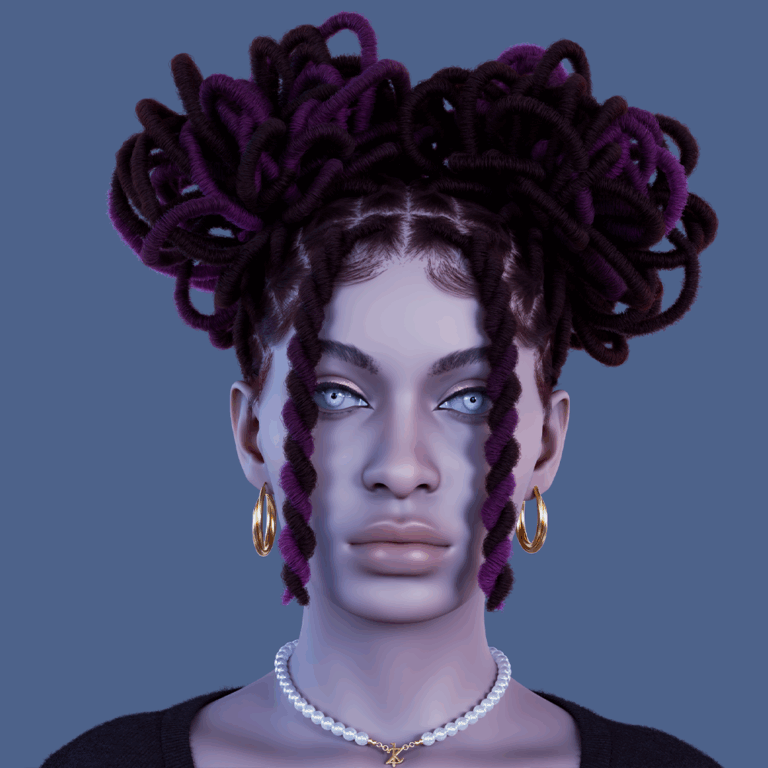
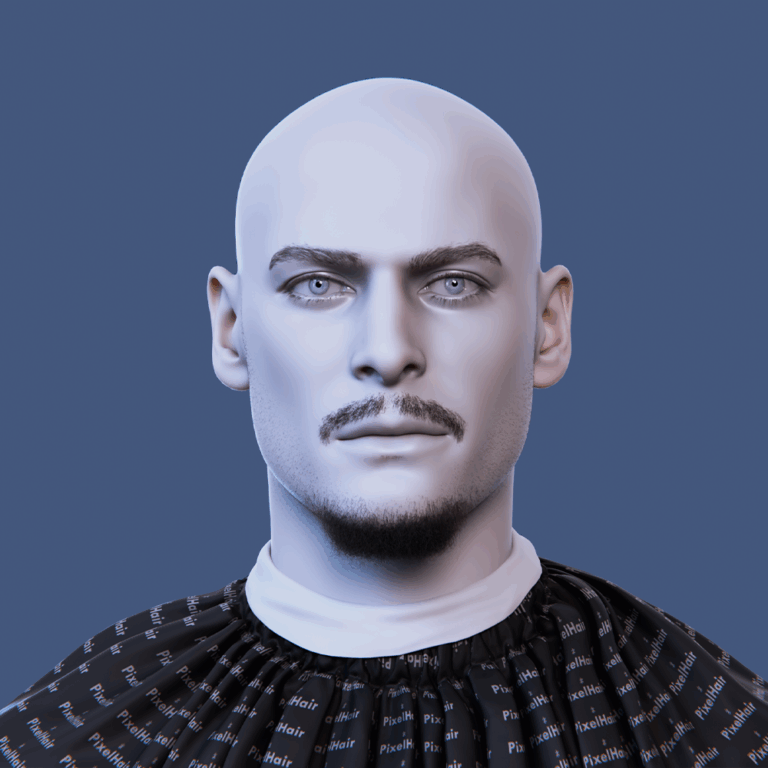
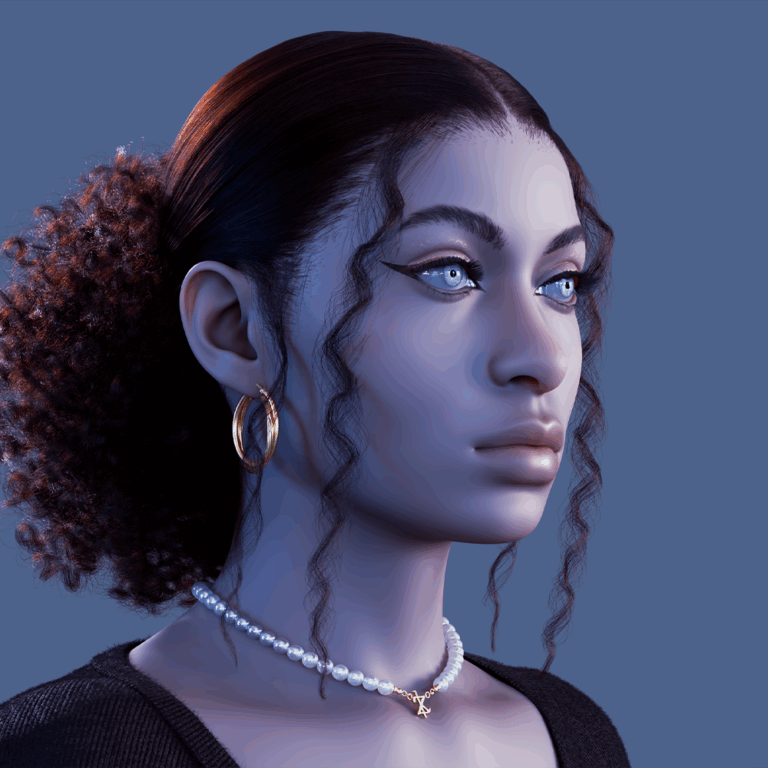
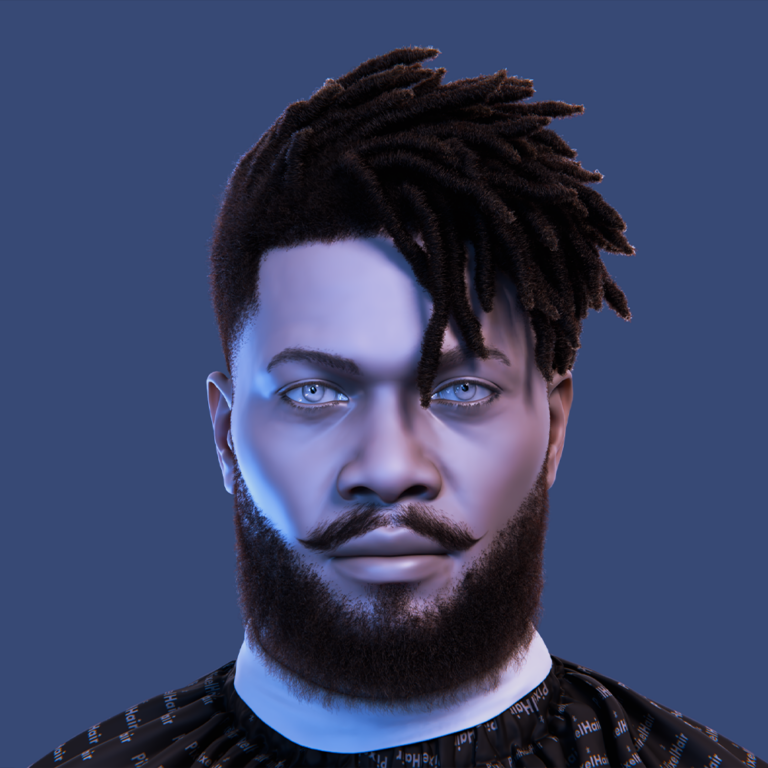
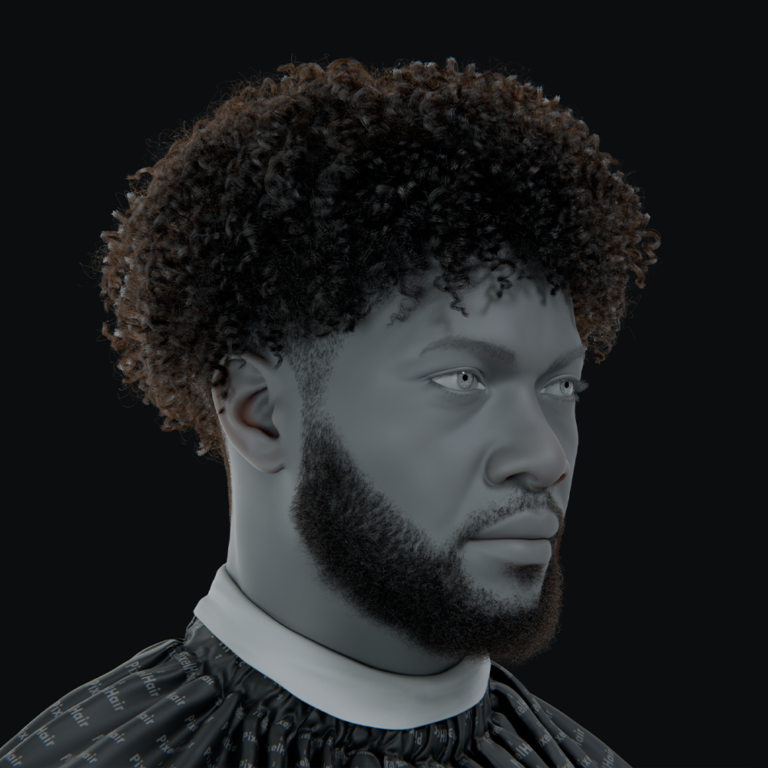
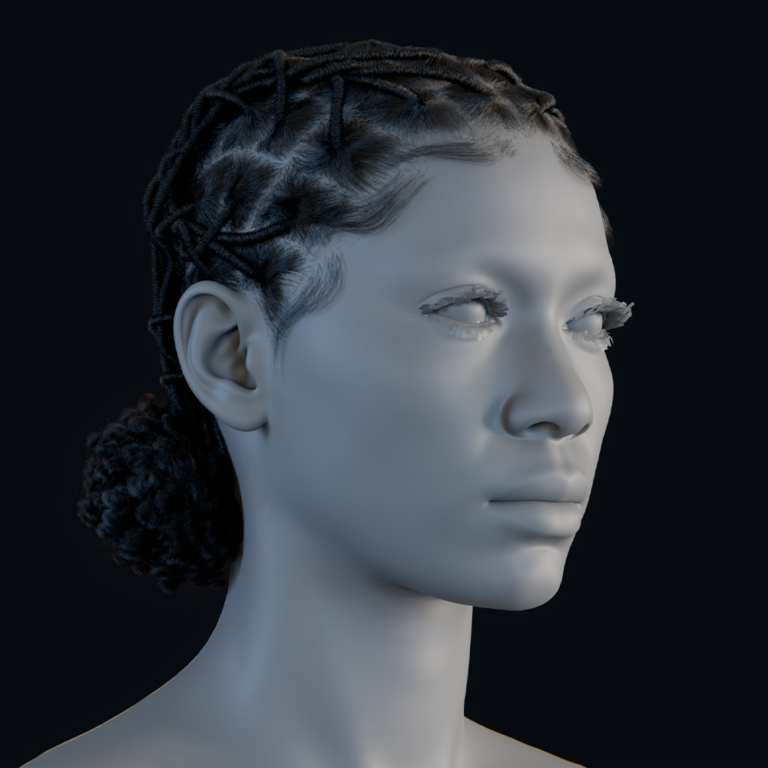
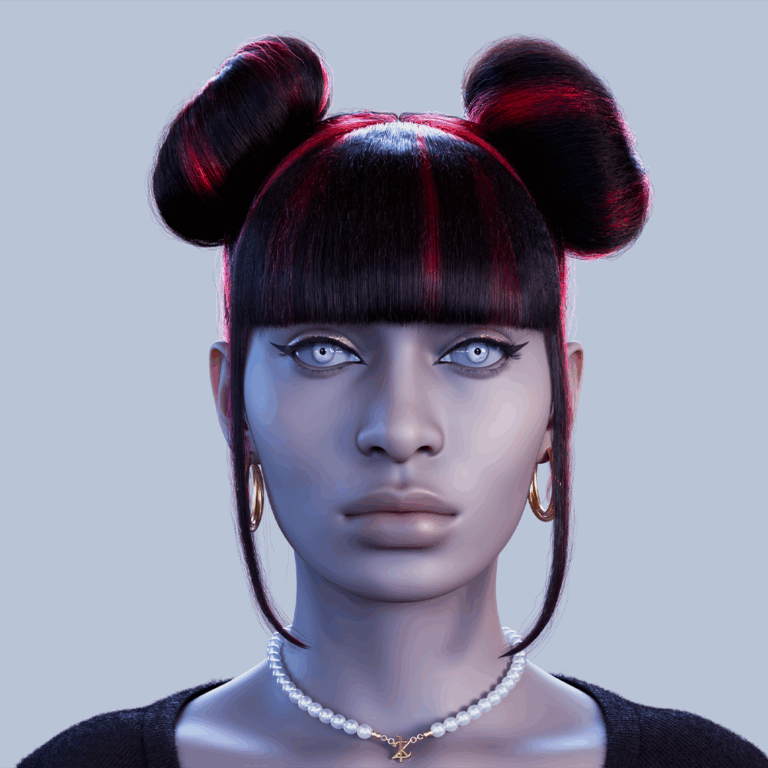
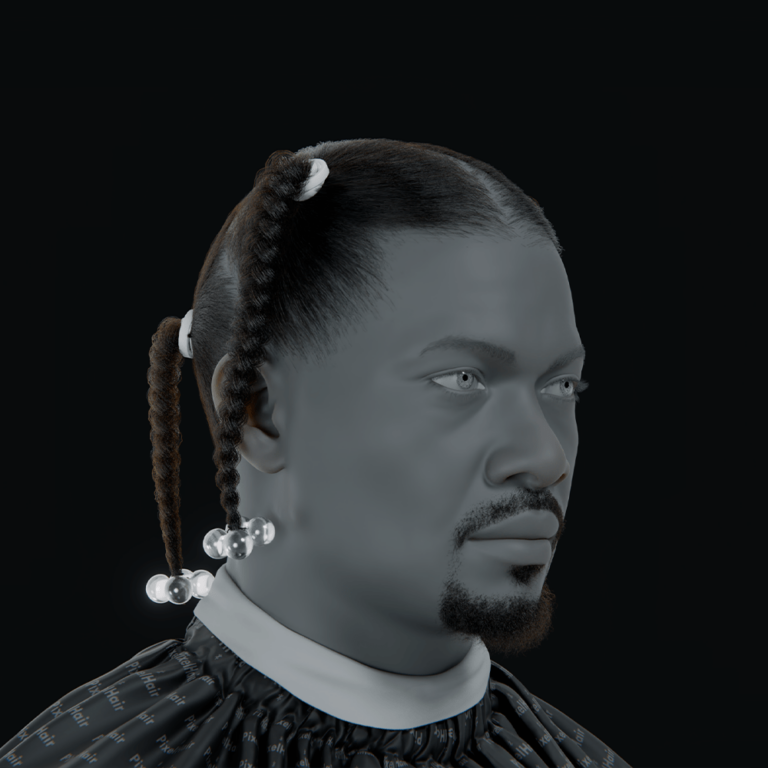
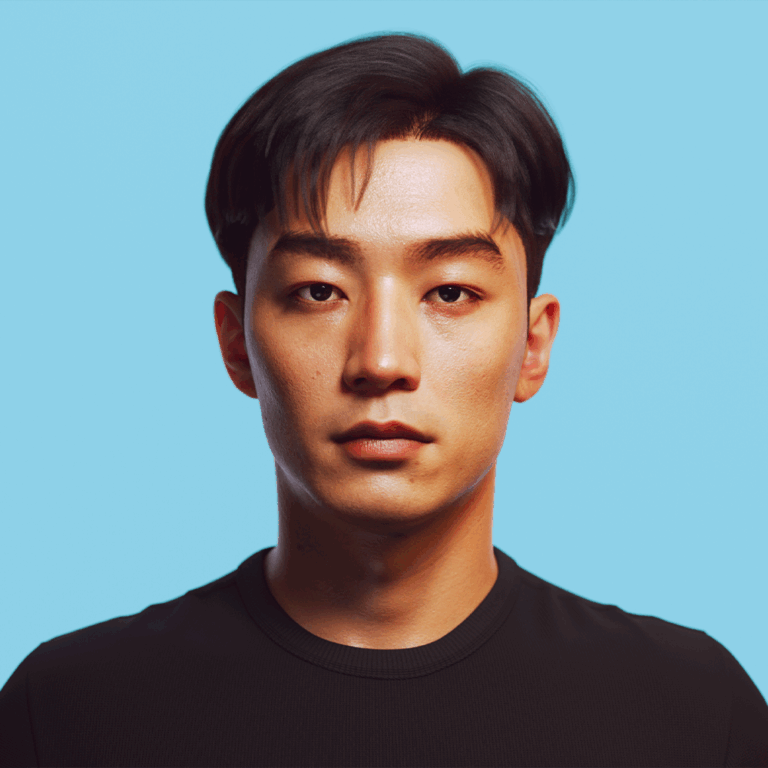
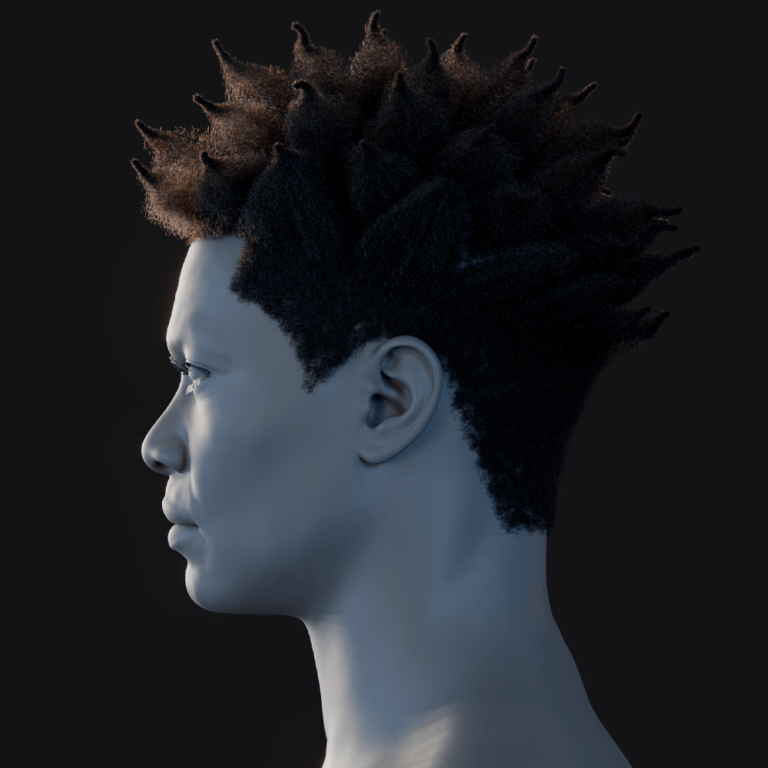
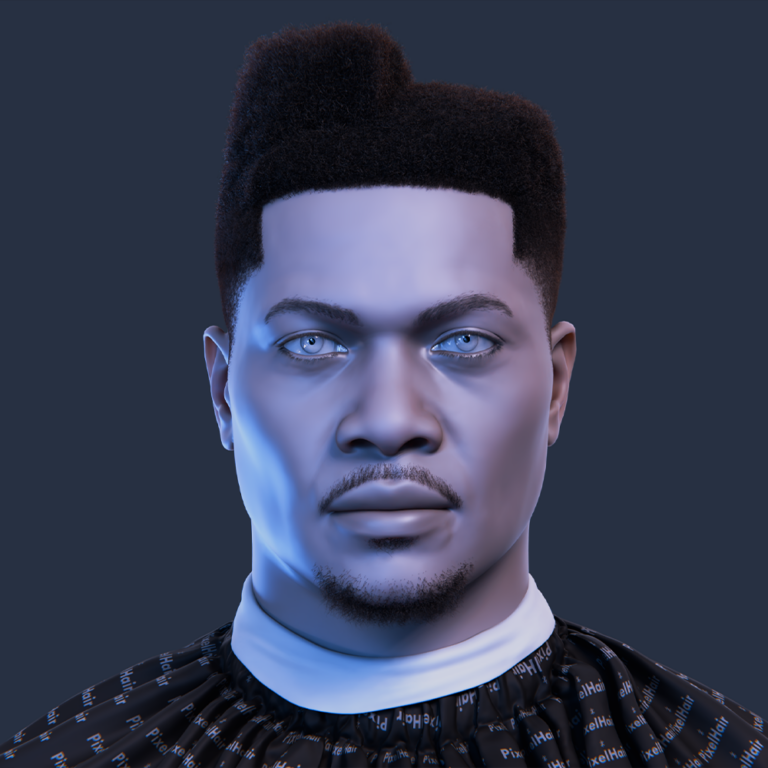
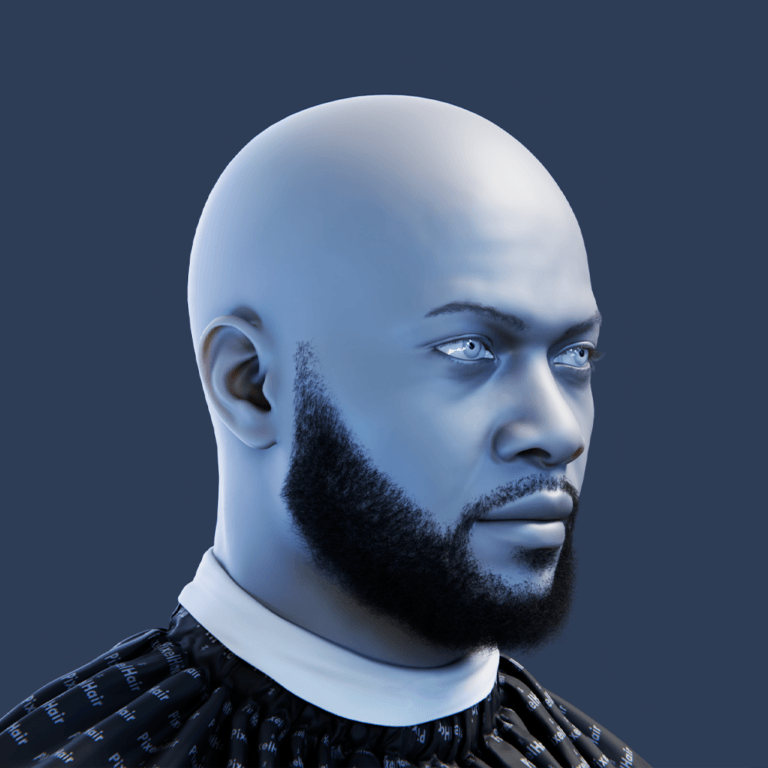
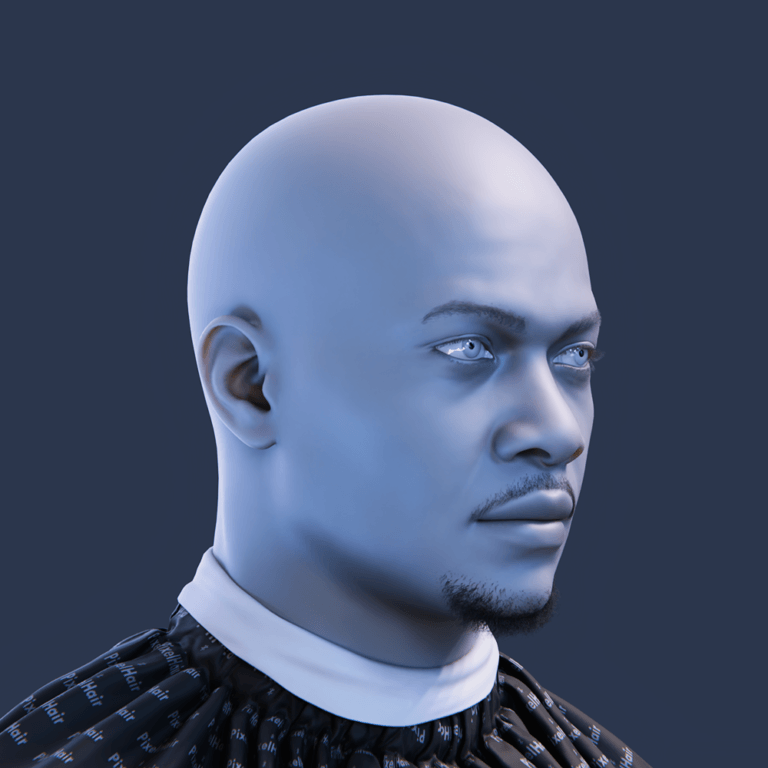
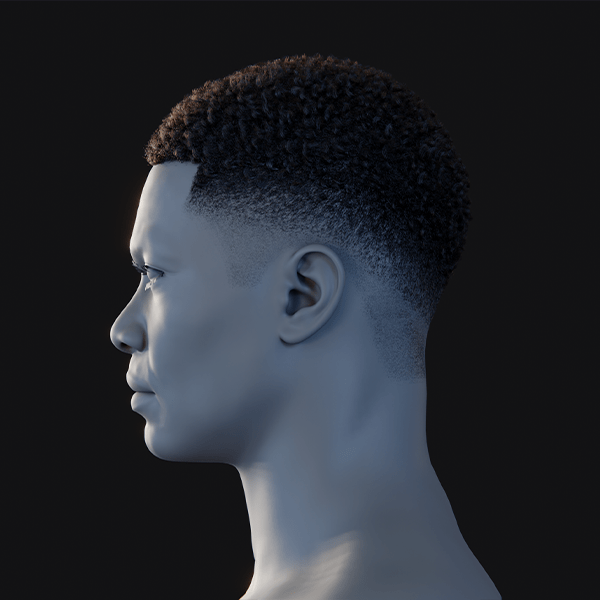
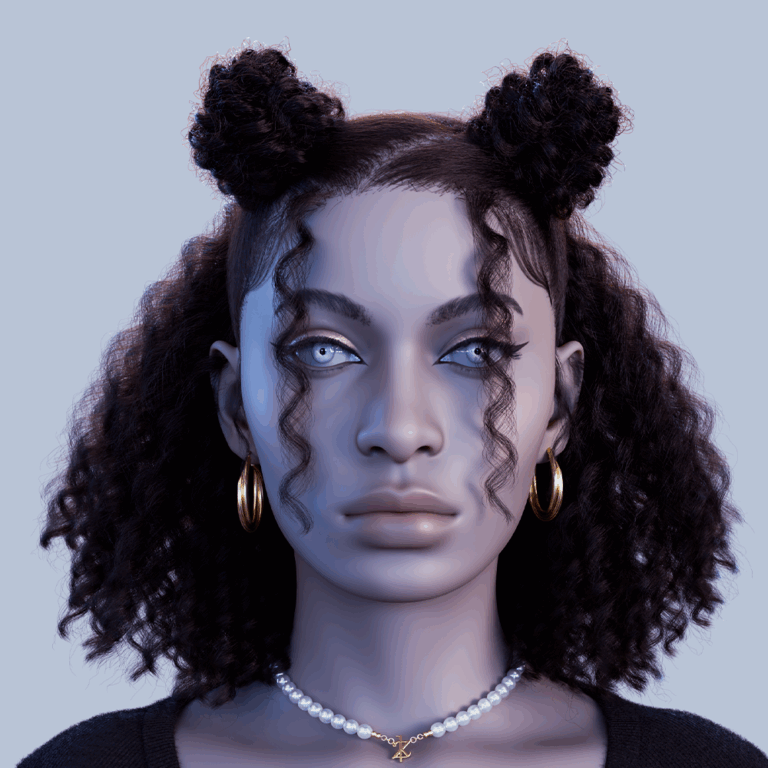
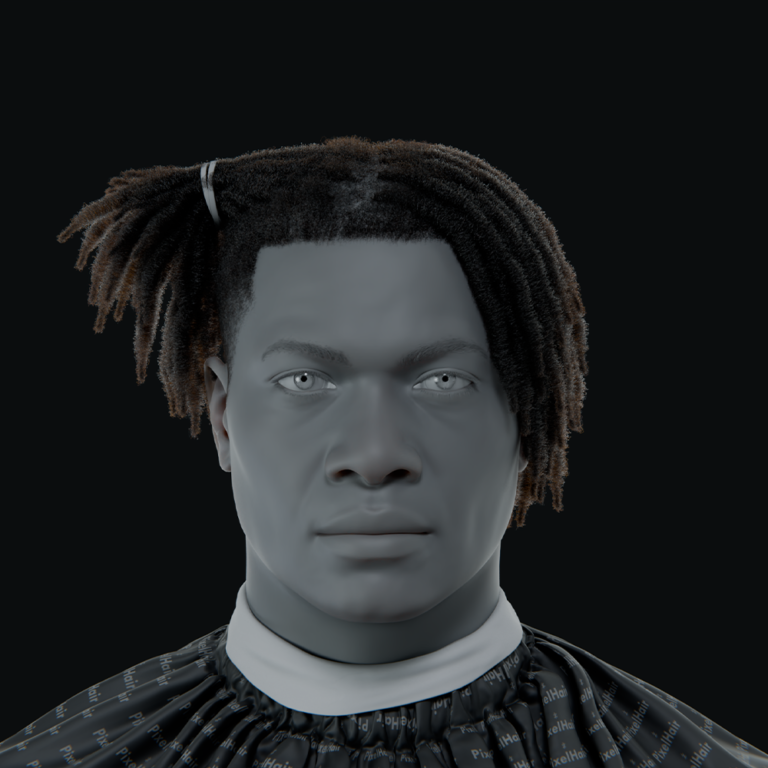
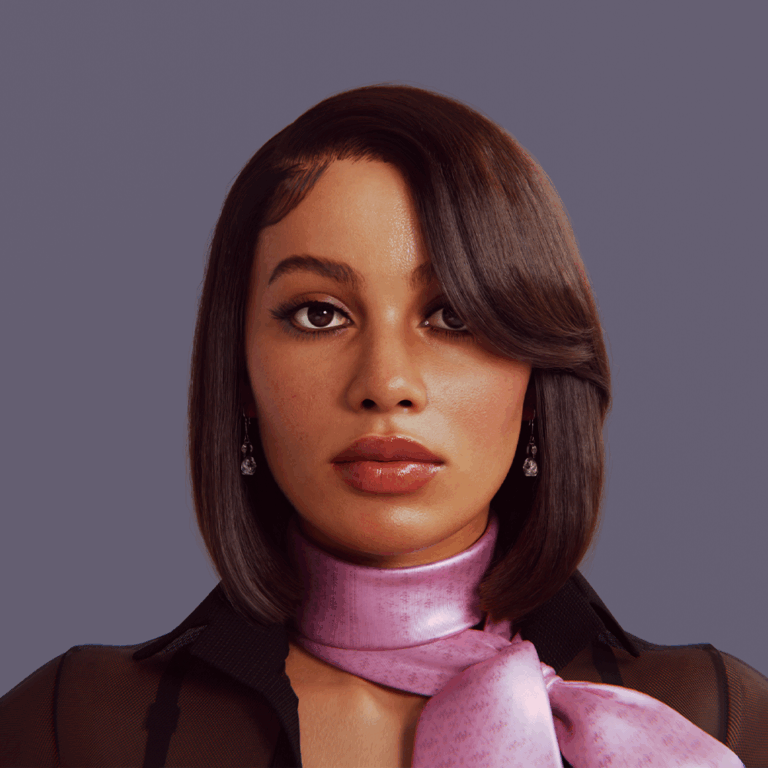
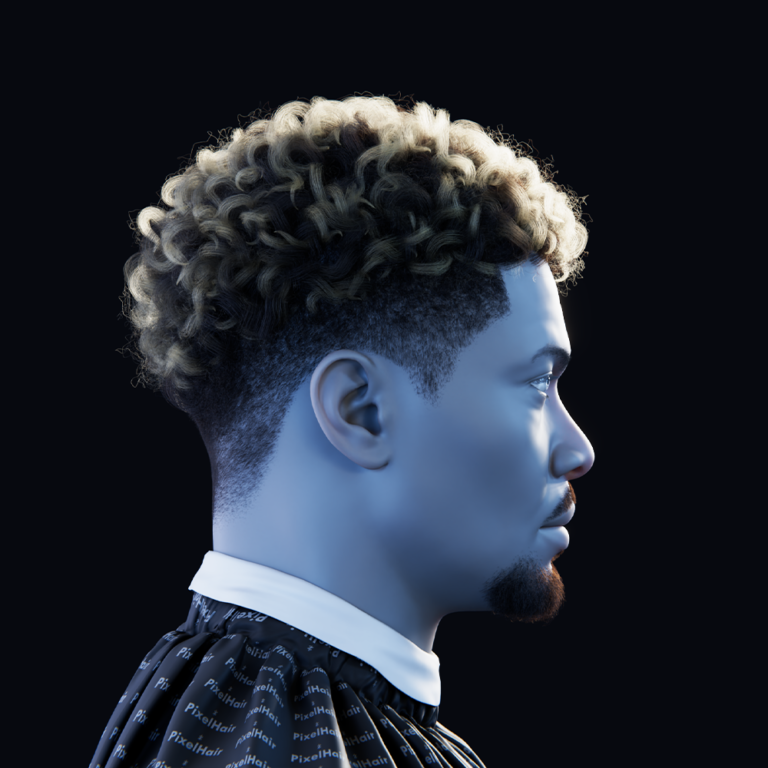
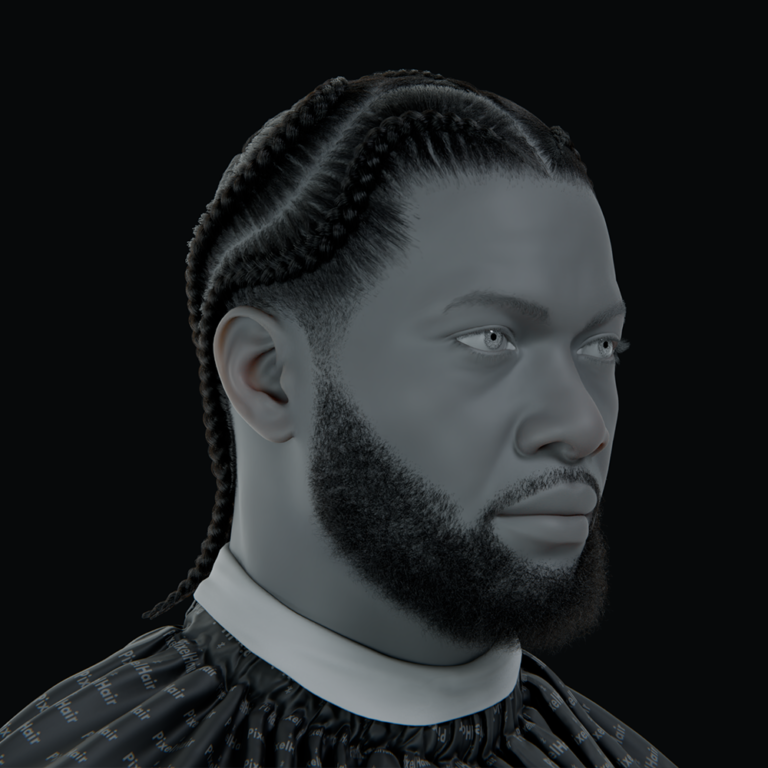
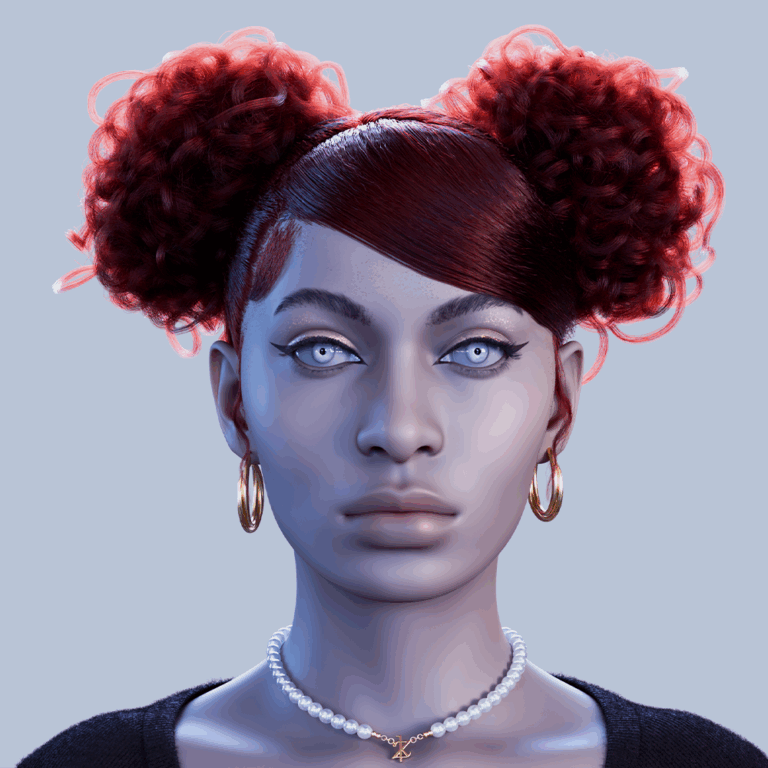
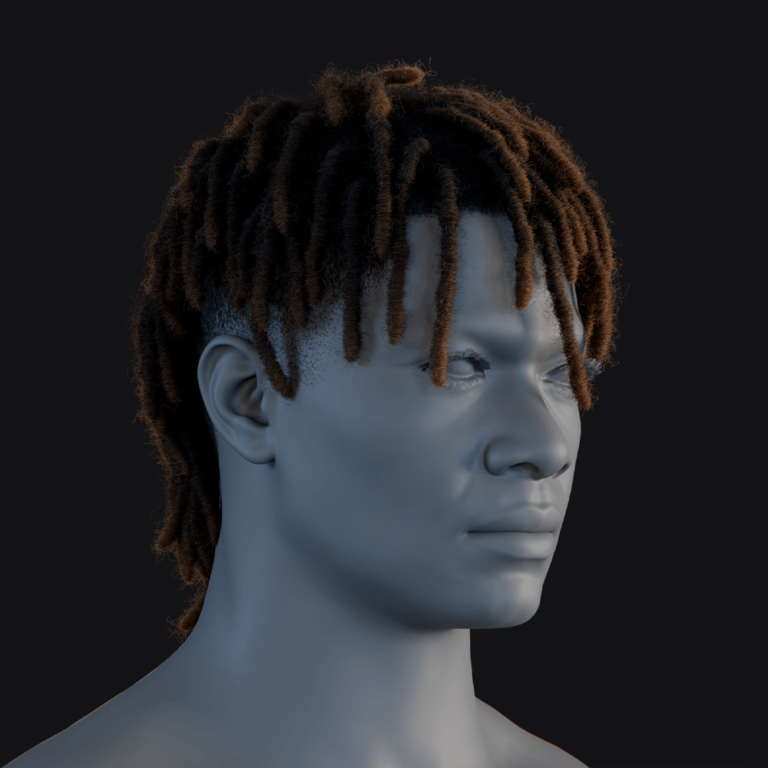
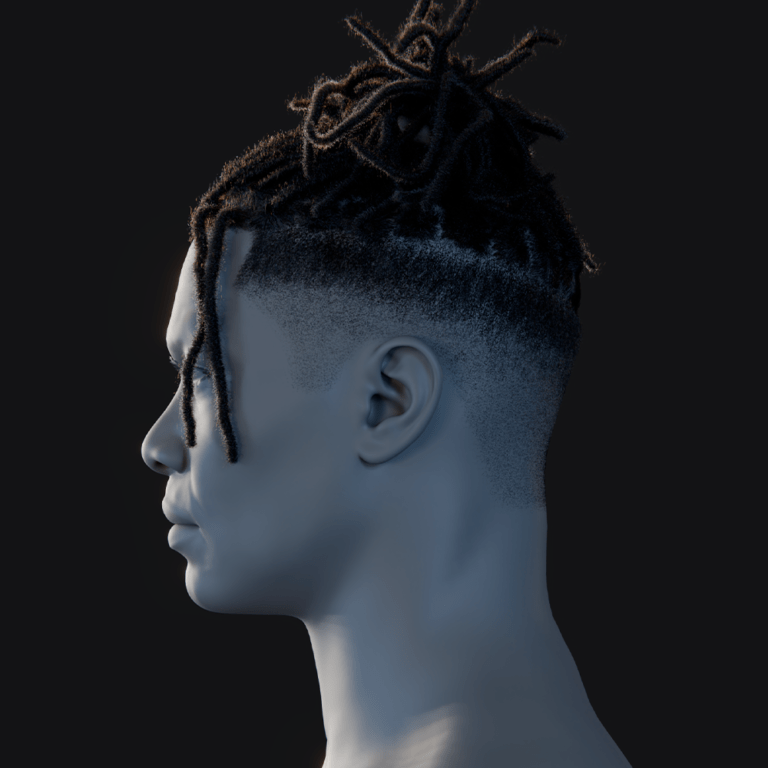
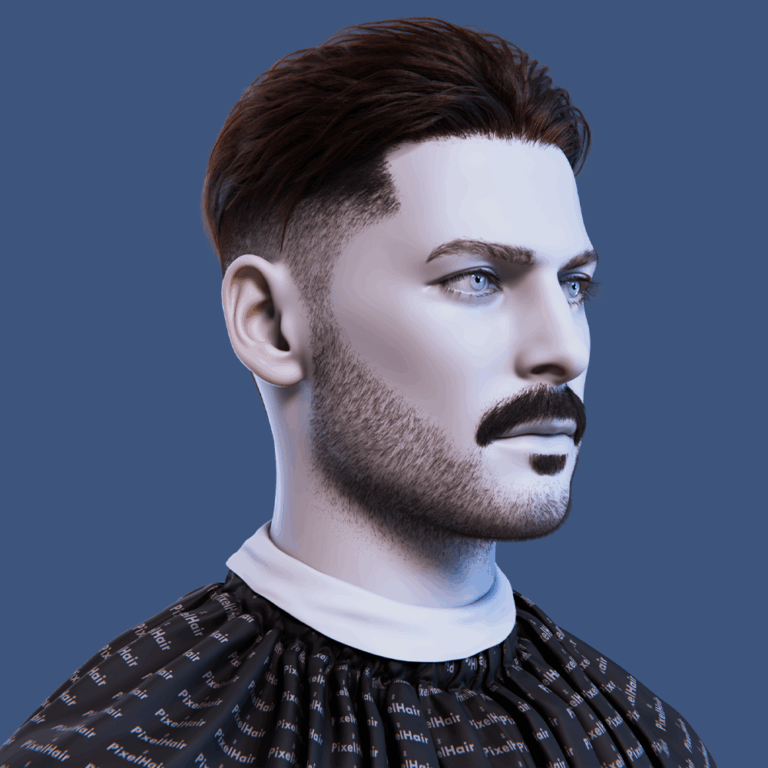
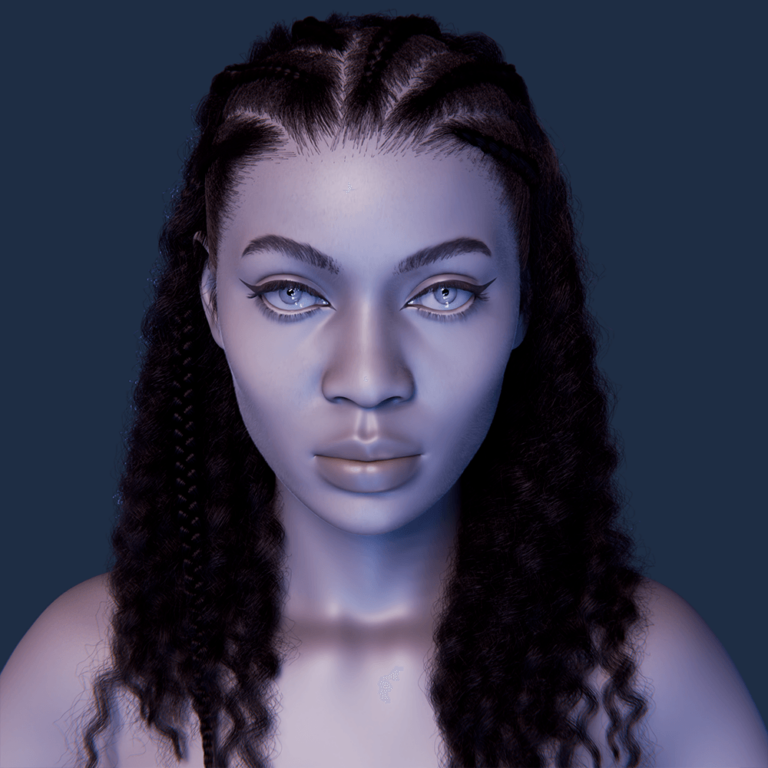
Hair plays a pivotal role in 3D character design, serving as a bridge between static models and lifelike, dynamic figures. In Blender, a widely-used open-source 3D creation tool, physics-based hair simulation allows artists to craft hair that moves naturally, responding to forces like gravity, wind, and collisions. This capability is invaluable across skill levels—whether you’re a beginner exploring 3D, a mid-level artist refining techniques, or a top-tier professional at an animation studio seeking efficiency in complex projects. However, mastering physics-based hair comes with challenges: it demands time, technical precision, and computational resources. This article provides a comprehensive guide to using physics-based hair in Blender, tailored to artists and studios of all expertise levels, while addressing common hurdles and offering practical solutions—including the use of PixelHair, a pre-made hair asset collection designed to streamline workflows.
The Significance of Physics-Based Hair in 3D Design
Hair is more than a stylistic choice—it’s a dynamic element that enhances realism and conveys motion. In animations, games, or virtual reality experiences, hair that sways with a character’s movements or reacts to environmental forces can transform a model from rigid to immersive. Blender’s physics-based hair system achieves this by simulating how hair strands respond to real-world physics, a process that combines artistic grooming with technical simulation.
For beginners, this offers an accessible entry into dynamic 3D elements. Mid-level artists can leverage it to refine their portfolios, while top-level artists and studios use it to meet the high standards of professional pipelines. Yet, the process is not without difficulties. Grooming hair manually can take hours or even days, physics simulations can strain hardware, and achieving natural results requires careful tuning. These challenges often prompt artists to seek alternatives, such as PixelHair, which provides pre-groomed, high-quality hair assets that bypass much of the labor-intensive setup.
Setting Up Hair in Blender: A Foundational Approach
Before applying physics, you must establish a base hairstyle using Blender’s particle hair system. This foundational step is critical and accessible to artists at all levels.
Creating a Particle Hair System
- Select the Scalp Mesh: In Blender’s Object Mode, choose the mesh where hair will originate—typically the character’s head or a scalp section.
- Add a Particle System: Navigate to the Particles tab in the Properties panel and click the “+” button to create a new particle system.
- Switch to Hair Type: Change the particle type from “Emitter” to “Hair” in the settings. This shifts Blender from emitting particles to generating hair strands.
- Set Initial Length: Under the Hair Length setting, adjust the default length (e.g., 0.5 meters) to suit your character’s style—shorter for a bob, longer for flowing locks.
Beginners should start with a simple, straight hairstyle to grasp the basics, while mid-level artists might experiment with layered styles.
Grooming the Hair
Blender’s grooming tools allow you to shape the hair:
- Comb Tool: Directs strands to define the hair’s flow—useful for sleek or wavy looks.
- Cut Tool: Trims strands to create bangs or layered effects.
- Add Tool: Increases density in sparse areas.
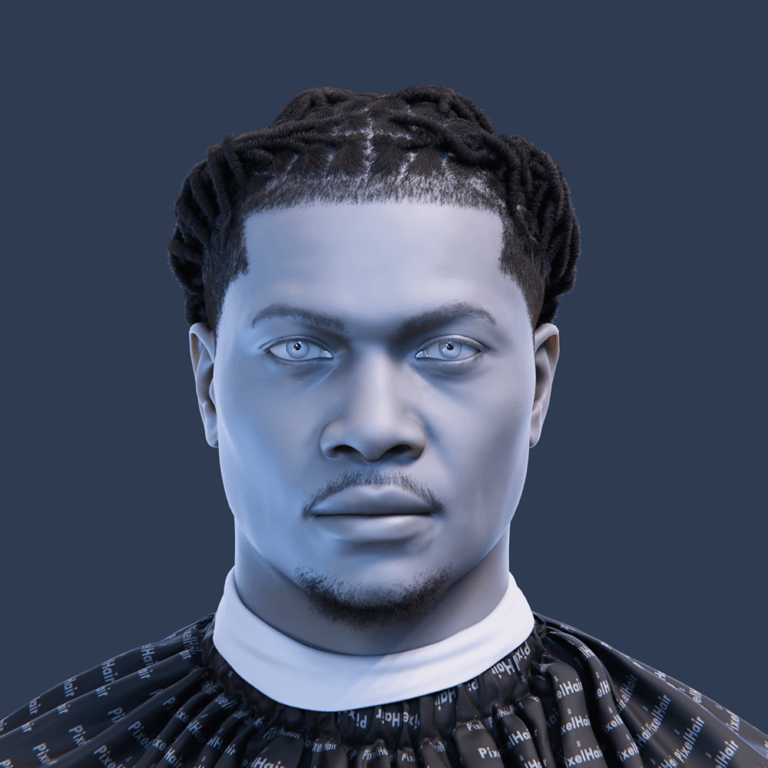
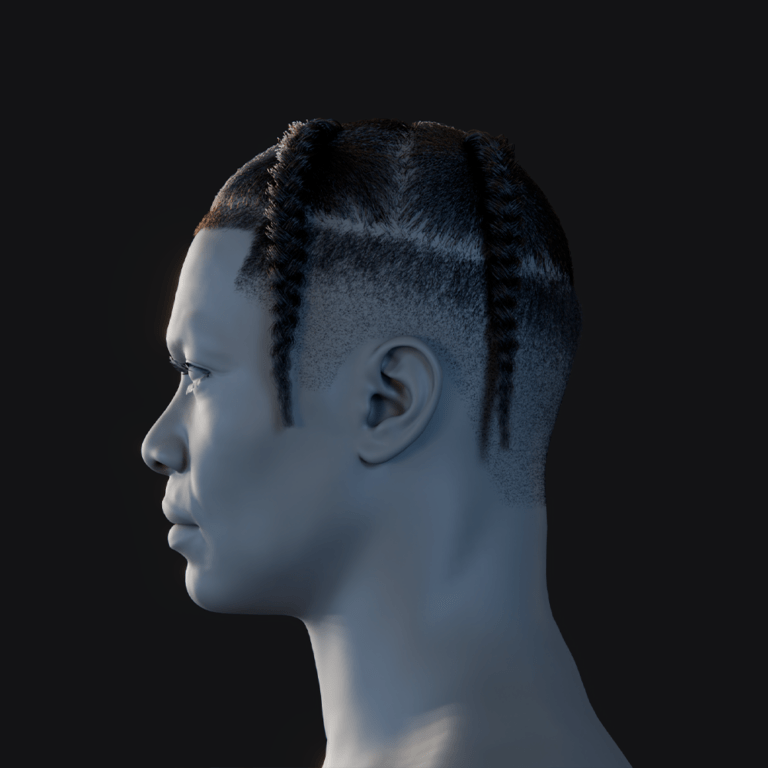
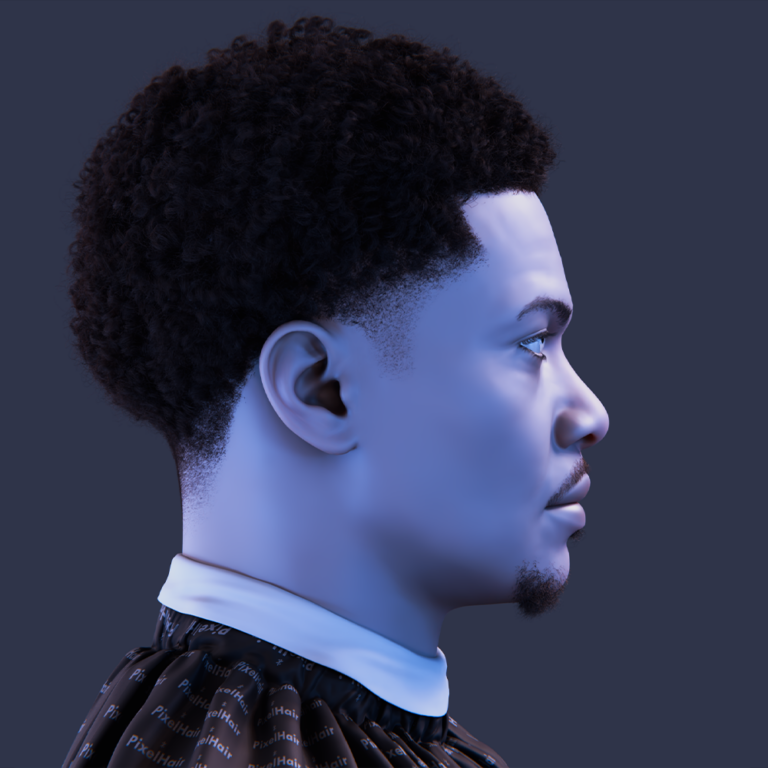
For novices, grooming can feel intuitive yet time-consuming as you adjust each strand cluster. Experienced artists might combine these tools to craft intricate styles, such as braids or updos, though this process can stretch into hours. Studios often face pressure to deliver multiple characters quickly, making manual grooming a bottleneck. Here, PixelHair emerges as a solution—offering pre-groomed hairstyles that can be applied in minutes, allowing artists to skip this step and focus on other priorities.
Key Settings to Understand
Two settings heavily influence hair’s appearance and performance:
- Strand Steps: Determines the number of segments per strand. Higher values (e.g., 7-10) yield smoother curves but increase computing demands. For example, 7 steps generate 128 points per strand, offering flexibility for curls.
- Children: Adds volume by generating additional strands around each parent strand. A count of 100 children creates thick hair but can slow down your system.
Beginners might keep these at defaults (e.g., strand steps at 5, children at 10) to avoid lag, while mid-level artists can tweak them for specific effects—higher strand steps for curly hair, moderate children for balanced volume. Studios must optimize these for large scenes, often reducing both to maintain efficiency.
Applying Physics to Hair: Bringing It to Life
With a hairstyle in place, physics simulation adds realism by making hair react to motion and forces.
Enabling Hair Dynamics
- Access Hair Dynamics: In the particle system settings, locate the Hair Dynamics section and enable it by checking the box.
- Adjust Core Settings:
- Stiffness: Controls hair rigidity. A higher value (e.g., 0.5) suits stiff styles like ponytails, while a lower value (e.g., 0.1) allows loose, flowing hair.
- Damping: Reduces oscillation speed, preventing exaggerated swings. A value of 0.3 often stabilizes movement.
Beginners should test these defaults with a simple head turn animation, observing how hair behaves. Mid-level artists can fine-tune stiffness for character-specific traits—stiffer for a military cut, softer for a romantic lead.
Simulating Movement
- Create a Test Animation: Animate the character’s head moving side to side or add a gentle wind force via the Force Fields panel.
- Run the Simulation: Play the timeline (spacebar) to see the hair react.
If the hair moves unnaturally—too rigid or overly floppy—adjust stiffness and damping incrementally. Top-level artists might integrate force fields like turbulence for dramatic effects, such as hair billowing in a storm, though this increases complexity.
Preventing Clipping with Collision
Hair often clips through the character’s body during motion. To fix this:
- Enable Collision on the Body: Select the character mesh, go to the Physics tab, and activate Collision.
- Set Hair Collision: In the hair dynamics settings, enable Collision and adjust the Distance parameter (e.g., 0.02 meters) to keep hair outside the mesh.
This step is essential for realism but can tax performance, especially in scenes with multiple characters—a common issue for studios. Optimizing collision meshes (e.g., using simplified proxies) helps, though it adds setup time.
Optimizing Hair for Performance: Quality vs. Efficiency
Physics-based hair can overwhelm even robust systems, making optimization critical for practical use.
Reducing Strand Steps
High strand steps create smooth, flexible hair but slow simulations. Reducing from 10 to 7 cuts points from 1024 to 128 per strand, easing the load with minimal visual loss for straighter styles. Beginners can start at 5, while studios rendering close-ups might retain 7-8, balancing detail and speed.
Limiting Children Count
A high children count (e.g., 100) thickens hair but multiplies strand numbers exponentially. For background characters, 20-30 children suffice; hero characters might justify 50-70. Mid-level artists can use the Clump setting to group children, enhancing volume without adding strands.
Baking Simulations
Baking precomputes hair movement:
- In the Cache section, set the cache type to Hair Dynamics.
- Click Bake to store the simulation.
This ensures consistent playback, vital for studios rendering long sequences, though it requires upfront time investment.
Compensating with Hair Shape
If reducing strands thins the hair, increase strand thickness slightly (e.g., root diameter from 0.01 to 0.015) under Hair Shape. This maintains volume cheaply, a trick useful across skill levels.
Advanced Techniques: Elevating Hair Simulation
For seasoned artists and studios, advanced methods unlock greater realism and control.
Force Fields for Environmental Interaction
- Wind: Add a Wind force field to simulate breezes, adjusting strength (e.g., 10-20) for intensity.
- Turbulence: Introduce chaotic motion for action scenes, placing the field strategically.
These enhance immersion but demand careful placement to avoid over-the-top effects.
Layered Particle Systems
Complex styles like braids with flyaways require multiple systems:
- One for the main hair mass.
- Another for loose strands or bangs.
Each can have unique physics settings, offering precision but increasing setup time—a challenge for tight deadlines.
Object Collision
Hair interacting with props (e.g., a scarf) requires enabling collision on those objects. This adds realism but complicates simulations, often necessitating simplified collision shapes for efficiency.
Challenges and Solutions: Overcoming Hair Simulation Hurdles
Physics-based hair presents persistent issues:
- Time-Intensive Grooming: Shaping strands manually is slow, especially for beginners or studios needing multiple characters.
- Performance Strain: High strand and children counts bog down systems, a concern for real-time projects.
- Unnatural Behavior: Hair can clip, stiffen, or move erratically without precise tuning.
PixelHair addresses these effectively:
- Time Savings: Pre-groomed assets apply in minutes, not hours, ideal for all artists and deadline-driven studios.
- Optimized Design: Crafted for Blender and Unreal Engine, PixelHair balances quality and performance, reducing manual optimization.
- Professional Results: Created by expert groomers, it delivers natural-looking hair without extensive tweaking.
For beginners, PixelHair flattens the learning curve; for professionals, it streamlines production. Its assets, built on Blender’s particle system, are customizable—artists can adjust length, thickness, or style as needed.
Conclusion: Harnessing Physics-Based Hair Effectively
Blender’s physics-based hair system empowers artists to create dynamic, realistic hair, enhancing characters across skill levels and industries. Beginners gain a gateway to lifelike animation, mid-level artists refine their craft, and studios meet demanding schedules with high-quality results. Yet, the process’s complexity—grooming, simulation, and optimization—can hinder progress.
PixelHair offers a practical complement, providing pre-made hairassets that save time and effort while maintaining professional standards. Whether you’re crafting a single character or managing a large-scale project, integrating Blender’s native tools with solutions like PixelHair ensures flexibility and efficiency. As you explore this system, start simply, experiment with physics, and consider tools that align with your goals—unlocking the full potential of your 3D creations.


