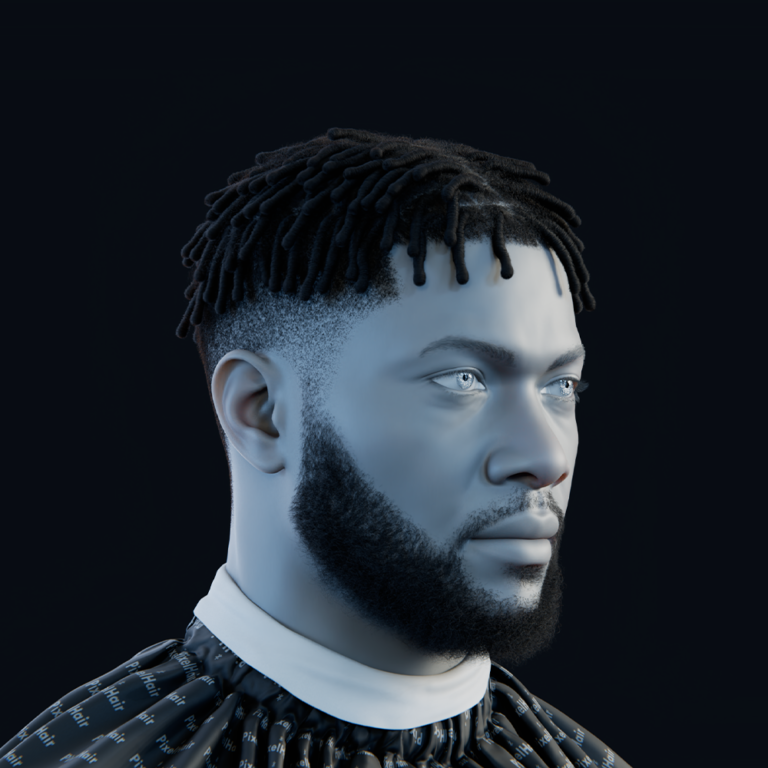
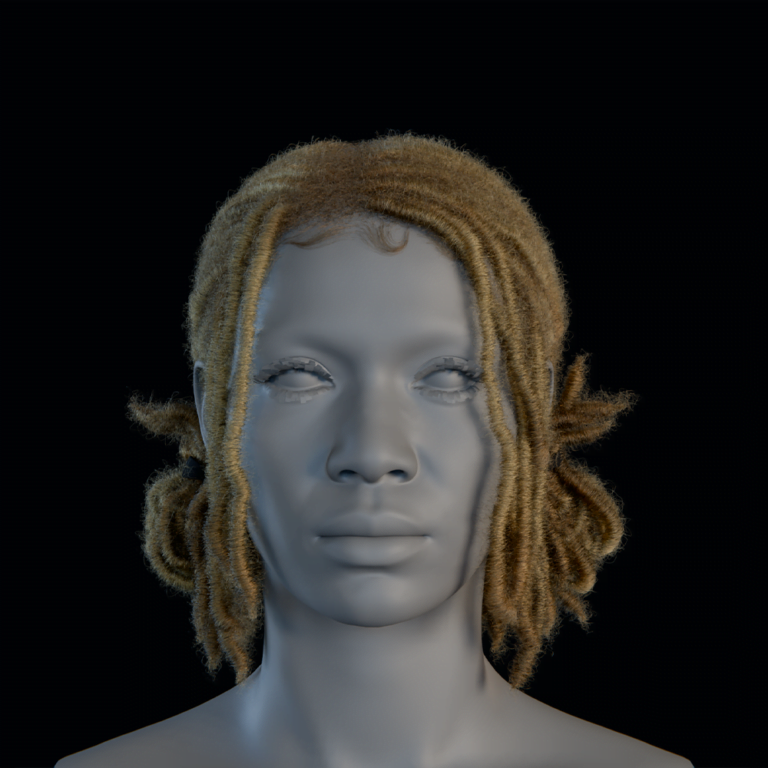
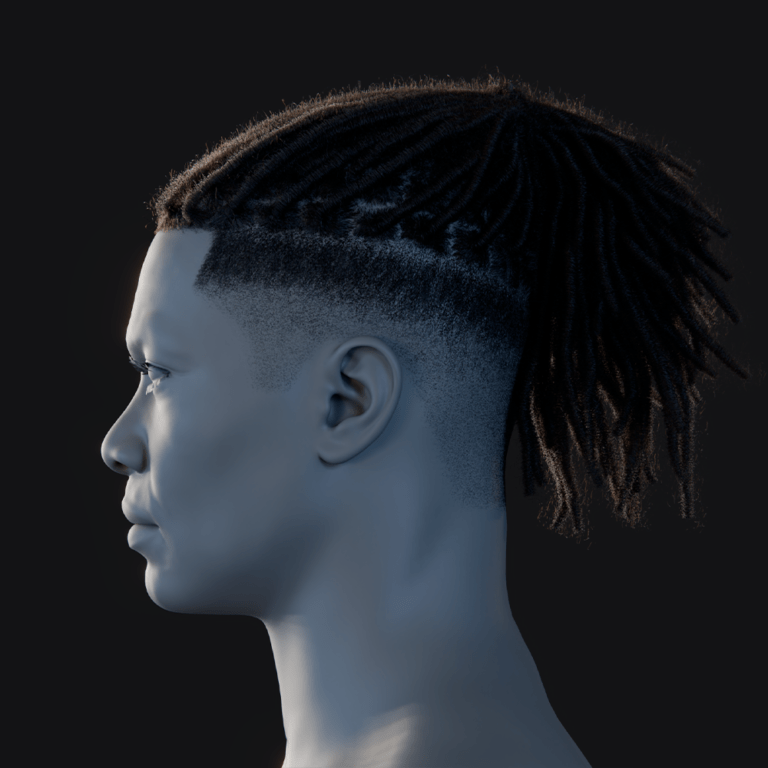
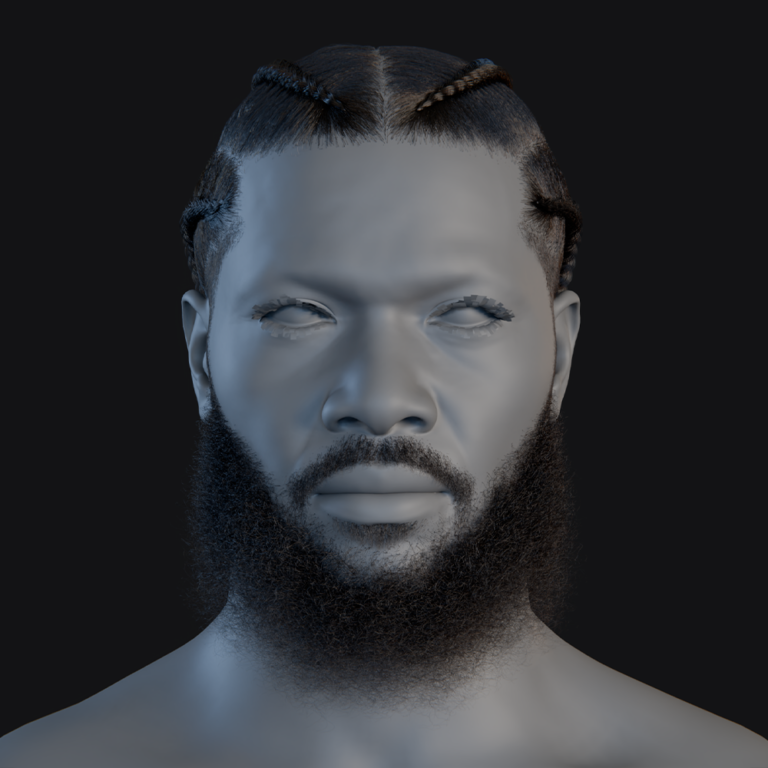
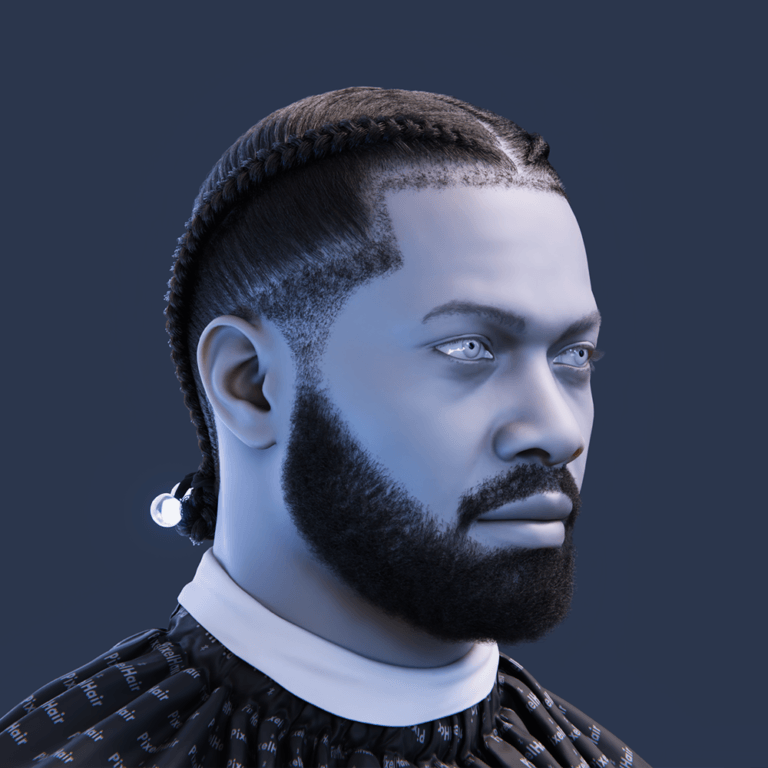
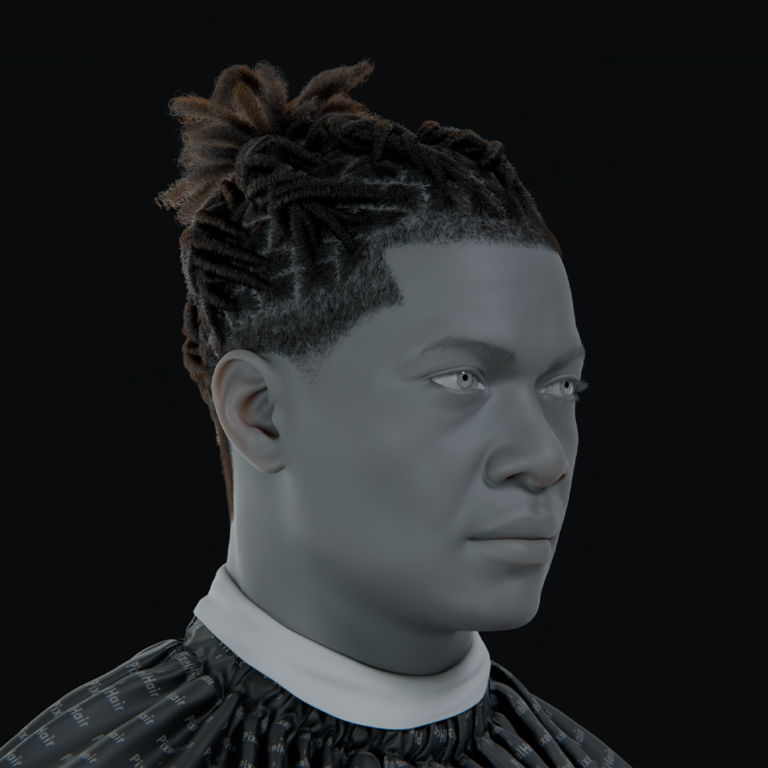
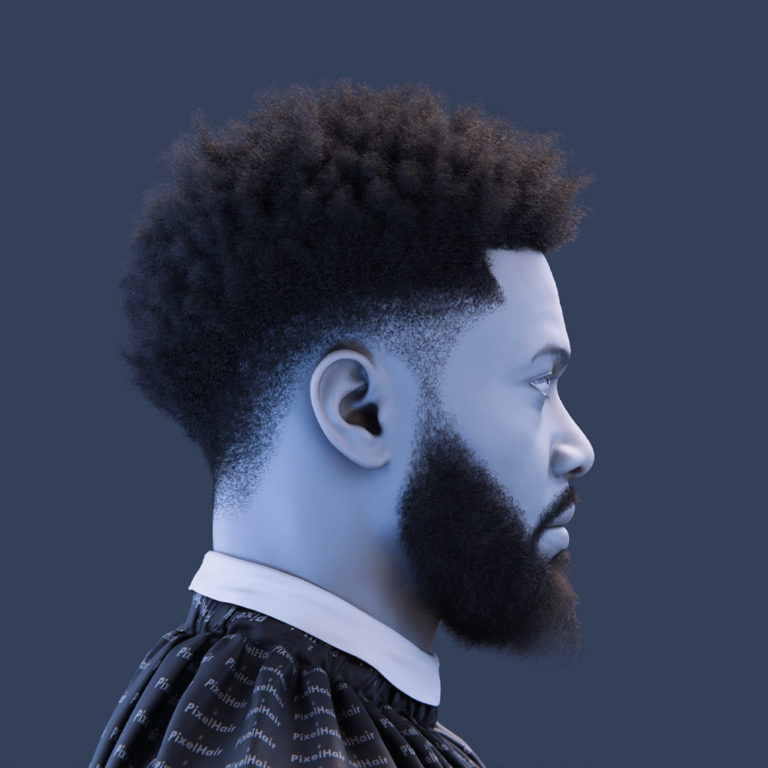
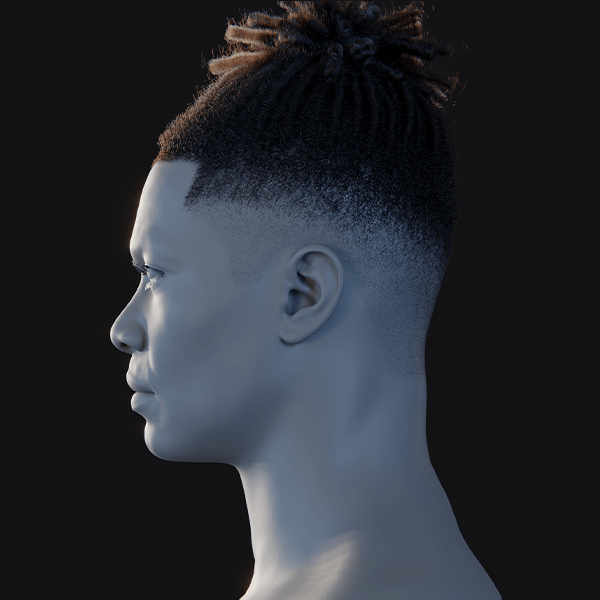
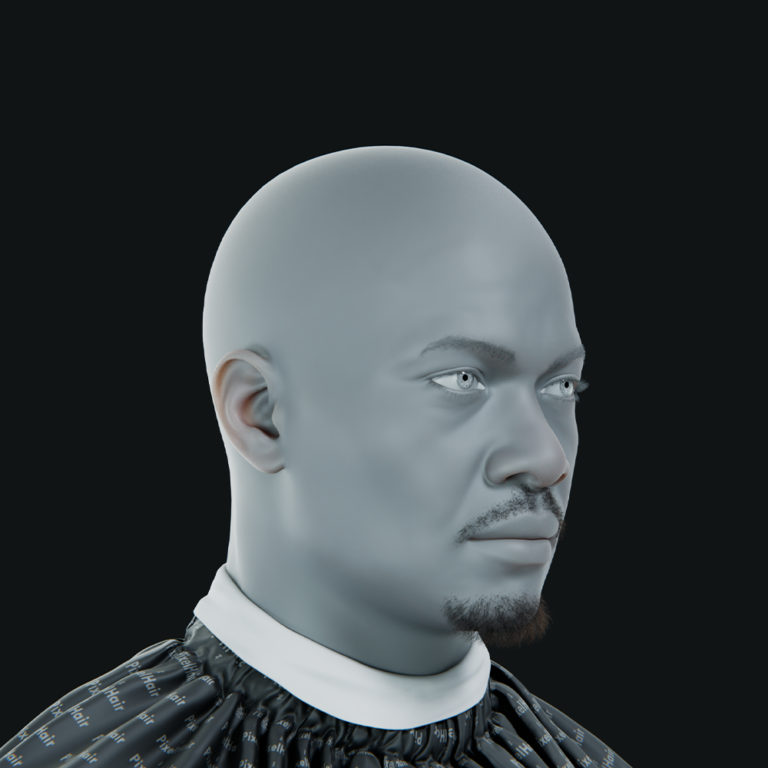
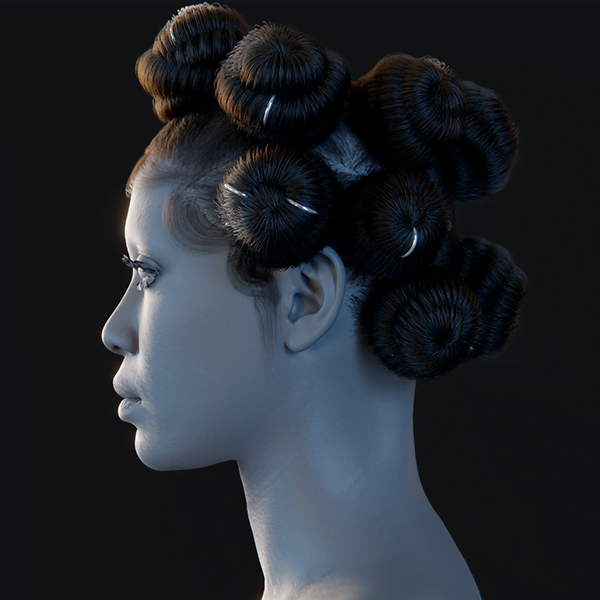
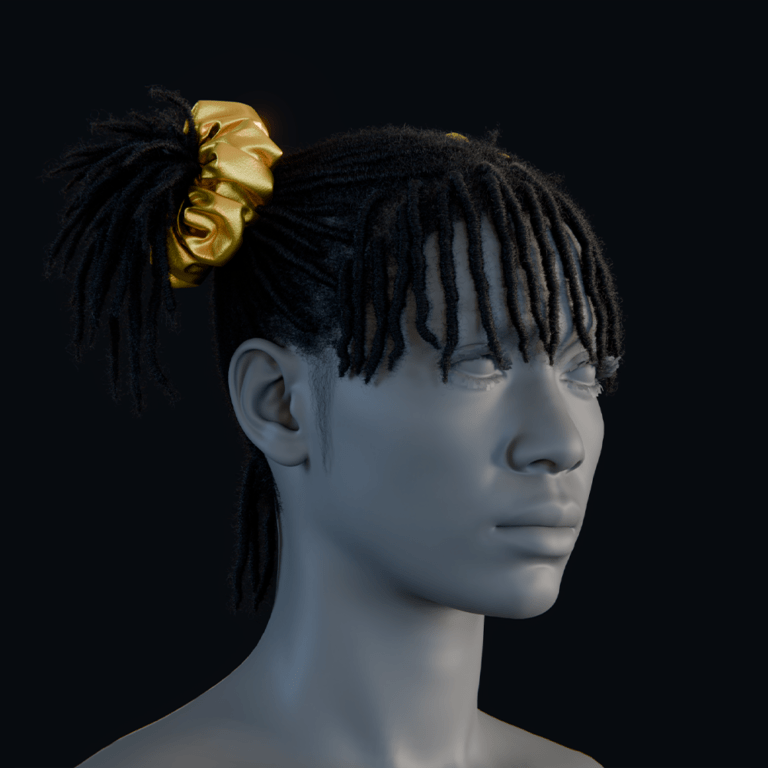
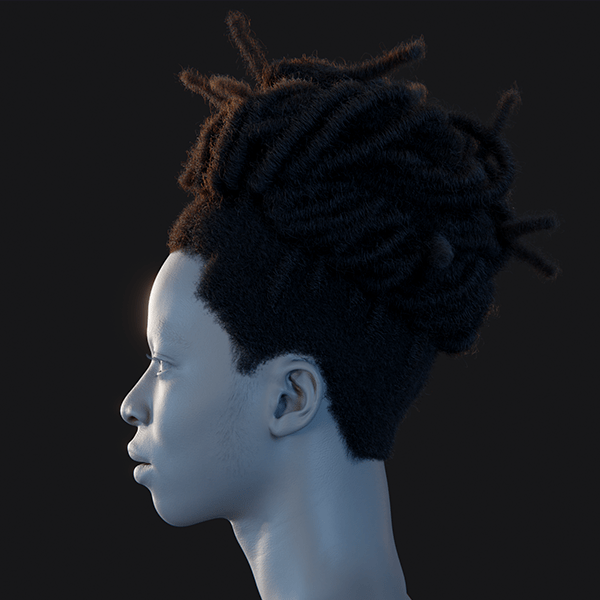
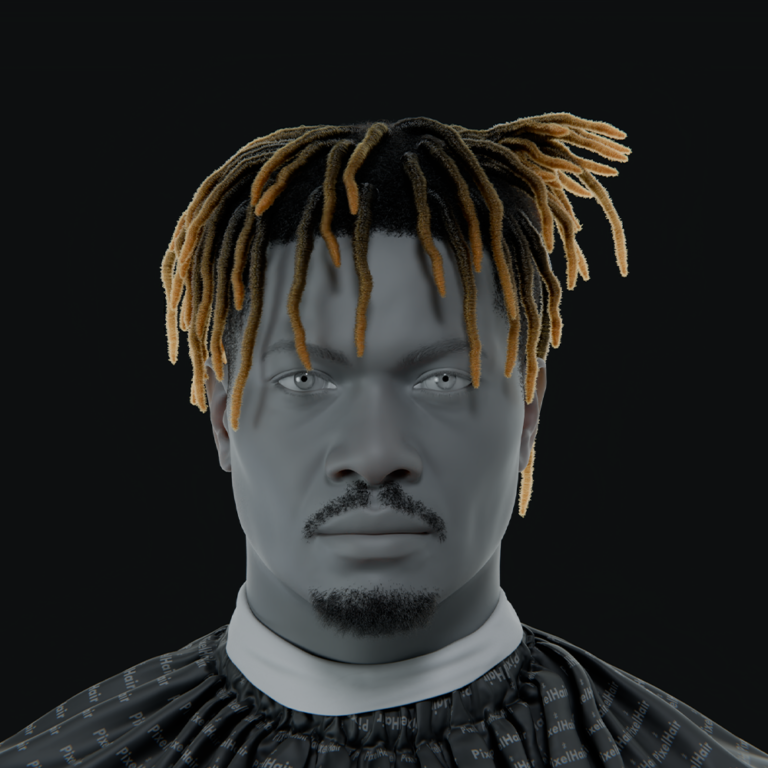
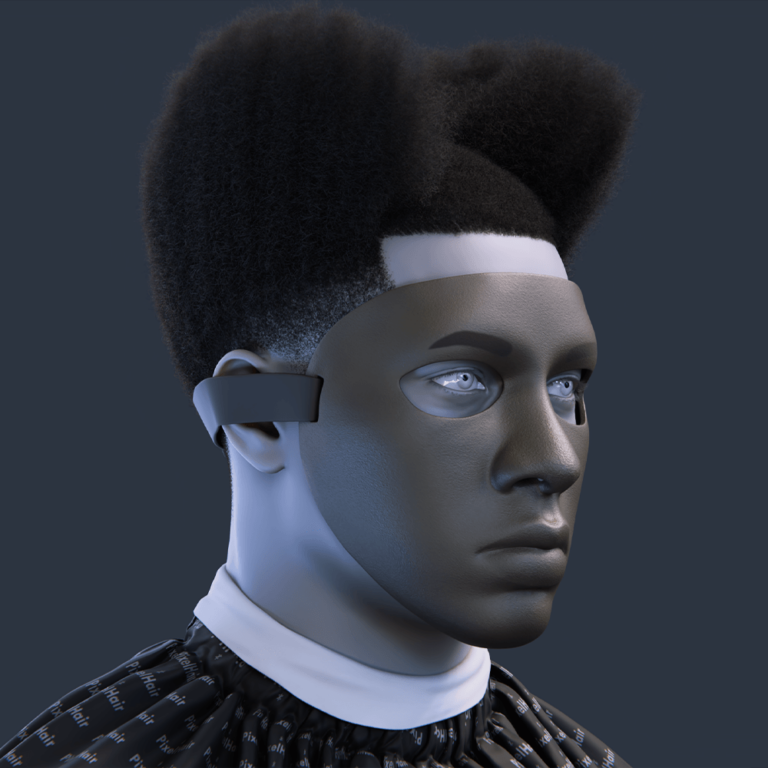
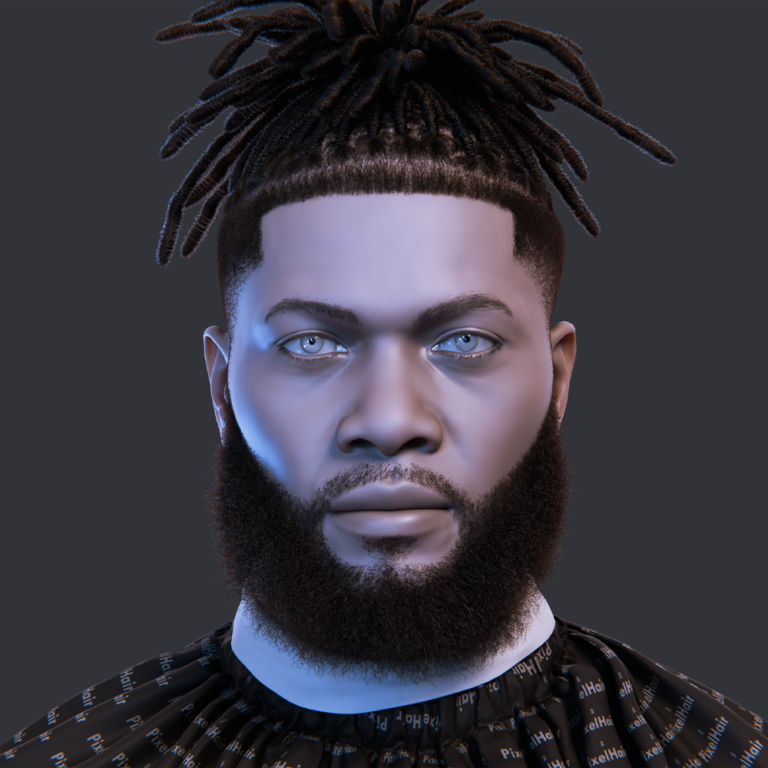
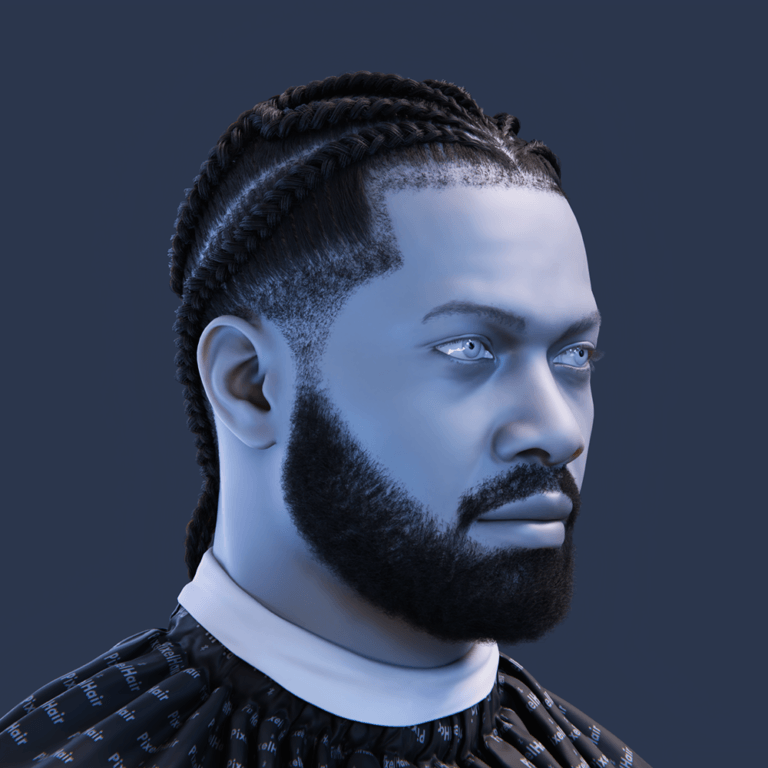
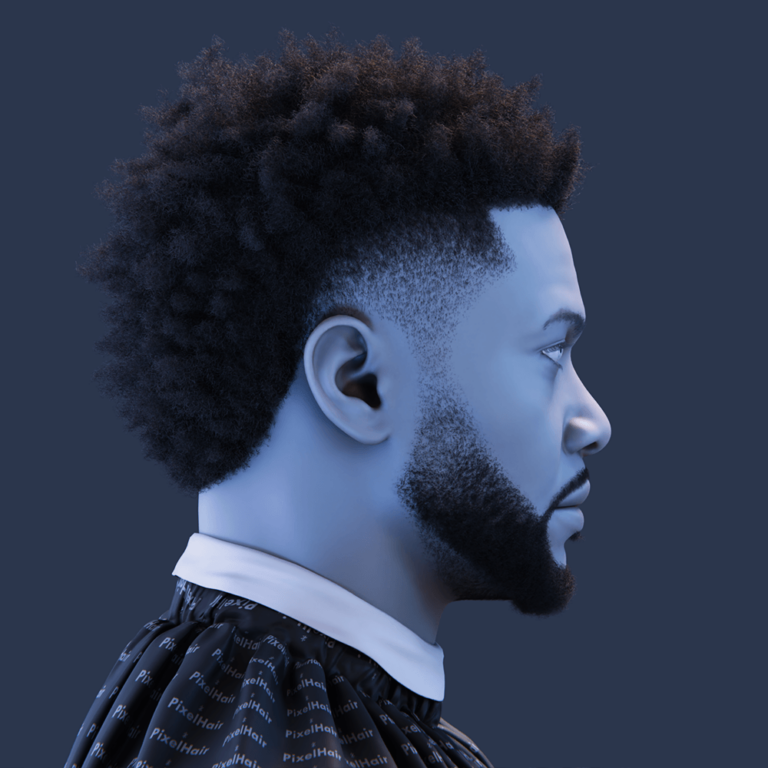
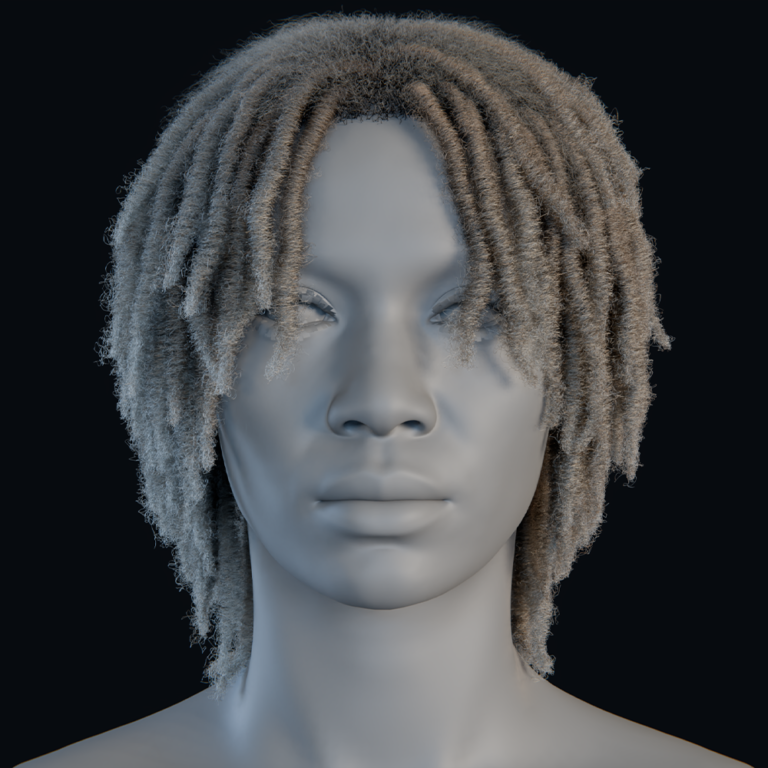
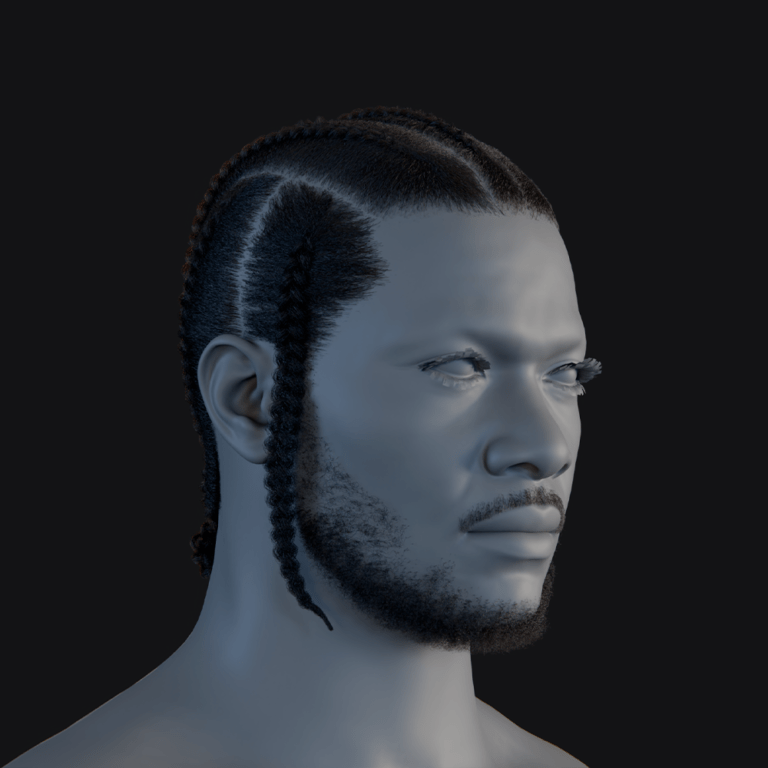
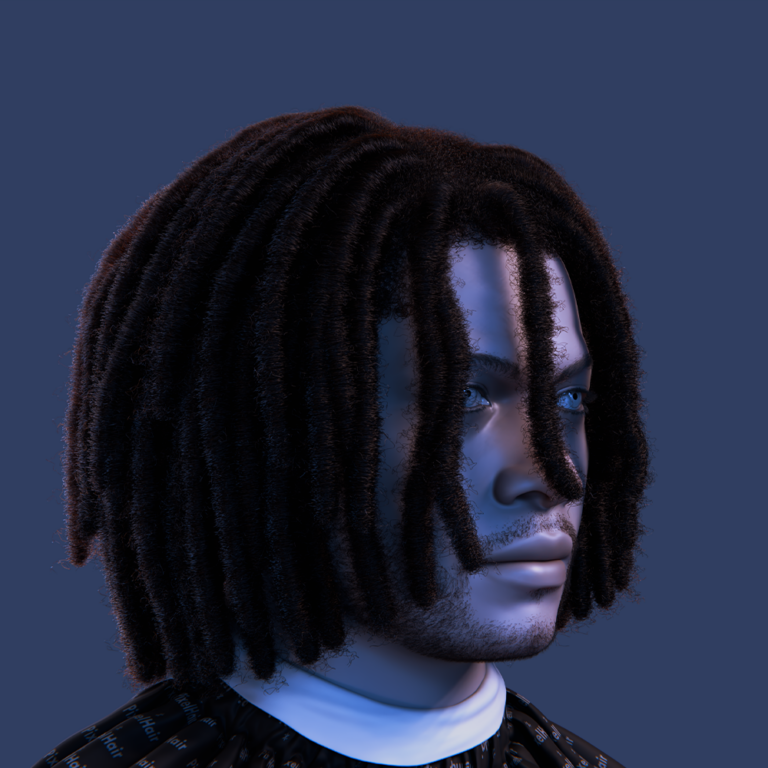
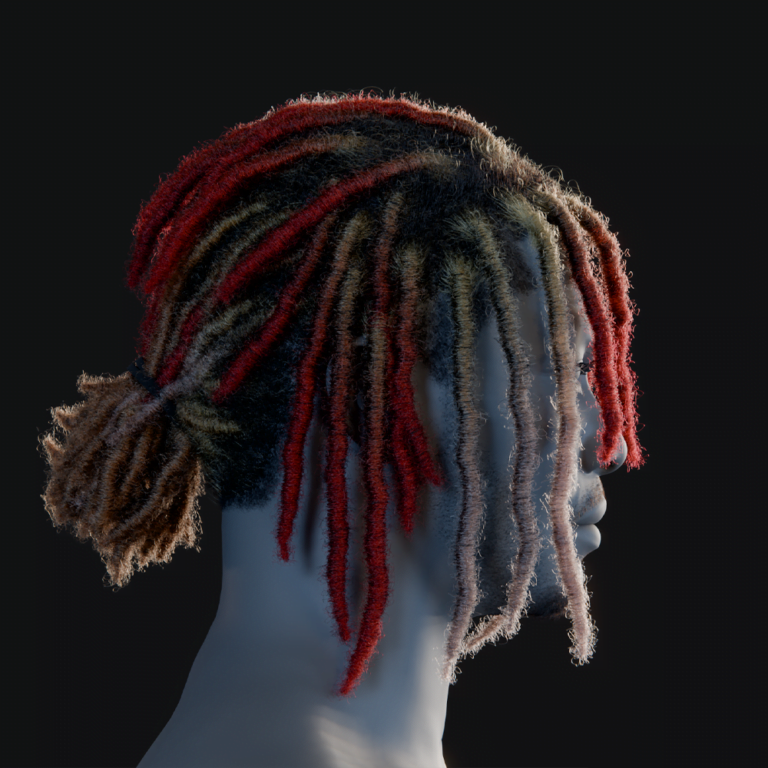
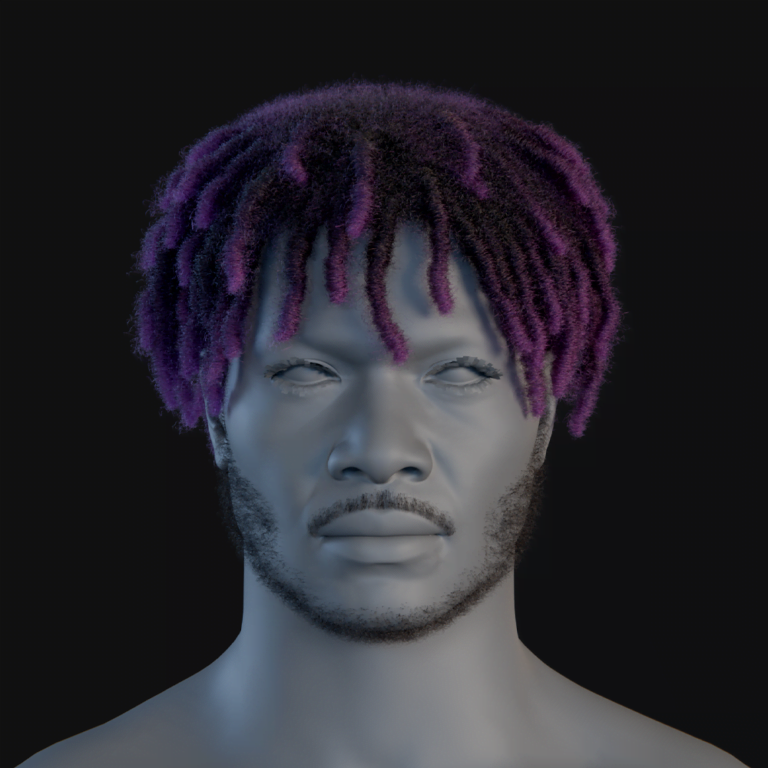
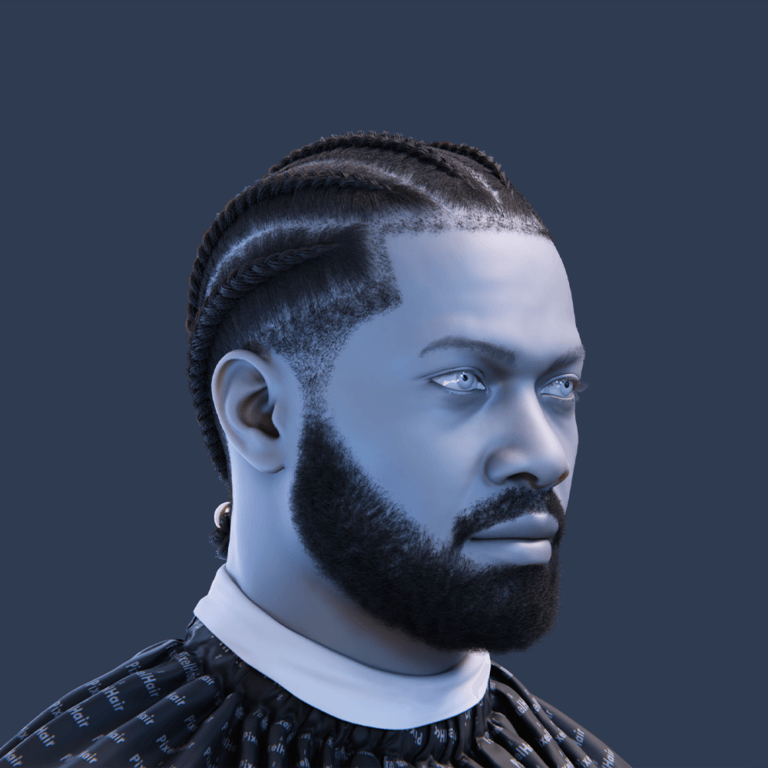
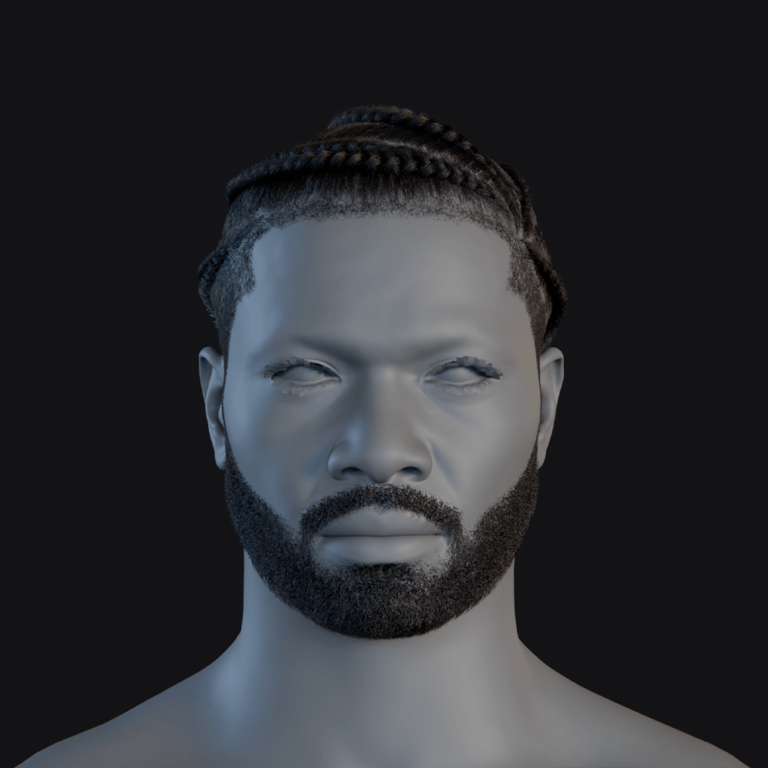
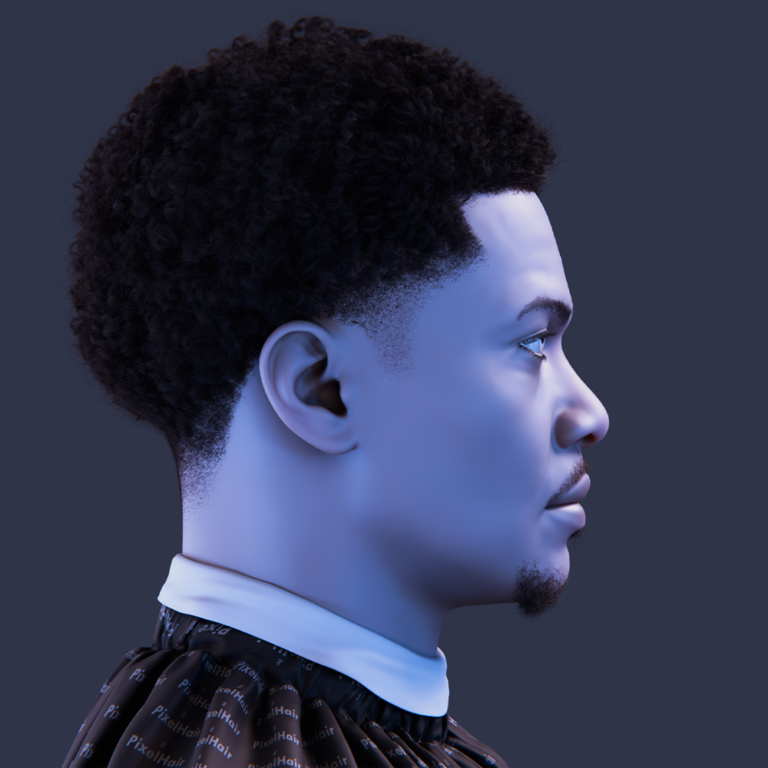
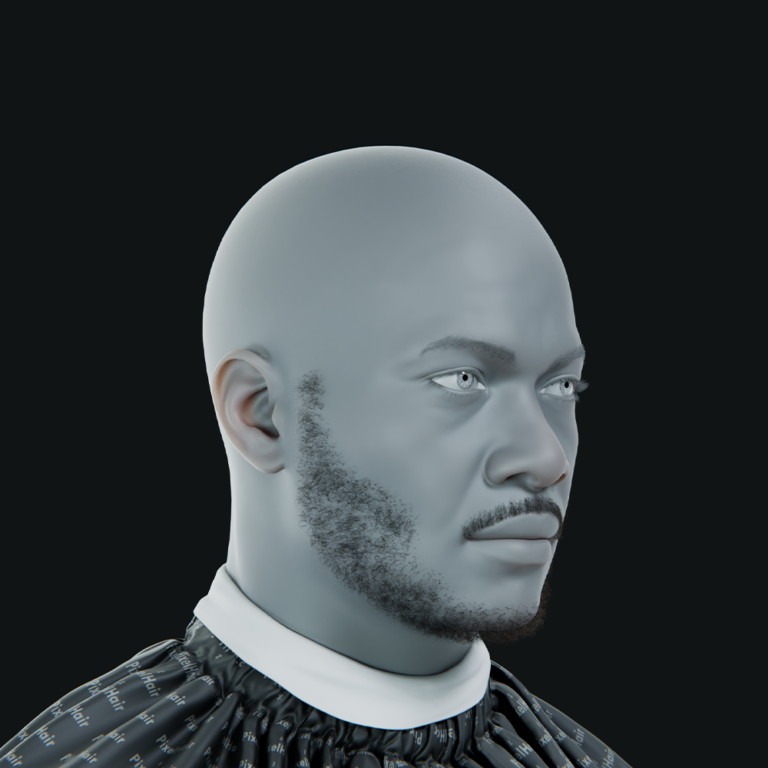
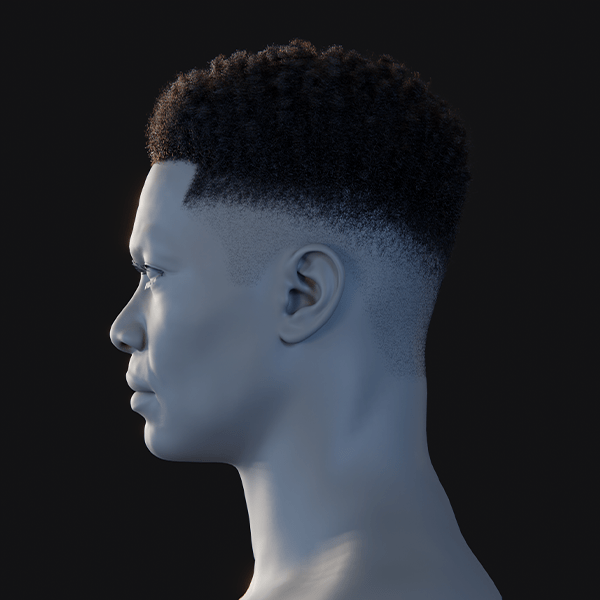
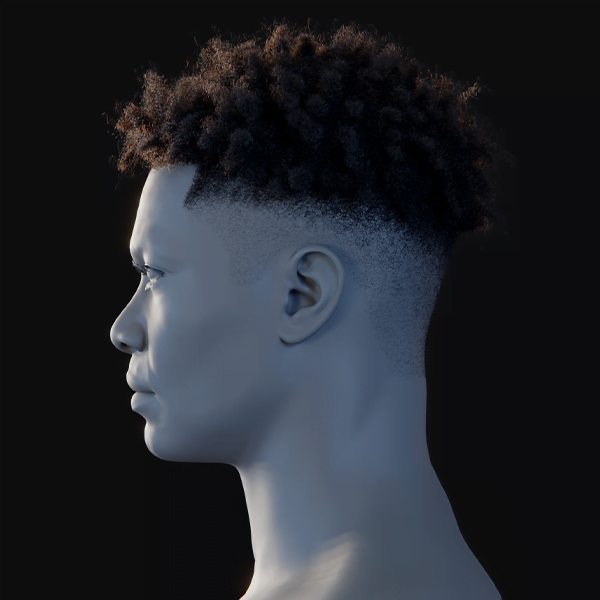
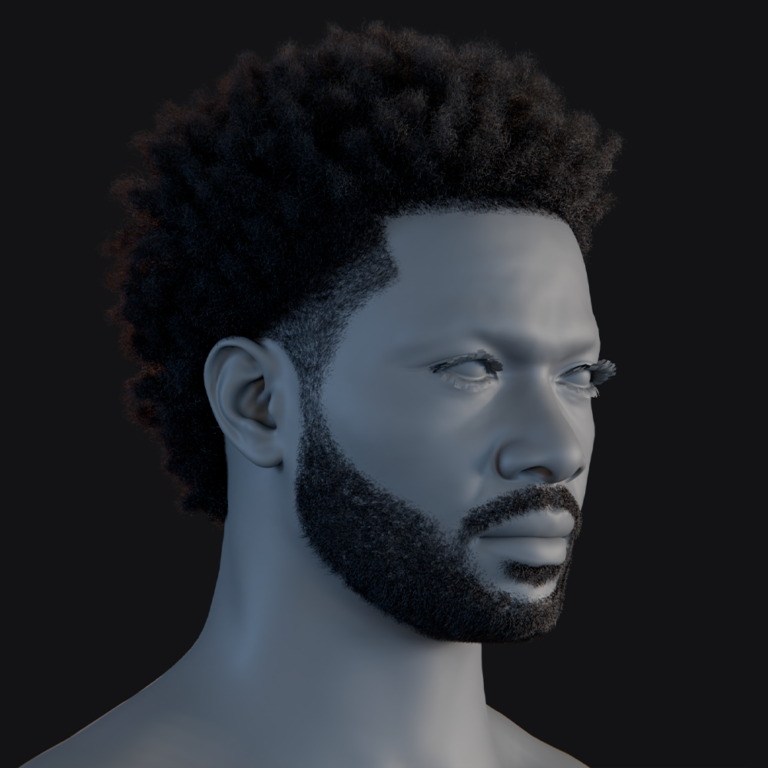
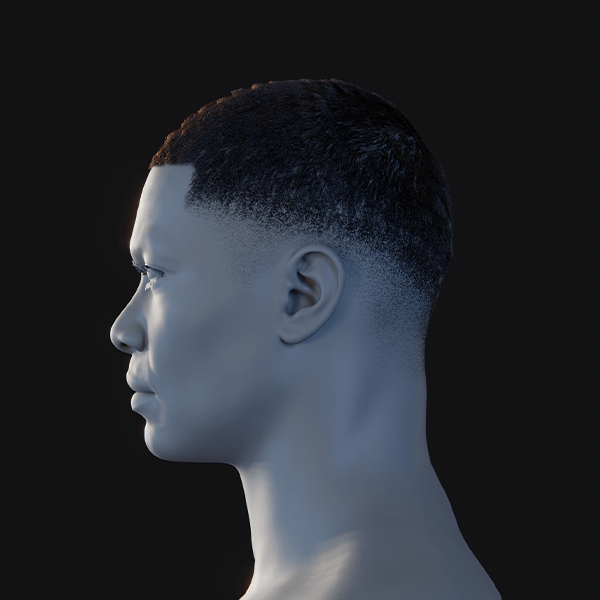
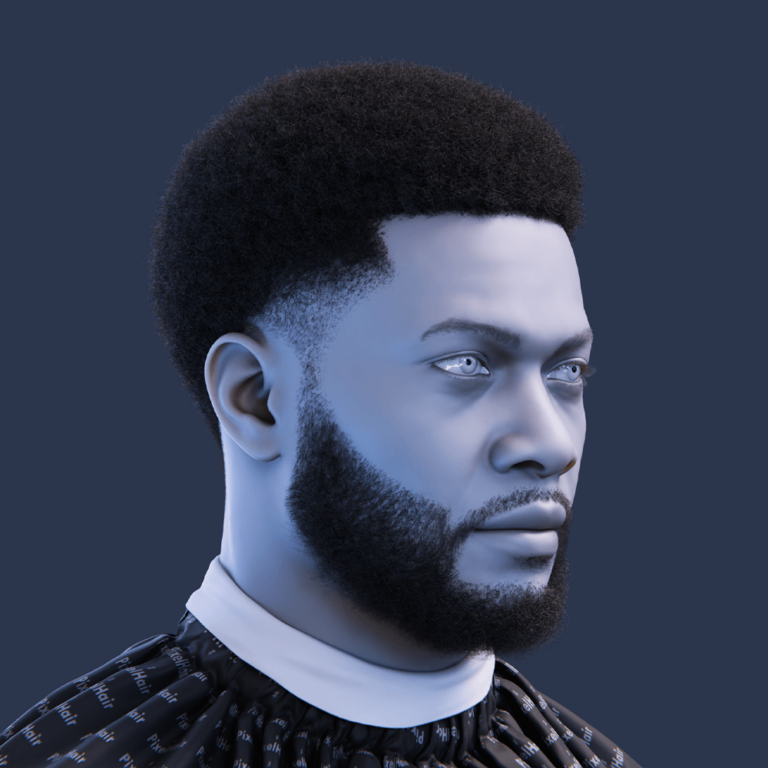
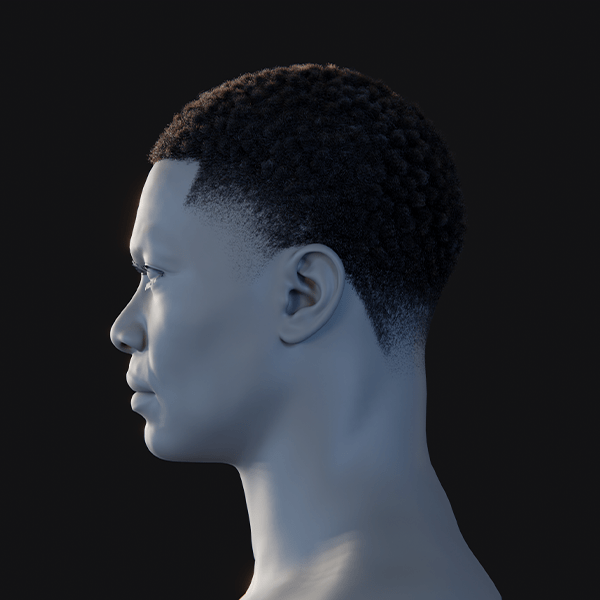
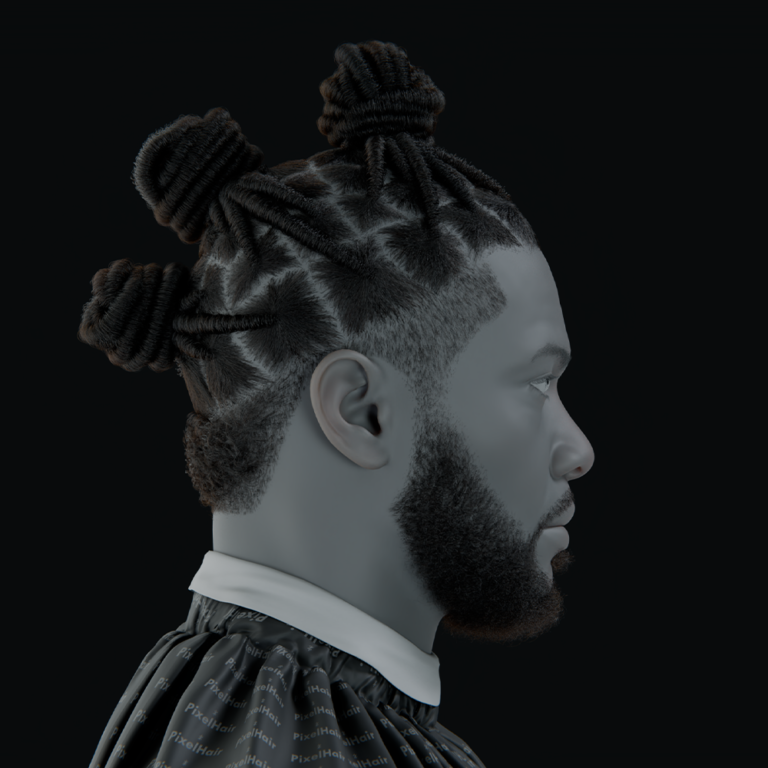
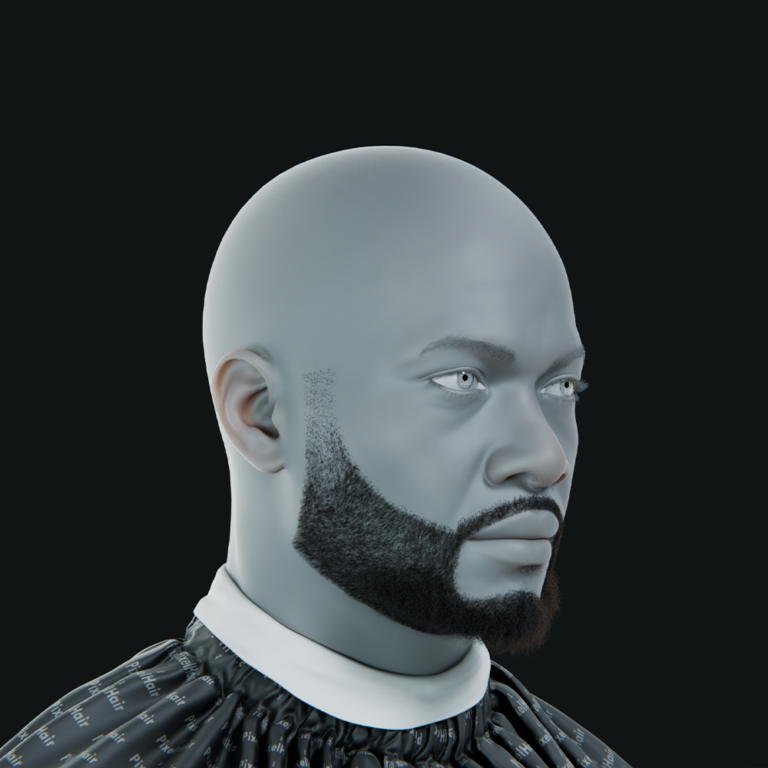
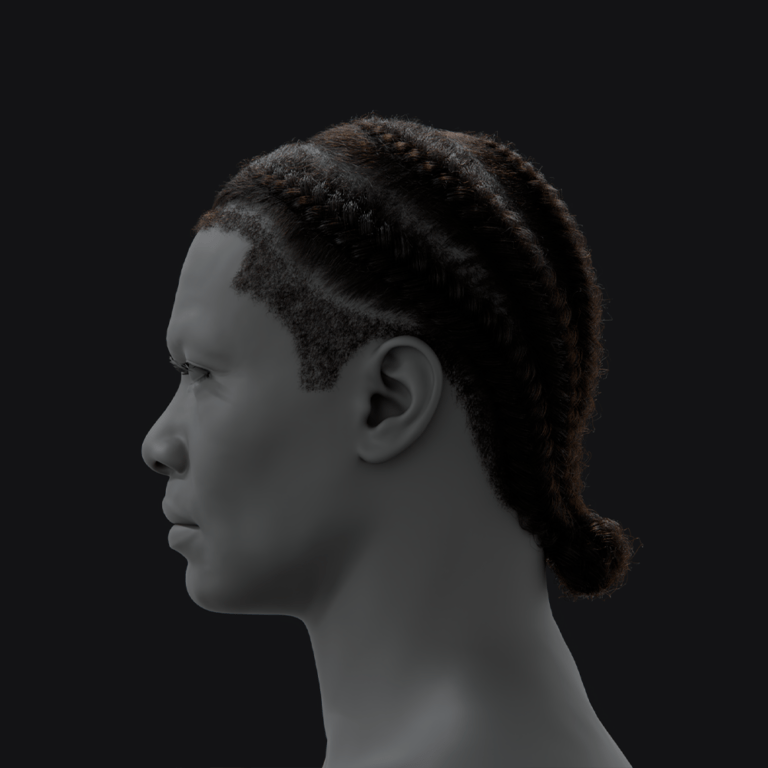
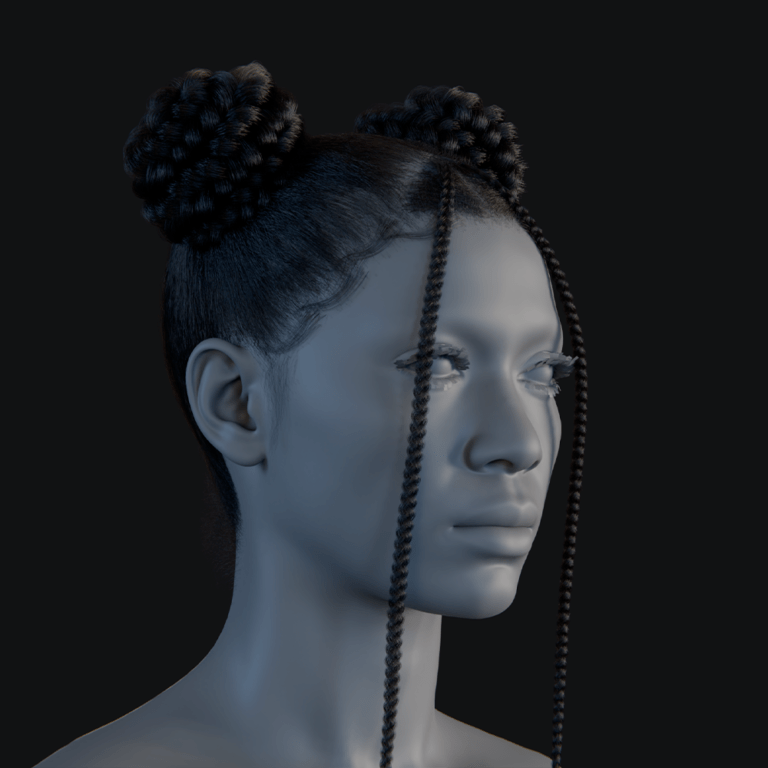
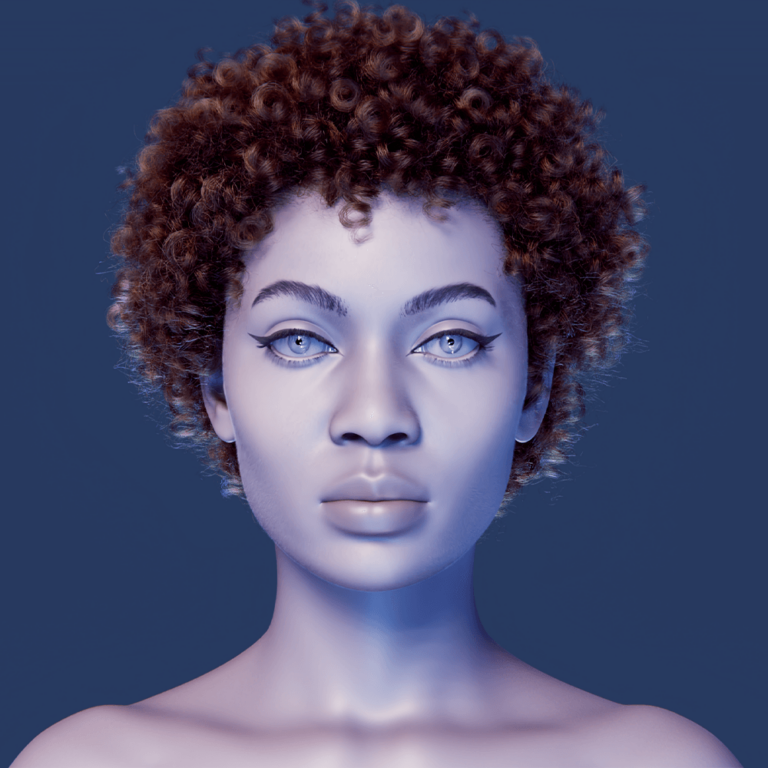
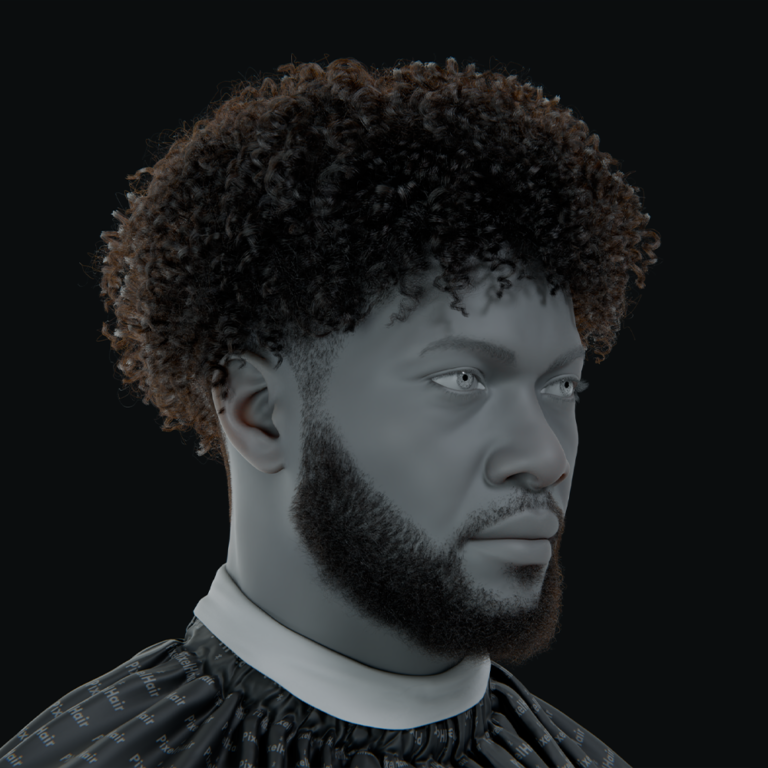
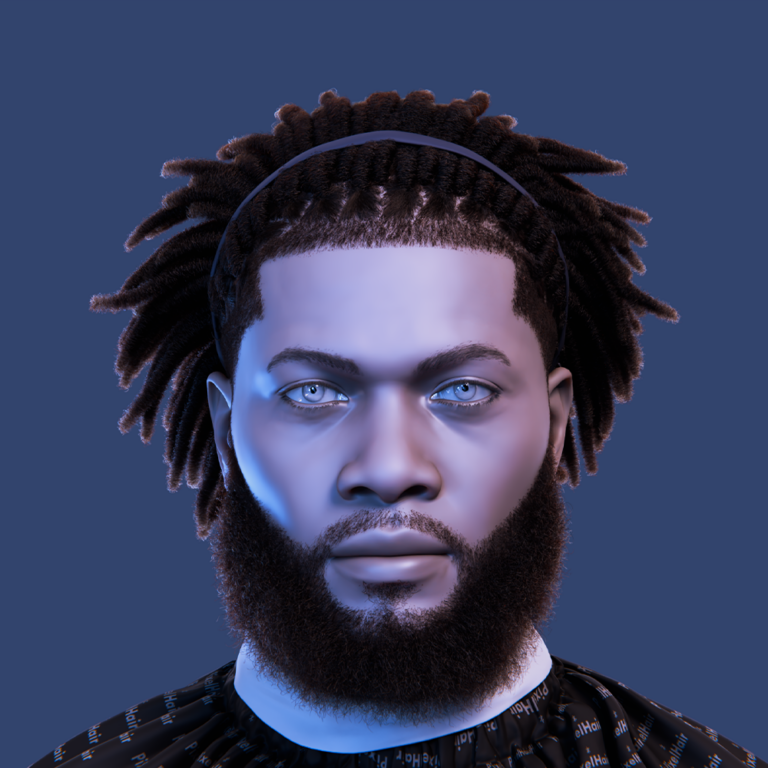
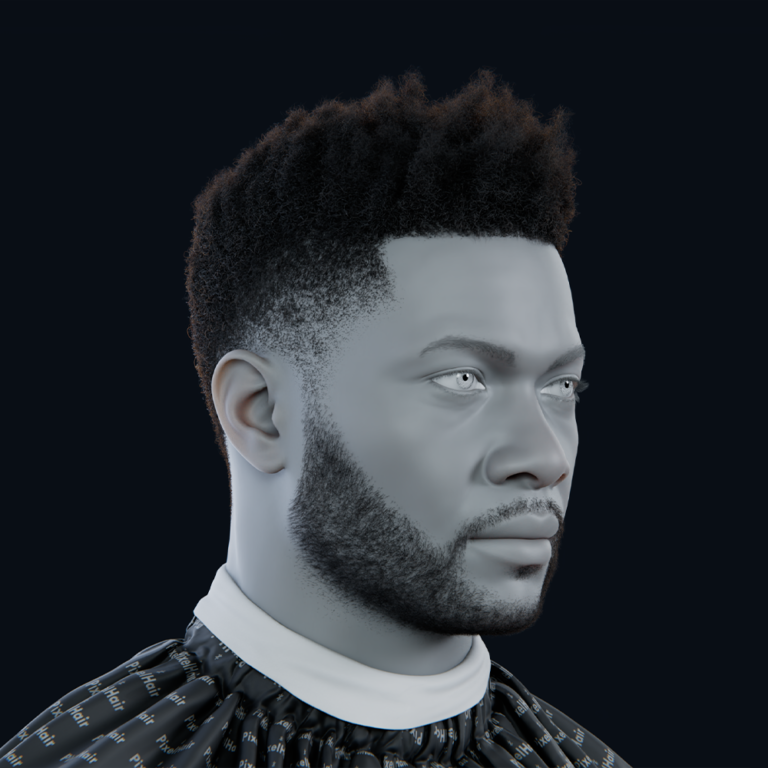
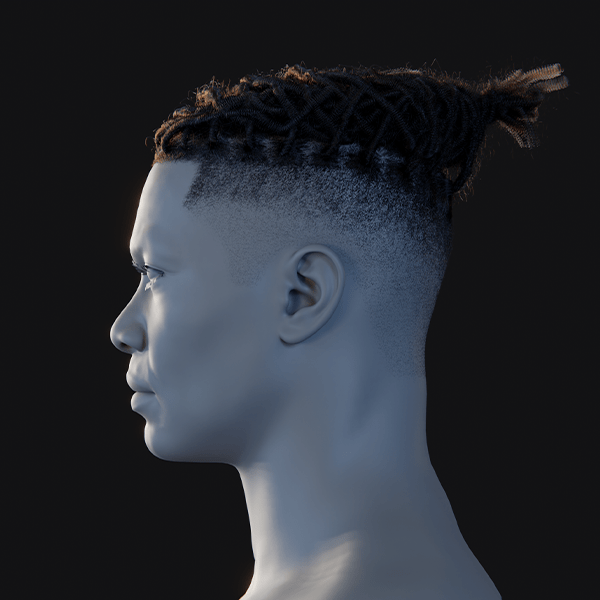
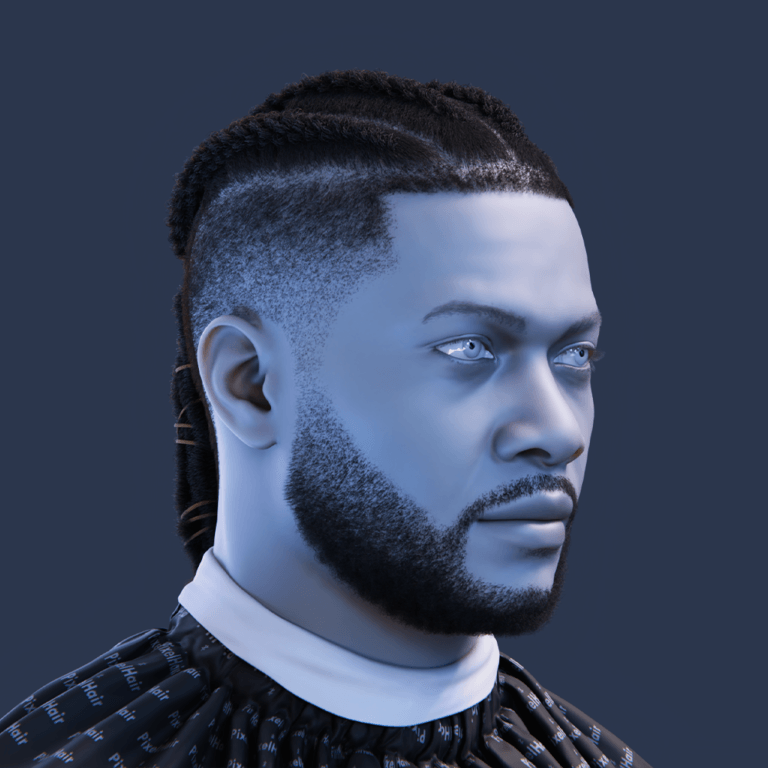
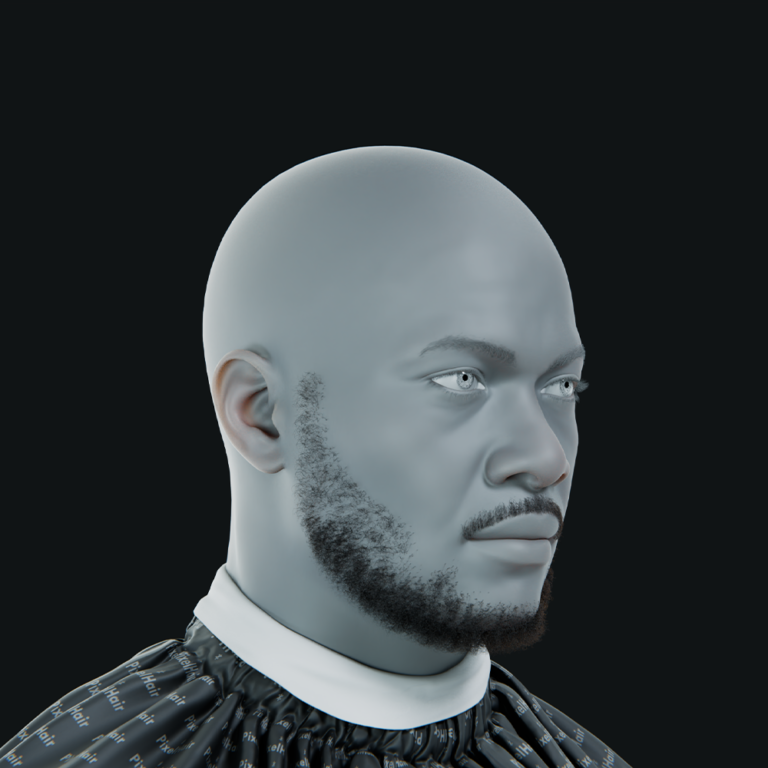
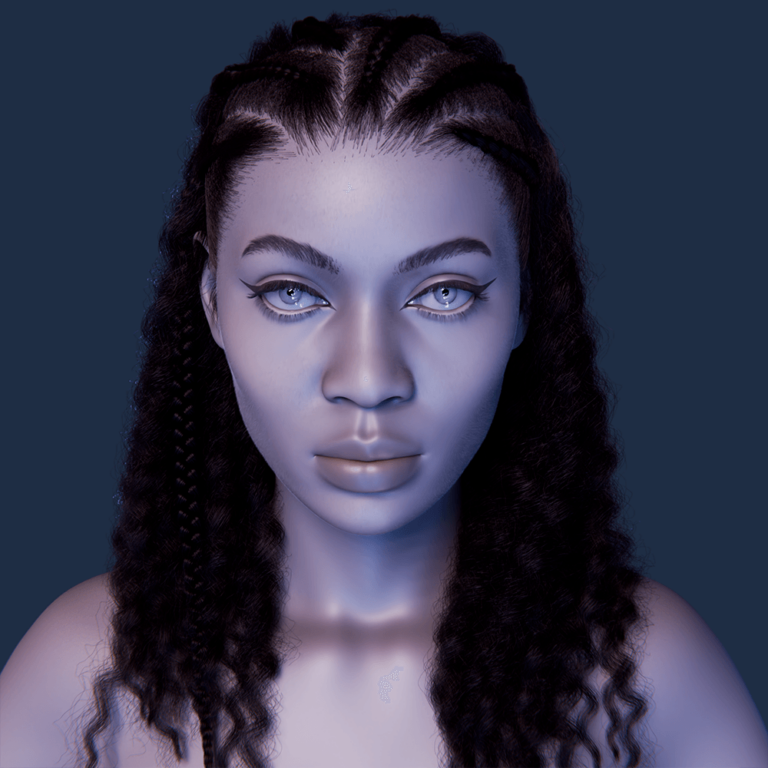
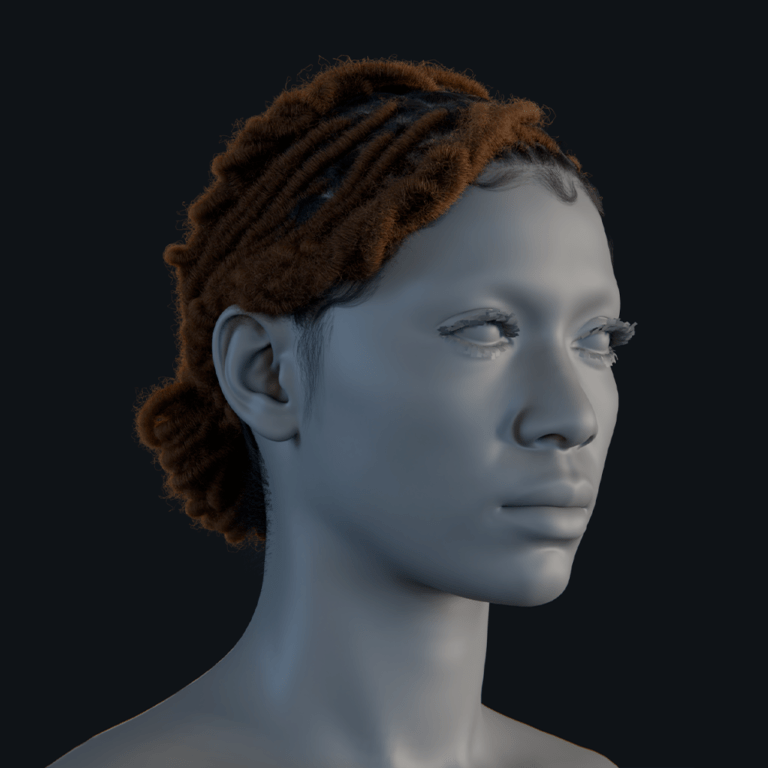
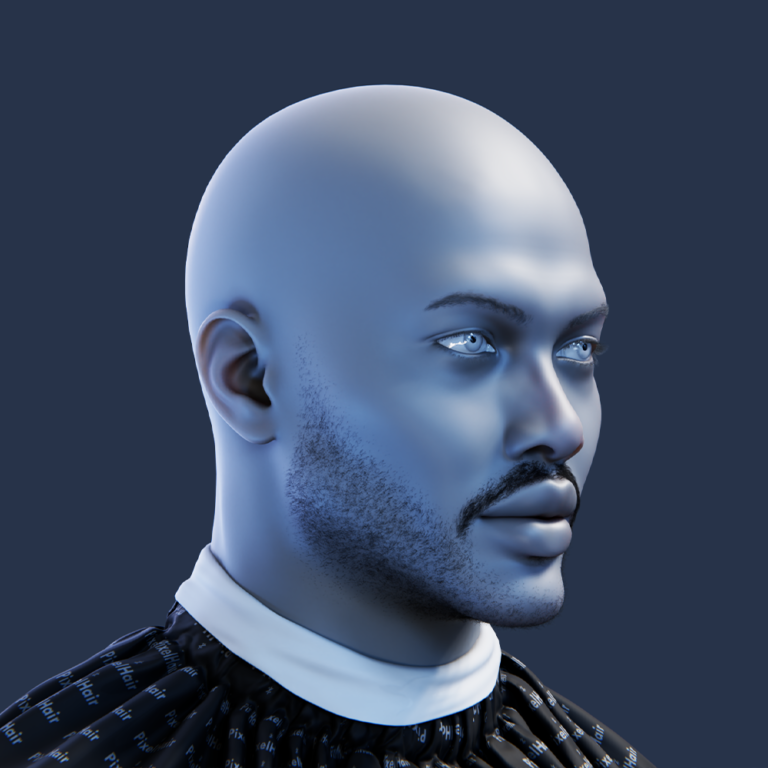
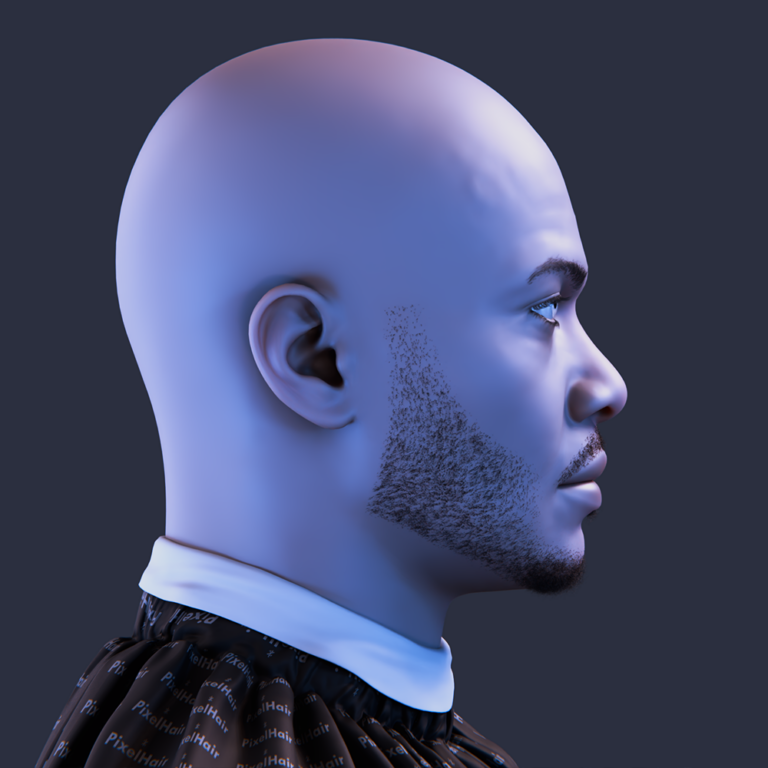
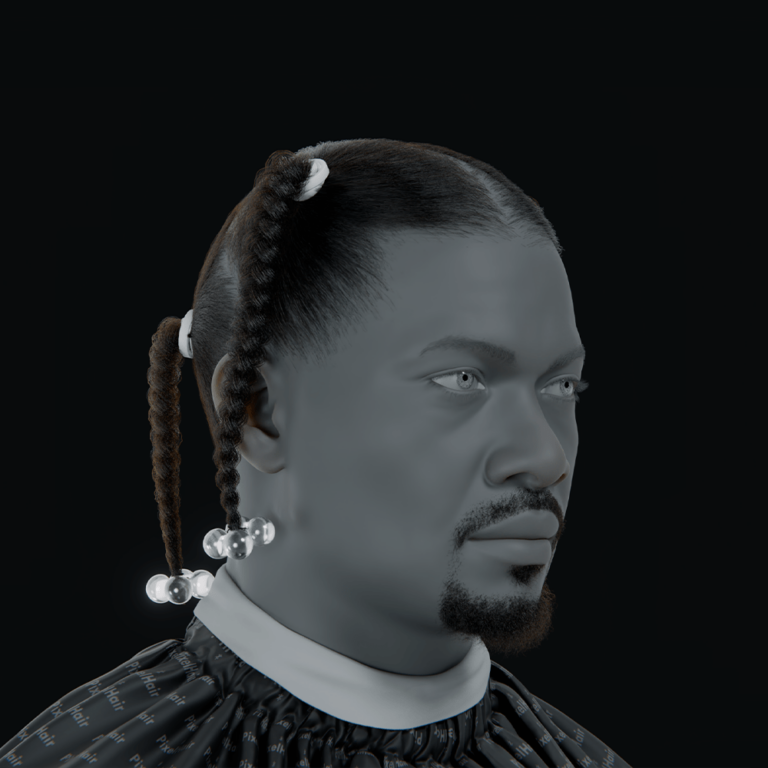
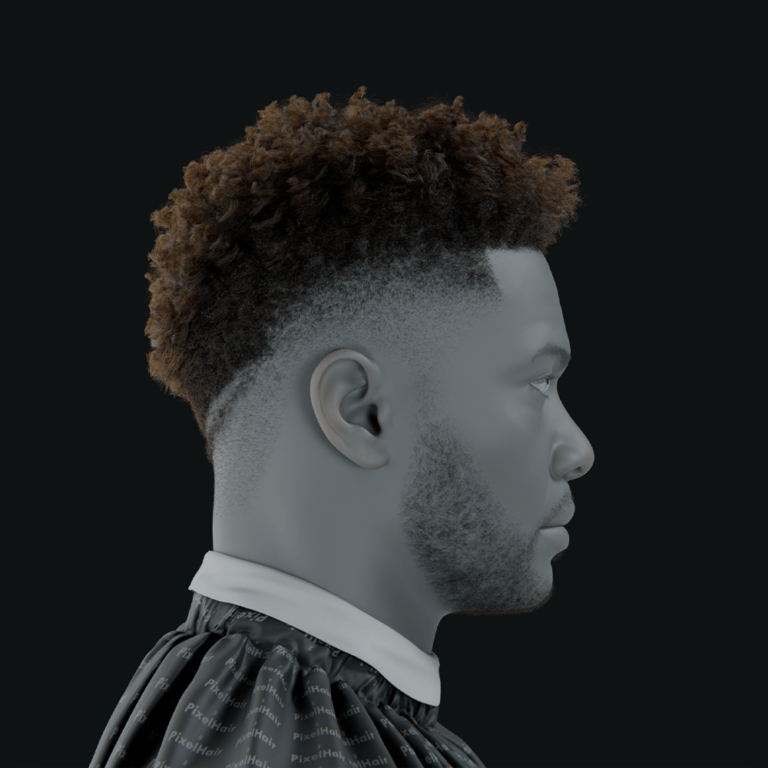
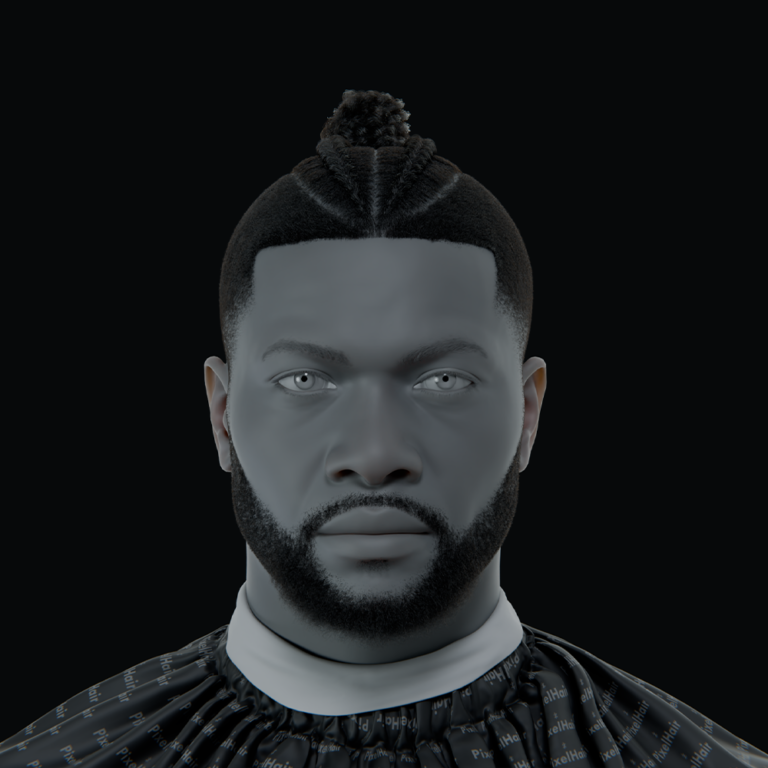
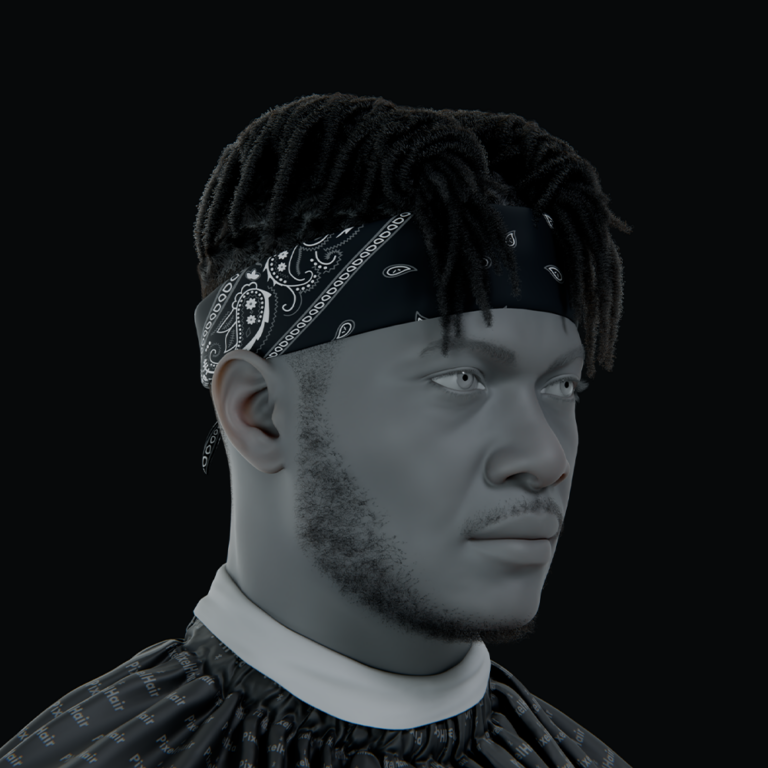
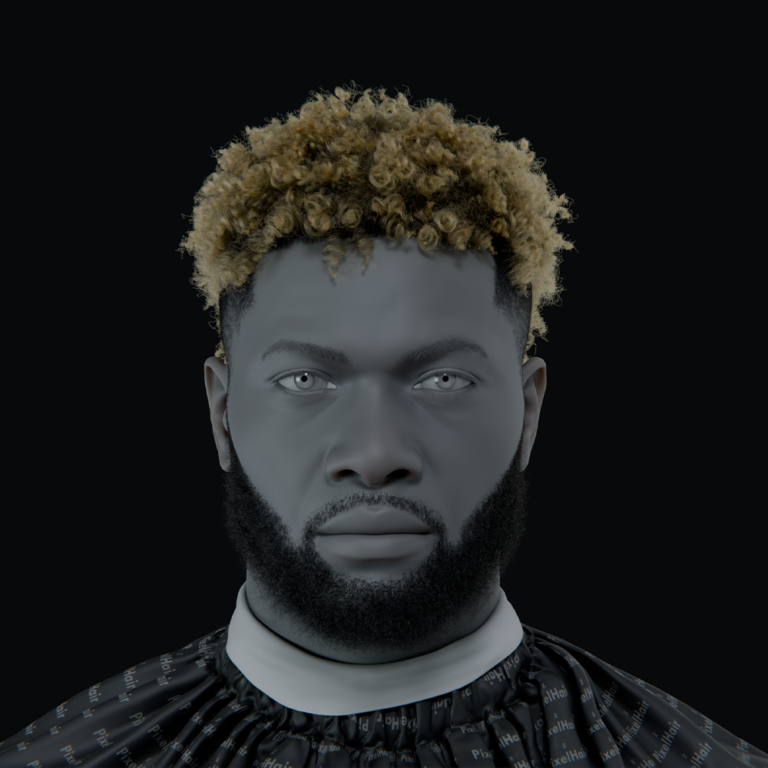
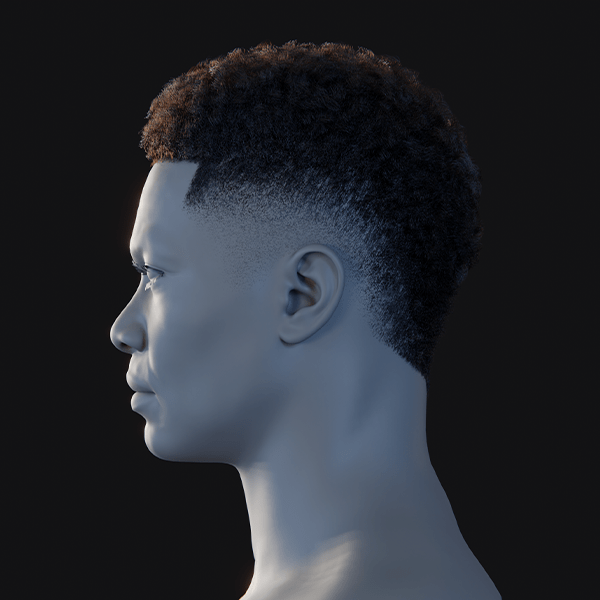
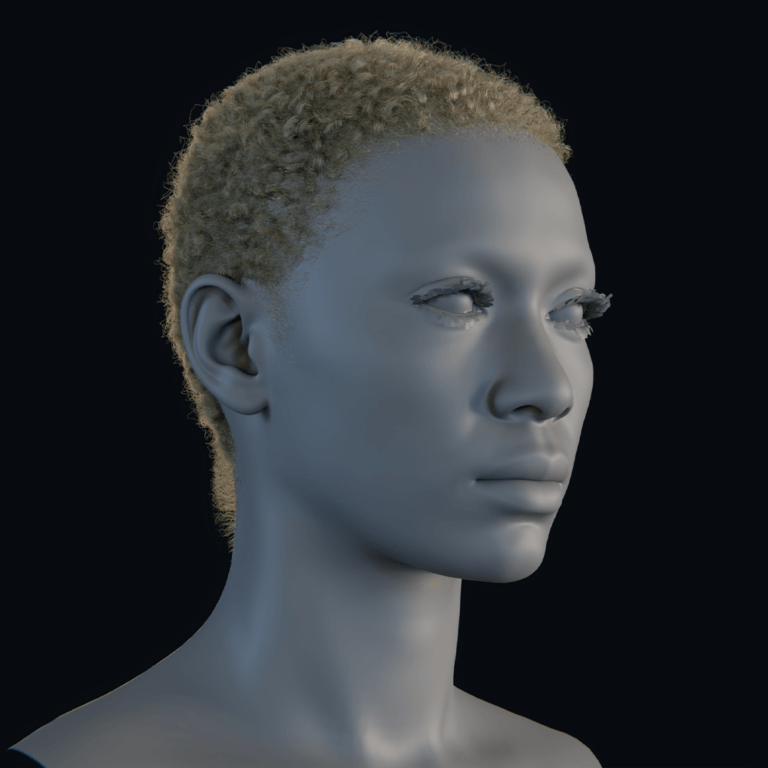
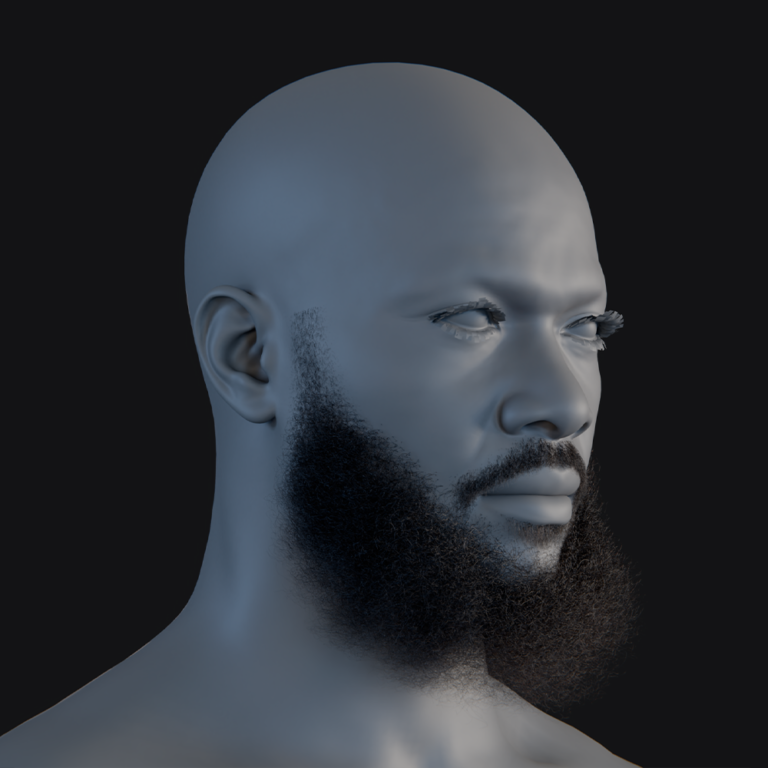
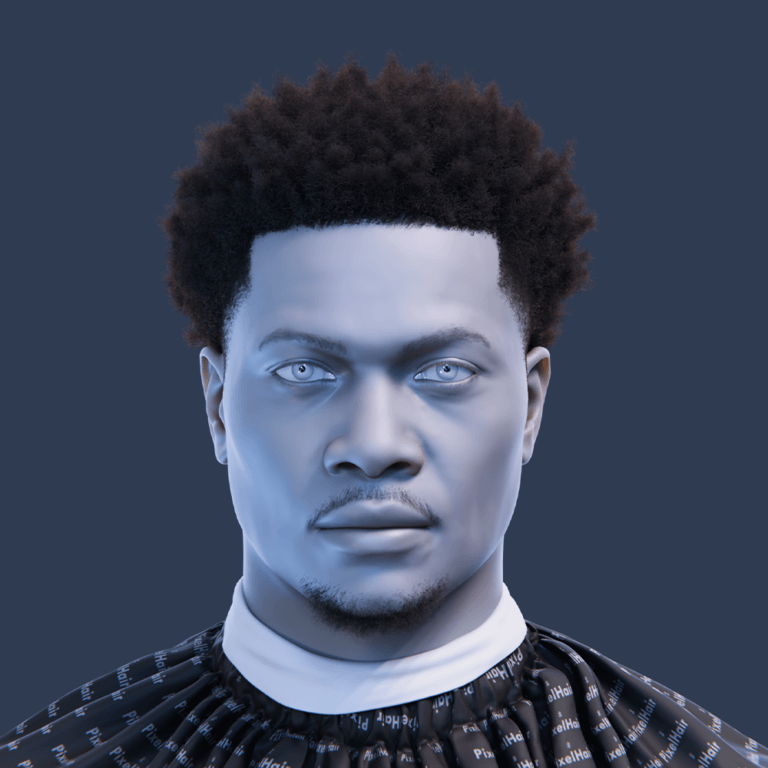
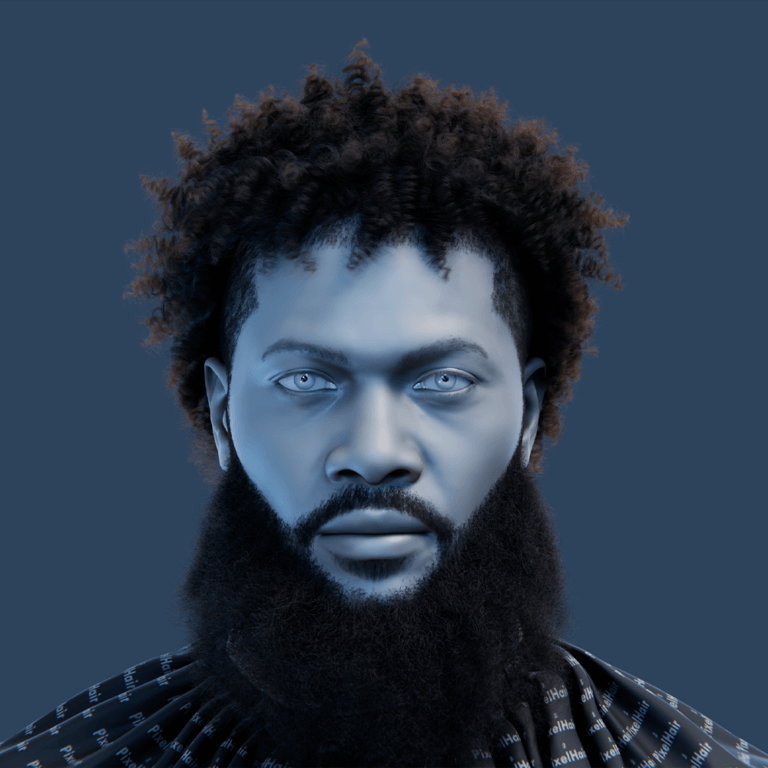
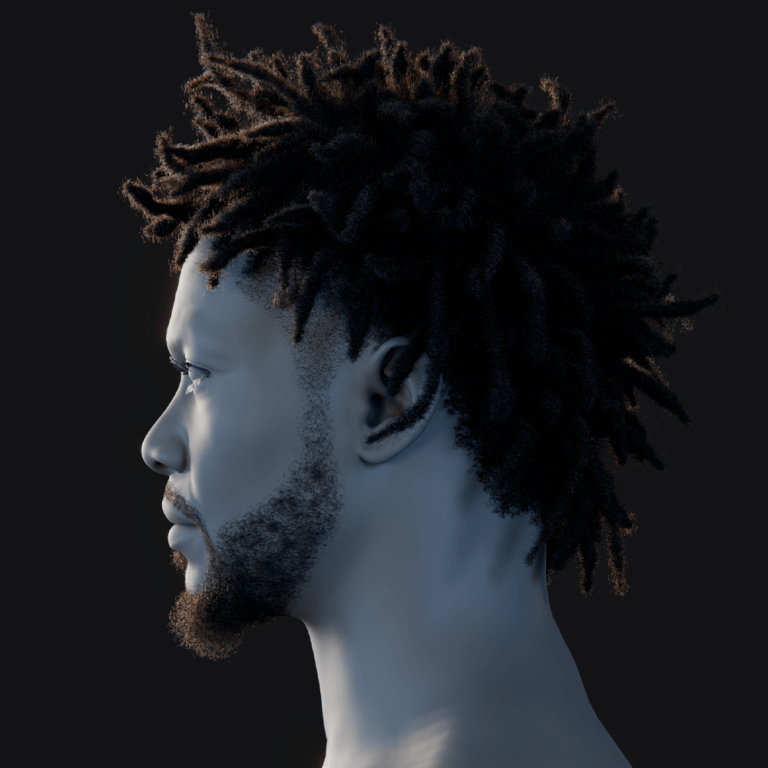
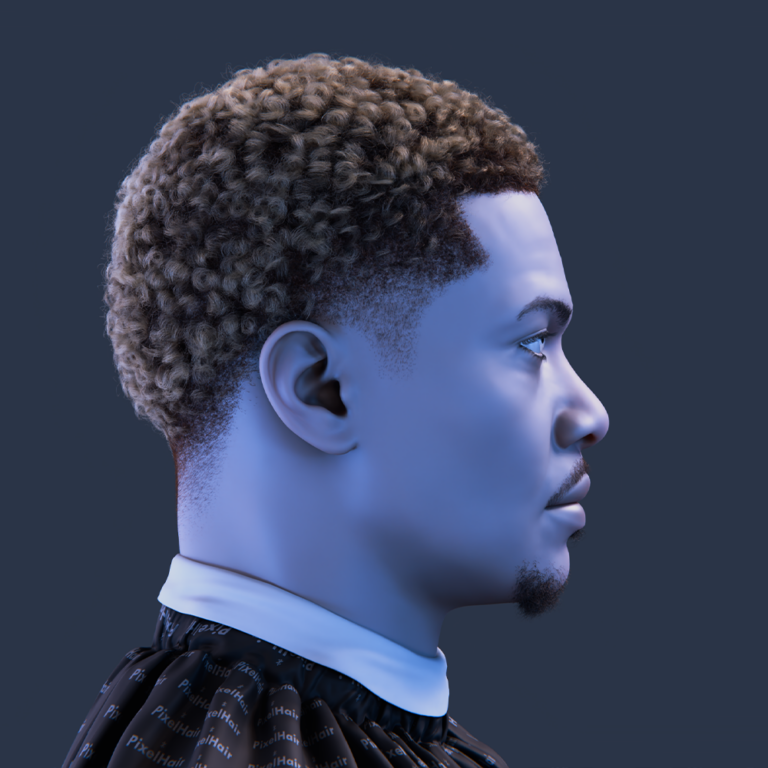
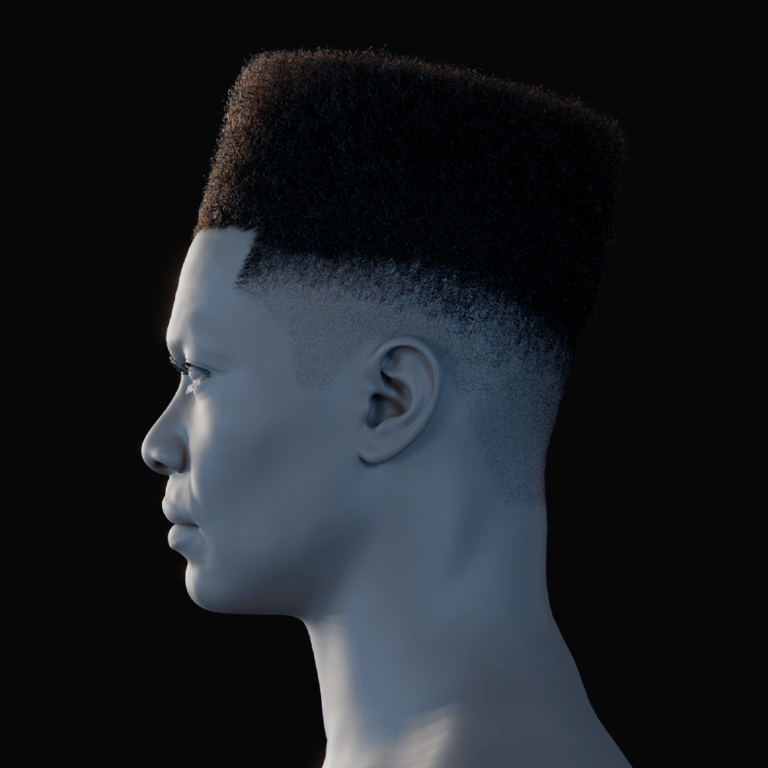
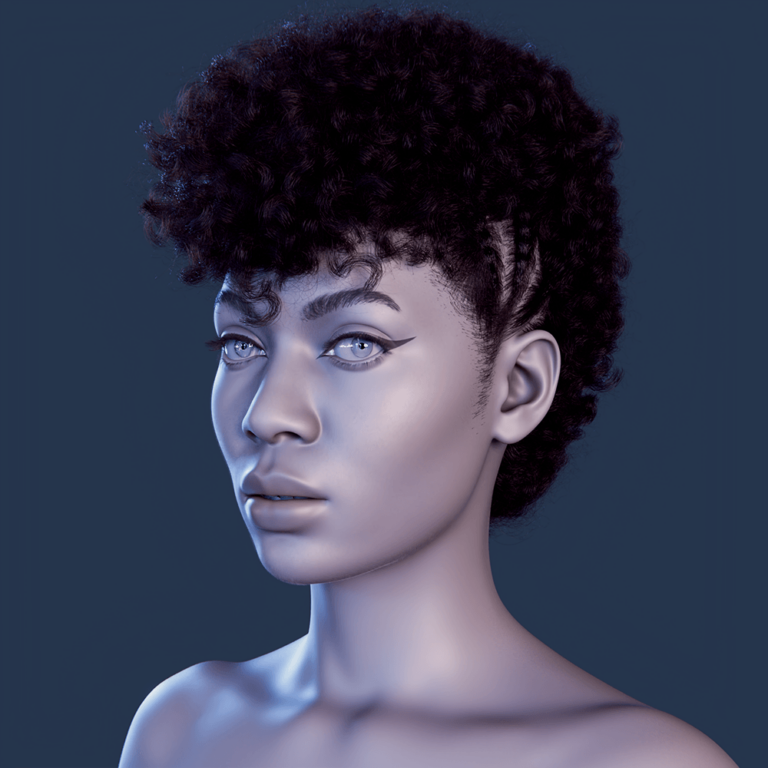
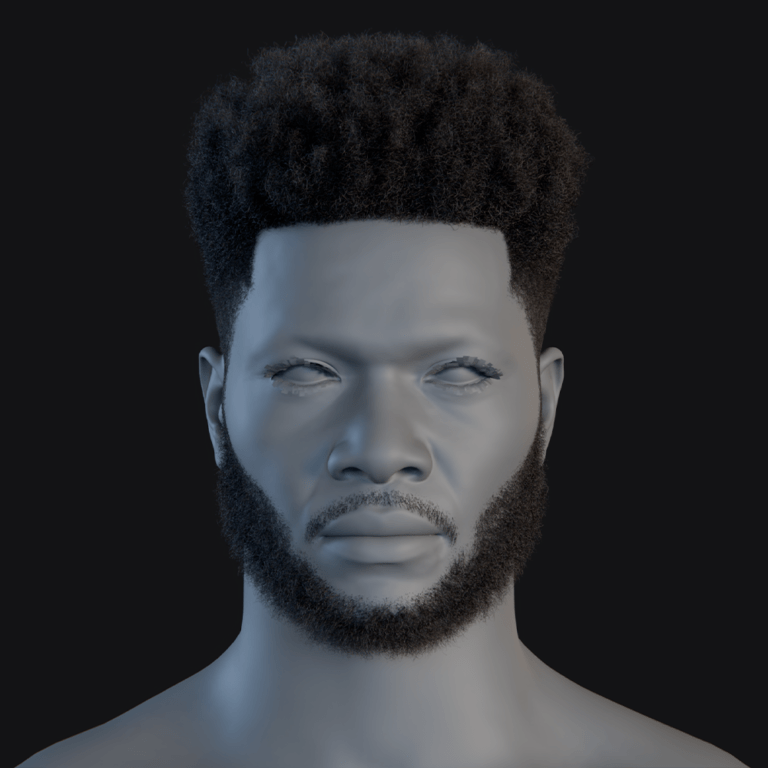
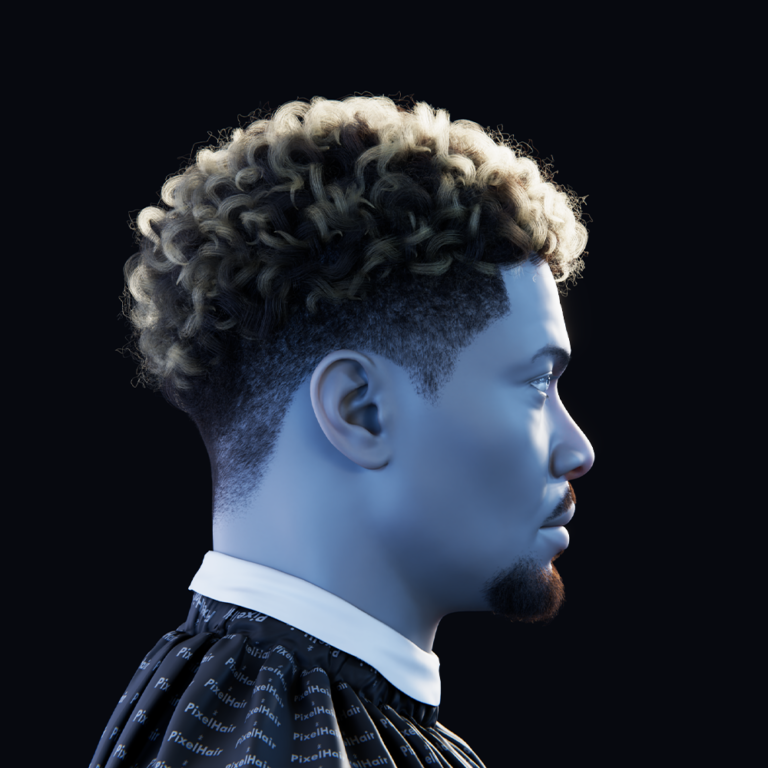
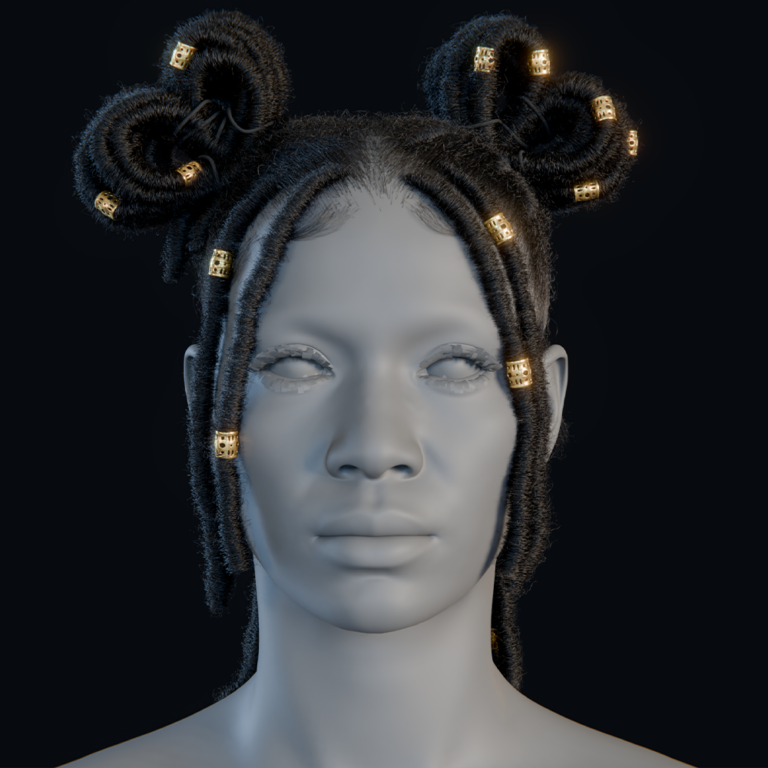
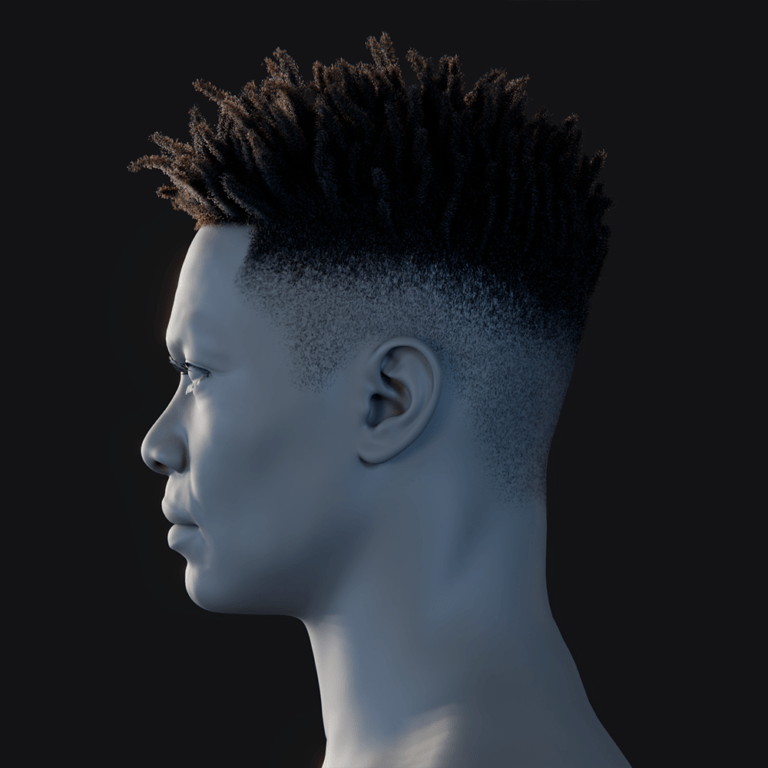
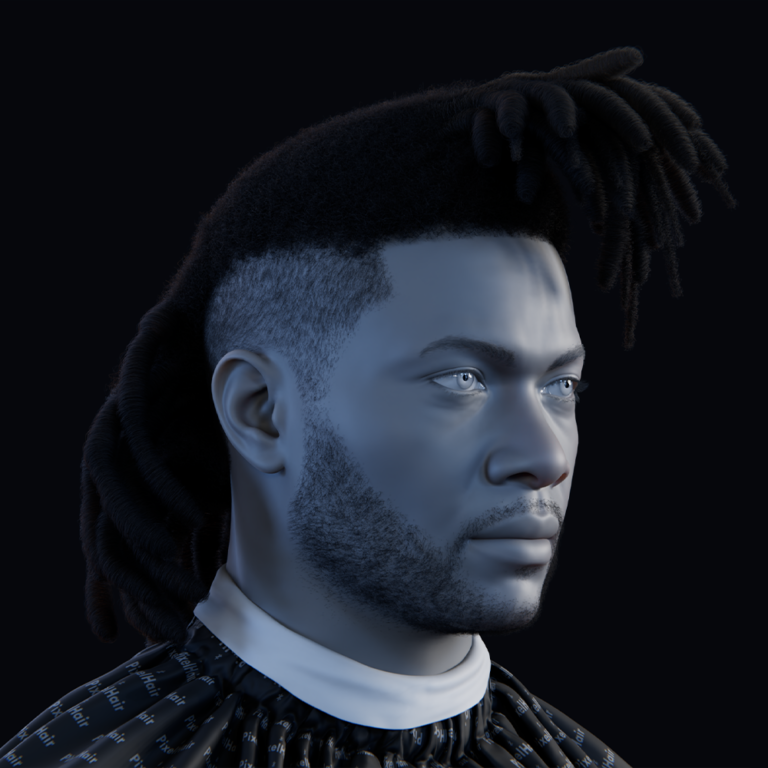
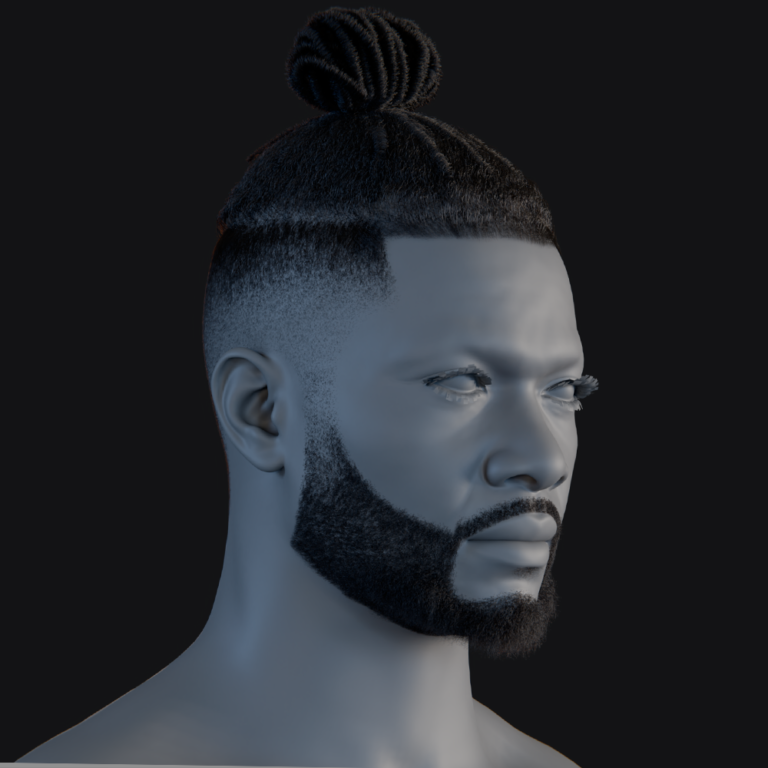
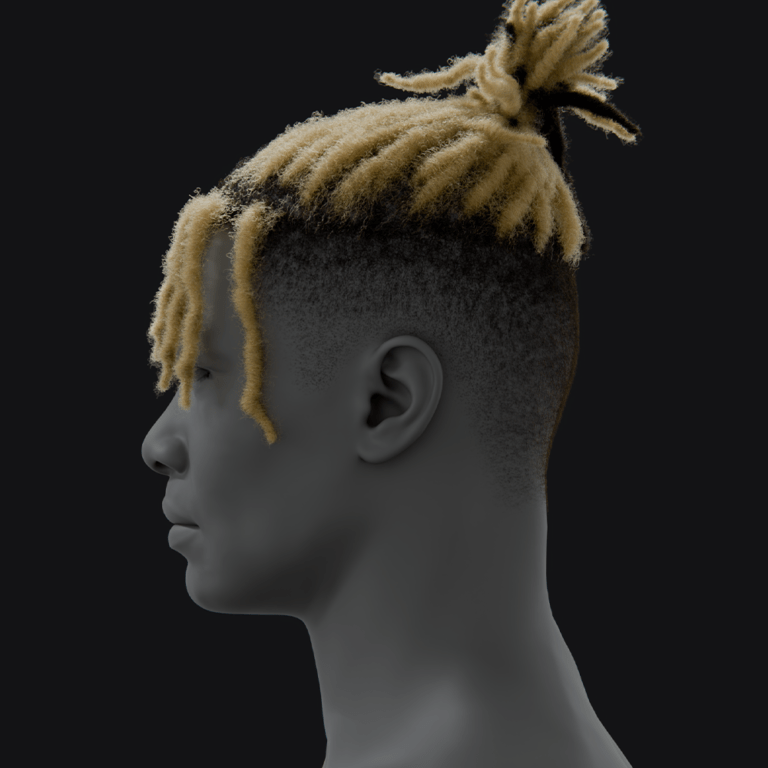
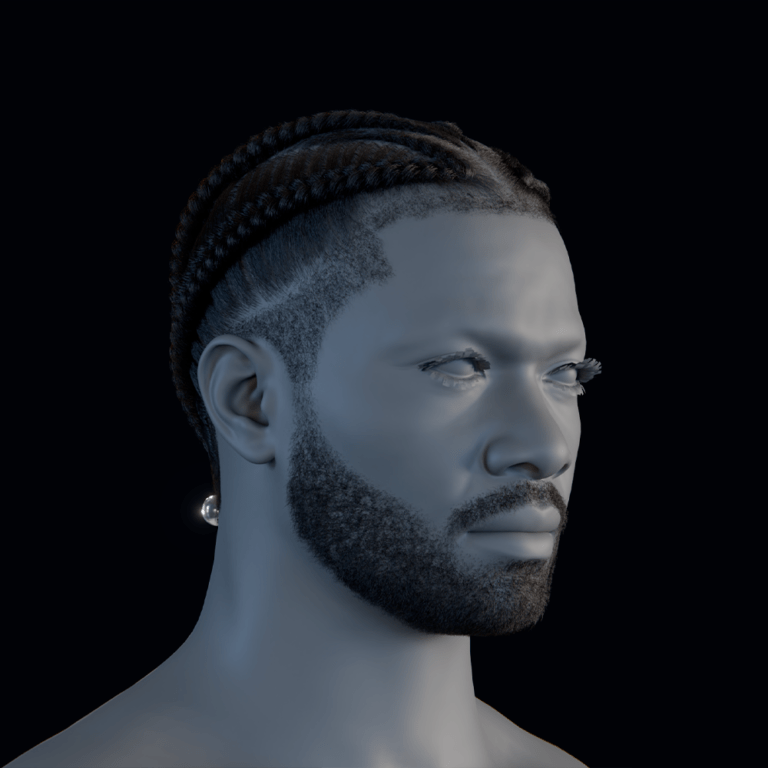
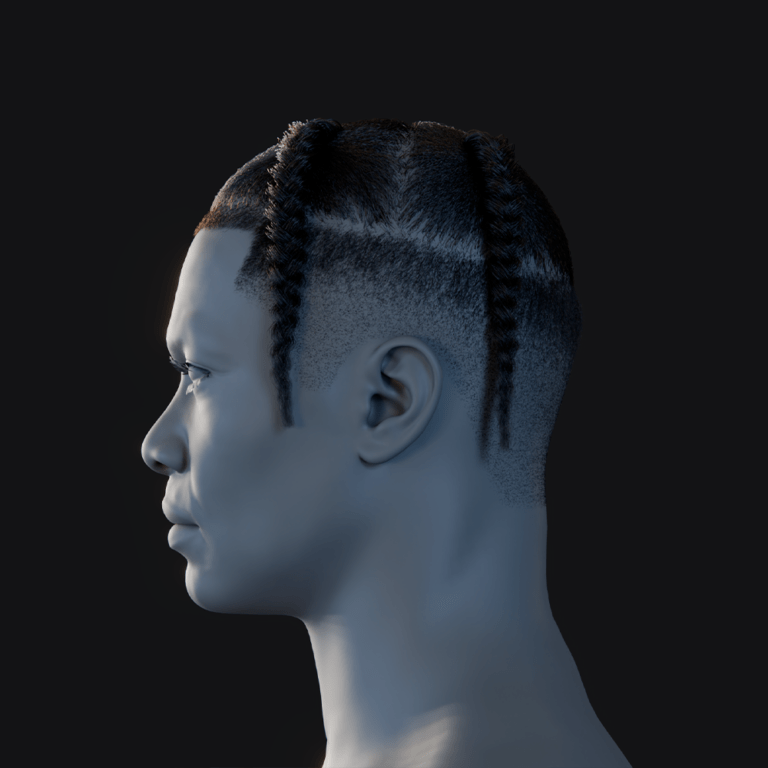
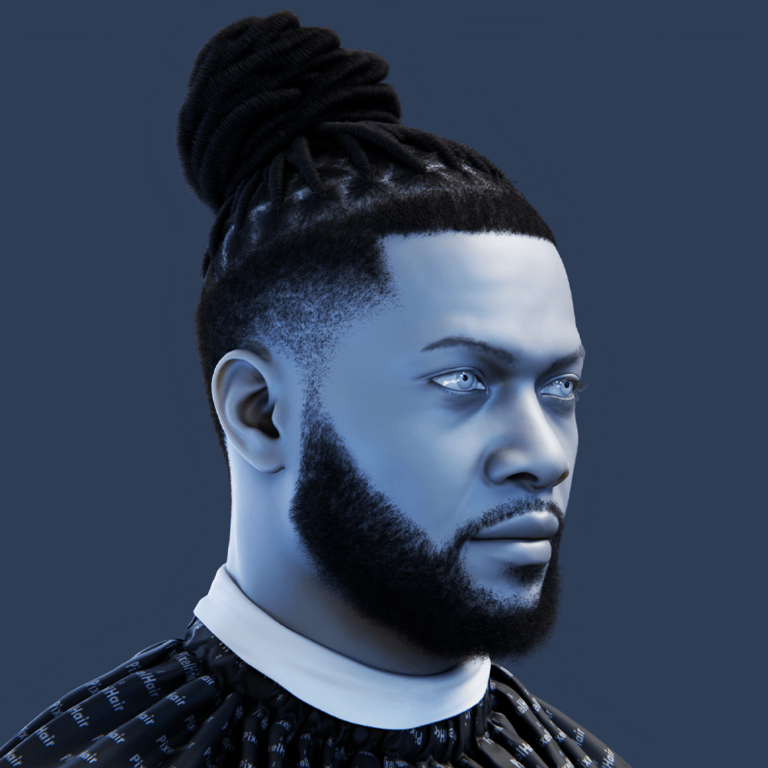
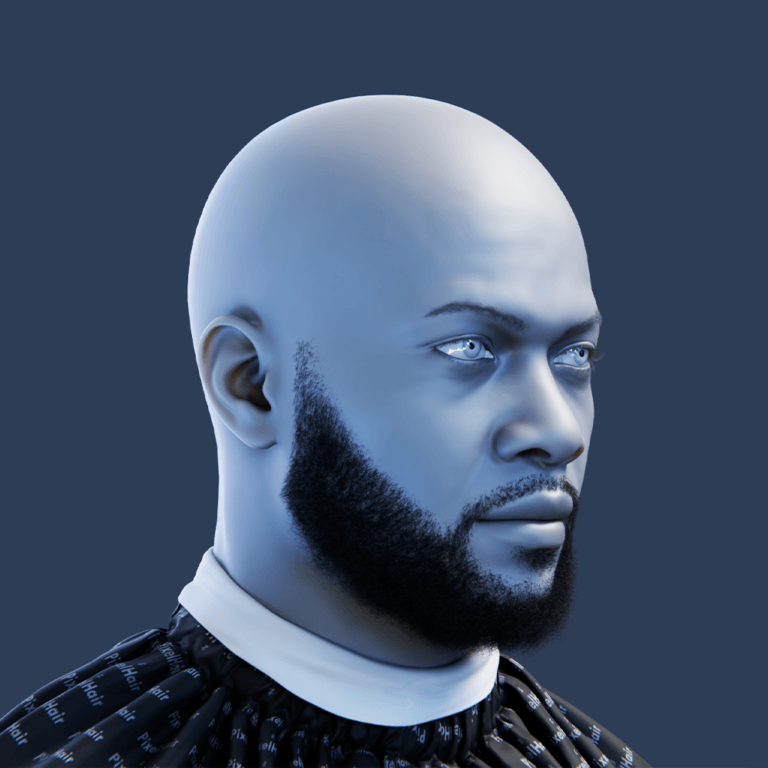
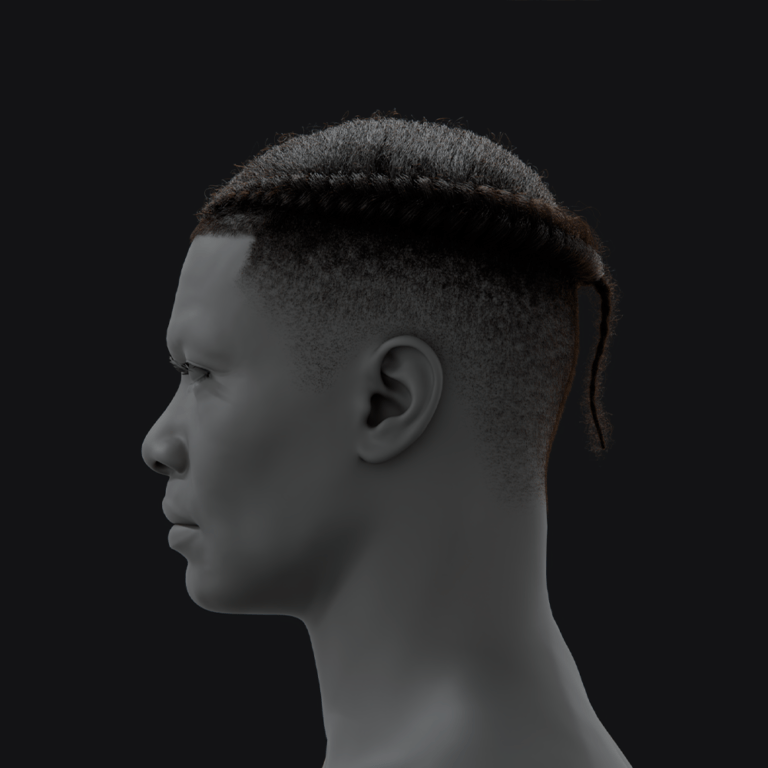
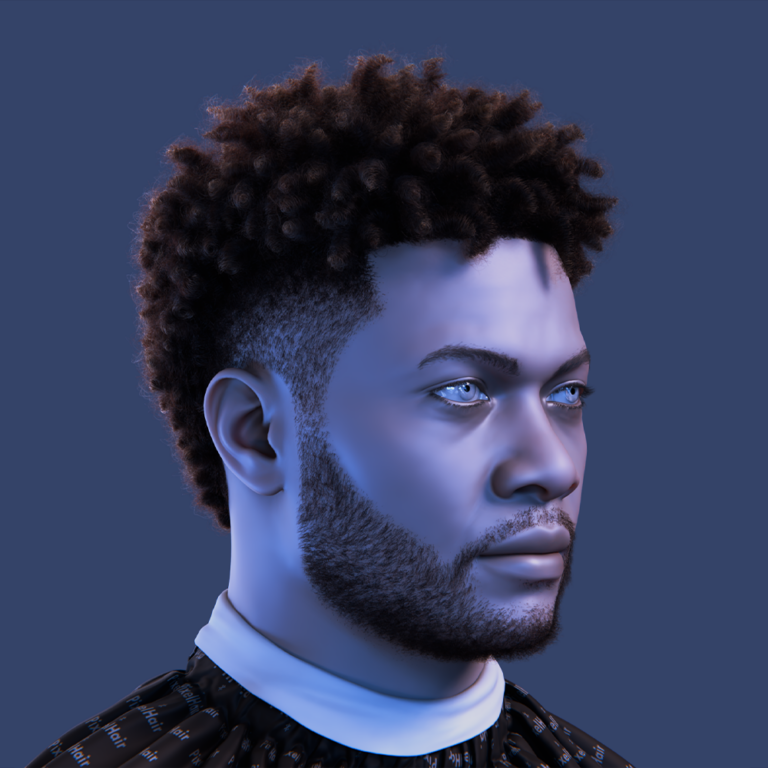
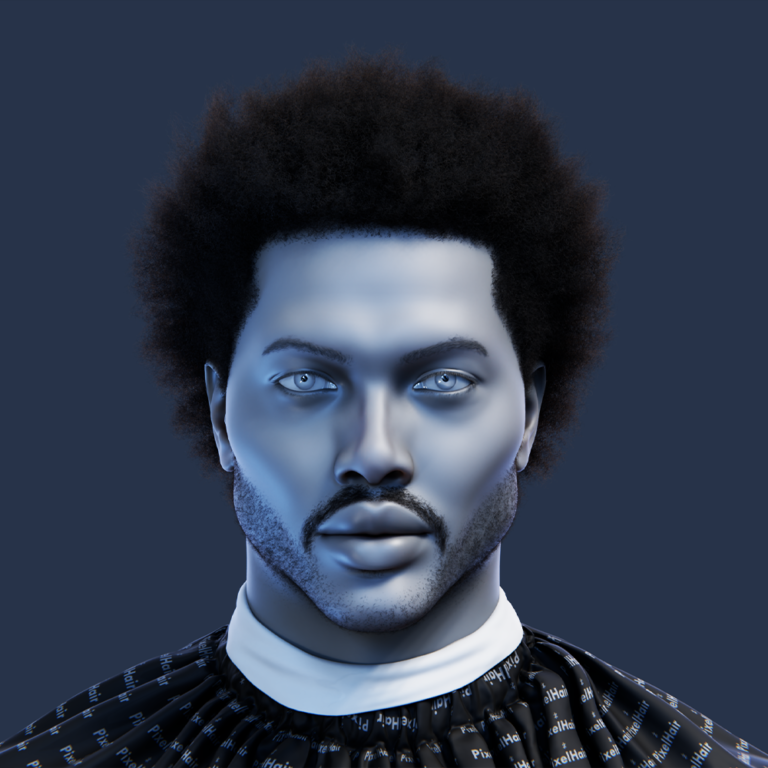
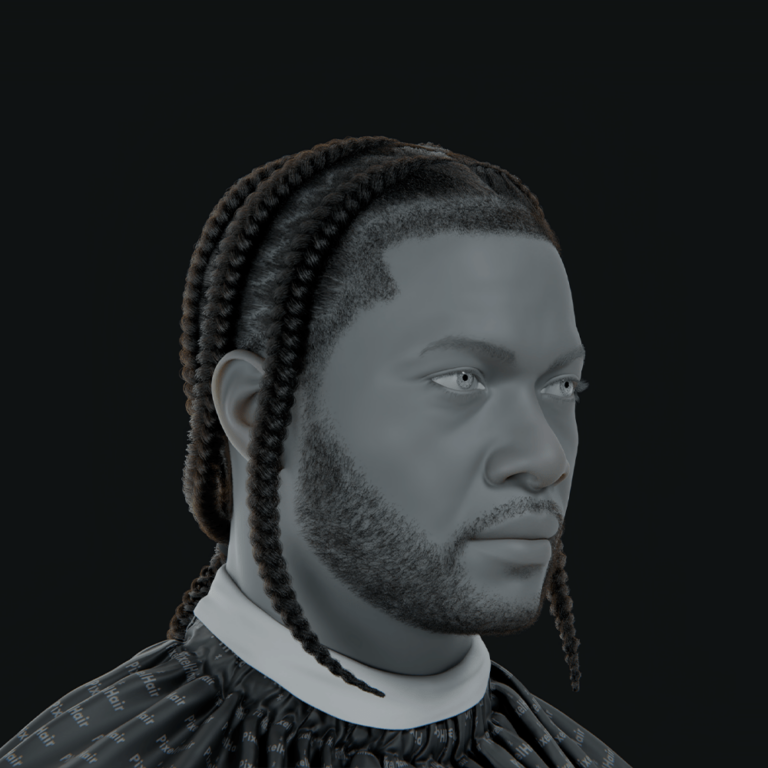
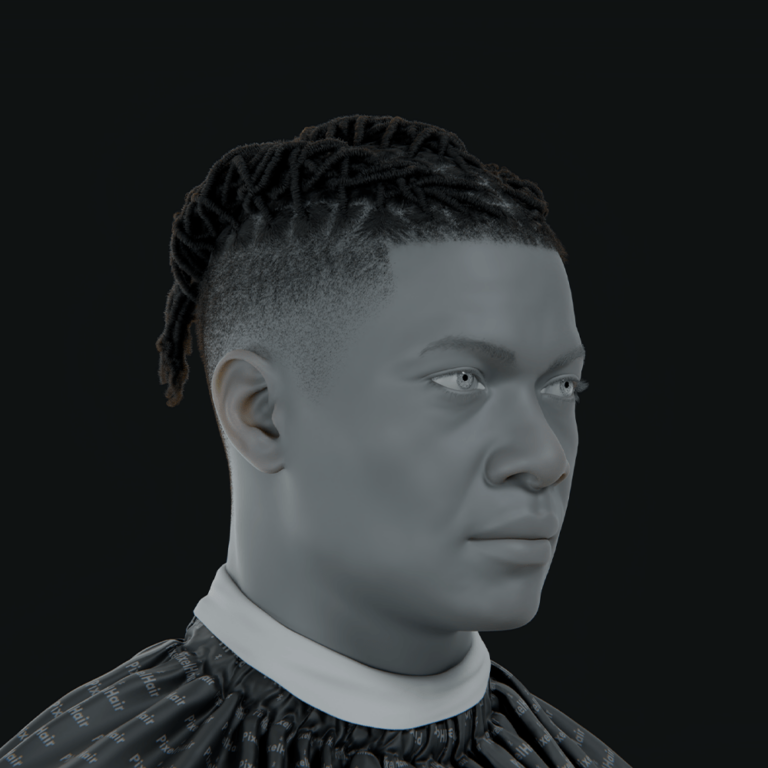
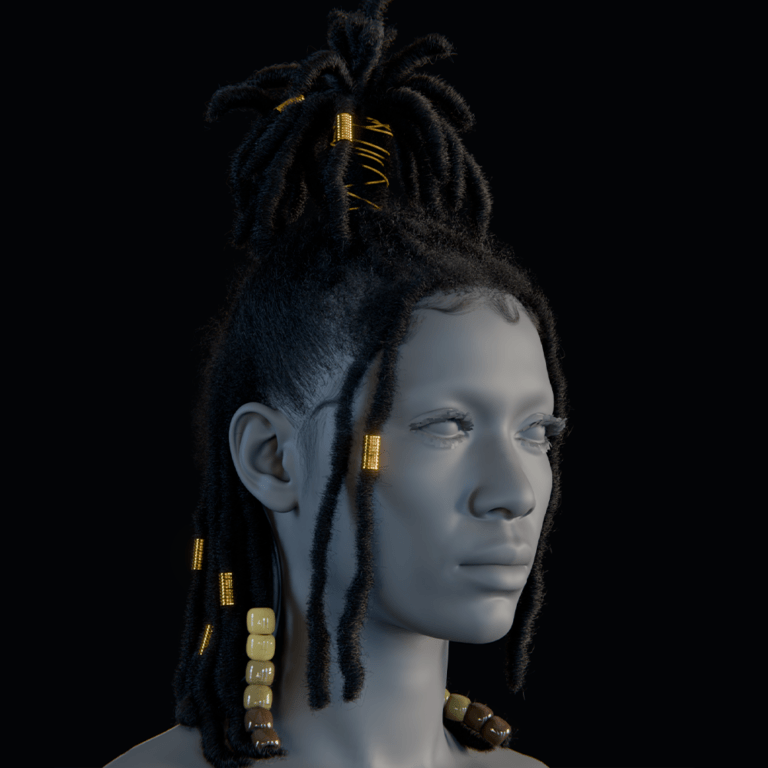
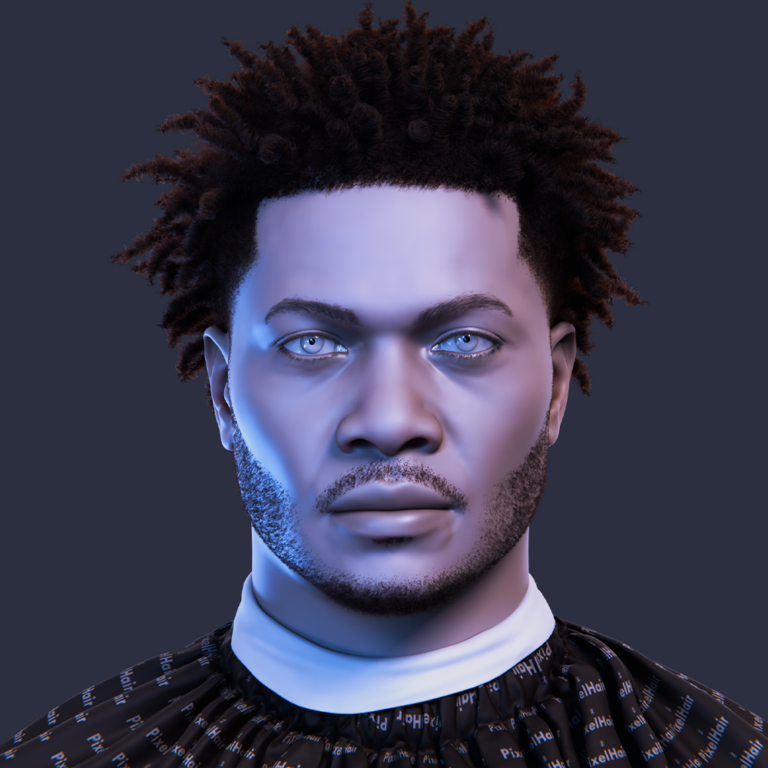
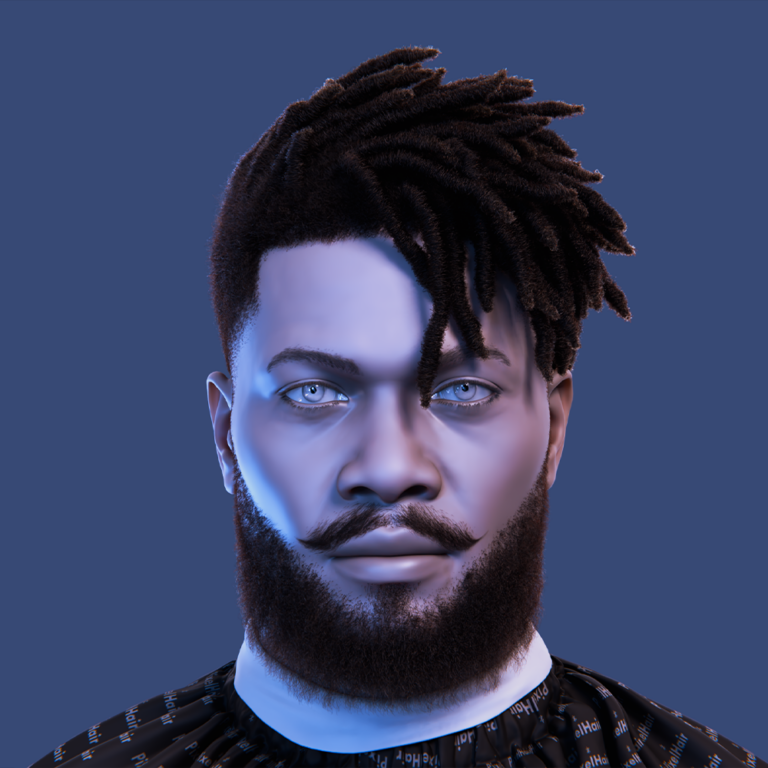
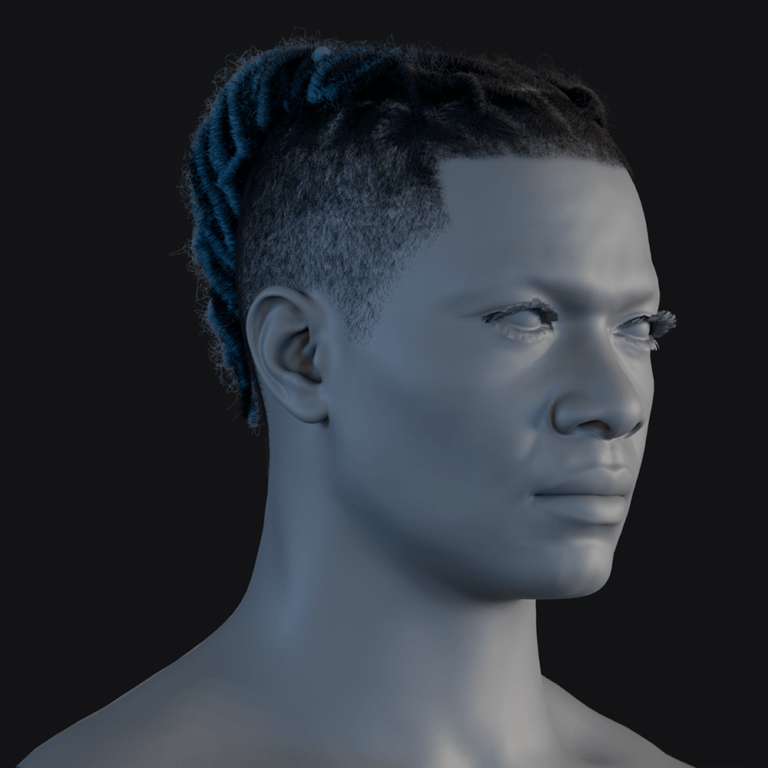
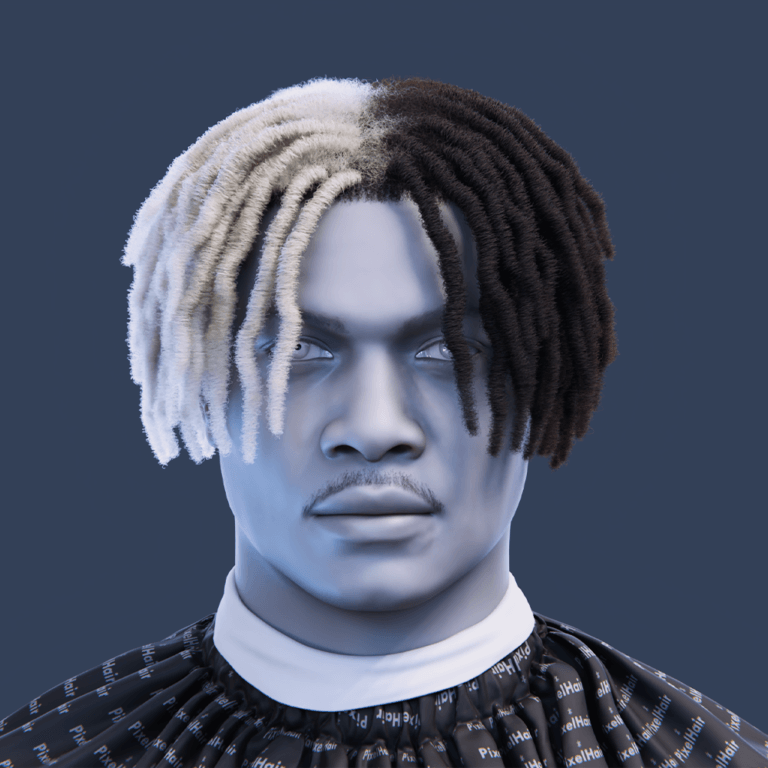
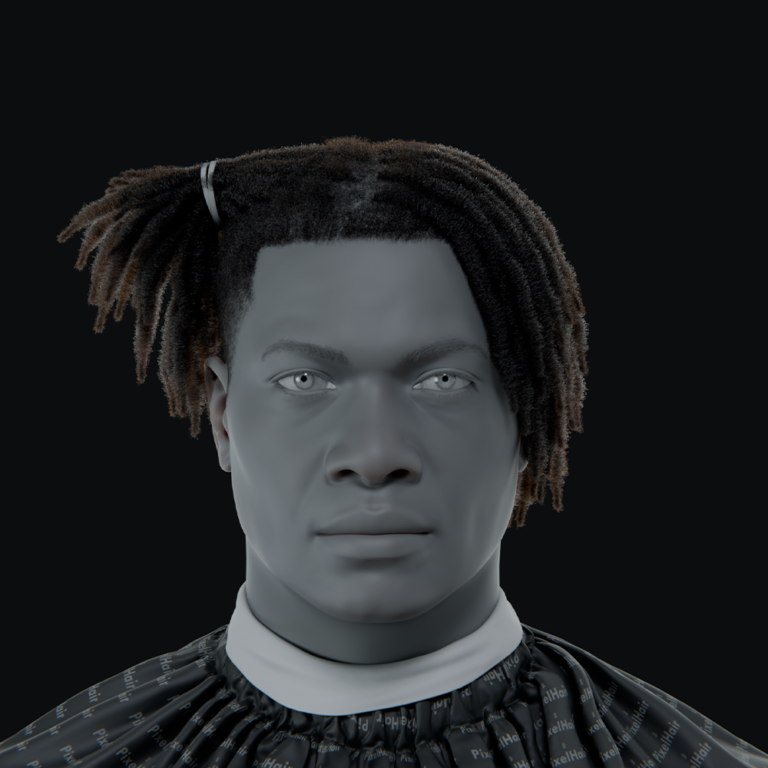
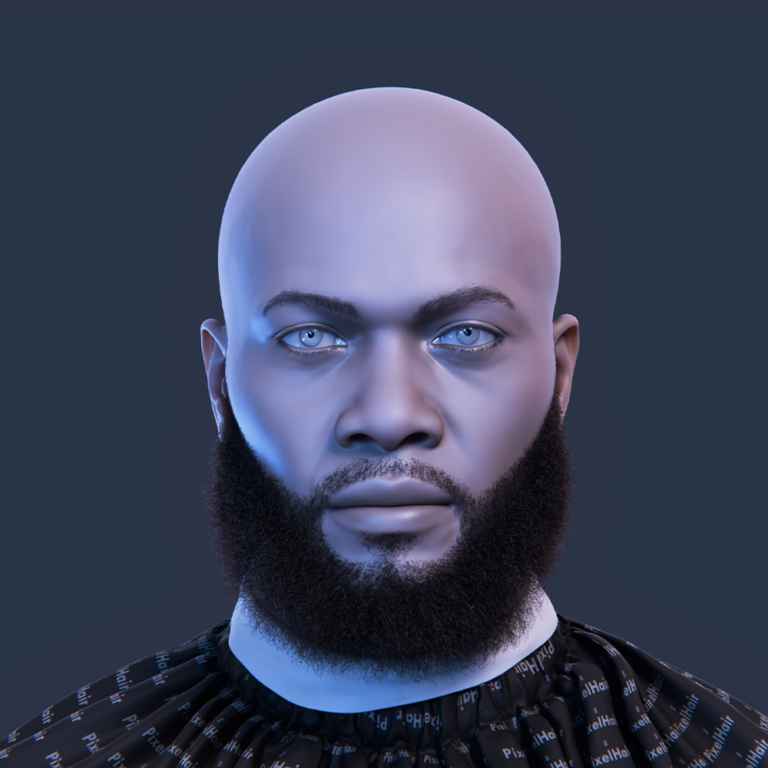
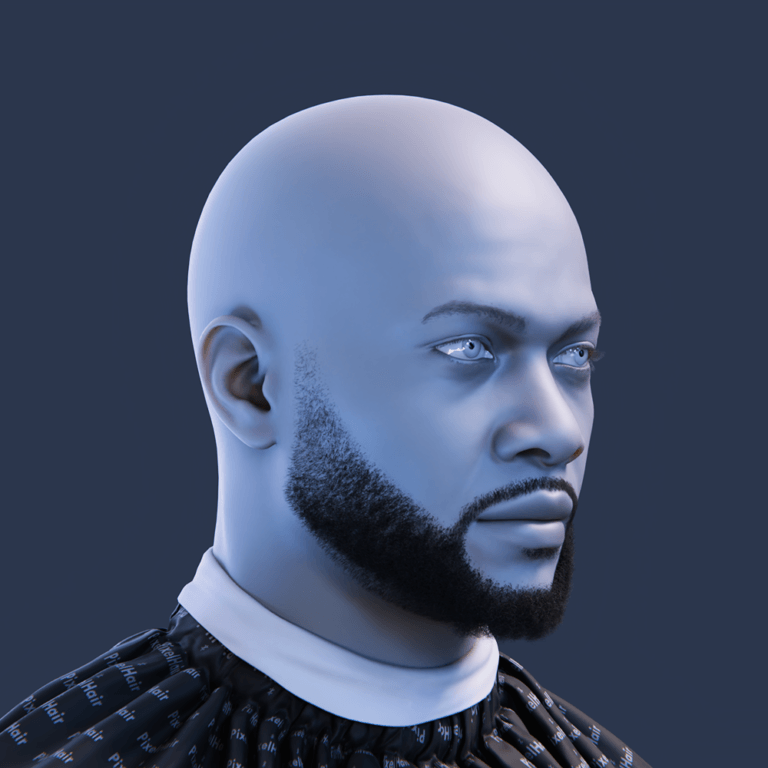
Photorealism in Blender hinges on fine details. Perfect models look CG if too clean; adding realistic dust, tiny hairs, and surface imperfections (scratches, smudges, wear) enhances realism by catching light and adding depth. Per blenderguru.com and cgcookie.com, this guide covers techniques for layering these elements on characters and environments, suitable for beginners and pros. It includes resource links (textures, add-ons) and tips to avoid mistakes.
How do I add realistic dust to surfaces in Blender?
Adding dust to surfaces in Blender enhances realism by mixing a “dust” material over the base material, controlled by a mask. Use a light-grey, high-roughness diffuse shader blended via a Mix Shader with a procedural (curvature/AO) or painted mask.
- Quick Tricks:
- Ambient Occlusion (AO): Use AO node + ColorRamp to mask dust in crevices.
- Pointiness (Cycles): Geometry node attribute for curvature-based dust (concave/convex); Cycles-only.
- Texture Masks: Black-and-white dust maps (UV-mapped) for precise placement.
- Eevee: Bake AO or use Dirty Vertex Colors/weight painting since Pointiness isn’t supported.
- Subtlety: Keep dust fine, thicker on upward surfaces (use light noise + stronger mask for tops).

What are the best techniques to simulate fine dust buildup in Blender?
- Resolution Tip: Use high-res textures to retain fine details, avoiding blur in Cycles.
- Noise Textures: Small-scale Noise/Musgrave for speckled dust, adjusted with ColorRamp; layer multiple for variety.
- AO for Crevices: Multiply noise with AO mask for buildup in corners.
- Normal Orientation: Use Normal node (Separate XYZ, Z output) to place dust on upward surfaces (Z ~ 1), fine-tuned with Math/ColorRamp.
- Thin Layer: Mix Shader for translucent dust; slight transparency or Add Shader to show base material, reducing specular/increasing roughness for matte effect.
Can I use particle systems to add tiny hairs or fibers on surfaces in Blender?
Blender’s hair particle system can scatter tiny hairs or fibers to simulate fabric fuzz, carpet, or dust lint, enhancing realism for close-ups.
- Setup:
- In Particles tab, create a Hair particle system.
- Set hair length to a few mm or less for micro-fibers.
- Increase hair count (thousands) for dense coverage, monitor performance.
- Use Interpolated Children with clumping/roughness for fiber clusters.
- Enable Advanced settings for randomness/Brownian motion to make hairs wispy.
- Use Vertex Groups to limit hair placement.
- Benefits: Creates geometry strands for realistic shadows/light, ideal for fabric or dusty surfaces (e.g., old book fibers).
- Alternatives: Model a fiber mesh and scatter via emitter system, though hair particles are simpler.
- Tips: Thin hairs (0.1 mm or less) with random length for natural look; limit use in large scenes for performance.

How do I add micro surface imperfections like scratches and smudges in Blender?
Micro imperfections (scratches, smudges, fingerprints) add realism via texture maps and material tweaks:
- Normal/Bump Maps for Scratches:
- Use grayscale scratch texture or procedural Noise/Voronoi in Bump node for fine scratches; adjust scale/depth.
- Image textures can also define scratch patterns, affecting shader normals.
- Roughness Maps for Smudges:
- Paint or use fingerprint images in Roughness channel of Principled BSDF (bright = rough, dark = glossy) for oily/glossy patches.
- Diffuse/Color Imperfections:
- Overlay stains (e.g., coffee, mud) via masks mixed into base color.
- Decals/Stencil Painting:
- Use Texture Paint with alpha stencils for precise scratch/grime placement.
Reference: Study real objects to match scratch/smudge patterns in shaders.
Layering: Combine tiled bump maps, distinct scratches, smudgy roughness, and color noise for realism.
Scale: Keep scratches hairline thin (fractions of a mm); use box mapping for seamless textures.
What texture maps help add realism in Blender?
Using texture maps enhances realism in Blender’s Physically Based Rendering (PBR). Key maps include:
- Roughness Map: Vital for realism, it varies surface glossiness (white = rough/matte, black = shiny). Adds subtle wear like fingerprints or grease; even procedural noise helps avoid uniform gloss.
- Normal/Bump Map: Simulates small geometry details (e.g., scratches, wood grain) without extra polycount. Normal maps for complex details; bump maps for simpler noise.
- Height/Displacement Map: Deforms mesh for larger imperfections (e.g., cracks, grooves) with dense mesh or adaptive subdivision; normal maps are lighter alternatives.
- Ambient Occlusion (AO) Map: Darkens crevices for natural dirt/shadows, multiplied over diffuse color. Useful in Eevee for tiny details real-time AO misses.
- Specular/Metallic Maps: Specular adjusts dielectric reflection; metallic defines metal vs. non-metal areas (e.g., rust vs. shiny metal). Metallic is key for mixed materials.
- Imperfection Masks: Black-and-white maps (e.g., dust, fingerprints) mask shaders or vary maps like roughness/normal for layered realism.
Combine maps (e.g., base color, normal, roughness, AO) for rich, used looks. High-resolution textures (pixels smaller than render pixels) ensure crispness; low-res can use tiling or noise to hide flaws.

Where can I find dust and imperfection texture packs for Blender projects?
Sources for dust, dirt, and imperfection textures include:
- PolyHaven: Free CC0 PBR textures, some with imperfection maps (e.g., roughness, normal).
- AmbientCG: Free CC0 library (part of PolyHaven) with fingerprints, smudges, dust.
- BlenderKit: Add-on with free and paid materials; search “dust” or “grunge.”
- Poliigon: Paid library with free samples, high-quality imperfections (e.g., scratches, fingerprints).
- Blender Market: Paid packs like “50 Grunge Maps,” varying prices/resolutions.
- Gumroad/itch.io: Indie artists offer free or cheap packs (e.g., dust, scratches), check licenses.
- Textures.com: Free tier (15 credits/day) for medium-res grunge, dirt, cracks.
- Quixel Megascans: Free with Unreal Engine via Quixel Bridge; scanned imperfections for personal use.
Also consider material libraries, shader add-ons, or photographing real surfaces (e.g., dusty glass) to create custom maps. A texture collection enhances material variety.
How do I use shader nodes to simulate dirt, oil, and dust buildup?
Blender’s Shader Editor excels at procedurally layering dirt, oil, and dust using masks to control their distribution:
- Dirt Buildup: Use a dark, matte diffuse/Principled BSDF (low specularity, high roughness) mixed via an Ambient Occlusion (AO) node for crevices. Multiply with Noise for patchiness. Invert AO for edge wear if needed.
- Oil/Grease: Mix a glossy/Principled shader (roughness 0.2-0.4, darker if dirty) using a smudge/fingerprint mask. Layer subtly on mechanical/touch areas; use Add Shader or roughness tweak for thin oil effect.
- Dust: Apply a light, rough diffuse/Principled BSDF with a mask combining AO (crevices) and normal Z (upward surfaces) plus Noise. Targets settled dust in protected spots.
- Layering: Combine masks (e.g., add/clamp dust + dirt) using math nodes or node groups (Dust Mask, Dirt Mask). Subtract scratches from dust for realism. Use AO, normal, Bevel node for edge/cavity effects.
- Color vs Shader: Mix colors (e.g., darken base with dirt mask) for simplicity or full shaders for accurate properties (matte dust, glossy oil).
Shader setup: Base Principled BSDF mixed with dirt BSDF (AO factor) and dust BSDF (AO + normal mask). Use Geometry Pointiness (Cycles) or Bevel + AO (Eevee) for edge wear.

How do I make materials look aged and used by adding subtle imperfections?
- Base Material: Start with a clean material (color, normal, roughness maps).
- Roughness: Vary with low-contrast Noise; glossy for touched/oily areas, matte for dust/oxidation.
- Edges/Corners: Use Pointiness/Bevel for worn edges (lighter/more metallic) or AO for grimy recesses.
- Color: Fade with subtle Noise/vertex paint (e.g., yellowed plastic).
- Dents: Add soft bump for gentle warping.
- Specific Marks: Place logical imperfections (scratches, stains) sparingly.
- Masks: Blend procedural (subtle grunge) with manual masks for targeted wear.
Approach: Layer subtle variations in gloss, color, and texture. Target edges/recesses differently. Add distinct marks softly (via ColorRamps). Exaggerate then reduce for balance, creating a believable, used look.
How do I control the distribution of dust using weight painting or vertex groups?
Controlling dust or particle placement in Blender uses vertex groups and weight painting for precise artistic control across particle systems, shaders, and geometry nodes.
Particle Systems:
- Use vertex groups to control density in Particle Settings > Vertex Groups > Density field.
- Weight (0.0–1.0) determines particle spawn: 0 = none, 1 = full density.
- Weight paint in Weight Paint mode (e.g., tops red [1.0] for dust, sides blue [0] to prevent).
Shader Mask:
- Use vertex group weights via Attribute node in Cycles as a shader mask.
- Weight becomes grayscale mask for Mix Shader (dust vs. base material).
Geometry Nodes Scatter:
- Distribute Points on Faces node uses vertex group weights as density attribute.
- Store vertex group as float attribute via Store Named Attribute for density control.
Weight Painting Steps:
- Enter Weight Paint mode.
- Paint heavy/light dust areas.
- Create vertex group (auto-made when painting or via Object Data Properties).
- Assign group to particle density, shader, or geometry nodes.
Why Weight Paint:
- Overrides procedural distribution for artistic intent (e.g., one dusty side, clear insignia).
- Combine with procedural factors (e.g., AO mask) for refined placement.

Can I Use Geometry Nodes to Scatter Hair and Debris Realistically?
Combines physics-inspired controls (normals, AO, weights) for realistic, procedural scattering (e.g., dust in corners, dirt on tops).
Yes, Geometry Nodes offer flexible scattering:
- Basic Scatter: Distribute Points on Faces, instance objects (hair clumps, dust) with Instance on Points.
- Density/Placement: Control with vertex groups, textures, or Normal Z (e.g., upward faces only).
- Variation: Randomize scale/rotation with Random Value nodes or texture clumping.
- Pile-up: Approximate with multiple scatter layers or weight painting.
- Hair: Use new Hair curves or instance cylinders/cards.
- Advanced: Sample UV-mapped image textures for precise distribution.
How do I simulate dust particles settling on uneven geometry in Blender?
Simulating dust settling on uneven objects involves mimicking gravity’s effect on upward-facing surfaces and crevices using shaders or geometry masks.
Using Shaders (Mask by Orientation):
- Detect upward-facing surfaces with Normal Z (Geometry node → Separate XYZ): 1 = up, 0 = vertical, -1 = down.
- Use ColorRamp or Math > Greater Than to mask upward faces (white) for dust shader.
- Refine with Absolute node for both up/down faces, adjust ramp to favor up-facing only.
- Combine with Ambient Occlusion (AO) mask to limit dust to occluded upward areas (e.g., still crevices).
- Add cavity mask (pointiness in Cycles) to collect dust in pits, not raised details.
Geometry Nodes Approach:
- Scatter points biased to horizontal surfaces using normal logic (as in shaders).
- For precision, use particle system with gravity (physics), though often unnecessary for static dust.
Dust Distribution:
- Favor horizontal surfaces (Normal Z mask).
- Favor crevices (AO/pointiness mask).
- Disfavor exposed thin parts (curvature/weight).
- Add noise for uneven realism.

What lighting techniques help emphasize surface imperfections in renders?
- Glancing Angles: Low-angle light casts shadows on bumps/dust (e.g., side-lit dusty table).
- Backlighting: Highlights translucent flaws (e.g., fibers) with rim light.
- Controlled Reflections: Bright source/HDRI shows smudges via specular highlights (e.g., fingerprints on glass).
- Fill Lights/AO: Gentle fill or AO pass enhances subtle shadows (e.g., dust specks).
- Depth of Field: Focus on surface, shallow DOF to blur distractions, but keep imperfections sharp.
- High Resolution: Render high-res with enough samples to preserve detail, avoid over-denoising.
Lighting creates contrast: low-angle shadows and strategic highlights reveal dust and texture, avoiding flat frontal light.
How do I create custom imperfection masks for use in Blender materials?
Creating custom imperfection masks targets specific effects on your model using these methods:
- Texture Paint in Blender: Paint on the UV map in Texture Paint mode. Create a new image (e.g., 4K), paint white for imperfections, black elsewhere. Use stencil textures (e.g., scratch alpha) to stamp details like grime or wear. The mask aligns with UVs in the shader via an Image Texture node.
- Baking Curvature/AO: Use “Dirty Vertex Colors” in Vertex Paint mode for a cavity map (low-res unless mesh-dense). Edit vertex colors, or use Geometry Nodes for pointiness. Access in shaders with the Attribute node.
- External Tools: Edit UV layouts in Photoshop/GIMP (e.g., scratch brushes, noise) or Substance Painter (generators with curvature/AO). Export as a black-white mask for Blender.
- Procedural Baking: Create a procedural mask (e.g., AO + noise), bake to an image (diffuse/emit), then tweak manually for a hybrid result.
- Custom vs. Procedural: Paint specific areas (e.g., mud on vase base, worn floorboard center) when procedural is too generic. Combine procedural (base noise) with hand-painted masks for natural variation.
- Shader Use:
- Plug mask into Fac of Mix Shader or Color Mix (MixRGB).
- Set image Color Space to Non-Color for factors.
- Drive multiple effects (e.g., dust color + roughness) with one mask.
Custom masks range from simple Blender painting to advanced external workflows, offering precise control for realistic imperfections.

What’s the best way to combine procedural noise and image textures for realism?
Combining procedural and image-based textures yields the best results over using just one. Here’s how to blend them effectively:
- Use Procedural as Mask: Mask an image texture (e.g., scratches) with procedural noise to break repetition, modulating opacity/intensity via large-scale noise.
- Use Image as Mask: Apply an image mask (e.g., mud splashes) to limit procedural effects (e.g., dirt noise) to specific areas, combining shape and organic detail.
- Add Detail at Scales: Layer image textures (macro patterns like cracks) with procedural noise (micro details like pores) using mixed normals or height maps for rich detail.
- MixRGB/Math Nodes:
- Multiply: Masks/modulates image with procedural (e.g., noise fades image parts).
- Add: Overlays patterns (e.g., noise on roughness).
- Mix: Blends textures via a mask (e.g., noise or painted factor).
- Image Base, Procedural Variation: Start with an image for realism, then add procedurals to fix uniformity (e.g., randomize tiled stains).
- Example: Use an image mask to confine procedural moss on a log, with noise adding detail within.
- Baking: Bake combined textures into a new image for simpler reuse/export.
Experiment with blend modes for realism, where procedural adds detail/uniformity-breaking and images provide complex patterns.
Can I Use Blender’s Particle Hair System for Realistic Tiny Surface Fibers?
Yes, Blender’s hair particle system can simulate tiny surface fibers (e.g., cloth fuzz, dust) with adjustments:
- Length/Thickness: Set short length (e.g., tenths of a unit) and thin diameter; use Hair Info node for tapering if needed.
- Children Particles: Enable Interpolated/Simple children for coverage with fewer parents; adjust clumping for tufts (e.g., dust bunnies).
- Shape: Add slight Kink (curl/wave) with randomization for a wild, fluffy look.
- Material: Use diffuse or Principled BSDF with high roughness; add sheen for light catch (e.g., velvet effect).
- Density: Control fiber placement with a vertex group (e.g., tops of objects, fabric, not metal).
- Use-Cases: Enhance carpets, blankets, old books, or dusty surfaces with sparse fibers over a base texture.
- Rendering: Keep counts low for performance; use Hair/Principled Hair BSDF in Cycles for accuracy, or simple diffuse/sheen for fuzz.
The system turns bump maps into real geometry, ideal for realistic micro detail (e.g., fabric macro renders), if tuned for performance.

How do I layer imperfections like dust, fingerprints, and grime for realism?
Layering imperfections involves managing separate masks and combining them realistically without unrealistic overlap.
- Create Individual Masks: Generate a unique mask for each imperfection (e.g., dust from AO/top-facing logic, fingerprints painted/from images, grime from AO/dripping patterns), keeping them adjustable.
- Order of Layers: Dust typically tops all (settles last), fingerprints may remove/smear dust, grime sits under dust but over base material:
- Grime: lowest, stuck to object.
- Fingerprints: interact with base/dust.
- Dust: top layer.
- Combine Masks Thoughtfully: Fingerprints on dust wipe it away (dust_mask_final = dust_mask_orig – fingerprint mask * factor), adding oil sheen separately. Grime vs. dust: subtract grime mask from dust if wet (dust avoids it), or leave dust if grime is dry (dust covers all).
- Use Nodes to Layer Shaders:
- Start with base material.
- Mix grime shader with grime mask.
- Mix result with fingerprint/oil shader using fingerprint mask, adjusting dust mask.
- Mix dust shader with final dust mask, using MixRGB/Math nodes for mask operations.
- Blend Edges: Soften mask transitions with ColorRamp/blur (e.g., fingerprint dust removal feathers out naturally).
- Order by Time: Dust settles last, post-dust effects (fresh fingerprints) disturb it, pre-dust effects (old stains) get covered.
Example (Wooden Table):
- Grime in corners (coffee/soda residue) – grime mask, darker glossy shader.
- Dust settles everywhere – full dust mask.
- Recent fingerprint swipe – subtract from dust mask (shows table/grime), add sheen.
- Scratches – separate layer; deep scratches hold dust (whitish), fresh ones cut through (clean).
Key Mask Operations:
- Add: Effects coexist (e.g., dirt + rust).
- Subtract: One prevents another (e.g., fingerprint removes dust).
- Multiply: One confines another (e.g., AO * dust).
Use Blender nodes (e.g., “Imperfection Mixer” group) to layer logically, creating a realistic, history-rich object.
What render settings help bring out small details like hair and dust?
To preserve micro details in renders, adjust settings carefully:
- Sampling: In Cycles, use high samples and OIDN/OptiX denoiser in the compositor with Normal/Albedo passes to retain detail, not viewport denoiser. Avoid blurring fine scratches.
- Denoiser Blend: Mix denoised and noisy images (factor < 1) to keep detail grain, or use OIDN’s “preserve detail” option/GPU AI denoiser for texture clarity.
- Pixel Filter: Lower Cycles’ Gaussian filter width (e.g., 0.5–1.0) for sharper tiny features, but avoid aliasing.
- Clamp/Fireflies: Use light clamping for shiny particles, preserving specular glints without dimming.
- Resolution: Render at higher res (e.g., 4K) for detail clarity, downscale later for better denoising and sharpness (200% res for 1080p output).
- Shadows:
- Eevee: Enable Contact Shadows for small geometry shadows (dust, hair).
- Cycles: Adjust Shadow Terminator offset for bump map details on low-poly surfaces.
- Adaptive Subdivision: In Cycles (Experimental), use for displacement details (e.g., scratches), increasing geometry detail in close-ups, reducing it farther away.
- Motion Blur/DOF: Limit blur to keep details in focus; render without motion blur for detail shots.
- Color Management: Use AgX transform, slightly boost contrast to enhance small shadows, tweak in post if needed.
- Post-Processing: Apply light sharpening (high-pass/unsharp mask) to emphasize scratches/dust without noise.
These settings ensure micro details like dust, hair, and scratches remain visible, not lost to rendering.

How do I add ambient occlusion-based dirt buildup in crevices and corners?
Ambient Occlusion (AO)-based dirt enhances material realism in Blender by adding dirt to cracks without manual painting:
- AO Node (Shader): Available in Cycles and Eevee (2.8+). Outputs white (exposed) and black (occluded). Invert it (ColorRamp/invert node) to make crevices white, then mix in dirt color (e.g., brown) using it as a factor. Adjust AO Distance for larger crevices.
- Geometry Pointiness (Cycles): Highlights concave areas (low pointiness). Invert and sharpen with ColorRamp to mask dirt in cavities. Mesh subdivision affects sharpness.
- Vertex Dirt: In edit mode, Dirty Vertex Colors bakes AO-like dirt into vertex colors. Use as a mask in shaders (static, doesn’t update with geometry/pose changes). Useful for Eevee.
- AO Pass (Composite): Render AO pass (Cycles), multiply over render with dirt tint in compositing. Screen-space, post-process method; doesn’t affect material light bounce.
In Eevee, bake AO to textures/vertex colors or approximate with geometry nodes. AO requires no UVs, auto-applies based on geometry. Combine with pointiness (edge wear) for full weathering: AO darkens crevices, pointiness lightens edges.
Are there free or paid add-ons for surface imperfections in Blender?
- Grungit: Free/paid add-on. One-click wear/tear (edge wear, crevice dirt) via procedural nodes. Adjustable grunge levels.
- Dust Particle Systems: Asset (Geometry Nodes) by CreativeShrimp. Free/pro versions for floating/settled dust.
- DECALmachine: Paid add-on for mesh decals (e.g., rust, scratches). Non-destructive hard-surface detailing.
- Extreme PBR/Material Libraries: Paid material packs with pre-made imperfections (e.g., scratched metals).
- Quick Dirt: Free add-ons/scripts (e.g., BlenderKit) apply simple AO-based dirt shaders.
- Mask Tools: Add-on for generating masks (curvature, AO) to layer imperfections.
- Gumroad Packs: Texture packs with Blender node setups (e.g., fingerprints).
BlenderKit/Quixel Megascans integrate material libraries (search “dust”). Community scripts (BlenderArtists/Reddit) offer lightweight options. Paid tools automate manual setups; free ones provide starting points.

What are the most common mistakes when trying to add realistic dust and wear in Blender?
When adding dust and wear to 3D models, avoid these common mistakes:
- Overdoing It: Too much dirt, scratches, or rust can look unrealistic. Apply subtly, reduce by ~50% if overdone for balance.
- Uniform Distribution: Avoid even dust/scratch layers. Use gradients, patches, and clear areas (e.g., cleaner sides, worn centers) with vertex paint or weight for variation.
- Ignoring Scale: Ensure dust/scratch size matches object scale (e.g., no huge scratches on small items). Adjust mapping/UV scale to fit real-world proportions.
- Low-Resolution Textures: Stretching small maps (e.g., 1K on big objects) causes blurriness or tiling. Use high-res textures or add procedural details to mask low-res.
- Neglecting Roughness: Uniform roughness looks fake. Vary it (e.g., dry dust vs. oily fingerprints) to reflect material differences.
- Poor UVs/Mapping: Stretched UVs or bad coords distort textures. Use decent UVs for image textures or box/triplanar mapping for procedurals.
- Incoherent Layering: Illogical layers (e.g., rust over dust, bright fingerprints) break realism. Follow physical logic (e.g., fingerprints darken/gloss, not brighten/roughen).
To improve, check if it looks natural, compare with references, and practice for better intuition on amount and placement.
FAQ Questions and Answers
Q&A on Adding Realism in Blender
- Do I need dust and scratches on every object for realism?
No, it depends on context. New objects can be clean; focus on naturally worn areas (floors, touched surfaces, forgotten props). Balance clean and dirty for contrast and realism. - Easiest way for a beginner to add dust in Blender?
Use a Mix Shader with Geometry > Pointiness or Ambient Occlusion into a ColorRamp to mix light gray dust over the base shader. Add Noise for patchiness or use addons like Grungit for one-click dust. - Can I animate dust accumulation or removal in Blender?
Yes, animate masks/vertex groups (e.g., moving texture to wipe dust). Use Dynamic Paint (surface as canvas, rag as brush) or animate Mix Shader factor. For falling dust, use particle systems with gravity. - How to add realistic fingerprints on a производителейsurface?
Use a fingerprint texture as a mask via decal or UV mapping. Adjust material to be darker/glossier (low roughness) for oily effect. Place logically (screen edges, handles); bump is minimal. - Why isn’t my dust visible in the render?
Check contrast (dust vs. material color), lighting (low-angle or brighter), and Cycles denoising (increase samples or use Normal/Albedo pass). Exaggerate dust brightness/matte or add slight bump. - Cycles or Eevee for fine surface details?
Cycles excels at realism (microdisplacement, accurate lighting, full node support). Eevee works with baked maps and tweaks (high bitdepth shadows) but is faster for animation. Cycles is best for stills. - How to prevent repeating patterns with tiled grunge textures?
Avoid repetition by:- Using multiple layers at different scales/offsets.
- Mixing in procedural noise.
- Applying Tri-planar projection with noise blending.
- Randomizing UVs or painting masks to hide repeats.
- Do I always need UV unwrap for imperfections?
No, procedural methods (Object/Generated coordinates, Noise, Tri-planar) work without UVs. UVs are needed for precise image textures or complex masks on detailed shapes. - How to add dust/dirt to corners or edges?
Use Ambient Occlusion for corners or Pointiness (inverted) for edges to mix dirt shaders. Alternatively, weight paint or texture paint corners, or use particles with AO/vertex color. - Where can I get free scratch/dust maps for Blender?
Sources include:- PolyHaven (CC0 grunge maps).
- AmbientCG.
- Texture Haven (dust/fingerprints).
- textures.com (free with account).
- BlenderKit (built-in assets).
- Community forums.
- Search “free grunge texture PNG” (check licenses) or photograph your own.

Conclusion
Realism in Blender comes from subtle imperfections like dust, scratches, and wear. Use shaders (AO, Pointiness, Noise), particles, or painted masks to mimic real-life chaos. Observe reality to guide placement—dirt in corners, worn edges, oily fingerprints. Blend procedural and image-based methods for best results. These details elevate renders, making them convincingly real, even if viewers don’t notice each one. Add just enough imperfection to your scenes for that authentic feel. Happy Blending!
Sources and Citation
- Blender 3D School – Creating Surface Imperfections (dust, dirt, wear) with Procedural Techniques
- Blender StackExchange – Answer by sacrish on using normal’s Z for directional dust (2019)
- Blender Artists Community – Procedural texture and Image Texture (masking image with procedural)
- Blender 4.x Manual – Sheen BSDF (microfiber reflection for cloth/dust)
- Reddit r/blenderhelp – Denoising without losing detail (suggestions to use passes and higher resolution)
- CG Cookie – Top 10 Blender Material Mistakes and How to Fix Them (Jonathan Lampel, 2024)
- Blender 4.x Manual – Particle System > Vertex Groups (density by weight painting)
- BlenderGuru (Andrew Price) – How to Add Dust to Any Model (2015)
- Blender Artists Community – Realistic Fabric Fuzz with Particles thread (2015)
- Gumroad – Grungit Add-on by Abdou Bouam (Wear and Tear generator)
- CreativeShrimp – Dust Particles+ Geometry Nodes asset (Aidy Burrows/Gleb Alexandrov, 2023)
- Polydin Blog – Mastering 3D Lighting (lighting for texture detail, oblique lighting)
- CG Cookie – Top 10 Material Mistakes (Edge wear and combining masks advice)
- BlenderArtists Community – Adding Realistic Dirt and Dust thread (using AO and pointiness for grime)
- Blender StackExchange – Answer on blending materials with AO node (concept for rust/dust by AO)
Recommended
- Best Places to Buy Unreal Engine Metahuman Assets: Top Marketplaces, Reviews, and Expert Tips
- How do I set a camera as the active camera in Blender?
- Blender Roll Hair Curves Geometry Nodes Preset: Comprehensive Guide
- The View Keeper vs. Manual Camera Switching: Which is Better?
- How to Create a Sci-Fi Metahuman in Unreal Engine 5: A Step-by-Step Guide
- Why The View Keeper Is the Best Blender Add-on for Scene Management
- How do I make the camera look at an object automatically in Blender?
- Best Blender Add-ons for Camera Management: Why The View Keeper Stands Out
- Blender Straighten Hair Curves Geometry Nodes Preset – Complete Guide & Best Practices
- How do I export a camera from Blender to another software?
