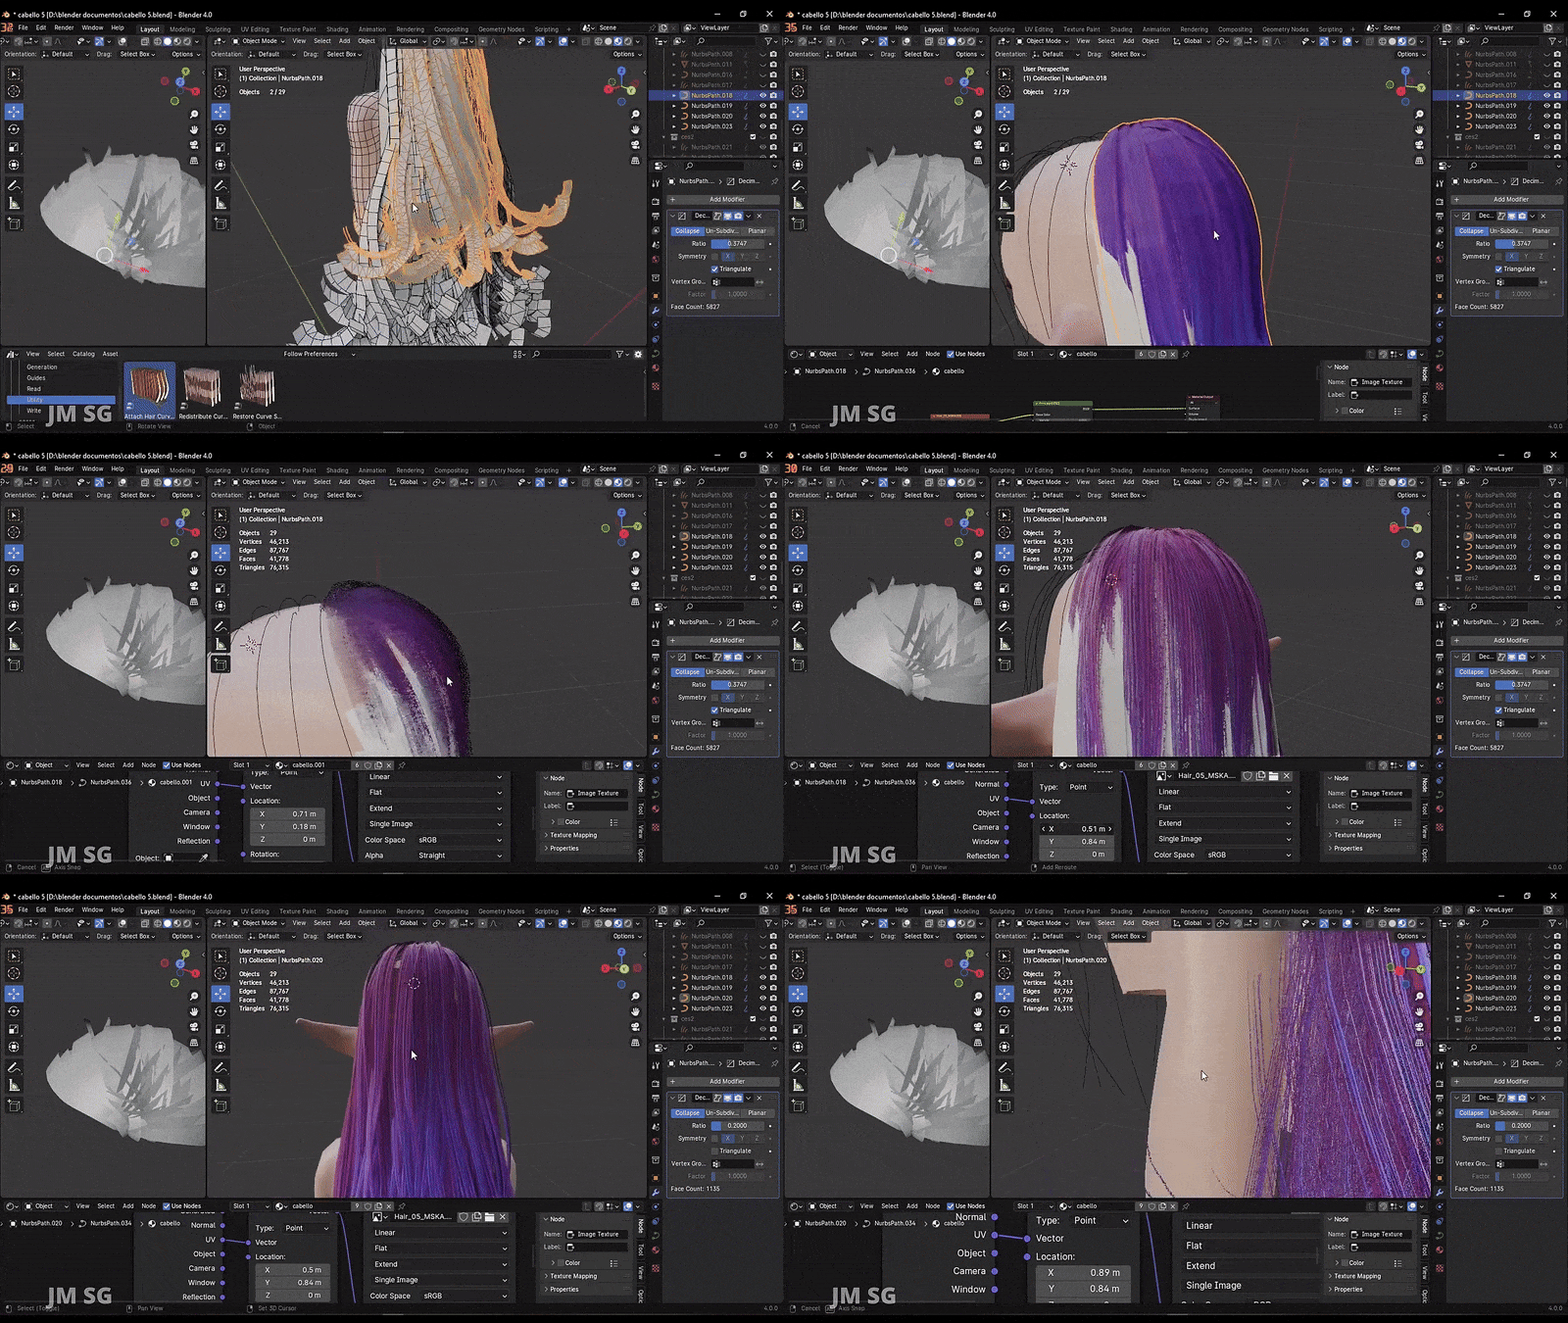
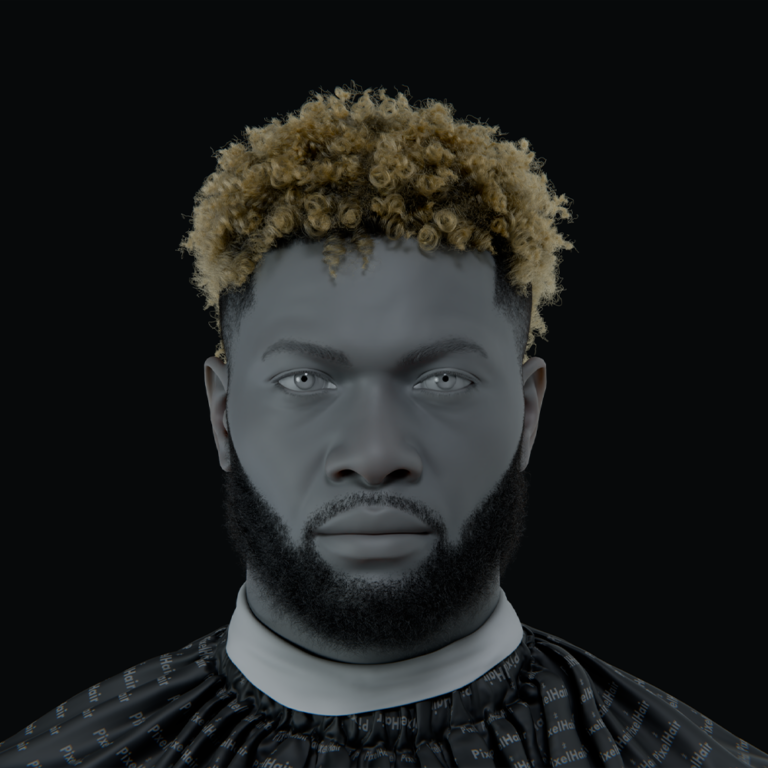
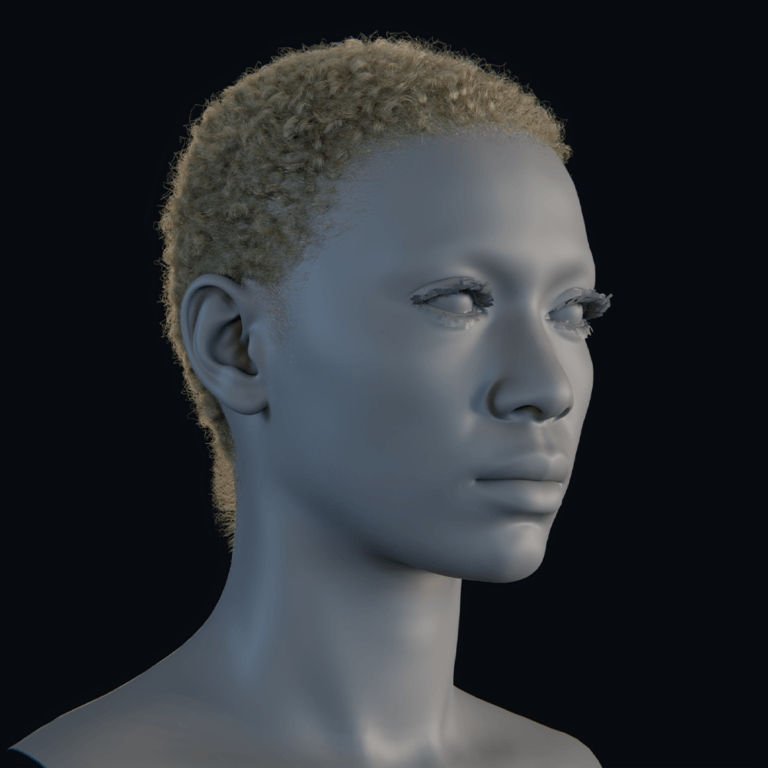
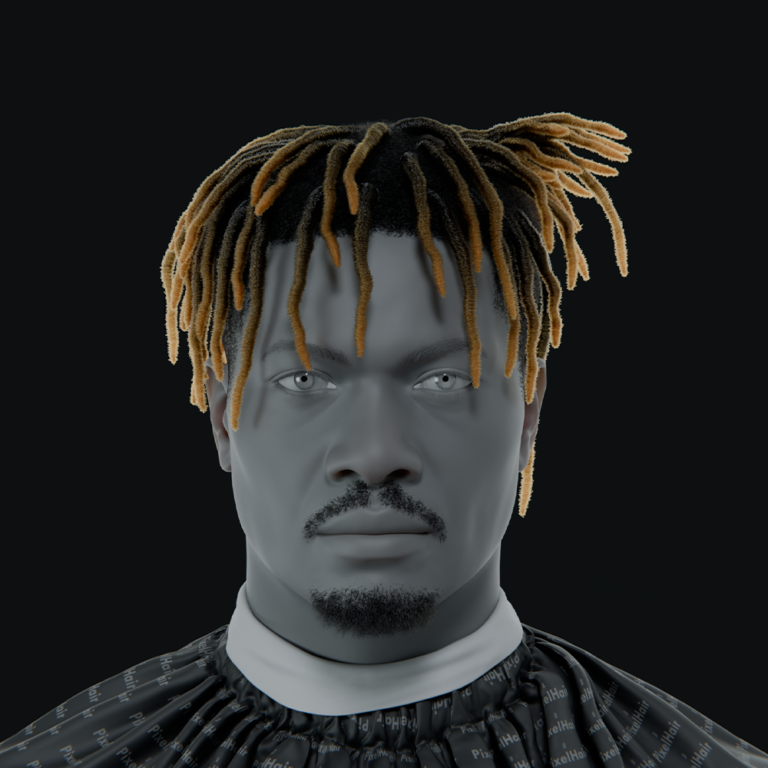
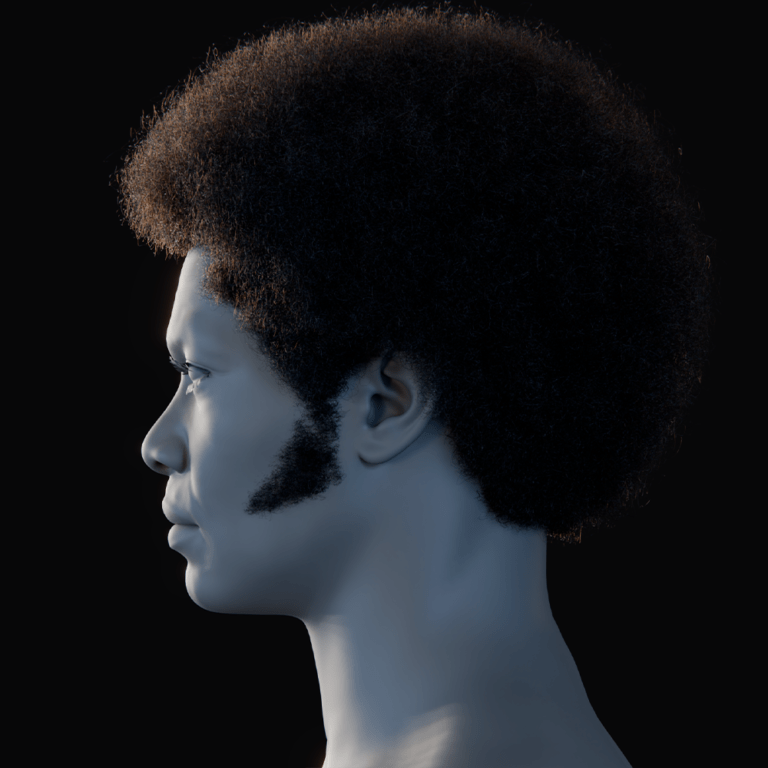
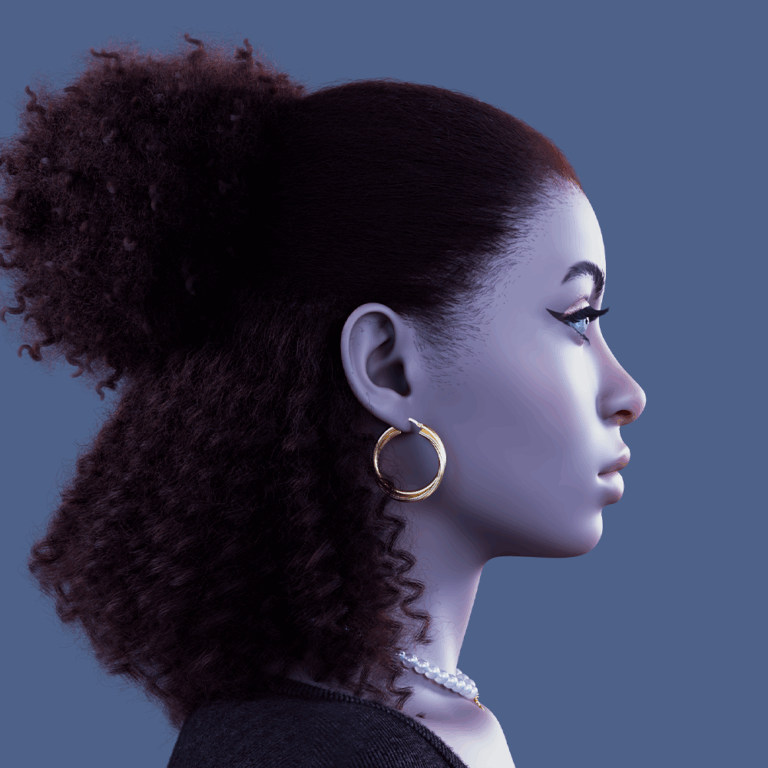
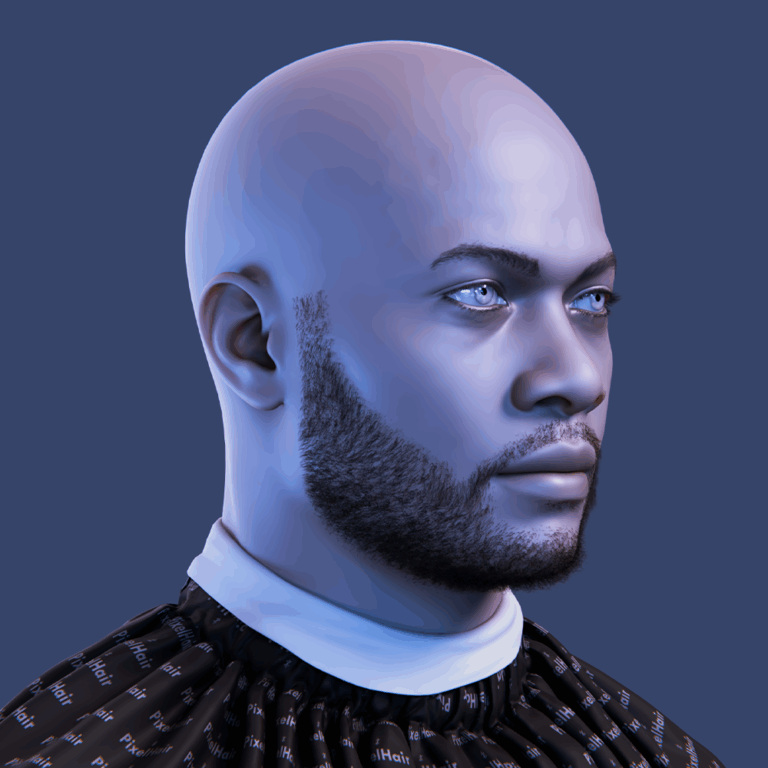
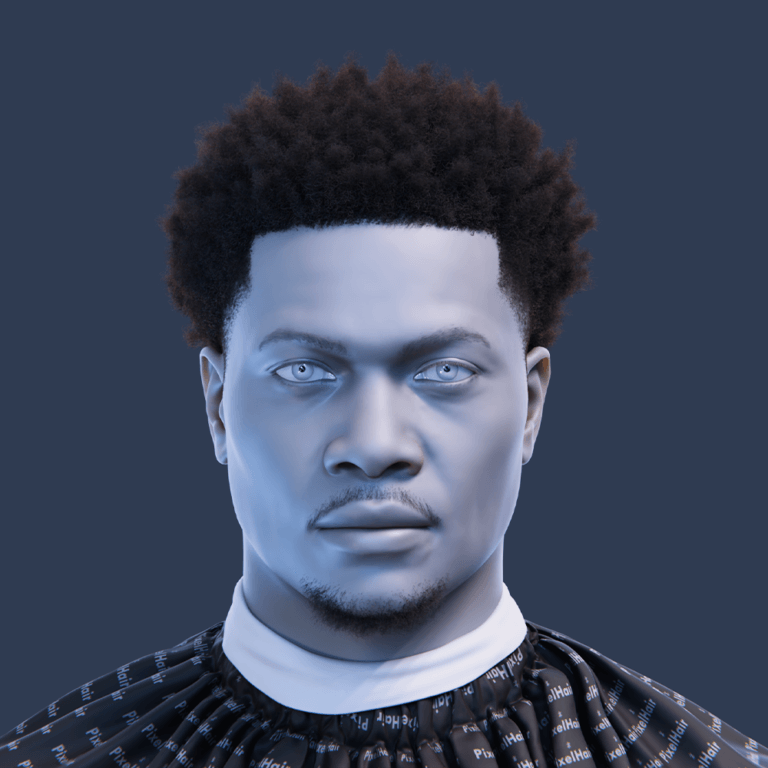
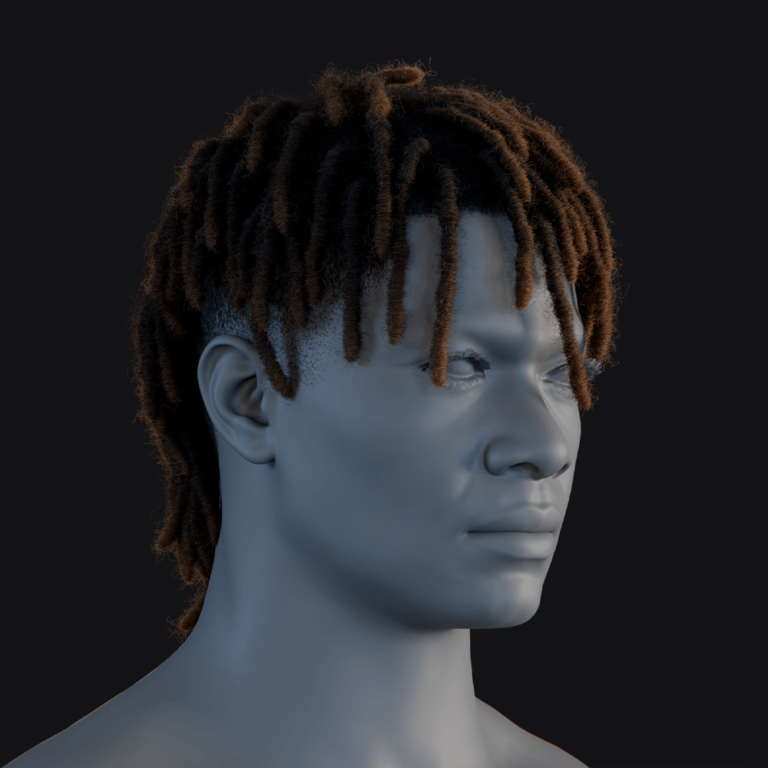
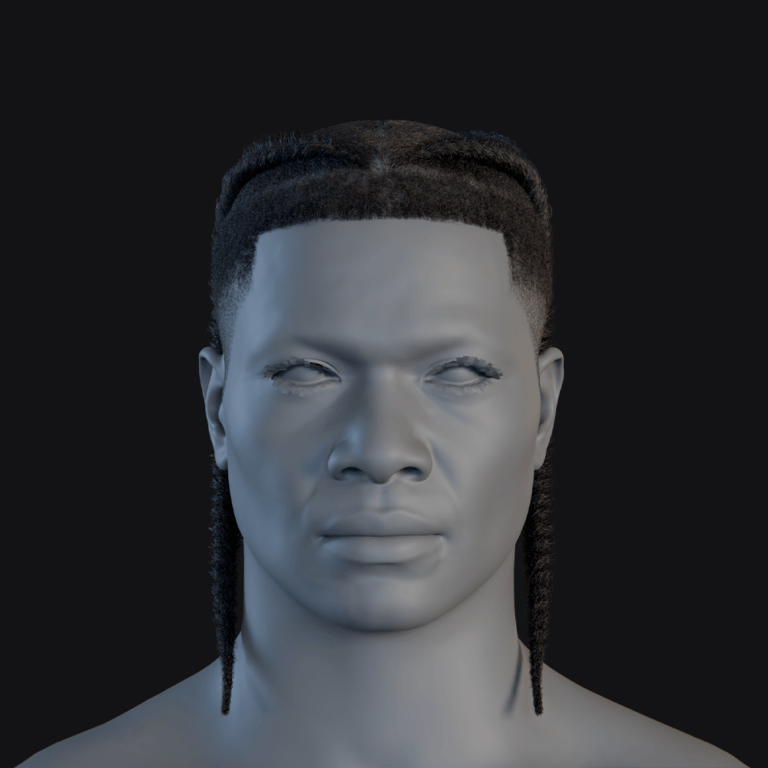
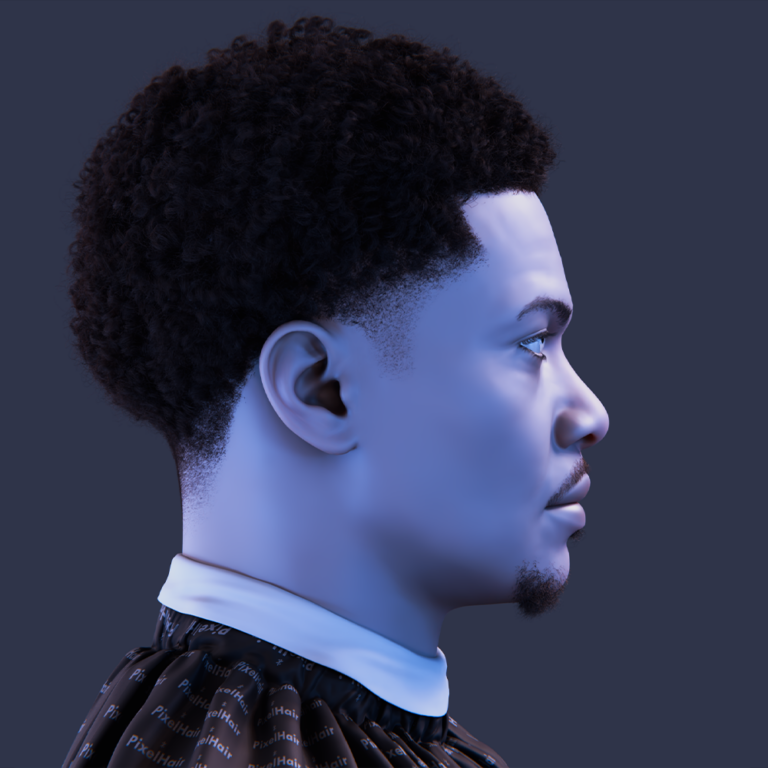
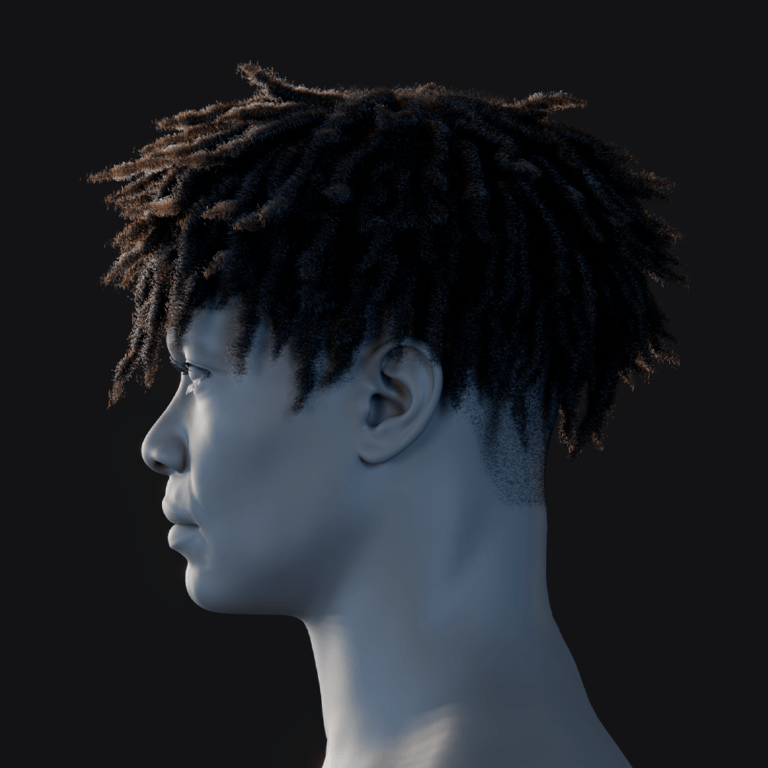
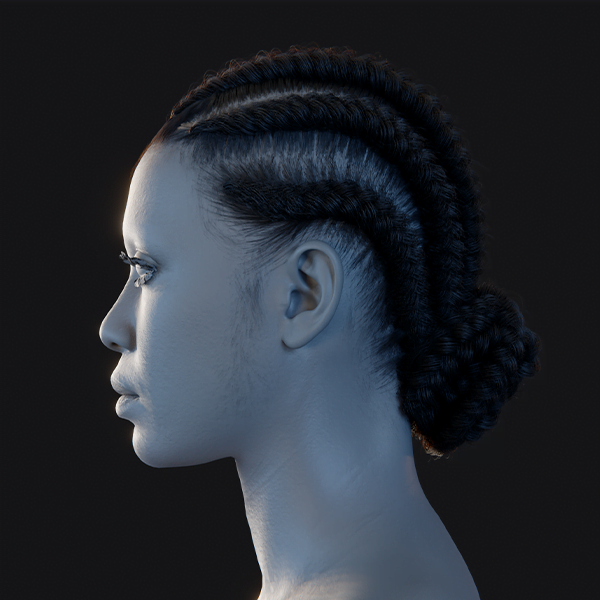
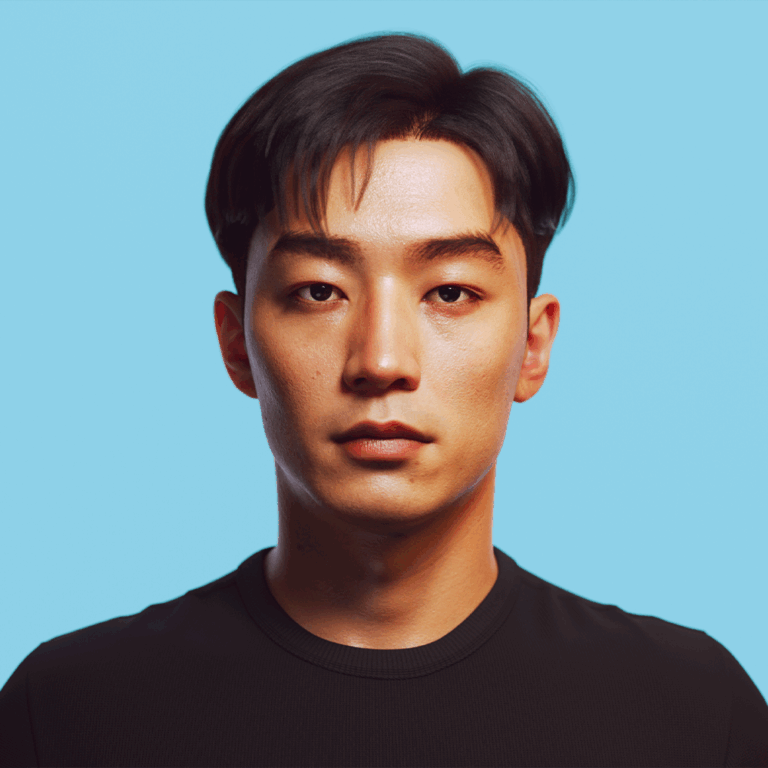
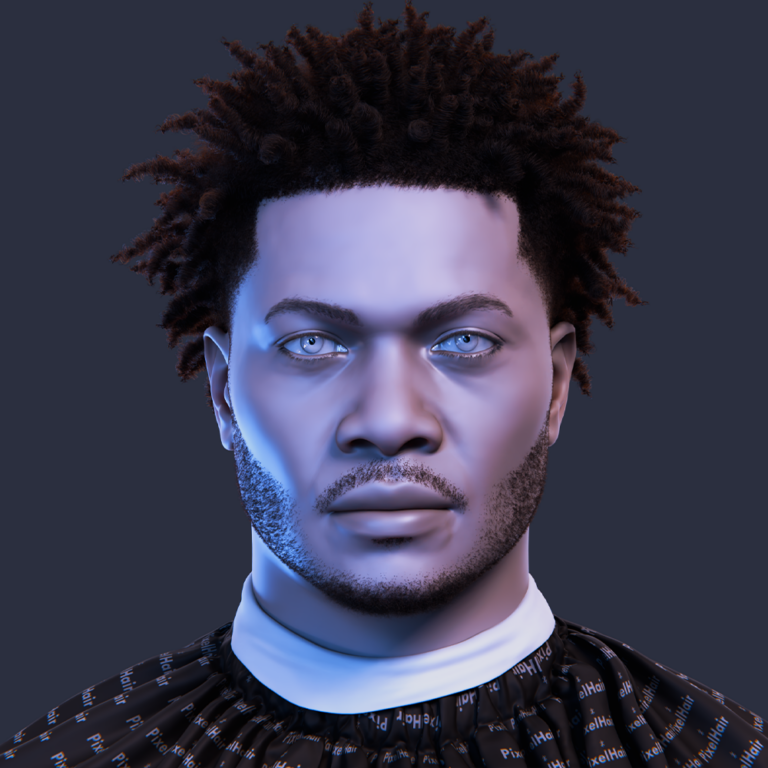
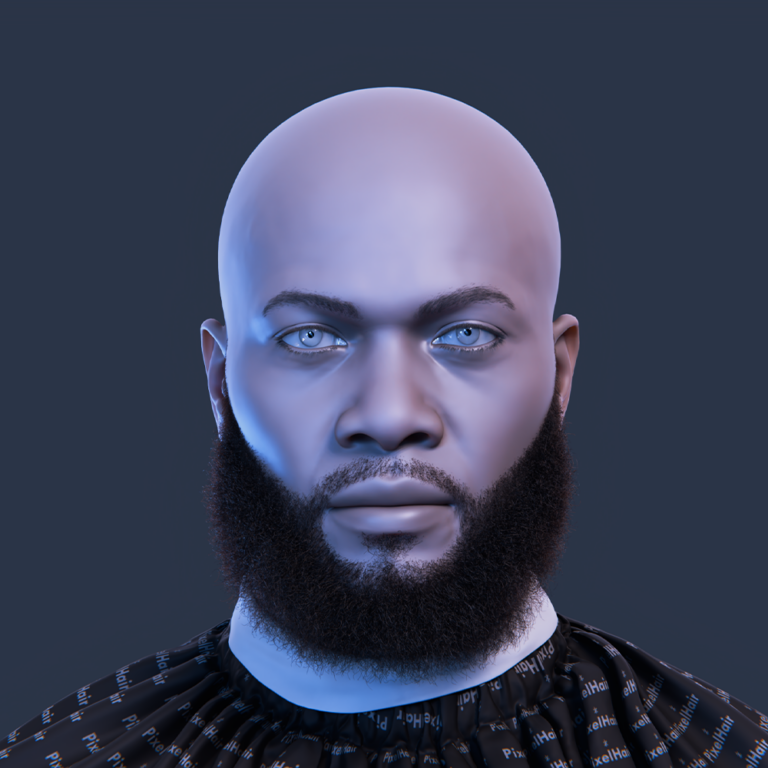
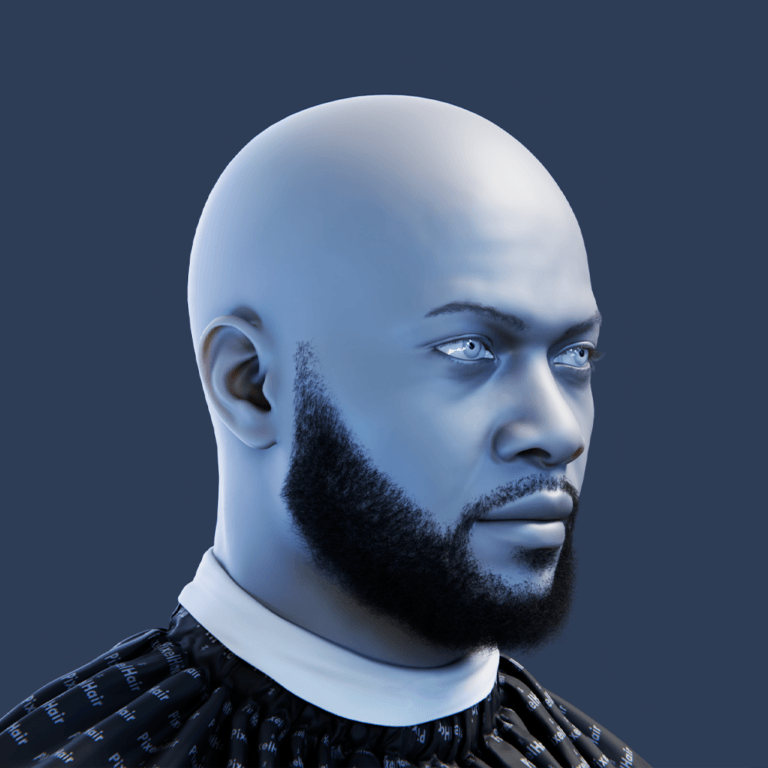
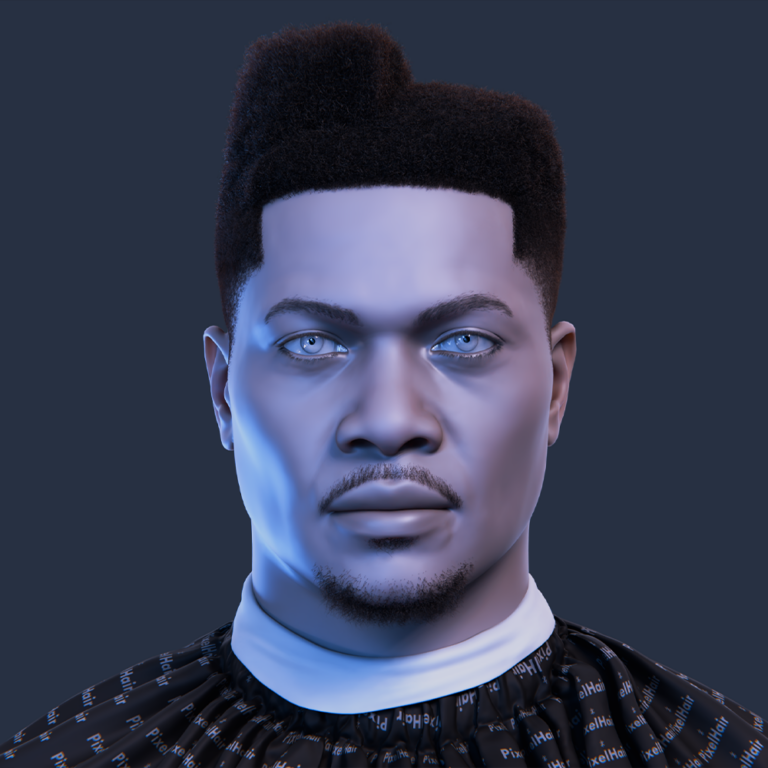
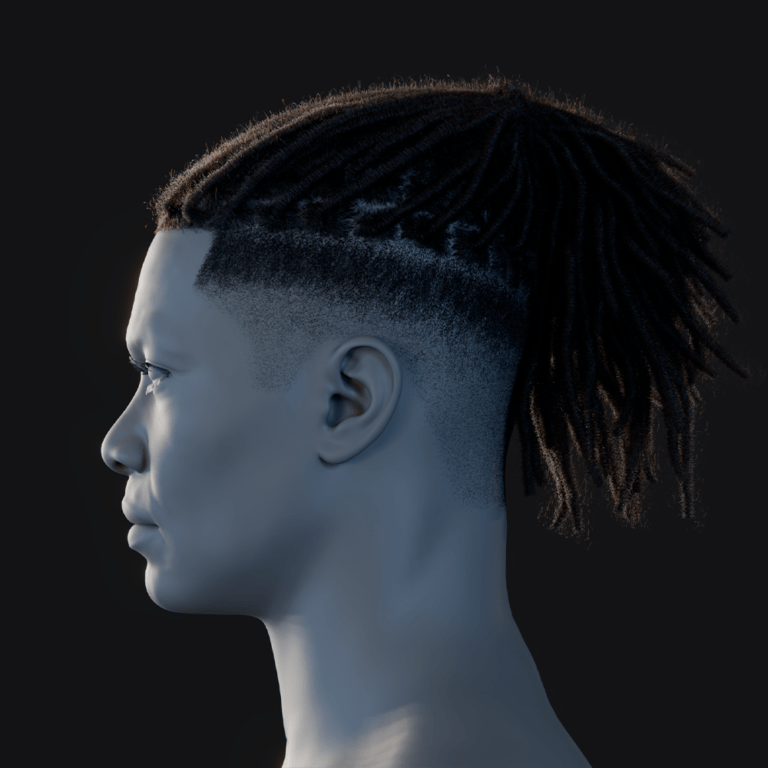
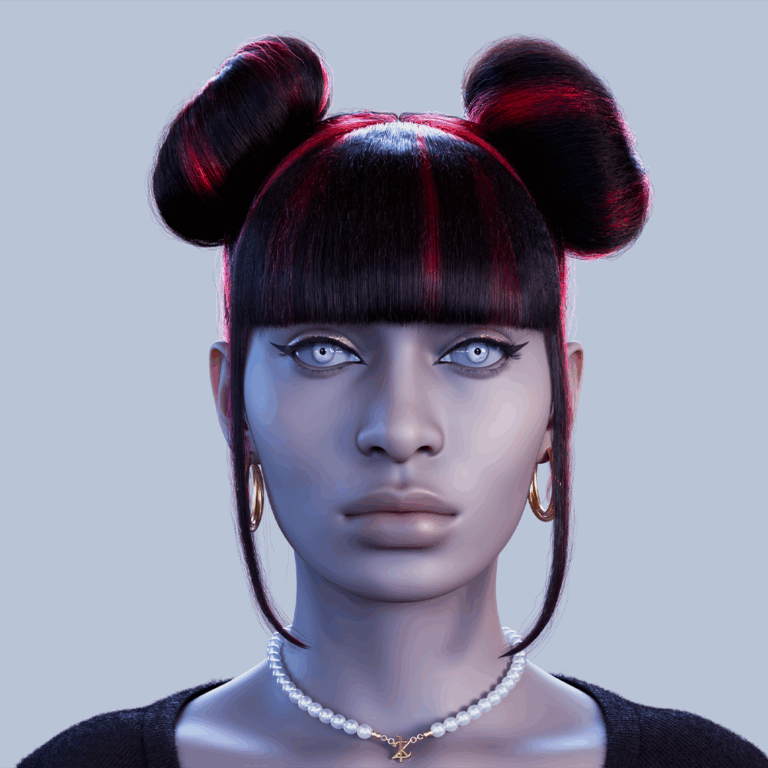
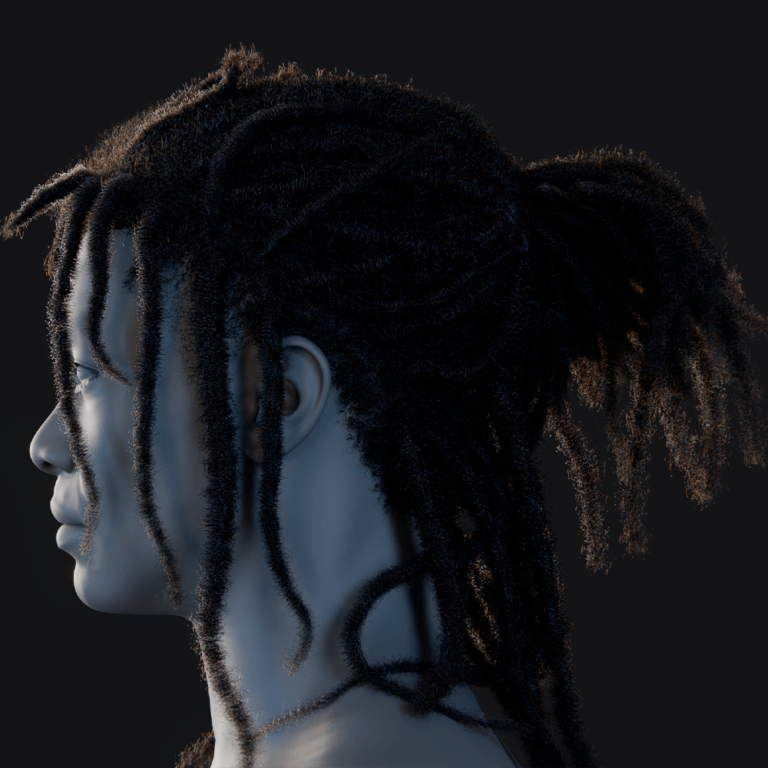
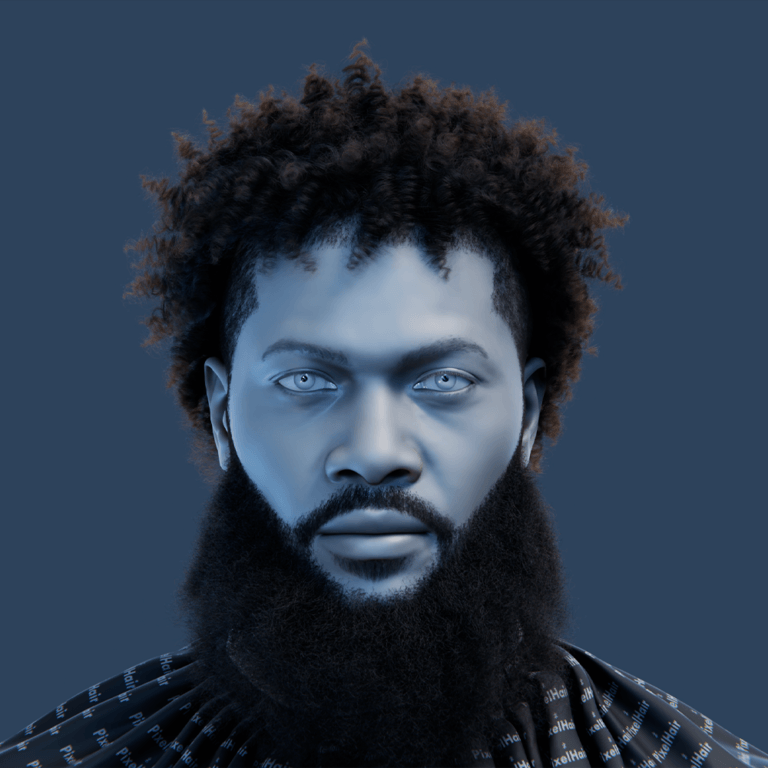
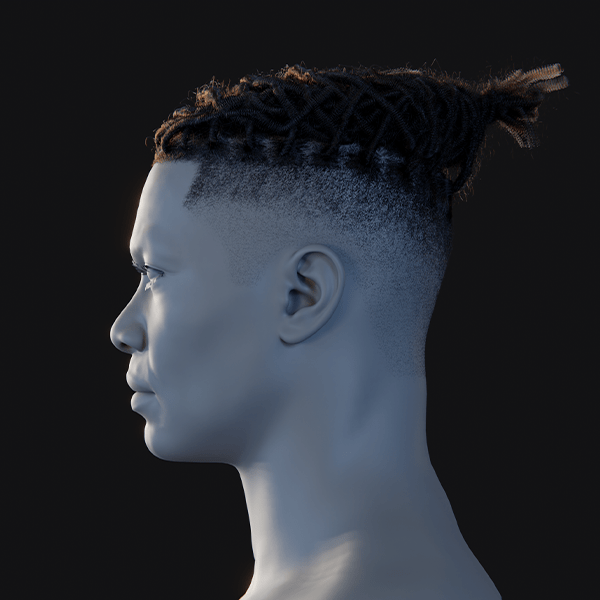
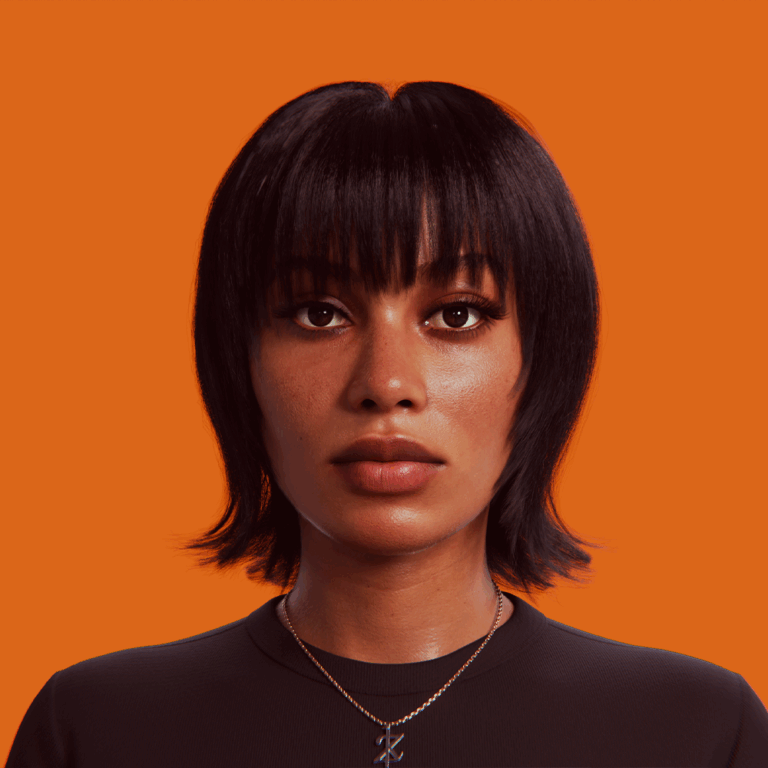
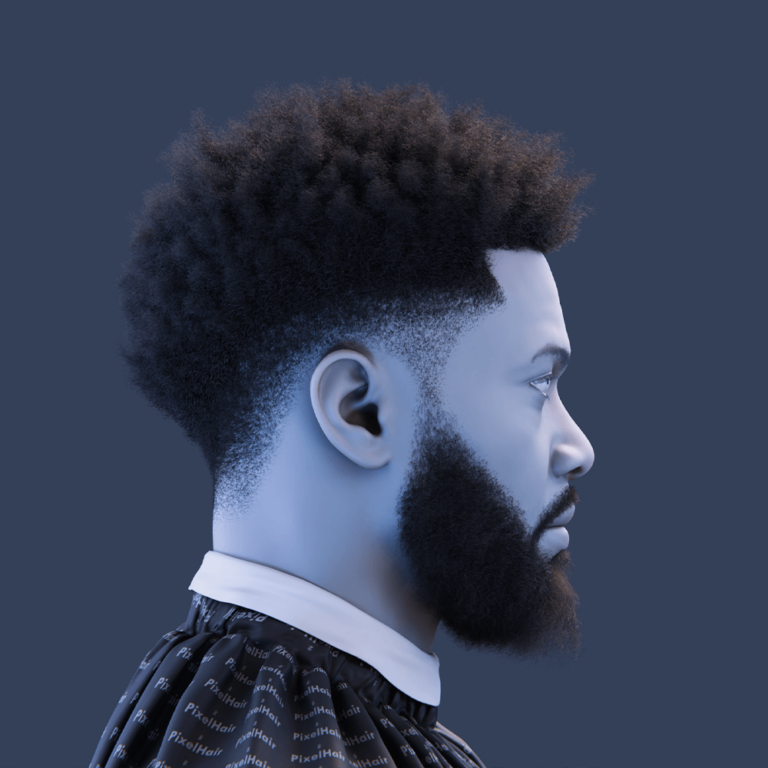
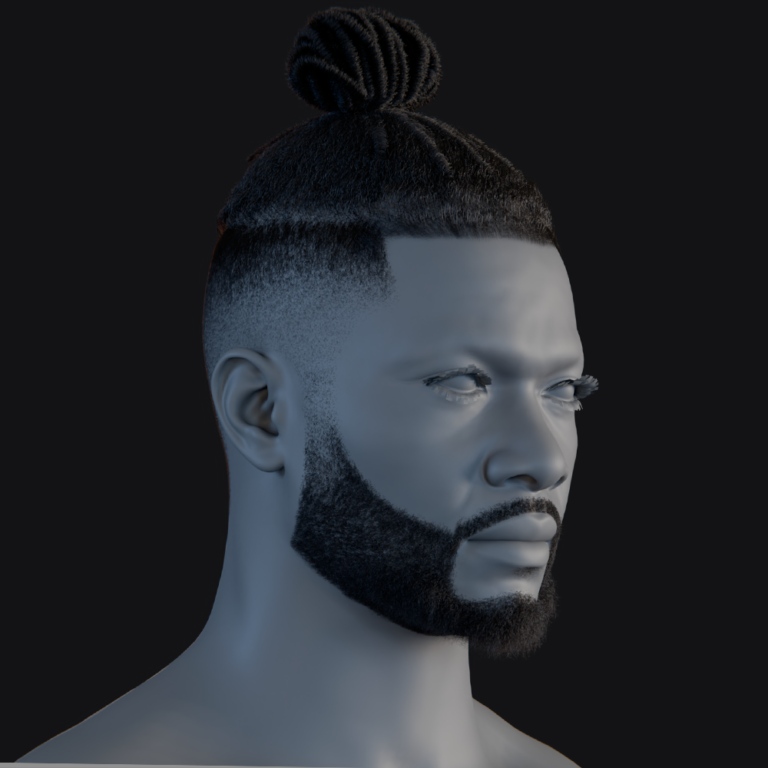
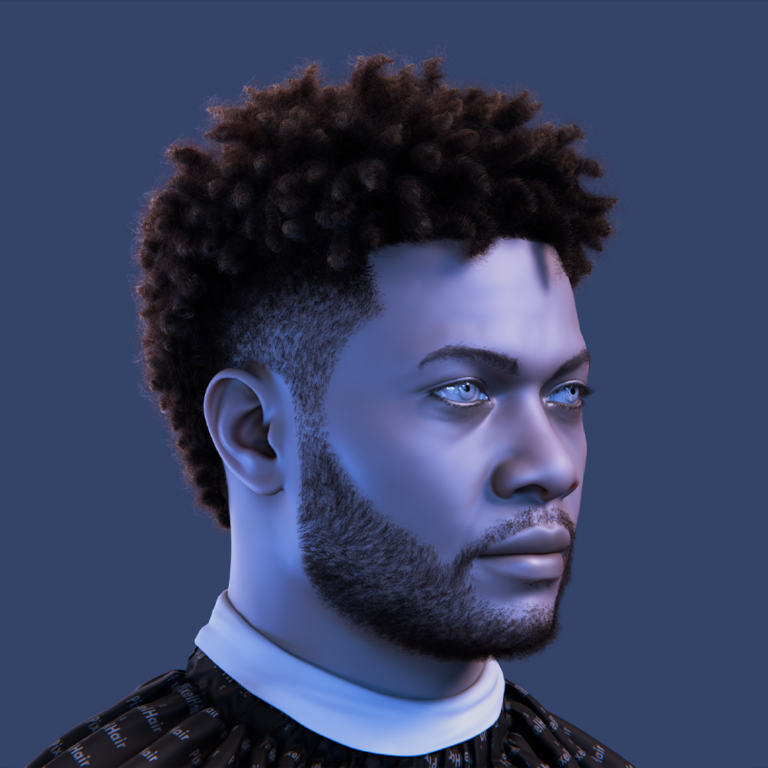
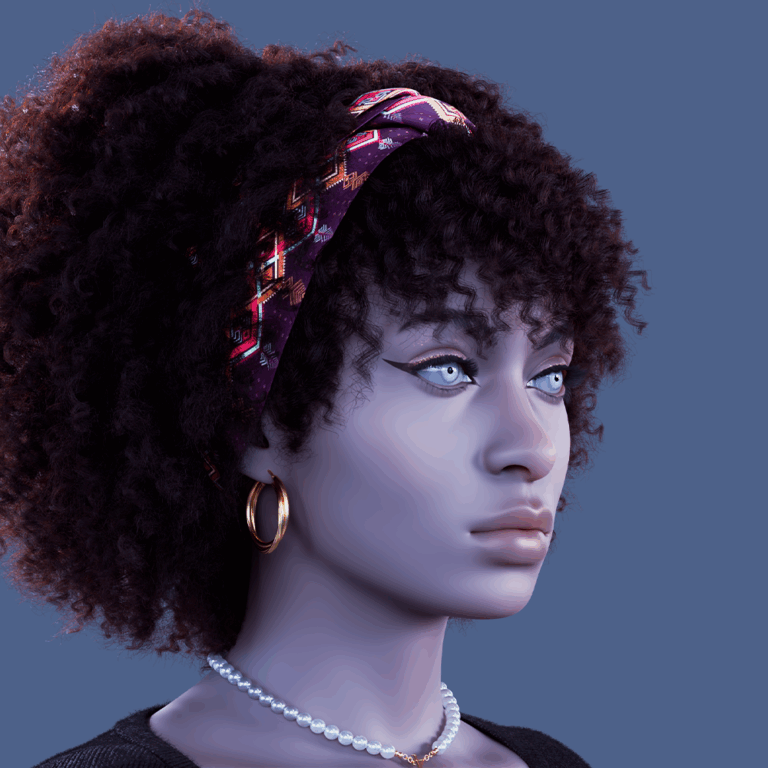
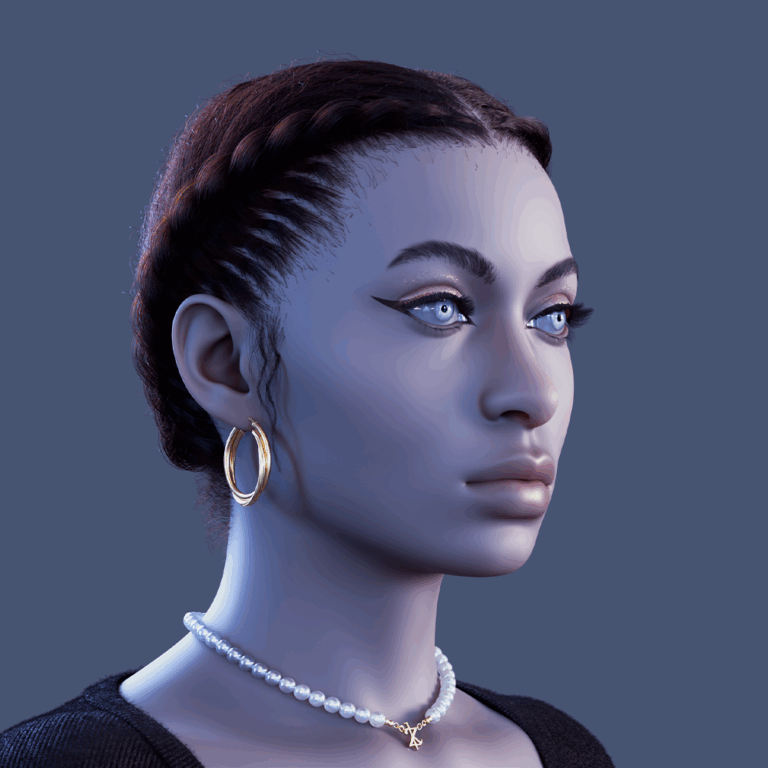
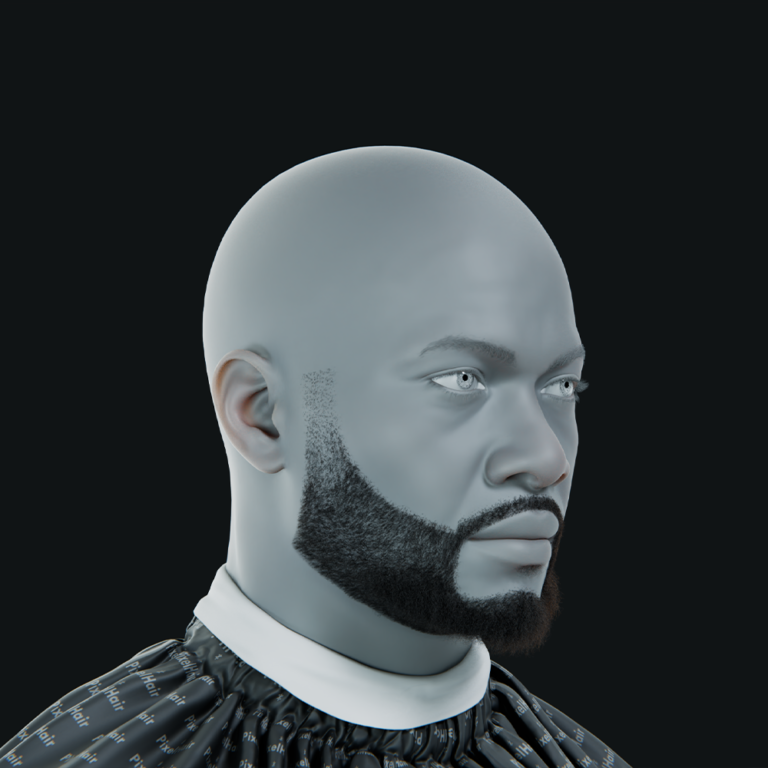
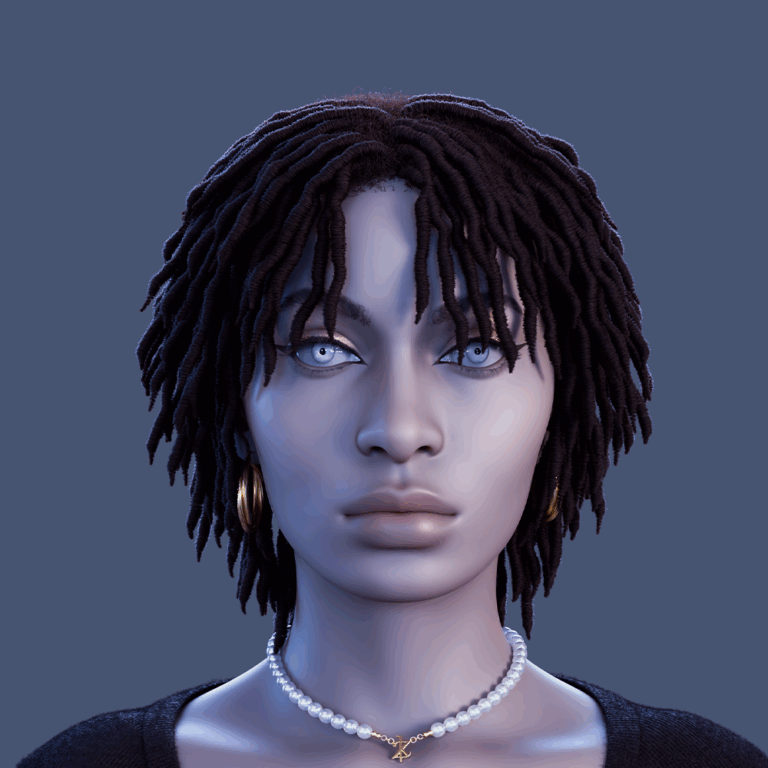
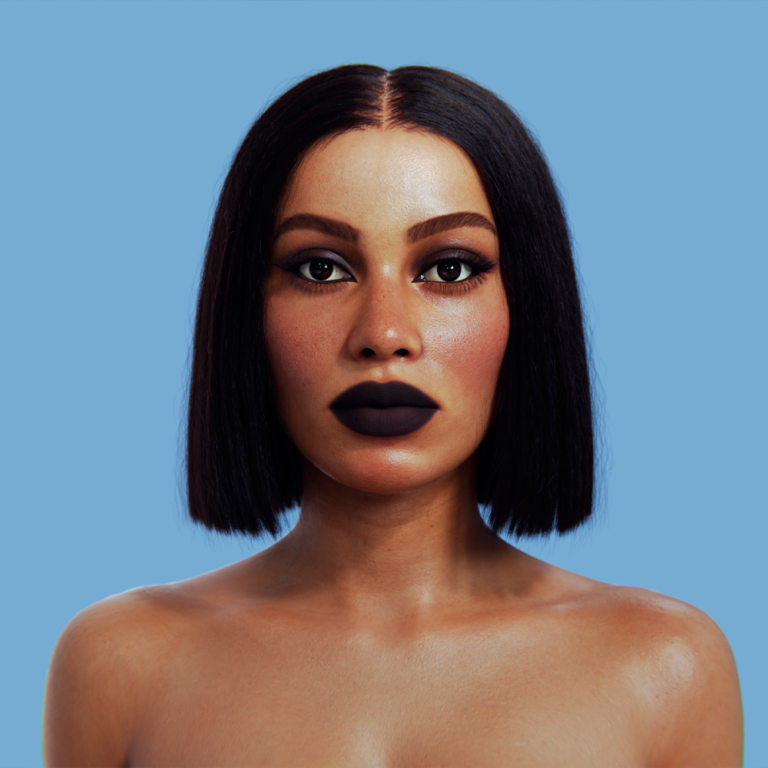
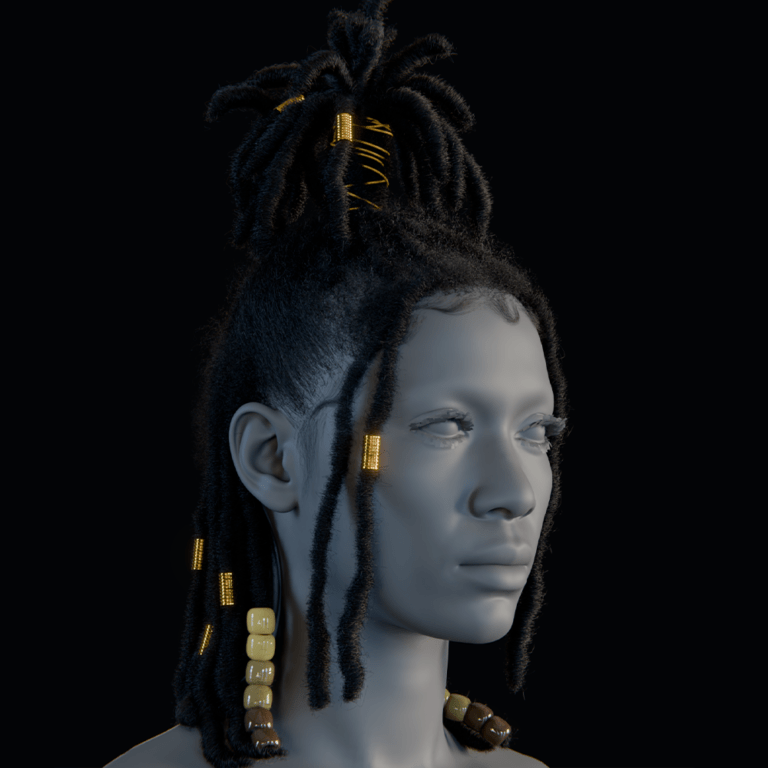
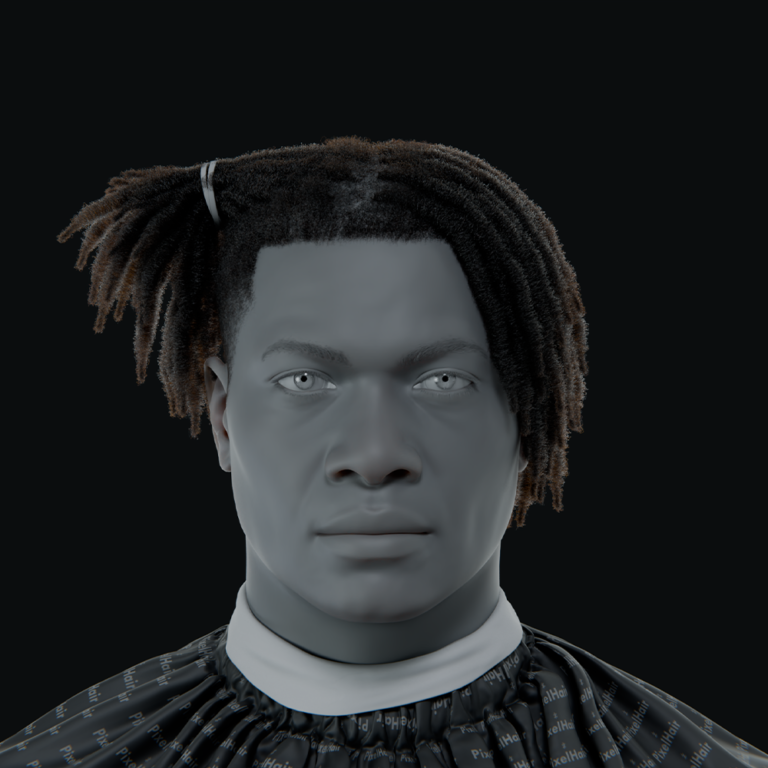
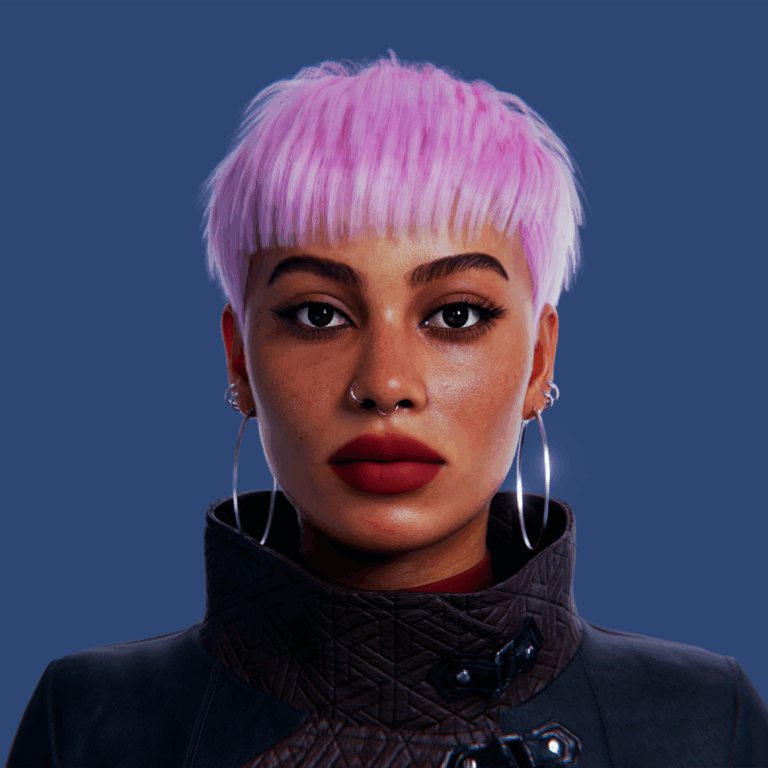
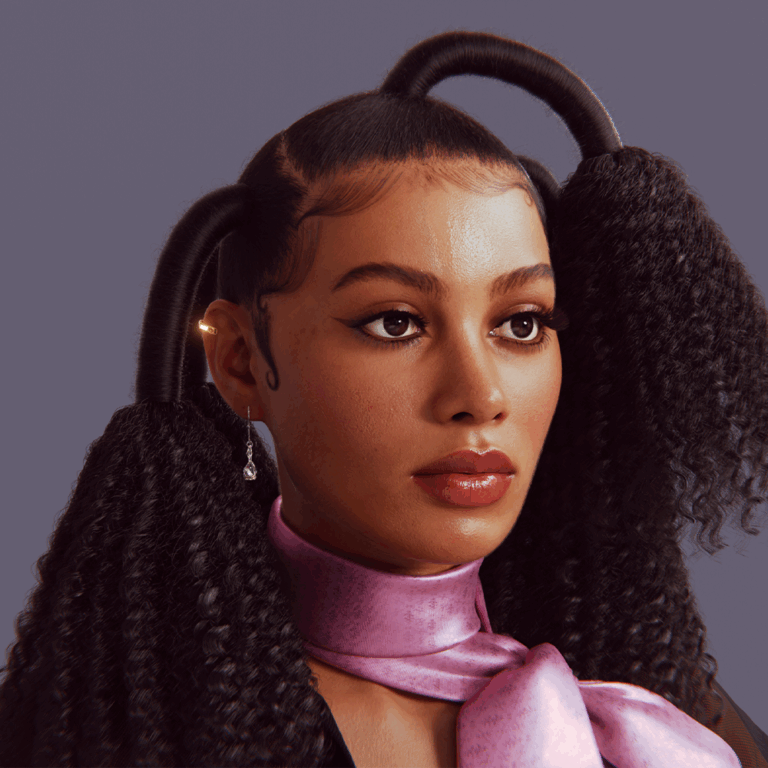
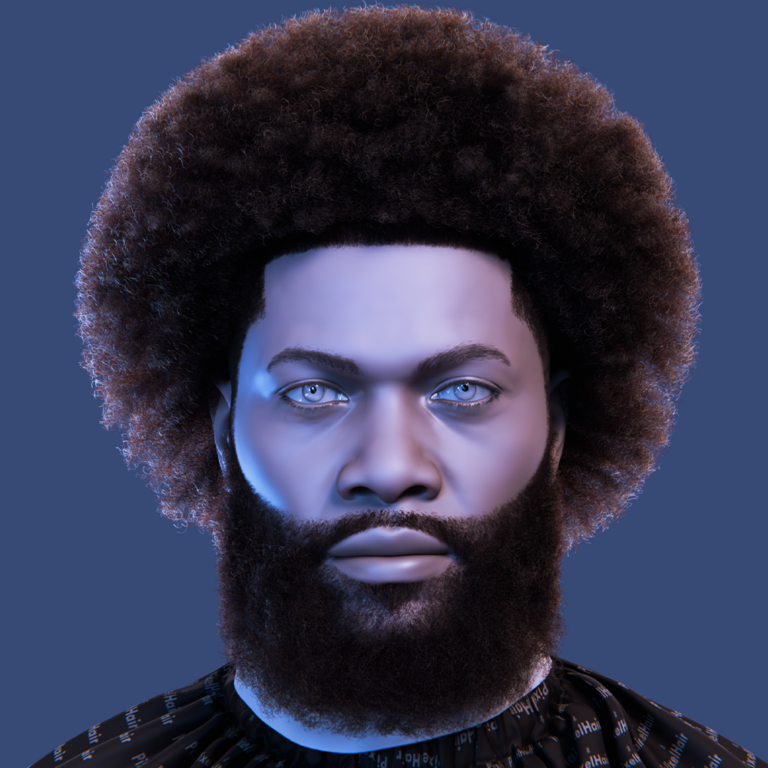
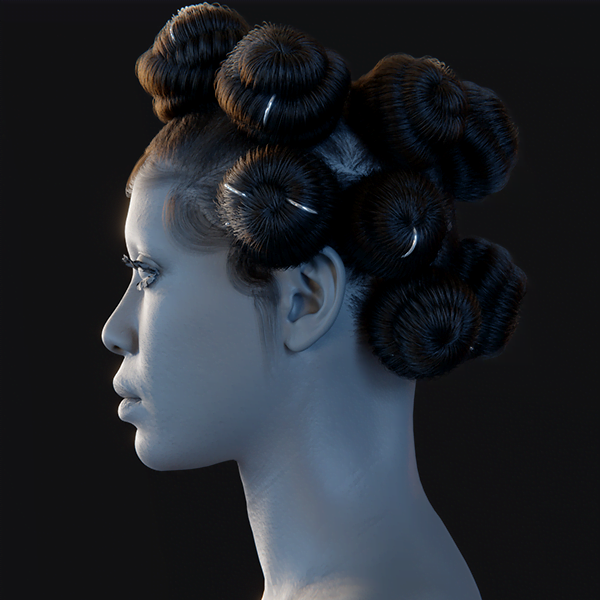
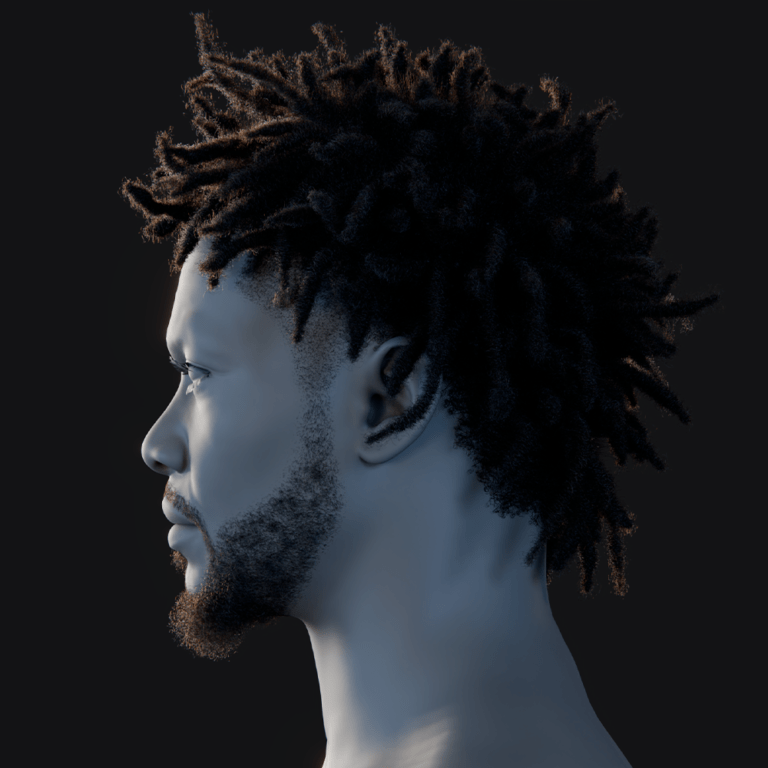
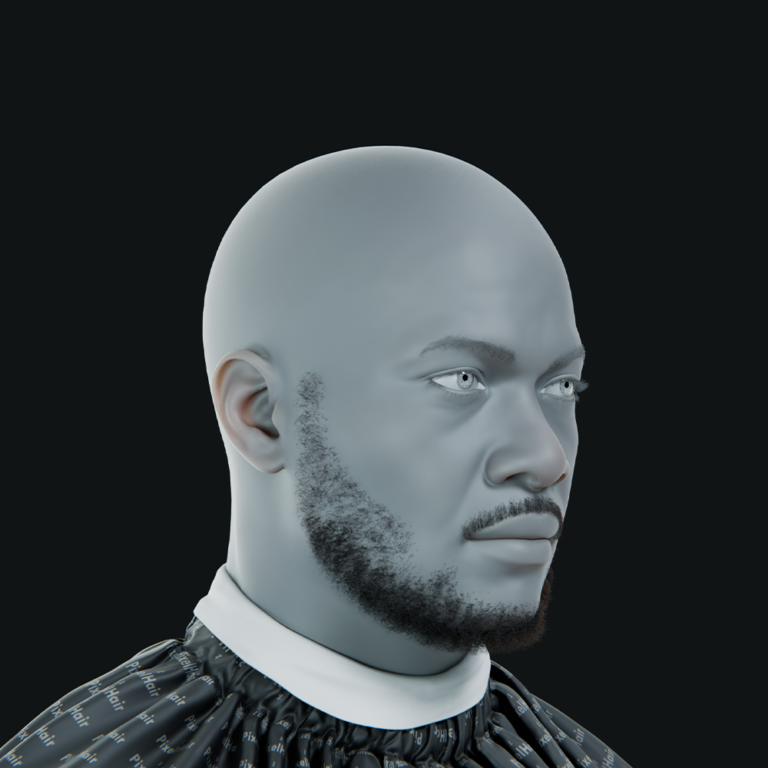
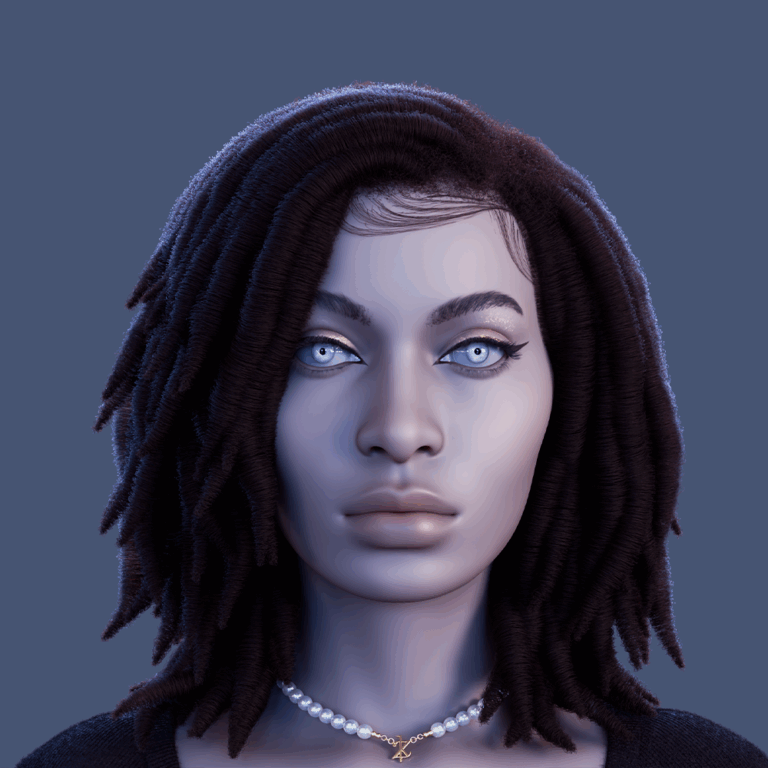
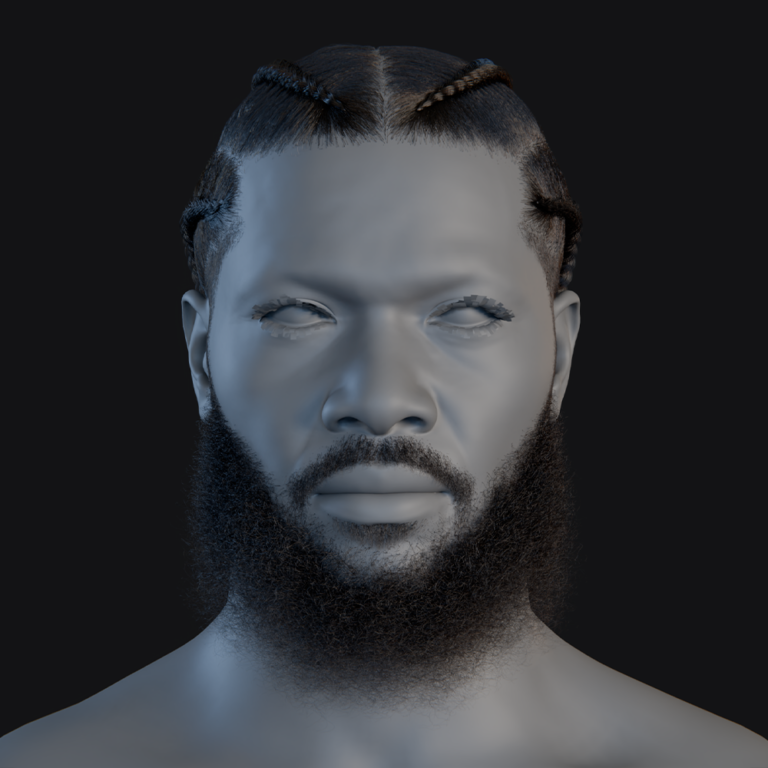
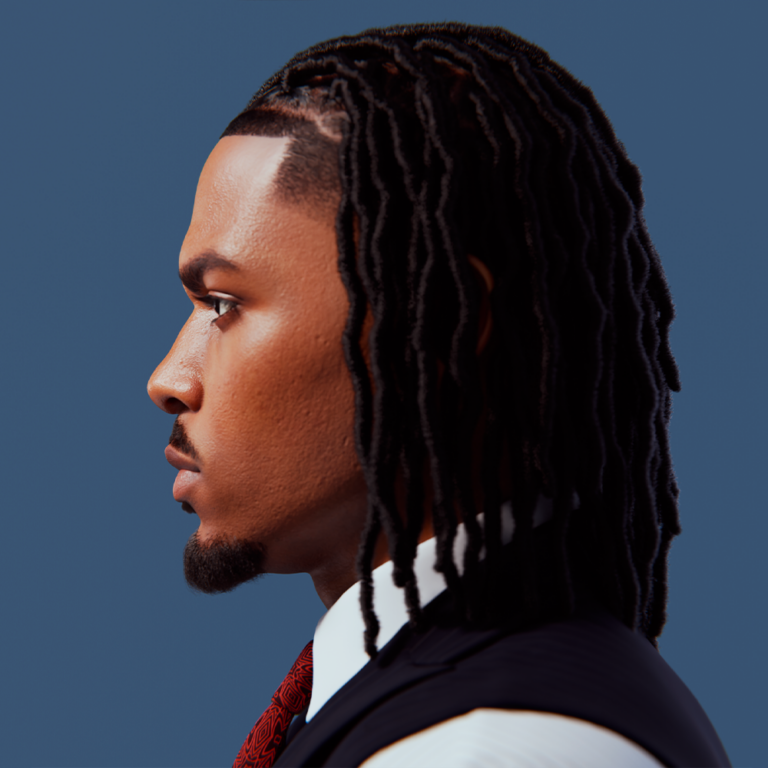
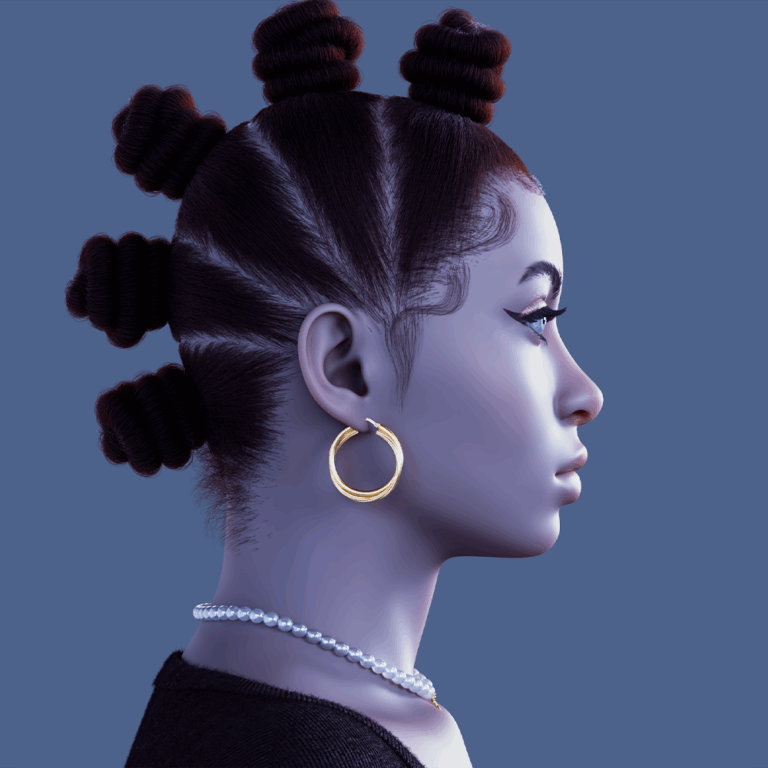
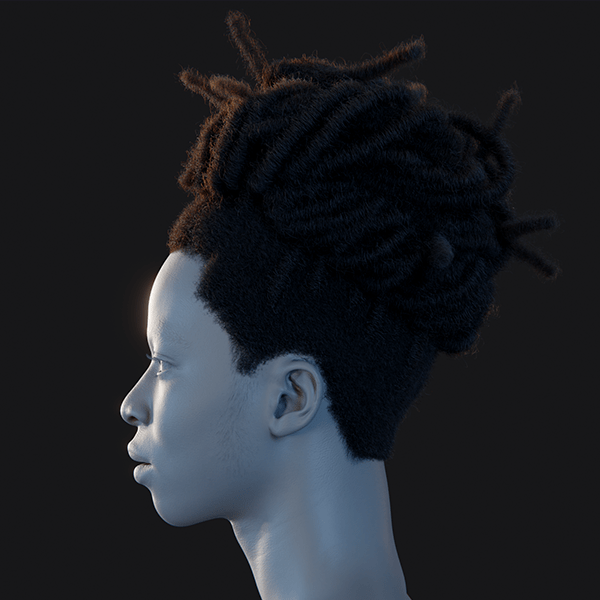
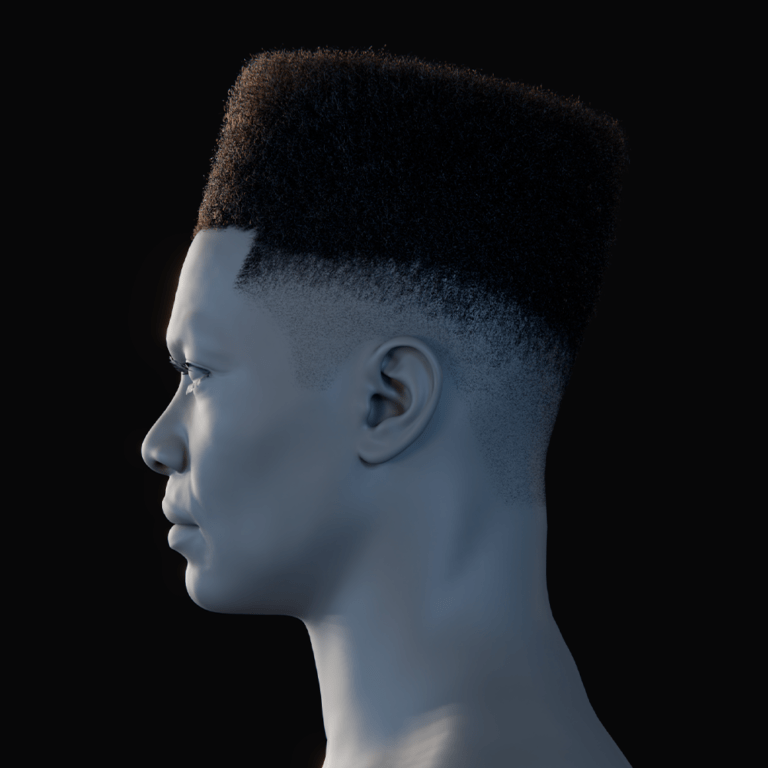
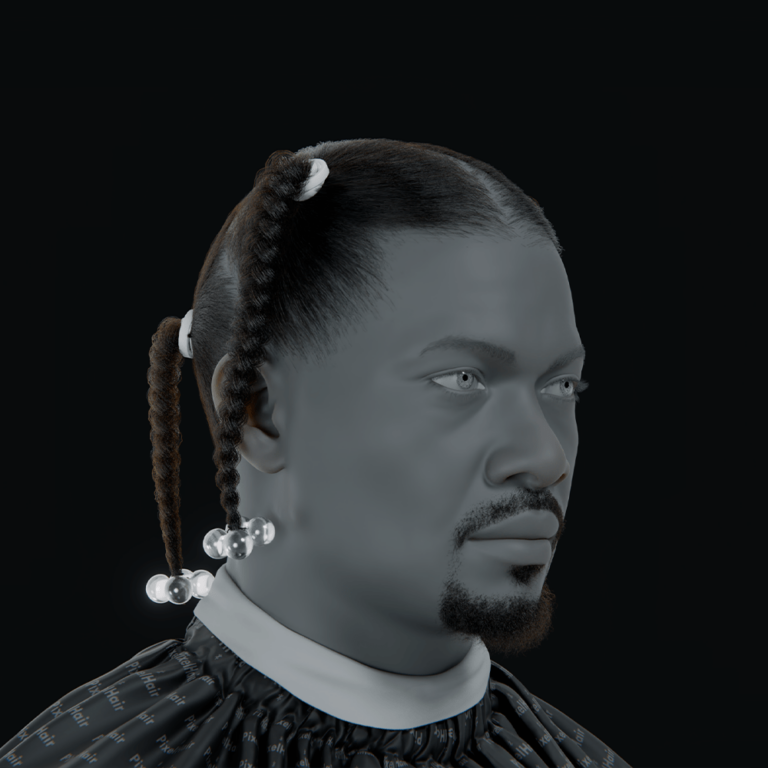
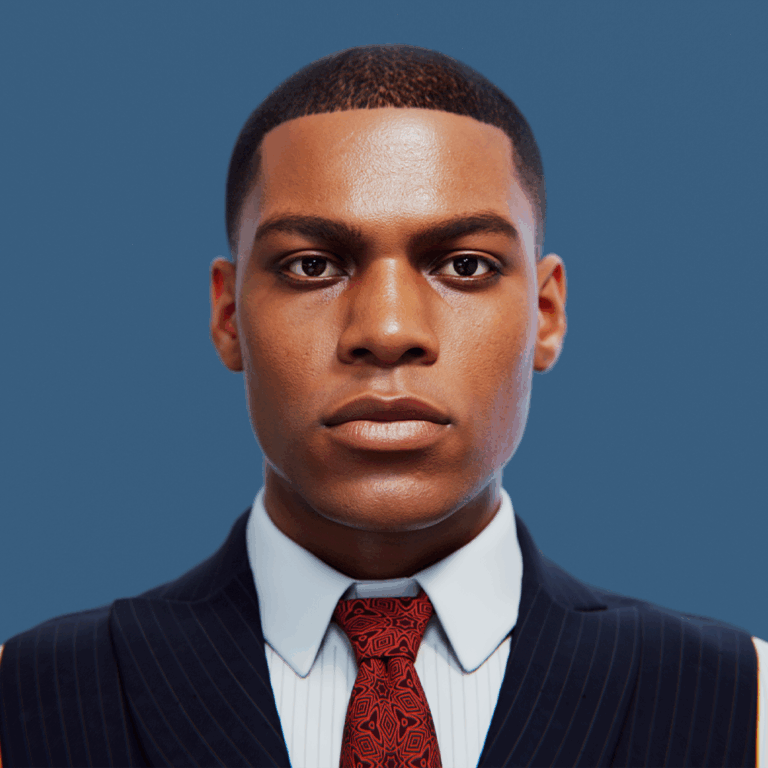
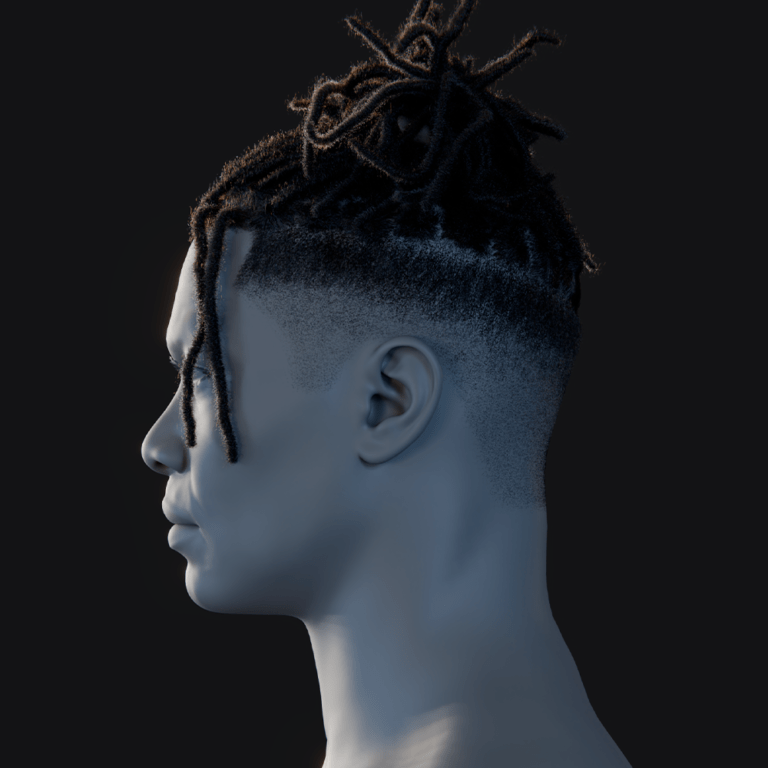
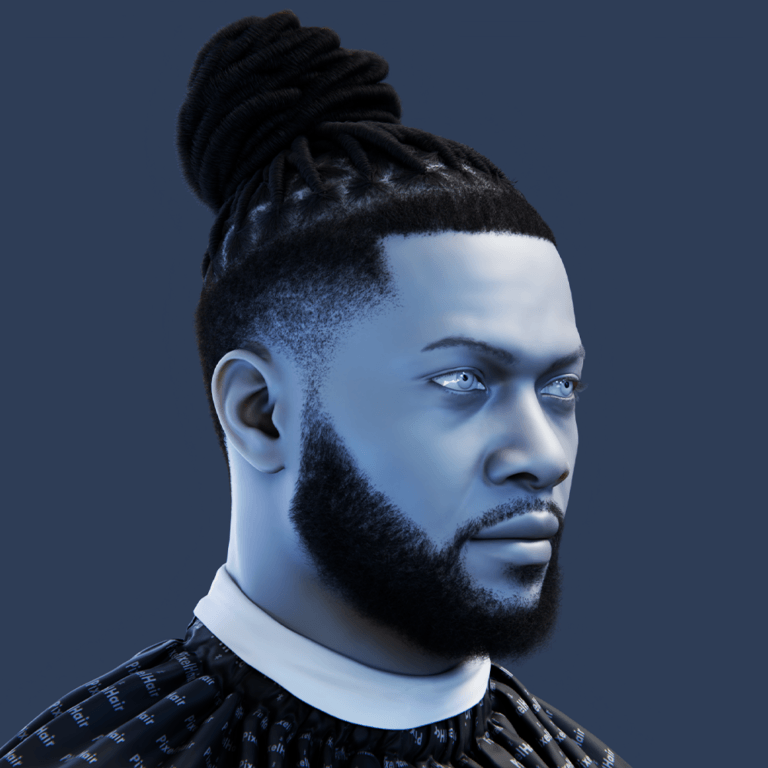
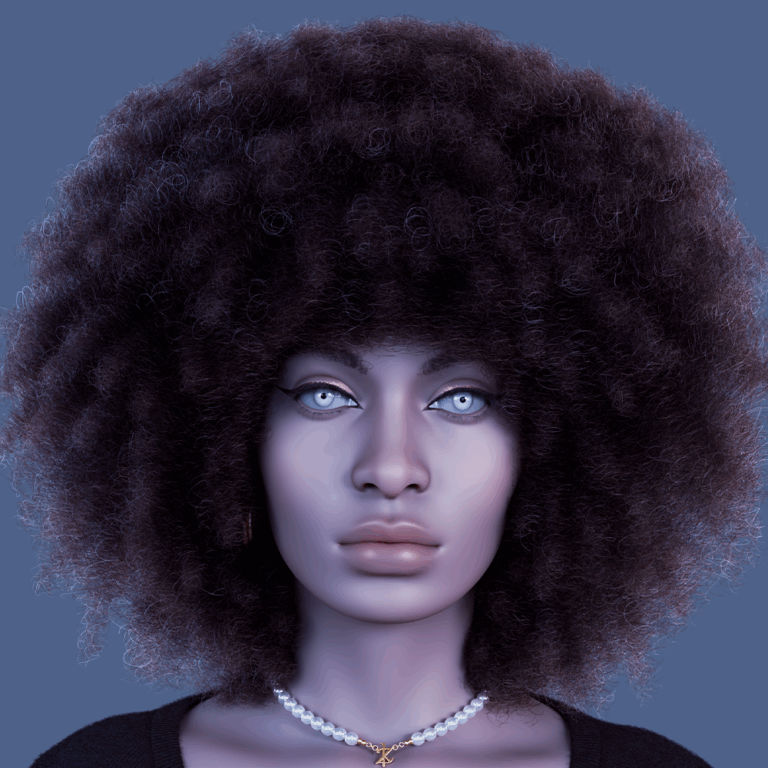
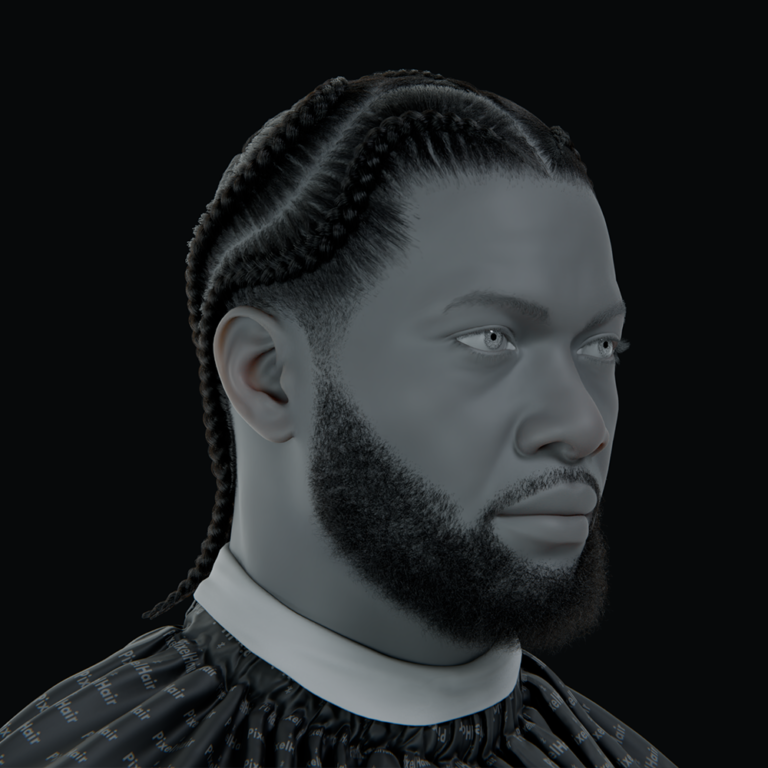
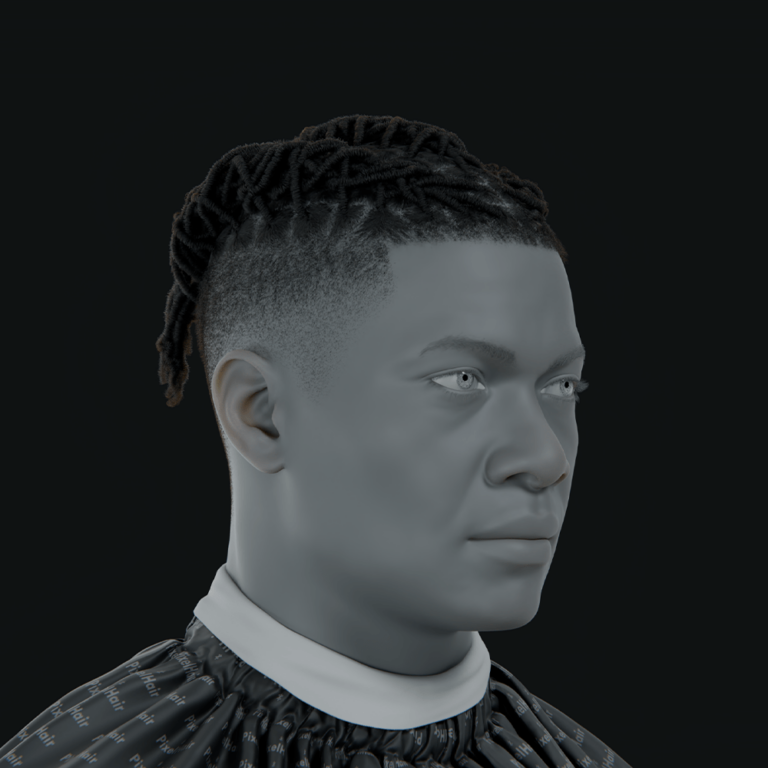
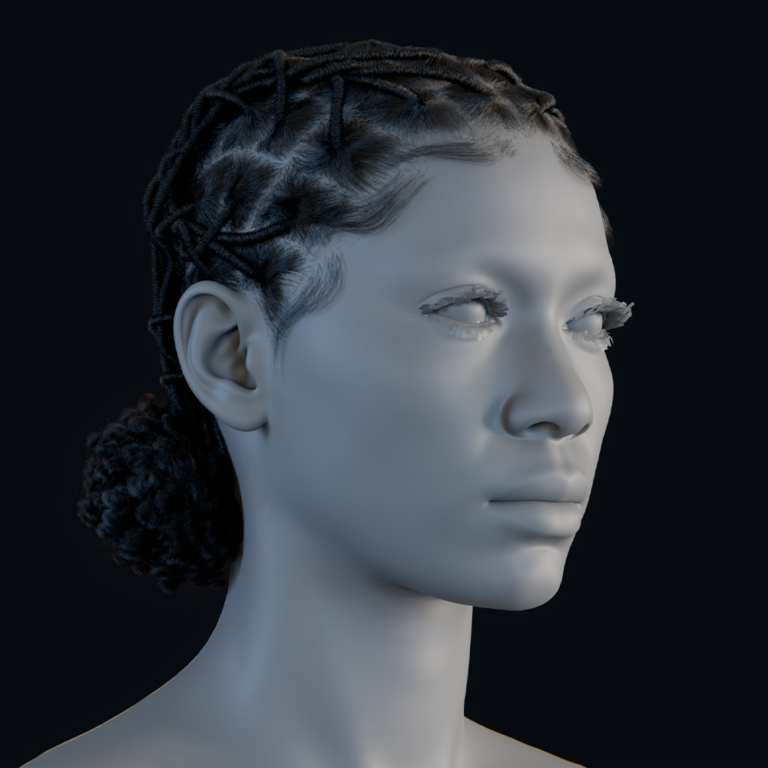
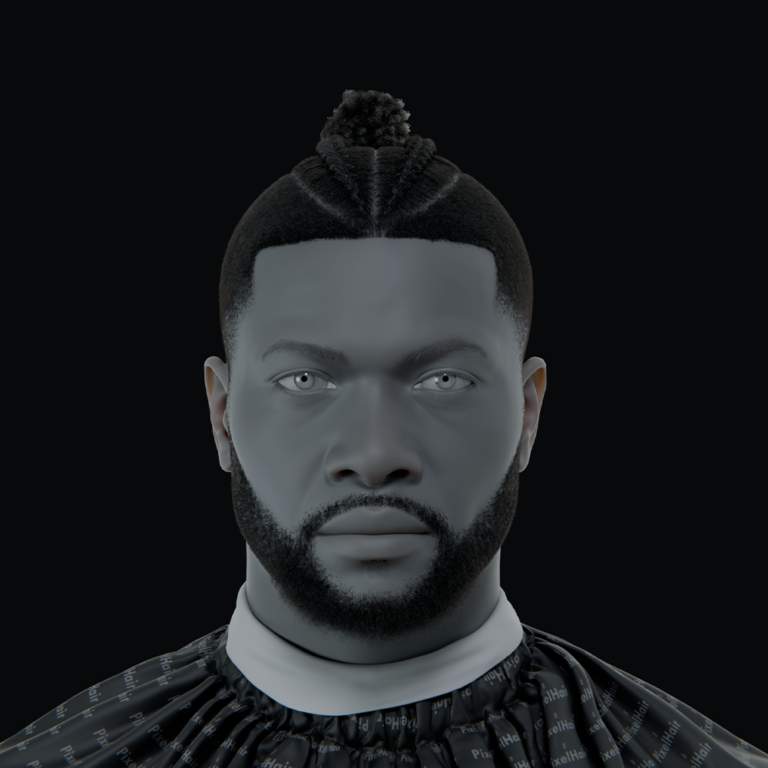
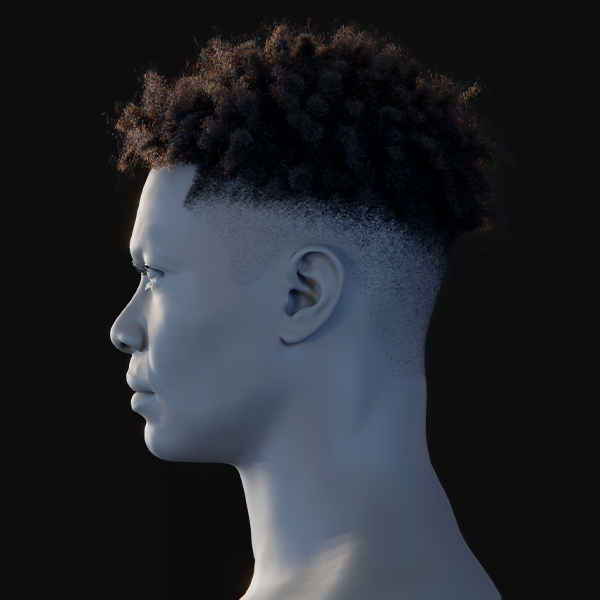
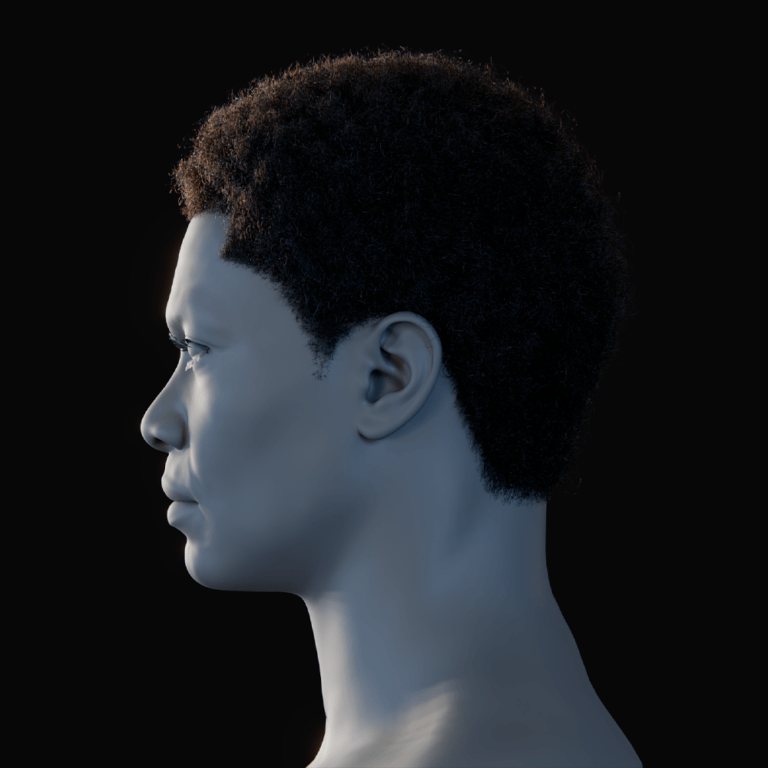
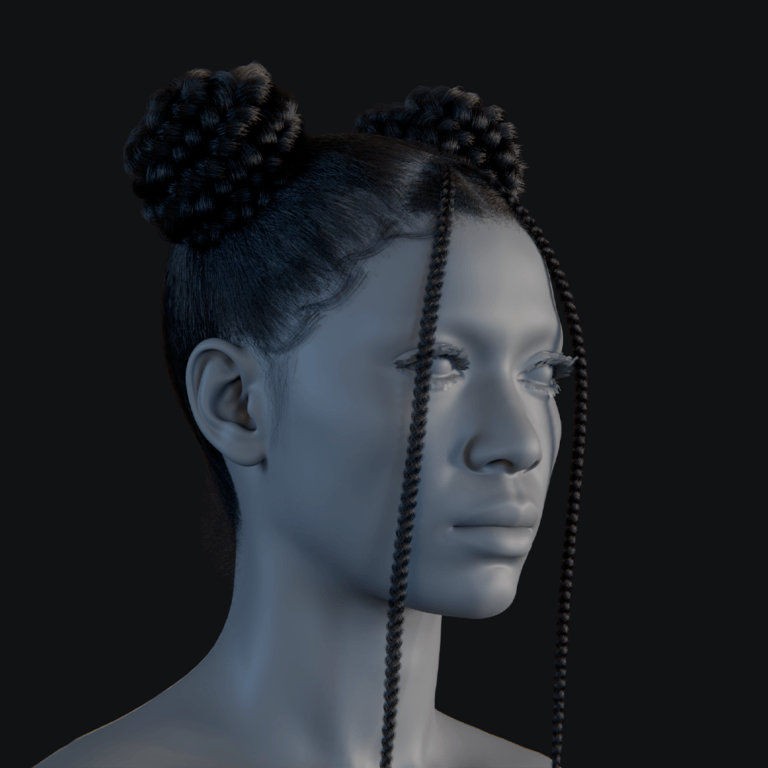
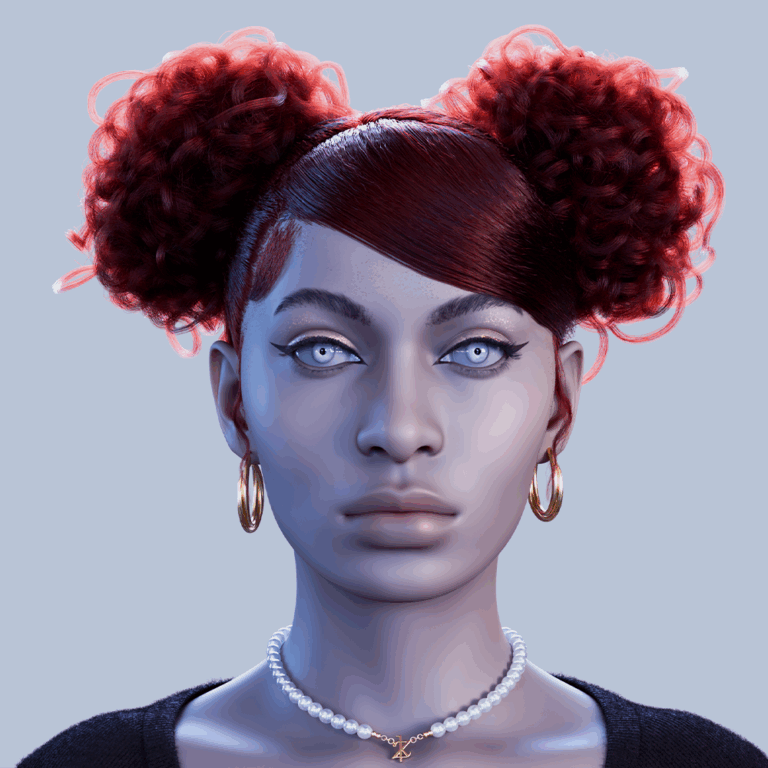
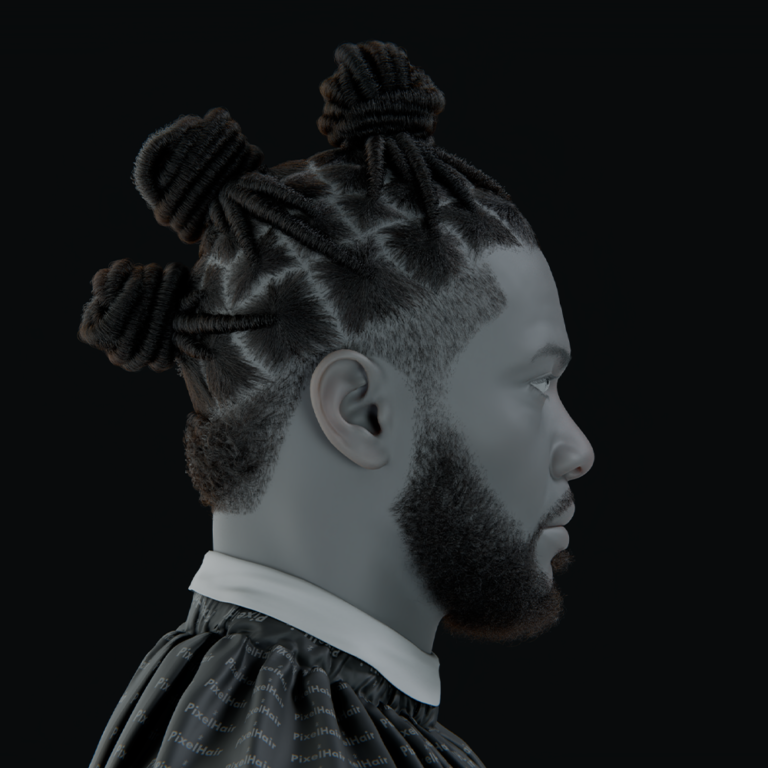
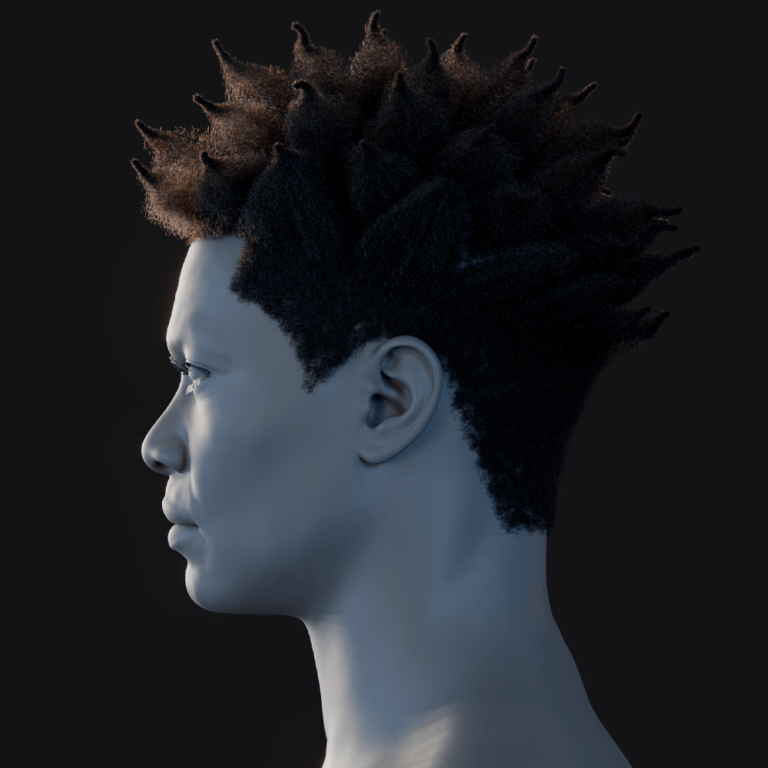
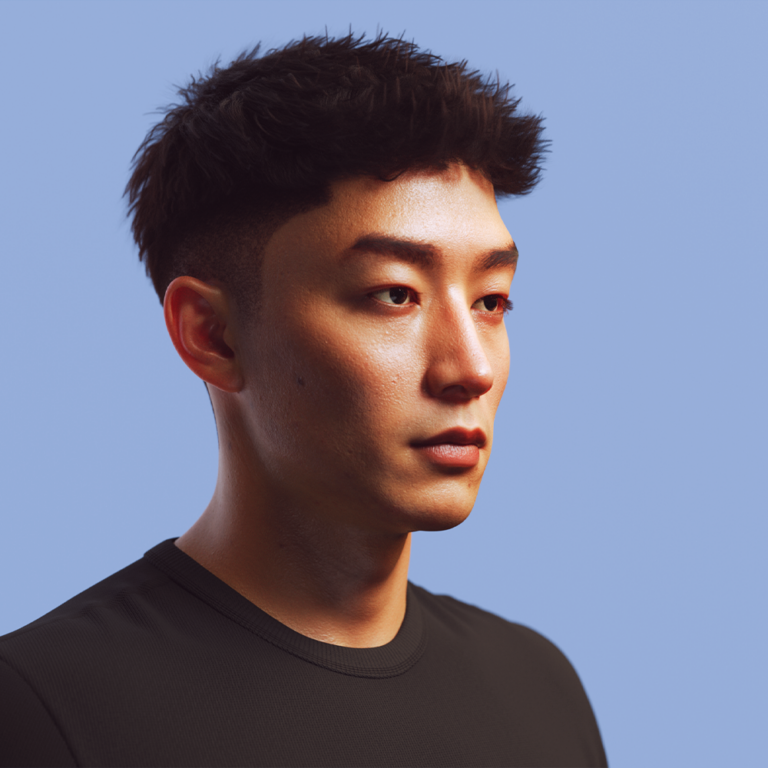
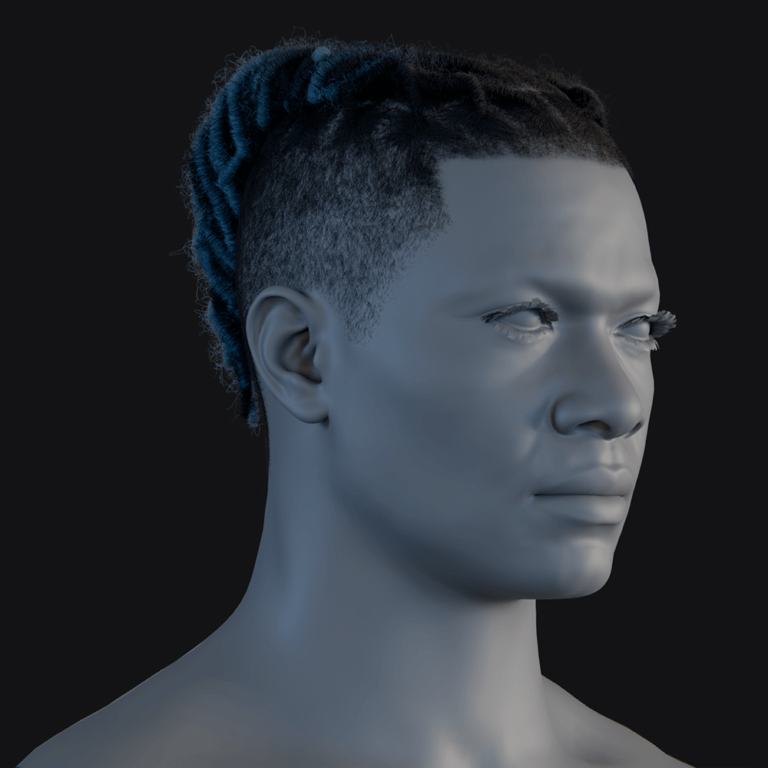
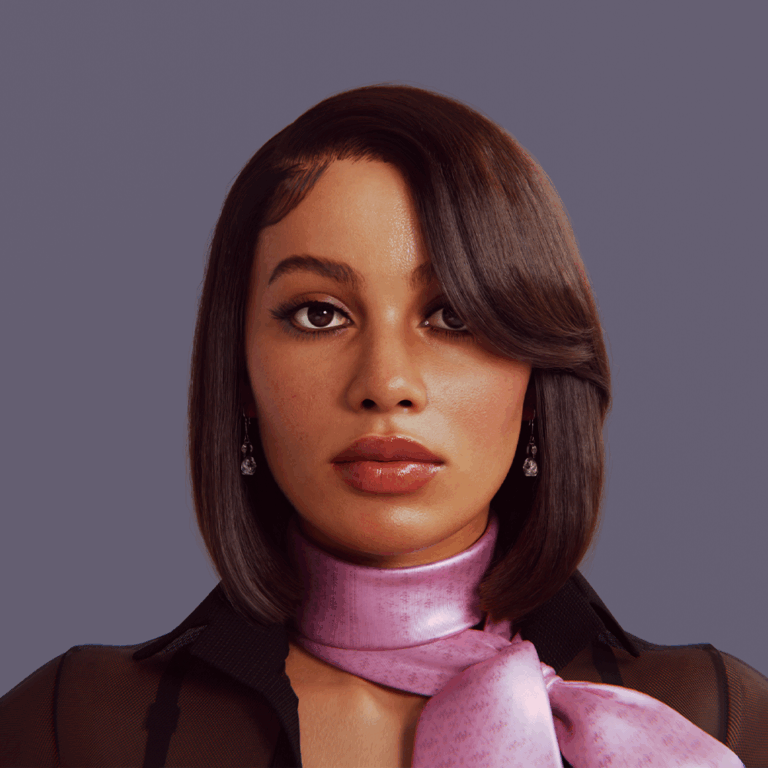
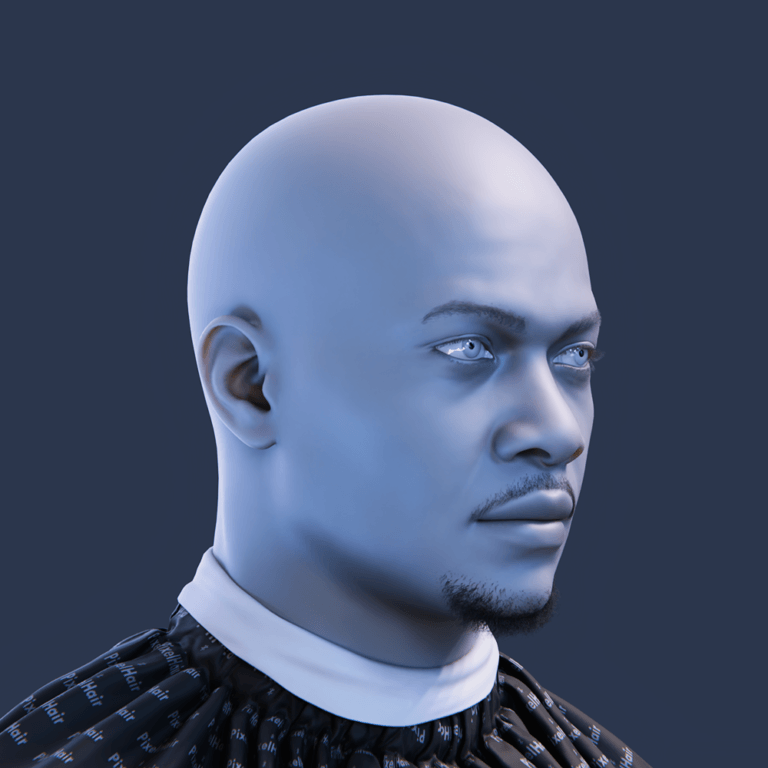
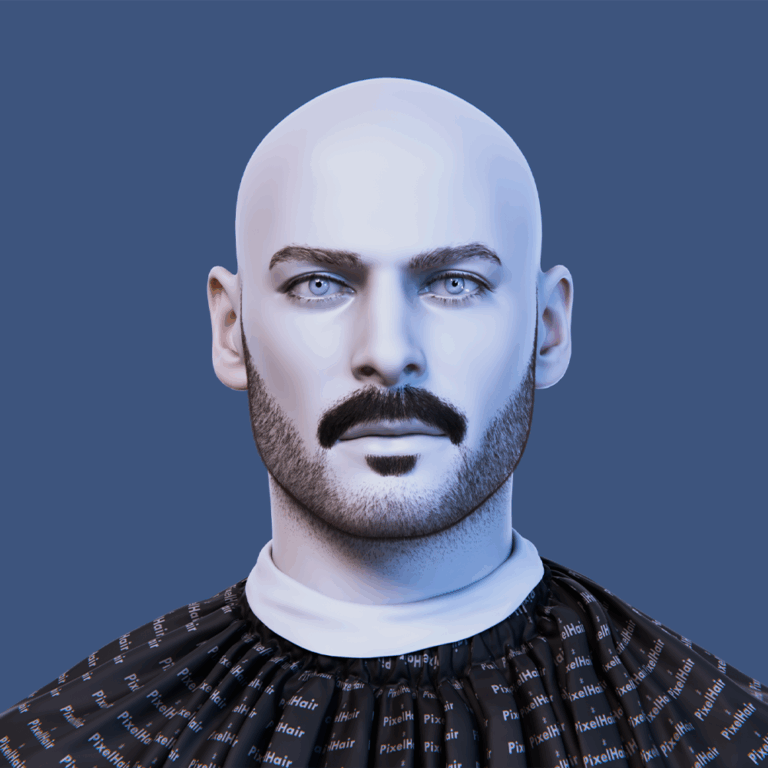
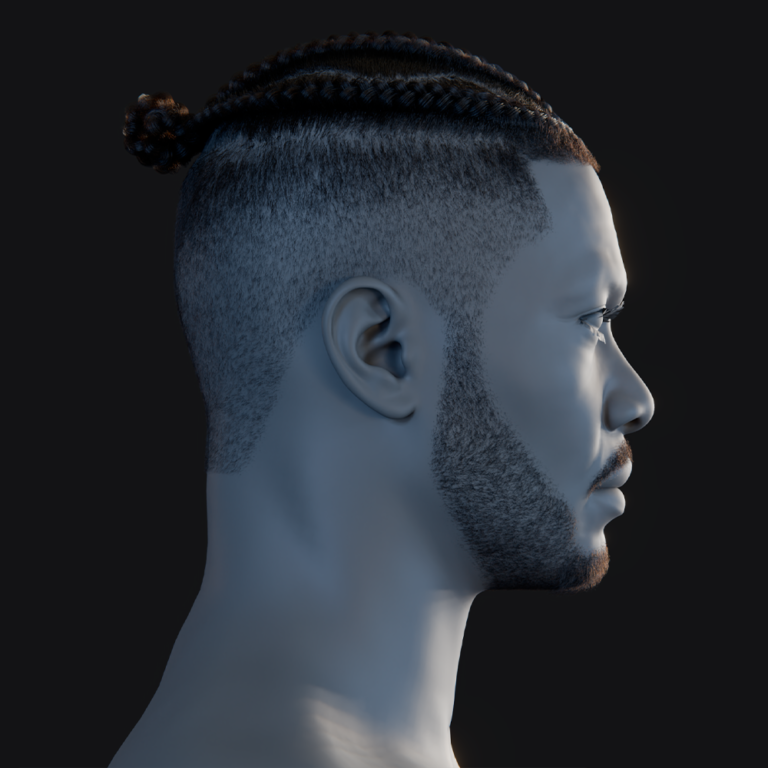
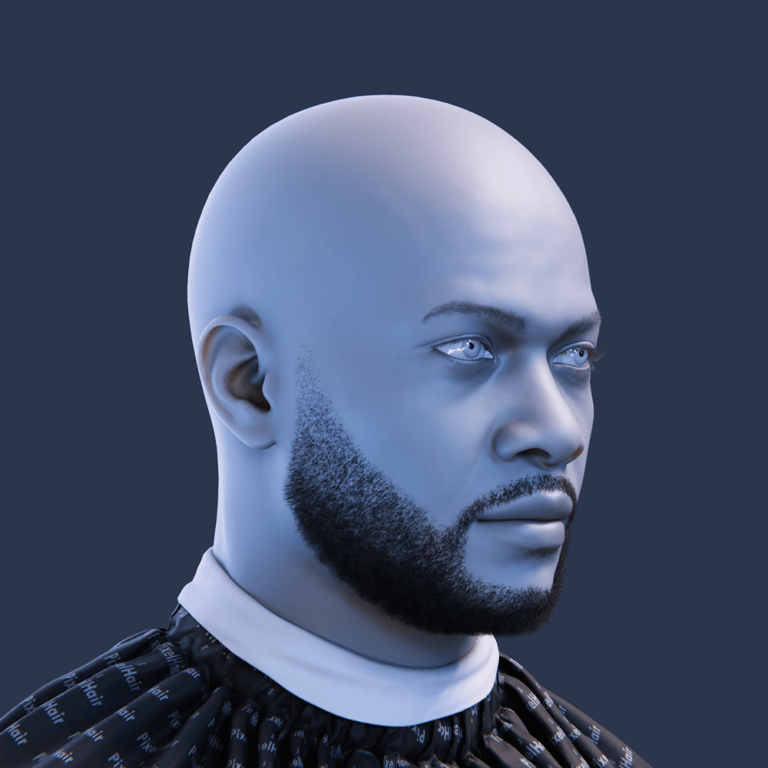
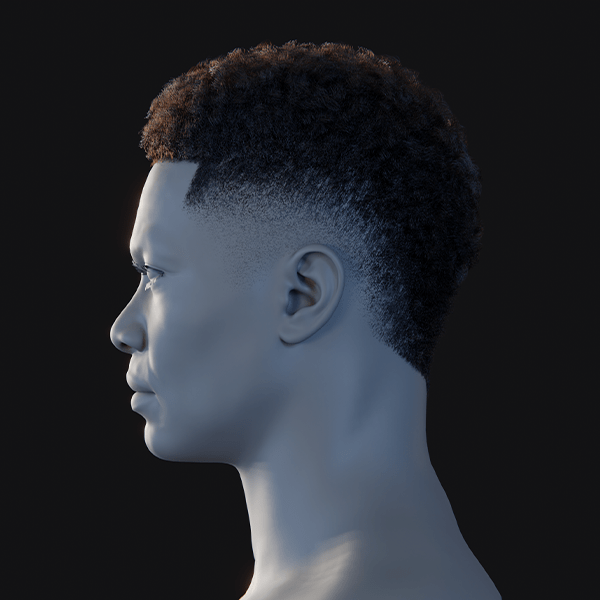
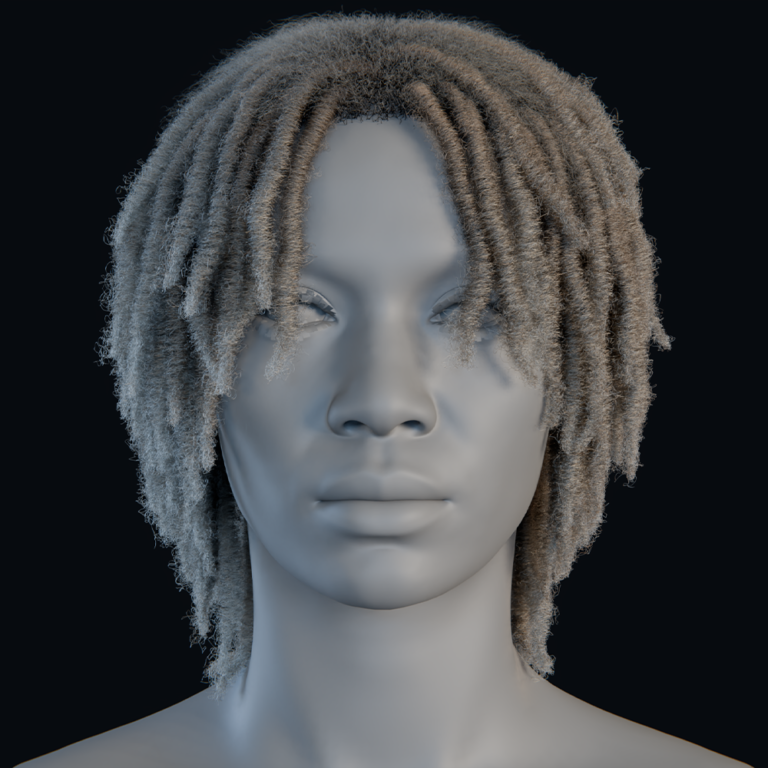
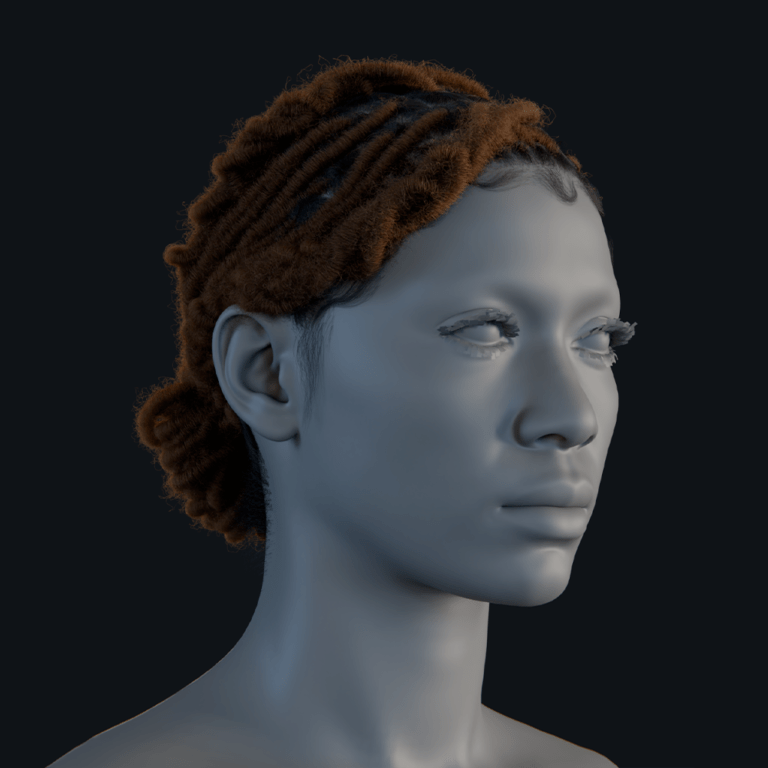
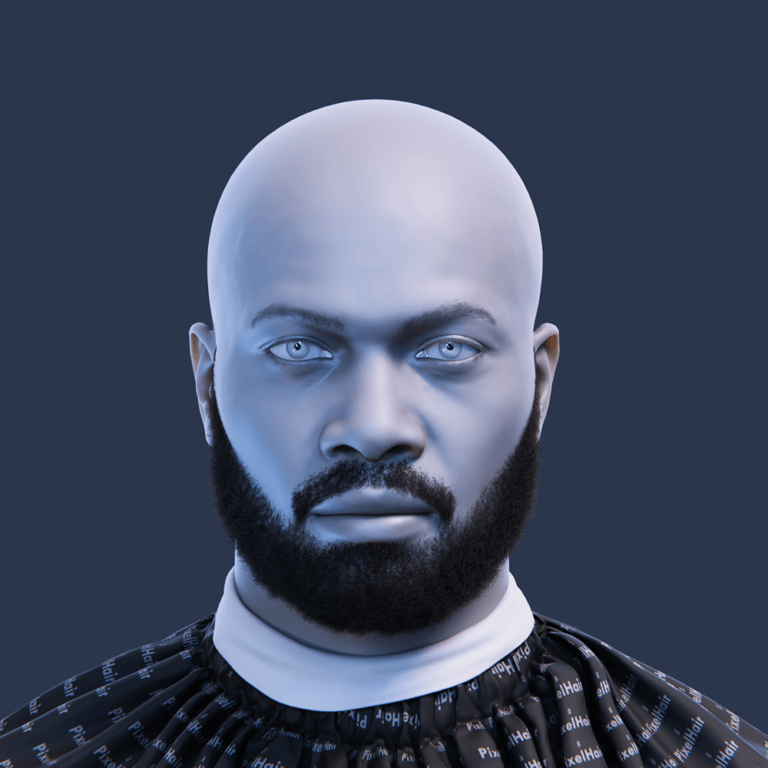
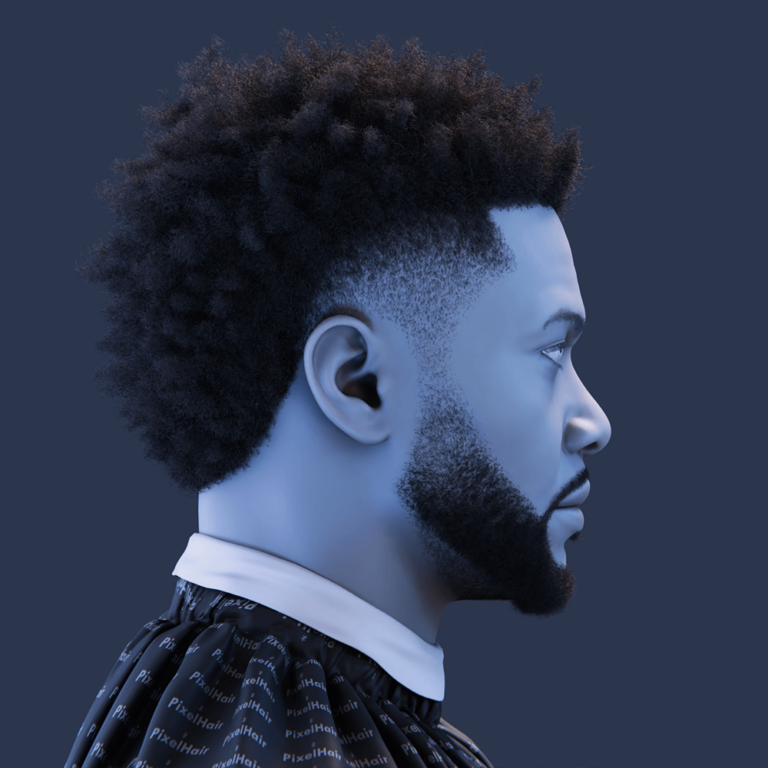
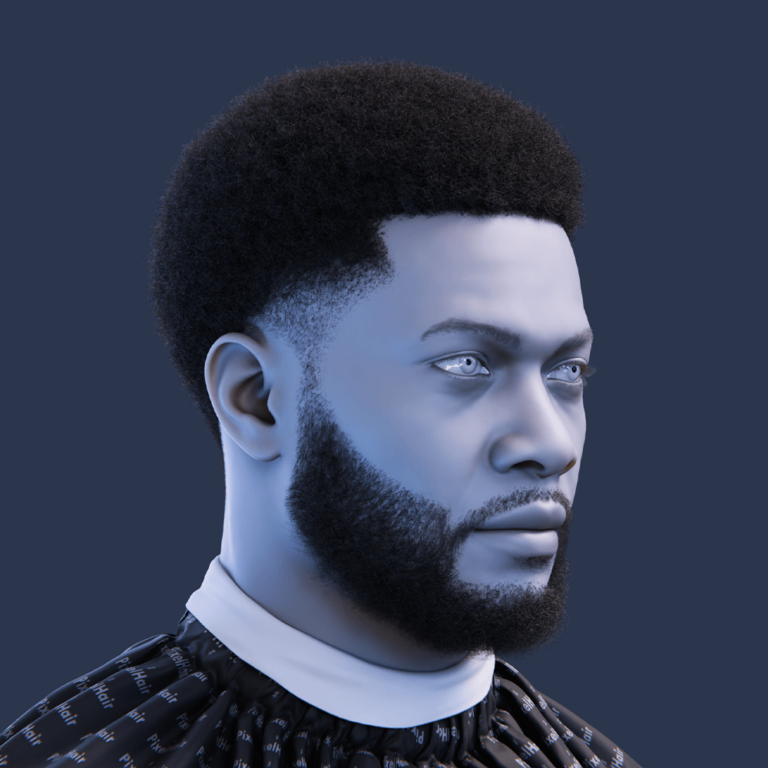
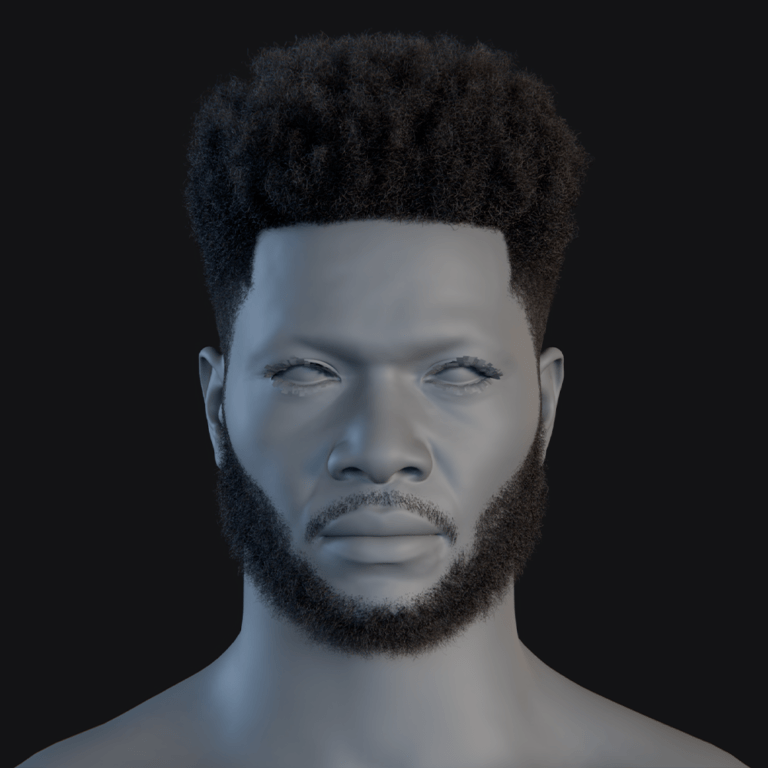
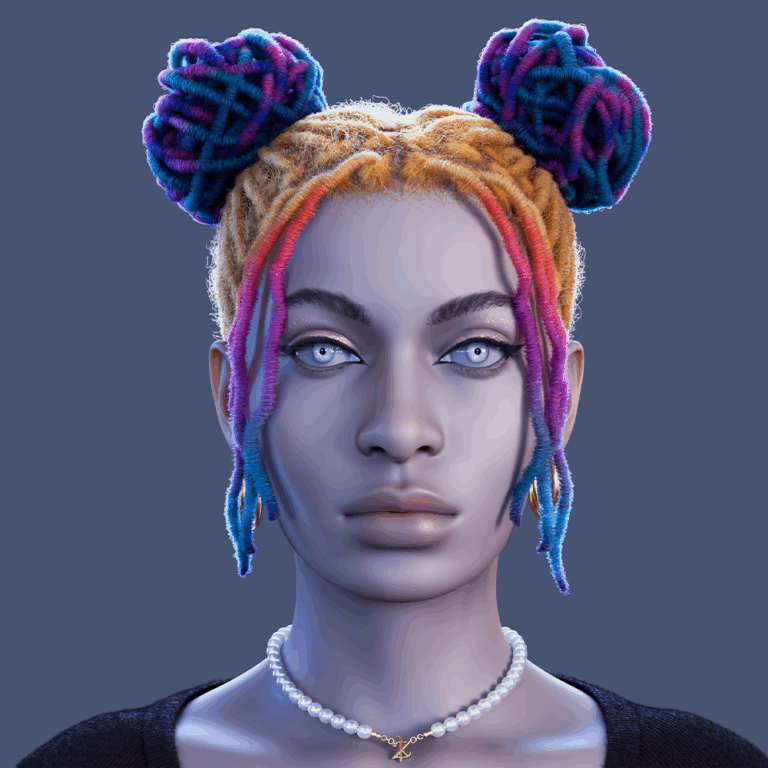
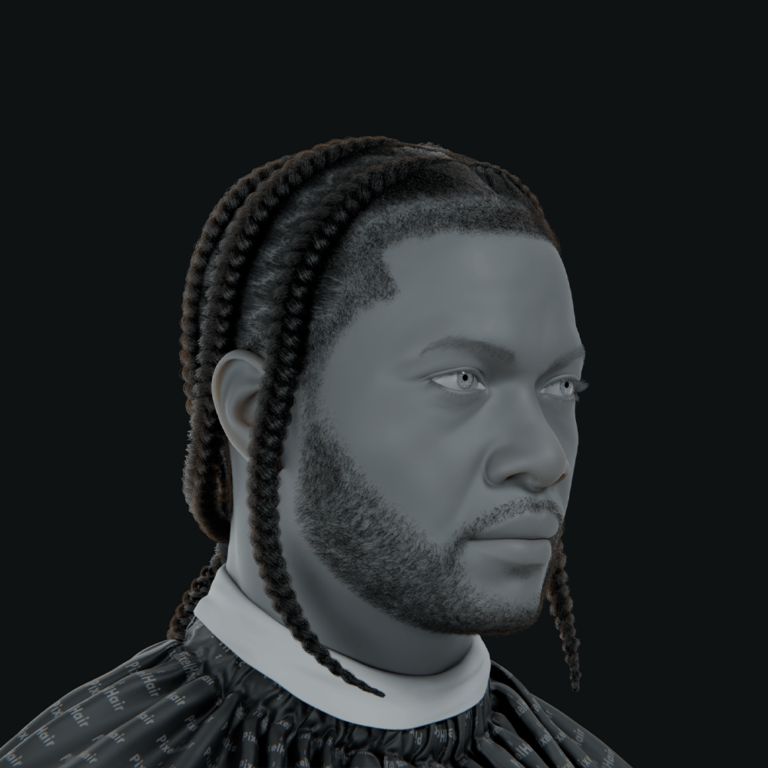
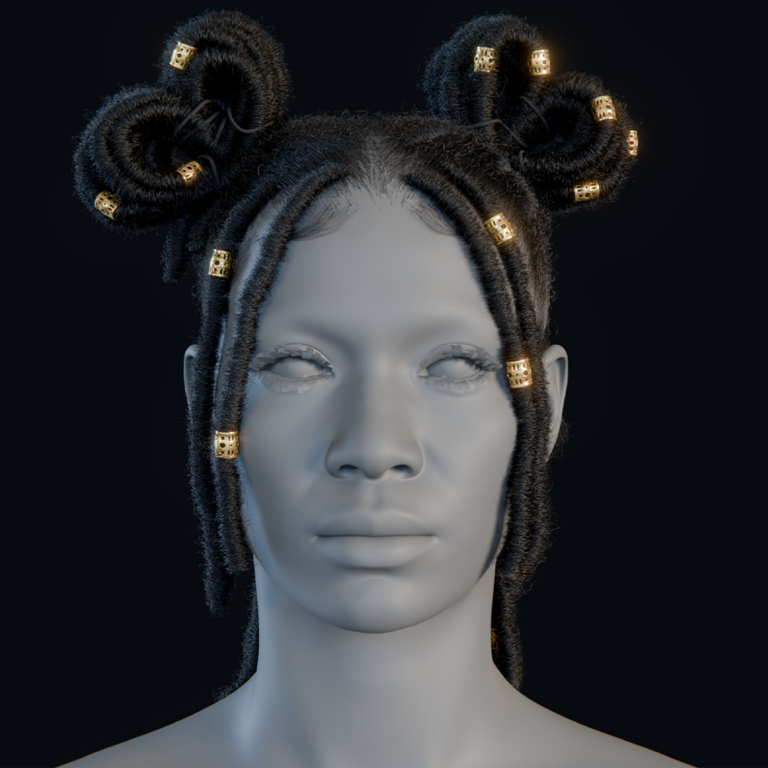
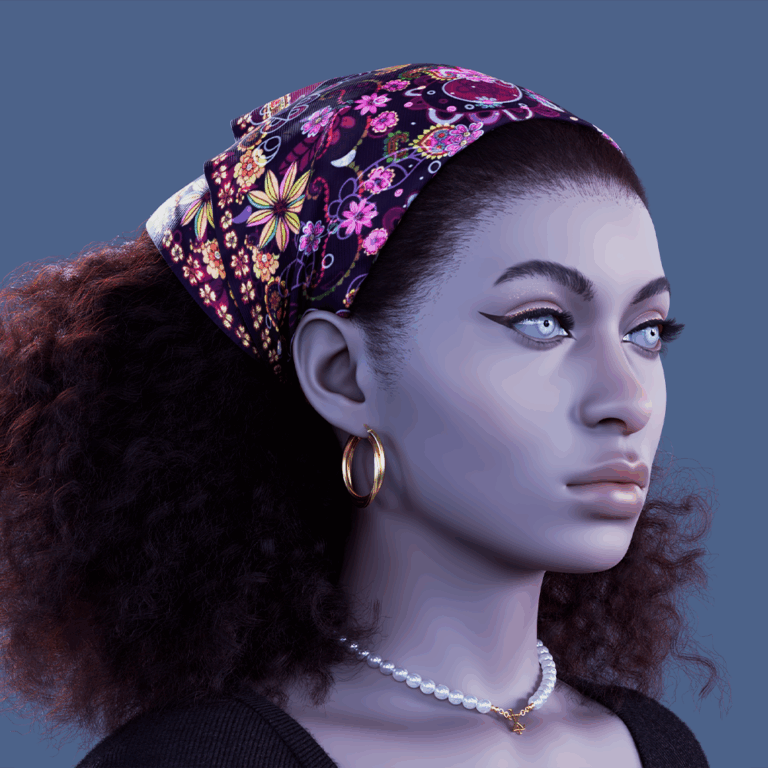
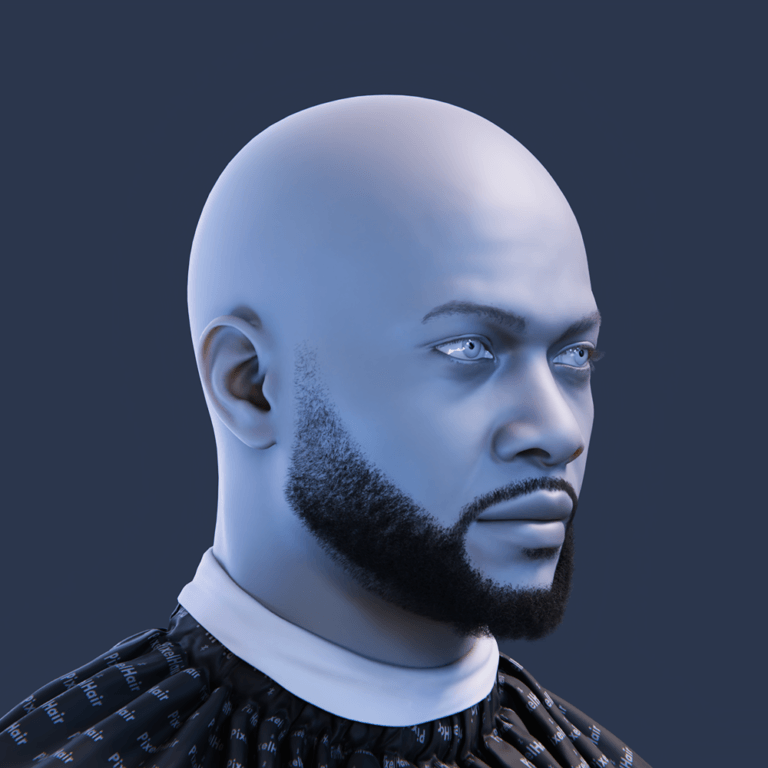
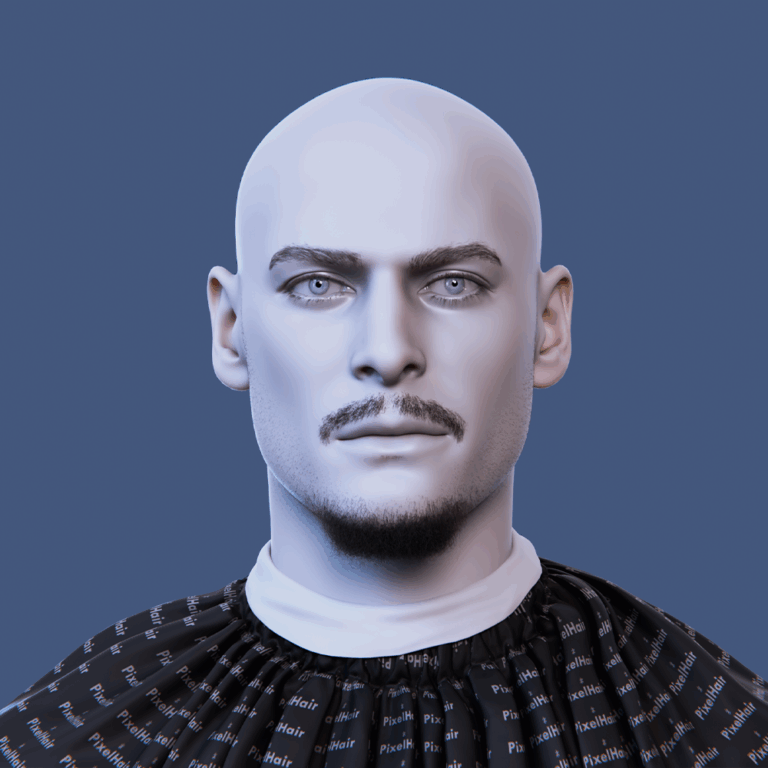
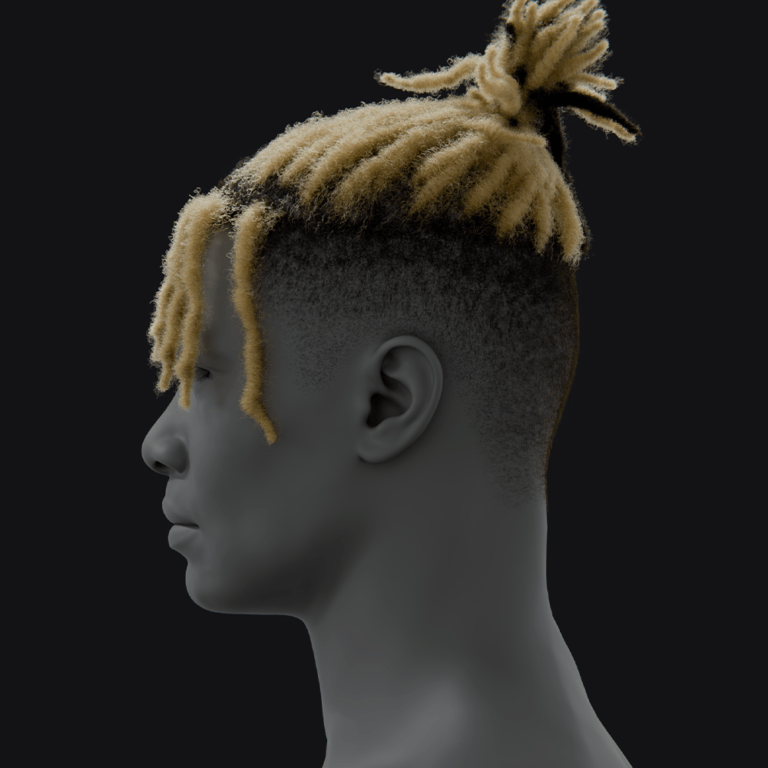
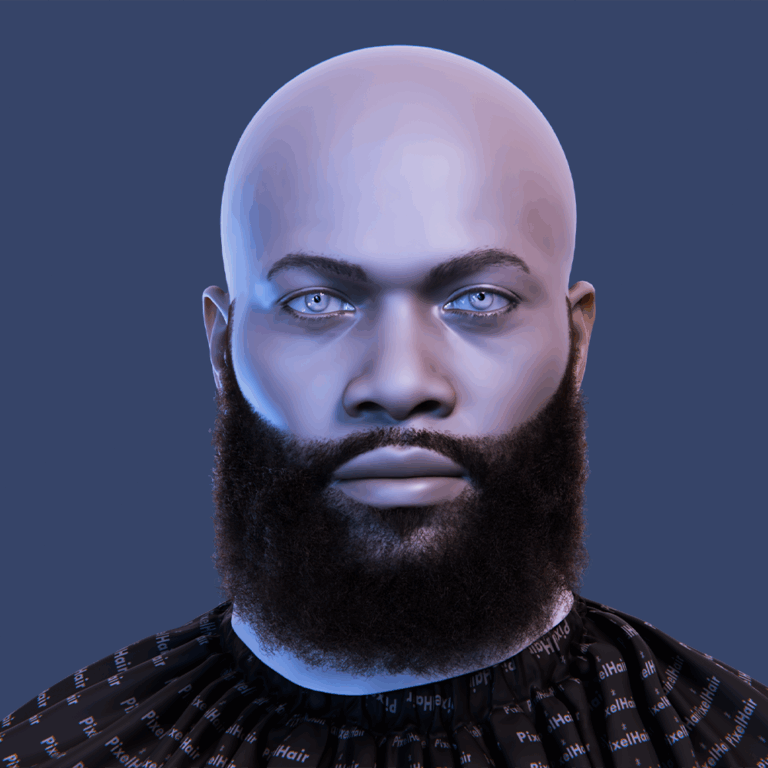
Blender’s hair workflow has advanced, providing artists with robust tools for creating detailed hair grooms and game-ready hair cards. This tutorial covers the new curve-based hair system (introduced in Blender 3.3+), creating and exporting hair cards for real-time engines, and using the Hair Tool add-on. It explains the shift from particle hair to curve-based hair, styling with geometry nodes, and converting hair into low-poly cards. By the end, you’ll understand how to achieve realistic hair using Blender’s new system, hair cards, and Hair Tool.
What is the new hair system in Blender, and how does it work?
Blender’s new hair system, introduced in Blender 3.3 LTS, uses editable Curves objects instead of particles, offering a flexible alternative to the old particle hair system. You add an “Empty Hair” curves object to a scalp mesh, linking hair to the surface with a Deform Curves modifier for seamless movement. In Curves Sculpt mode, brushes like Comb, Smooth, and Snake Hook allow manual grooming, while Geometry Nodes enable procedural effects like clumping and frizz. This system combines intuitive 3D sculpting with node-based modifiers for versatile, non-destructive hair styling.
Key benefits include interactive 3D combing, handling thousands of hairs, and non-destructive Geometry Nodes editing. Hair curves support layering multiple hair objects and integrate with mesh deformations, ensuring hair moves naturally with the scalp. Blender 3.5 added 26 preset hair node groups for procedural styling, enhancing flexibility. Overall, this system offers artist-friendly control and parametric power, making it Blender’s most advanced hair grooming toolset.

How do I create hair cards in Blender for game-ready characters?
Hair cards are low-poly polygon strips with hair textures used for real-time game hair. Here are the main methods in Blender:
- Manual Modeling: Start with a scalp mesh, create and subdivide a plane into a strip, UV unwrap it, and apply a hair texture with alpha. Duplicate and arrange strips, varying their shape and rotation to mimic hair flow, layering from bottom to top. Ensure cards intersect the scalp slightly and use a textured scalp to hide gaps. This method offers full control but is time-intensive.
- Particle Hair to Cards: Groom particle hair or curves to define the hairstyle, convert to mesh curves, and use each curve to guide a ribbon-like plane with a Curve modifier. Simplify by using sparse guide hairs for card placement. Add-ons like HairNet or the Particle Instance modifier can automate card distribution, reducing manual work.
- Using Hair Tool Add-on: Hair Tool converts hair curves or particle hair into mesh ribbons, preserving UVs. It automates card placement, adds procedural children cards, and randomizes orientation for volume. It also streamlines UV mapping and texture atlas assignment, speeding up the workflow: groom guides, generate cards, and tweak.
- Creating Hair Textures: Bake high-res hair strands into textures or use pre-made hair texture packs with diffuse, alpha, and normal maps. Ensure alpha clip or hashed transparency for realistic strand appearance. Arrange cards in layers, inner layers cover the scalp, outer layers define the silhouette, overlapping slightly for a natural look.
Blender’s tools allow modeling, texturing, and previewing hair cards in Eevee, ensuring efficient, realistic game-ready hair with minimal polygons.
What are the differences between hair particles and hair curves in Blender?
- Data Structure: Hair Particles are part of a mesh’s particle system, generated from emitter faces, while Hair Curves are separate Curve objects parented to a mesh, visible in the Outliner for easier management.
- Editing Tools: Particle Hair uses Particle Edit mode with limited 2D-projected brushes. Hair Curves use Curves Sculpt mode with 3D brushes (Comb, Snake Hook) for intuitive grooming and precise control.
- Modifiers vs Nodes: Particle Hair relies on basic clumping and physics settings. Hair Curves use Geometry Nodes for customizable procedural effects like clumping and deformation, offering greater flexibility.
- Physics: Particle Hair includes built-in Hair Dynamics for animation. Hair Curves lack native physics (as of Blender 3.5), requiring workarounds like cloth proxies for dynamic effects.
- Rendering: Both render as strands, but Hair Curves use geometry-based radius attributes and support modern rendering features in Cycles/Eevee, while Particle Hair relies on legacy settings.
- Workflow Differences: Particle Hair struggles with child settings and lacks symmetry. Hair Curves support symmetry, layered editing, and precise strand selection, making grooming faster and more intuitive.
- Conversion: Blender allows converting particle hair to curves and vice versa, aiding transitions between systems for legacy projects or specific needs.
- Support and Future: Particle Hair is a legacy system with no new updates, while Hair Curves are actively developed, with Blender 3.5 adding 26 preset node assets for enhanced usability.
Hair Curves offer superior styling control and procedural power, though they lack built-in physics. For most modern workflows, they surpass Particle Hair, especially with their node-based flexibility.

How do I use geometry nodes to style hair in Blender’s new hair system?
Blender 3.5+ integrates Geometry Nodes for procedural hair styling, offering a flexible, non-destructive system. Built-in hair node group assets simplify applying effects like clumping or curling. These nodes act as modifiers on hair Curves objects, enabling rapid style adjustments. The system supports reusing setups across characters, enhancing workflow efficiency.
- Adding Hair Node Assets: Access the Hair category in Blender’s Asset Browser (Essentials library, Blender 3.5+). Node groups like Generate Hair Curves or Clump Hair Curves are available. Drag and drop a node onto a selected hair Curves object to add a Geometry Nodes modifier. This instantly applies the node group’s effect, with adjustable parameters in the modifier panel.
- Common Hair Node Groups:
- Generate Hair Curves: Generates new hair strands on a mesh surface. Set density via a value or texture and define length for procedural scattering on the scalp. Ideal for creating hair from scratch without manual placement. Control parameters ensure even distribution across the surface.
- Interpolate Hair Curves: Adds child hairs between manually groomed guide curves, similar to the old particle system’s children feature. Adjust the number of children per guide for density. This node follows guide curve shapes, enhancing detail. Settings allow fine-tuning interpolation for natural results.
- Clump Hair Curves: Groups hairs into clumps using guide curves as centers. Adjust clump radius, tightness, and randomness for varied effects. Multiple clump centers can be defined, pulling nearby hairs toward them. This creates realistic hair grouping, like tufts or locks.
- Curl Hair Curves: Deforms hairs into curls or waves based on guide curves. Set curl radius and frequency for global or masked application. This node adds natural wave patterns to hair. Parameters allow precise control over curl intensity and distribution.
- Braid Hair Curves: Creates braid patterns using guide curves, such as three guides for a classic braid. Specialized for complex styles, it deforms hairs into interwoven shapes. Adjustable settings ensure braids look natural. This node suits detailed, structured hairstyles.
- Frizz Hair Curves: Introduces randomness and kink for a frizzy, flyaway effect. Apply globally or selectively to mimic natural hair imperfections. Adjustable intensity ensures subtle or dramatic results. This node enhances realism by breaking hair uniformity.
- Smooth Hair Curves: Reduces noise or irregularities, relaxing hair shapes for a polished look. Ideal for refining procedural effects, it ensures smooth transitions. Adjustable strength prevents over-smoothing. This node balances natural flow with clean aesthetics.
- Roll, Twist, Trim, etc.: Additional nodes like Roll Hair Curves (creates loops at tips), Trim Hair Curves (cuts to specific lengths), or Noise/Displace (adds perturbations) offer specialized styling. Each node provides unique controls for detailed customization. These enhance creative flexibility. Combine for complex effects.
- Using the Node Modifier: After adding a node group, tweak its settings (e.g., Clump Size, Noise) in the modifier panel. Some nodes require inputs, like Guide Curves for Clump or Curl. If unspecified, nodes may use existing hairs as guides or need separate guide curves. Utility nodes, like Attach Hair Curves to Surface, ensure hairs stay attached to deforming surfaces.
- Chain Multiple Node Groups:
- Multiple Modifiers: Stack modifiers for sequential effects, e.g., Generate, Clump, then Frizz. Order matters, as each modifier processes the previous output. This approach simplifies complex styling. It’s like layering filters for cumulative results.
- Single Modifier with Combined Node Graph: Combine multiple node groups in one Geo Nodes modifier. Chain them (e.g., Interpolate → Frizz → Smooth) within a single node tree for modularity. Merge dragged assets manually if needed. This streamlines workflow while maintaining flexibility.
- Controlling Scope:
- Selection Maps/Attributes: Use selection inputs to limit effects (e.g., clump specific hairs). Create masks via textures or weight painting (e.g., Density brush in sculpt mode). Feed masks into nodes like Clump for targeted application. This ensures precise control over styling areas.
- Example: Weight paint a scalp vertex group for clumping areas, then input it into Clump’s Selection. Trim Hair Curves can use texture maps for varied lengths, like shorter sides, longer top. Masks enhance procedural precision. They allow dynamic, region-specific styling.
- Guides Workflow Example:
- Short Back-and-Sides Style: Groom guide curves for the top manually. Use Interpolate with a density mask for dense top hair, Clump for chunky locks, and Generate with Trim for short, fading sides. Apply Smooth for natural flow. This creates complex styles efficiently.
- Procedural Advantage: Minimal manual grooming beyond guides, with nodes handling detailed styling. Painted masks control density and length variations. The result is a polished, procedural hairstyle. Adjustments remain non-destructive for quick iterations.
Real-time feedback in Geometry Nodes allows instant viewport updates, encouraging experimentation. Manual grooming (e.g., Comb brush) can set guide directions, with nodes like Hair Curves Noise adding realism. Finalized hair can stay as curves for Blender rendering or convert to mesh via Curve to Mesh for export. This procedural toolkit revolutionizes hair styling, offering speed, flexibility, and reusability.

How do I simulate hair movement or physics using the new Blender hair system?
Blender 3.5’s hair curves lack native physics simulation, but workarounds achieve dynamic hair movement. These methods use proxy objects, alternative physics systems, or external tools. Each approach requires setup but delivers convincing results. Future Blender releases may introduce direct hair physics.
- Cloth Simulation on Hair Curves (Proxy Method):
- Setup: Convert hair curves to a mesh strip matching curve control points. Apply a Cloth physics modifier, pinning root vertices to the scalp. Use a Geometry Nodes modifier to bind curves to the deforming mesh. The mesh simulates cloth, driving hair movement.
- Process: The invisible proxy mesh handles physics (gravity, motion), while curves follow its deformation. Add-ons like diffeomorphic automate this, aligning mesh and curve vertices. This method mimics hair dynamics effectively. It’s technical but reliable for animation.
- Advantages: Provides realistic swaying and collision response. Suitable for complex animations, as the cloth solver is robust. Curves remain procedural, allowing styling tweaks. The setup integrates well with Blender’s existing tools.
- Use Case: Ideal for flowing hair in animated scenes, ensuring natural motion without native hair physics. Community tutorials, like Alessandro’s, detail the process. Add-ons simplify implementation. This is the most recommended workaround.
- Soft Body on Curves (Alternate Hack):
- Setup: Convert curves to poly line meshes (edge chains). Apply Soft Body physics, pinning endpoints. Adjust damping and stiffness for hair-like behavior. Optionally convert back to curves post-simulation. This method is less common and trickier.
- Challenges: Soft Body can be unstable for fine hair chains, requiring careful tuning. Results may not match cloth’s realism. It’s experimental, with limited community use. Conversion back to curves adds complexity.
- Advantages: Directly simulates curve-like structures, avoiding proxy meshes. Useful for simple animations or tests. Offers flexibility for custom setups. Can mimic soft, bouncy hair with tweaking.
- Use Case: Best for quick tests or unique effects where cloth is overkill. Not ideal for production due to finicky setup. Scripting may enhance reliability. Explore for niche projects.
- Hook/Bone Rigging:
- Setup: Attach Hook modifiers or bones to curve control points. Use empties or bones with rigid body joints or soft body physics for motion. Alternatively, apply Animall or Dynamic Bones via scripting. This treats hair like rigged tentacles.
- Process: Physics on bones/empties drives curve deformation. Pose Library or Pose Sculpt mode with dynamics can add jiggle. Custom constraints toggle motion effects. It’s manual but precise for controlled animations.
- Advantages: Offers animator control over specific hair sections. Integrates with rigging workflows, ideal for stylized motion. Flexible for exaggerated or subtle effects. Scripting extends functionality for complex setups.
- Use Case: Suits stylized animations or games needing bone-based hair. Effective for short, controlled sequences. Less suited for realistic, flowing hair. Combine with manual keyframes for precision.
- Convert to Old Hair for Physics:
- Setup: Style hair with curves, then convert to a particle hair system using Blender’s Convert to Particle System operator. Enable Hair Dynamics for simulation. Bake desired poses or animations, optionally converting back to curves for static shots.
- Limitations: Inefficient for full animations, as converting back per frame is manual. Best for stills needing gravity-settled hair. Loses procedural flexibility post-conversion. Particle system is outdated compared to curves.
- Advantages: Leverages Blender’s existing hair dynamics for quick results. Simple for static poses or draping effects. No proxy setup needed. Familiar workflow for legacy users.
- Use Case: Useful for still images or single-frame simulations, like hanging hair. Not practical for dynamic animations. Combine with curves for initial grooming precision.
- External Tools:
- Options: Export curves to Unreal Engine for groom simulation or use experimental Blender builds with Geometry Nodes physics fields. Community add-ons may introduce Verlet integration nodes. These tools offer advanced simulation outside Blender’s core.
- Process: Unreal handles real-time hair physics but requires rendering there. Experimental builds are unstable but show future potential. Add-ons could simplify in-Blender dynamics. Export/import workflows add complexity.
- Advantages: Access robust physics for games or high-end renders. Future-proof for upcoming Blender features. Community solutions may streamline setup. Ideal for cross-platform projects.
- Use Case: Best for game developers or those needing production-grade simulation. Not practical for quick Blender renders. Monitor community developments for add-ons.
- Using Cloth Directly on Hair Cards:
- Setup: Convert hair to cards (meshes) and apply cloth or rigid body physics. Weight paint tips for flapping motion or rig clumps with bones. Use Rigid Body Constraints or Soft Body for thick styles like braids or ponytails.
- Limitations: Applies to cards, not curves, requiring conversion. Less precise for strand-level dynamics. Best for broad, chunky hair motion. Adds geometry overhead compared to curves.
- Advantages: Simplifies physics for game-ready assets. Integrates with cloth workflows, offering familiar controls. Effective for stylized or low-detail hair. Scalable for real-time use.
- Use Case: Suits game assets or animations using cards for efficiency. Combine with curves for hybrid workflows. Ideal for ponytails or clumped styles.
The cloth proxy method, endorsed by BlenderArtists, is the most effective workaround, treating curves as a skinned mesh for simulation. For quick motion, manual keyframes or deformers (e.g., Displace with animated textures) fake rustling. Native hair physics may arrive in future updates, but these hacks suffice for stills or animations.

How do I mix hair cards with real-time hair grooms in Blender?
Mixing hair cards and strand-based grooms in Blender combines the efficiency of cards with the detail of strands. This hybrid approach suits rendering and real-time engines, enhancing realism. Careful material and density matching ensures seamless blending. It’s ideal for hero characters needing close-up detail.
- Use Case: Hair cards handle large hair masses for real-time performance, while strand grooms (particle systems or curves) add fine details like baby hairs or flyaways. For example, cards form the main volume, with strands softening hairlines. This balances optimization and realism. It’s versatile for games or renders.
- In Blender (for Rendering):
- Setup: Render cards (meshes with alpha textures) alongside particle/curve hair in Cycles. Cards form the bulk, while strands add fuzz or wisps. Ensure consistent lighting and materials for visual cohesion. Adjust strand density to complement, not dominate, cards.
- Material Matching: Align card and strand materials (e.g., similar roughness, tint). Use Principled BSDF for cards and Principled Hair BSDF for strands, matching colors. Strands should enhance edges subtly. This prevents visual disconnect between systems.
- Performance: Mixing adds geometry but is manageable in Blender. For games, limit strand count to maintain efficiency (e.g., Unreal supports minimal grooms with cards). Test renders ensure balance. Fine strands catch highlights, enhancing realism.
- Blending: Groom strands to follow card flow, using minimal density for softness. Place strands at hairlines or lock ends for natural transitions. Consistent shading prevents cards looking flat. Cycles handles both systems seamlessly.
- In Blender (for Viewport or Eevee): Display cards and curves in the viewport, using Alpha Clip/Hashed for card materials in Eevee. Adjust strand display percentage for clarity. Material Preview shows effects, ensuring cards and strands align. Tweak settings for smooth viewport performance.
- Workflow to Mix:
- Steps: Model cards for main hair. Add particle hair or curves for secondary strands (e.g., baby hairs at part lines, wisps at lock ends). Groom strands to match card flow, using low density. Match materials (e.g., Hair Info node for strands, textures for cards).
- Density Control: Use vertex groups to restrict strand emission to specific areas (hairline, outlines). Adjust length and children particles for subtlety. This keeps strands as accents, not primary geometry. It ensures efficiency and visual harmony.
- Material Details: Cards use textured Principled BSDF; strands may use melanin-based Principled Hair BSDF. Match strand color to card texture’s average. Subtle strand placement enhances realism. Test renders confirm seamless integration.
- Example: For a beard, use cards for bulk and particle hair for stray strands. Comb particles to blend with cards, adding scraggly detail. Render both for a fuller effect. This approach scales to any hairstyle.
- In Game Engines:
- Challenges: Engines like Unity struggle with strand rendering; Unreal supports grooms but they’re heavy. Use cards for most hair, adding minimal Alembic grooms for flyaways. Alternatively, bake strands to fuzz maps or use shell textures for faux strands.
- Workflow: Render particle hair in Blender to textures for normal maps. In Unreal, combine cards with small grooms for high-end characters. Shell textures simulate fuzz via layered meshes. This optimizes performance while retaining detail.
- Advantages: Cards ensure real-time efficiency; minimal strands add softness. Hybrid setups mimic MetaHuman’s approach for realism. Test exports ensure compatibility. Blender’s flexibility supports engine-specific tweaks.
- Limitations: Dual systems increase setup time. Overusing strands negates card optimization. Sync styling across systems to avoid mismatches. Plan exports carefully for engine constraints.
- Advantages of Mixing: Strands add micro detail and softness, catching highlights naturally. Cards provide volume and efficiency. The combination enhances realism, especially for rim-lit edges. Even minimal strands elevate hair quality significantly.
- Disadvantages: Increased setup complexity and performance cost. Overdone strands undermine card efficiency. Restyling requires updating both systems. Careful planning mitigates these issues for balanced results.
- Blender Render Example: Create a short hairstyle with cards, then add a particle system with 500 children hairs at the hairline and tufts. Comb hairs to extend slightly beyond cards. Render in Cycles for a softer, natural hairline with enhanced realism.
- Compositing Consideration: In Eevee, watch for sorting issues between strand primitives and card alphas. Use Alpha Hashed or separate render passes (cards, particles) for compositing. Cycles handles transparency better, avoiding most issues. Test renders ensure clean results.
This hybrid method leverages cards for efficiency and strands for detail, creating convincing hair for renders or games. In Blender, layering both systems with matched materials delivers optimal results. Adjust strand density and placement for subtle, impactful enhancements.

What are the best lighting setups to render hair in Blender?
Lighting is critical for realistic 3D hair, emphasizing specular highlights and translucency. Effective setups enhance strand and card details, ensuring natural shine and separation. Blender’s Cycles excels for hair, while Eevee requires tweaks. Tailor lighting to hair color and scene context.
- Three-Point Lighting as a Base:
- Setup: Use a key light (sun/area) at a front angle for main illumination and highlights, a soft fill light opposite to reduce harsh shadows, and a back/rim light behind for edge glow. This outlines hair, separating it from the background effectively.
- Key Light: Position 30–45 degrees above, grazing hair for specular streaks. Adjust to align highlights with strand flow. Ensures hair shape is defined clearly. Critical for both cards and strands.
- Fill Light: Softens shadows, preventing dark patches that hide detail. Keeps shaded hair visible without flattening. Use low intensity for contrast. Balances overall lighting for realism.
- Back Light: Creates a glowing rim, highlighting outer strands. Slightly off-center, it enhances translucency and silhouette. Adjust intensity to avoid overexposure. Essential for hair’s visual pop.
- Rim Light Considerations: Place above and behind, angled for a subtle edge outline. Use higher intensity for hair than skin, ensuring visibility. Works with Principled Hair BSDF or anisotropic card shaders. Prevents hair blending into backgrounds, especially dark ones.
- Large Area Lights vs Point Lights: Prefer area lights or HDRIs for soft, realistic highlights. Small point lights create harsh, pixelated glints, exposing card edges. Rectangular area lights mimic studio softboxes, smoothing anisotropic effects. This ensures natural strand shine.
- HDRI Lighting: HDRIs provide varied light directions, producing natural glints from sky/ground reflections. Test hair under studio HDRIs to verify shader settings (anisotropy, transmission). Environment lighting adds color (e.g., blue sky on blonde hair). Enhances realism in outdoor scenes.
- Light Position for Highlights: Angle key light 30–45 degrees above/side for optimal strand highlights. Rotate to adjust specular streak placement. Dark hair needs subtler highlights; light hair shows broader shine. Test angles to perfect anisotropic effects on cards.
- Multiple Rim Lights: Use two rim lights (left/right behind) for dual-edge outlines, ideal for dark hair on dark backgrounds. Subtle intensity prevents blowout. Enhances separation and detail. Common in portrait setups for balanced hair definition.
- Top Light for Shine: A near-overhead light adds a crown highlight, ideal for short hairstyles. Creates a glossy top shine, emphasizing hair volume. Adjust angle to avoid flattening. Complements key and rim lights for full coverage.
- Avoiding Shadowing Issues:
- Transparent Bounces: In Cycles, set Transparent Bounces to 8+ for layered hair cards, preventing black fringes. Ensures light passes through multiple layers. Critical for deep, dense hair. Avoids unnatural shadowing.
- Eevee Shadows: Use Contact Shadows cautiously to avoid harsh card shadows on faces. Soften shadows or reduce intensity for hair lights. Test renders ensure clean results. Adjust shadow settings for smooth blending.
- Hair Translucency: Principled Hair BSDF simulates light transmission through strands. For cards, add slight Subsurface or Transmission to fake translucency. Rim lights enhance this effect without full alpha. Ensures hair looks fibrous, not solid.
- Colored Lights: Use warm key and cool fill lights for richer highlights. A blue-ish rim contrasts warm keys, mimicking sunset glows. Artistic tints enhance hair’s visual appeal. Subtle color shifts elevate realism in stylized scenes.
- Specifically for Dark Hair: Strong rim lights prevent dark hair from merging into a solid mass. Keep fill low for contrast, allowing deep shadows. Rim lights define edges clearly. This maintains detail and depth in low-light scenes.
- Specifically for Light/Blonde/Gray Hair: Use softer lights to avoid blowout, with moderate fill to balance dark shadows. Lower specular intensity if anisotropic highlights are too strong. Ensures light hair retains detail without overexposure.
- Background and Environment:
- Dark Hair/Dark Background: Strong rim lights ensure separation. Add subtle key light for front detail. Prevents hair from blending into background. Critical for contrast.
- Light Hair/Bright Background: Emphasize front key light for contrast. Reduce rim light intensity to avoid washout. Environment lighting dominates in bright scenes. Adjust for scene coherence.
- Testing with Turntables: Animate a turntable or move lights to check highlight consistency. Ensures shader settings (normal maps, anisotropy) respond correctly. Fix patchy highlights by adjusting light size or shader. Confirms robust lighting across angles.
- Eevee vs Cycles:
- Eevee Tweaks: Enable Screen Space Reflections with refraction for anisotropic highlights. Increase shadow softness to avoid jagged edges. Use anisotropic BSDF if Hair BSDF lacks support. Test settings for viewport accuracy.
- Cycles Advantage: Handles transparency and complex lighting better. Use denoising for noisy hair renders. Higher Transparent Bounces ensure accurate shadows. Preferred for final hair renders.
Best lighting uses a grazing key for specular, rim lights for edge definition, and soft fill for shadow balance. Large lights or HDRIs create natural highlights, while sufficient transparent bounces prevent harsh shadows. Fine-tune anisotropy and test with turntables to ensure lifelike hair rendering.

How do I optimize hair geometry for performance and rendering?
Hair Optimization Techniques in Blender:
Optimizing hair geometry in Blender is crucial for real-time applications or heavy scenes. Below are key techniques to achieve efficient, visually appealing hair:
- Reduce Polygon Count: Minimize hair cards or strands for the desired look:
- Fewer, wider cards with good alpha textures can replace many thin ones, reducing geometry processing (e.g., 200 wider cards instead of 500).
- For strand-based rendering, use Child particles/curves to generate many hairs from fewer guides, reducing parent strands. Cycles’ Strand Simplification lowers density at a distance.
- Adjust hair curves’ display percentage in Blender’s Viewport Display for better viewport performance. Use Adaptive subdivision cautiously for 3D curves at render.
- Level of Detail (LOD): Create multiple LOD meshes for game hair:
- LOD0: Full detail with all cards.
- LOD1: Medium detail, merging or removing smaller cards.
- LOD2: Low detail, using simple shapes or a scalp with painted hair texture.
- Manually duplicate and simplify hair in Blender, then export to engines with distance thresholds to save resources for distant characters.
- Merge Geometry Where Possible: Combine hair cards with the same material into one mesh to reduce draw calls. Instead of 100 separate planes, use one mesh with 100 planes. Keep cards separate for editing in Blender but join them before export to minimize engine overhead.
- Optimize Transparency: Reduce overdraw from layered alpha cards:
- Arrange cards to avoid excessive overlapping transparent layers, using thicker cards or spreading them out.
- Prefer Alpha Clip over Alpha Blend for faster rendering, minimizing semi-transparent blending. Alpha-to-coverage can smooth jagged edges.
- In Cycles, set Transparent Bounces to around 8 to prevent early hair cutoff without excessive render time.
- Bake and Atlas Textures: Use a single texture atlas for hair cards to reduce material switches:
- Pack alpha, roughness, and AO into one texture’s channels to minimize texture count.
- Bake root-to-tip gradients or color variations into the texture to avoid extra shaders or vertex colors.
- Optimize Shaders: Simplify shaders for real-time use:
- Use basic Cutout shaders in Unity URP or Unreal’s Masked material with two-sided lighting, avoiding complex hair shaders unless necessary.
- Disable unneeded features like subsurface or transmission to reduce calculations, sticking to diffuse + specular with anisotropy.
- Normal Map and AO Baking: Bake details like stray strands or clump depth into normal maps to reduce geometry needs. Use Hair Tool to bake AO, multiplying it into the diffuse for depth, allowing fewer cards without a flat appearance.
- Culling and Posing: Remove unseen hair cards (e.g., inside a bun) to save polygons. Design hair to cover the scalp with minimal tiny cards, using a textured scalp to fill gaps and reduce geometry reliance.
- Particle Hair Simplification: In Cycles, use Simplify settings for dense particle hair, like Child Simplification, to thin distant hair. For Eevee, lower particle counts or manually apply LOD techniques.
- Curve Resolution: Reduce curve subdivisions to the lowest acceptable level. Use Hair Tool’s Simplify Strands utility to decimate curves while preserving shape, optimizing performance.
- Hide or Swap Hair for Physics: For distant game characters, use a static hair mesh or low-poly hair cap instead of cards, swapping to detailed hair when close. Prepare these in Blender for collision proxies or physics.
- Memory Optimization: Use the smallest hair texture resolution that maintains quality to save memory. Ensure alpha doesn’t bleed in mipmaps by dilating the alpha properly to avoid fringes.
- Profiling: For slow Blender viewports, use Display as Bounds for hair or disable textures. In engines, check overdraw, draw calls, and split hair into toggleable sections (e.g., hiding hair under hats).
- Physics Optimization: Limit simulated hair elements by using a few representative bones for multiple cards or simulating low-res hair and copying motion to high-res, reducing physics calculations.
- Nvidia HairWorks / AMD TressFX / UE Groom vs Cards: Strand simulations are GPU-heavy, so most games use optimized hair cards for cost-effective rendering. Focus on card efficiency.
In summary, optimize hair by minimizing elements, leveraging textures for detail, and reducing overdraw and draw calls through simplified structures, LODs, and tuned rendering settings for smooth performance in Blender or real-time applications.
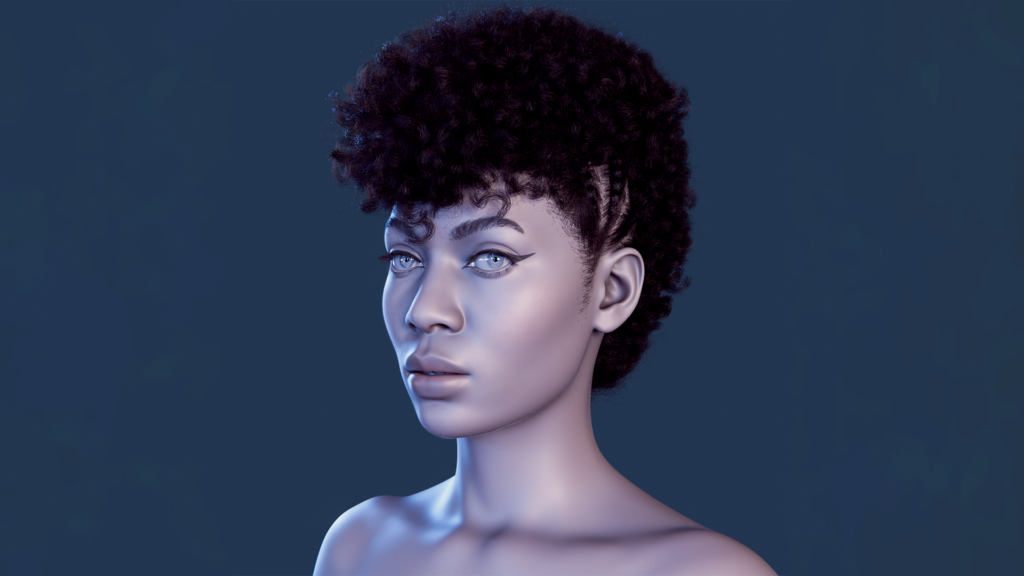
Are there templates or presets for creating different hairstyles in Blender?
Blender and add-ons offer various resources for hairstyle templates and presets:
- Blender’s Built-in Hair Assets: Blender 3.5 includes 26 hair node group assets for operations like generate, clump, or curl, but not full hairstyles. These are building blocks, requiring assembly for styles like a ponytail.
- Hair Tool’s Hairstyle Presets: Hair Tool provides over 30 procedural hairstyle presets, including bobs, braids, ponytails, and curls:
- Load presets from the Hair Tool panel’s Hair Library with thumbnails.
- Presets set up a Hair System with generators and deformers (e.g., braids use three braided guide curves).
- Adjust parameters or tweak guides to fit the character’s head.
- Blender Studio/Community Resources: Blender Cloud and community platforms offer example hair files:
- BlenderArtists and devtalk share .blend files with hair setups (e.g., curly hair nodes).
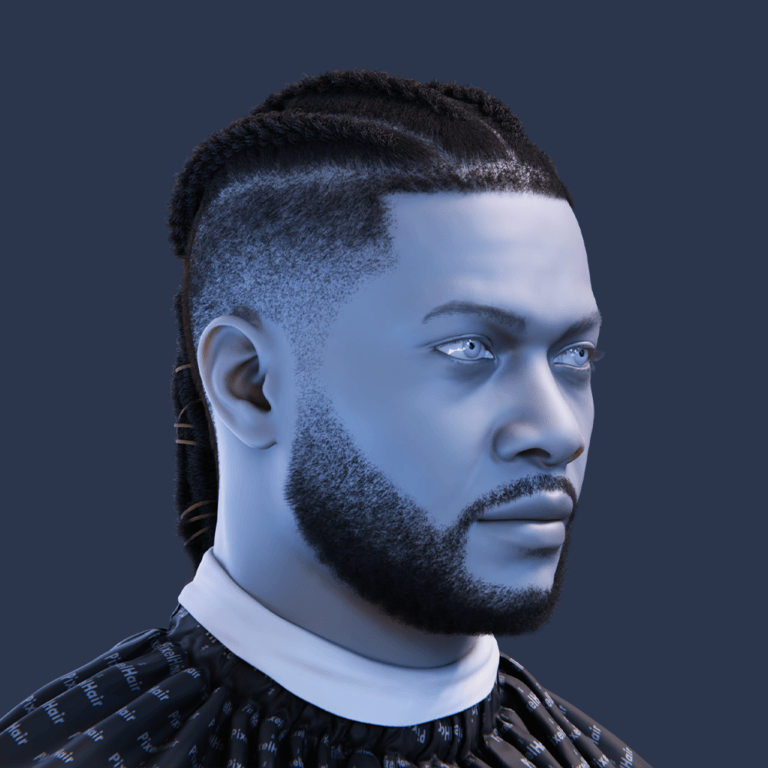
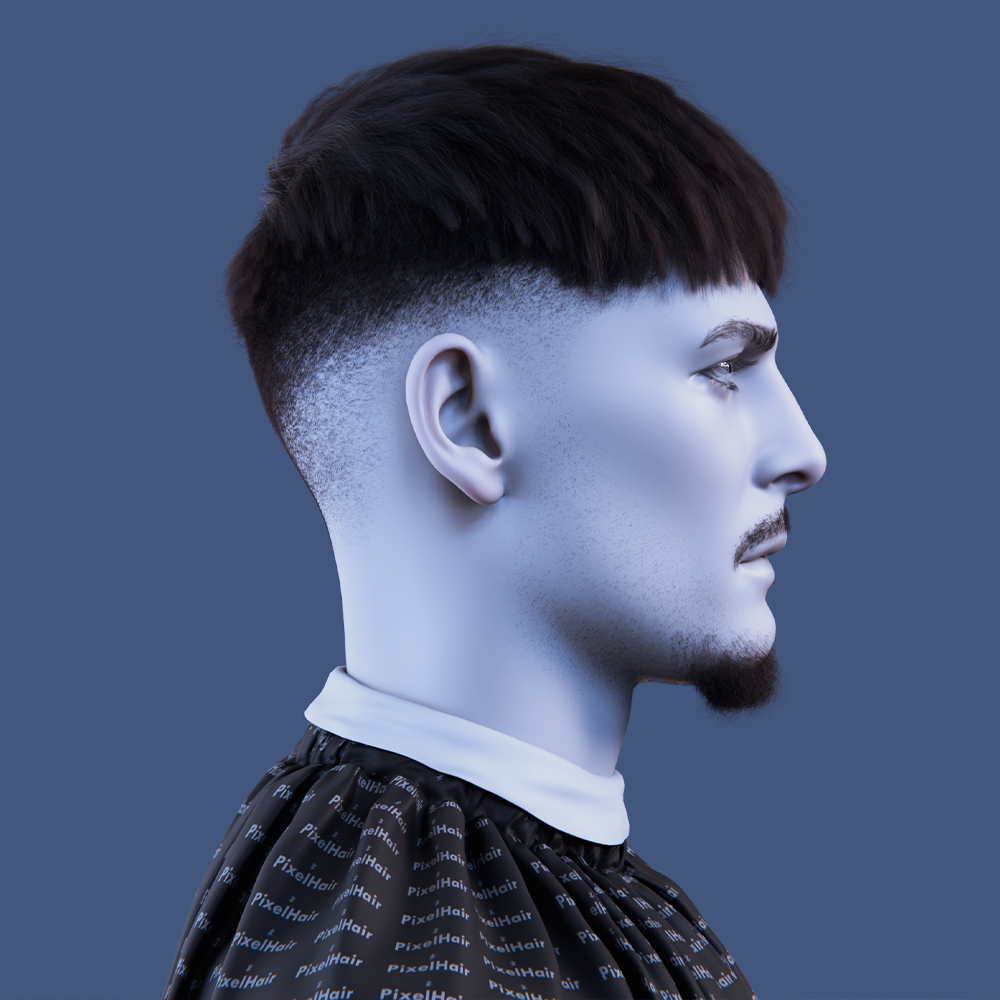
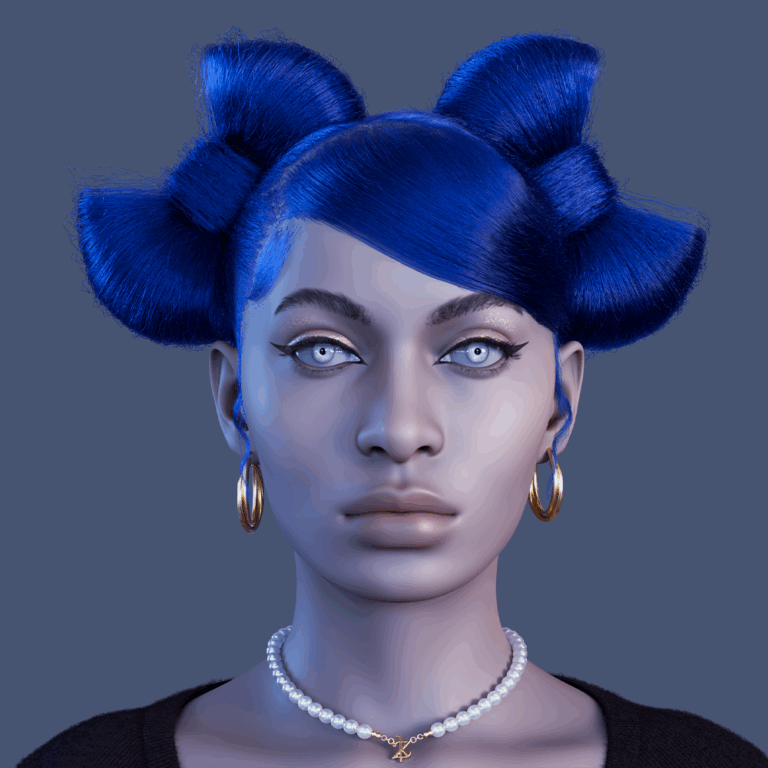
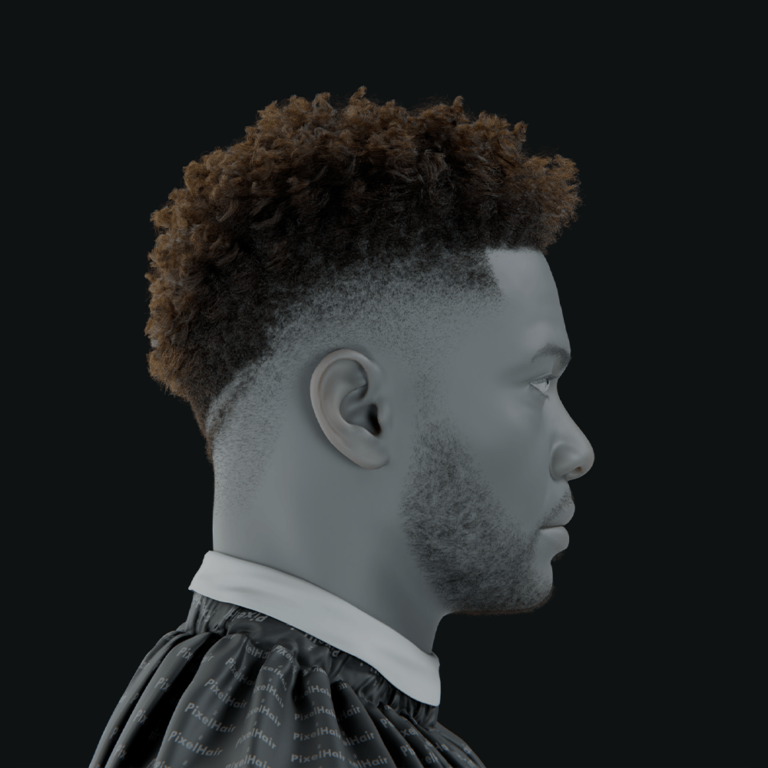
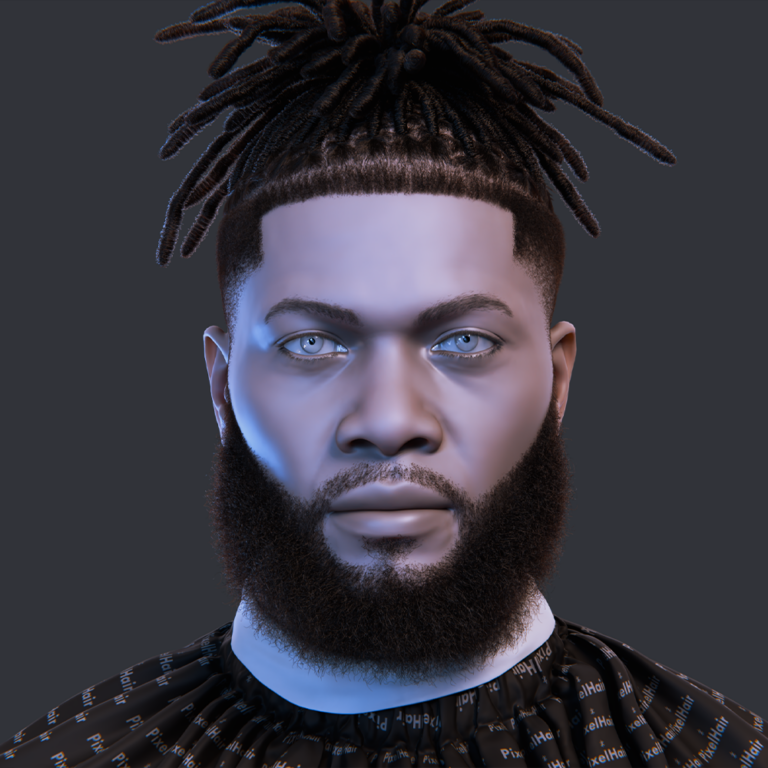
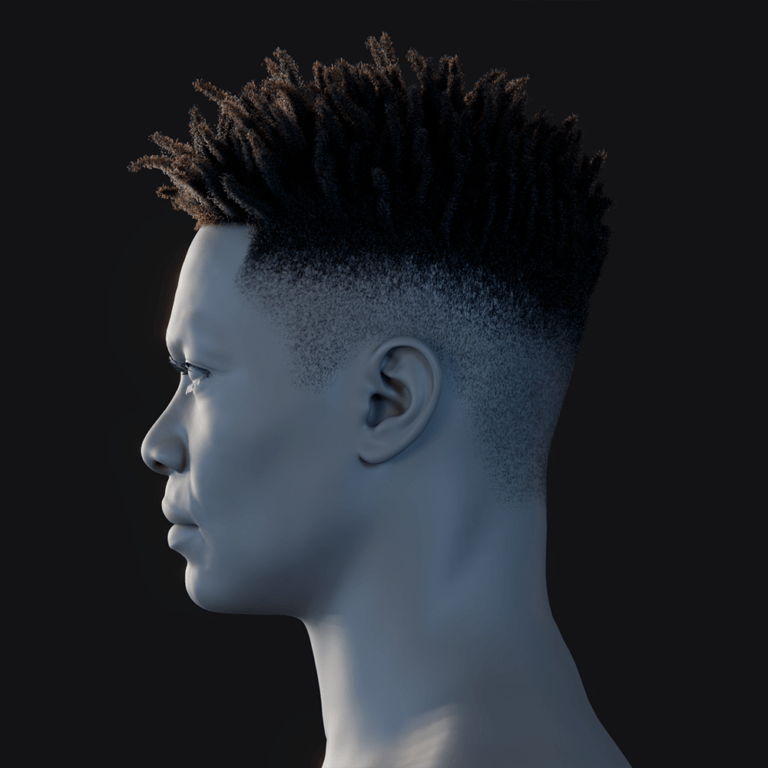
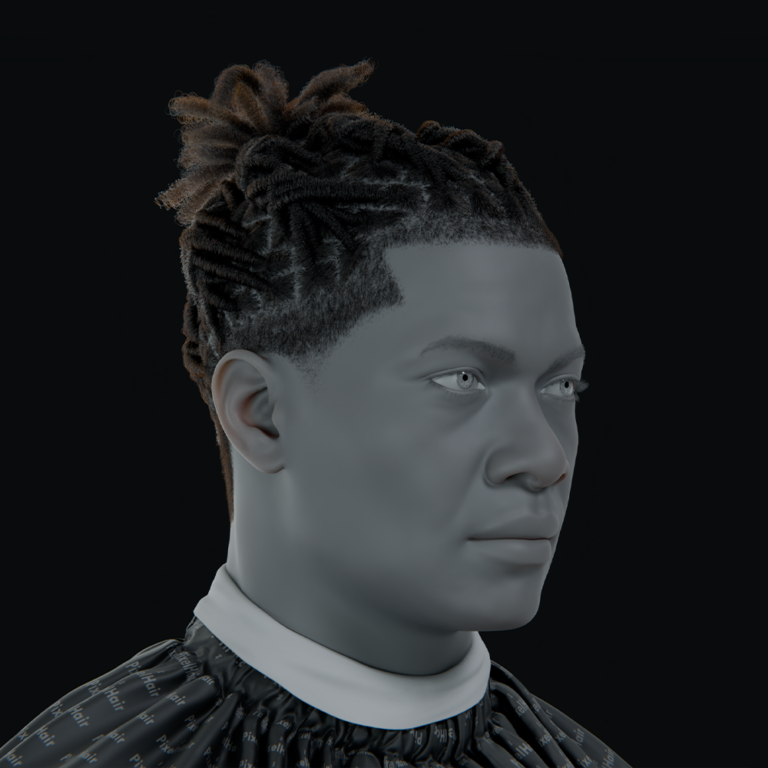
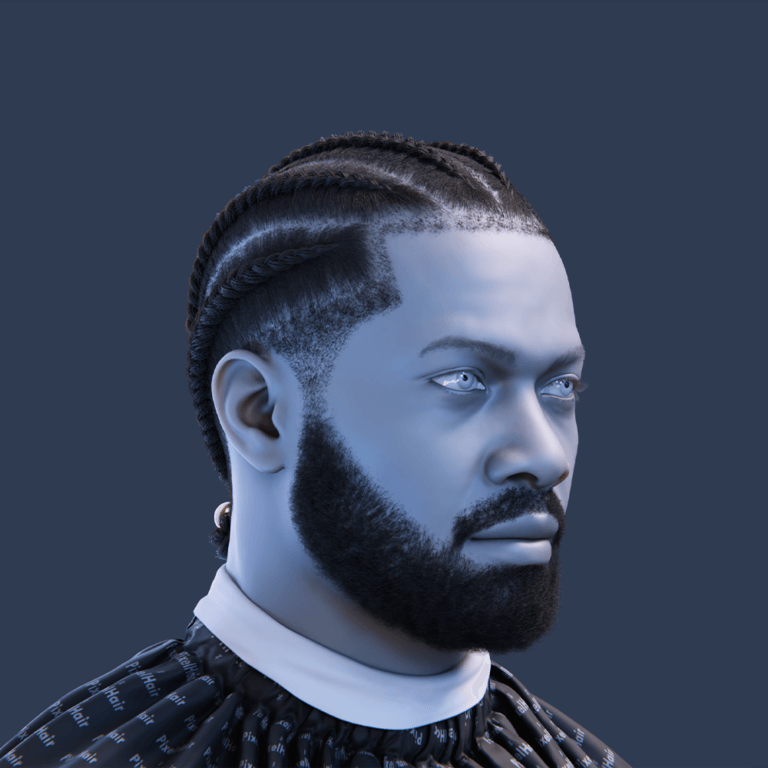
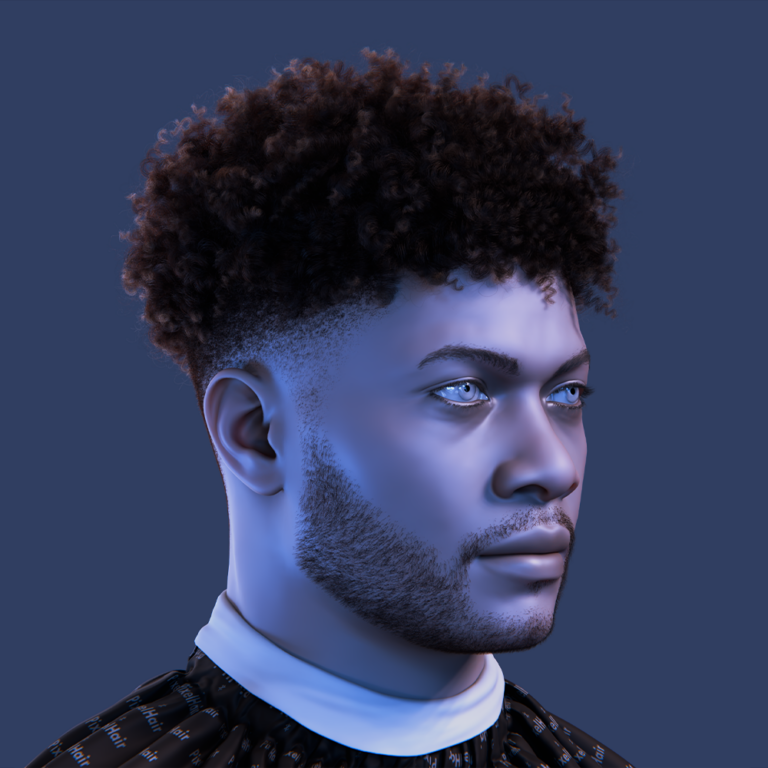
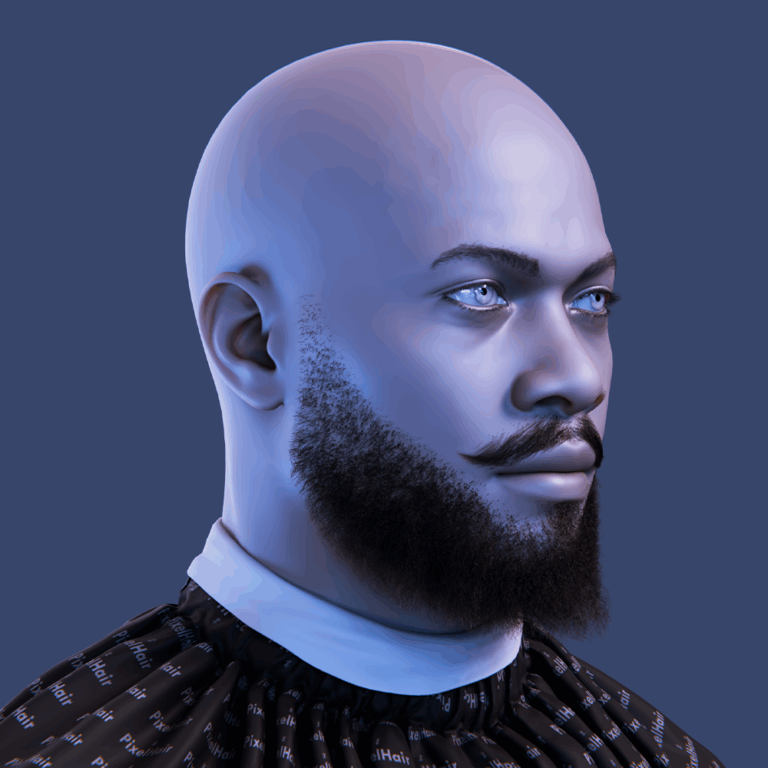
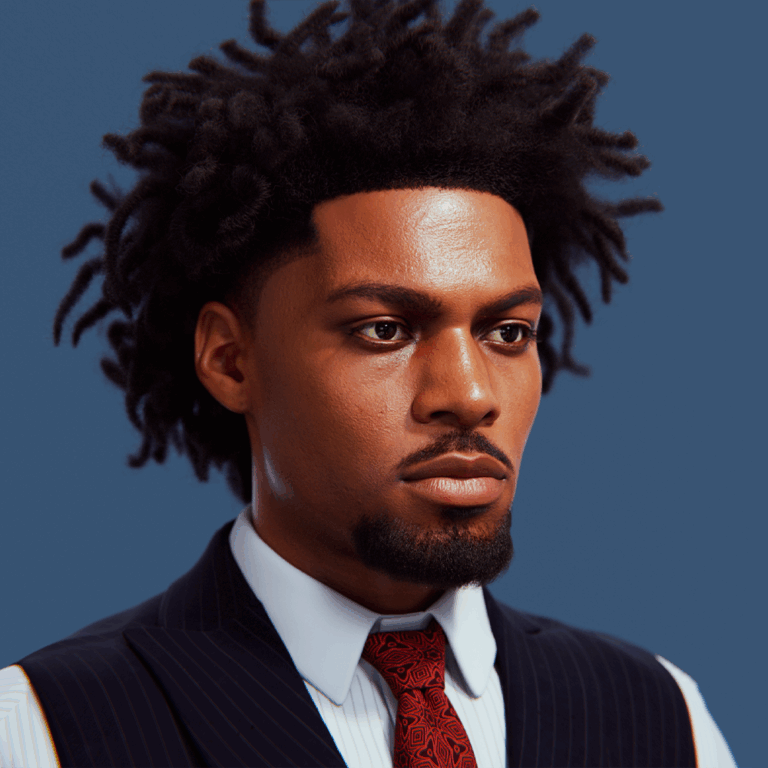
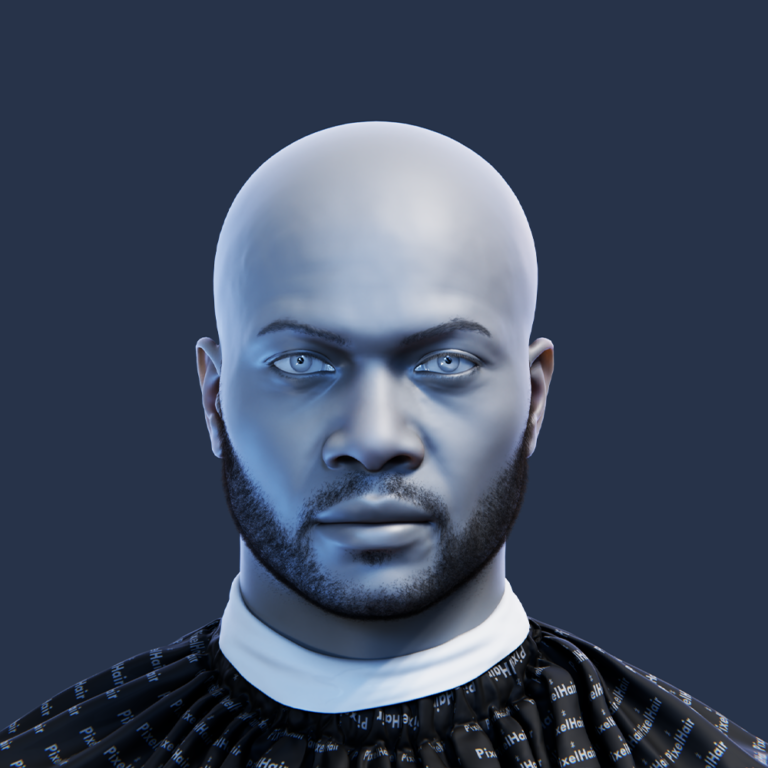
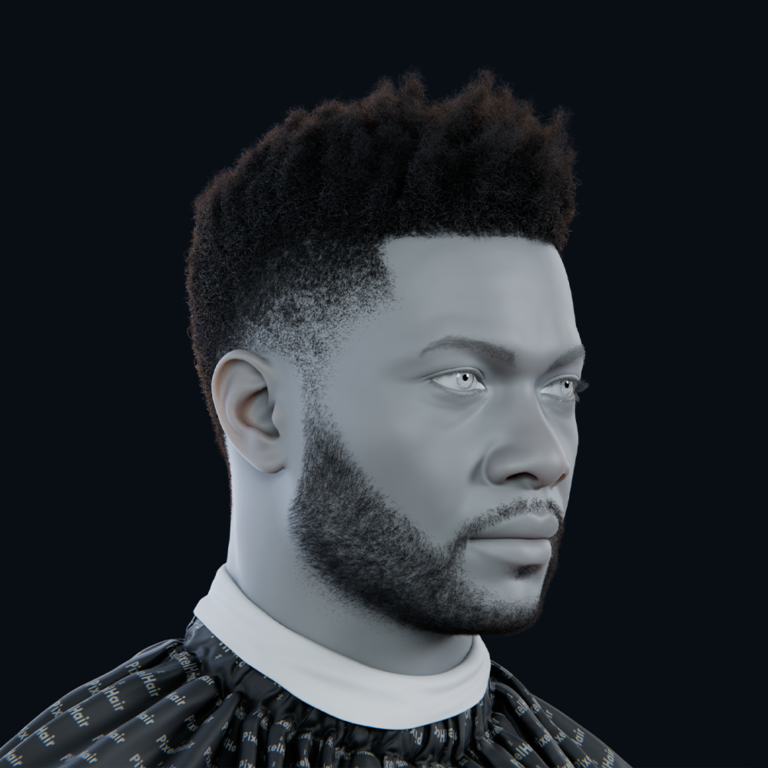
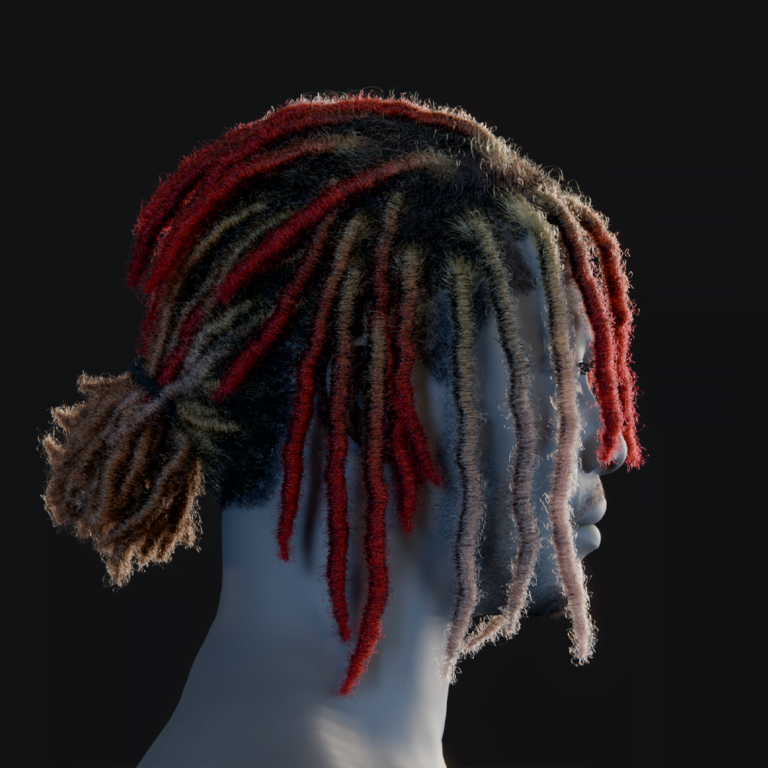
- Yelzkizi’s PixelHair provides pre-made hairstyles like braids or dreadlocks.
- 3D Hair Brush by VFX Grace includes presets for hair clumps, not full styles.
- Particle Hair Presets: Older Blender versions had particle hair brush presets, and users share custom presets (e.g., anime hair) online, though not official.
- MakeHuman/Character Creator Tools: Tools like MakeHuman provide importable hair models as mesh or particle hair, acting as templates.
- Manual Templates: Create reusable templates:
- Save guide curve arrangements (e.g., for shoulder-length hair) for reuse.
- Save node setups as assets for styles like wild curly hair, updating curves for new heads.
- MetaHumans: Unreal’s MetaHuman hair card styles can be imported to Blender for study or use (check licensing).
- Bios/Guides: Diagrams guide card placement for styles like buns, serving as conceptual templates.
Hair Tool and PixelHair are key for presets, with community files and manual setups enhancing options. These resources speed up hairstyle creation by providing starting points.
What are the common mistakes to avoid when working with hair cards and Hair Tool?
Avoid these pitfalls when using hair cards and Hair Tool in Blender:
- Too Few or Too Many Hair Cards: Using too few cards creates a blocky look, while too many wastes performance:
- Don’t represent every strand with a card; use textures for detail.
- Avoid overly sparse cards that look flat. Balance with LODs.
- Improper UV Mapping: Misaligned UVs cause texture issues:
- Ensure UV islands align with hair texture, with strands running along card length.
- Avoid stretched textures or blank UV areas to maintain resolution.
- Visible Card Edges (Bad Alpha Usage): Harsh edges or fringes reveal cards:
- Dilate texture colors into alpha areas to avoid white/black fringes.
- Use Alpha Clip for opaque parts to reduce sorting issues, managing transparency bounces in Cycles.
- Ignoring Scalp: Untextured scalps show gaps:
- Paint scalps with hair-colored textures to mimic short hair if gaps appear.
- Use Hair Tool to generate a scalp mesh or ensure the head model has one.
- Uniform Card Placement: Evenly spaced cards look unnatural:
- Vary card length, orientation, and grouping for realism, using Hair Tool’s randomization.
- Create clumps and sparse areas, supported by a textured scalp.
- Over-reliance on Auto-Generated Results: Auto-generated hair needs refinement:
- Manually tweak presets to fix intersections or stray cards, adjusting thickness.
- Apply Transfer Hair System before converting curves to mesh to avoid errors.
- Not Applying Scale/Rotation: Unapplied transforms disrupt Hair Tool operations, skewing hair or physics. Apply transforms on meshes and curves first.
- Normals and Shading Mistakes: Incorrect normals cause lighting issues:
- Set cards to shade smooth, aligning normals consistently for better light capture.
- Ensure two-sided lighting settings are correct to avoid dark card sides.
- Clipping/Intersection Errors: Cards intersecting the head or each other look bad:
- Place roots at or below the scalp, avoiding forehead penetration.
- Prevent Z-fighting in ponytails or braids with offsets or reordered cards.
- Use collision objects for physics to avoid body passthrough.
- Neglecting Performance Considerations: Overlooking optimization hurts games:
- Use 1K textures instead of 4K when possible.
- Implement LODs to manage crowd performance.
- Merge materials to reduce draw calls, using Hair Tool’s texture packing.
- Not Testing with Animation: Poor rigging or physics causes issues:
- Weight cards 100% to the head bone unless intentionally using physics.
- Test bone physics to avoid distortion or head intersections.
- Overdoing Particle Hair in Mix: Too many particle strands cause noise or performance hits. Balance cards and particles.
- Hair Tool Specific Mistakes: Tool-specific errors derail workflows:
- Assign proper materials to avoid white hair cards.
- Check console errors for issues like missing UVs, following Hair Tool’s FAQ.
- Use the correct Hair Tool version for your Blender to avoid bugs.
- Composition Mistake: Misallocating detail wastes effort. Focus cards on visible areas based on camera or player viewpoint.
Plan card layouts, use Hair Tool correctly, and test under lighting and animation to catch issues early, keeping hair simple where possible.

Where can I find tutorials for using Blender’s new hair system and Hair Tool together?
Here are key resources for learning Blender’s new hair system with Hair Tool:
- Official Blender Documentation and Tutorials:
- The Blender Manual covers the new hair system (Curves and Hair Grooming) for foundational knowledge.
- Blender Studio’s YouTube and Blender Conference talks, like Simon Thommes’ Blender 3.5 hair assets intro, offer workflow demos.
- BlenderArtists’ forum has a Blender 3.5 hair guide thread and user-shared tips.
- Hair Tool Documentation and Tutorials:
- Hair Tool’s official docs detail installation, workflows, and features like hair conversion and texture baking.
- Hair Tool’s Gumroad page links to an intro video and YouTube playlist, including SinHouse’s step-by-step hair card tutorials.
- Community Tutorials Combining Both: YouTube searches for “Hair Tool Blender 3.5 hair curves” yield integration tutorials. BlenderArtists threads on “Hair Tool new hair curves” provide user tips.
- Paid Courses or Advanced Tutorials: Blender Cloud’s Julien Kaspar tutorials cover grooming with curves. CG Cookie and 80.lv articles offer hair card context applicable to Hair Tool workflows.
- Specific Tutorial Recommendations:
- Stache’s “Blender 3.5 New Hair Tools and Assets – Beginner’s Guide” for hair system basics.
- CGCookie’s “How to Create Realistic Hair in Blender 3.5” for curve-based realism.
- PixelicaCG’s “Ultimate Guide to Creating Game-Ready Hair in Blender” for hair card workflows, adaptable with Hair Tool.
- SinHouse’s YouTube and ArtStation Hair Tool tutorials for card generation.
- Step-by-Step Guides on Forums/Blogs:
- YelzKizi.org’s blog posts compare particle and curve hair, offering workflow insights.
- Polycount forum threads share game artist breakdowns on hair card workflows.
Combine Blender’s grooming tutorials with Hair Tool’s card generation guides. Start with a hair curves groom, use Hair Tool to convert to cards, and apply finishing touches. Check Blender’s devtalk or Hair Tool’s Discord for specific workflow tips.
FAQ
- Can I convert Blender’s new hair curves to mesh hair cards without the Hair Tool add-on?
Yes, but it’s time-consuming. Convert hair curves to a particle system, then to mesh strands, or use a Curve modifier on planes to manually loft cards along curves. Manual UV mapping and duplication for each strand are required, making it labor-intensive. Hair Tool automates card generation and UVs, saving hours and producing cleaner results. - Is Blender’s new hair system compatible with older particle hair?
Yes, conversions are possible. Blender offers operators to convert particle hair to curves and vice versa. This allows old particle grooms to use new brushes or Hair Tool, or new curves to use particle dynamics. Systems are separate, but conversion bridges them, though some details like children settings may not fully translate. - Does Hair Tool support Blender’s latest versions and hair curves?
Yes, Hair Tool 3.0 and later supports new hair curves in Blender 3.5, 3.6, 4.0, and beyond. It uses curves as guides for card conversion. Ensure the correct Hair Tool version matches your Blender version for compatibility, as specified on the Gumroad page. - How can I make my hair cards look realistic in renders?
Realism relies on textures and shading:- Use high-quality hair strand textures with alpha masks and normal maps for depth.
- Apply anisotropic shaders or Principled BSDF with anisotropy for realistic highlights along strands.
- Ensure proper card normal orientation for smooth blending.
- Add slight color variation via textures or vertex colors and use rim lights for natural lighting.
- My Hair Tool baked textures have weird colors or my alpha isn’t working – what did I do wrong?
Common issues include:- Weird normals: Set image node to Non-Color Data and verify normal map orientation (OpenGL/DirectX).
- Faulty alpha: Ensure Opacity Mask bake is done, use it in the Alpha/Opacity Mask slot, and set blend mode to Alpha Clip/Masked.
- Unexpected colors: Check UV to shapekey flattening and set background to black; diffuse, normal, and alpha maps should show correct outputs.
- Low resolution: Use sufficient bake resolution (e.g., 2048) for fine hair details.
- How can I add physics to hair cards in Blender for animation?
Treat hair cards as mesh for physics:- Use a Cloth modifier, pinning roots and adjusting stiffness to prevent crumpling.
- Rig with a bone chain (root, mid, tip) and apply physics via constraints or add-ons, or animate manually.
- Increase bending stiffness and damping to avoid paper-like twisting; use proxy cards to simplify simulation.
- Use proxy collision bodies to reduce calculations and cheat motion with delayed rotations for secondary effects.
- My hair curves groom looks great, but when I convert to cards it looks thin or gaps show – why?
Sparse or gappy cards result from:- Low guide density: Use more guide curves or Hair Tool’s Children Strand Generator for denser cards.
- Narrow cards: Use wider or overlapping cards with multi-strand textures, adjusting Hair Tool’s profile width.
- Gaps: Add extra cards or use a textured scalp to cover bald spots; manual patching is common.
- Rendering differences: Add secondary cards or particles for fuzz to match Cycles’ fuller look in Eevee or game engines.
- What’s the typical poly count or number of hair cards for a game character?
Poly count varies by platform and style:- Current-gen (PS5/Xbox Series/PC): 10k–20k triangles, ~200–400 cards.
- Older-gen (PS4): 5k–10k triangles, ~50–100 cards for simpler styles.
- Complex styles may use more, with LODs reducing distant detail.
- Test performance and follow game guidelines, keeping Eevee scenes reasonable to avoid overdraw.
- Can I use the new hair system to create things like feathers or grass via hair cards?
Yes, hair curves and Hair Tool can create feathers or grass:- Use hair curves for grass blade clusters or feather spines, converting to mesh via Hair Tool.
- Hair Tool’s Mesh Profile option instances feather meshes on curves for groomable feather systems.
- For grass, convert particle hair clumps to mesh cards, using varied textures and profiles.
- Swap default hair textures for appropriate grass or feather textures to match the use case.
- How do I style hair in Blender to match a concept or real photo?
Match references with hair curves:- Analyze reference for parting, clumps, and curls; place guide hairs with Add brush.
- Comb guides to follow reference flow, using symmetry if needed, and apply Curl/Clump nodes for texture.
- Render in Cycles to check silhouette and shading, then convert to cards, tweaking as needed.
- Add randomness to hairline and density for photo-realism, using tutorials for specific styles like braids or afros.

Conclusion
Blender’s curves-based hair system, enhanced by geometry nodes and the Hair Tool add-on, streamlines creating realistic, game-ready hair. Sculpt hair with intuitive brushes, apply procedural effects like clumps and curls, and convert grooms into optimized hair cards with baked textures using Hair Tool. The workflow covers styling with the new hair system, converting to efficient geometry, and optimizing for performance while avoiding pitfalls. By iterating on grooms, referencing, and adjusting lighting and materials, artists can craft diverse hairstyles, from short cuts to intricate, dynamic styles, entirely in Blender, meeting both aesthetic and technical needs for renders or games.
- Use Blender’s new hair system: Design hairstyle shape and look with sculpting brushes and geometry nodes for procedural styling.
- Use Hair Tool: Convert grooms to efficient hair card geometry with baked textures optimized for real-time applications.
- Refer and iterate: Continuously reference, refine grooms, and tweak lighting and materials for the best visual and performance results.
Sources and Citations
- Blender 3.5 Release Notes – Built-in Hair Assets and New Hair System – Blender – 3.5 Release Notes
- Blender Developers Blog – The Future of Hair Grooming (introduction of curves-based hair) – Blender Developers Blog – The Future of Hair Grooming
- Blender Manual – Hair Curves and Nodes Documentation (usage of geometry nodes for hair) – Blender Manual – Hair Nodes
- Blender Artists Community – Discussions on new hair system limitations (physics workarounds) – Blender Artists – New Hair System Discussion
- Hair Tool 2 Documentation by Bartosz Styperek – Workflow and Features (Hair System, conversion, baking) – Hair Tool – Documentation
- Hair Tool Gumroad Page – Feature list and version compatibility – Gumroad – Hair Tool
- Blender Stack Exchange – Related Q&A on hair rendering and transparency (troubleshooting alpha issues) – Blender Stack Exchange – Hair Rendering Transparency
- PixelHair (YelzKizi) Product Description – Ready-made hairstyle assets and usage – PixelHair
- YouTube – Blender Studio & Community Tutorials:
- “Blender 3.5 – New Hair Tools and Assets” (stache) – YouTube – Blender 3.5 New Hair Tools and Assets
- “Realistic Hair in Blender 3.5 – New Hair System” (CGCookie) – YouTube – Realistic Hair in Blender 3.5
- JoseConseco’s Hair Tool Videos and ArtStation Tutorials – Hair Tool usage for hair cards – YouTube – JoseConseco Hair Tool Playlist
Recommended
- MetaHuman Creatures: Crafting Non-Human Characters with Unreal Engine’s MetaHuman Framework
- How to Auto Retopology in Blender: A Step-by-Step Guide for Clean 3D Meshes
- Cascadeur: The Ultimate AI-Powered 3D Animation Software for Game Developers and Animators
- How The View Keeper Simplifies Multi-Camera Animations in Blender
- The View Keeper Add-on: Why Every Blender Artist Needs It for Optimized Rendering Workflows
- Understanding Interpolate Hair Curves geometry nodes preset
- Nudity in Love, Death and Robots: Episode Guide, Artistic Use, and Viewer Insights
- How do I set up a scene with multiple cameras in Blender?
- Can you have multiple cameras in one Blender scene?
- PixelHair on Stylized Characters in Blender: Achieving Studio-Quality Hair with Ease


