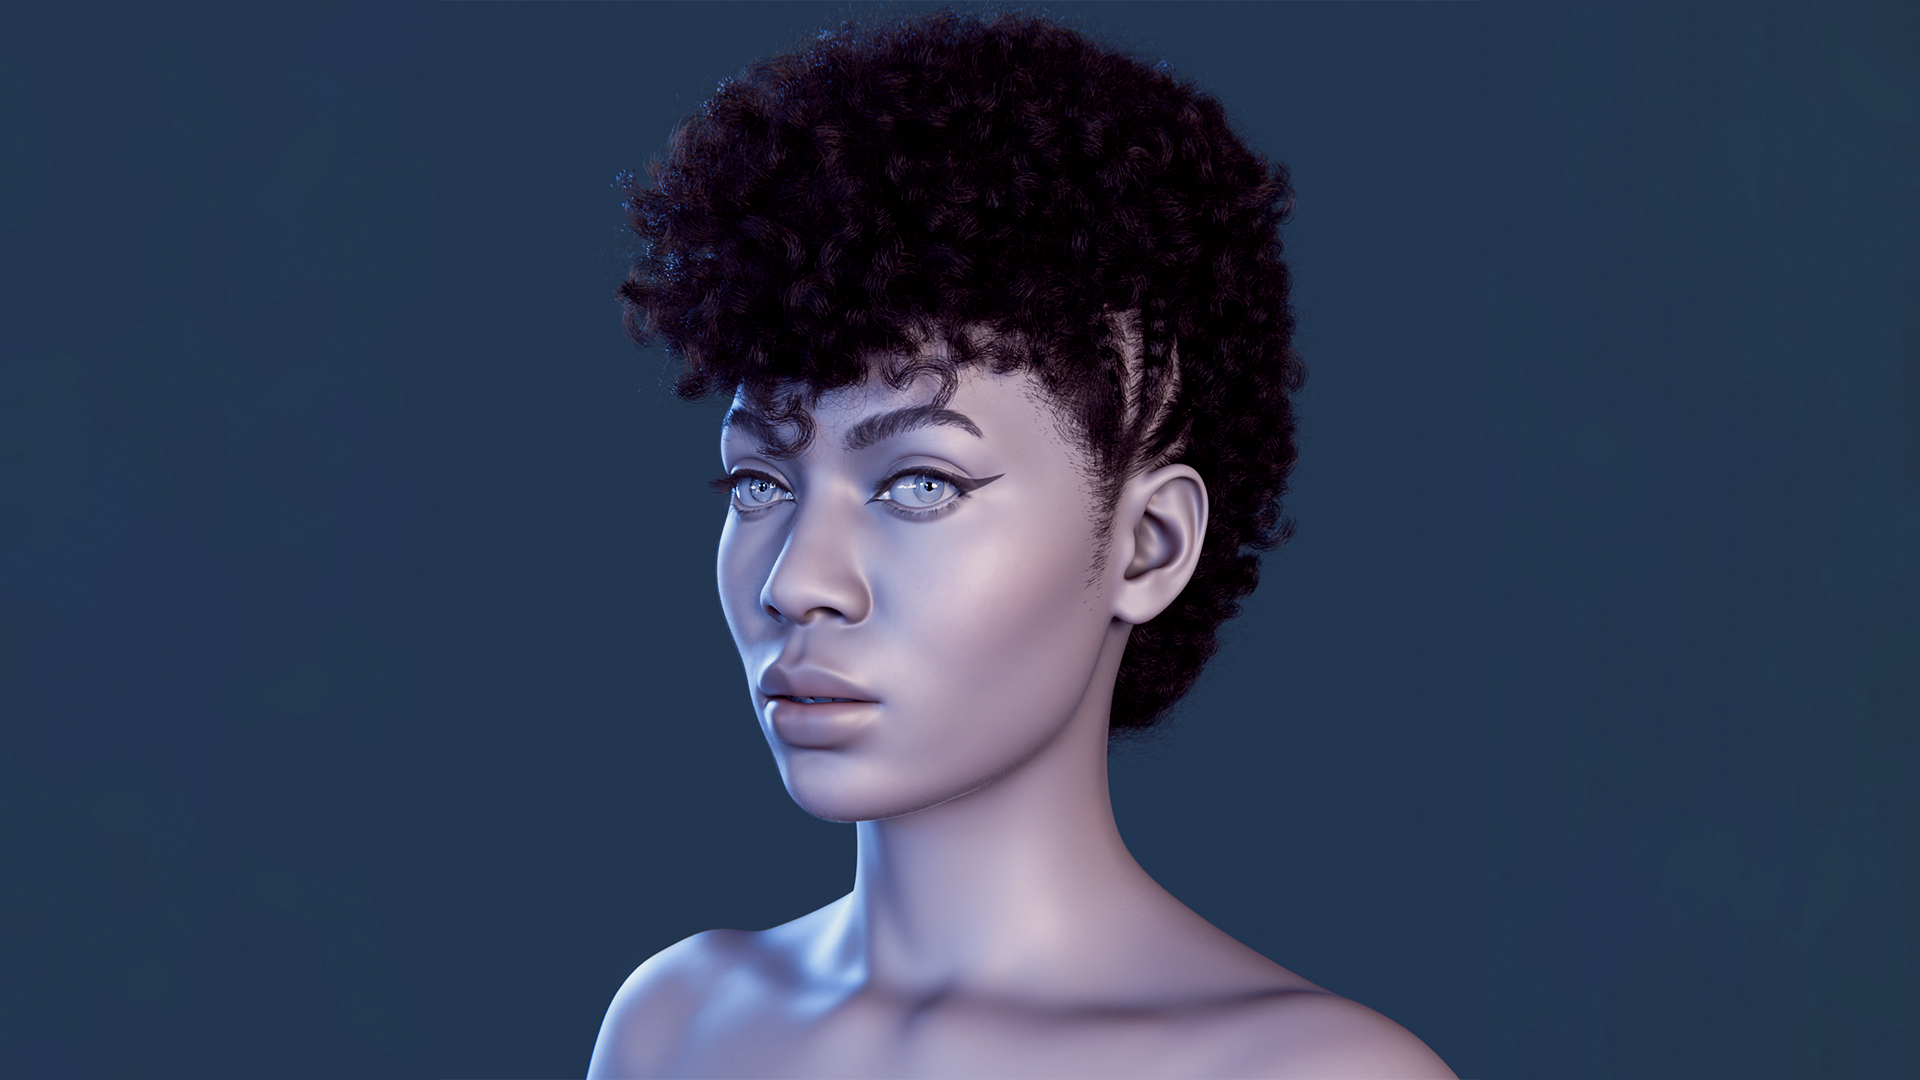
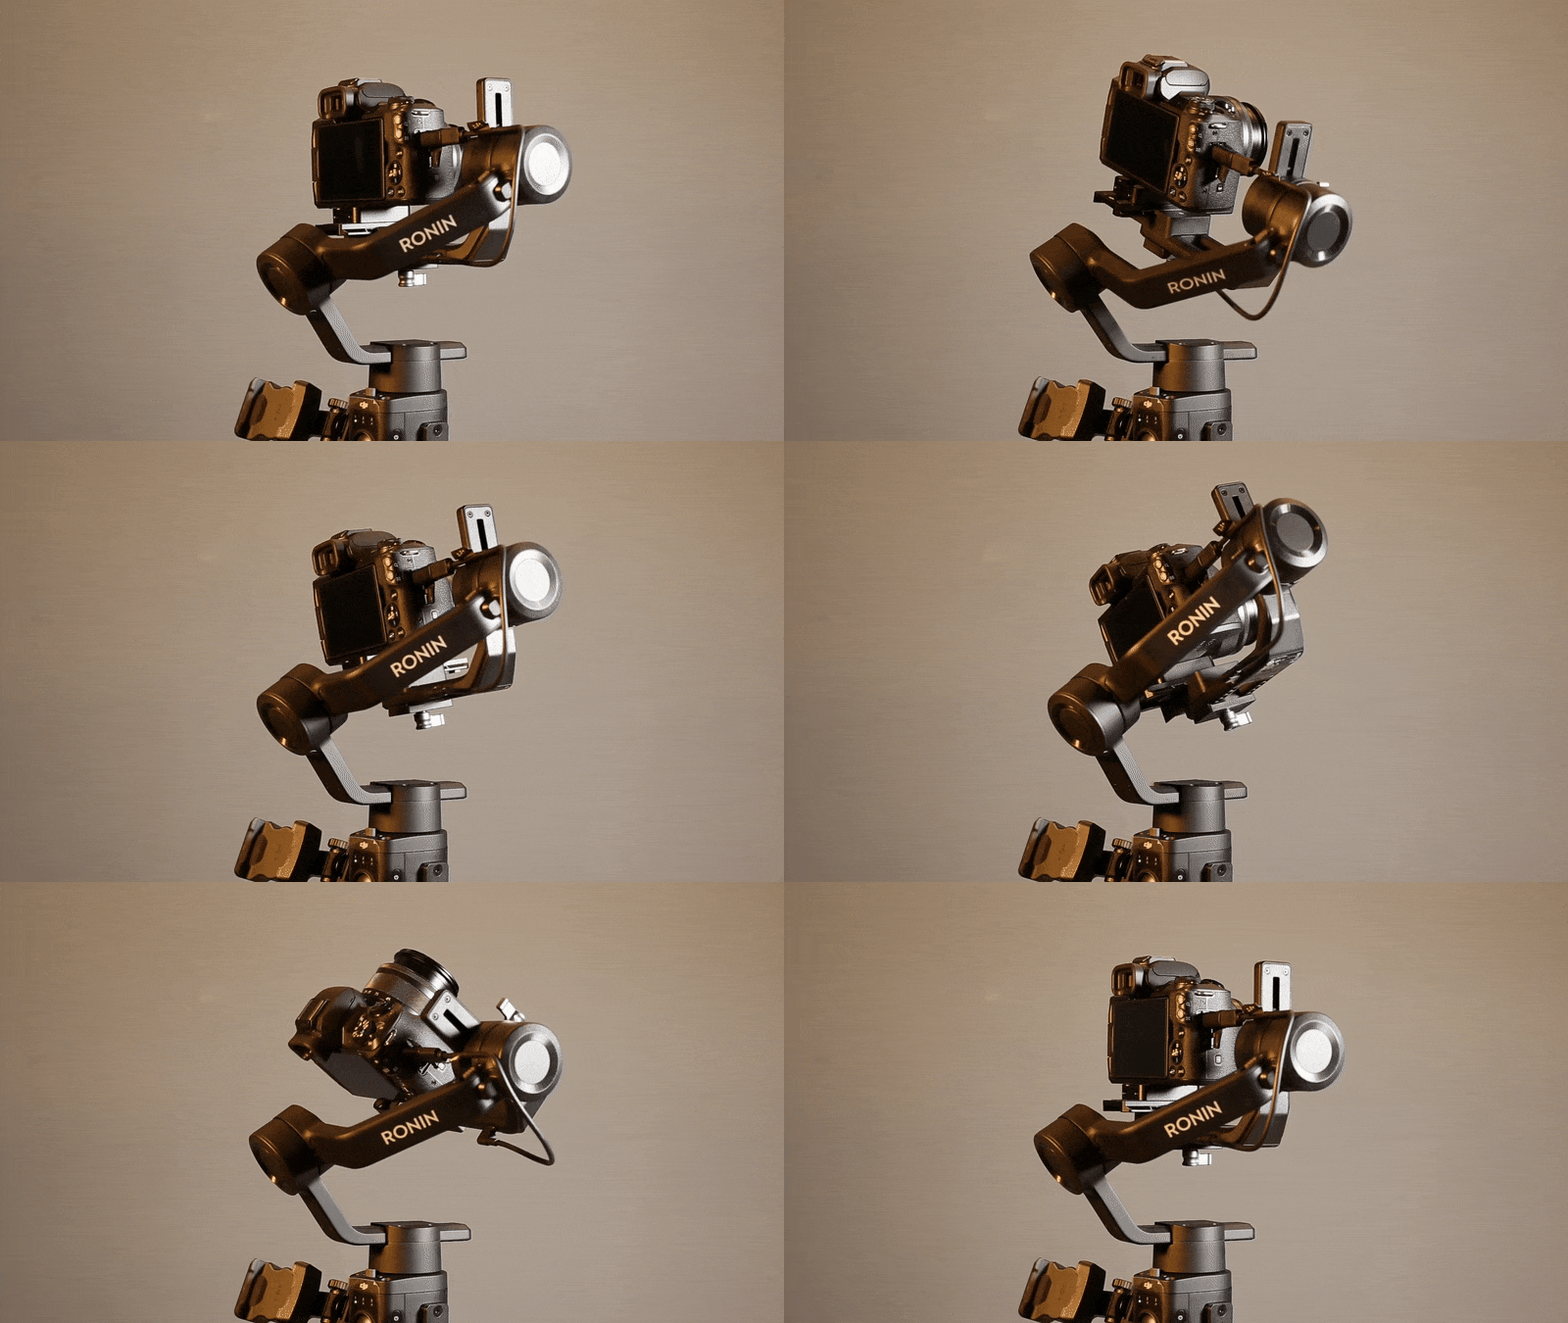
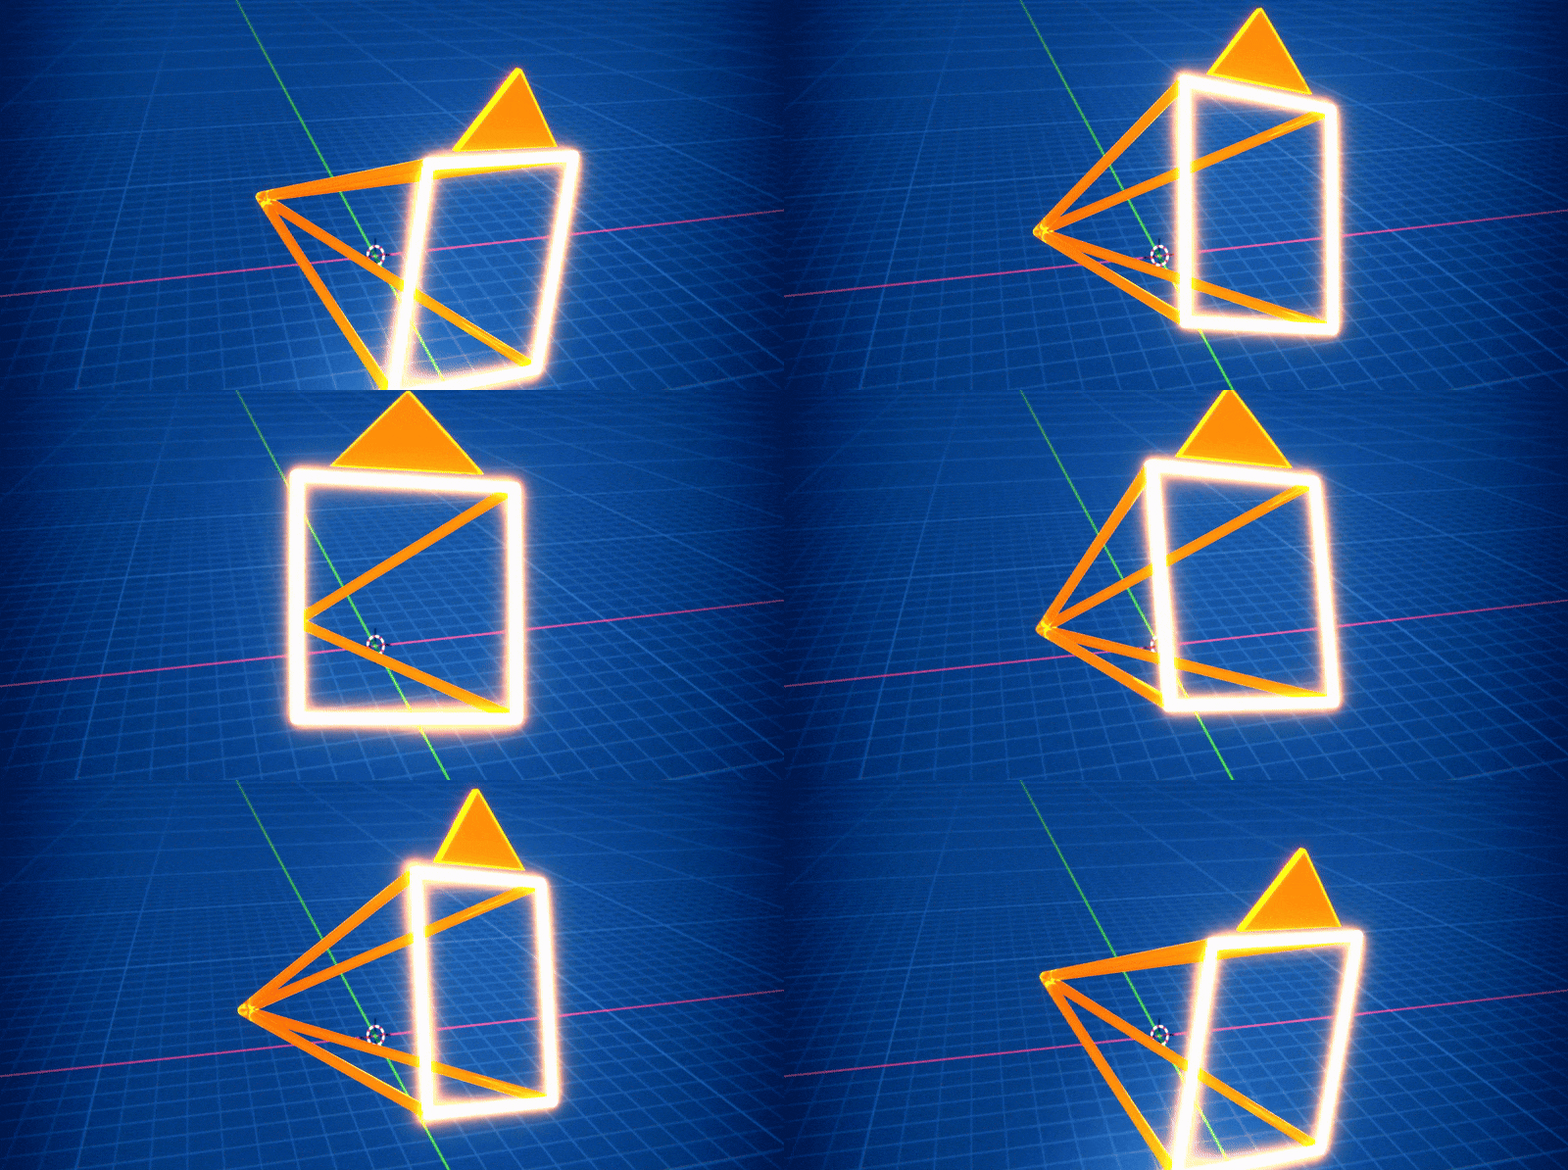
In the world of 3D production, achieving high-quality renders in Blender blends creative vision with technical precision. Whether you’re working on animations, architectural visualizations, product designs, or social media content, optimizing camera settings is crucial to capturing the perfect shot. Manually managing these settings for every frame, however, can be time-consuming and prone to errors. That’s where The View Keeper add-on shines. This powerful plugin simplifies camera management, letting you optimize settings effortlessly, maintain consistency, and save precious production time.
This comprehensive guide explores how The View Keeper revolutionizes Blender camera optimization. We’ll cover its key features, practical uses, best integration practices, and future trends that promise to enhance 3D workflows. By the end, you’ll see how The View Keeper turns a tedious task into a seamless part of your creative process.
Introduction: The Importance of Camera Optimization
The camera in Blender is not just a device for capturing images it’s the storyteller’s tool. It defines how your audience perceives a scene, sets the tone of your project, and influences the overall visual impact. For animators and 3D artists, every shot requires careful calibration of settings such as focal length, depth of field, resolution, aspect ratio, and even post-processing effects. In complex projects where multiple shots and camera angles are necessary, manually adjusting these parameters for each individual camera can lead to inconsistencies, wasted time, and cluttered scenes.
Traditionally, artists have resorted to duplicating cameras for every new angle, then painstakingly adjusting the settings for each duplicate. This method not only clutters the scene but also creates a high chance of errors that disrupt visual continuity. With increasing project complexity and tighter deadlines, the need for an efficient solution has become paramount.
The View Keeper add-on addresses these challenges by centralizing the management of camera views and settings. It enables you to save multiple camera views including their unique settings within a single camera. By automating many aspects of camera management, The View Keeper not only streamlines your workflow but also enhances the overall quality of your renders. In the following sections, we’ll dive into the core features of this plugin and explain how it can transform your Blender projects.

The View Keeper Add-on: A Game-Changer for Camera Management
The View Keeper add-on is tailor-made for Blender animators, tackling the hassle of camera management with a sleek, centralized solution. It lets you store, recall, and manage multiple camera views and render settings in one intuitive interface eliminating the need to duplicate cameras or tweak settings manually for every shot. Designed to save time and boost precision, The View Keeper transforms how animators handle complex camera workflows.
How The View Keeper Works
At its core, The View Keeper relies on “view records” snapshots of your camera’s setup at any moment. These records capture key details like camera position and rotation, defining its exact spot and angle in the scene, as well as focal length and depth of field, which shape focus and background blur. Once you’ve dialed in your perfect camera settings, The View Keeper saves them as a view record with a single click. These records live in a dedicated interface, tucked neatly into Blender’s N-panel, where switching between setups is as easy as a tap.
Beyond simplifying camera swaps, The View Keeper supports batch rendering. This feature lets you render all your saved views at once, ensuring every shot matches its intended settings without extra effort. It’s a streamlined, error-free way to manage cameras, letting animators focus on creativity rather than technical busywork.
Key Features of The View Keeper
The View Keeper add-on is here to take the frustration out of camera management in Blender, giving you more time to focus on what you love creating. It’s packed with features that make your life easier, and here’s a look at how they can transform the way you work with cameras.
Store All Your Views in One Camera
Picture this: instead of cluttering your scene with extra cameras for every angle, you can keep all your views in one place with The View Keeper. It saves multiple setups inside a single camera, so your workspace stays clean and manageable. You’ll find it simple to switch between angles without the chaos of duplicate cameras slowing you down.
Customize Render Settings for Each Shot
Every shot deserves its own style, and The View Keeper makes that effortless. You can save unique render settings like resolution, frame rate, or depth of field for each view. No more adjusting the same details over and over; your renders come out exactly as you planned, tailored to fit whatever you’re working on.
Switch Views in a Snap
Switching between camera angles shouldn’t break your flow, and with The View Keeper, it doesn’t. Just click to jump to any saved view no keyframing hassles or wasted steps. You’ll be able to try out different compositions quickly, keeping your focus on finding the perfect shot.
Render Everything at Once
Batch rendering with The View Keeper is a game-changer. You can run all your saved views in one go, saving hours compared to rendering them separately. Everything comes out consistent and ready for the next stage, so you’re not stuck waiting around or fixing mismatches.

A Layout That Works With You
The View Keeper fits right into Blender’s N-panel, where you’re already comfortable. It’s designed to be straightforward, so you can pick it up fast, even if you’re still learning the ropes. With everything at your fingertips, you’ll spend less time navigating and more time creating.
Capture Dynamic Angles Easily
When you want your camera to move and tell a story, The View Keeper has your back. You can save dynamic angles and movements, switching between them smoothly to see what feels right. It keeps the transitions seamless and the quality steady, so your animations look polished without extra effort.
Experiment With Different Styles
Need to test a cinematic look or a stylized vibe? The View Keeper lets you play with alternative render styles for each view. You won’t have to start from scratch just tweak the settings and get outputs that match your vision, all with less work.
Prep for Any Platform
Creating for Instagram, YouTube, or elsewhere? The View Keeper lets you save views with the right aspect ratios and resolutions for each platform. You’ll avoid the hassle of resizing everything manually, knowing your renders are spot-on for wherever they’re headed.
Keep Your Scene Organized
With The View Keeper, you manage all your views in one camera, cutting down on scene clutter. Your workspace stays clear, and you can find what you need without digging through a mess. It’s a small shift that frees you up to concentrate on the creative side of your project.
Get Started Without the Stress
Setting up The View Keeper is quick and painless install it, and it’s ready in the N-panel before you know it. It’s built to feel natural in Blender, so you can dive into its features without a steep learning curve. You’ll be optimizing your cameras in no time, with everything flowing smoothly into your routine.
Practical Applications and Real-World Success Stories
The View Keeper add-on really shines when you see it in action. Through practical examples and real-world stories, you’ll discover how it can optimize your camera settings and streamline your Blender projects, no matter what you’re working on. Here’s how it’s helped others tackle challenges and deliver standout results ideas you can bring into your own workflow.
Cinematic Animation Made Smoother
Imagine you’re an independent animator crafting a fast-paced chase scene for a short film. Managing all those camera angles wide shots, tracking shots, close-ups can get messy fast with duplicated cameras clogging your timeline. One animator faced this exact struggle but turned to The View Keeper. By storing every view in a single camera, they could switch between setups effortlessly and batch render the lot. That left more time for storytelling, and the result? A seamless, cinematic sequence that looked polished and professional without the usual headaches.
Architectural Visualization with Ease
Picture yourself at an architectural studio, tasked with showing off a sleek office building from every angle exterior façades, interior vibes, and tiny texture details. Normally, that means wrestling with a pile of cameras and inconsistent renders. A visualization team used The View Keeper instead, keeping all their views in one place with custom settings for each. They rendered everything in one go, saving time and delivering a crisp, uniform portfolio that wowed clients and made revisions a breeze. You could do the same for your next big showcase.
Product Marketing on a Deadline
Say you’re a freelancer animating a smartphone demo, needing close-ups of features and wide shots for context all due yesterday. Duplicating cameras and tweaking each one by hand eats up time you don’t have. One artist leaned on The View Keeper, saving every angle in a single camera with tailored render settings. Batch rendering handled the rest, producing high-quality shots fast. The tight deadline was met, and the client got a slick, marketable video. It’s a stress-free way to elevate your product visuals too.
Virtual Reality That Feels Real
If you’re building a VR experience, you know juggling tons of angles for a 360-degree world can turn into a cluttered nightmare. A VR team faced this but found The View Keeper kept things under control. They stored all their camera views centrally, each optimized for VR with specific settings, then batch rendered them for consistency. The outcome was an immersive, cohesive environment that met tough quality standards proof you can simplify even the trickiest setups.
Social Media Content That Pops
Suppose you’re a content creator churning out animations for Instagram, YouTube, and TikTok, each needing its own format. Adjusting aspect ratios and resolutions for every platform can slow you down. An influencer used The View Keeper to save views for each square, widescreen, vertical all from one scene. Automated switching kept transitions smooth on the timeline, and batch rendering delivered ready-to-post outputs. You’ll save time and keep your creative spark alive, just like they did, while staying active online.

Integrating The View Keeper into Your Workflow: A Step-by-Step Guide
Getting The View Keeper up and running in Blender can transform how you handle camera settings, and it’s simpler than you might think. This guide walks you through each step, so you can make the most of this add-on and streamline your projects with confidence.
Step 1: Installation and Setup
To start, you’ll need to grab The View Keeper from its official website just log into your account and download the latest version. Once you’ve got the file, open Blender, head to Preferences, and find the Add-ons section. Click “Install,” pick your downloaded file, and enable it. After that, check the N-panel in the 3D Viewport there’s The View Keeper, ready for you. Spend a moment getting familiar with its layout and tweak some basics, like default render resolutions or how you’ll name your camera records, to suit your style.
Step 2: Saving and Managing Camera Views
Now, set your camera where you want it in your scene adjust the angle, focal length, or depth of field until the shot feels right to you. When you’re happy, use The View Keeper to save that setup as a view record. It locks in all those settings, so you can pull them back anytime. Give each record a clear name like “Cam_CloseUp” or “Exterior_Wide” something that’ll help you spot it fast when you’re switching between views later.
Step 3: Customizing Render Settings for Each View
Here’s where you can fine-tune things. For each view you’ve saved, tweak the render settings to match what that shot needs maybe a higher resolution for a hero frame or a specific aspect ratio for a teaser. Take a minute to test those settings with a quick render; it’s worth it to catch anything off before you commit to a big batch. This way, you know every view will look just as you envisioned.
Step 4: Assigning Views to Animation Timeline Frames
Think about your animation’s flow where do you want the camera to shift to tell your story? Map out those key moments on the timeline, then use The View Keeper to link your saved views to the right frames. It’s all automated, so the switches happen smoothly as your animation runs. Play it back to check the timing; if a transition feels abrupt, nudge the keyframes until it flows naturally for you.
Step 5: Batch Rendering and Output Management
When your scene’s ready, The View Keeper’s batch rendering feature is your time-saver. Hit render, and it processes all your saved views in one pass no waiting around for individual shots. If you like, set up specific folders or file formats for each view’s output. Keeping things organized now means you’ll breeze through post-production or client reviews without digging through a pile of files.

Best Practices for Automating Camera Switching
Automating camera switching with The View Keeper can save you time and make your Blender projects flow effortlessly. These best practices will help you get the most out of it, keeping your workflow smooth and your results sharp. Here’s how to set yourself up for success.
Plan Ahead for a Clear Path
Before you dive in, take a moment to map out your animation timeline and storyboard your camera switches. Knowing where each view fits whether it’s an opening shot or a dramatic close-up lets you save the right setups and place them exactly where they belong. You’ll feel more in control when you’ve got a plan to guide you.
Name Your Views Clearly
When you save view records in The View Keeper, give them names that make sense at a glance like “Intro_Wide” or “Action_Tracking.” Clear, consistent labels help you find what you need fast, so you’re not second-guessing or fumbling around later. It’s a small step that keeps things running smoothly.
Fine-Tune Your Render Settings
Take the time to customize render settings for each view resolution, aspect ratio, sampling, whatever fits the shot. You want every frame to look its best, tailored to its role in your project. Getting this right upfront means your animations will have that polished, professional edge you’re aiming for.
Make Batch Rendering Your Friend
Why render one view at a time when you can do them all at once? The View Keeper’s batch rendering feature lets you process every saved view in a single go. It’s a huge time-saver, and you’ll love how every shot comes out consistent, ready for whatever comes next in your workflow.
Lean on Automation Tools
The View Keeper has handy tools like “Find Camera” and “Refresh Camera Records” that do the heavy lifting for you. These keep your setups current without extra effort say goodbye to manual updates and hello to fewer mistakes. You’ll wonder how you managed without them.
Keep Your Scene Tidy
A cluttered Blender scene can slow you down, but The View Keeper helps by keeping all your views in one place. You’ll find it easier to stay focused when there’s less mess to wade through. Every so often, clear out any view records you don’t need it’s like a quick tidy-up that keeps your creative space clear.
Smooth Out Your Transitions
For animations, you’ll want camera switches that feel natural, not jarring. Plan your movements ahead of time and use keyframes to animate between saved views. When you play it back, those fluid transitions will pull your story together, making it more engaging for anyone watching.
Play Around and Refine
Don’t be afraid to try different angles or settings for the same shot. Save a few versions with The View Keeper and compare them you might be surprised what clicks. This kind of experimenting helps you find the perfect vibe for your project, and it’s all part of making something you’re proud of.
Share the Plan with Your Team
If you’re working with others, The View Keeper makes collaboration a breeze. You can show teammates or clients your camera setups right from its centralized interface. It keeps everyone on the same page, speeds up revisions, and ensures your project stays on track without endless back-and-forth.

FAQ
- What is The View Keeper add-on?
It’s a Blender plugin that streamlines camera management by storing multiple camera views and their settings within a single camera. - How does The View Keeper reduce scene clutter?
By saving different camera setups as view records in one camera, it eliminates the need for duplicating cameras and keeps your workspace tidy. - What exactly are view records?
View records are snapshots of your camera’s settings like position, rotation, focal length, and depth of field that you can save and recall later. - How can I customize render settings for each saved view?
Each view record can have its own render settings (resolution, aspect ratio, etc.), ensuring every shot is optimized without manual tweaks every time. - What is batch rendering, and how does it help?
Batch rendering lets you render all saved views in one session, saving time and keeping outputs consistent across your project. - How does The View Keeper improve workflow for animators?
It enables quick switching between camera views and automates camera transitions, letting you focus more on creativity and less on technical setup. - Can The View Keeper handle dynamic camera angles?
Yes, it supports a variety of camera setups and movements, making it easy to experiment and capture the perfect angle. - How do I install and set up The View Keeper?
Download the add-on from the official website, install it via Blender’s Preferences > Add-ons, and access its features from the N-panel. - Which types of projects benefit most from The View Keeper?
It’s perfect for animations, architectural visualization, product marketing, VR experiences, and social media content creation. - What are some best practices when using The View Keeper?
Use clear naming for your view records, customize settings per shot, plan your timeline for smooth camera transitions, and use batch rendering to streamline production.
Conclusion: Embrace Automated Camera Switching for Superior Workflow Efficiency
When you’re working in Blender whether it’s animations, architectural visuals, product renders, or social media clips getting your camera settings just right is everything. Doing it the old way, with duplicated cameras and endless manual tweaks, can feel like a slog, and it’s easy for mistakes to creep in and throw off your vision. That’s where The View Keeper steps in to change the game. It pulls all your camera views and settings into one tidy spot, handles switches automatically along your timeline, and lets you render everything at once with consistent quality.
With The View Keeper, you’ll notice the clutter in your scene disappear, giving you room to breathe and focus on what you really care about telling your story or nailing that perfect design. Features like custom render settings for each view, smooth automated switching, and batch rendering aren’t just nice-to-haves they’re tools that can make your workday smoother and your projects sharper, no matter if you’re an animator, architect, designer, or content creator.
So, if you’re ready to take your Blender projects to the next level better renders, less mess, more creativity bringing The View Keeper into your routine is the way to go. It turns the hassle of managing cameras into something quick and painless, saving you time and cutting out errors while boosting what you can achieve. Give it a try, simplify your camera setup, and see how much easier your 3D work can feel.

Recommended
The Ultimate Guide to the Most Popular Black Hairstyle Options
Redefining Representation: Authentic Black Hairstyles in Video Games
The Ultimate Guide to Hair for Games: Techniques, Tools, and Trends
