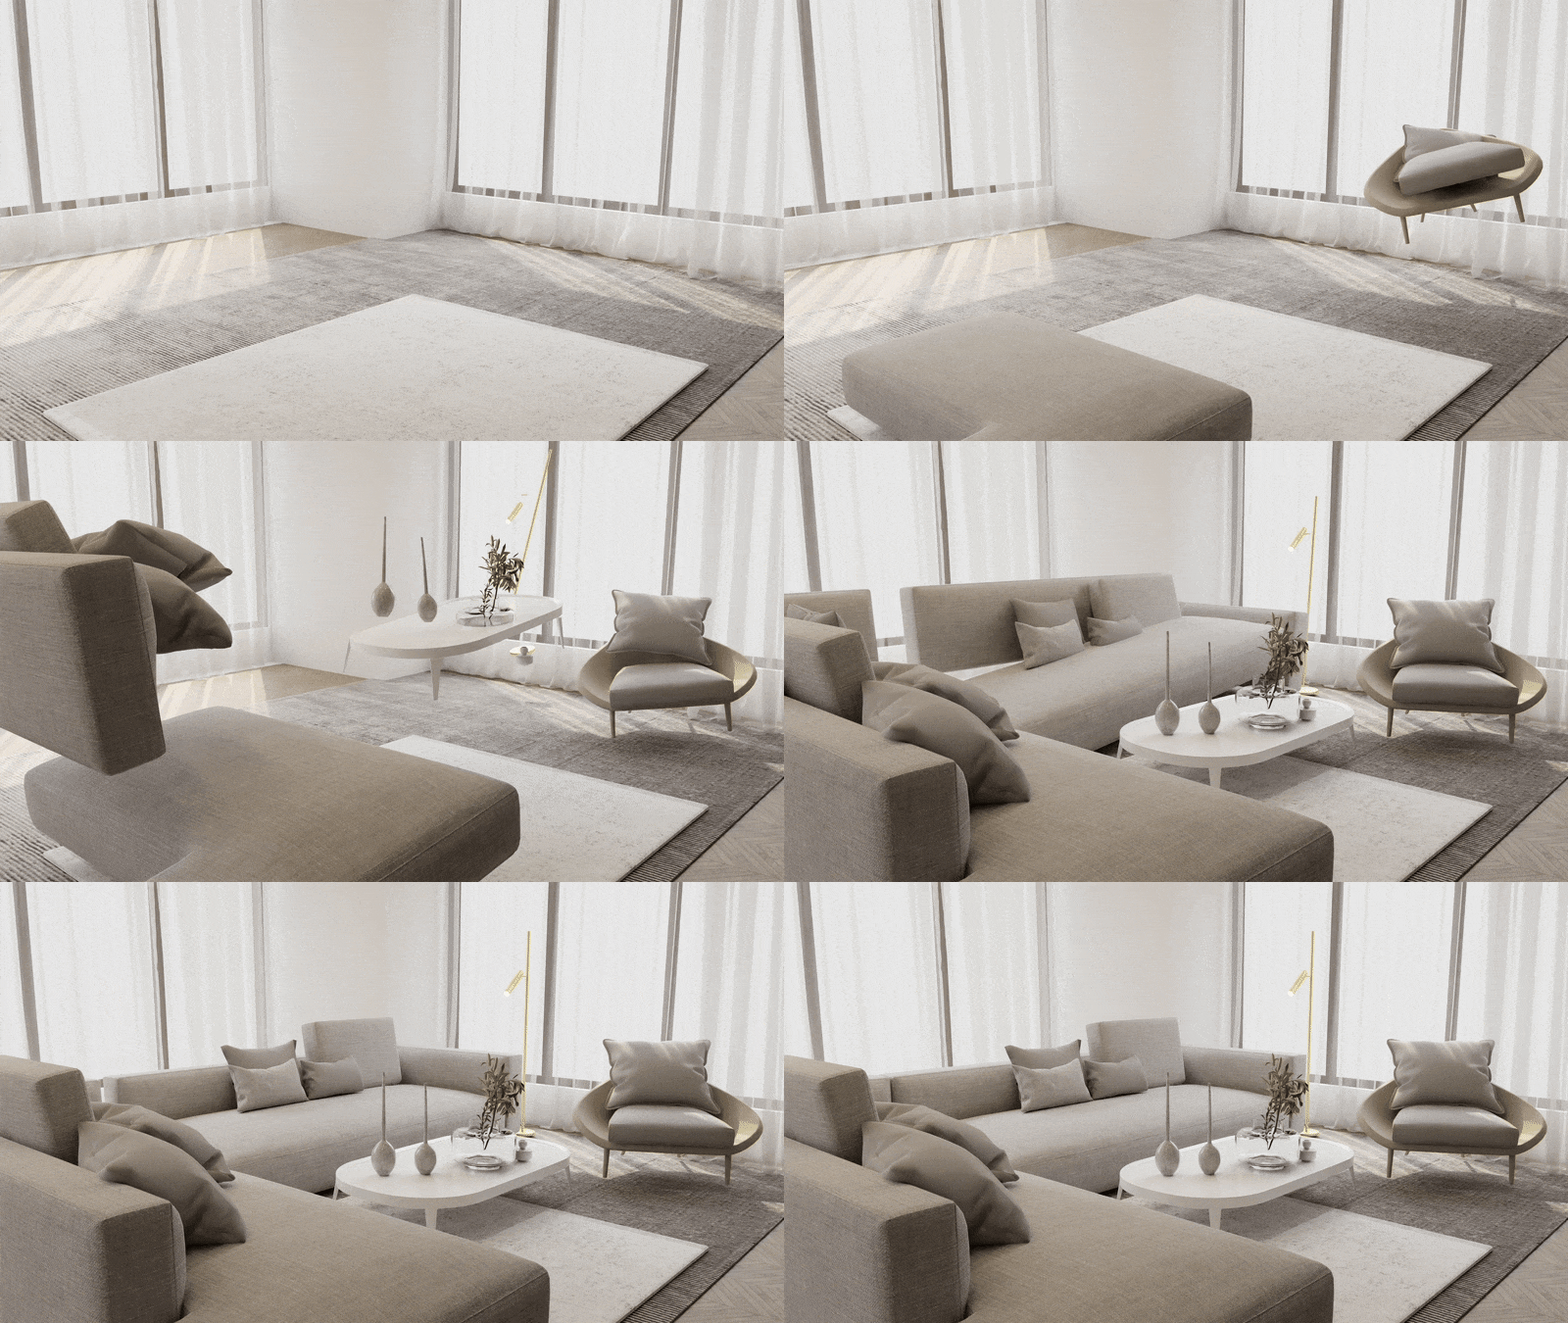
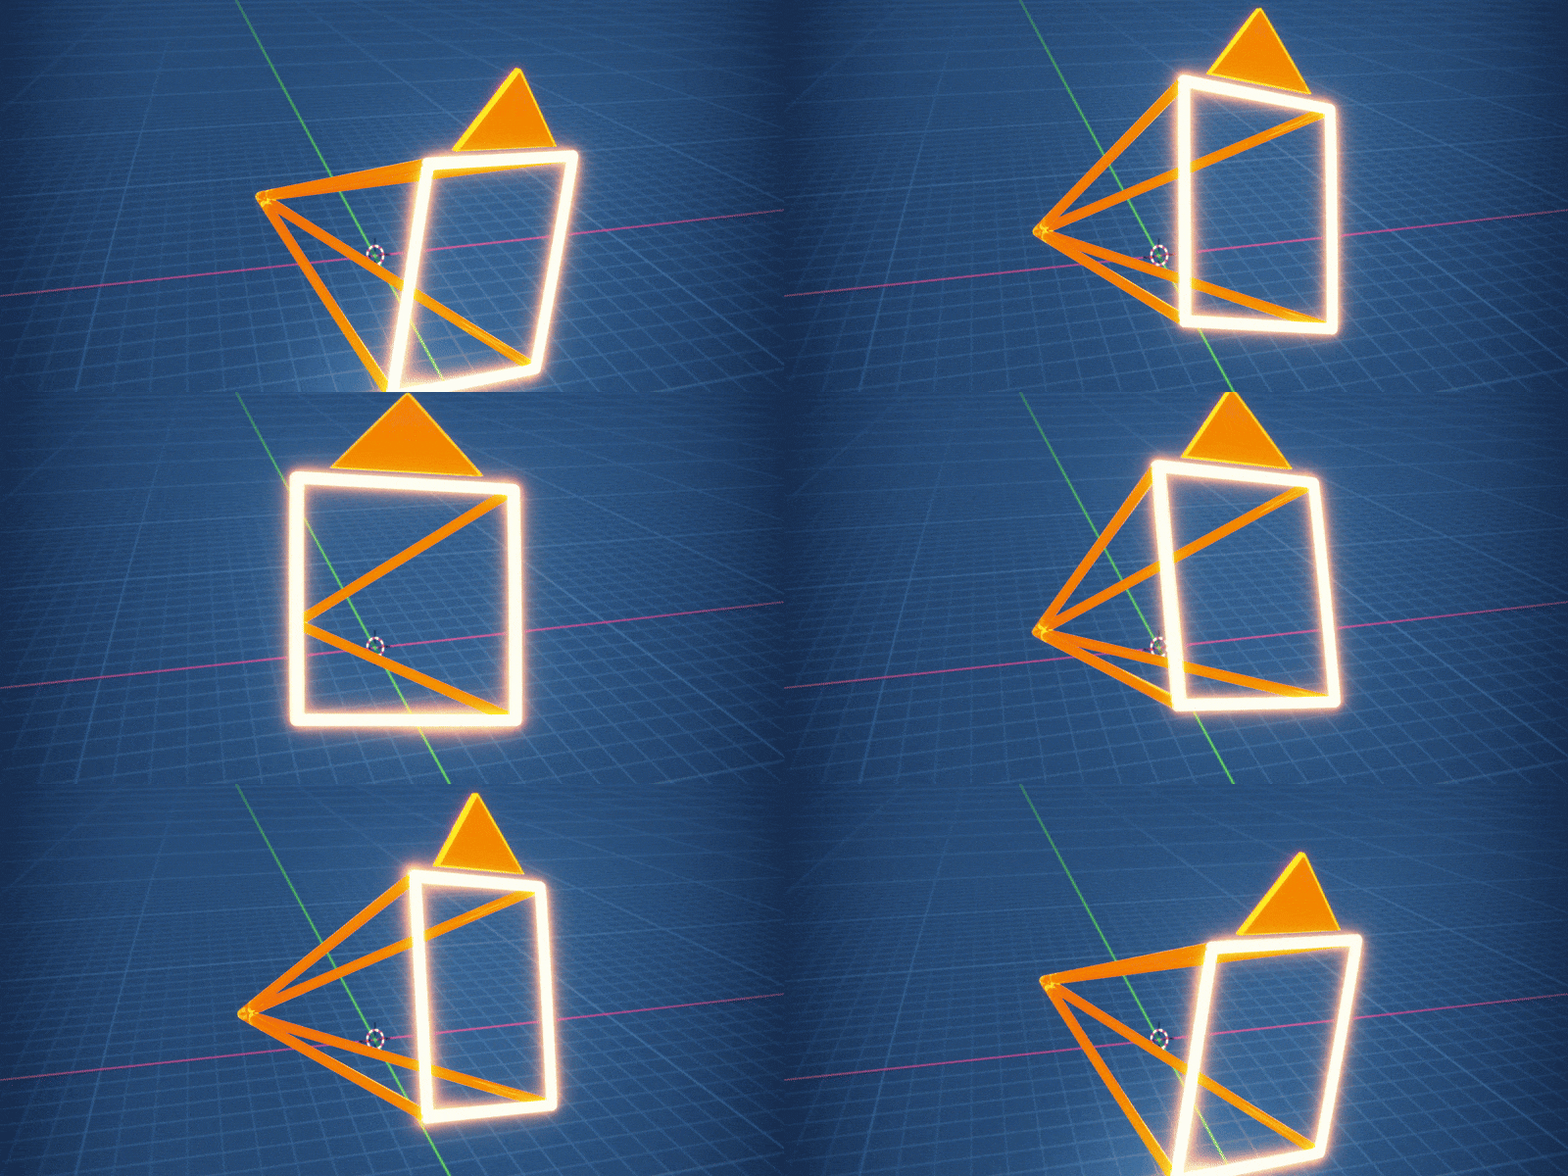
In the world of 3D production, managing cameras efficiently is your ticket to creating professional, eye-catching renders. Whether you’re crafting animations, architectural visualizations, product designs, or anything with multiple angles, having control over your camera settings is a must. But let’s be honest doing it all by hand can feel like a chore, and it’s easy to slip up. That’s where The View Keeper add-on comes in. It’s built to take the hassle out of camera management, offering tools that cut down clutter, save you time, and keep your renders consistent.
This guide is your roadmap to mastering The View Keeper from downloading it to tailoring it to your workflow. You’ll get step-by-step instructions, practical tips, real-world examples, and even a peek at what’s next for camera management. By the end, you’ll know exactly how to weave The View Keeper into your Blender projects, freeing you up to focus on the creative parts you love instead of getting bogged down in technical details.
Introduction: Why Camera Management Matters
In Blender, your camera isn’t just a lens it’s how you tell your story. It sets the mood, highlights what’s important, and pulls viewers into your scene. As your projects get more intricate, juggling multiple camera angles can start to feel overwhelming. You’ve probably been there: duplicating cameras for every shot, tweaking focal length, depth of field, or resolution one by one. It’s a slow process that fills your scene with clutter, risks uneven renders, and eats into the time you’d rather spend refining your vision.
That’s why The View Keeper is such a game-changer. It brings all your camera views and settings into one easy-to-use interface, so you don’t have to wrestle with a messy setup. This guide will walk you through installing it, setting it up, and making it work for you, helping you create smoother workflows and better results with less effort.

Getting Started with The View Keeper in Blender
The View Keeper add-on can make managing cameras in Blender feel effortless, and setting it up is straightforward. This guide takes you through every step downloading, installing, and using it so you can start optimizing your projects right away. Let’s dive in.
Step 1: Downloading The View Keeper
First, you’ll need to get your hands on The View Keeper. You can find it on the official developer website or Blender Market. To keep things running smoothly, make sure you download the latest version that matches your Blender release it’s all about compatibility.
- How to Download: Head to the website, find the download link (it’s usually easy to spot), and check that the version fits your Blender setup. Click to save the ZIP file to your computer, and you’re ready for the next step.
Step 2: Installing The View Keeper in Blender
Once you’ve got the ZIP file, installing it in Blender is quick and simple. You’ll be up and running in just a few clicks.
- How to Install: Open Blender, go to Edit > Preferences from the top menu, and switch to the Add-ons tab. Hit the “Install” button, browse to where you saved the ZIP file, select it, and click “Install Add-on.” After it loads, find The View Keeper in the add-on list and check the box to enable it. That’s it it’s now part of your Blender toolkit.
Step 3: Accessing The View Keeper Interface
With The View Keeper installed, you’ll find it blends right into Blender’s layout. It lives in the N-panel, ready for you to explore.
- How to Access: In the 3D Viewport, press the N key to bring up the side panel. Scroll through the tabs until you see The View Keeper click it to open the interface. Take a few minutes to look around; you’ll see a Camera List Table where your saved views will show up, along with options to get familiar with. It’s your new hub for camera control.
Step 4: Setting Up The View Keeper for the First Time
Now that it’s in place, you’re ready to set up The View Keeper and make it work for you. This means saving your first view and tweaking settings to fit your needs.
- Adding Your First Camera View: Pick a camera in your scene and position it until the shot looks just right adjust focal length, depth of field, or angle as needed. In The View Keeper interface, save that setup as a view record to lock it in. Name it something clear, like “Cam_CloseUp” or “Cam_Wide,” so you can find it easily later.
- Customizing Render Settings: Open Blender’s Render Settings panel and adjust things like resolution or sampling for that view maybe high-res for a key shot or lighter for a test. Save those settings with the view record in The View Keeper, so they’re ready whenever you switch back to it.
Step 5: Automating Camera Switching
The View Keeper’s ability to automate camera switches is a standout feature, especially for animations. You can set it up to shift angles at just the right moments.
- How to Automate: Start by planning your animation timeline figure out where you want camera changes to happen. In The View Keeper, assign your saved views to those specific frames on the timeline, so the switches happen automatically as it plays. Run through it to check the flow, tweaking keyframes if the timing needs a little nudge to feel smooth and natural.
Step 6: Batch Rendering All Camera Views
When it’s time to render, The View Keeper’s batch rendering feature saves you from doing it one by one. You’ll get all your views processed at once, fast and consistent.
- Why It Helps: It cuts down render time, keeps every shot uniform, and makes post-production simpler.
- How to Use It: Double-check that your views are saved with the right settings, then head to The View Keeper interface and start the batch render. Watch it go, and when it’s done, your outputs will be neatly saved where you told them to go.

Key Features and Benefits of The View Keeper Addon
The View Keeper add-on brings a set of tools to Blender that can transform how you manage cameras and renders. It’s designed to make your workflow smoother and your results sharper, no matter what kind of project you’re tackling. Here’s what it offers and how it can help you get things done.
Unlimited Camera Records
With The View Keeper, you can save as many camera views as you want all tied to a single camera. There’s no cap on how many angles you can store, which is perfect when you’re working on something complex with lots of shots. You’ll have everything you need right at your fingertips, ready to go.
Instant View Switching
Switching between your saved views is as easy as a single click. You won’t need to drag cameras around or keep track of multiple objects The View Keeper updates your active camera instantly to whatever view you pick. It’s a quick way to keep your focus on the work, not the setup.
Per-Camera Render Settings
Each view you save can have its own render settings, tailored just the way you want. Maybe you need one shot in 4K with Cycles for a big moment, and another in 1080p with Eevee for a lighter touch The View Keeper remembers and applies those choices when you render. You get exactly what you planned without extra fiddling.
Batch Rendering Made Easy
Render all your saved views at once with The View Keeper’s batch rendering feature. You don’t have to babysit the process it handles everything automatically, churning out multi-angle shots or platform-ready assets in one go. It’s a time-saver that keeps your production moving.
Automatic File Saving
When you batch render, The View Keeper organizes your outputs for you. Set a file path or folder for each view, and it saves everything with the names and formats you choose. You’ll end up with a tidy collection of files, no sorting required.
A Cleaner Scene
Forget about cluttering your scene with duplicate cameras The View Keeper keeps everything in one place. You’ll manage your shots from a simple list, making your project file cleaner and easier to navigate. It’s especially handy when you’re collaborating or picking up an old project later.
Camera Meta-Data That Stays Put
The View Keeper holds onto key details for each view like focal length, lens type, depth of field, or even how it looks in the viewport. Switch to a saved view, and everything snaps back to how you set it up. You won’t lose that perfect composition you worked hard to get.
Animation-Friendly Design
If animation’s your thing, The View Keeper can simplify your life. You can test and switch between camera angles without cluttering your scene with extra cameras way easier than juggling markers. Preview your animation from different saved views to plan your shots, and you’ll see how it all comes together without the mess.
Efficiency for Your Work
Whether you’re freelancing, animating, or running a studio, The View Keeper speeds things up. You can pull up new angles for a client request without starting over, set up shots fast for an animation, or try out tons of renders to find the best one all in the same scene. It’s built to keep you moving forward.
Consistent Results Every Time
Saving your views and settings with The View Keeper means your renders stay on point. Every angle lands exactly where you aimed, and if you’ve locked in render settings, every output matches your standards. You’ll get that reliability across sessions, which is tough to pull off by hand.

Best Practices for Optimizing Camera Settings with The View Keeper
When you’re using The View Keeper in Blender, a few smart habits can help you get the most out of your camera settings. These tips will keep your workflow smooth, your renders sharp, and your creative energy flowing. Here’s how to make it work for you.
Stick to Clear Naming Conventions
Give your view records names that tell you exactly what they are like “Cam_CloseUp” or “Exterior_Wide.” It’s a simple way to stay organized, so you can jump between views without wasting time figuring out what’s what. You’ll appreciate how much faster things go when everything’s labeled clearly and consistently.
Tailor Render Settings for Every Shot
Each shot you create has its own needs, and The View Keeper lets you customize settings like resolution, aspect ratio, or sampling for each one. Spend a little time getting these just right whether it’s a crisp detail shot or a quick preview and you’ll see the payoff in consistent, high-quality renders without having to tweak things over and over.
Take Advantage of Batch Rendering
Why render one view at a time when you can do them all at once? With The View Keeper’s batch rendering, you can process every saved view in a single run. It’s a huge time-saver, and you’ll love how every shot comes out looking uniform, ready to pull your project together seamlessly.
Use Automation to Simplify Your Work
The View Keeper comes with tools like “Find Camera” and “Refresh Camera Records” that handle the busywork for you. Let them keep your settings up to date automatically, so you’re not stuck fiddling with details. It frees you up to focus on the parts of your project that really spark your creativity.
Keep Your Scene Clean and Tidy
A cluttered Blender scene can slow you down, but The View Keeper keeps all your views in one spot to cut the mess. Take a quick look now and then to clear out any records you don’t need anymore. You’ll find it easier to stay on track and get things done when your workspace feels organized.
Plan Transitions for Smooth Storytelling
If you’re animating, you’ll want camera switches that flow naturally. Think ahead about how your shots should move, then use keyframes to tie your saved views to the timeline. When you nail those transitions, your animation will feel more polished and pull viewers right into the story.
Try Out Different Ideas
Don’t settle on the first shot you set up The View Keeper makes it easy to experiment. Save a few versions of the same angle with different settings, then compare them to find what works best for you. Playing around like this can lead to visuals that surprise you in the best way.
Share and Collaborate Easily
Working with a team? The View Keeper’s centralized setup lets you show your camera views and settings to colleagues or clients without any fuss. It keeps everyone in sync, speeds up feedback, and helps you stay focused on hitting your project’s goals together.

FAQ
- Why is automating camera switching important?
It saves time, reduces manual errors, and ensures consistent quality across your shots. - How does Blender’s default camera switching work?
It uses manual keyframing and timeline markers, which can get cluttered and error‑prone. - What is The View Keeper?
It’s a Blender add-on that automates camera switching by saving and recalling multiple view records in one camera. - How does The View Keeper improve workflow?
It eliminates the need for duplicating cameras and manual adjustments, letting you focus on creative storytelling. - Can I batch render multiple camera views with it?
Yes, you can render all saved views simultaneously, each with its own settings. - How do I install The View Keeper?
Download the add-on, then install it via Blender’s Preferences (Edit > Preferences > Add-ons > Install from Disk), and enable it. - Can I update a saved view record?
Absolutely. The add-on lets you refresh records to update camera settings without starting over. - Is it suitable for both still renders and animations?
Yes, The View Keeper works seamlessly with both, adapting to your project needs. - How are camera transitions handled?
You can keyframe view record changes or switch instantly via the add-on’s interface for smooth, error-free transitions. - Who benefits most from using The View Keeper?
Freelancers, studios, and agencies working with complex multi‑camera setups will see a huge boost in productivity and consistency.
Conclusion: Embrace the Power of The View Keeper
When you’re creating animations or visual projects in Blender, getting your camera settings right and automating switches can make all the difference in delivering top-notch results. The old way duplicating cameras and tweaking everything by hand takes too long and leaves room for mistakes that can throw off your work. That’s where The View Keeper comes in, offering you a simple, centralized way to handle your camera views and settings without the hassle.
With The View Keeper, you can keep all your camera records in one place, cutting down on scene clutter and making your workflow feel lighter. You’ll love how it lets you set unique render settings for each view, so every shot comes out just as you pictured it whether you’re working on a cinematic sequence, an architectural showcase, a product promo, or social media clips. Plus, batch rendering means you can process everything at once, saving you time and keeping your outputs consistent.
For anyone animating, designing buildings, crafting products, or creating content, The View Keeper is a tool you’ll wonder how you lived without. It fits right into Blender’s interface, and its automation features take the tedious stuff off your plate, leaving you more space to focus on the creative side of your projects. You’ll find it easier to bring your ideas to life with less effort.
Looking ahead, as 3D production keeps growing, tools like The View Keeper will keep you ready for what’s next. Future updates like better keyframe control, dynamic settings, or team collaboration options could make it even more powerful. By adding it to your workflow now, you’re not just improving today’s projects; you’re setting yourself up for tomorrow’s advancements too.
So, if you’re serious about making your Blender work smoother and your renders sharper, The View Keeper is what you need. It turns camera management from a chore into something quick and efficient, cutting errors and boosting your productivity. Give it a try, and see how much easier and more enjoyable your 3D production can be.

Recommended
The Ultimate Guide to the Most Popular Black Hairstyle Options
Redefining Representation: Authentic Black Hairstyles in Video Games
The Ultimate Guide to Hair for Games: Techniques, Tools, and Trends
