Creating stunning textures is essential in 3D art, and adding custom patterns to your textures can make your work truly unique. Whether you’re looking to create realistic materials for game assets, architectural visualizations, or artistic renders, learning how to put patterns on textures in Blender is a valuable skill. In this guide, we’ll explore everything from the fundamentals of textures and procedural patterns to advanced node techniques and troubleshooting common issues. By the end, you’ll be equipped with a deep understanding of how to create custom patterned textures in Blender that elevate your 3D art.
Introduction: Mastering Texture Patterns in Blender
In 3D art, textures are essential for adding color, detail, and realism to models, and patterns enhance these textures by introducing designs or arrangements. Blender, a versatile open-source 3D creation tool, offers robust features for applying patterns, whether through procedural generation or image-based methods. This guide will walk you through the process, from understanding the basics to troubleshooting common issues, helping you create custom, patterned materials for your projects.
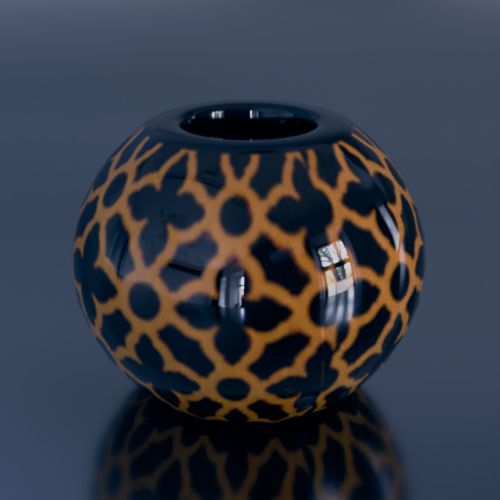
Understanding Textures and Patterns in 3D Art
Textures are essentially images or procedural data that wrap around 3D models to give them visual detail. Patterns within these textures can add a consistent design element, making surfaces appear more realistic or artistically unique. In 3D art, well‑executed textures bring models to life by simulating real‑world materials such as fabric, metal, and organic surfaces.
What is a Texture?
A texture is a 2D image applied to a 3D model to define its surface properties, such as color, roughness, and bumpiness. It can be a simple color map or include additional maps like normal or displacement for added detail.
What is a Pattern?
A pattern is a specific design or arrangement, such as stripes, dots, or floral motifs, that can be repeated or placed on a surface. In texturing, patterns are used to add visual interest, whether for realism (e.g., wood grain) or stylization (e.g., abstract designs).
Why Patterns Matter
- Visual Interest:
Patterns add complexity and interest to surfaces, making them more engaging to the viewer. - Realism:
Many real‑world materials have inherent patterns (e.g., wood grain, stone textures, fabric weaves) that contribute to their authenticity. - Artistic Expression:
Custom patterns allow artists to inject personality and style into their work, whether for hyper‑realistic renders or stylized designs.
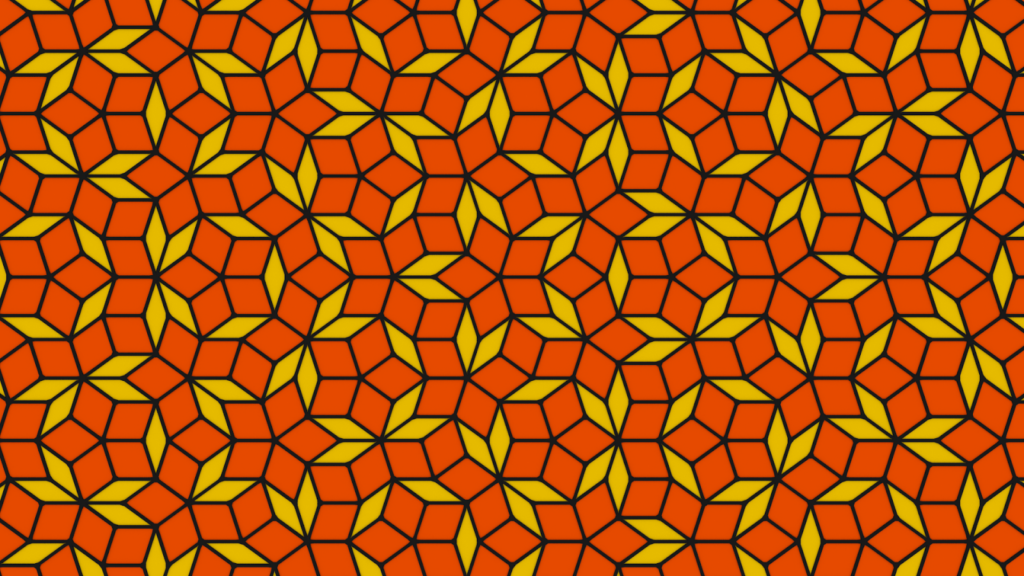
Exploring Blender’s Texture Tools: Procedural and Image-Based Patterns
Blender offers two main approaches to creating patterns on textures: procedural and image‑based methods.
What are Procedural Patterns?
Procedural patterns are created using nodes in Blender’s shader editor, such as Noise, Gradient, Wave, and Voronoi. They allow for infinite resolution and can be modified in real-time, making them versatile for various projects.
- These are generated using mathematical algorithms within nodes in Blender, offering infinite detail and flexibility without relying on external images.
- Common uses include creating natural textures like marble, clouds, or noise, which can be adjusted dynamically.
- Parameters can be adjusted in real time to achieve the desired effect.
Different Nodes for Texture Patterns in Blender and Their Functionalities
| Node | Functionality |
|---|---|
| Noise | Generates random noise patterns, useful for natural textures. |
| Gradient | Creates linear or radial gradients between colors. |
| Wave | Produces wave-like patterns, adjustable for frequency and amplitude. |
| Voronoi | Generates patterns based on Voronoi diagrams, ideal for cellular structures. |
| Musgrave | Creates organic, fractal-like patterns for natural surfaces. |
What Is Node Wrangler?
Node Wrangler is an add-on for Blender that enhances node management in the node editor. It provides tools to align nodes, create shortcuts for connections, and organize complex setups, making it easier to work with multiple patterns and materials. It is an essential Blender add‑on that simplifies working in the Node Editor:
- Efficiency Boost:
It provides shortcuts and tools that streamline node setup, linking, and organization. - Enhanced Usability:
Features like automatic node arrangement and quick preview options help you experiment with different patterns quickly. - Compatibility:
Node Wrangler works with all shader nodes, making it indispensable for creating complex materials.
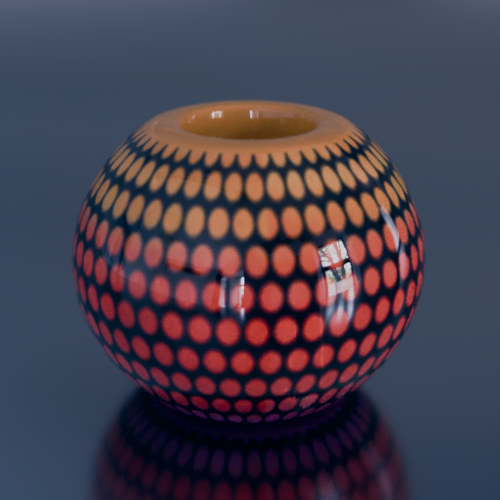
Important Texture Nodes
Blender’s Node Editor is a powerful tool for creating custom textures. Several key nodes are essential for working with patterns:
- Texture Coordinate Node:
Provides the necessary coordinates to map textures onto your 3D models. It outputs various coordinate types (Generated, UV, Object, etc.), which determine how textures wrap around your object. - Mapping Node:
Transforms the texture coordinates. You can adjust location, rotation, and scale to control how your pattern is applied to the surface. - Procedural Texture Nodes:
Nodes such as Noise, Voronoi, Musgrave, and Wave generate procedural patterns that can be combined and modified. - Mix Shader and Color Mix Nodes:
Blend different textures or patterns together, allowing for more complex material setups.
What Does the Mapping Node Do?
The Mapping node transforms the coordinates of the texture, allowing you to scale, rotate, or translate the pattern on the surface. This is crucial for adjusting how the pattern fits on the 3D object, ensuring proper alignment and size.
What Does the Texture Coordinate Node Do?
The Texture Coordinate node provides various mapping options, such as UV coordinates, object coordinates, or generated coordinates, determining how the pattern is projected onto the object. It’s essential for controlling the pattern’s placement and orientation.
Image-Based Patterns:
- These involve using external image files, such as photographs or hand-drawn designs, to apply patterns.
- They are ideal for specific looks but may require seamless textures for tiling without visible seams.
Websites Where You Can Get Image Patterns for Texturing
For image-based patterns, consider these reliable sources:
- Texture Haven: Offers high-quality PBR textures, many of which are seamless and free.
- Poliigon: Provides a wide range of textures for various surfaces, with both free and paid options.
- CG Textures: A repository of free and paid textures, ideal for detailed pattern designs.
- 3D Textures: Another valuable resource for high‑quality, tileable textures.
- CC0 Textures (AmbientCG): Provides public domain textures that are free to use, including many seamless options.
- Textures.com: Offers a vast library of textures, including seamless options, available for free or at a cost.
These sites are excellent starting points for finding unique patterns to enhance your Blender projects.

What Are Seamless Textures?
Seamless textures are images designed to tile without visible seams, making them perfect for repeating patterns on surfaces like walls or floors. Their edges are crafted to blend seamlessly when repeated.
- Continuous Patterns:They allow you to cover large surfaces without noticeable borders.
- Versatility: Ideal for materials like walls, floors, fabrics, and more, where a uniform pattern is required.
- Quality: Seamless textures provide a professional look, especially in high‑resolution renders.
What Is the Difference Between Regular Images and Seamless Images?
Regular images have edges that don’t match when tiled, often showing visible seams or discontinuities. Seamless images, however, are processed so their edges align perfectly, ensuring a continuous look when repeated, which is crucial for realistic 3D rendering.
- Regular Images: May have borders or repeating patterns that are visible when tiled.
- Seamless Images: Specifically designed to tile without noticeable edges, ensuring a continuous and natural look.
How to Create a Seamless Image
To create a seamless image, use image editing software like GIMP or Photoshop:
- Open the image and use the Offset filter to move the center to the edges, revealing seams.
- Blend the seams using cloning or healing tools to make the edges match.
- Test by tiling the image to ensure no visible seams appear.
Alternatively, use tools like TextureLab or online seamless texture generators for automated processes.
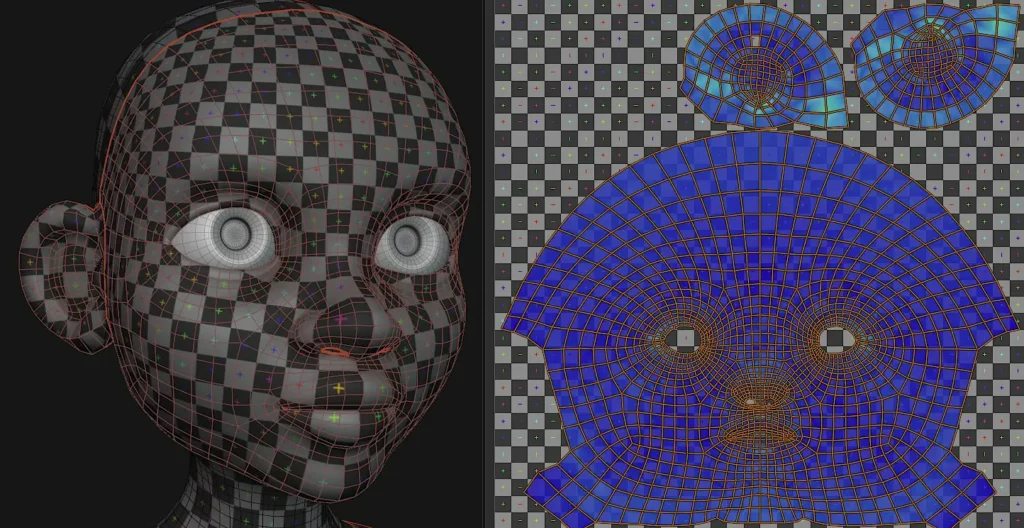
How to Create Texture Patterns on an Object in Blender Using Seamless Images
Step-by-Step Process
- UV Unwrapping:
Ensure your 3D model is properly UV unwrapped. A clean, well‑organized UV map is crucial for applying seamless textures. - Applying the Seamless Texture:
In the Shader Editor, Set Up the Material, add an Image Texture node and Connect the Image Texture node’s Color output to the Base Color input of the Principled BSDF node. load your seamless texture. - Using the Texture Coordinate and Mapping Nodes:
Connect the Texture Coordinate node (usually set to UV) to a Mapping node. Adjust the mapping settings to control how the texture is applied. - Mixing with Base Materials:
Use Mix Shader nodes to blend the seamless texture with your base texture, creating a layered effect. - Adjusting Scale and Orientation:
Fine‑tune the mapping settings to ensure that the pattern appears natural and without visible seams. - Tiling the Texture:
For seamless patterns, ensure the texture’s wrapping mode is set to Repeat in both U and V directions in the Image Texture node settings. - Eliminating Texture Seams:
If seams are still visible, adjust the UV map or use Blender’s Texture Paint mode to manually smooth out the transitions.
How to Get Rid of Texture Seams in Blender
- Seamless Texture Creation:
Start with a properly designed seamless image. - UV Map Optimization:
Ensure that your UV islands are aligned and scaled appropriately. - Node Tweaks:
Use the Mapping node to adjust offset and scale, minimizing any visible seams. - Texture Painting:
For finer adjustments, use Blender’s texture painting tools to blend problematic areas.
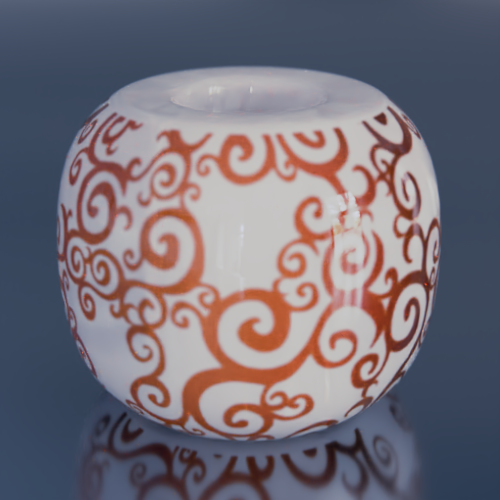
How to Layer Patterns on a Texture in Blender
To layer multiple patterns:
- Add Multiple Texture Nodes:
In the node editor, add additional Image Texture or procedural nodes for different patterns. - Combine with Mix Nodes:
Use Mix RGB nodes to blend patterns, adjusting the Fac (factor) to control the mix. Experiment with blending modes like Multiply, Overlay, or Add for different effects. - Control Layering:
Use masks or layer weights to limit patterns to specific areas, enhancing complexity. For example, use a Noise node as a mask to apply a pattern only to certain parts. - Stacking Effects:
Layer different effects such as dirt, scratches, or color variations for a more realistic look.
What Are Decals?
Decals are images or patterns applied on top of existing textures to add details like stickers, labels, or graffiti. They’re often used for localized design elements without altering the base texture.
- Application:
They are often used for logos, signs, or localized weathering effects. - Non‑Destructive:
Decals can be applied on top of existing textures, making them easy to adjust or remove. - Versatility:
They allow you to add intricate details without needing to remodel or re‑UV your object.
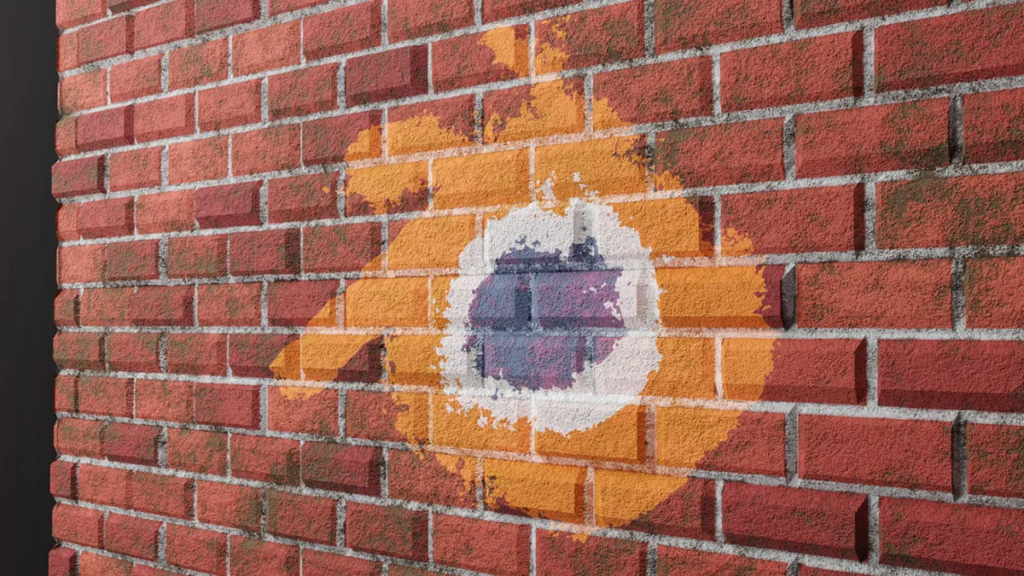
How to Use a Decal in Blender
Using decals is straightforward:
- Import the Decal Image:
Load your decal texture (ideally a seamless, transparent image) into Blender. - Set Up a Material:
In the Shader Editor, mix the decal with your base texture using a Mix color node. - Control Placement:
Use the Texture Coordinate and Mapping nodes to position and scale the decal correctly on your model. - Blend with Base Texture:
Adjust the factor of the Mix node to ensure the decal blends naturally with the underlying texture. - Control the Blend:
Adjust the node’s factor to determine how prominently the decal appears. - Utilize Masks:
Apply mask textures to control the areas where the decal should be visible, ensuring a natural look.
Step-by-Step Tutorial: Applying a Texture Pattern to Your Texture in Blender
Let’s walk through a complete tutorial on how to apply a custom texture pattern to your material in Blender.
Step 1: Preparing Your Object
- UV Unwrap Your Object:
Make sure your model’s UV map is clean and properly laid out. This ensures that the texture is applied evenly. - Create a Base Material:
In the Shader Editor, create a new material for your object.
Step 2: Adding the Seamless Texture
- Import the Seamless Image:
Add an Image Texture node and load your seamless texture. - Connect the Texture Coordinate Node:
Use a Texture Coordinate node set to UV, then connect it to a Mapping node. - Adjust the Mapping:
Tweak the location, rotation, and scale until the pattern fits your desired look.
Step 3: Layering the Pattern
- Mix with Base Color:
Use a MixRGB node to combine your seamless texture with your base material. Adjust the blend factor to control the pattern’s intensity. - Apply Decals (Optional):
For additional detail, add another Image Texture node for a decal and blend it using a Mix Shader node.
Step 4: Finalizing the Material
- Preview the Result:
Check your material in the viewport and make adjustments as needed. - Render a Test Image:
Perform a test render to ensure the pattern looks seamless and natural on your object. - Save Your Material:
Once satisfied, save your material settings for future use.
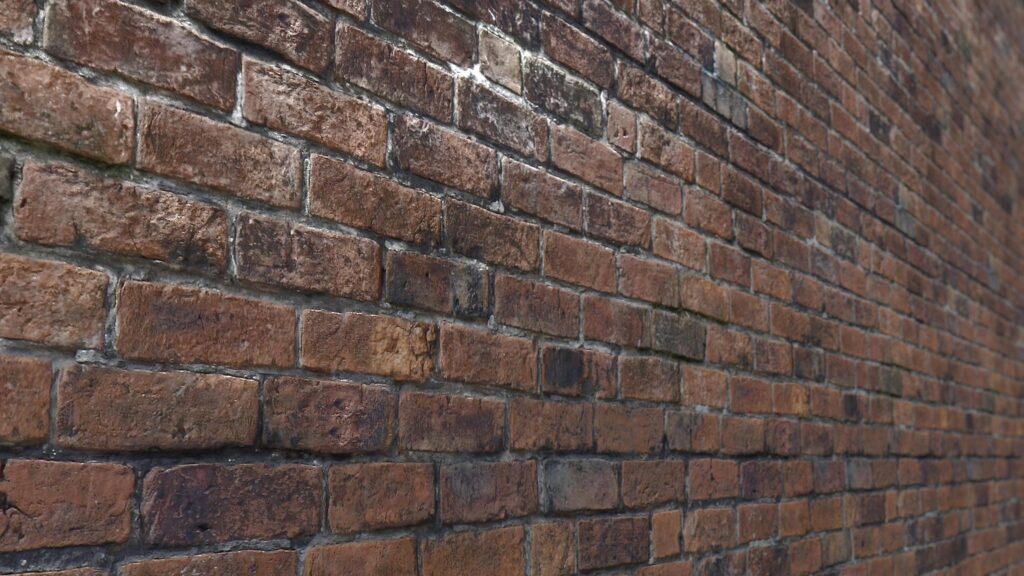
Adjusting UV Maps and Material Settings for Flawless Pattern Integration
A critical step in applying texture patterns is ensuring that your UV map is properly aligned. Here are some tips:
- Minimize Distortion:
Use Blender’s UV Editing workspace to adjust your UV islands, ensuring minimal stretching. sing tools like Mark Seams and Unwrap. Adjust in the UV Editor for better coverag. Use Smart UV Project for quick, automatic unwrapping, especially for complex models. - Consistent Scale:
Ensure that all UV islands are uniformly scaled so the pattern appears consistent. - Seamless Blending:
Use the Mapping node to adjust offsets and ensure that seams in the texture are not visible. - Test and Tweak:
Continuously test your texture by applying it to a simple plane before using it on complex models.
Material Settings:
- In the Image Texture node, set the Extension to Repeat for seamless tiling. Adjust the Mapping node’s scale to fit the pattern size.
- For procedural patterns, tweak node parameters like scale and detail to match the object’s scale and desired look.
Advanced Techniques: Combining Multiple Patterns and Shader Effects
For those ready to take their texture creation to the next level, consider these advanced techniques:
- Layering Patterns:
Use multiple Texture nodes and Mix RGB nodes to combine patterns. For example, layer a Noise pattern over a base color using a Mix node set to Overlay for texture variation.
Use Layer Weight nodes to control pattern visibility based on surface angles, adding realism to curved surfaces. - Procedural Modifications:
Use a Noise node to distort another pattern, creating organic variations. Connect the Noise output to a Mapping node’s location input for dynamic effects.
Combine Voronoi and Wave nodes for complex, cellular patterns, adjusting parameters for detail. - Shader Effects:
Use the Bump node to add 3D detail based on the pattern, connecting it to the Normal input of the Principled BSDF.
Create custom shaders with emission for glowing patterns, enhancing sci-fi or fantasy looks. - Custom Masks:
Create custom masks to control where different patterns appear, ensuring that each layer contributes meaningfully to the final material.
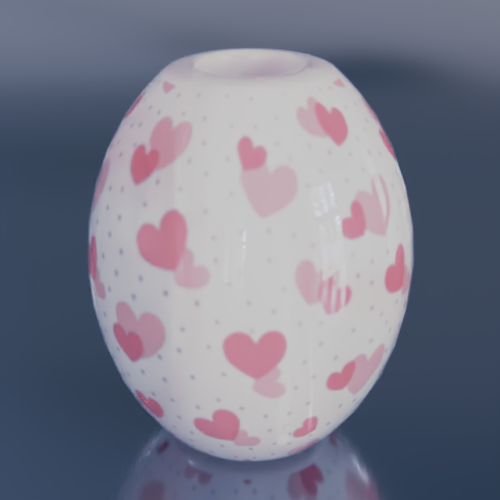
Troubleshooting Common Issues When Putting Patterns on Textures
Even with careful planning, you might encounter challenges:
- Visible Seams:
If seams appear, double-check your UV maps and mapping node settings. Adjust offsets and scaling as necessary. Use seamless textures from Texture Haven or adjust UV islands to hide seams, using the Mapping node to shift the pattern. - Overlapping Patterns:
Ensure that your Mix nodes are set up correctly so that patterns blend smoothly without overpowering each other. - Texture Resolution:
Low‑resolution textures can lead to blurry or pixelated patterns. Always use high‑quality images, especially for close‑up renders. - Performance Issues:
Complex node setups can slow down renders. Optimize your node trees and consider using procedural textures where possible to save on memory. Optimize by using lower-resolution images for viewports and baking procedural patterns to textures for final renders. - Pattern Not Appearing:
Check node connections in the shader editor and ensure the material is applied to the object’s faces. - Distorted Patterns:
Re-unwrap the UV map, ensuring minimal distortion, and adjust in the UV Editor.
Frequently Asked Questions (FAQ)
- What is the best method for creating patterns on textures in Blender?
You can use procedural patterns or image‑based seamless textures. The method depends on your desired effect, procedural for infinite resolution and customizability, image‑based for rich, detailed visuals. - How do I create seamless textures?
Use image editing software like Photoshop or GIMP to offset and blend edges, or generate seamless textures using procedural tools in Blender. - What are procedural patterns in Blender?
Procedural patterns are generated mathematically within Blender using nodes like Noise, Voronoi, or Musgrave, and can be infinitely scaled without loss of quality. - What is Node Wrangler, and why is it useful?
Node Wrangler is a Blender add-on that enhances the Node Editor with shortcuts and organizational tools, making it easier to work with complex node setups for texture creation. - What does the Mapping node do?
The Mapping node transforms texture coordinates, allowing you to control the position, rotation, and scale of your textures on a 3D model. - What is the Texture Coordinate node used for?
It provides different coordinate outputs (e.g., Generated, UV) that help determine how a texture is applied to your model. - Where can I find high‑quality image patterns for textures?
Websites like Textures.com, Poliigon, CC0 Textures (AmbientCG), and 3D Textures offer a wide range of seamless textures. - What is the difference between regular images and seamless images?
Regular images may have visible edges when tiled, whereas seamless images are designed to tile without visible borders, ensuring a continuous pattern. - How do I layer multiple patterns on a texture in Blender?
Use the MixRGB node to blend different Image Texture nodes or combine procedural patterns with image‑based textures. Utilize masks to control the blending. - What are decals, and how do I use them in Blender?
Decals are images applied on top of a base texture to add details like logos or wear. In Blender, you can apply decals using the Node Editor to mix additional image textures with your primary material. - What is the best way to apply a pattern in Blender?
Use the node editor with Image Texture nodes for images or procedural nodes like Noise for generated patterns, adjusting with Mapping and Texture Coordinate nodes. - How do I make sure my pattern tiles seamlessly?
Use seamless textures and set the Image Texture node’s Extension to Repeat, ensuring the UV map is properly unwrapped. - Can I animate patterns in Blender?
Yes, use drivers or animation nodes to change Mapping node parameters over time for dynamic effects. - What are some good sources for free seamless textures?
Check Texture Haven, Poliigon, and CG Textures for free options. - How do I fix distorted patterns on my model?
Re-unwrap the UV map in Edit Mode, using Smart UV Project or manual unwrapping, and adjust in the UV Editor. - What is the difference between UV and object coordinates for patterns?
UV coordinates use the object’s UV map for precise control, while object coordinates map based on the object’s position, useful for procedural effects. - How do I layer multiple patterns?
Use Mix RGB nodes to combine Texture nodes, adjusting the Fac input for blending, and experiment with blending modes. - Can I use decals for detailed patterns?
Yes, apply decals as separate Texture nodes, using masks or alpha channels to control placement, combined with the base texture via Mix nodes. - Why is my pattern not showing up in the render?
Check if the texture is connected in the node tree and the material is assigned to the object, ensuring render engine settings (Cycles or Eevee) are correct. - How do I optimize performance with complex patterns?
Use lower-resolution images for viewports, bake procedural patterns to textures, and simplify node setups where possible.
Conclusion: Enhancing Your 3D Art with Custom Patterned Textures
Mastering the art of putting patterns on textures in Blender enhances your 3D art, allowing for unique, detailed, and realistic materials. By leveraging both procedural and image-based methods, adjusting UV maps, and troubleshooting common issues, you can create stunning designs.
In this guide, we’ve explored the fundamentals of textures and patterns, detailed the essential Blender tools like the Texture Coordinate and Mapping nodes, and compared procedural patterns with image‑based approaches. We provided a step‑by‑step tutorial on applying texture patterns using both the particle system and geometry nodes, discussed advanced node groups for fine‑tuning your effects, and covered best practices and troubleshooting tips.
By combining these techniques, you can create unique, custom materials that elevate your 3D art and set your work apart in a competitive field. Embrace the power of Blender, experiment with different methods, and refine your workflow with tools like Node Wrangler to streamline your process. The ability to create, layer, and adjust patterns opens up endless opportunities for creativity, whether you’re working on game assets, architectural visualization, or cinematic animations.
Remember, practice and experimentation are key. Use the techniques discussed in this guide to build your skills and create textures that not only look stunning but also add a personal touch to your projects. With persistence and creativity, you can master the art of texture patterns in Blender and produce work that resonates with your audience.
Key Citations
Recommended
How to Create a Sci-Fi Metahuman in Unreal Engine 5: A Step-by-Step Guide
Is Blender CPU or GPU Intensive? A Complete Guide to Performance in Blender
Flow Made With Blender Wins Oscar: Latvia’s Indie Animated Feature Film Making History
Comprehensive Analysis of Blender as a Game Engine
How do I render from a specific camera in Blender?
How do I make the camera orbit around an object in Blender?
PixelHair on Stylized Characters in Blender: Achieving Studio-Quality Hair with Ease
How do I animate a zoom effect with the Blender camera?
How do I create a camera shake effect in Blender?
Best Camera Settings in Blender for Rendering
How do I align the camera to a specific axis in Blender?
Your Guide to Making 3D Models for 3D Printing
How do I set a camera to render in orthographic mode in Blender?
Best Blender Render Settings: Ultimate Guide to High-Quality Renders Without Wasting Time


