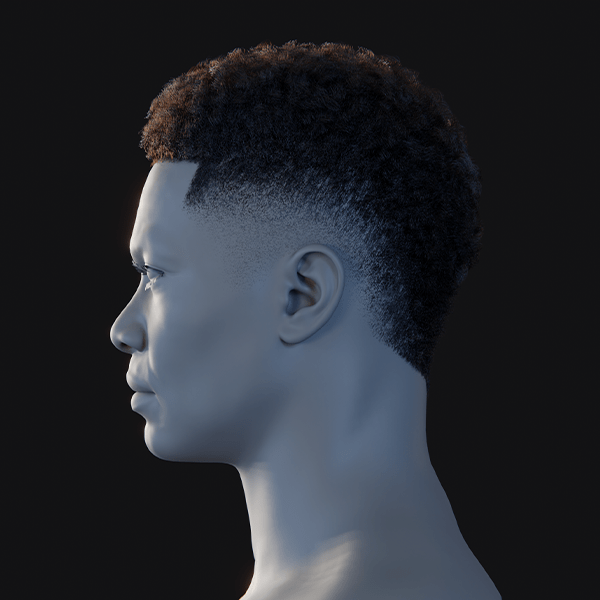
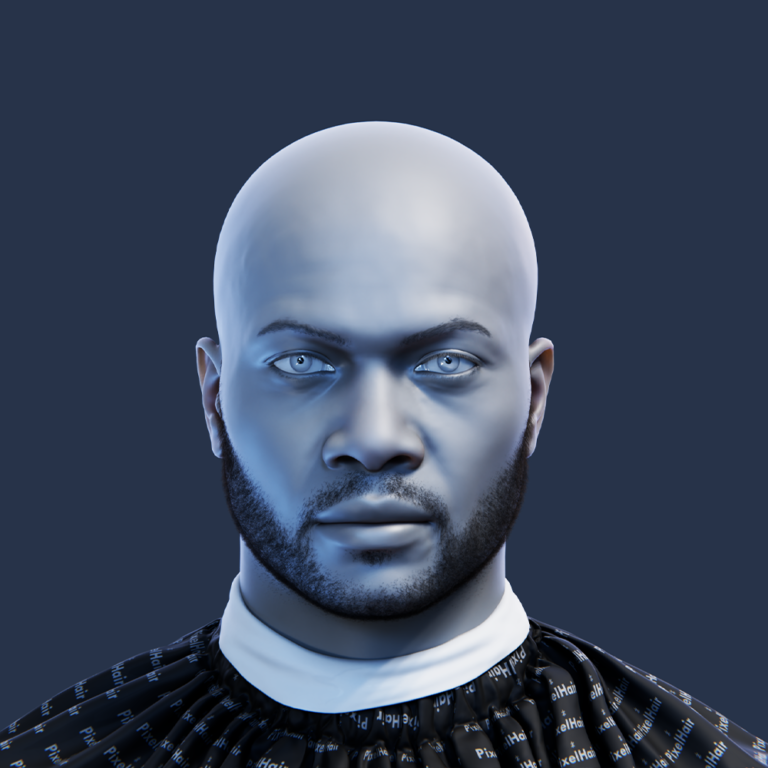
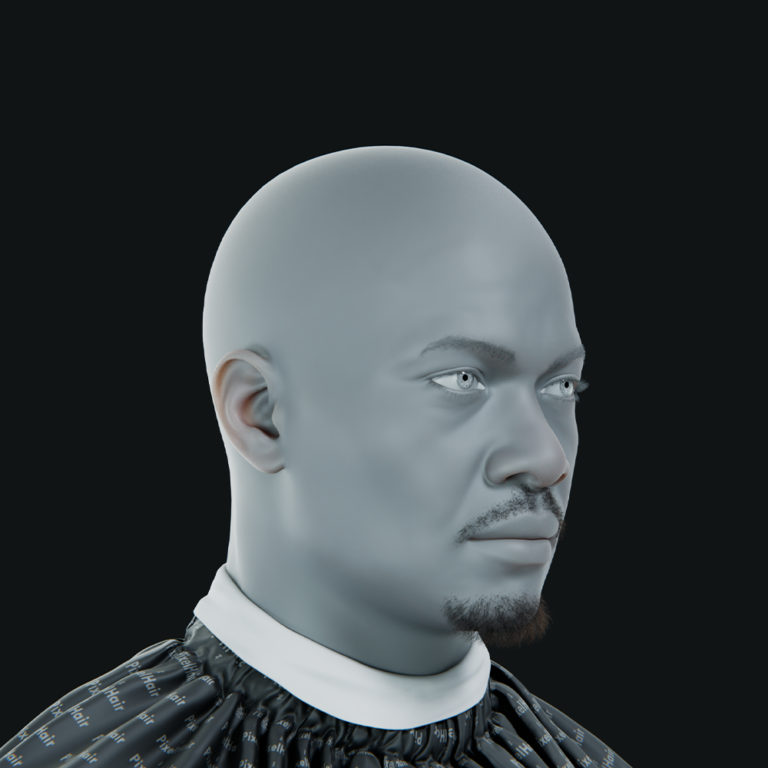
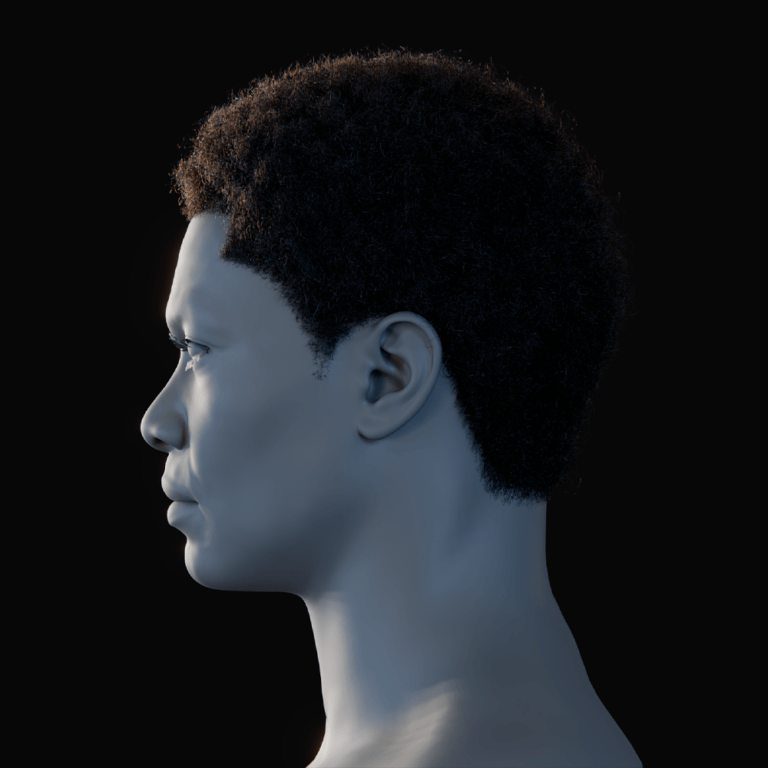
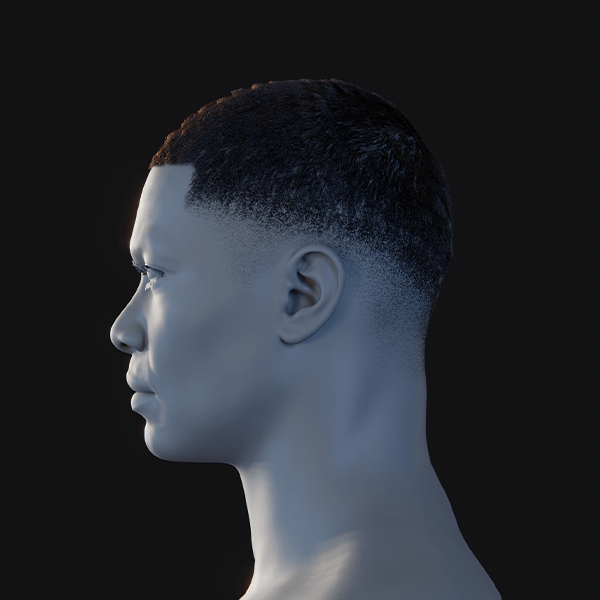
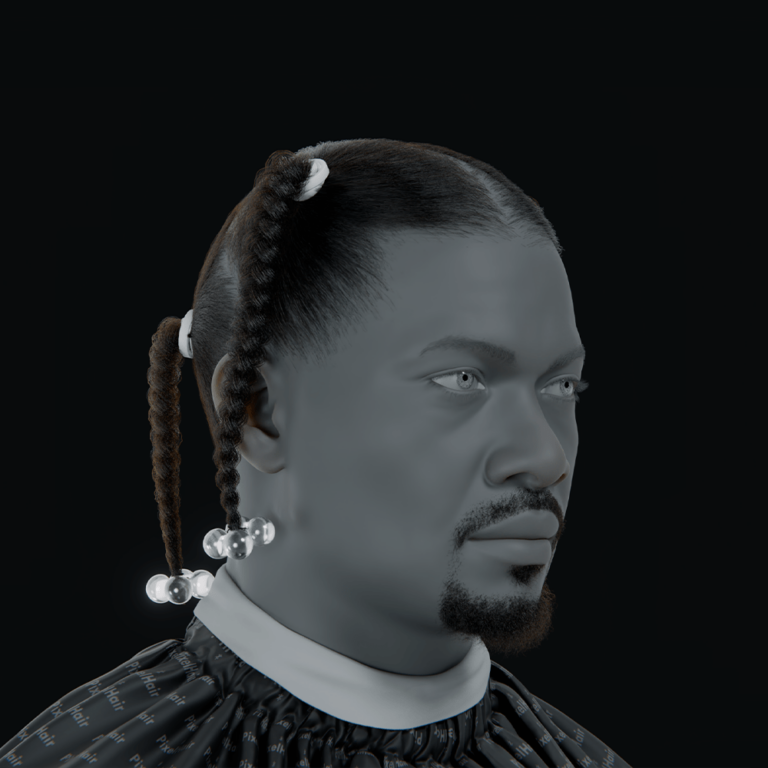
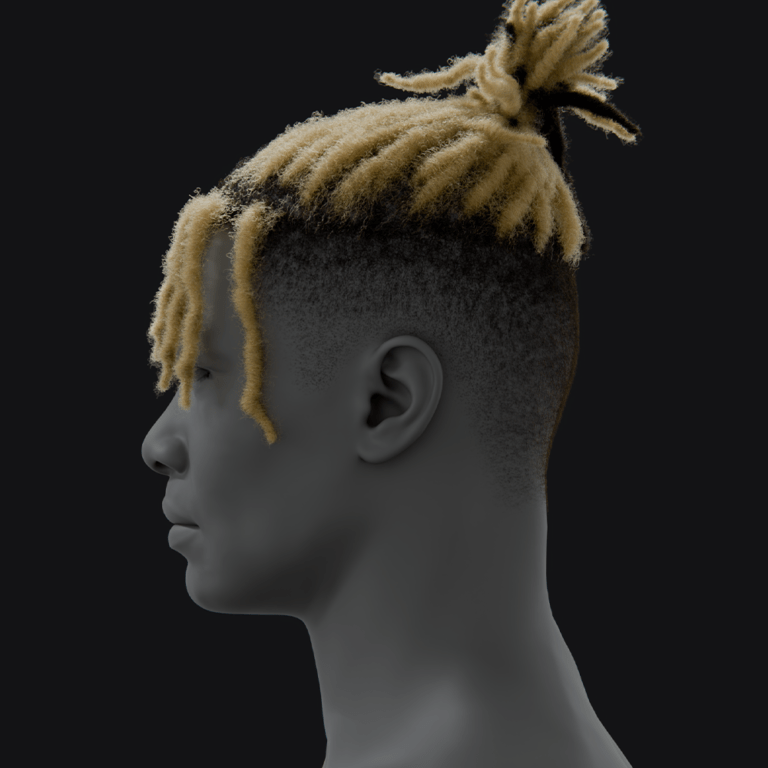
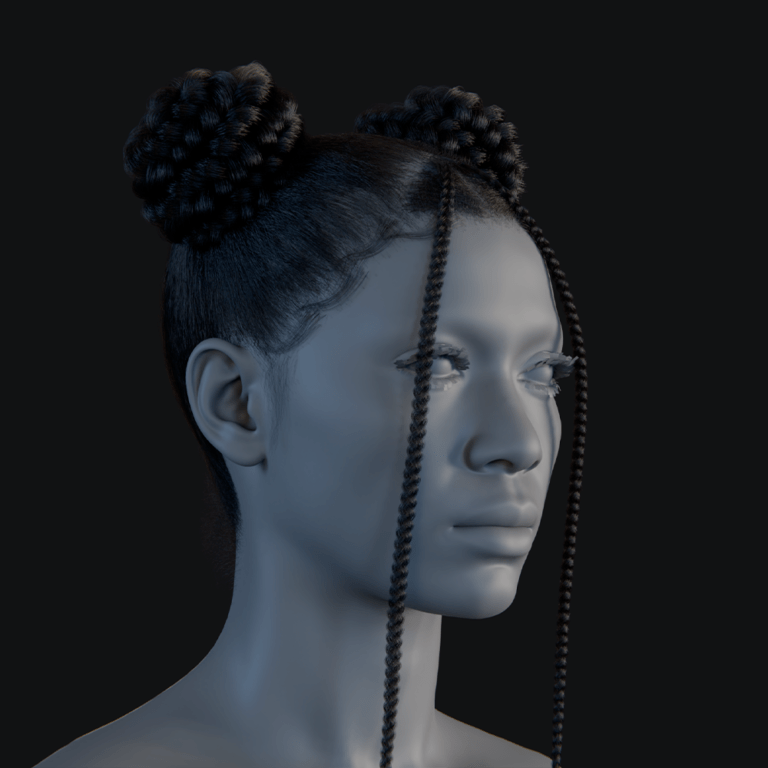
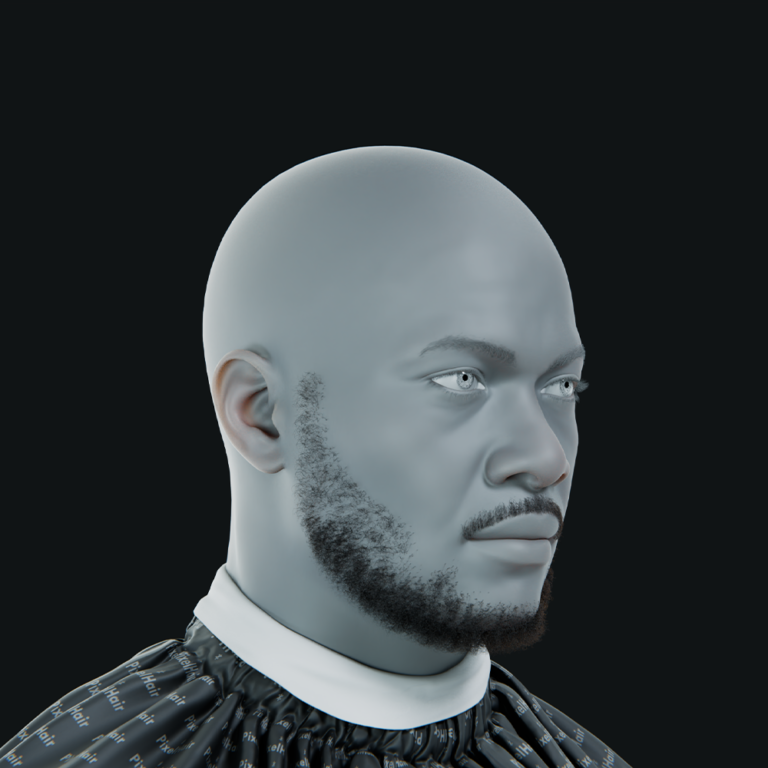
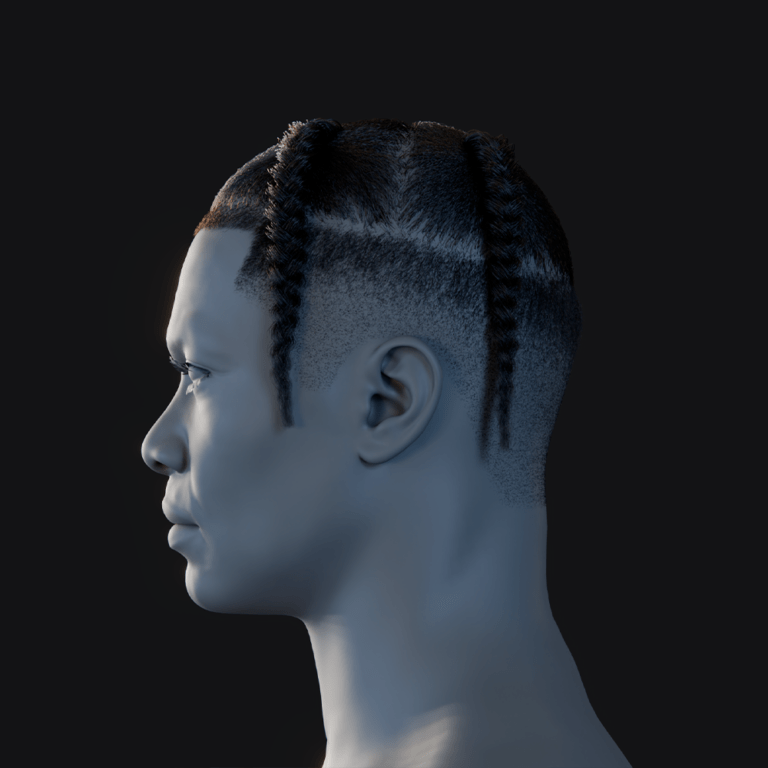
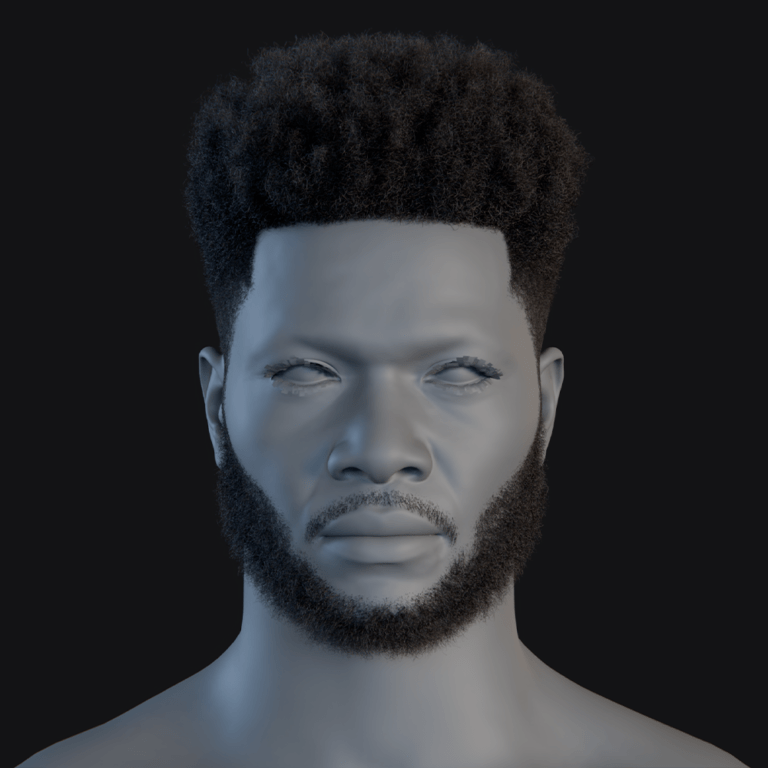
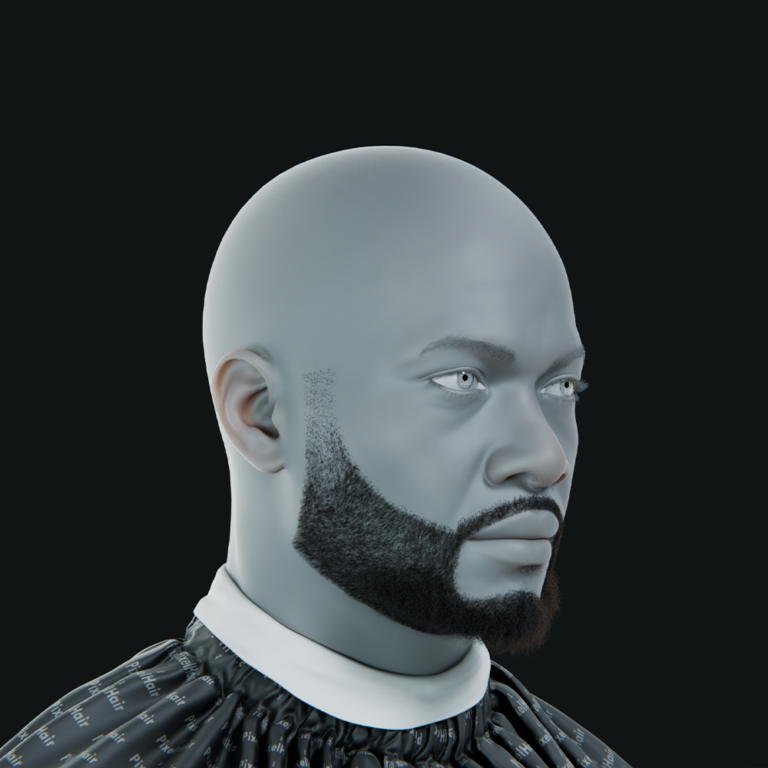
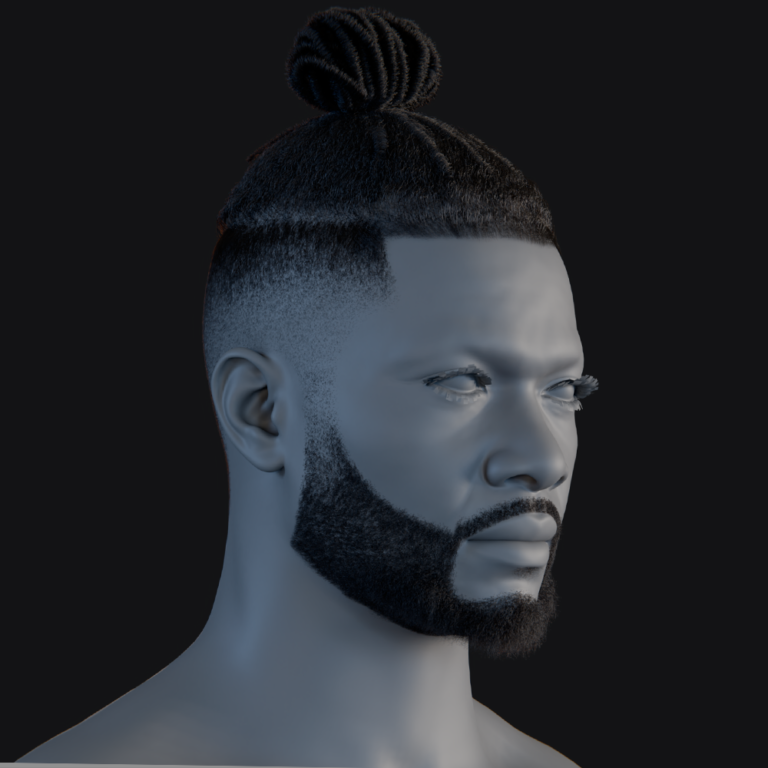
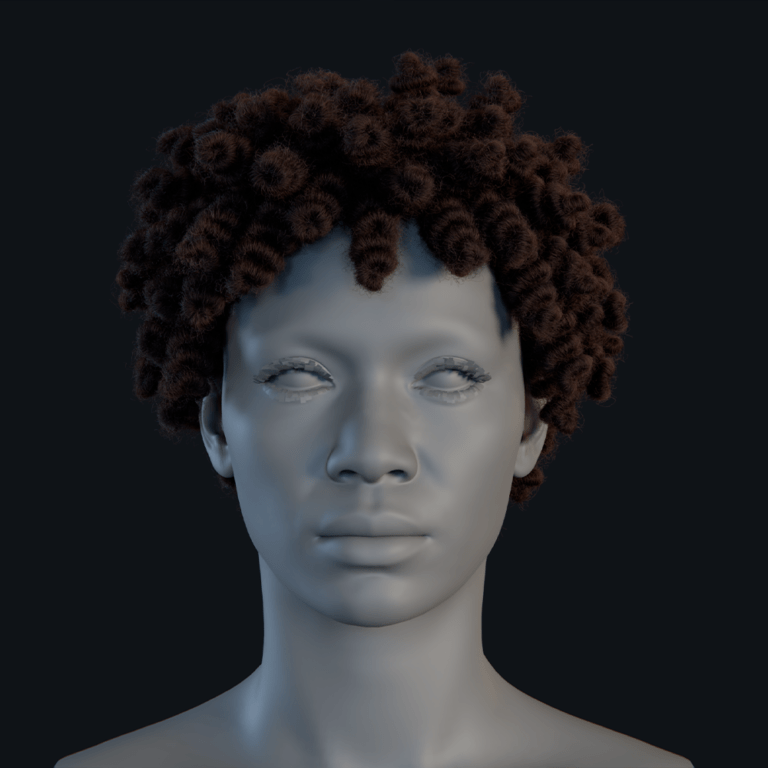
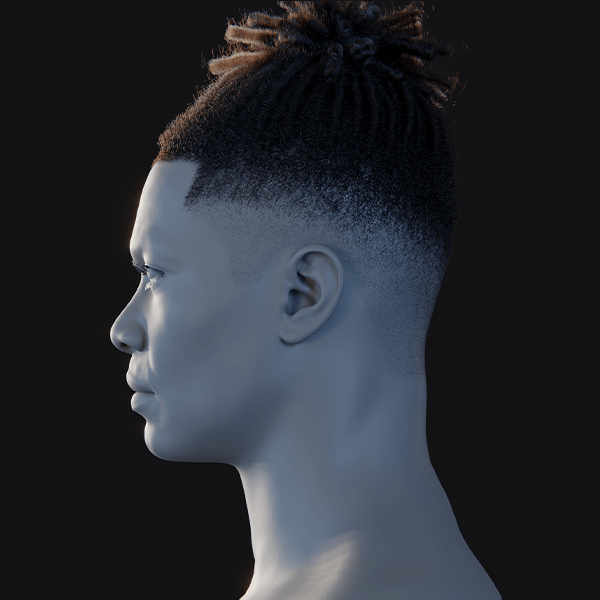
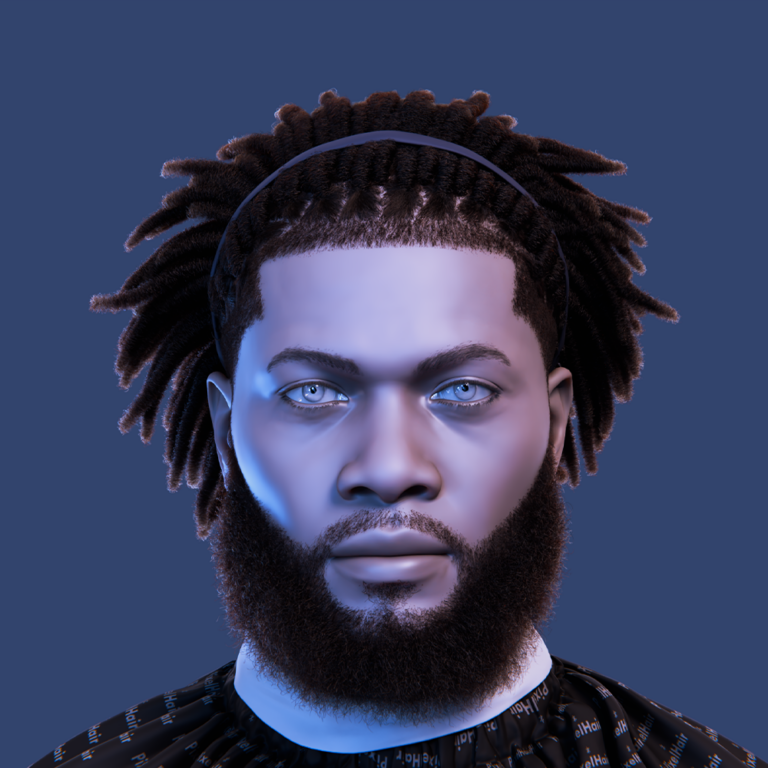
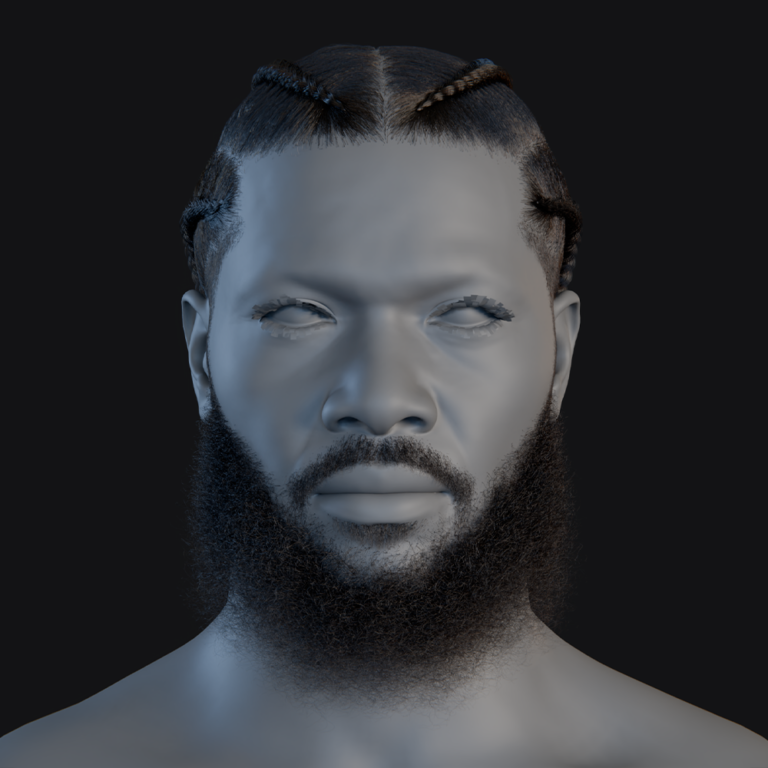
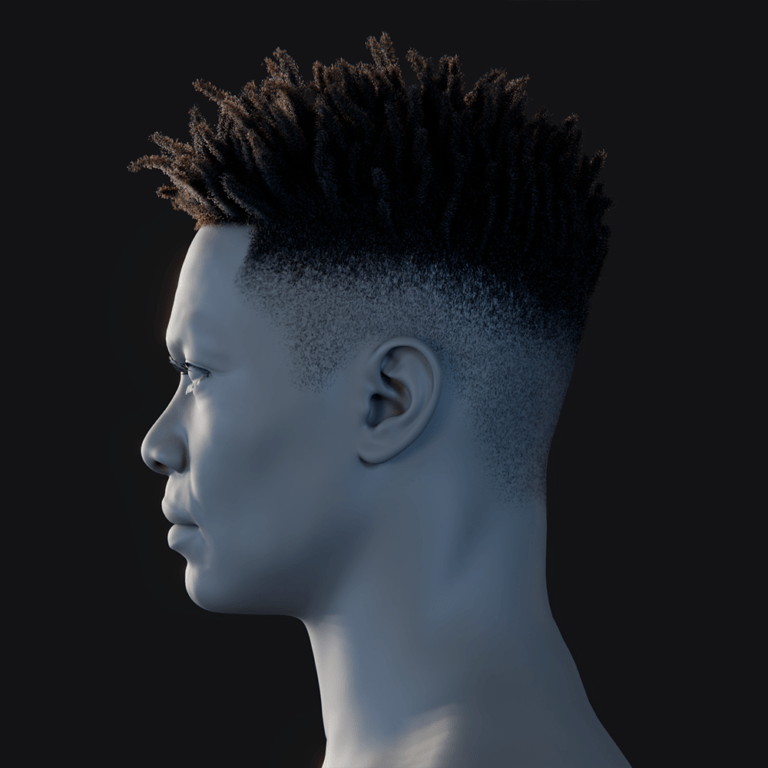
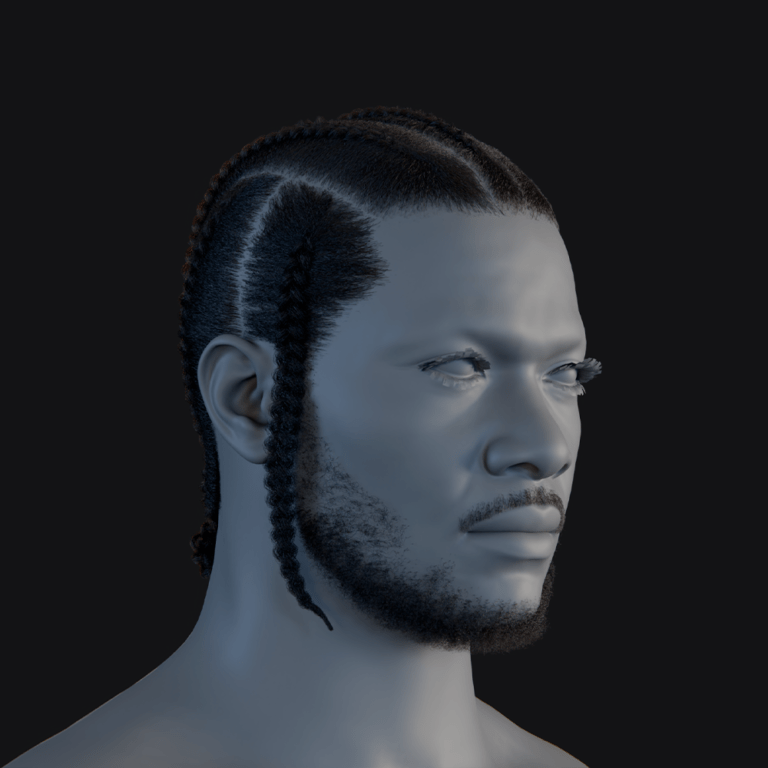
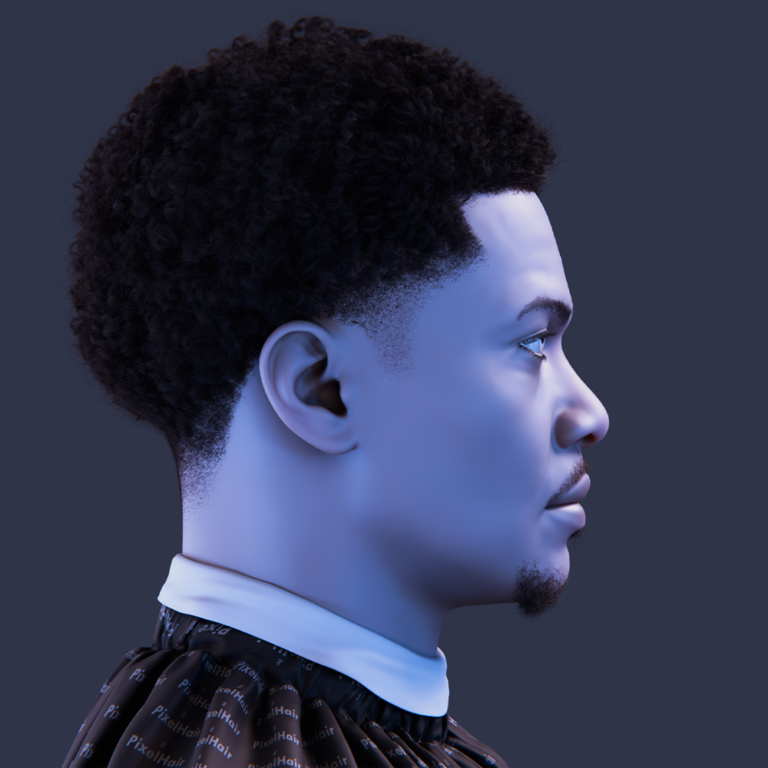
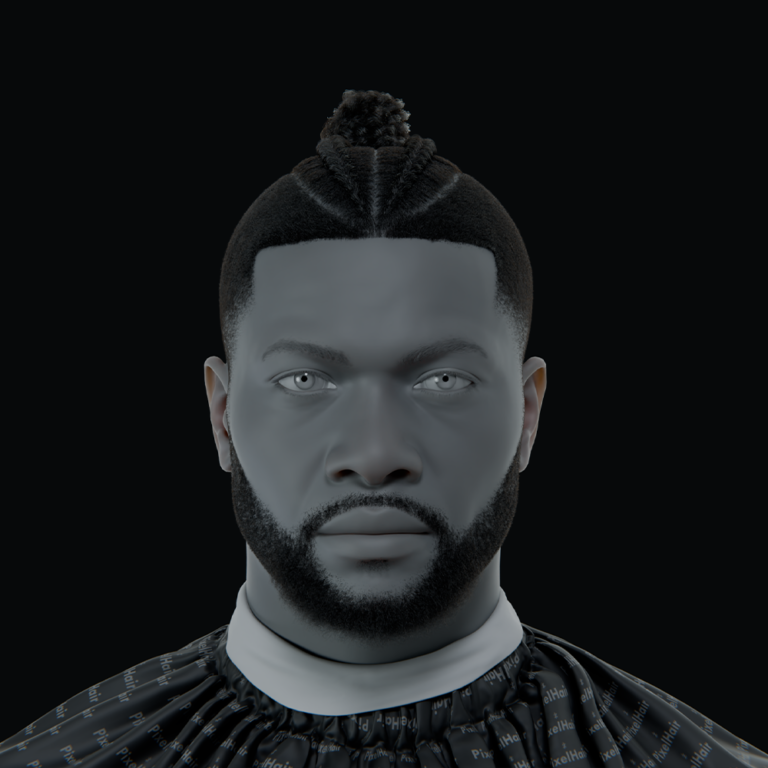
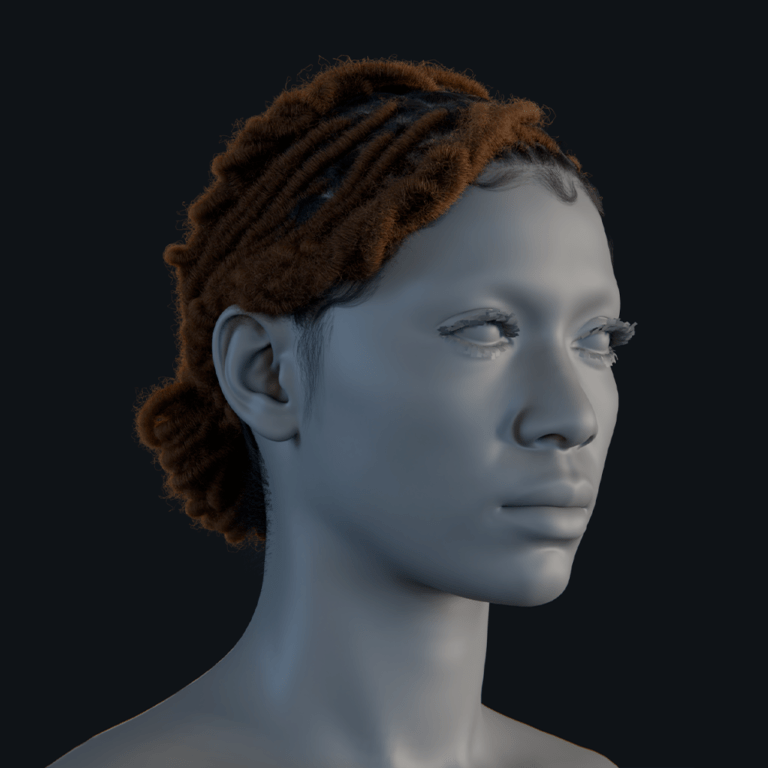
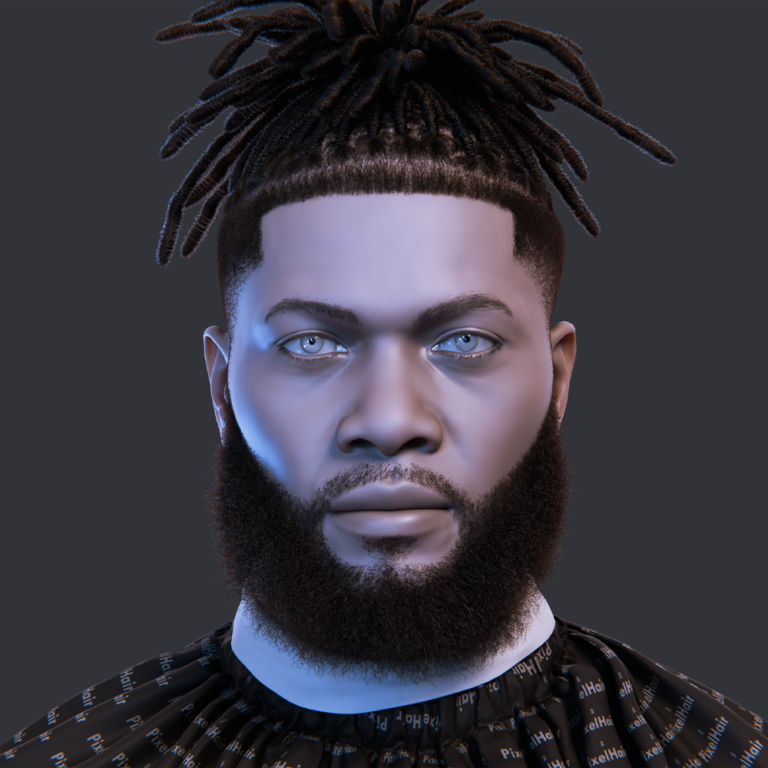
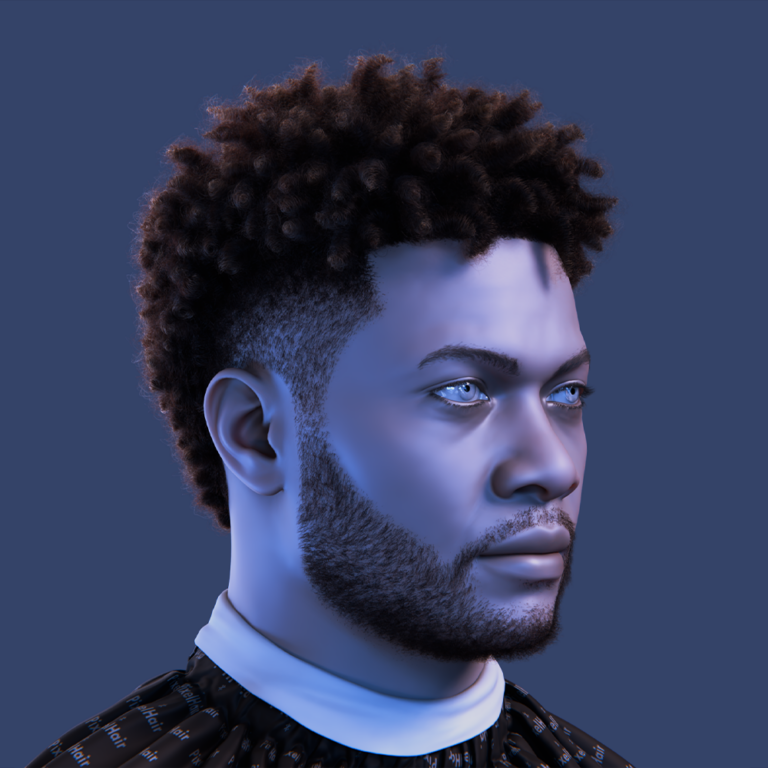
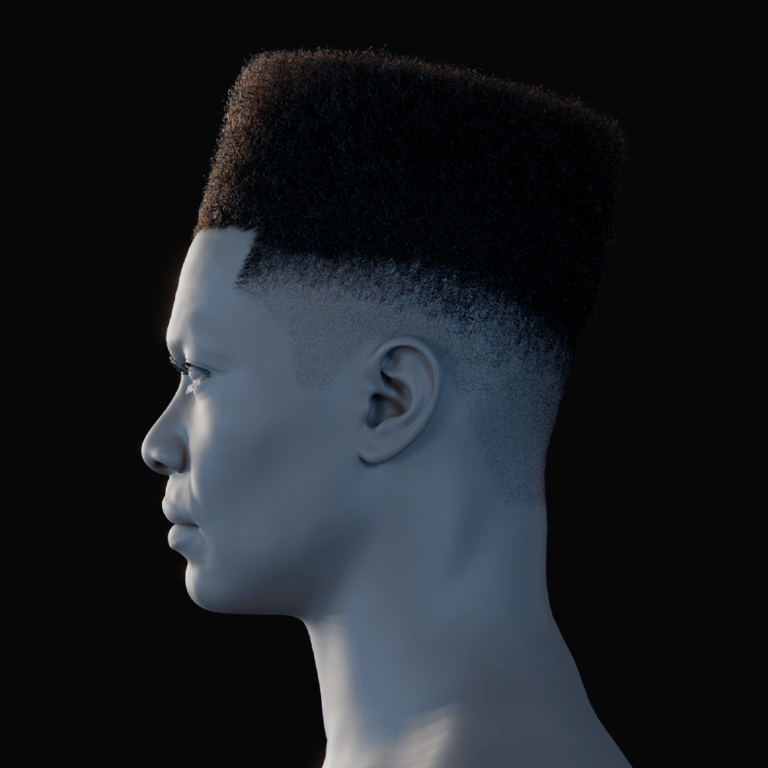
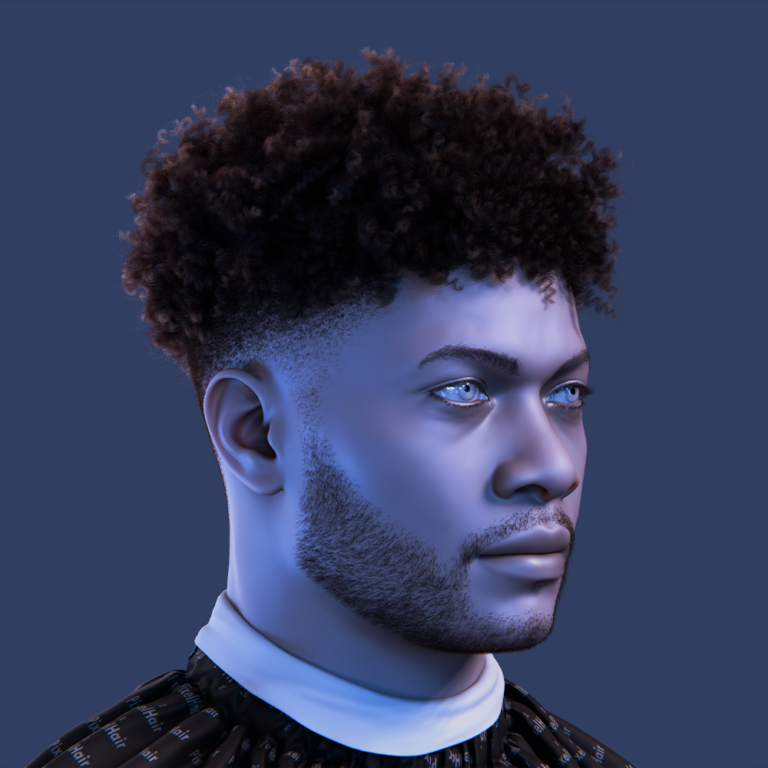
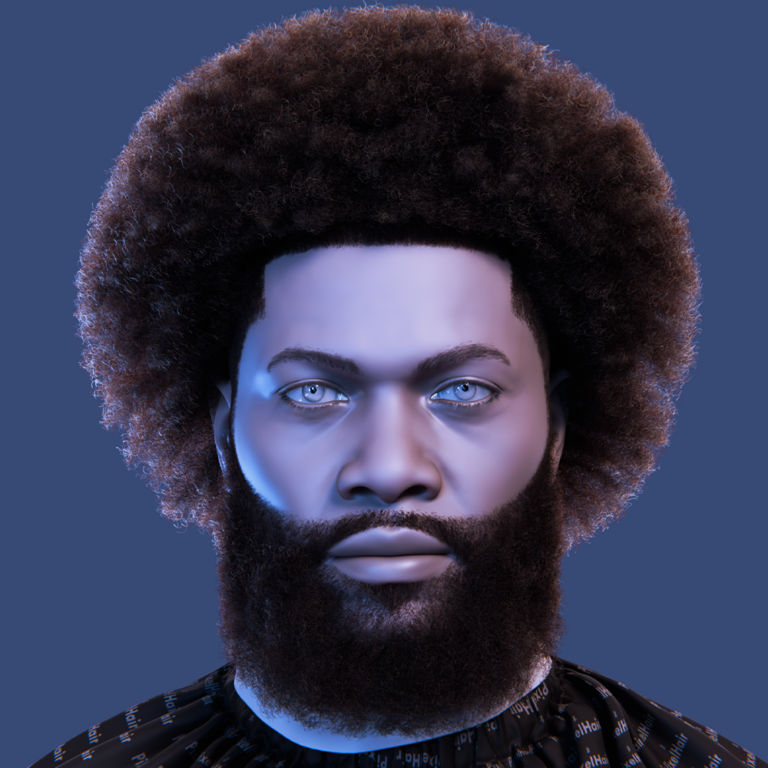
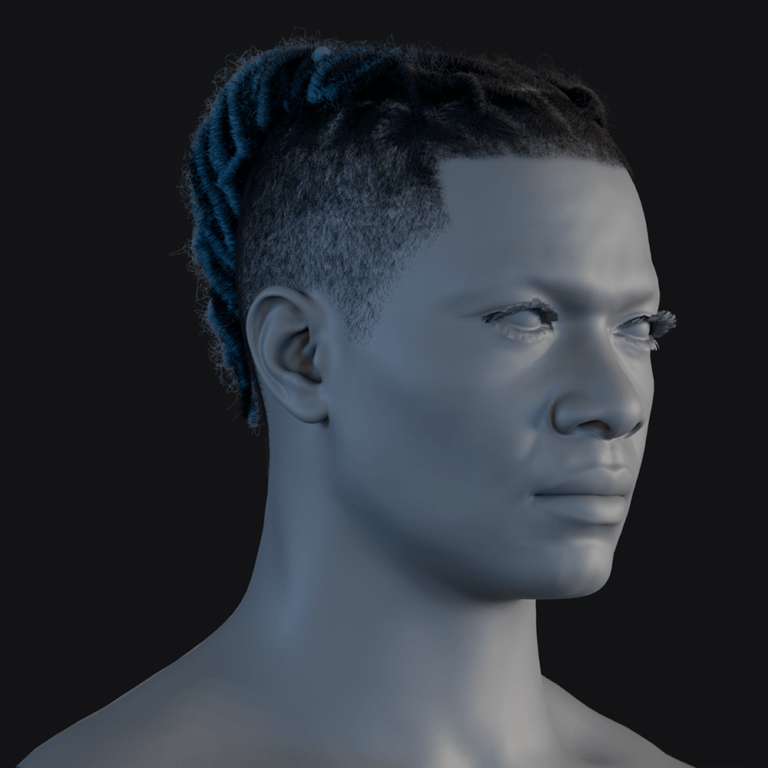
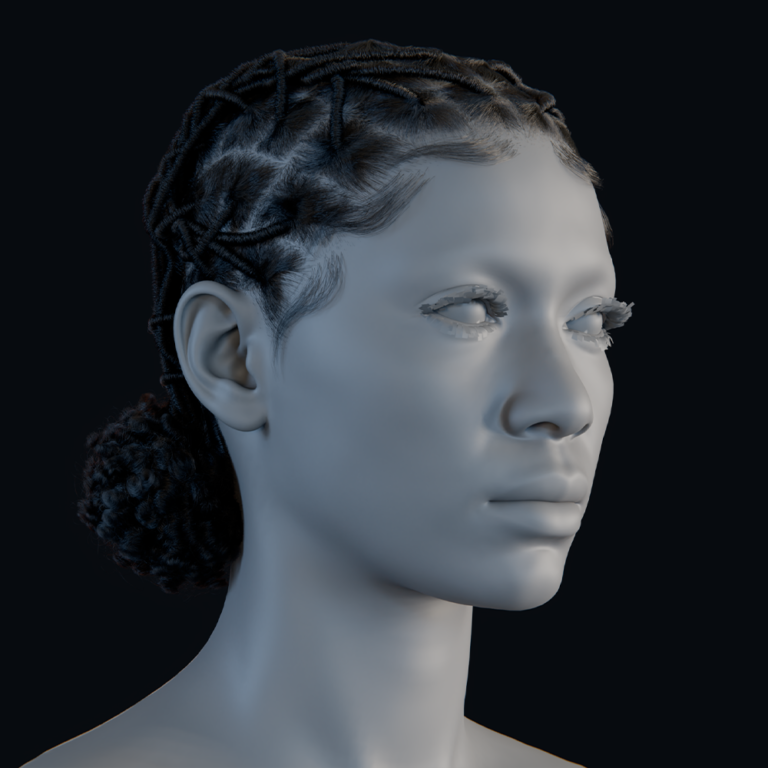
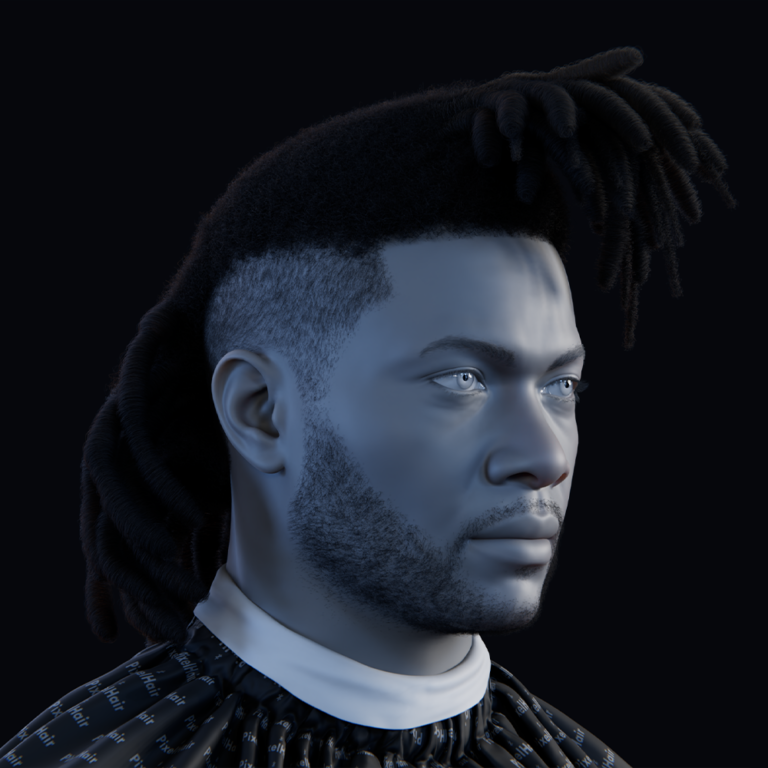
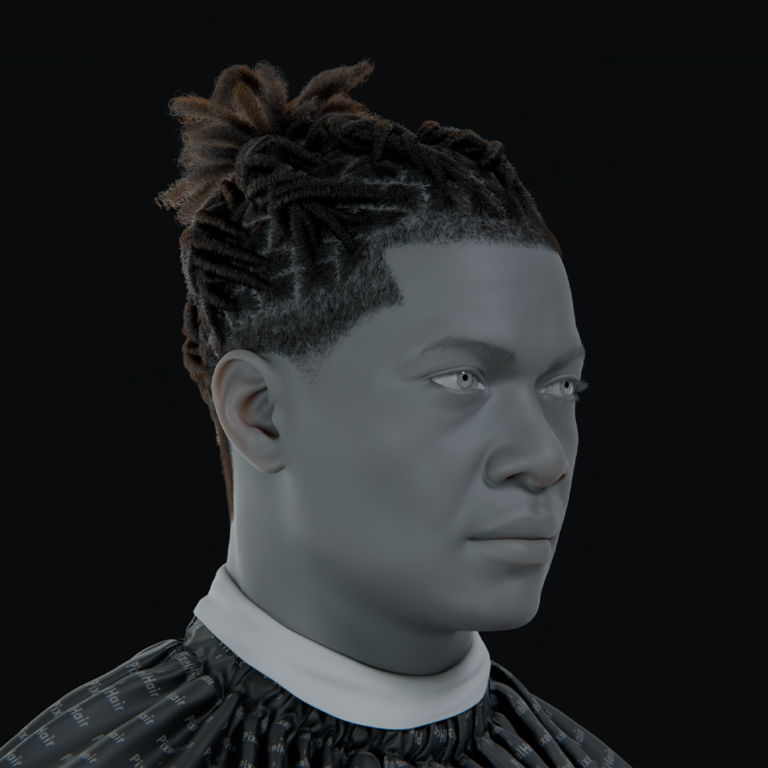
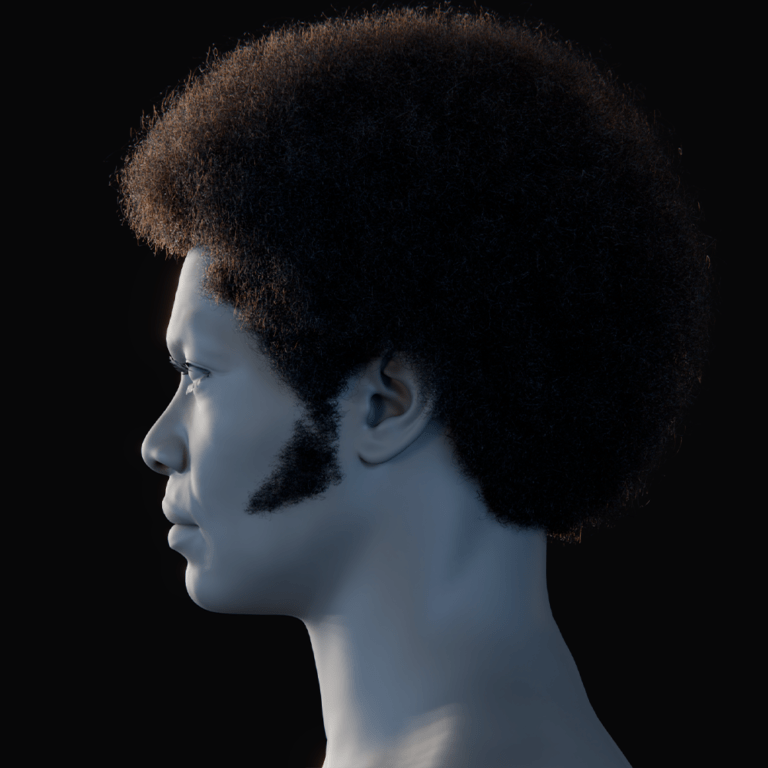
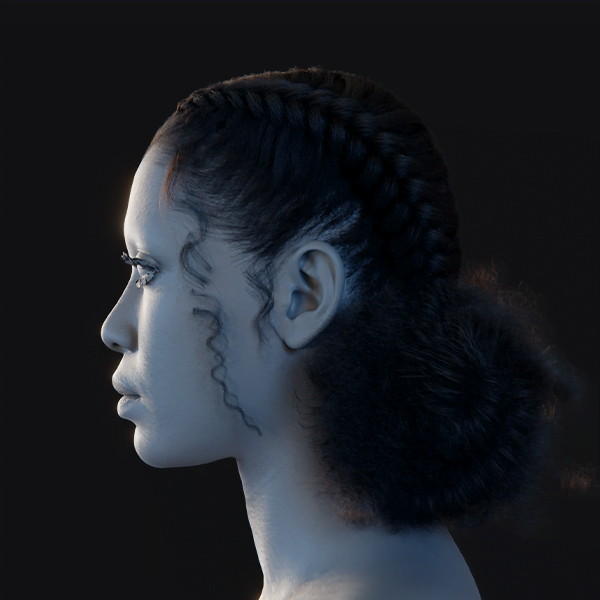
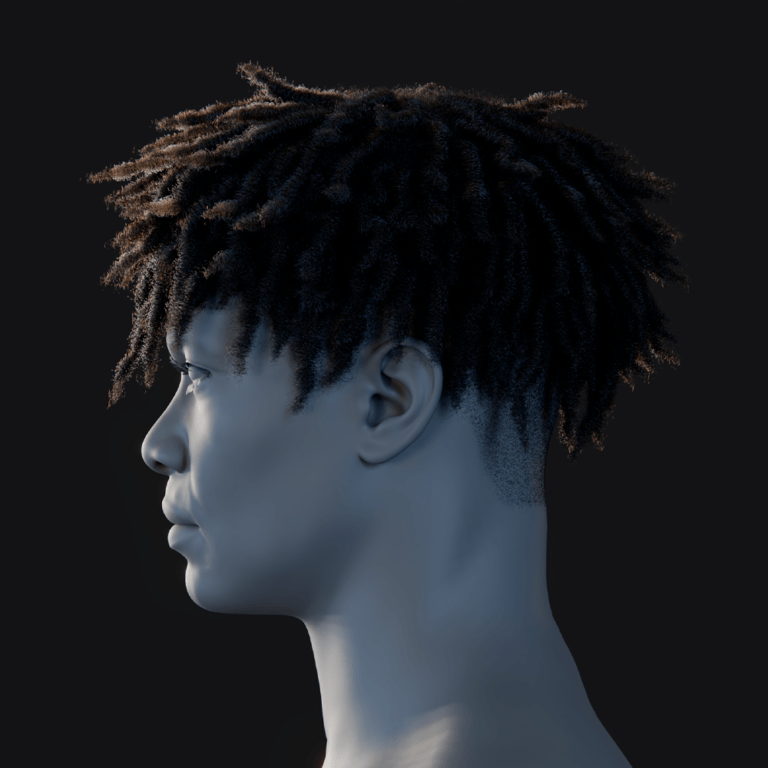
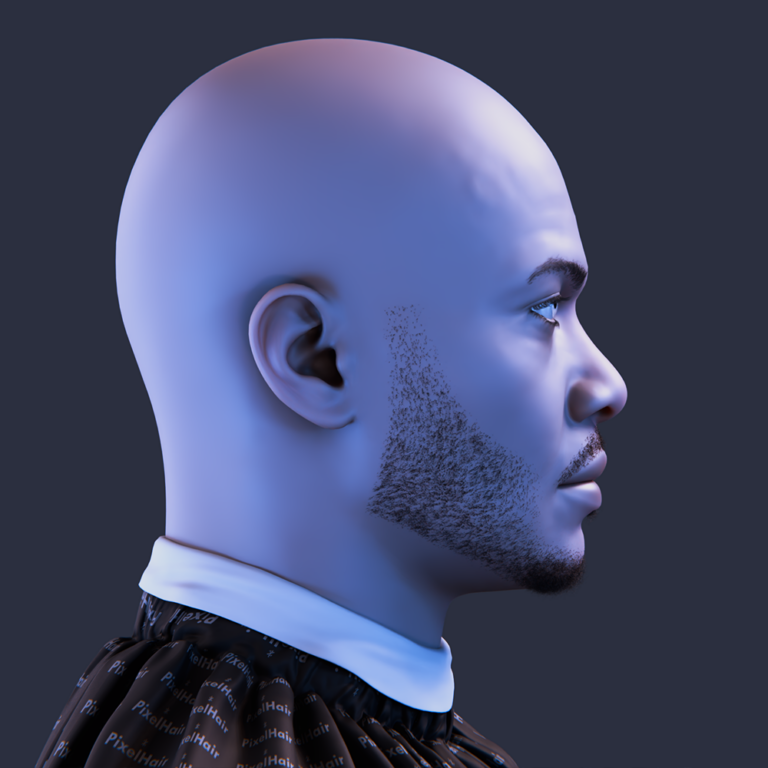
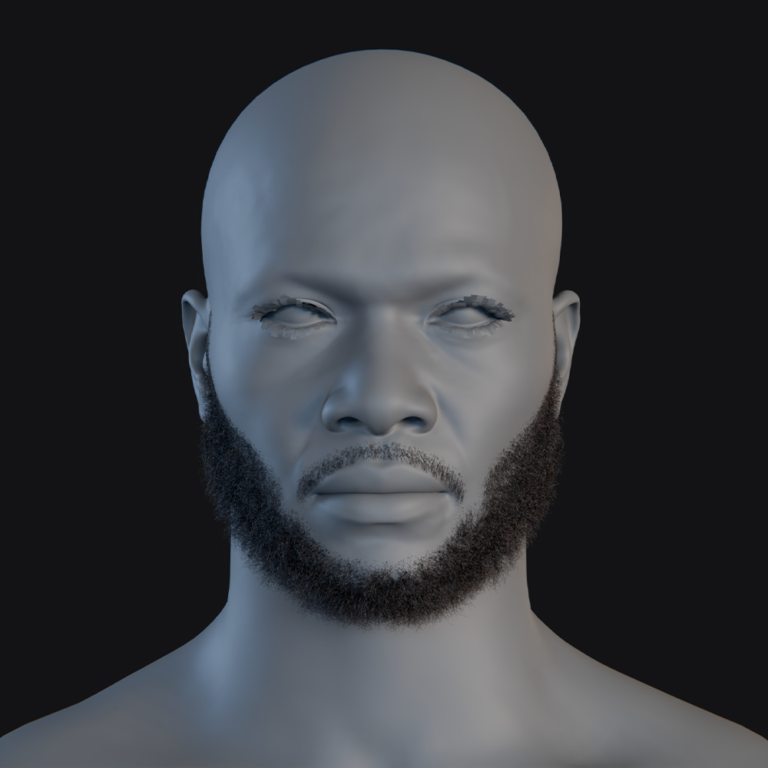
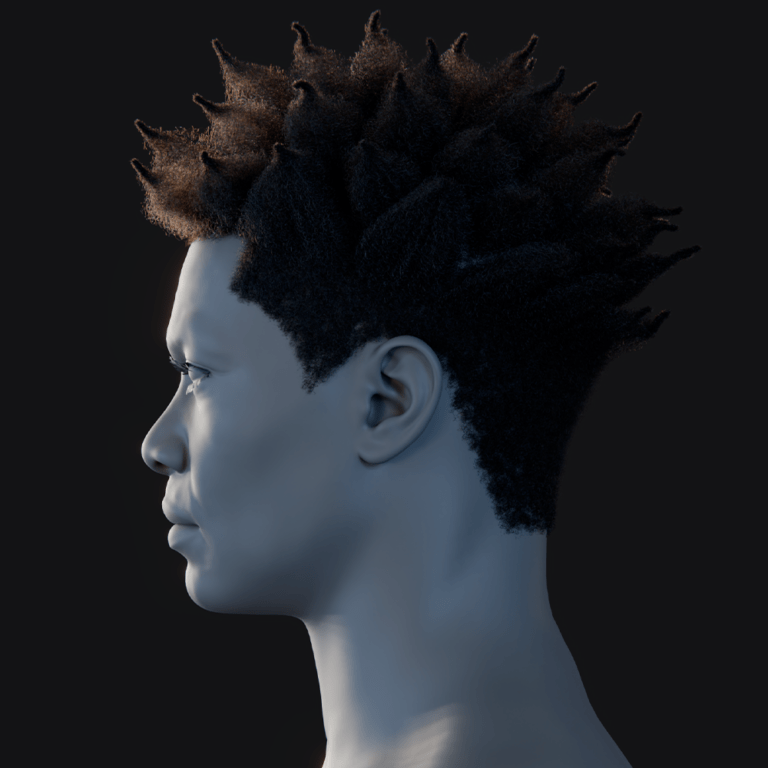
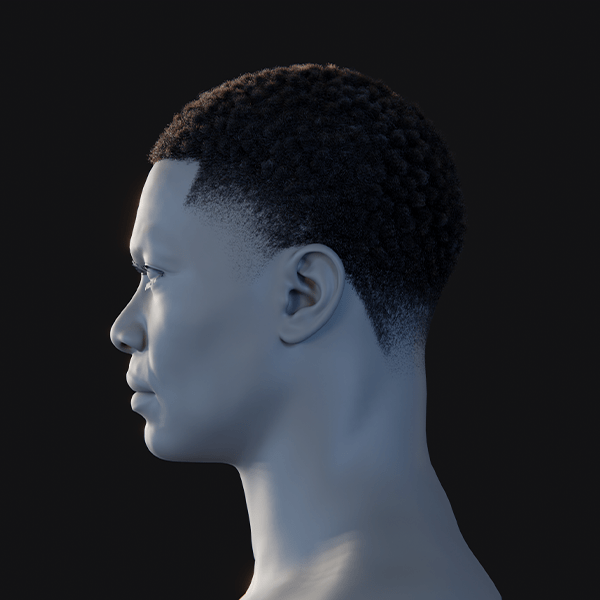
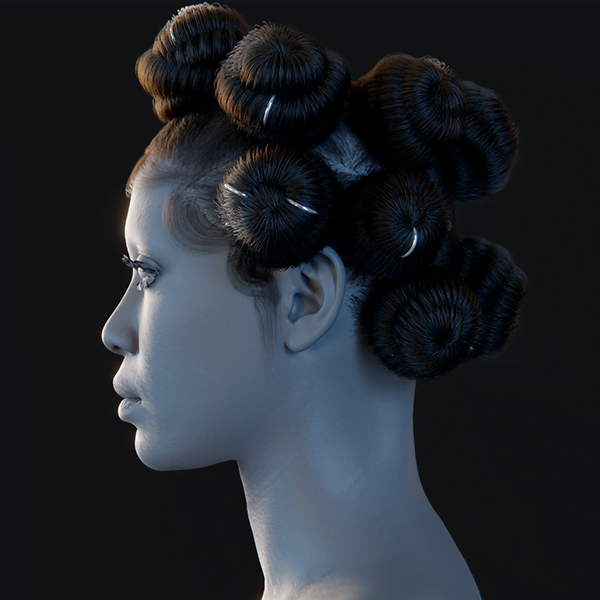
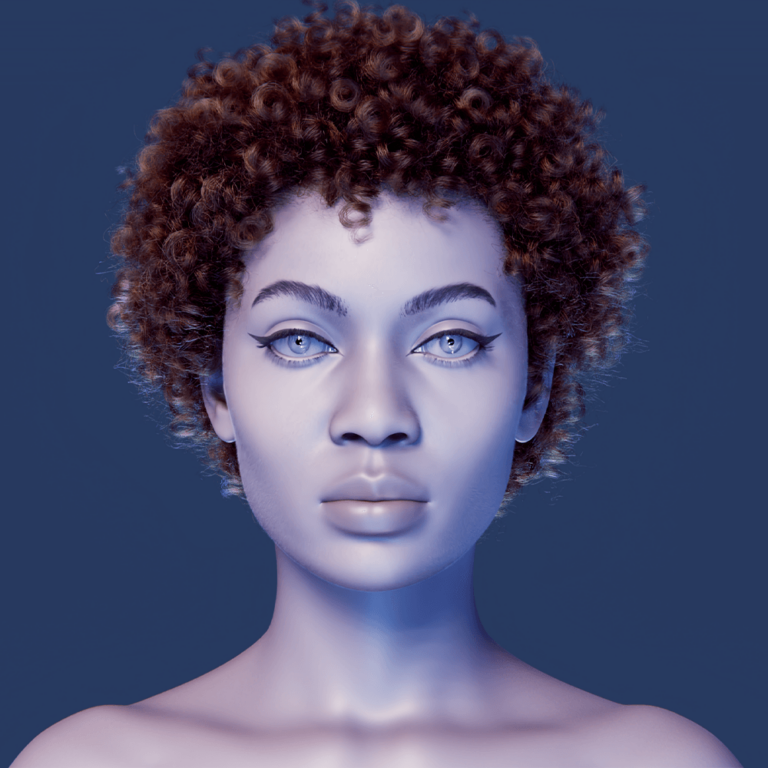
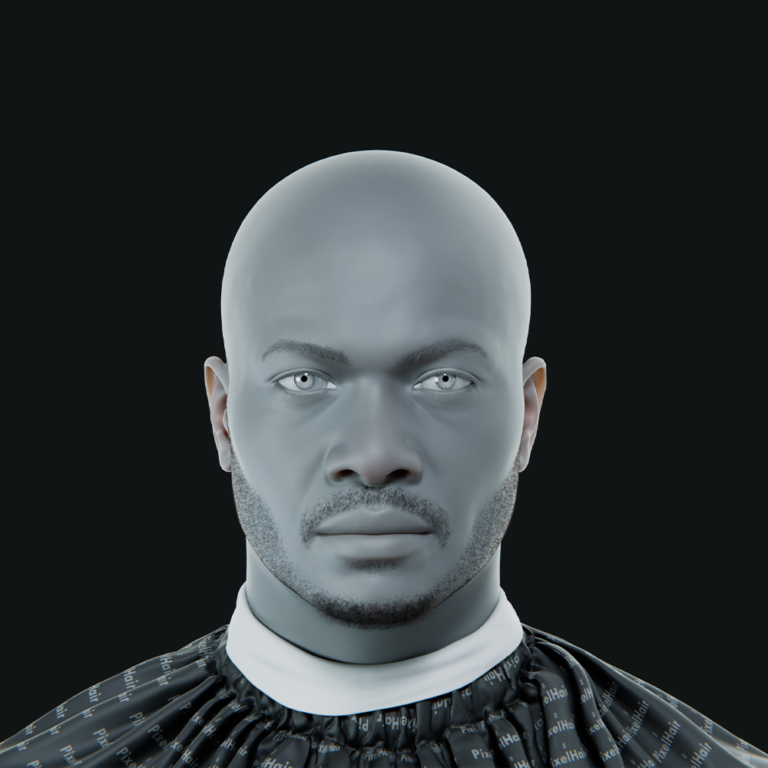
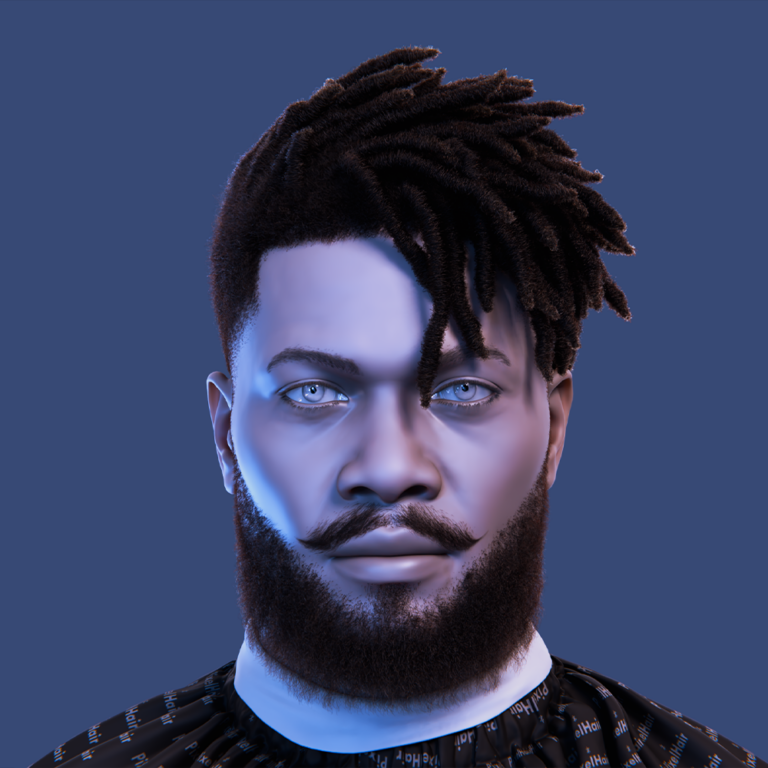
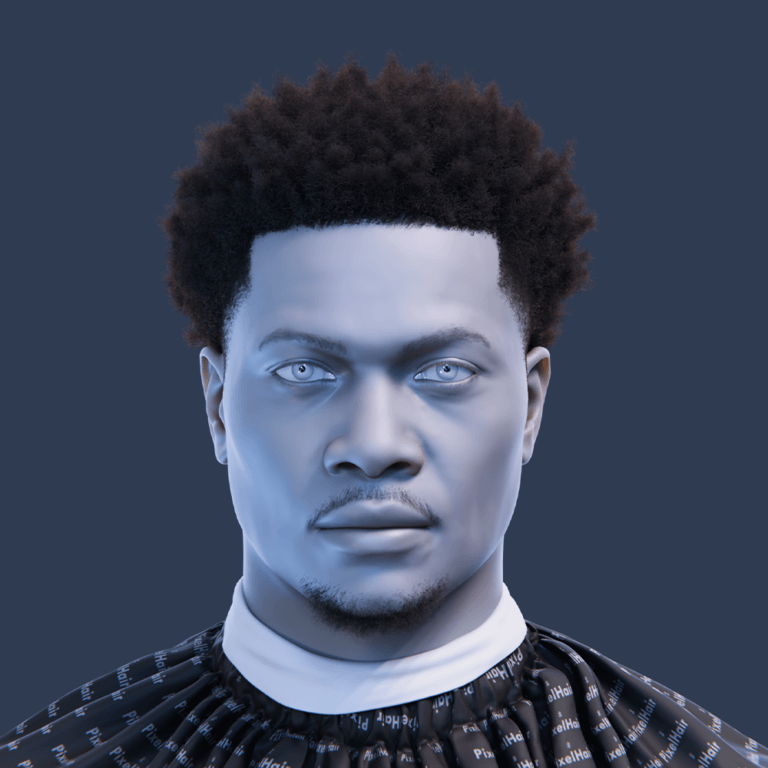
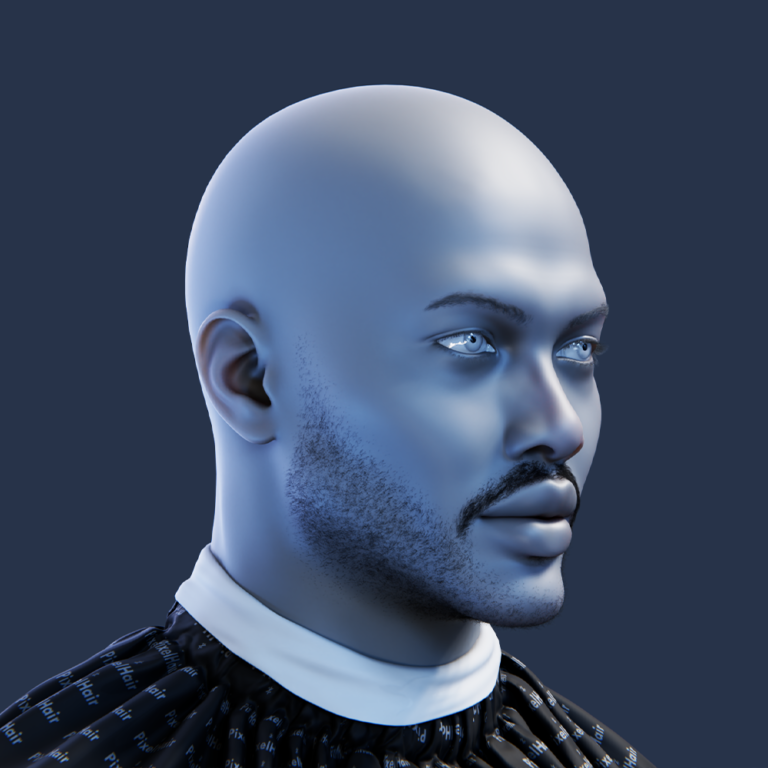
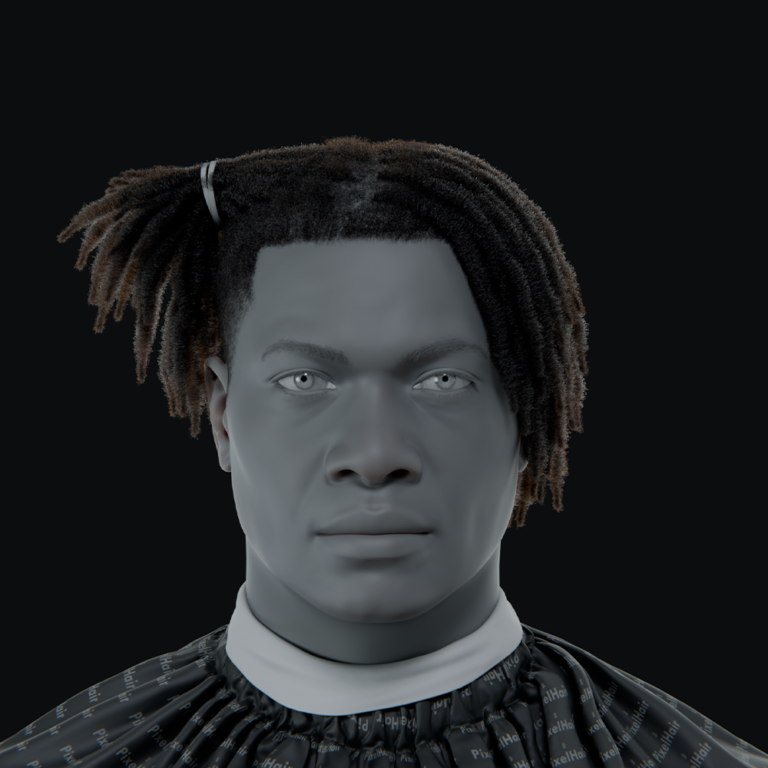
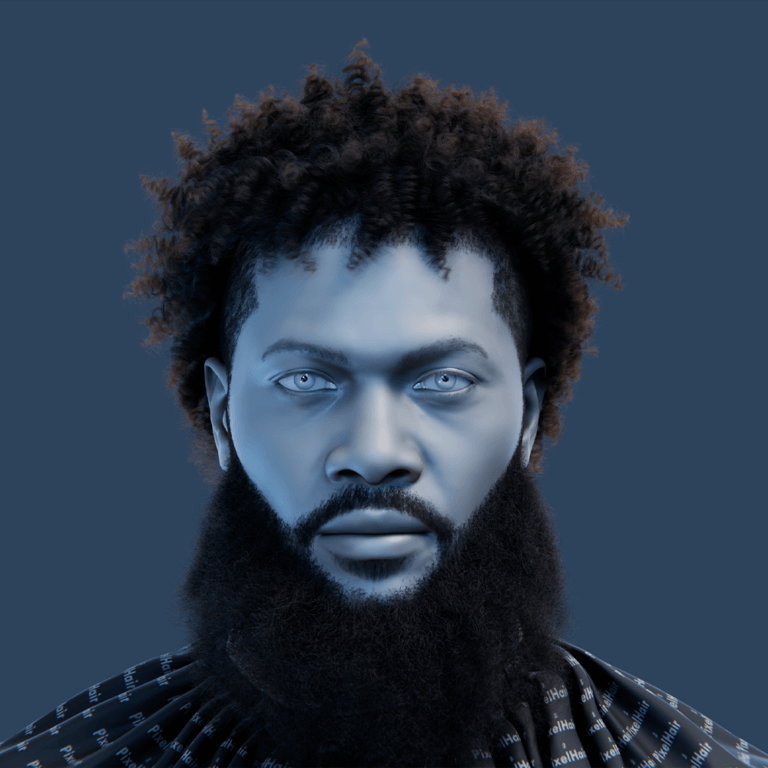
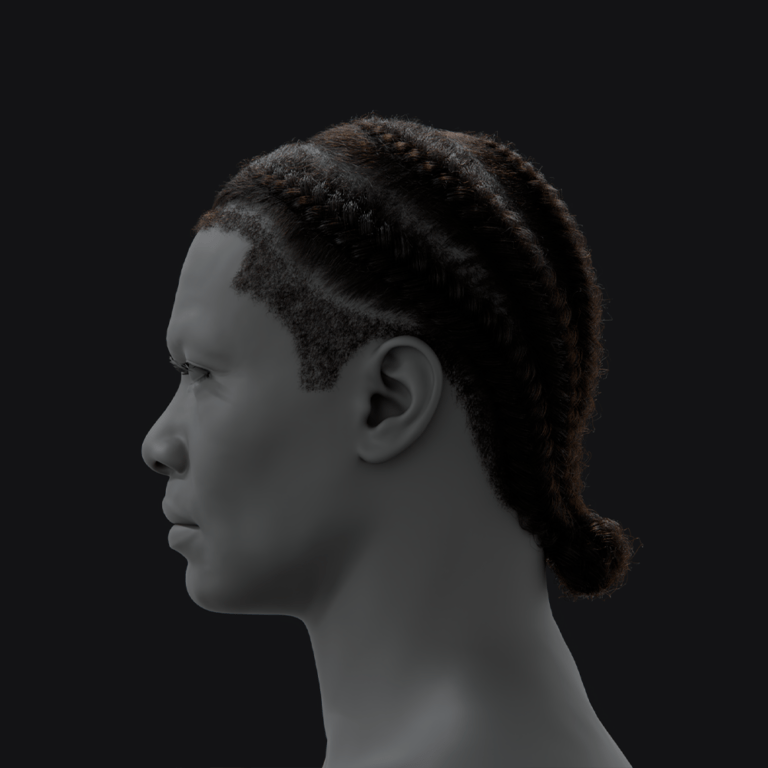
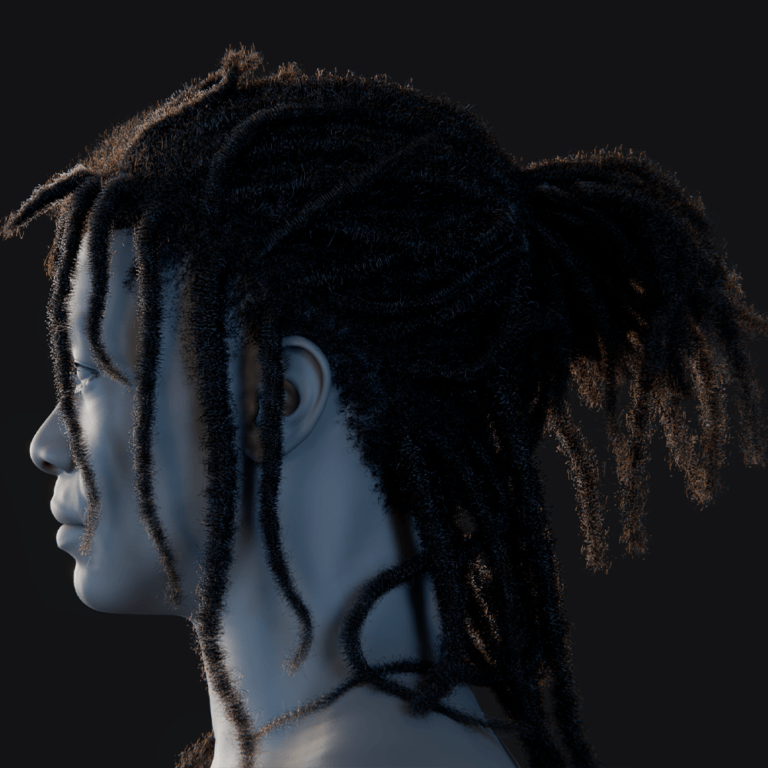
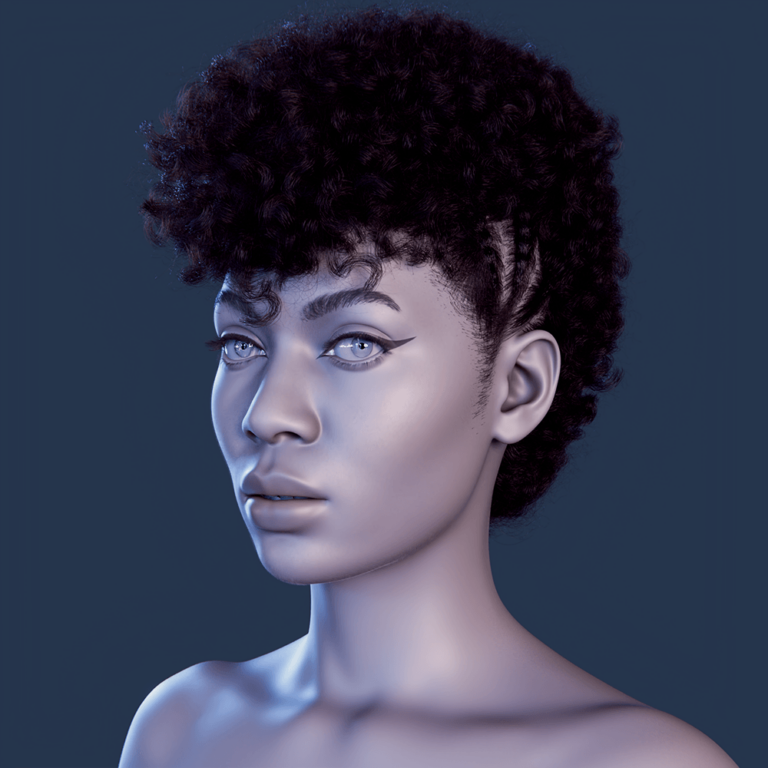
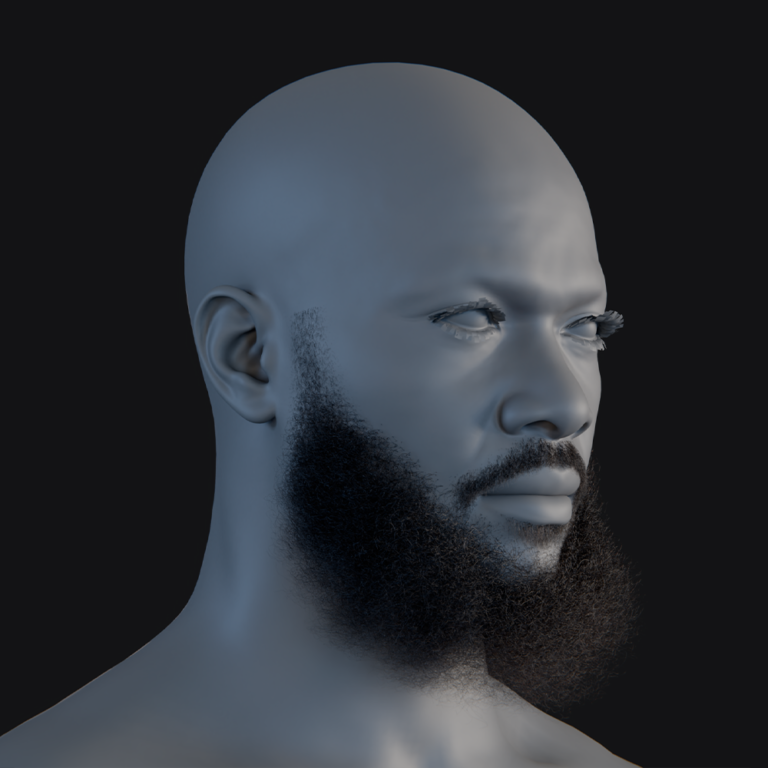
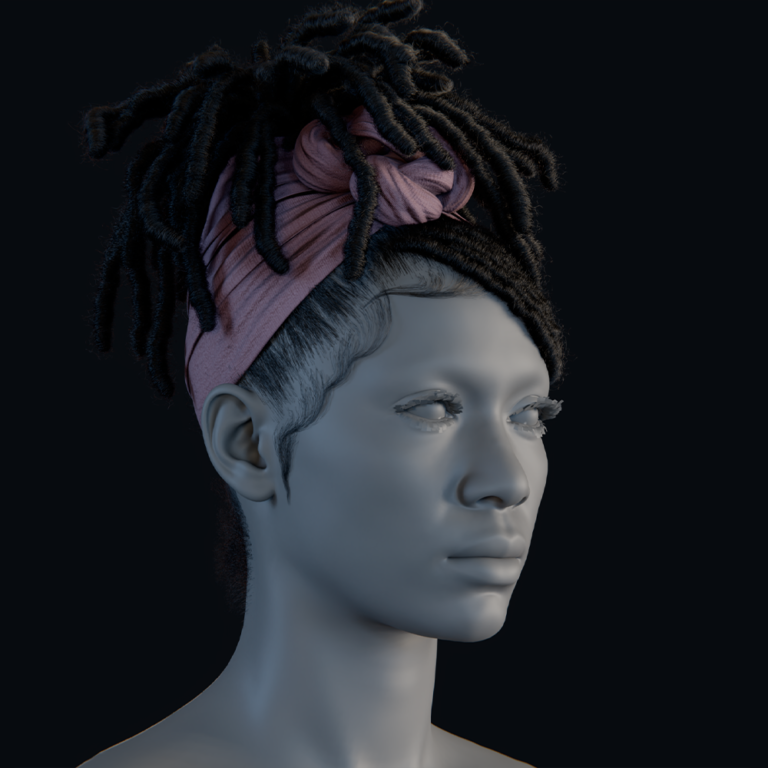
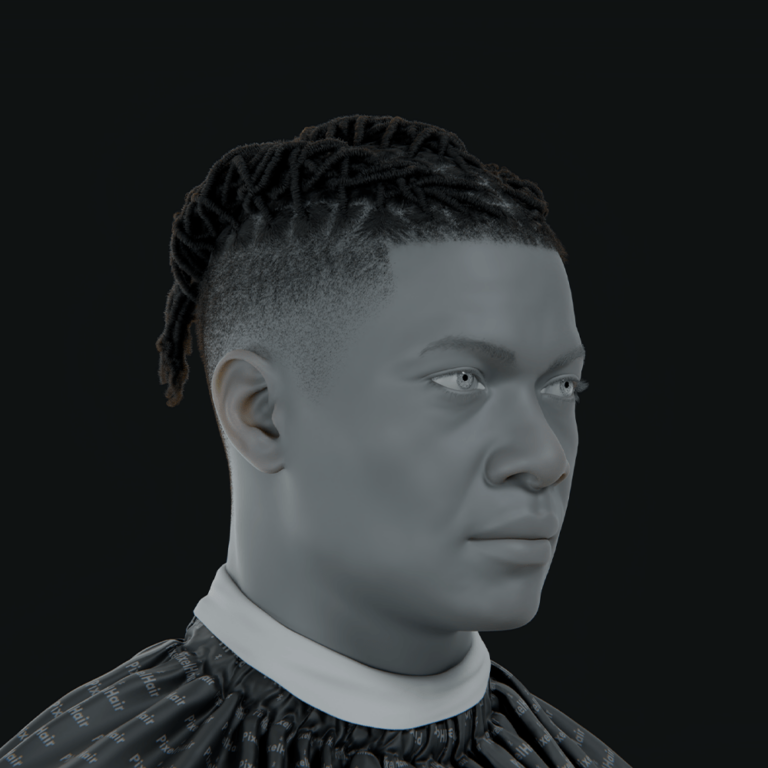
Creating a hyper realistic MetaHuman in Unreal Engine 5 (UE5) involves mastering a combination of high-fidelity modeling, texturing, shading, animation, and rendering techniques. In this comprehensive guide, we’ll break down the complete workflow for achieving lifelike MetaHuman characters, covering everything from realistic materials and lighting to advanced animation and performance capture. Whether you’re aiming for cinematic VFX or real-time game characters, this guide will provide actionable tips and references to tools and resources. Let’s dive in!
What makes a Metahuman hyper realistic in Unreal Engine 5?
Several factors contribute to this realism in UE5:
- High-Quality Character Model: MetaHumans use scanned data for accurate facial proportions and detailed wrinkles. Standardized topology ensures natural expression deformations. Fine details like peach-fuzz hair enhance realism. This foundation supports lifelike visuals across animations.
- Photorealistic Textures: High-resolution (4K+) textures include pores, skin tone variations, and blemishes. Scans or TexturingXYZ packs provide multi-channel maps for detail. These avoid generic CG looks, adding human imperfections. Textures ground characters in reality.
- Advanced Skin Shaders: Subsurface scattering (SSS) simulates light absorption for translucent skin. Texture maps control oiliness and roughness for natural sheen. The shader responds realistically to lighting conditions. This creates soft, believable skin appearances.
- Realistic Hair and Eyes: Strand-based hair grooms offer dynamic, detailed hairstyles. Eye shaders with dual-layered geometry mimic light-catching corneas. Reflective caustics and wet tearlines add depth. These elements make hair and eyes convincingly lifelike.
- Authentic Lighting and Rendering: Lumen’s global illumination produces soft shadows and bounce light. Cinematic effects like depth of field enhance believability. Realistic sky lighting integrates characters into scenes. Proper lighting ensures photorealistic rendering.
- Lifelike Animation: Rigs with hundreds of facial controls enable micro-expressions. Motion capture or keyframing prevents robotic movements. Natural eye shifts and facial tics add vitality. Animation ensures realism in motion, not just stills.
Combining detailed models, textures, shaders, hair, eyes, lighting, and animation achieves near-indistinguishable realism. MetaHumans leverage UE5’s tools to rival real actors in cinematic contexts.

How do I improve the realism of a MetaHuman character?
If you have a MetaHuman and want to push it to hyper realistic quality, there are several areas to focus on. Here are actionable ways to improve realism:
- Enhance Texture Detail: Export default textures and enhance them in Photoshop or Substance Painter with detailed pores or scars. Use high-resolution scans or TexturingXYZ packs to project realistic skin details onto MetaHuman UVs. Customize albedo maps for subtle redness or freckles to avoid a generic look. Adjust roughness maps to vary skin oiliness for a human-like appearance.
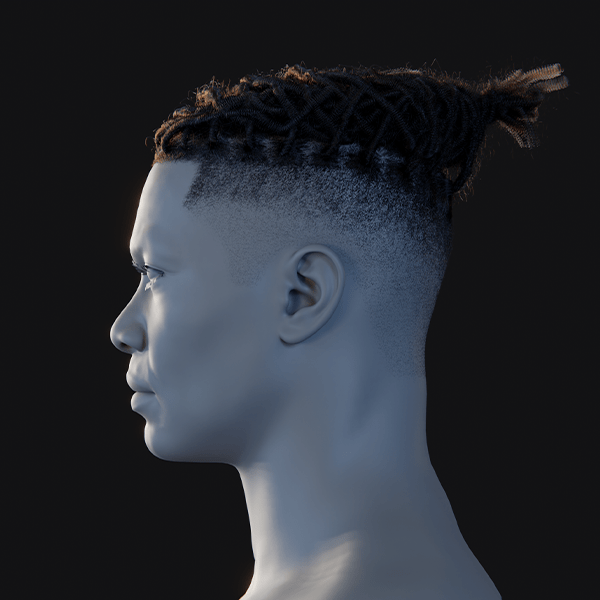
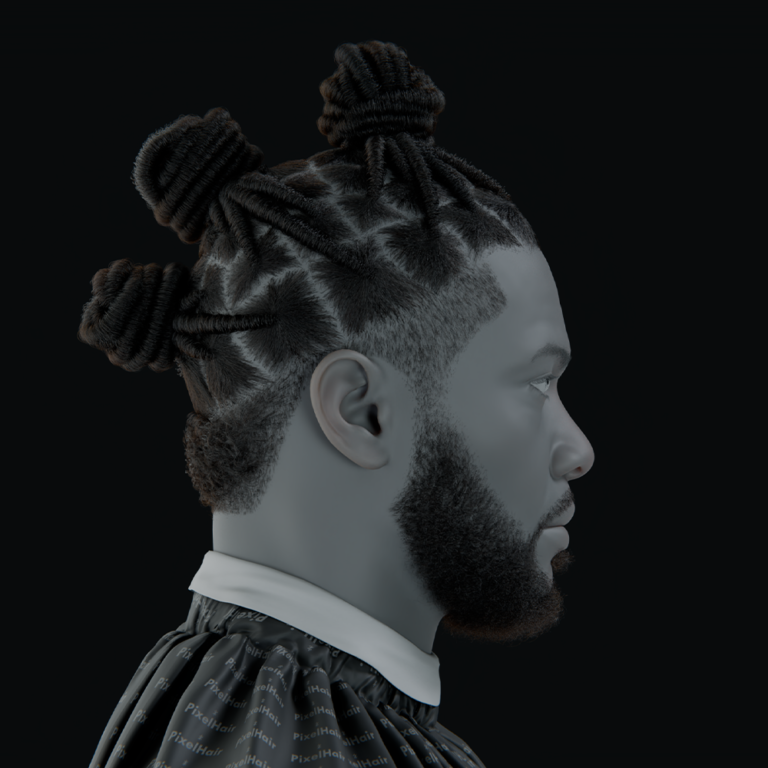
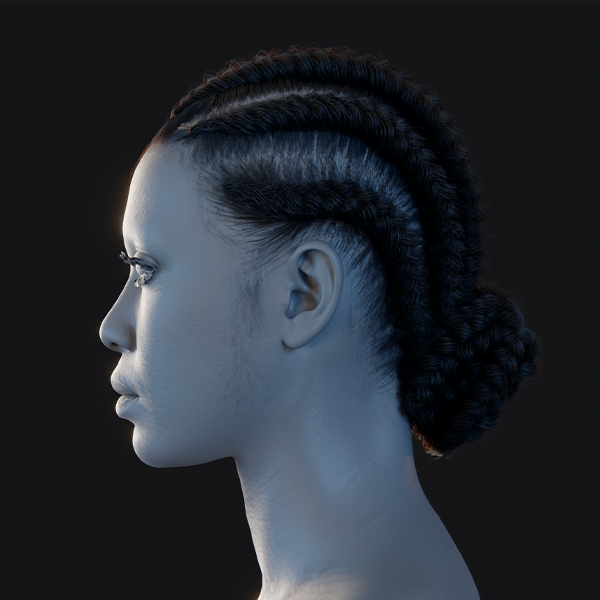
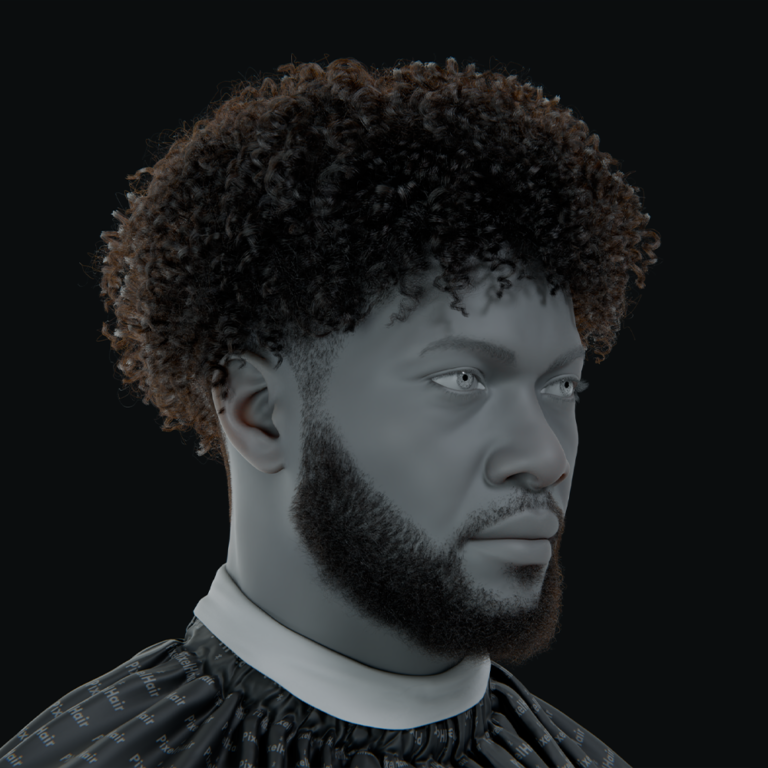
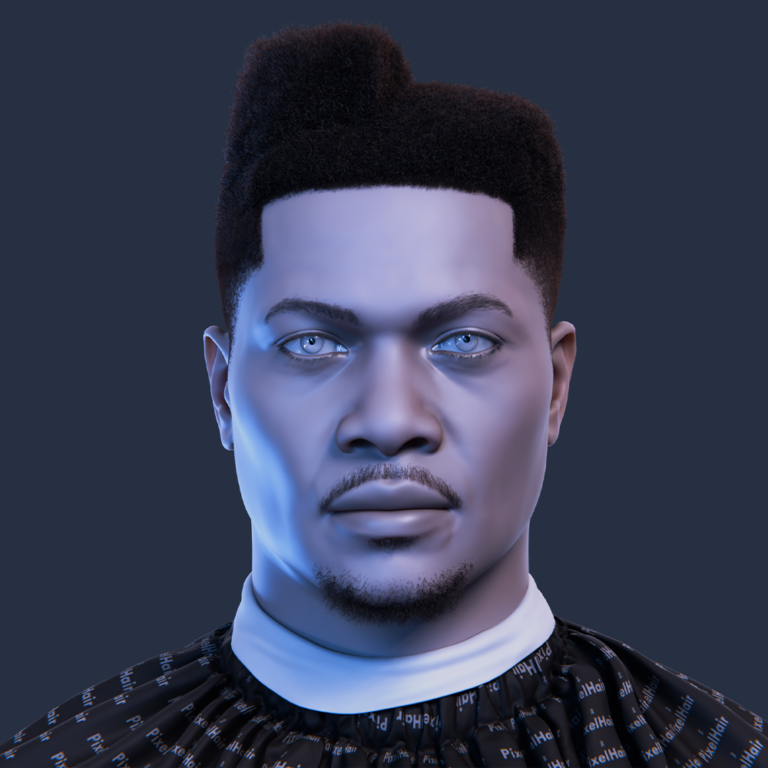
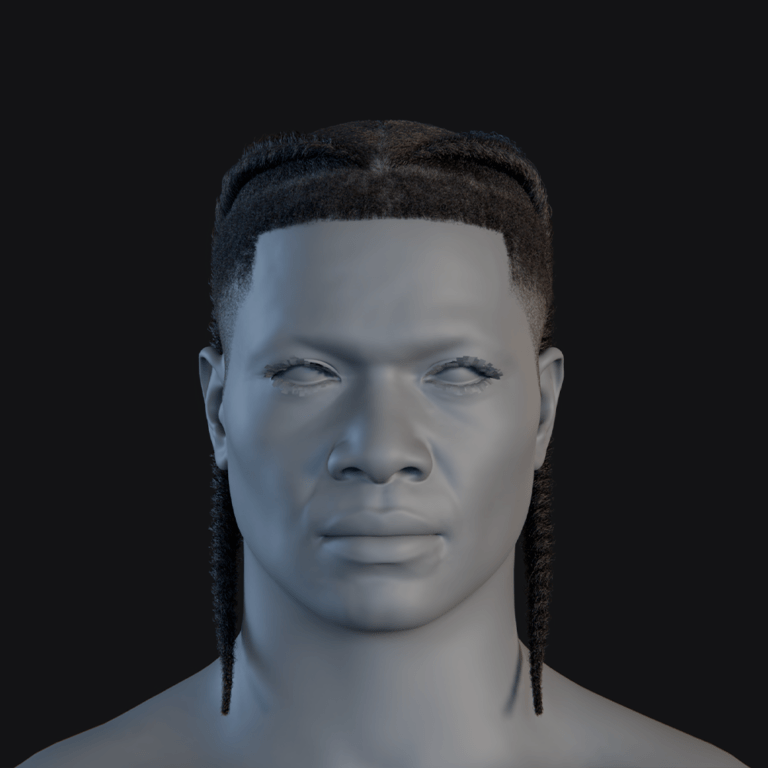
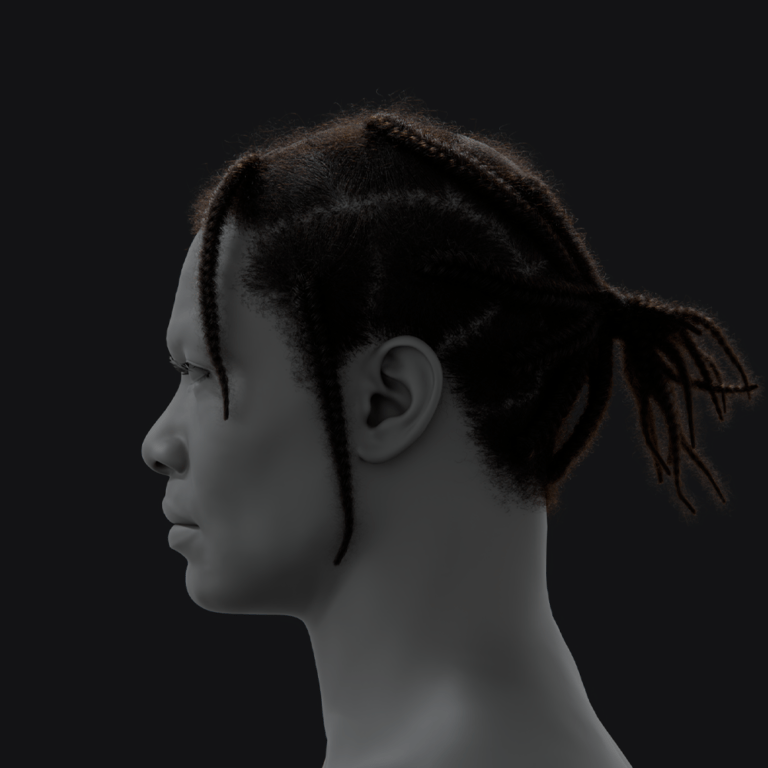
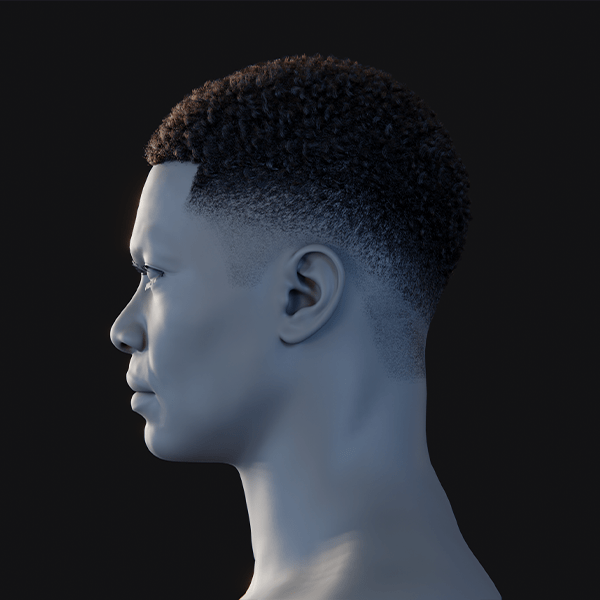
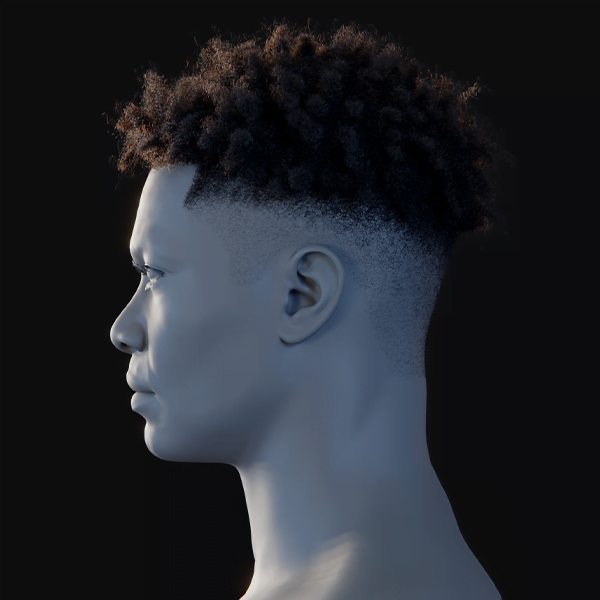
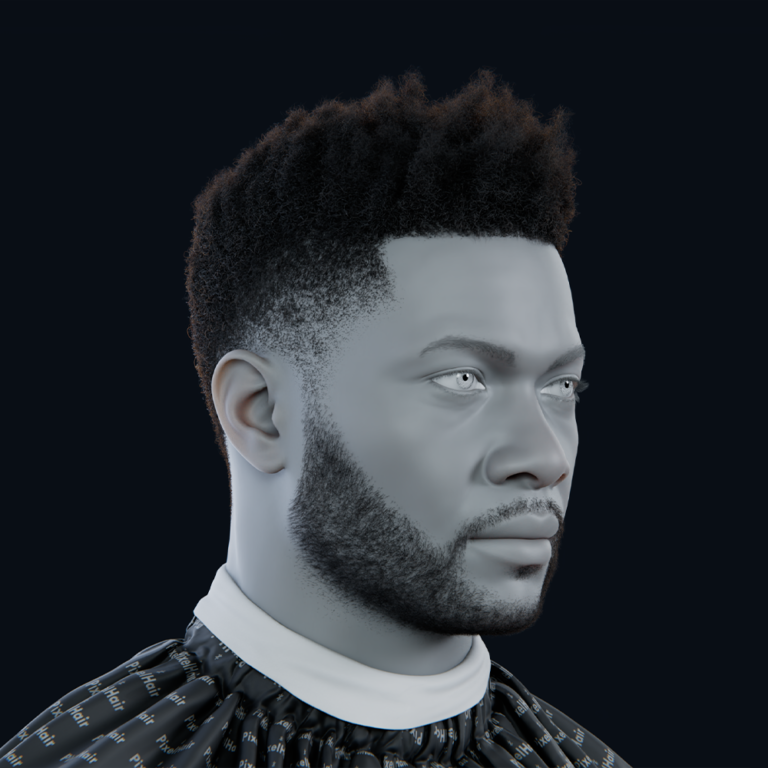
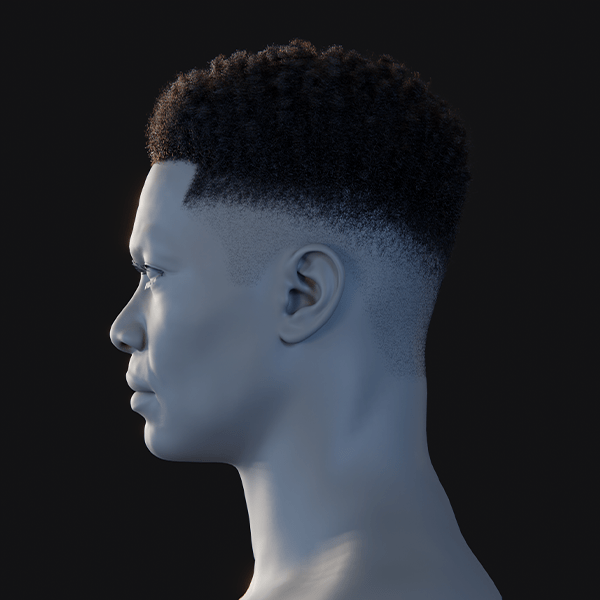
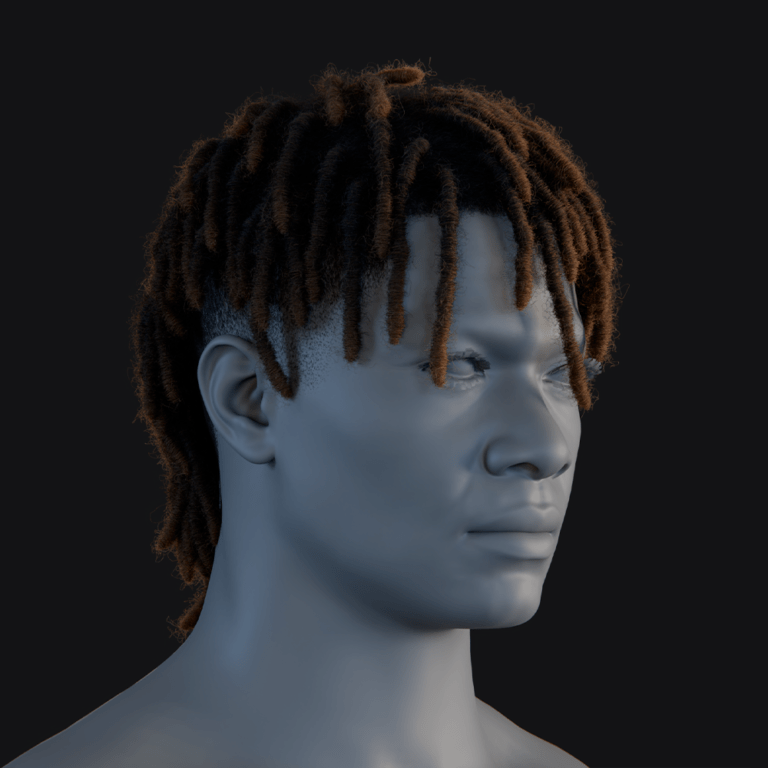
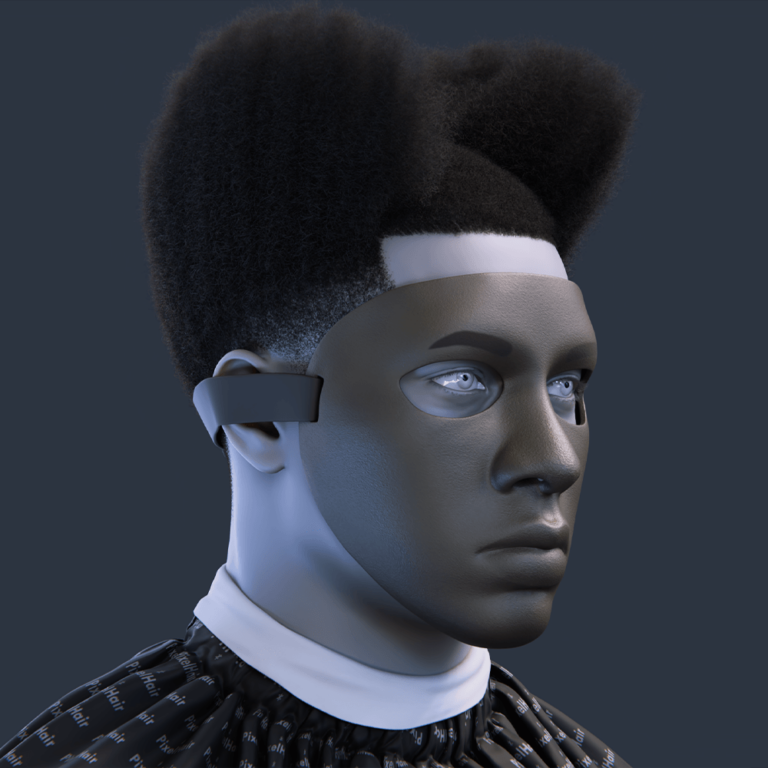
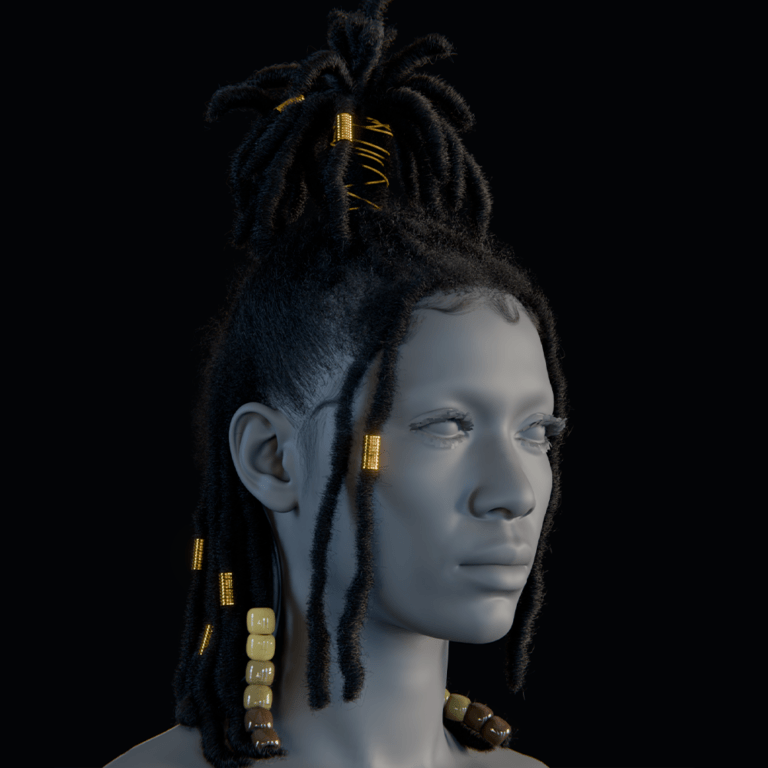
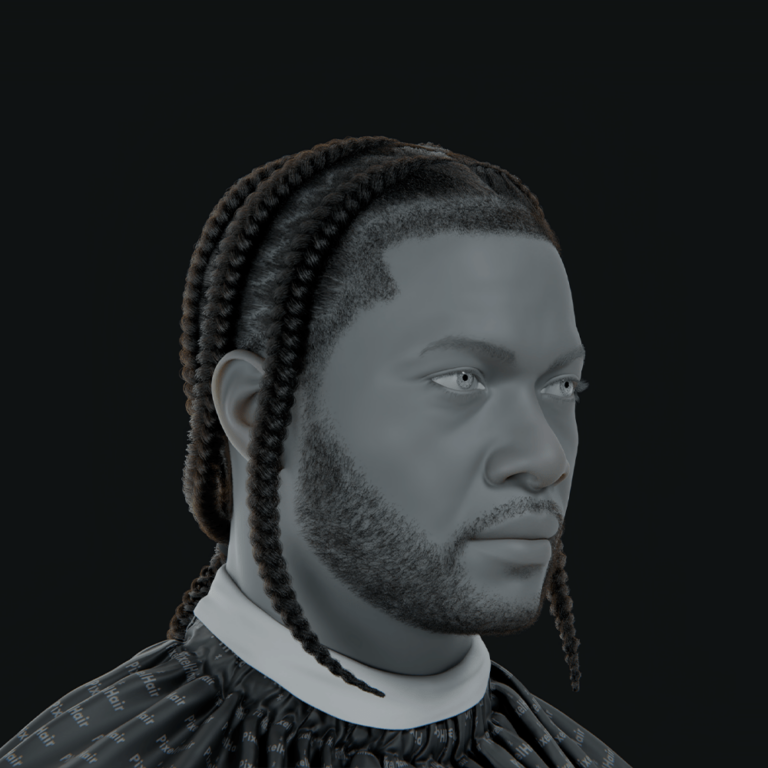
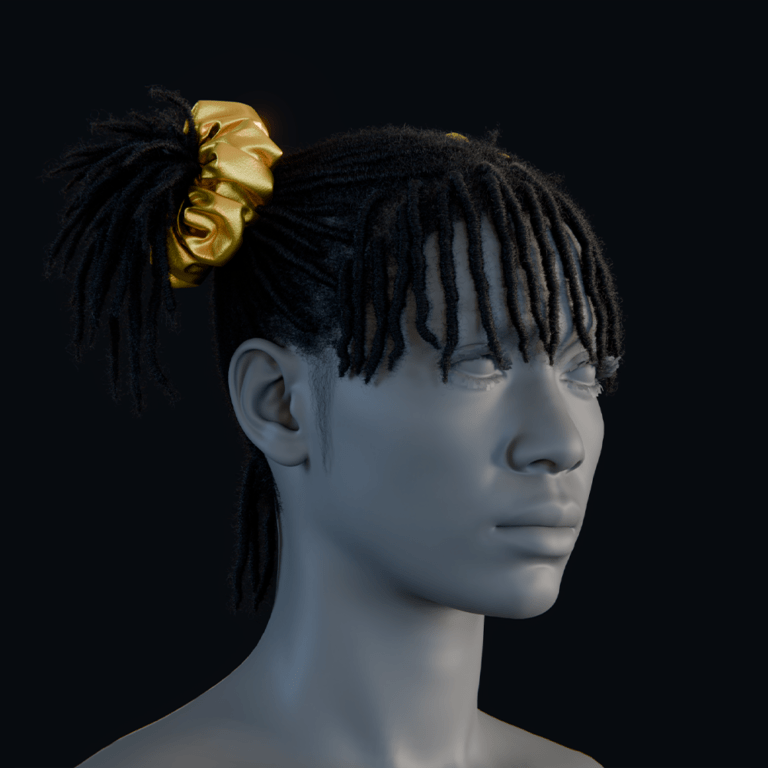
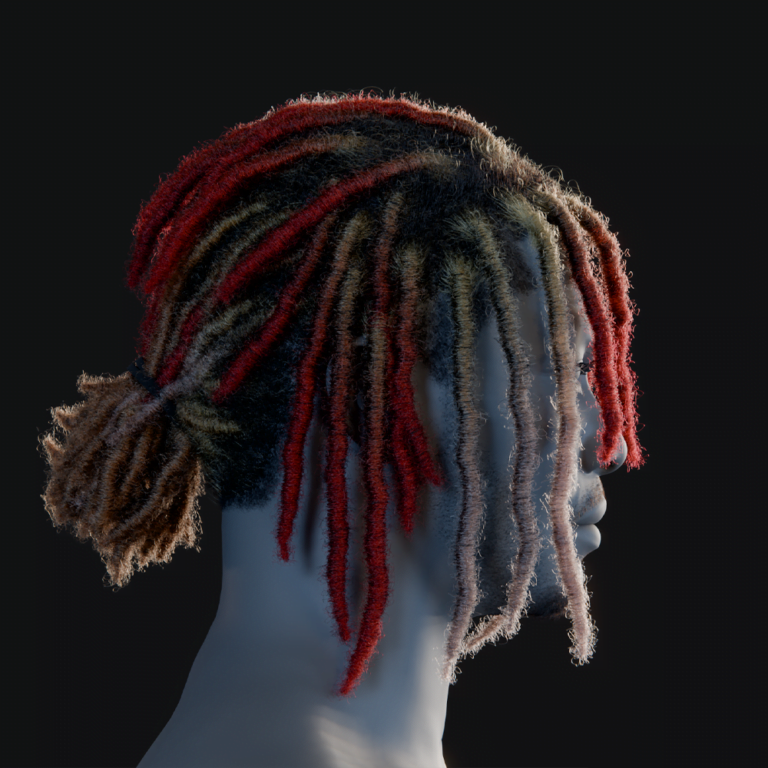
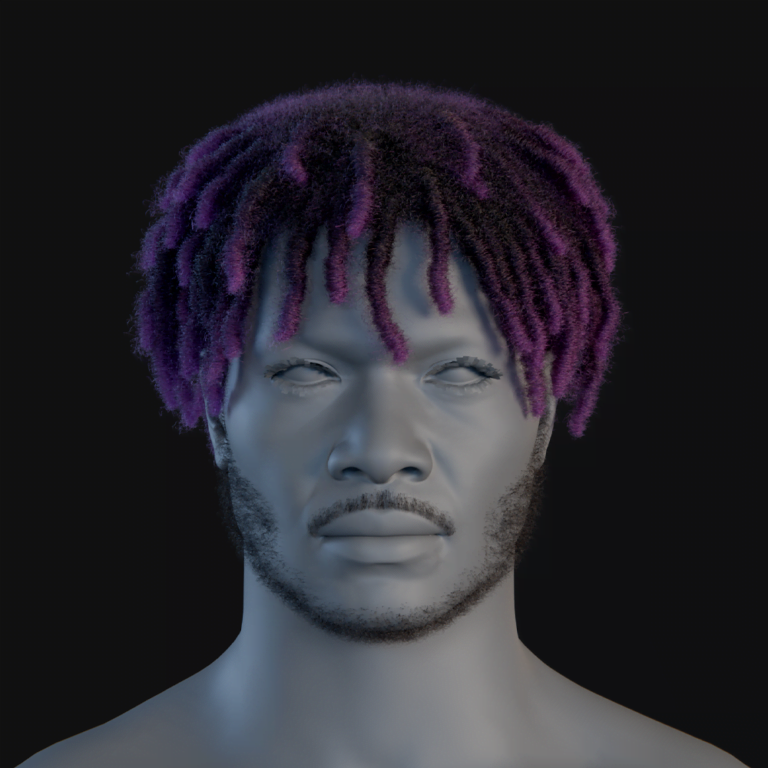
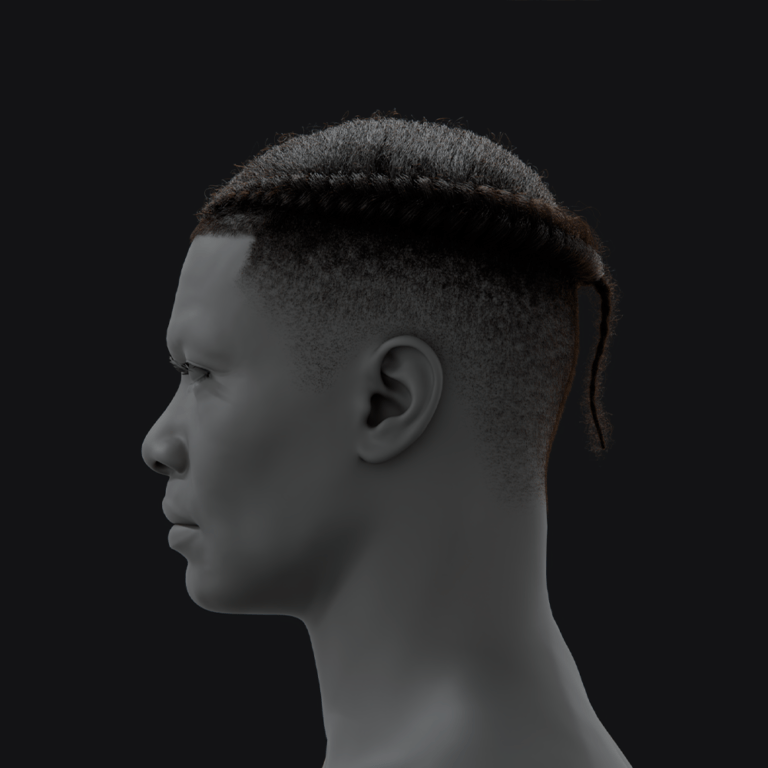
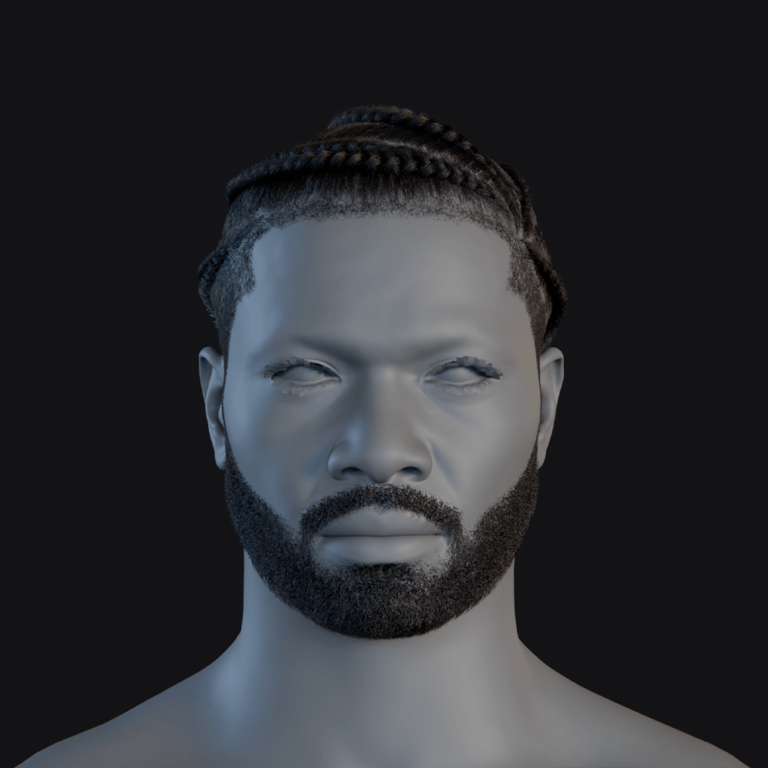
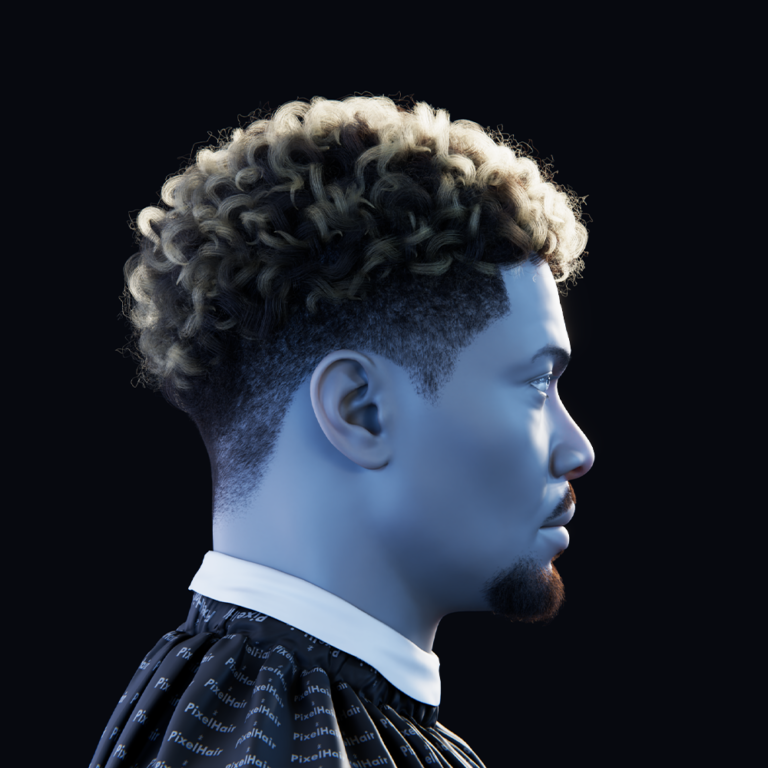
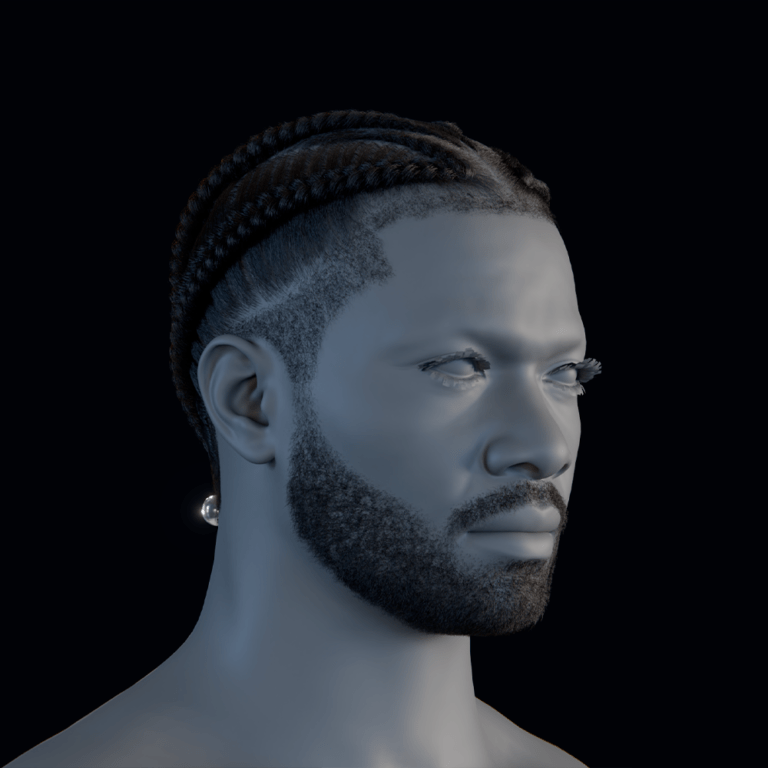
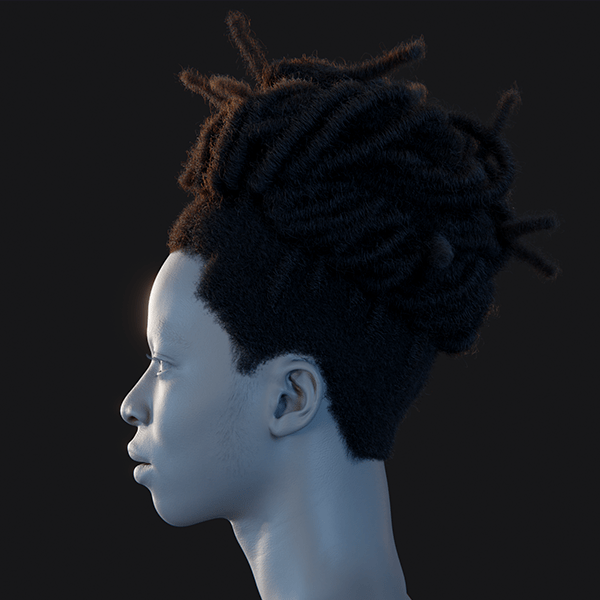
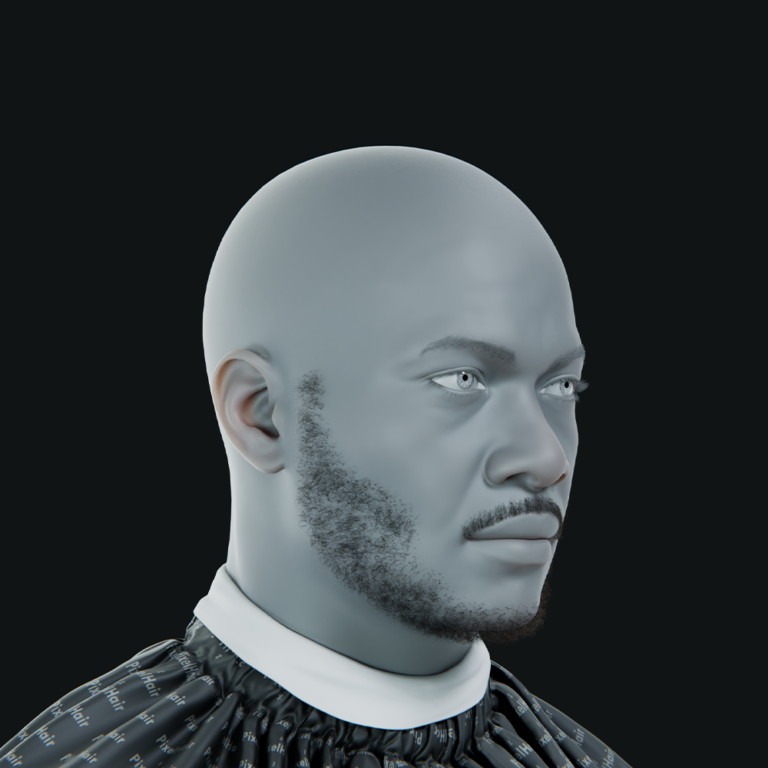
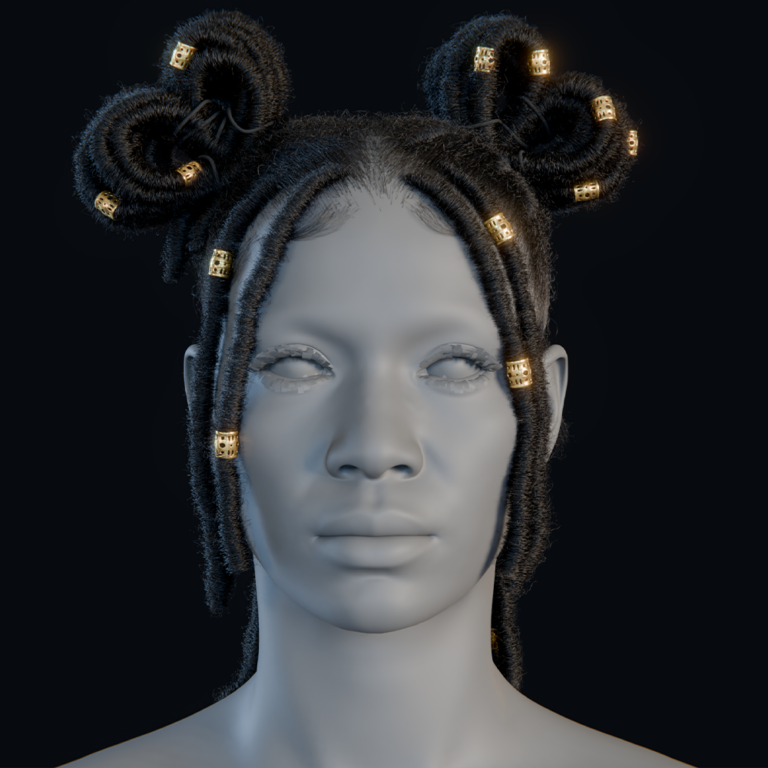
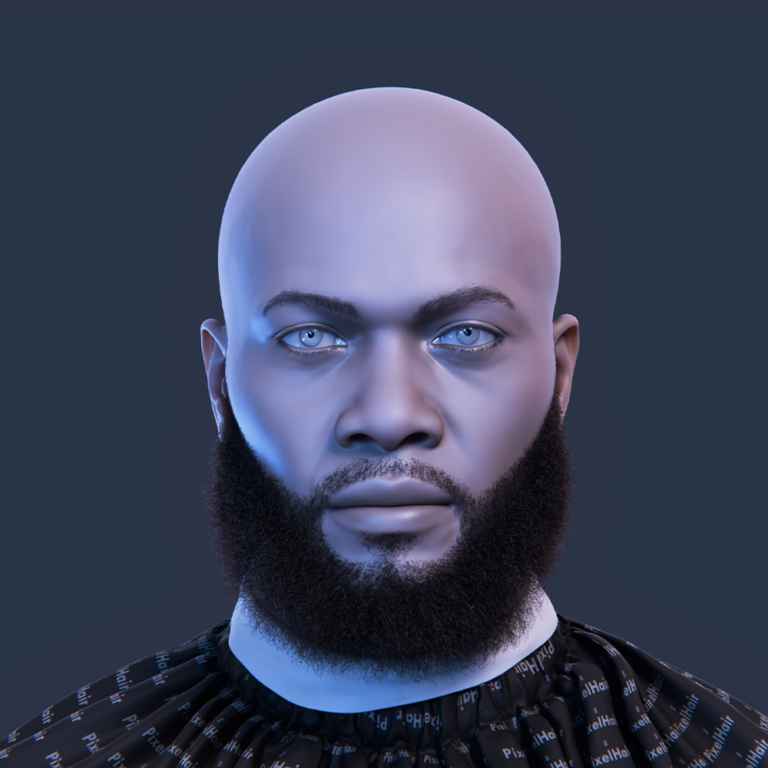
- Use Custom Hair and Groom: Create custom hair, eyebrows, and eyelashes using tools like PixelHair in Blender for unique Alembic grooms. Ensure hair matches the character’s style and color, with physics for natural bounce. Use strand-based systems for detailed eyebrows and eyelashes. This frames the face realistically, avoiding the common CG look.
- Add Clothing and Accessories Detail: Design layered clothing in Marvelous Designer for natural wrinkles and draping, then import to UE5. Simulate cloth physics with Chaos Cloth for dynamic movement in coats or dresses. Add props like glasses or jewelry to ground the character. This enhances realism through detailed, lifelike attire.
- Refine Materials (Skin, Eyes, Teeth): Adjust subsurface scattering for realistic skin translucency, especially in ears and nose. Tweak roughness for a satin finish on oily areas and matte on dry ones. Ensure eye occlusion and cornea shaders create a wet, deep look. Fine-tune teeth materials to avoid overly perfect appearances.
- Improve Lighting on the Character: Use catchlights in eyes from rect lights or HDRI reflections to add life. Combine key, fill, and rim lights for depth, avoiding flat or harsh setups. Leverage Lumen for realistic shadows and light wrapping. This highlights facial details and enhances realism.
- Animate Naturally: Add subtle animations like breathing, blinks, or eye shifts using animation blueprints or Control Rig. Incorporate micro-animations for head sway or facial twitches to avoid lifelessness. This ensures the character feels responsive and dynamic. Even still renders benefit from minimal motion for realism.
Systematically upgrading textures, hair, clothing, materials, lighting, and animation elevates MetaHumans to cinematic quality. These enhancements reduce the gap between digital and real actors, enabling close-up realism.
Which lighting setups enhance MetaHuman realism the most?
Here are lighting techniques and setups known to enhance realism:
- Three-Point Lighting: Use a key light at 45 degrees for primary illumination with soft shadows. Add a dimmer, cooler fill light to soften shadows. Place a rim light behind to highlight hair and shoulders. This creates cinematic depth and separation.
- HDRI Skylighting: Apply HDRI maps via Skylight for realistic ambient lighting and reflections. Outdoor HDRIs provide blue sky fill and sun key effects. Supplement with directional lights for crisper shadows if needed. This mimics real-world lighting conditions effectively.
- Lumen Global Illumination: Enable Lumen for real-time bounce lighting from nearby surfaces. This adds subtle color bleed, like red from walls, to shadowed areas. It ensures realistic ambient light and soft shadows. Lumen integrates characters naturally into environments.
- Ray-Traced Lighting and Reflections: Use ray-traced shadows for soft penumbras and accurate reflections. Enable hardware ray tracing for precise eye and skin reflections. This enhances close-up fidelity, eliminating black eye issues. Ray tracing elevates cinematic quality.
- Practical Lighting and Gobos: Add practical lights like lamps or gobos for dappled effects. Use light profiles to break up illumination realistically. This simulates natural light sources in context. It grounds MetaHumans in believable environments.
- Eye Light (Catchlight): Ensure a small, bright catchlight in eyes using rect lights or planes. This adds life, avoiding dull or dead appearances. Use one catchlight per eye unless multiple sources are logical. Catchlights are critical for vibrant, realistic eyes.
Combining HDRI, key lights, and Lumen creates complex, realistic lighting for MetaHumans. Matching lighting to scene context ensures photorealistic results.

Can I customize MetaHuman textures for more lifelike results?
Yes – customizing a MetaHuman’s textures is one of the best ways to achieve a more unique and lifelike result. Here’s how and why to customize textures:
- Replacing Skin Textures: Export MetaHuman skin textures and edit them in Substance Painter or Mari using photo scans or high-res images. Project real skin details onto UVs to avoid generic MetaHuman appearances. This adds distinct features like unique pore patterns or blemishes. Re-import textures to UE5 for a personalized look.
- TexturingXYZ and Scan Data: Use TexturingXYZ multi-channel packs to overlay detailed pore displacement or specular maps. Morph MetaHuman faces with R3DS Wrap to match scans, then project scan maps onto UVs. This transplants real skin details for enhanced realism. Import and assign textures in UE5 material instances.
- Fine-Tuning Roughness and Subsurface Maps: Customize the green-channel microdetail map to control skin shininess, darkening oily areas like the nose. Paint subsurface color variations to mimic blood flow or skin thickness differences. This creates realistic matte and glossy skin variations. Adjust material instance settings to match new textures.
- Makeup, Tattoos, Scars: Add tattoos, freckles, or makeup in Substance Painter to the albedo map for character-specific details. Use subtle details to avoid an overly painted look, working in 4K or 8K resolution. This enhances believability in cinematic contexts. Ensure details integrate naturally with existing textures.
- Using the MetaHuman Texture Workflow: Re-import edited textures and apply them via MetaHuman material instances, swapping albedo or normal maps. Adjust material settings like skin tone or normal intensity for compatibility. Ensure textures match expected channel packing for the shader. This maintains shader functionality while enhancing visuals.
- Consistency Across LODs: Ensure custom textures apply to lower LODs or generate proper mipmaps for real-time use. Use LOD0 for cinematic close-ups to retain detail. Adjust LOD settings to prioritize high detail at closer distances. This prevents blotchy appearances in games or distant shots.
Customizing textures allows unique, realistic MetaHuman appearances, avoiding preset looks. Respecting material channel structures ensures compatibility while enhancing visual fidelity.
How do I create hyper realistic skin shaders for MetaHuman?
Here’s how to handle skin shading:
- Use the MetaHuman Skin Material as a Base: Start with the default MetaHuman skin material, which includes SSS and dual lobe specular. Its parameters are optimized for MetaHuman meshes. Adjust material instances instead of rebuilding for efficiency. This ensures compatibility and high quality.
- Adjust Subsurface Scattering: Tweak SSS opacity for realistic translucency in ears and cheeks. Adjust subsurface color to match pale or dark skin tones. Ensure backlit areas glow subtly without waxiness. This mimics real skin’s light absorption behavior.
- Fine-Tune Specular and Roughness Response: Balance roughness using the green-channel microdetail map for oily and matte areas. Adjust specular scale for natural 4% reflectance highlights. Use custom microdetail normals to break up CG-perfect shine. This creates lifelike skin sheen variations.
- Wrinkle Maps and Expression Normals: Enable wrinkle maps for dynamic expression details like crow’s feet. Author custom wrinkle normals in ZBrush for extreme expressions if needed. Blend these via animation curves for realism. This simulates skin sliding over muscles.
- Tweak the Translucency of Features: Ensure ear geometry uses a thin thickness map for translucency. Paint custom thickness masks to enhance ear or nostril glow. Verify subsurface profiles apply correctly to all skin parts. This adds realism to thin facial areas.
- Advanced Shader Mods (if necessary): Create a child material to add peach fuzz or micro SSS terms for close-ups. Test modifications under varied lighting to ensure consistency. Default shaders are robust, so focus on texture inputs. Advanced tweaks cater to specific cinematic needs.
Refining SSS, specular, roughness, and wrinkle responses achieves film-quality skin shaders. Paired with high-res textures, these adjustments ensure photorealistic MetaHuman appearances.

How do I make the eyes and eyelashes of MetaHuman look more realistic?
Realistic eyes are absolutely essential – they are the focal point of human character renders. Here are steps you can take to push their realism:
- Ensure Proper Eye Geometry and Shaders: Verify MetaHuman eye components eyeball, cornea shell, and occlusion mesh are aligned correctly. The cornea provides catchlights, and the occlusion mesh simulates a wet tearline. Use the provided eye material for accurate shading and reflections. Misalignment can cause refraction issues, reducing realism.
- Adjust Eye Shader Parameters: Tweak iris texture, sclera color, and cornea roughness in the eye material instance. Ensure the cornea has low roughness for sharp, moist reflections. Adjust iris normal maps subtly for depth without excessive bumpiness. This creates sparkly, lifelike eyes.
- Lighting the Eyes: Add catchlights using rect lights or HDRI bright spots to prevent dark, lifeless eyes. Position reflective objects like cards to enhance eye reflections. Avoid complete shadow coverage to maintain visibility. This mimics photographic techniques for vibrant eyes.
- Eye Movement and Focus: Incorporate microsaccades and quick gaze shifts using Control Rig or Look-at Node. Add random jitter to eye rotations and varied blink timings. This avoids robotic smoothness, enhancing lifelike behavior. Real eyes move subtly even when focused.
- Eyelashes and Eyebrows: Use strand-based eyelashes and eyebrows, adjusting length and density in Maya or Blender. Ensure slight asymmetry or clumping in brows for realism. Increase anti-aliasing to prevent jagged lash edges. This frames eyes naturally, avoiding uniformity.
- Tear Ducts and Wetness: Enhance the eye occlusion mesh’s emissive or brightness for a wet tearline effect. Add a subtle translucent mesh for the caruncle if needed. Ensure glints at eye corners under bright light. This simulates moist, realistic eye corners.
- Interaction with Lighting/Post: Adjust depth of field to keep eyes in focus, avoiding blurry eyelashes. Minimize bloom or grain to prevent unnatural eye glow. Test post-process settings for balanced highlights. This ensures eyes remain clear and realistic in renders.
Dedicating effort to eye shading, lighting, and animation creates convincing focal points. Reference photos under similar lighting guide realistic results, bridging the gap to hyper realism.
What rendering settings are best for hyper realistic MetaHuman visuals?
When you’re ready to output high-quality images or video of your MetaHuman, the rendering settings in Unreal Engine 5 can make a big difference. Here are recommended settings and techniques for the best visual fidelity:
- Use Movie Render Queue for Cinematics: Use Movie Render Queue for cinematic renders, enabling tiled high-resolution output. Set Temporal Sample Count to 16 or 32 for sharp anti-aliasing. This smooths hair and eyelashes, reducing flicker. Multi-GPU support handles complex scenes efficiently.
- Cinematic Scalability / LOD Settings: Enable Cinematic Scalability mode for maximum shadow and texture quality. Use console commands like r.ShadowQuality 5 and r.ForceLOD 0 to ensure LOD0. Override MetaHuman LOD settings for close-up detail. This maximizes visual fidelity in renders.
- Ray Tracing and GI Settings: Enable Ray Traced Shadows, Reflections, and Translucency for precise lighting. Use Lumen on High or Ultra for accurate global illumination if ray tracing is off. Hardware ray tracing enhances eye and skin reflections. This improves realism in close-ups.
- Nanite for Environment: Enable Nanite for environment meshes to render high-poly props efficiently. Set Lumen Scene Detail to 1 or higher for detailed lighting. This ensures realistic shadows and reflections on MetaHumans. Detailed surroundings enhance character realism.
- High Resolution Screenshots (for stills): Use HighResShot command (e.g., 3840×2160) for quick stills. Movie Render Queue is preferred for complex scenes. Ensure high resolution for crisp results. Downscaling can enhance clarity if needed.
- Color Output and Tone Mapping: Use ACES tone mapping for cinematic looks or EXR output for post-grading. Export multi-layered EXRs in Movie Render Queue for flexibility. This preserves detail for compositing. Neutral LUTs maintain color accuracy.
- Post-Process Settings: Set Shadow Filtering to 1 for soft ray-traced shadows and enable Contact Shadows. Maximize Screen Space Reflections if Lumen is off. High-quality post settings enhance small details. This ensures realistic shadow and reflection behavior.
- Temporal Super Resolution (TSR): Use TSR at r.TSR.History.ScreenPercentage 100 or 150 for real-time supersampling. This smooths fine details like hair in interactive scenes. It’s ideal for games but bypassed for cinematic full-resolution renders. TSR enhances runtime visual quality.
- Field of View and Camera: Use 50-85mm focal lengths for realistic portrait perspectives. Set subtle motion blur for moving characters to mimic film. Adjust shutter speed for natural blur amounts. This avoids distortion and enhances cinematic realism.
High-quality settings like Movie Render Queue, ray tracing, and Lumen ensure photorealistic MetaHuman visuals. Trial and error with these settings achieves results rivaling offline renderers.

How do Lumen and Nanite affect the realism of MetaHuman characters?
Lumen and Nanite are two flagship technologies in Unreal Engine 5, and they both play significant roles in creating realistic scenes with MetaHumans:
- Lumen (Global Illumination and Reflections): Lumen simulates real-time light bounces for realistic color bleed. It adds soft shadows and ambient light, integrating MetaHumans into scenes. Reflections in eyes and skin are accurate with ray tracing. This reduces CG artifacts for photorealistic lighting.
- Nanite (Virtualized Geometry): Nanite renders high-poly environment meshes efficiently, complementing MetaHuman detail. Detailed props and backgrounds enhance scene realism. Future Nanite support for characters could enable geometric pores. This ensures environments don’t break character realism.
- High Polygon Characters via Nanite: Convert MetaHuman heads to static Nanite meshes for stills with extreme detail. Future skeletal mesh support could eliminate normal map reliance. This pushes close-up fidelity significantly. Current workflows benefit indirectly from detailed surroundings.
- Performance vs Quality: Lumen and Nanite eliminate manual LODs and lightmap baking, freeing time for quality. High settings demand powerful GPUs for real-time use. Cinematic renders can maximize quality without performance limits. This supports film-quality visuals.
- Example – Lighting a MetaHuman with Lumen: Lumen bounces golden sunlight off ground for warm chin highlights. Blue sky fill softens shadows, and nearby objects reflect onto characters. This dynamic lighting feels physically plausible. It enhances MetaHuman integration in varied conditions.
Lumen and Nanite create dynamically lit, detailed worlds for MetaHumans, approaching film-quality realism. Performance optimization ensures real-time viability while maintaining high fidelity.
Can I use facial mocap to enhance MetaHuman realism?
Facial motion capture (mocap) is one of the most effective ways to inject realism into a MetaHuman’s performance. Here’s how and why facial mocap enhances realism:
- Capturing Human Nuance: Mocap records subtle facial movements like eye darts or lip curls from actors. This replicates natural timing and micro-motions, avoiding uncanny stiffness. It’s far less time-consuming than keyframing 164 facial controls. The result feels authentically human and believable.
- Tools for Facial Mocap:
- Camera-based facial capture: Use Live Link Face with an iPhone for accessible, real-time capture via ARKit. It records expressions, lip sync, and head movement effectively. This suits indie creators for medium-fidelity needs. Setup is straightforward with plug-and-play mapping.
- Professional HMC systems: Head-mounted cameras like Faceware or Dynamixyz capture nuanced eye and jaw movements. They offer higher fidelity than ARKit, ideal for cinematic projects. Custom solving enhances detail accuracy. Integration requires retargeting to MetaHuman rigs.
- Marker-based capture: Place markers on faces for 3D tracking with Vicon systems. This captures fine details like wrinkles with high precision. It’s less common due to markerless advancements. High marker density ensures subtle motion accuracy.
- MetaHuman Animator: Use an iPhone or stereo camera for near film-quality capture in minutes. It’s tailored for MetaHumans, streamlining high-fidelity animation. This reduces manual cleanup significantly. It requires UE 5.2+ for optimal results.
- Setup and Calibration: Calibrate mocap with a neutral pose or expression set for accurate mapping. Stream data live or record for MetaHuman’s control rig. ARKit blendshapes align automatically with MetaHuman rigs. Non-ARKit systems may need curve retargeting for compatibility.
- Real-time vs Offline: Real-time mocap via Live Link enables instant previews for virtual production. Record performances for fine-tuning in animation assets. Real-time feedback allows actors to adjust expressions. Offline cleanup enhances final output quality.
- Cleaning Up Mocap Data: Apply smoothing filters in Control Rig to reduce jitter without flattening motion. Manually adjust keyframes for issues like incomplete mouth closure. This retains organic performance feel with minimal effort. Cleanup is faster than full keyframing.
- Facial Mocap in Practice: Use mocap for convincing lip sync and human-like timing, as seen in Epic’s demos. Community projects show realistic speech with Live Link Face. High-quality lighting and cameras enhance mocap-driven realism. This bridges the uncanny valley effectively.
Facial mocap injects real performance into MetaHumans, enhancing realism across project scales. Accessible tools like Live Link Face and advanced options like MetaHuman Animator cater to diverse needs.

How do I capture subtle facial expressions in a hyper realistic MetaHuman?
Achieving this involves a combination of advanced capture techniques and careful refinement:
- High-Fidelity Facial Capture: Use MetaHuman Animator’s 4D solve for nuanced expression capture via iPhone or stereo cameras. It tracks subtle movements like nostril flares, reducing manual fixes. High-res HMC setups also improve micro-expression accuracy. This ensures lifelike emotional detail.
- Increased Marker Density or Machine Learning Solvers: Place numerous facial markers for precise muscle movement tracking in VFX. Machine learning solvers infer subtleties from high-res footage, enhancing capture. These methods record fine creases and shifts. They require advanced setups but yield high fidelity.
- Manual Augmentation: Layer subtle tweaks via Control Rig, like exaggerating brow furrows additively. Adjust keyframes for blinks or mouth corners to match artistic intent. This preserves mocap while enhancing readability. It ensures expressions align with camera angles.
- Eye and Gaze Details: Add microsaccades and quick gaze shifts via keyframing or eye-tracking data. Incorporate subtle squints or eyelid widening for emotional cues. This mimics natural eye behavior, avoiding static stares. Small movements differentiate living from deadpan faces.
- Use Video Reference: Analyze frame-by-frame video of actors to identify micro-expressions like lip twitches. Replicate these in MetaHuman animations manually if mocap misses them. This ensures authentic emotional cues. Reference guides precise, subtle adjustments.
- Facial Animation Curves Smoothing vs Noise: Apply minimal smoothing to remove jitter while retaining small movements. Add noise to curves for natural imperfection in jaw or head motion. This avoids robotic smoothness without introducing errors. Balance ensures organic animation feel.
- Blendshape Correctives for Subtle Shapes: Sculpt corrective blendshapes for asymmetric smiles or specific wrinkles. Trigger these via morph targets to enhance subtle expressions. This deepens details like nasolabial folds during smiles. It adds realism for hero shots.
- Leveraging MetaHuman Animator’s Strength: MetaHuman Animator captures micro-movements with minimal cleanup, avoiding uncanny valley issues. Its 4D solve ensures subtle details like pore shifts are replicated. This streamlines high-fidelity expression workflows. It’s ideal for UE 5.2+ projects.
Combining high-fidelity capture with meticulous manual tweaks ensures subtle expressions shine. Tools like MetaHuman Animator simplify achieving cinematic realism.
What are the best tools to animate hyper realistic MetaHuman characters?
Here are some top tools and workflows widely used for high-quality MetaHuman animation:
- Unreal Engine’s Control Rig and Sequencer: Use Control Rig for in-engine keyframing of facial and body controllers. Blend mocap with hand-animated tweaks in Sequencer for polish. This allows quick iteration with final lighting and cloth sims. It’s ideal for seamless animation workflows.
- Motion Capture Suits (Body Mocap): Record natural body motion with Xsens, Rokoko, or Vicon suits. Xsens offers inertial capture without cameras, while Vicon provides high-precision optical data. These capture weight shifts and nuanced movements. Live-link to MetaHumans for real-time previews.
- Facial Mocap Tools: Capture faces with Live Link Face (iPhone) or Faceware for accessible or professional results. MetaHuman Animator delivers near film-quality facial data quickly. These tools ensure realistic lip sync and expressions. They suit various project scales and budgets.
- MetaHuman Animator & Mesh to MetaHuman Workflows: Combine Mesh to MetaHuman for custom scans with MetaHuman Animator for matching animations. This creates digital doubles with realistic visuals and motion. It’s powerful for high-end, actor-specific results. It streamlines scan-to-animation pipelines.
- Traditional 3D Animation Software (Maya, MotionBuilder, Blender): Animate or retarget mocap in Maya or MotionBuilder, then export to Unreal. Blender offers free rigging tools for MetaHuman skeletons. These suit artists familiar with DCC tools. They provide precise control for complex animations.
- Full Performance Capture Solutions: Use Technicolor or Vicon Shōgun for simultaneous body and face capture. These preserve nuanced interactions like head recoils during speech. They require retargeting to MetaHuman rigs. High-end setups yield cinematic-quality results.
- Hand and Finger Animation: Capture finger motions with Manus or StretchSense gloves for realistic gestures. Apply data to MetaHuman hand bones for accurate grasping. This enhances hand animation realism. It’s critical for expressive, lifelike performances.
- AI-assisted Tools: Use DeepMotion or Move.AI for body mocap from video, or audio-driven facial tools like Audio2Face. These provide starting points for refinement. They’re less accurate but accessible without hardware. Refine outputs for hyper-realistic results.
- Workflow Integration: Combine mocap suits, facial HMC, and Control Rig for polished results. Clean data in MotionBuilder and Faceware, then tweak in Unreal. Add glove-based hand animation and cloth sims. This hybrid approach maximizes realism and control.
- Summary of Best Tools:
- Body Animation: Xsens, Vicon/OptiTrack, Rokoko, Control Rig, Maya.
- Facial Animation: MetaHuman Animator, Live Link Face, Faceware, Dynamixyz, Control Rig.
- Hand Animation: Manus Gloves, StretchSense, Leap Motion.
- Editing & Polish: Control Rig, MotionBuilder, Maya, Blender.
- Pipeline Tools: Live Link, Quixel Bridge.
Hybrid workflows combining mocap and traditional animation achieve cinematic MetaHuman performances. Tool choice depends on project scale, balancing realism and artistic control.

Can MetaHuman Animator be used for cinematic-quality facial capture?
MetaHuman Animator is designed to deliver cinematic-quality facial capture for MetaHumans. Here’s how it achieves this:
- High-Fidelity 4D Solver: The 4D solver analyzes video and depth data to capture subtle expressions like cheek tension. It produces production-ready rig controls for MetaHumans. This ensures accurate replication of emotional nuances. Results rival traditional high-end capture methods.
- Simplified Capture Process: Using an iPhone or stereo camera, it records a calibration clip and performance. Automated processing fits the data to the MetaHuman rig in minutes. This lowers the barrier for small teams. High-quality results are achievable without large mocap stages.
- Cinematic Project Usage: Epic’s “Blue Dot” short film showcased MetaHuman Animator’s film-quality output. It captured an actor’s emotional performance with fine detail. The tool targets film and TV applications. Its fidelity supports final cinematic shots.
- Integration with Body Mocap: Combine facial data with body mocap from Xsens or IK retargeting. Standardized MetaHuman rigs ensure seamless syncing. Minor timing adjustments may be needed for separate recordings. This creates fully animated, realistic characters.
- Editable Output: Animation controls allow easy tweaks in Sequencer, like adjusting eyebrow curves. The output avoids jitter common in low-quality mocap. This ensures smooth, temporally consistent results. Animators can refine performances for artistic precision.
MetaHuman Animator enables cinematic facial performances for MetaHumans. Its accessibility and high-fidelity output make it ideal for hyper realistic animation.
How do I use Control Rig to enhance fine detail in MetaHuman animation?
To use Control Rig for enhancing a MetaHuman’s animation:
- Understand the MetaHuman Control Rig: Epic’s pre-built Control Rig drives MetaHuman body and facial animations via Sequencer tracks. It exposes intuitive controls for bones and morphs, like eyebrows or fingers. This rig aligns with MetaHuman Creator’s animation system for consistency. Animators can directly manipulate these controls for precise adjustments.
- Layering Animations: Import mocap as an animation track and add a Control Rig track in additive mode. Adjust specific elements, like head tilts or finger curls, to enhance the base motion. This method refines mocap or Marketplace animations efficiently. Changes blend seamlessly without altering the underlying animation.
- Fine Facial Adjustments: Access facial controls to tweak expressions, such as widening smiles or flaring nostrils. Real-time viewport feedback allows interactive emotion refinement. This avoids editing complex curves manually. Subtle adjustments like eye narrowing enhance emotional accuracy.
- Creating Poses and Pose Libraries: Craft specific poses, like a subtle smile with squinted eyes, and save them as pose assets. These can be reused or blended into animations. This streamlines applying consistent expressions across scenes. Pose libraries save time for recurring animation needs.
- Secondary Motion and Overlap: Add secondary motions, like jaw overshoot or chest breathing, to simulate natural dynamics. These subtle animations enhance lifelike behavior in idle or sudden movements. Unlike hair physics, flesh motion requires manual keyframing. This adds vitality to static poses.
- Custom Control Rig Logic: Modify the rig to add controls, like asymmetry sliders for expressions. Procedural noise can mimic muscle tremors for realism. This requires rigging expertise but enhances control flexibility. Default controls often suffice for most tweaks.
- Finger and Hand Details: Adjust finger bones to refine gestures, like curling fingers around objects. This corrects stiff or inaccurate mocap hand motions. Subtle hand animations ensure natural, relaxed poses. Hand detail is critical for hyper realistic performances.
- Corrective Adjustments: Fix issues like lip penetration or elbow clipping by adjusting controls at specific frames. This avoids redoing entire animations. Surgical corrections save time and maintain quality. Control Rig enables precise, localized fixes.
- Real-time Iteration: Scrub the timeline to adjust controls and view results instantly with final lighting. This real-time feedback optimizes expressions for specific camera angles. It surpasses traditional export workflows like Maya. Iteration ensures cinematic polish in context.
Control Rig allows granular animation refinement for MetaHumans, combining mocap with detailed tweaks. Its real-time capabilities and compatibility with UE5 rigging features ensure hyper realistic, artistically precise performances.

Can I integrate real-world scans into a MetaHuman for hyper realism?
Here are key approaches to achieve this:
- Mesh to MetaHuman Workflow: Epic’s plugin fits a MetaHuman mesh to a scanned head, processed via MetaHuman Creator. Import a photogrammetry scan, set facial landmarks, and generate a rigged character. This retains scan likeness with MetaHuman controls. The process is fast and automated.
- Manual Wrapping and Texture Transfer: Use R3DS Wrap to align MetaHuman topology to a scan’s shape. Project scan textures, like albedo, onto MetaHuman UVs. This offers precise control over scan details. Import the mesh via Mesh to MetaHuman for rigging.
- Using Scanned Textures and Details: Apply 8K scan textures, like displacement maps, to MetaHuman materials. Resources like 3D Scan Store provide MetaHuman-compatible packs. Convert displacement to normal maps for pores and wrinkles. This enhances skin realism significantly.
- Real-World Clothing and Props: Use body scans to sculpt MetaHuman body shapes in Creator. Import scanned clothing meshes, re-topologized or simulated in Marvelous Designer. Rig clothing to the MetaHuman skeleton for dynamic motion. This extends realism beyond the face.
- Addressing Rig Limitations: Add unsupported scan details, like scars, via texture maps or corrective shapes. Test expressions to ensure scan features, like chins, animate correctly. Minor sculpt adjustments may be needed for extreme motions. This ensures rig compatibility with scan fidelity.
Scans provide unmatched realism for MetaHumans, capturing real human details. Tools like Mesh to MetaHuman streamline integration, making it a standard for hyper realistic characters.
How do I match lighting between MetaHuman and real footage for VFX?
Here’s how to go about it:
- HDRI and On-Set Reference: Capture a 360-degree HDRI on set to use as a Skylight in Unreal for accurate ambient lighting. Use gray and chrome spheres to reference light color, intensity, and reflections. Adjust Unreal lights until CG spheres match real ones. This ensures MetaHuman lighting aligns with the footage.
- Match the Key Light Source: Identify primary light sources in footage, like sun or windows, and replicate them with Unreal’s Directional or Rect Lights. Match light angles using shadows and color based on time of day. Adjust intensity to mimic footage brightness. Import a footage frame to compare lighting directly.
- Shadow Catcher and Grounding: Apply a shadow-catcher material to capture MetaHuman shadows matching real footage. Adjust light softness to replicate shadow penumbra. Ensure shadow darkness aligns with scene shadows. This grounds the character realistically in the environment.
- Reflections and Eye Highlights: Use HDRI or Lumen for accurate reflections on MetaHuman eyes and shiny surfaces. Place proxy geometry or emissive planes to mimic reflective objects like walls or signs. Ensure eye catchlights reflect logical light sources. This enhances lifelike material responses.
- Color Grading and Tone Mapping: Adjust Unreal’s Post Process Volume to match footage color grading, tweaking contrast and saturation. Disable ACES tonemapping if it mismatches the camera’s look. Apply LUTs to align with graded footage. This ensures visual consistency before compositing.
- Camera Matching: Use the same focal length and aperture in Unreal’s CineCamera as the real camera. Motion-track footage to import camera movement. Match depth of field to replicate footage blur. Proper camera alignment ensures correct perspective and motion parallax.
- Test with a Stand-in Model: Place a CG sphere or mannequin where the MetaHuman will be to test lighting. Adjust light levels until the stand-in matches the footage environment. This confirms lighting accuracy before rendering. Stand-ins simplify initial light setup.
- Time of Day and Continuity: Account for lighting changes in footage, like cloud cover, by adjusting Unreal lights or HDRIs. Use multiple setups for varying shots if needed. Ensure consistency across a sequence. This maintains lighting continuity in dynamic scenes.
- Final Composite Tweaks: Output cryptomattes or depth passes for compositing in Nuke or After Effects. Adjust CG color, add grain, or tweak motion blur to match footage. Perform rotoscoping for foreground integration. These tweaks finalize seamless blending.
- Shadow and Light Interaction with Real Objects: Model proxy geometry with matte materials for objects like tables to receive MetaHuman shadows. Use Composure for live compositing pipelines. This ensures realistic shadow interactions with real objects. Proxy geometry enhances composite accuracy.
Matching lighting recreates real-world conditions in Unreal using HDRIs and analogous lights for convincing composites. Meticulous adjustments ensure MetaHumans blend seamlessly into live-action footage.

Is MetaHuman suitable for use in live-action film or high-end production?
Here are key factors supporting their suitability:
- Photorealistic Quality: LOD0 MetaHumans with custom textures and grooming match big-budget cinematic visuals. Indie films like “The Fortunate Son” used them effectively. Their realism supports narrative-driven screenings. Epic’s demos confirm film-level fidelity in motion.
- High-Quality Rendering: Unreal’s Movie Render Queue and path tracer produce offline renders with full global illumination. This achieves film-quality frames, bypassing real-time constraints. Path tracing ensures unbiased lighting for MetaHumans. It rivals traditional VFX renderers.
- Robust Rigging: Pre-rigged MetaHumans support complex performances with facial blendshapes and skeletons. Custom wrinkle maps or blendshapes can be added for specific needs. This reduces setup time significantly. The rig suits high-end production demands.
- Virtual Production Use: MetaHumans excel in real-time pre-visualization on LED volumes. They aid directors in framing and acting decisions during shoots. Polished real-time renders may be used in final shots. This speeds up high-end production workflows.
- Industry Adoption: Studios integrate MetaHumans into films and games, like “The Matrix Awakens.” Epic’s tools, like MetaHuman Animator, target high-end users. Custom hair and clothing enhance their versatility. Growing adoption confirms their production readiness.
MetaHumans are suitable for high-end films, offering photorealism and efficient workflows. Custom enhancements and rendering options ensure they meet cinematic standards.
What are examples of hyper realistic MetaHuman characters used in real projects?
Here are some notable examples across different mediums:
- “The Matrix Awakens: An Unreal Engine 5 Experience” (2021): This demo featured a custom-scanned Keanu Reeves and Carrie-Anne Moss, but used MetaHuman agents for realistic crowd pedestrians. The MetaHuman character “IO” showcased high-fidelity detail. These characters held up under close inspection in an interactive city. This demonstrated MetaHumans’ scalability for large-scale realism.
- MetaHuman Sample “Meet the MetaHumans” (2021): Epic’s sample male and female MetaHumans appeared in a cinematic dialogue scene. Their skin, hair, and eyes looked lifelike under dramatic lighting. Community artists used these as bases for hyper realistic mods. The scene set a benchmark for out-of-the-box realism.
- “The Well” Short Film by Treehouse Digital (2021): This horror short used four customized MetaHumans with tailored hair and clothing. Mocap via Xsens and Faceware drove realistic performances. The CG film’s characters rivaled VFX studio models. Epic spotlighted this project for its cinematic quality.
- “The Fortunate Son” Short Film (2023): Daniel Magyar’s 27-minute indie film used MetaHumans for all characters. Xsens mocap and Manus gloves captured body and finger motions. The realistic visuals supported festival screenings. This showed solo artists can achieve high-quality results.
- Mike Seymour’s Digital Double (2022): Mike Seymour created a MetaHuman-based digital double of himself. It was realistic enough to momentarily deceive viewers in certain lighting. Used in Unreal presentations, it discussed digital human implications. This highlighted MetaHuman’s ability to capture real likenesses.
- MetaHuman Creator Early Access Characters (2021): Artists created hyper realistic MetaHumans, like a viral Morgan Freeman likeness. These stills and short animations showed photoreal potential. Good texturing and lighting achieved recognizable results. Early access demonstrated out-of-the-box versatility.
- Game Tech Demos and Trailers: The Coalition’s shooter demo and “Matrix Awakens” used MetaHumans for detailed characters. These showcased real-time realism in interactive contexts. Collaboration with Epic enhanced digital human quality. NPCs appeared lifelike in dynamic environments.
- Virtual Influencers / VTubers: MetaHumans served as virtual hosts at trade shows, driven by real-time input. Their realism impressed in live compositing scenarios. MetaHuman Animator enabled live capture previews. This showed versatility in non-traditional projects.
- Reallusion MetaHuman vs Character Creator Showcase (2022): YouTuber askNK’s test compared a hyper realistic MetaHuman with Reallusion’s tool. The MetaHuman’s lifelike rendering stood out under Unreal’s lighting. This highlighted MetaHuman’s advanced realism capabilities. It served as a benchmark for character creation.
- 3Lateral/EPIC “Blue Dot” (2023): Epic’s short showcased a MetaHuman with fine facial detail via MetaHuman Animator. Used in a cinematic narrative, it demonstrated peak realism. The project highlighted advanced animation techniques. It remains a key example from Epic’s team.
- Community Gallery: A forum post showcased a MetaHuman with scan-based skin detail resembling photography. Artists used real-world scans, like a father’s face, for hyper realism. These shared works inspired community techniques. They proved MetaHumans achieve professional-grade visuals.
Hyper realistic MetaHumans are used in films, games, and personal projects, spanning narrative and interactive contexts. Their documented success in projects like “The Well” and “Matrix Awakens” confirms their production readiness.

What are common mistakes when aiming for hyper realism with MetaHuman?
When artists push for hyper realism with MetaHumans, a few pitfalls commonly occur. Avoiding these will significantly improve your results:
- Uncanny Valley in Facial Animation: Stiff or poorly timed facial animations, like mechanical eye movements, create uncanny effects. Missing micro-expressions, such as eyebrow twitches, makes characters lifeless. High-quality mocap or added micro-movements are essential. Real humans exhibit constant subtle motions for realism.
- Overdone Skin Smoothness or Shine: Excessive skin smoothing or uniform glossiness results in a waxy look. Blurring normal maps or high subsurface scattering loses texture detail. Use high-res normal maps and varied roughness for realistic skin. Subtle color variations enhance lifelike appearances.
- Symmetry and Perfection: Perfectly symmetrical faces trigger subconscious uncanny responses. Default MetaHuman symmetry lacks human imperfections like uneven eyes. Introduce asymmetry via Creator controls or textures, like moles. Slight tooth variations add authenticity to smiles.
- Eyes Not Matching Life:
- No or Incorrect Catchlight: Missing catchlights make eyes dull and fake. Misplaced reflections relative to lighting disrupt realism. Ensure catchlights align with scene light sources. This creates vibrant, lifelike eyes.
- Pupil Size Mismatch: Small pupils in dark scenes or large in bright ones look unnatural. MetaHumans adjust pupils slightly, but manual tweaks may be needed. Match pupil size to lighting conditions. This ensures environmental consistency.
- Mechanical Eyelid Motion: Uniform or absent blinks create a robotic stare. Eyelids should lag slightly with eye movement. Vary blink timing and add subtle lid motion. This mimics real eye behavior.
- Smooth Eye Tracking: Smooth eye movements lack human saccades, appearing robotic. Add quick gaze jumps and jitter for realism. Animate eyes with natural imperfections. This avoids uncanny, gliding stares.
- Lighting Mismatch: Flat or mismatched lighting, like incorrect shadow directions, makes MetaHumans look CG. Overuse of fill light reduces grounding shadows. Use environmental lighting and match footage precisely. Soft shadows and contrast enhance scene integration.
- Ignoring Hair and Groom Quality:
- Default Groom Usage: Unmodified default hair looks wig-like, undermining realism. Customize grooms to fit character specifics. Tailored hair enhances lifelike appearances. Avoid generic hair shapes.
- Uniform Hair Appearance: Uniform hair lacks flyaways or color variation, appearing artificial. Add varied strand thickness and subtle frizz. This creates natural hair texture. Realistic hairlines improve integration.
- Low Hair Detail: Coarse or low-poly hair appears clumpy in close-ups. Increase strand count for cinematic shots. Enable high-quality hair lighting and shadows. This ensures detailed, smooth hair rendering.
- Stiff Body or Clothing: Stiff body motions or static clothing break full-body realism. NPC-like arm swings or intersecting garments look unnatural. Use mocap for weight shifts and simulate clothing dynamics. Subtle motion follow-through ensures lifelike behavior.
- Overdoing Post-Processing: Excessive depth of field or bloom creates an artificial render look. CG bokeh or heavy grain differs from real cameras. Apply post effects subtly to match footage. Fix underlying issues instead of masking them.
- Not Using Reference: Eyeballing realism without real-world reference leads to inaccurate lighting or materials. Skins or shadows may not match real conditions. Compare renders to photos under similar settings. References guide precise adjustments for authenticity.
- Performance/LOD Issues in Real-Time: Aggressive LOD switching or low-quality settings cause pops or reduced detail. Low shadow resolution harms realism in motion. Optimize scenes to maintain high LOD for hero shots. Pre-render critical scenes to avoid performance limits.
Avoiding these pitfalls animation, materials, lighting, and imperfections ensures hyper realistic MetaHumans. Iterative refinement and reference comparisons are key to overcoming these common issues.

Where can I learn advanced techniques for hyper realistic MetaHuman creation?
Here are some top places and methods to learn more:
- Epic Games Official Documentation and Hub: Epic’s MetaHuman documentation offers guides on Mesh to MetaHuman and Animator workflows. Updated regularly, it covers intended techniques step-by-step. This establishes foundational skills for advanced experimentation. It’s essential for understanding Epic’s tools.
- Unreal Engine Learning Portal (Online Courses): Free courses on digital humans or MetaHuman animation provide expert-led video tutorials. Topics include lighting or Control Rig usage for MetaHumans. The Unreal YouTube channel hosts streams like “Cinematic Lighting for MetaHumans.” These resources offer practical, advanced insights.
- Community Tutorials (Epic Dev Community, YouTube, Medium): User tutorials on the dev community detail scan-to-MetaHuman workflows. YouTube creators like JSFilmz cover texturing and hair customization. Recent content (2022-2024) reflects MetaHuman’s evolution. These provide real-world tips from experienced artists.
- 3D Art Communities and Articles: Sites like 80.lv feature artist breakdowns of MetaHuman techniques. TexturingXYZ’s “Making of Joel” explains scan-based texturing and wrinkle maps. ArtStation and Medium offer similar case studies. These deep dives teach advanced texturing and shader methods.
- Marketplace/Fab Assets and Examples: MetaHuman asset packs on Fab include lighting presets or animation examples. 3D Scan Store’s HD MetaHuman packs come with tutorial videos. Analyzing these assets reveals professional setups. Tutorials teach advanced texture and wrinkle integration.
- Forums and Q&A: Unreal forums and r/unrealengine discuss specific issues like wrinkle map workflows. Searching threads uncovers community solutions. Active users share MetaHuman-specific tricks. These platforms address niche, advanced challenges.
- Courses and Workshops: CGMA and Gnomon Workshop offer courses on real-time characters, sometimes covering MetaHumans. Individual experts provide Patreon or workshop content on UE5 lighting. These structured programs deepen technical skills. They focus on high-end production techniques.
- Software-Specific Tutorials: Tutorials on Wrap3, ZBrush, or Substance Painter teach scan fitting and texture workflows. Marvelous Designer videos show clothing rigging for MetaHumans. These external tools are critical for advanced customization. They ensure compatibility with MetaHuman pipelines.
- Keeping Up with Updates: Epic’s blog announces new MetaHuman features, like Animator’s release. Following key developers on social media provides cutting-edge tips. GDC or SIGGRAPH talks offer advanced knowledge. Staying current ensures access to the latest techniques.
- Community Assets for Learning: Free texture packs or shaders shared by users teach new methods. Dissecting community projects reveals custom techniques, like eye shader variants. These resources inspire innovative approaches. They foster learning through practical application.
Combining official, community, and specialized resources builds advanced MetaHuman expertise. A project-based approach, researching specific challenges, accelerates mastery while staying updated with community discoveries.

FAQ: Hyper Realistic MetaHuman Workflows
- What texture resolution should I use for a hyper realistic MetaHuman?
Use 4K textures for MetaHuman faces, sufficient for close-ups, or 8K for scan-based textures by editing the material. Body and arms use 2K or 4K. Ensure high-quality PNG or EXR textures with mipmaps and streaming enabled. Adjust material settings for higher-res maps or UDIMs. - Can I use MetaHumans in other engines or renderers (like Unity, Blender, V-Ray)?
MetaHumans can be exported via Quixel Bridge as FBX with textures for use in Blender, Unity, or V-Ray. The rig transfers, but materials need recreation, like Unity shaders or V-Ray skin shaders. Hair exports as Alembic for rendering. Unreal’s skin shader and Control Rig are not replicable outside Unreal. - How can I add realistic wrinkles that animate when my MetaHuman smiles or frowns?
Enhance MetaHuman wrinkles by sculpting expressions in ZBrush, baking normal maps for wrinkles, and importing them into Unreal. Use a Material Parameter Collection or Pose-driven setup to blend maps based on facial poses. MetaHuman Animator captures some wrinkle detail, and 3D Scan Store packs provide high-res wrinkle maps. Default wrinkle normals in the skin material’s “Mask” texture can be augmented with custom maps. - My MetaHuman looks good in Unreal Engine viewport, but when I render via Movie Render Queue, it looks different (or I get flicker). What can I do?
In Movie Render Queue, set high Temporal Sample Count (16–32) and Cinematic scalability to reduce flicker. Lock exposure to match viewport, ensure Hardware Ray Tracing if used, and enable “Render Warmup Frames” for hair stability. Check color output (SDR vs. HDR) to align viewport and render. - How do I make my MetaHuman’s clothing look as realistic as the skin?
Create custom clothing in Marvelous Designer, skin it to the MetaHuman skeleton or simulate with Chaos Cloth for realistic wrinkles. Use PBR textures with fabric details and subsurface for thin materials. Improve default clothing with two-sided shading, enhanced normal maps, and decals for wear. Ensure no clipping and add layered accessories for realism. - The MetaHuman hair looks a bit off in my scene (too shiny or odd colored). How can I improve the realism of hair?
Adjust the MetaHuman hair material’s Scatter, Specular, and Base Color to match lighting, reducing shine for strong lights. Increase hair density, add flyaways in Blender or Unreal’s Groom Editor, and enable Hair Strand AO for depth. Use rim lights and color variation for natural hair. Boost anti-aliasing in TSR or MRQ to smooth jagged edges. - My MetaHuman’s performance is heavy on my system. How can I optimize it for real-time without losing quality?
Hyper realism is costly, but there are ways to optimize:- LOD Management: MetaHumans have LODs. Use higher LOD only when needed. You can use Blueprint or code to force lower LODs at distance or when not in focus. Conversely, keep LOD0 only for hero shots. This way, background MetaHumans use cheaper LODs.
- Groom simplification: Hair is often the biggest performance hit. Each MetaHuman hair groom has settings for density and interpolation. For scenes where you don’t see the hair super close, you can reduce these (maybe half the number of strands). Use the “Optimize Hair” setting or switch to cards (some MetaHumans offer a hair cards version).
- Texture memory: High res textures use more memory; consider using mipmaps and texture streaming properly. If on a lower-end GPU, maybe use 2K instead of 4K for less critical maps (like body or teeth, etc).
- Lighting and Shadows: If ray tracing is too slow, consider mixing raster for some parts. For example, you could disable ray traced reflections on the hair if it’s too heavy and rely on planar or screen-space for that. Or use Lumen’s software mode instead of hardware if RT shadows are slow. Also limit shadow casting: maybe the peach fuzz or eyelashes can have shadow off if it’s negligible.
- Animations blueprint overhead: MetaHumans come with a fairly complex anim blueprint (for face especially). If you’re not using all features (like the eyetracking, etc.), you could simplify it. For instance, if you have many MetaHumans, turning off Live Drive or unneeded tick components can help.
- Use Level of Detail for Materials: You can create Material LODs where beyond a certain distance, you use a simplified material (maybe less sub-surface calculation). Or even switch the skin to a flat lit material if far enough.
- Hardware considerations: If it’s really for real-time use, target modern GPUs and consider DLSS/FSR or TSR upscaling to get some performance headroom. Ultimately, to keep hyper realism, you’d selectively reduce detail where it’s least noticed. Many have found that with careful settings, you can still run a couple of MetaHumans in real-time cinematics even on decent hardware by balancing these factors.
Ultimately, to keep hyper realism, you’d selectively reduce detail where it’s least noticed. Many have found that with careful settings, you can still run a couple of MetaHumans in real-time cinematics even on decent hardware by balancing these factors.
- Are there any premade assets or resources for improving MetaHuman realism (like texture packs or shader tweaks)?
3D Scan Store’s MetaHuman Identity Pack offers high-res scan textures and meshes, with a free sample head. TexturingXYZ provides adaptable displacement maps, and Unreal Marketplace has tools like MetaHuman DNA calibrator and texture overlays. Community-shared eye shaders, teeth materials, and groom assets enhance realism. Epic’s sample MetaHumans and “MetaHuman++” project are valuable study resources. - Can I mix MetaHuman with other character creation systems (like importing a Character Creator 4 model into MetaHuman or vice versa)?
MetaHuman and Character Creator 4 (CC4) are separate but can be integrated with effort. Export CC4 models to MetaHuman via Mesh to MetaHuman or MetaHumans to CC4 for lip-sync features. Reuse textures across systems, but rigs require manual bone mapping or morph target conversion. Advanced tools can convert MetaHuman DNA for cross-platform use. - What is the polycount of a MetaHuman and can I increase it for more detail?
A MetaHuman head at LOD0 has ~15k triangles, the body ~30k, with detail from normal maps. Increasing polycount risks breaking the rig unless topology is preserved. Subdivide meshes for stills with displacement maps, or add small mesh details like peach fuzz. Nanite’s skeletal mesh support is limited, so rely on 8K textures for detail.

Conclusion
Creating a hyper realistic MetaHuman in Unreal Engine 5 involves high-fidelity modeling, advanced materials, accurate lighting, and nuanced animation, using tools like MetaHuman Creator, Wrap3 for scans, TexturingXYZ for skin maps, Marvelous Designer for clothing, and MetaHuman Animator with mocap for lifelike motion. Key principles include detailed textures, micro-expressions, physically accurate lighting, and real-world data integration, enabling results suitable for films and high-end demos. Iteration, real-world references, Epic’s tutorials, community resources, and custom scripting enhance outcomes. Hyper realism, once exclusive to large studios, is now accessible to small teams or solo artists. The workflow spans creation, customization, lighting, animation, and rendering, blending art and technology. This democratized process allows creators to craft convincing digital characters for cinematic or gaming applications.
Sources and Citations:
- Epic Games – New release brings Mesh to MetaHuman to Unreal Engine, and much more! (June 2022) – Introduction of Mesh to MetaHuman featureunrealengine.comunrealengine.com.
- Epic Games – Introducing The Matrix Awakens UE5 Experience (Dec 2021) – Describes use of MetaHumans (Io and agents) and UE5 features Lumen & Naniteunrealengine.comunrealengine.comunrealengine.com.
- Rokoko – How To Use MetaHumans To Make Epic Content (April 2022) – Overview of MetaHuman usage in various mediarokoko.com.
- Unreal Engine Forums – User post by DanielMagyar (March 2025) – Notes on The Fortunate Son short film made entirely with MetaHumans and mocapforums.unrealengine.comforums.unrealengine.com.
- Unreal Engine Spotlight – MetaHumans star in short horror film The Well (March 2022) – Behind the scenes on using MetaHuman Creator, Marvelous Designer for clothing, XGen for hair, and Xsens/Faceware for captureunrealengine.comunrealengine.com.
- Medium (Locodrome) – Unreal Filmmaking: More Human than MetaHuman by Anthony Koithra (Dec 2022) – Discusses uncanny valley issues and need for subtle facial movement in MetaHuman animationmedium.commedium.com.
- Reddit – Discussion on MetaHuman eye movement (2021) – Noting that real eyes move with quick jerks (saccades) whereas MetaHuman default was smoothforums.unrealengine.com.
- Texturing.xyz – Making of Joel by Judd Simantov (2022) – Breakdown of using scans with MetaHuman: wrapping Metahuman topology to scan, transferring maps, and adjusting skin shader (roughness map in green channel)texturing.xyztexturing.xyztexturing.xyz.
- 3D Scan Store – Level up your Metahumans by James Busby (Sept 2022) – Tutorial on using their high-res scan data with MetaHumans (Mesh to MetaHuman workflow and replacing textures, adding wrinkle maps)3dscanstore.com3dscanstore.com.
- Epic Games Blog – MetaHuman Animator is now available (June 2023) – Details on capturing high-fidelity facial animation with an iPhone or HMC, capturing every subtle expression for MetaHumansunrealengine.comunrealengine.com.
Recommended
- Why PixelHair is the Best Asset Pack for Blender Hair Grooming
- How do I export a camera from Blender to another software?
- How The View Keeper Improves Blender Rendering Workflows
- The View Keeper Add-on: Why Every Blender Artist Needs It for Optimized Rendering Workflows
- Helldivers 2: Comprehensive Guide to Gameplay, Features, Factions, and Strategies
- Managing Camera Settings and Reducing Scene Clutter in Blender Projects with The View Keeper
- Unreal Engine for Beginners: A Step-by-Step Guide to Getting Started
- How do I focus the camera on an object in Blender?
- Love, Death and Robots New Season: Release Date, Episode List, Studios, and Everything We Know So Far
- Saving and Switching Blender Camera Angles with The View Keeper


