What are the best ways to make 3D characters for games and animation?
Creating 3D characters for games and animation can be achieved through several major approaches. The best ways include:
- Modeling and Sculpting from Scratch: Using 3D software like Blender or Maya to manually model a character’s mesh (often starting from a simple shape or base mesh) and sculpt fine details. This gives full artistic control but requires skill and time.
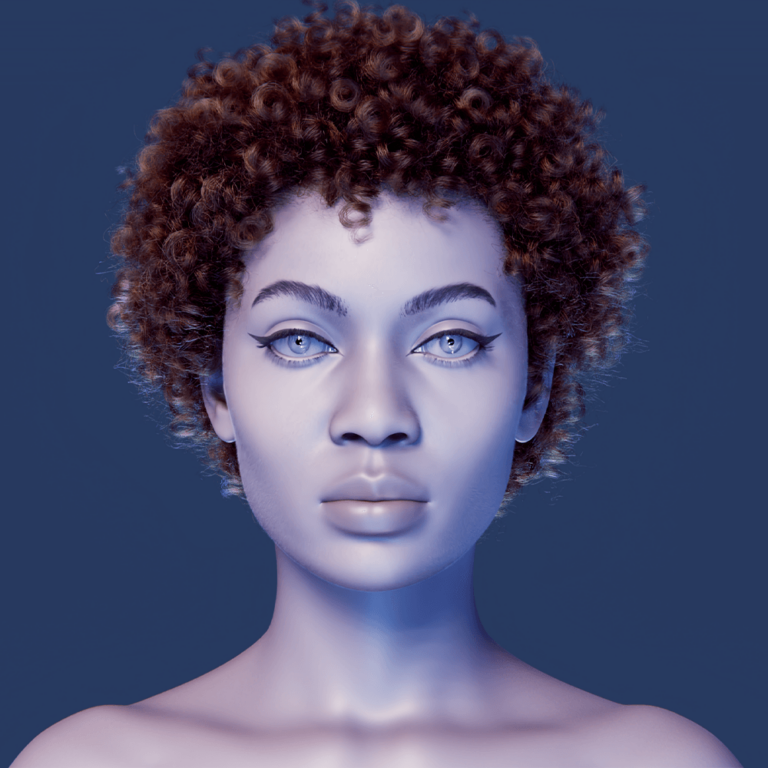
- Parametric Character Generators: Utilizing specialized tools to quickly generate characters using sliders or templates. Examples include MetaHuman Creator for ultra-realistic humans, Character Creator 3 (CC3) for customizable characters, and FaceGen for generating faces from photos. These tools provide ready-made rigs and textures, speeding up character creation.
- Photogrammetry and Scanning: Capturing a real person or maquette via 3D scanning or photogrammetry to produce a highly realistic model, then refining and rigging it in software. This yields realism but needs additional cleanup and equipment.
- Hybrid Workflows: Combining methods – e.g. generate a base with a tool like CC3 or FaceGen, then refine it in Blender; or sculpt a body in Blender and attach a FaceGen-generated head. Many artists mix tools to leverage each one’s strengths.
Each method has its place in game development and cinematics. Manual modeling offers unlimited creativity (from stylized to realistic), while generators can drastically cut development time by providing high-quality starting models. For instance, Blender is a free all-in-one solution that supports the entire 3D pipeline (modeling, sculpting, rigging, animation, etc.) with no third-party add-ons required.
On the other hand, tools like MetaHuman and CC3 come with professional rigs and materials out-of-the-box, tailored for realistic human characters. The choice of method often depends on the project’s art style, the team’s skill set, and the production timeline. In practice, game studios and indie creators alike often use a combination of these approaches to get the best results.
Can you create 3D characters in Blender without third-party tools?
Yes, Blender is a free, open-source 3D creation suite that provides all the necessary tools to craft 3D characters without external software. It supports the entire pipeline—modeling, sculpting, texturing, rigging, and animating—natively within its ecosystem. For modeling and sculpting, Blender offers robust tools like sculpting brushes and multiresolution workflows to shape detailed or stylized characters. Texturing and shading are managed through its built-in painting tools and material system, allowing realistic effects like subsurface scattering for skin. Rigging is facilitated by Blender’s armature system and the included Rigify add-on, which automates humanoid rigging with IK/FK controls. Animation is handled via the timeline, graph editor, and shape keys for facial expressions, enabling complex character movements.
Blender’s comprehensive feature set makes it a standalone solution for character creation, favored by indie developers and freelancers for its zero cost and versatility. While third-party tools can enhance specific tasks, they’re optional as Blender’s native capabilities suffice for professional-quality results. The learning curve may be steep, but its large community and tutorials support mastery of its tools. From crafting a mesh to animating it, Blender delivers a cost-effective, powerful platform for 3D character design.

How do I use Blender to model and rig custom 3D characters?
Using Blender to create custom 3D characters involves modeling the mesh and rigging it for animation. Here’s a typical workflow:
- Modeling the Character:
- Base Mesh: Begin with simple primitives or a mirror modifier for symmetry, using sculpt mode to block out organic shapes with digital clay. This initial step establishes the character’s basic form, allowing flexibility in design. It’s ideal for humanoids or creatures, leveraging Blender’s sculpting tools. The process sets the foundation for further refinement.
- Refining & Retopology: After sculpting high-detail, retopologize to create a clean, low-poly mesh with good edge flow for animation. This ensures joints and facial features deform naturally during movement. Tools like Shrinkwrap assist in building topology over sculpts efficiently. It’s crucial for animation-ready models.
- Details & Proportions: Add finer details via multiresolution sculpting or model accessories separately, ensuring proportions match your vision. UV unwrapping prepares the mesh for texturing, creating layouts for skin and clothes. This step finalizes the character’s appearance before rigging. It’s where the design comes to life visually.
- Rigging and Skinning the Character:
- Armature Setup: Use an Armature object to create a skeleton with bones for body and face, or adjust Rigify’s pre-built humanoid rig. This skeleton defines how the character moves, aligning pivots with joints. It’s the backbone of the rigging process. Rigify simplifies setup for standard characters.
- Skinning (Weight Painting): Parent the mesh to the armature with automatic weights, then refine in Weight Paint mode for natural deformations. This ensures bones influence the correct mesh areas, like legs or arms, smoothly. It’s critical for realistic movement. Adjustments prevent issues like collapsing joints.
- Facial Rigging: Add facial bones or shape keys for expressions, often combining both for detailed control like jaw movement and smiles. Bones handle broad motions, while shape keys sculpt specific expressions. This dual approach enhances facial animation quality. It’s tailored to the character’s needs.
- Controls and IK: Implement Inverse Kinematics for intuitive posing, with Rigify providing limb controllers and pole targets for precision. IK simplifies animation by naturally adjusting limbs with a single control. It’s a time-saver for animators. Custom drivers can enhance functionality further.
- Testing the Rig: Pose the character in Pose Mode to verify deformations, tweaking weights or adding corrective shape keys as needed. This step catches issues like unnatural bends or twists early. It ensures the rig performs reliably. Testing is essential for a polished result.
This workflow produces a fully modeled and rigged character in Blender, ready for animation or export. Blender’s unified tools streamline the process, making it a versatile choice for character creation.
What is FaceGen and how does it generate 3D characters from photos?
FaceGen is a specialized tool for generating 3D human heads, either parametrically or from photographs. It simplifies face creation with these methods:
- Parameterized Face Model:
You can adjust over 150 sliders to customize traits like age, gender, ethnicity, and facial features on a base model. This method offers fine control over the face’s appearance without photo input. It’s ideal for crafting unique or generic faces quickly. The parametric system is versatile and user-friendly. - Photo-to-3D Face:
FaceGen analyzes a front-facing photo, and optionally a side profile, to map a 3D model to the subject’s features. This process fits the mesh to the photo’s contours for a recognizable likeness. It’s effective for recreating real people in 3D. The result is a tailored head model ready for use. - Automatic Texturing:
The software extracts skin textures from photos to create diffuse maps, supplemented by preset details for realism. This automates the texturing process, reducing manual work significantly. It ensures the face looks lifelike with minimal effort. Preset options enhance areas like eyes or hairlines. - Pre-Rigged Expressions:
FaceGen includes FACS-based blendshapes for facial expressions and phonemes, pre-rigged for animation. This allows immediate use in lip-sync or emotional displays. It’s built for compatibility with animation workflows. The rigging supports game or film production needs.
FaceGen outputs textured, rigged head models in formats like OBJ or FBX, ideal for games or simulations. It focuses exclusively on heads, not full bodies, making it a niche but powerful tool for facial design.

Can I use FaceGen with other platforms like Unreal Engine or Unity?
Yes, FaceGen’s head models integrate well with platforms like Unreal Engine, Unity, Blender, or Maya. Here’s how:
- Exporting from FaceGen:
Export your model as an FBX file, selecting “Neutral expression and all animation targets” to include blendshapes. This ensures the facial animations transfer correctly to other software. It’s a straightforward process tailored for compatibility. The FBX format is widely supported across platforms. - Importing to Unity:
Import the FBX into Unity, apply the included textures, and use BlendShapes for facial animation control. This setup allows you to animate expressions directly in Unity’s system. It’s efficient for game development workflows. The character head integrates seamlessly with Unity assets. - Importing to Unreal Engine:
Bring the FBX into Unreal with morph targets enabled, then use it as a Skeletal Mesh for animation. Unreal recognizes FaceGen’s blendshapes as morph targets automatically. This makes it ready for high-quality rendering or gameplay. The process leverages Unreal’s animation tools effectively. - Using with Blender or Maya:
Import the model as DAE or OBJ into Blender or Maya, accessing shape keys or blendshape nodes for adjustments. This allows further customization or rigging enhancements in these tools. It’s flexible for artists familiar with either software. The head can be paired with a full body if needed.
FaceGen’s export options make it a versatile addition to various 3D workflows. Its pre-rigged heads save time when enhancing characters across platforms.
How do I create realistic characters using Metahuman in Unreal Engine?
Epic Games’ MetaHuman tool lets you craft photorealistic characters quickly via a cloud-based creator. Follow these steps:
- Access MetaHuman Creator:
Log into Epic’s MetaHuman Creator online or through Quixel Bridge to start designing. This cloud tool is free with an Unreal Engine account and accessible anywhere. It’s designed for ease of use with powerful results. You’ll need an internet connection to begin. - Choose a Starting Template:
Pick a preset face that closely matches your intended character to save time on adjustments. Templates provide a solid base for realistic human features. It’s a practical starting point for customization. Options cover diverse looks and ages. - Customize Facial Features:
Use sliders or direct mesh manipulation to tweak facial details like eyes, nose, or jawline for uniqueness. This step refines the character to match your vision precisely. It’s intuitive yet offers deep control over appearance. The changes update in real-time for feedback. - Select Body and Proportions:
Choose height, build, and gender options to define the character’s full-body proportions realistically. This ensures the body matches the head seamlessly in scale and style. It’s key for a cohesive character design. Preset options speed up the process. - Choose Hair and Grooming:
Select from a library of realistic hair, beard, and eyebrow presets to complete the look. These strand-based options enhance realism with natural flow and detail. It’s a quick way to add personality. Customization is limited to presets but effective. - Apply Animations (Preview):
Test facial animations in the Creator to confirm expressions look natural and lifelike. This preview ensures the rig works as expected before export. It’s a critical step for animation quality. Adjustments can be made if issues arise. - Export to Unreal Engine:
Download the finished MetaHuman via Quixel Bridge and import it into Unreal as a rigged asset. The export includes all textures and rigging ready for use. It’s optimized for Unreal’s pipeline instantly. The character is set for scenes or animation. - Using the MetaHuman in Unreal:
Animate the character with MetaHuman Animator or Control Rig for dynamic performances in Unreal. These tools leverage the pre-rigged setup for realistic motion. It’s ideal for games, films, or real-time projects. Integration is smooth and efficient.
MetaHuman streamlines realistic character creation with high-quality results tailored for Unreal Engine. Its process is fast and accessible, perfect for professional projects.

What features make Metahuman ideal for digital human creation?
MetaHuman stands out for creating lifelike digital humans due to its advanced features. Here are the key ones:
- Ultra-High Realism:
It uses 4K textures, strand-based hair, and cutting-edge shaders to achieve photorealistic visuals. This level of detail rivals high-end film characters in real-time. It’s a leap forward for game and animation quality. Skin and hair look strikingly natural. - Full Rigging Out-of-the-Box:
Every MetaHuman comes with advanced body and facial rigs, ready for animation without extra setup. This saves hours of rigging work for artists and developers. It’s built for immediate use in projects. The rigging is consistent across all characters. - BlendShape and Animation Libraries:
It supports ARKit-compatible blendshapes and includes sample animations for instant use. This ensures compatibility with facial capture tech and quick prototyping. It’s a boon for animators needing fast results. The library covers common expressions and motions. - Seamless Unreal Engine Integration:
MetaHumans are optimized for Unreal Engine’s rendering and animation systems natively. This tight integration boosts performance and visual fidelity in UE projects. It’s a streamlined workflow for UE users. No extra tweaking is needed to start. - Fast and User-Friendly Creation Process:
The MetaHuman Creator’s intuitive interface lets you design characters quickly without deep expertise. This accessibility opens it up to beginners and pros alike. It’s designed for efficiency in production. You can iterate designs rapidly. - Consistency and Reliability:
All MetaHumans share uniform rigging and quality standards, ensuring predictable results. This consistency is vital for teams working on multiple characters. It reduces errors in large projects. The output is dependable every time. - LOD and Optimization:
It includes Level of Detail (LOD) options to balance realism with real-time performance in games. This makes MetaHumans viable for both high-end and optimized applications. It’s practical for various hardware targets. Performance stays smooth without sacrificing looks. - MetaHuman Creator Ecosystem:
Features like Mesh to MetaHuman and Animator enhance customization and animation options. This ecosystem extends its capabilities beyond basic creation. It’s a growing toolkit for advanced users. Integration with other Epic tools adds value. - Free (with Unreal Engine):
MetaHuman is free for Unreal Engine users with no royalties, lowering the cost barrier. This makes high-quality digital humans accessible to indie creators. It’s a cost-effective solution for realism. Only an Epic account is required.
These features make MetaHuman a top choice for fast, realistic digital human creation in Unreal Engine projects. It balances quality, ease, and performance effectively.

How do I customize Metahuman characters beyond the default tools?
To push MetaHuman customization further, use these advanced techniques. They extend beyond the Creator’s defaults:
- Mesh to MetaHuman (Custom Heads):
Import a custom head mesh into Unreal and use Mesh to MetaHuman to fit it to the MetaHuman rig. This lets you bring unique sculpted faces into the system. It’s perfect for matching specific designs or real people. The rig adapts seamlessly to your mesh. - Using DCC Tools (Maya/Blender):
Export MetaHuman source assets to Maya or Blender for detailed edits like sculpting or rigging tweaks. This gives you full control over geometry and textures outside Unreal. It’s ideal for precise adjustments unavailable in Creator. Re-import the modified assets afterward. - Custom Hair and Grooming:
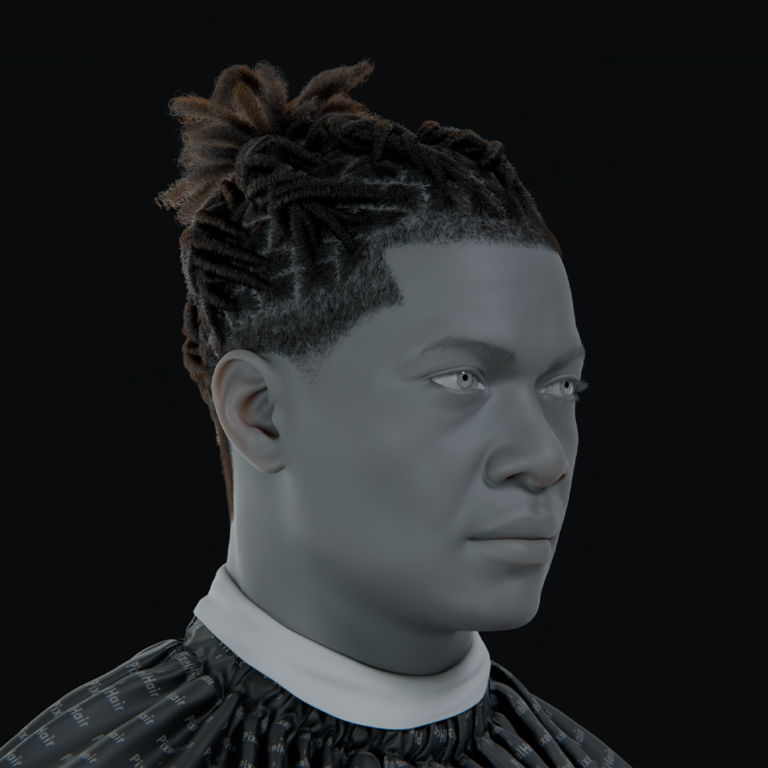
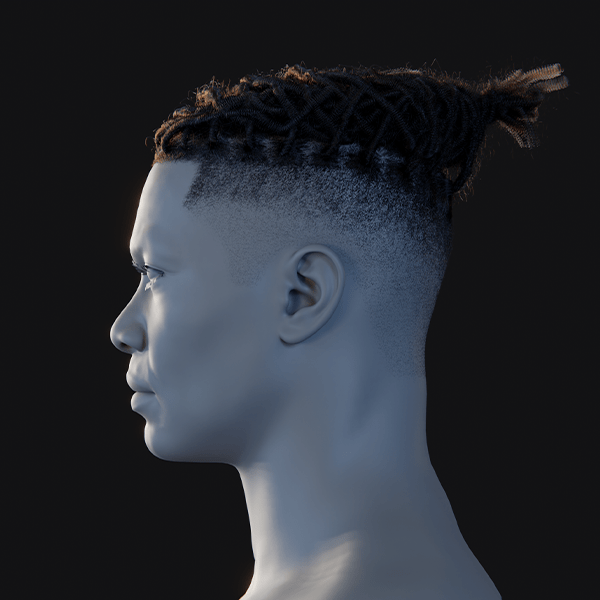
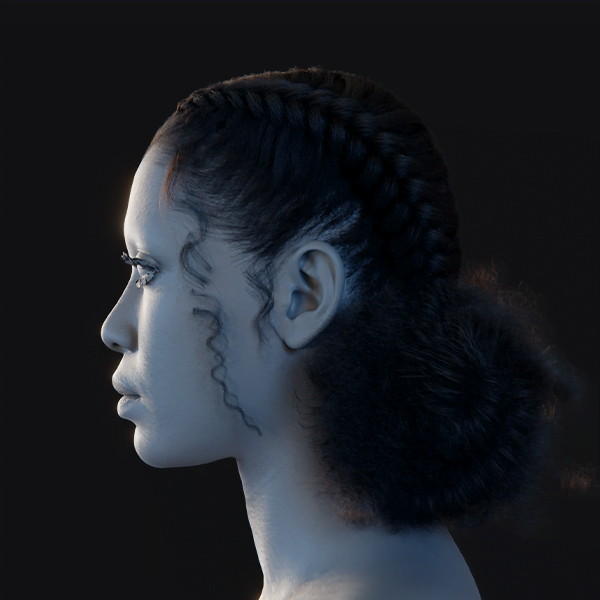
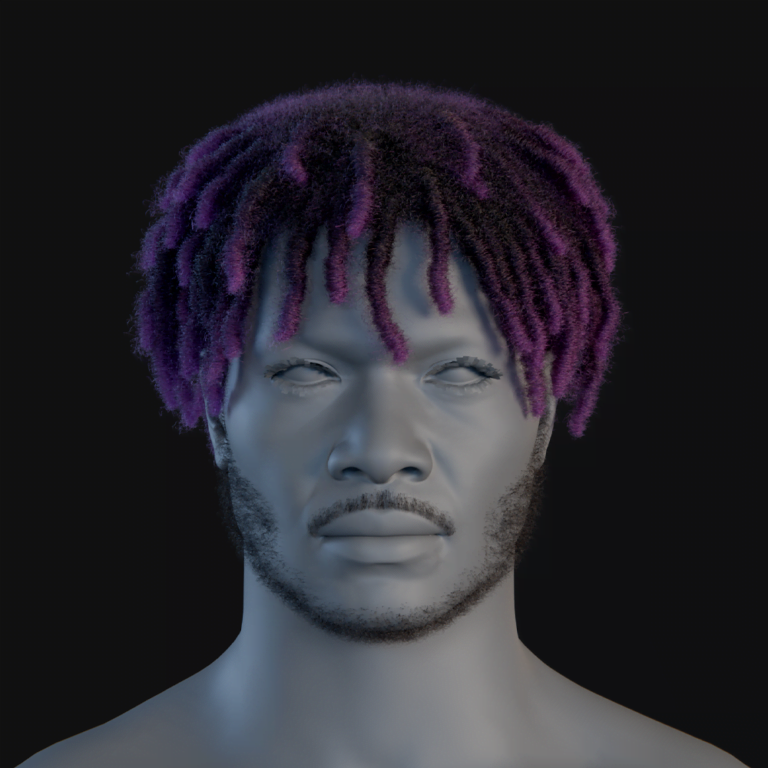
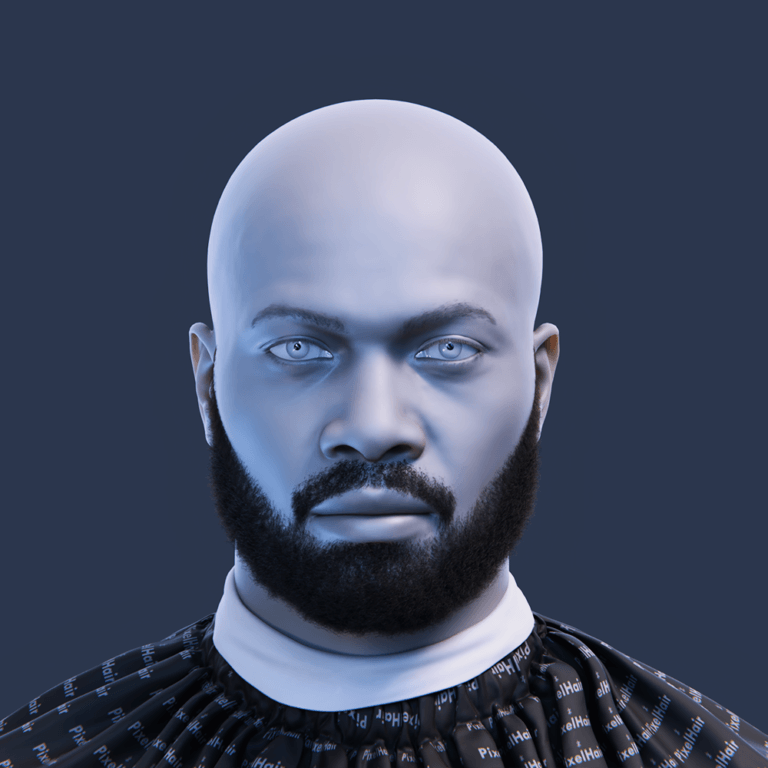
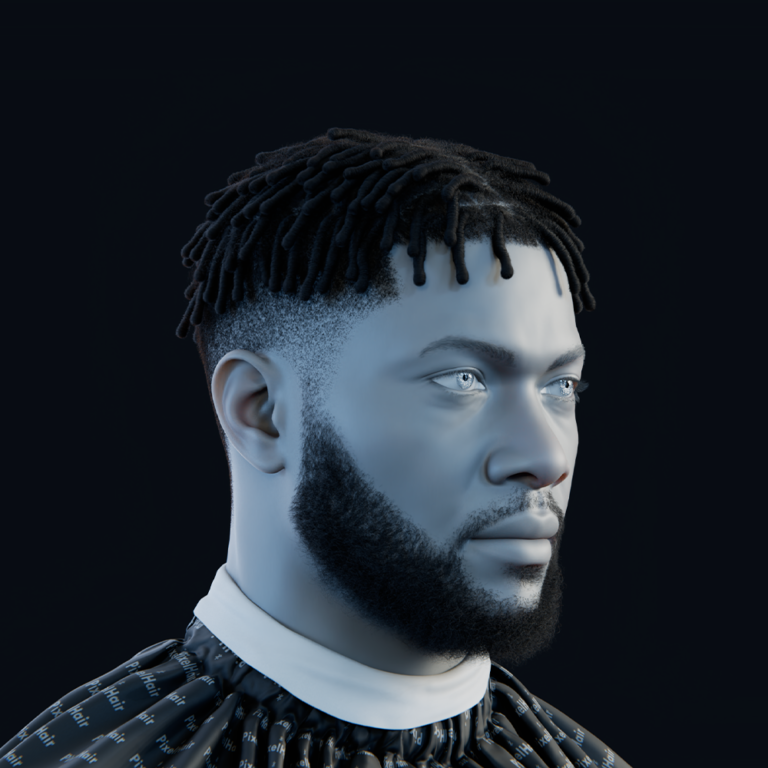
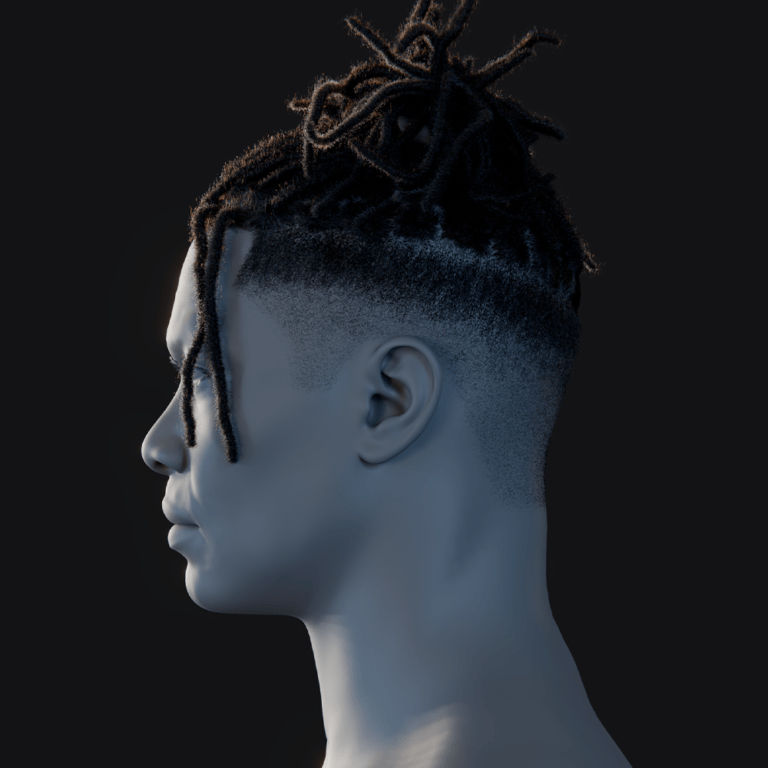
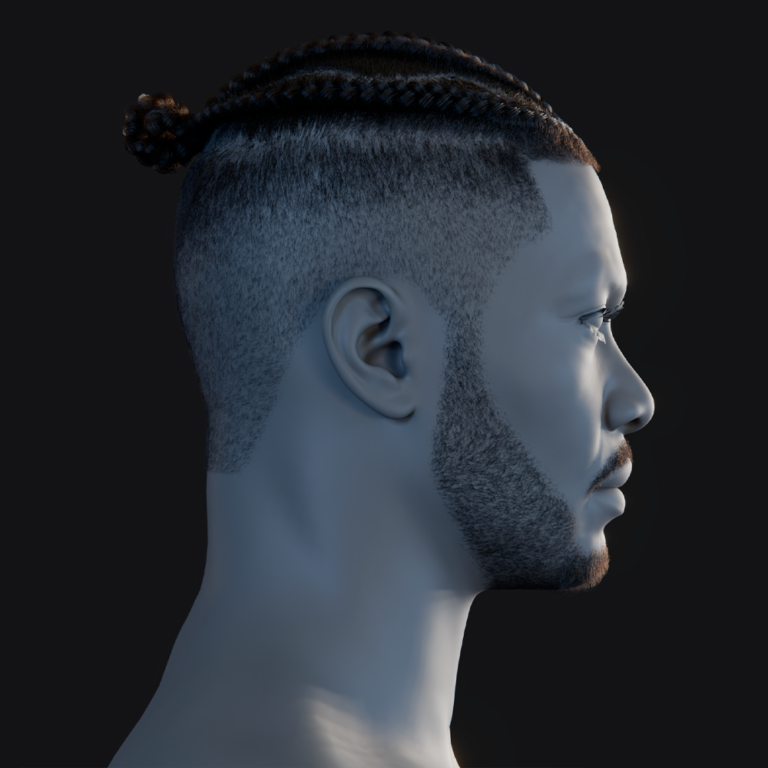
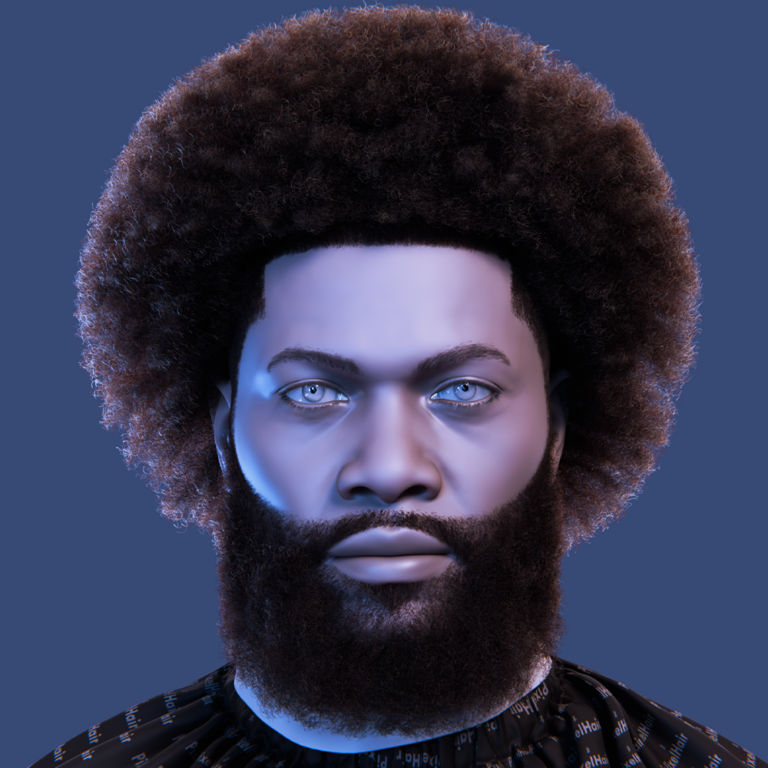
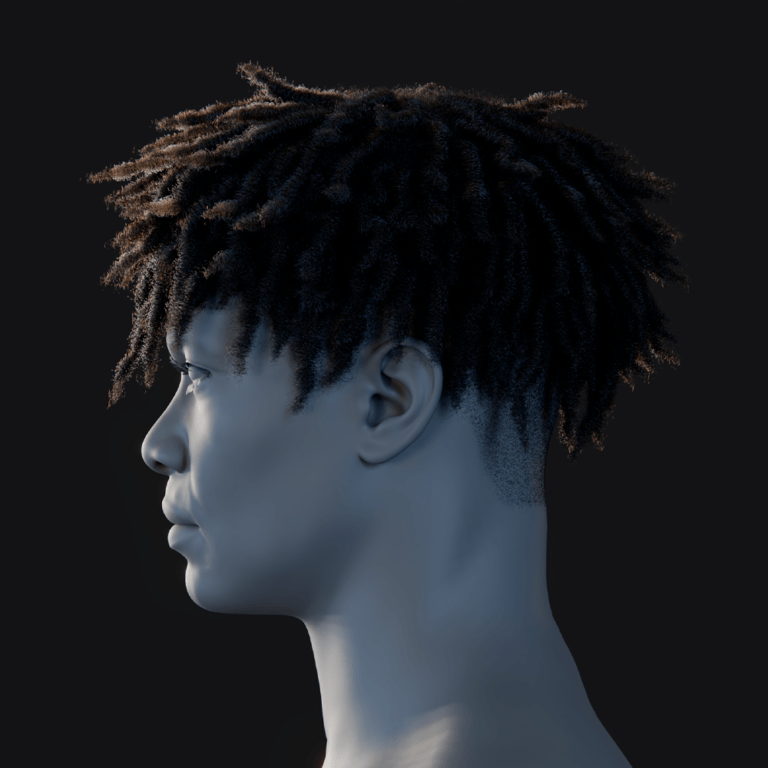
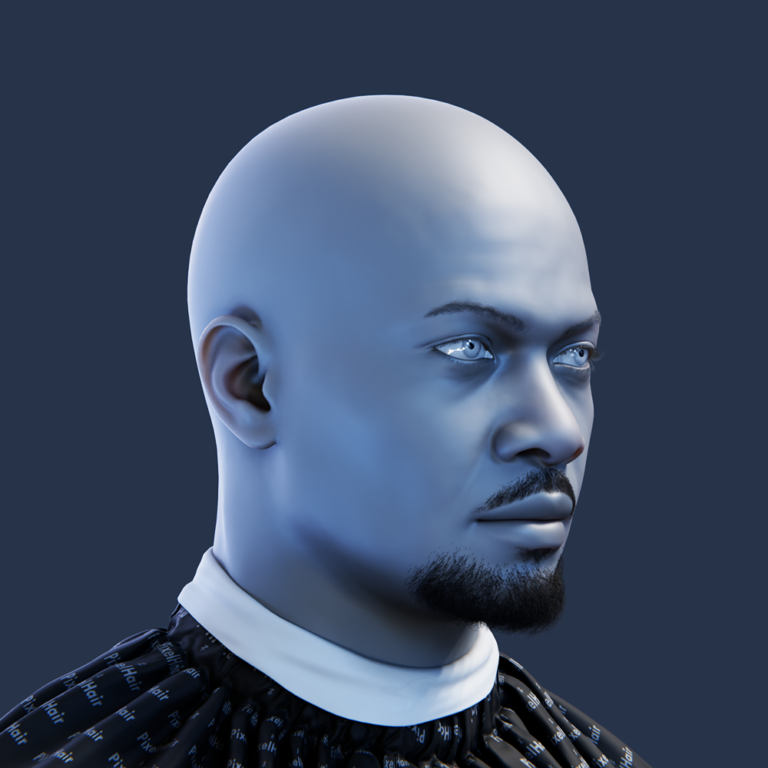
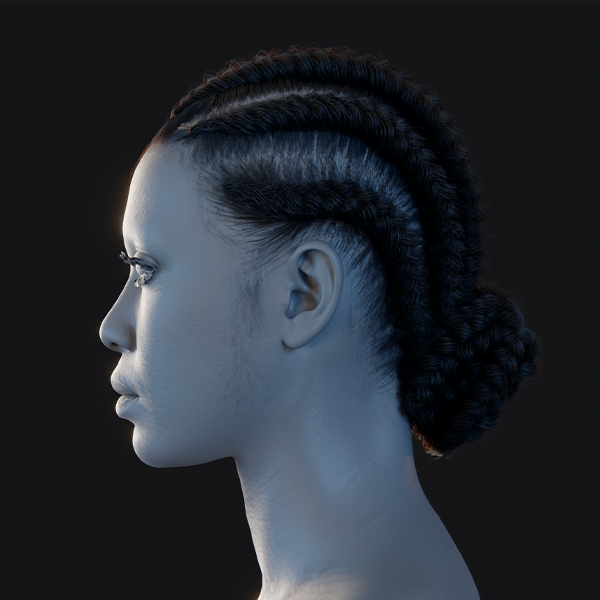
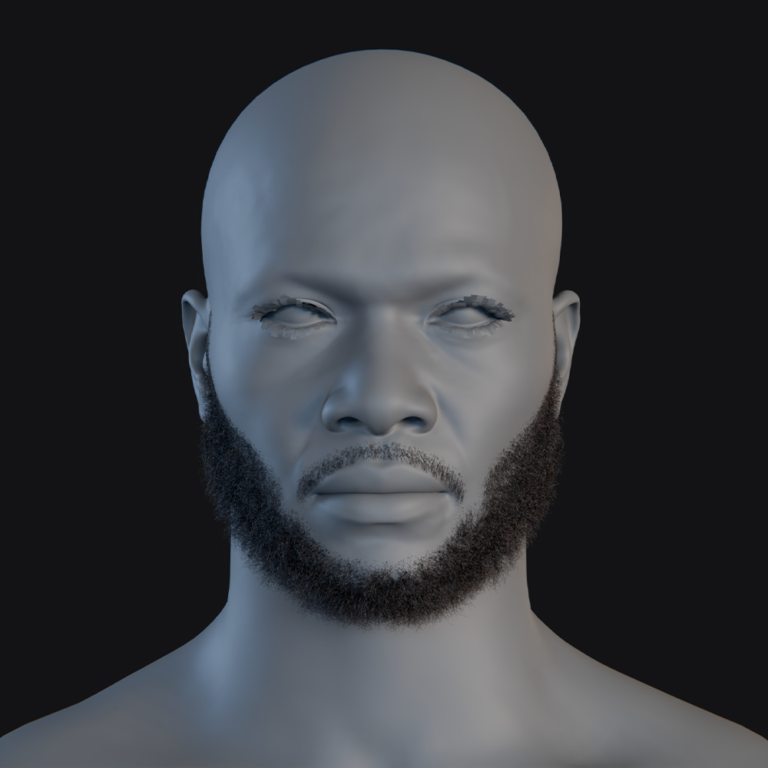
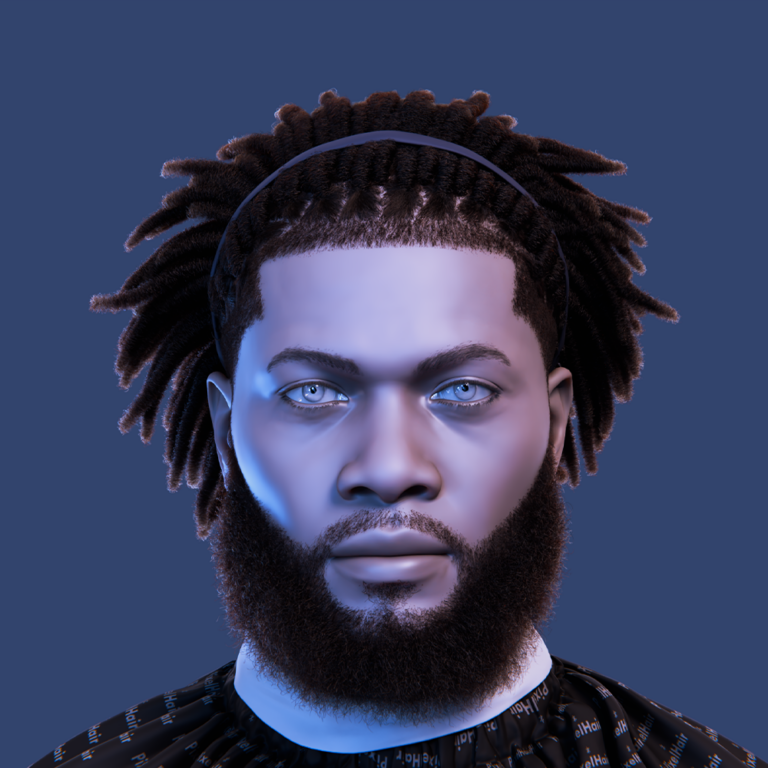
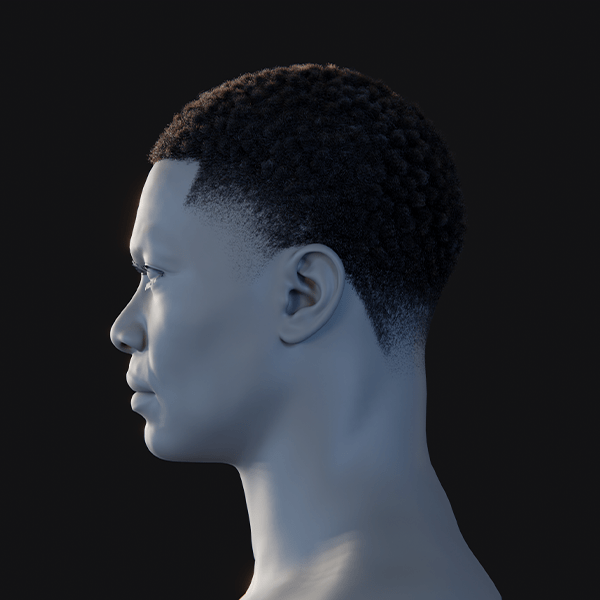
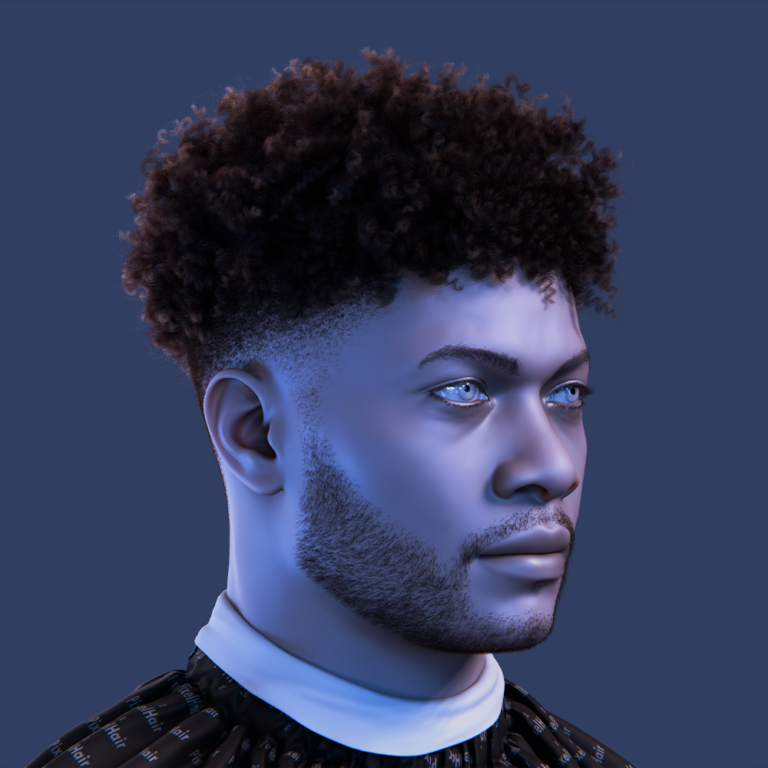
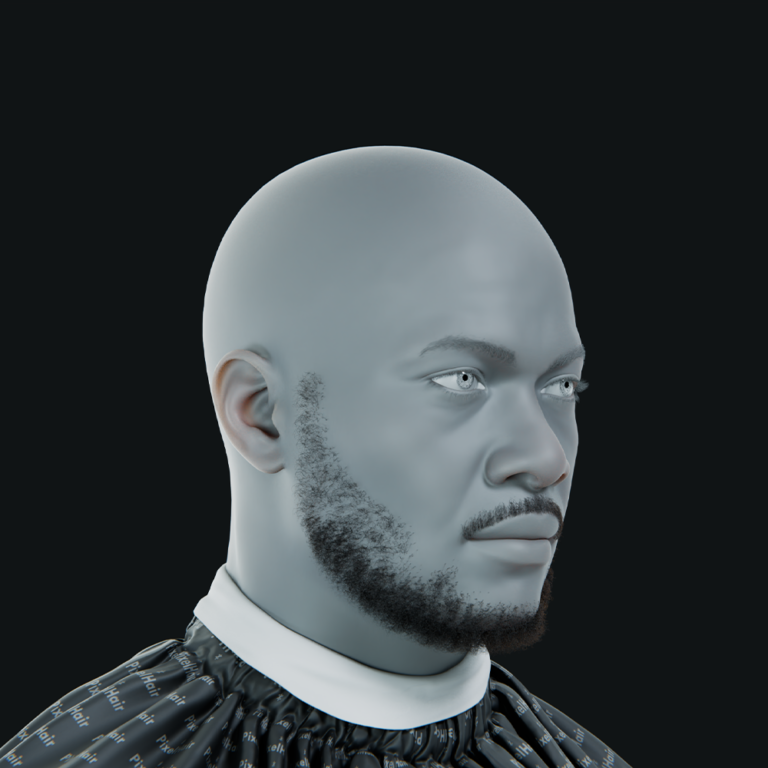
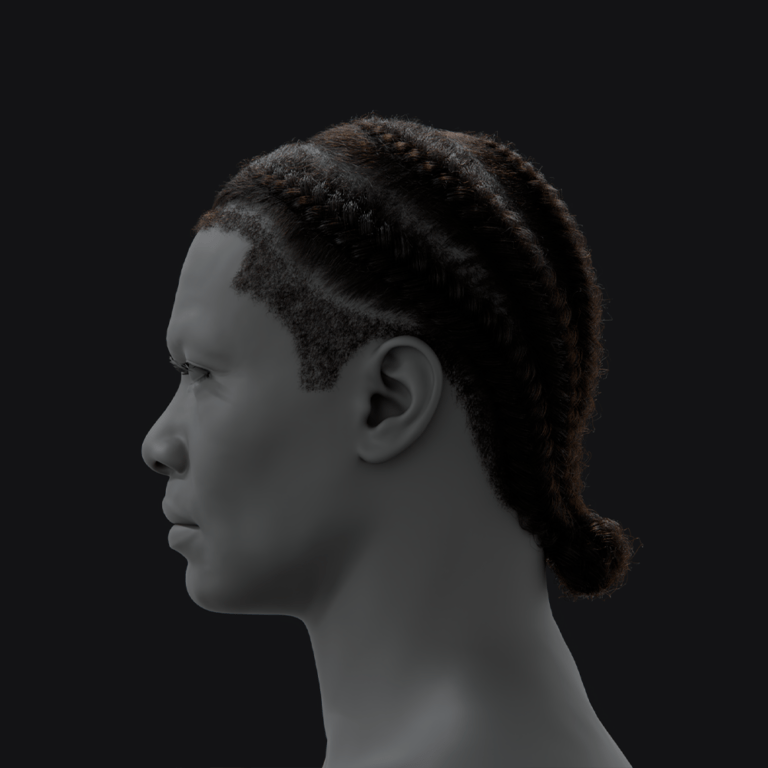
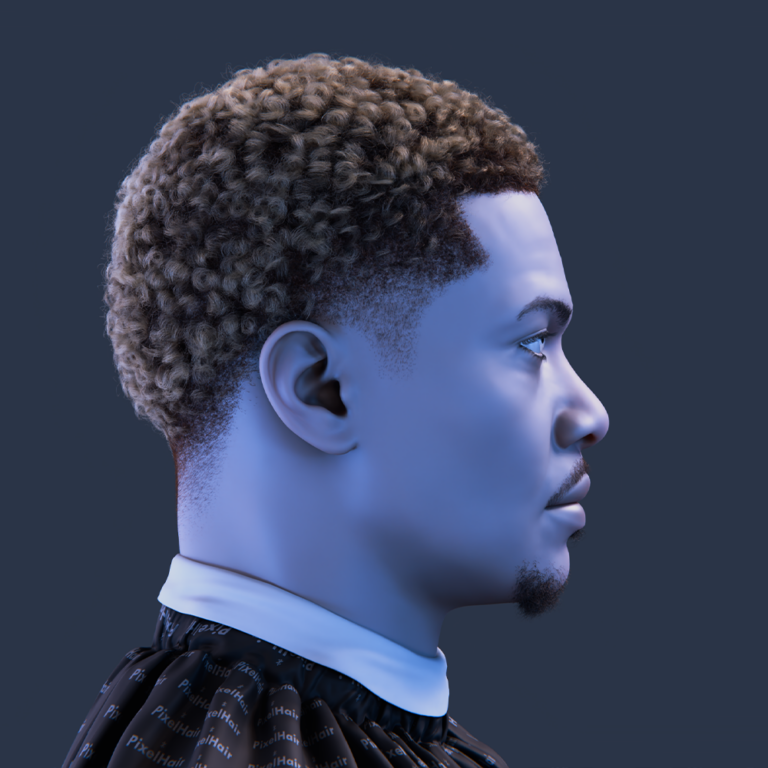
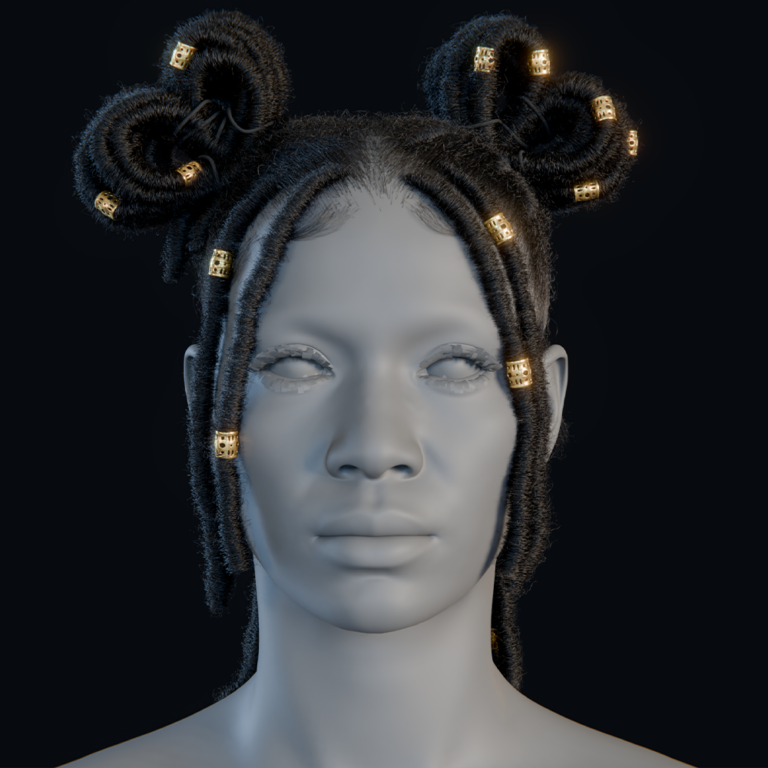
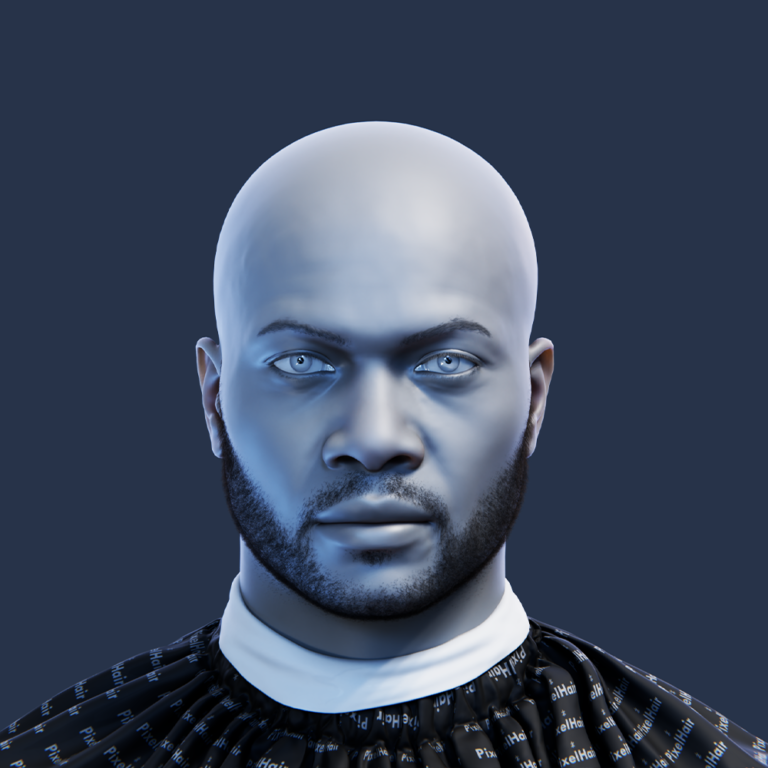
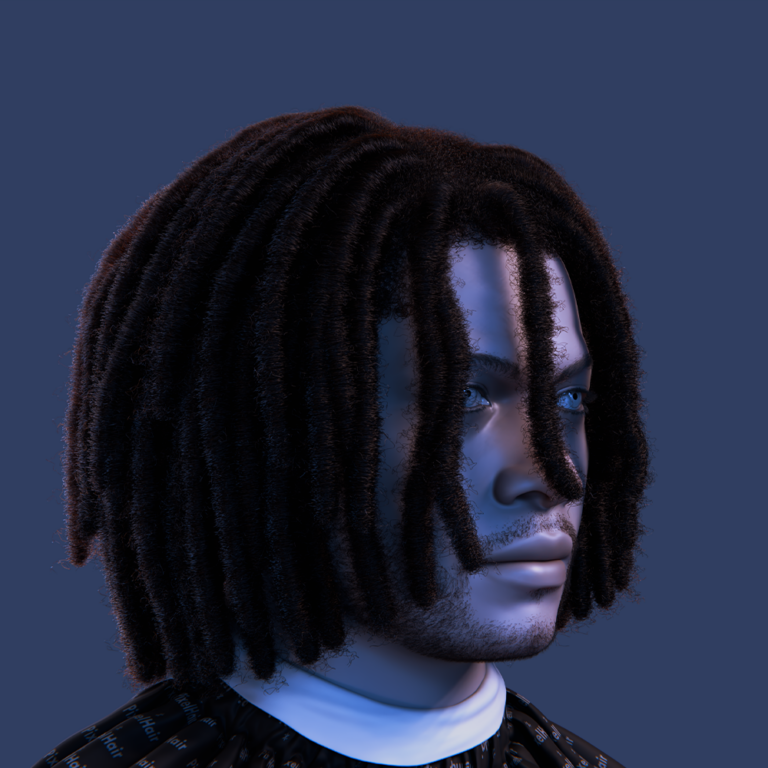
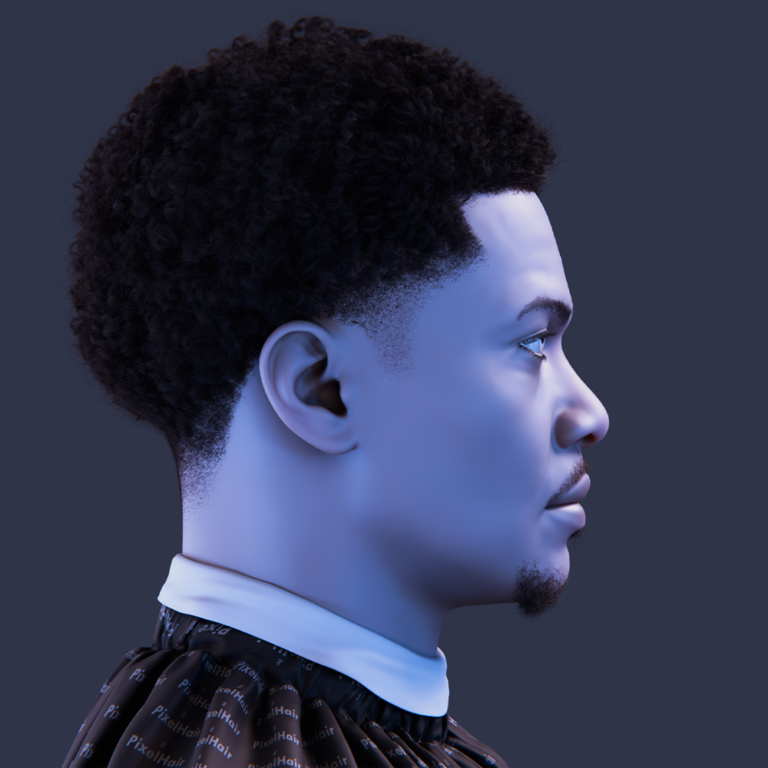
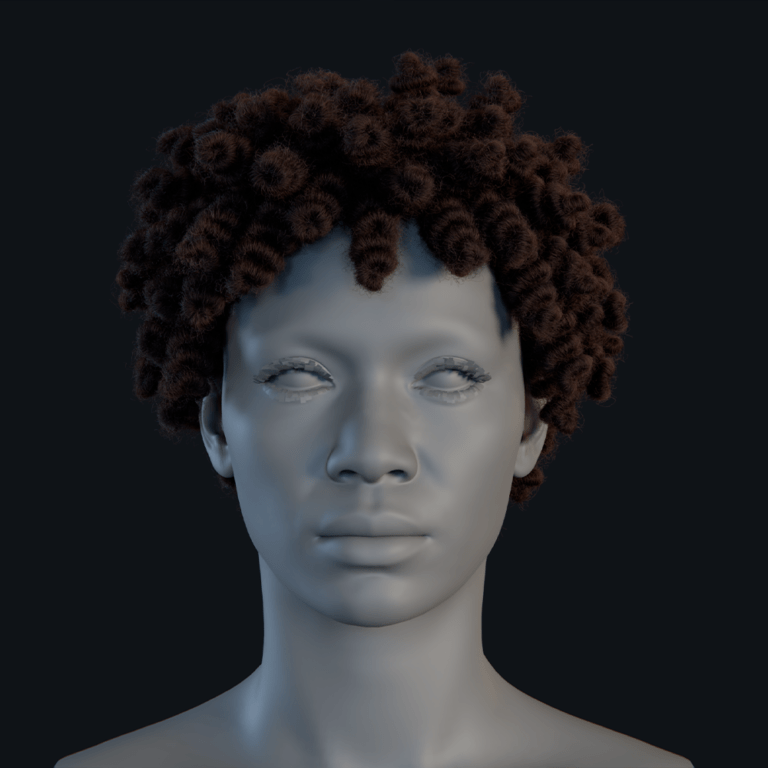
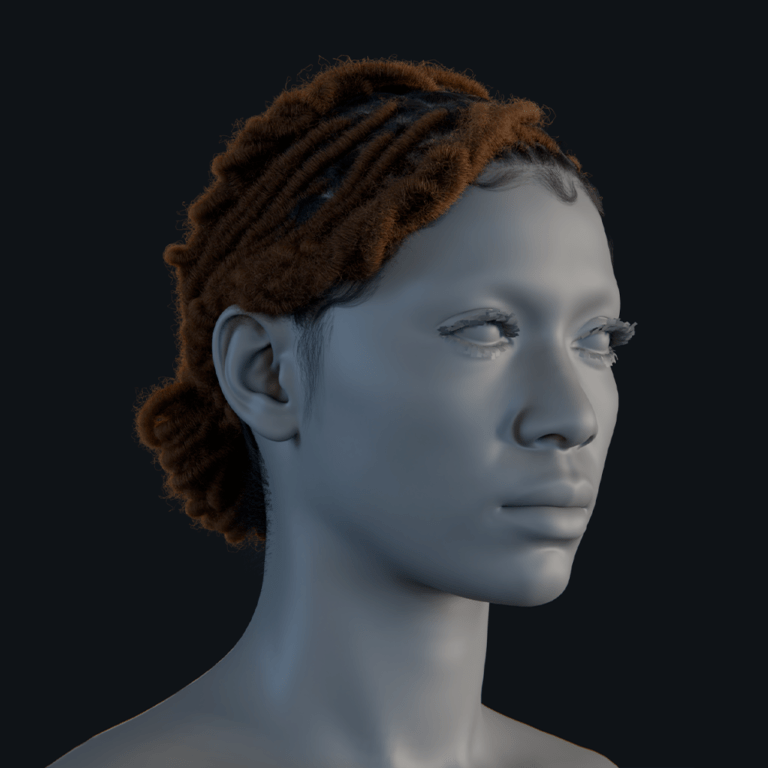
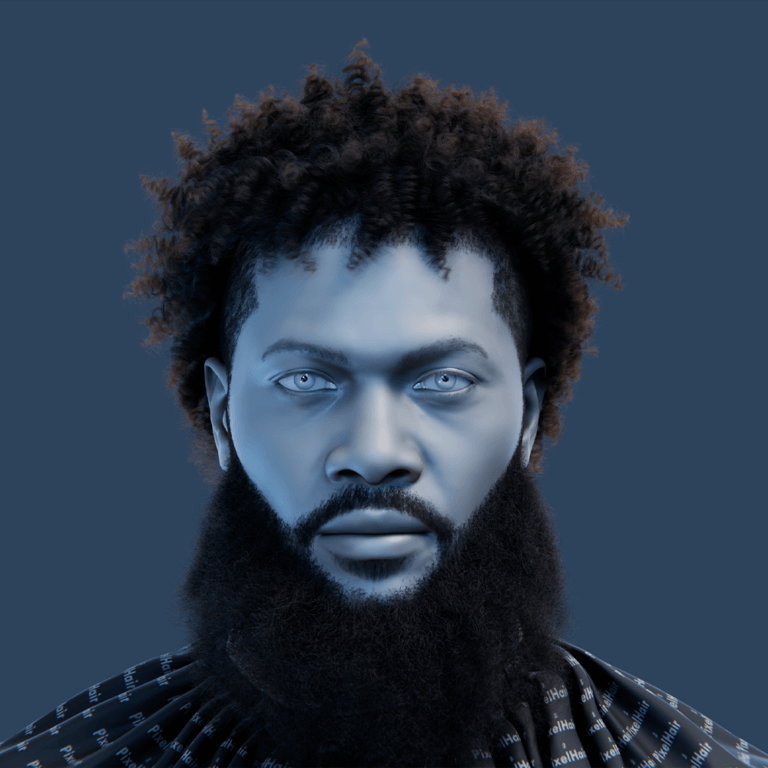
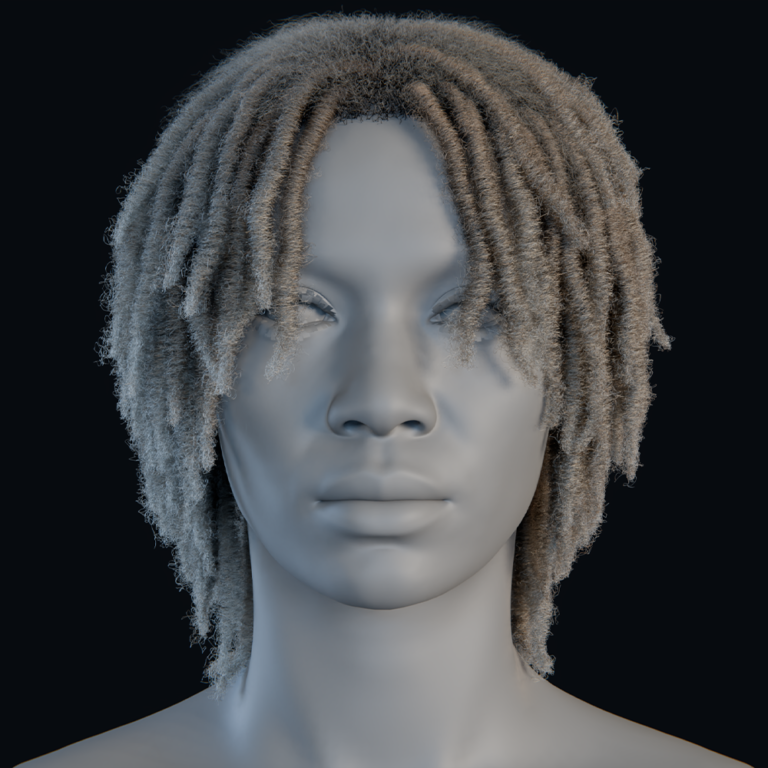
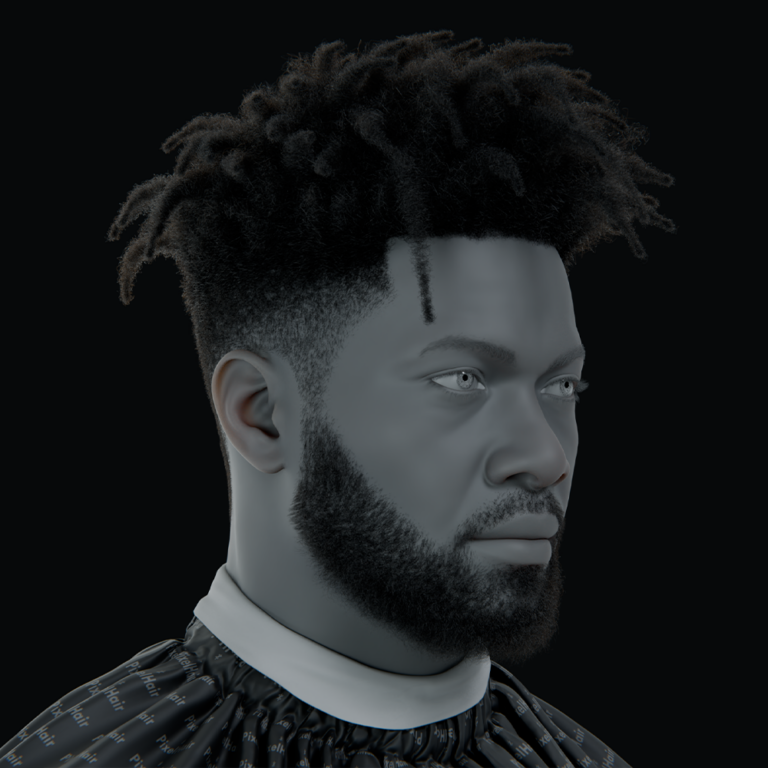
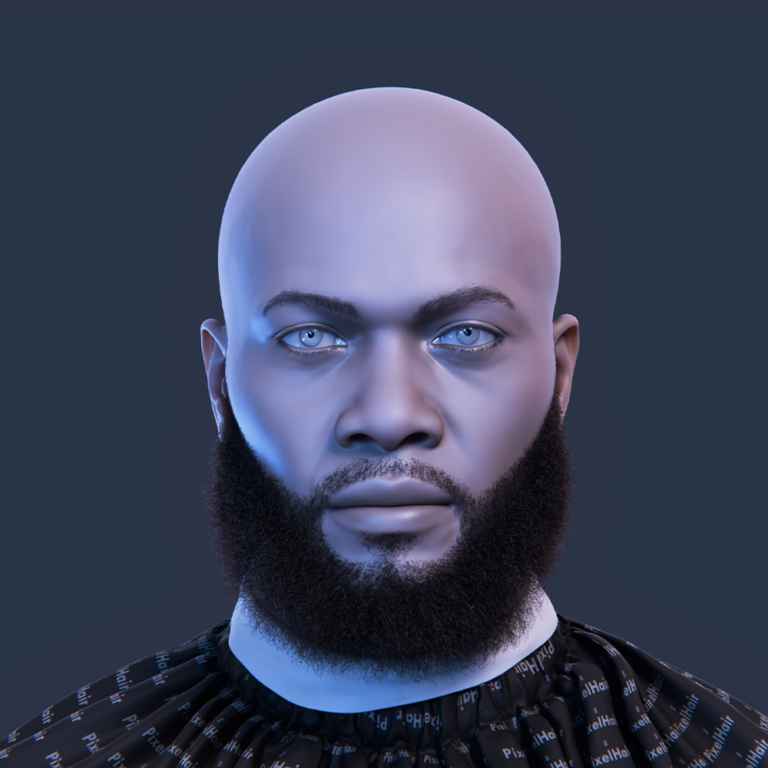
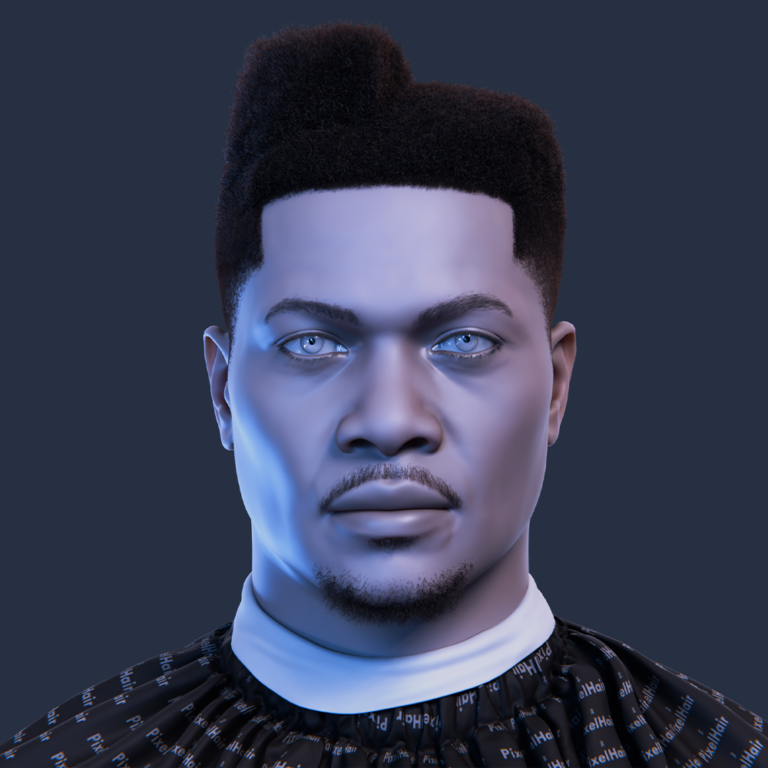
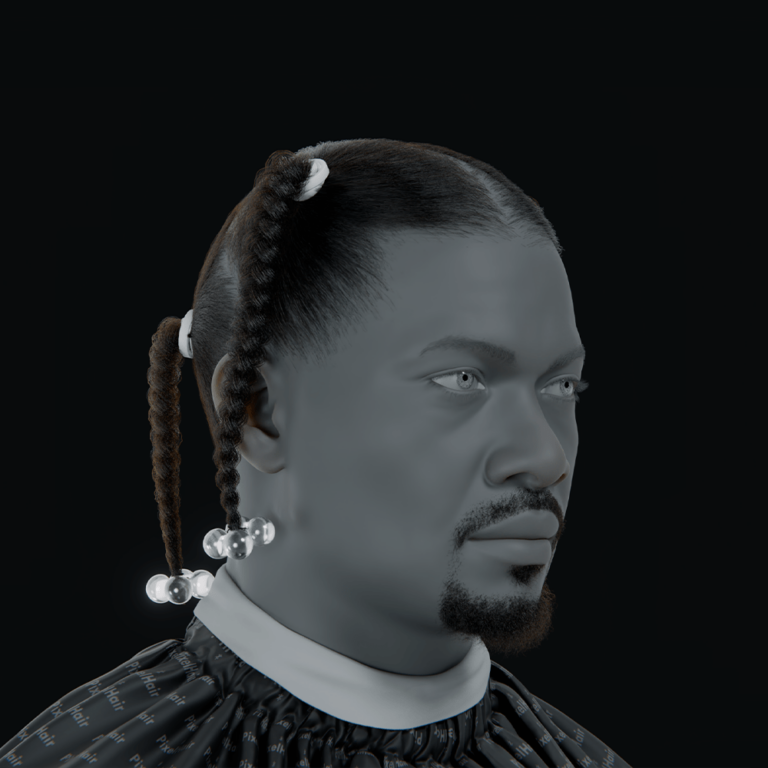
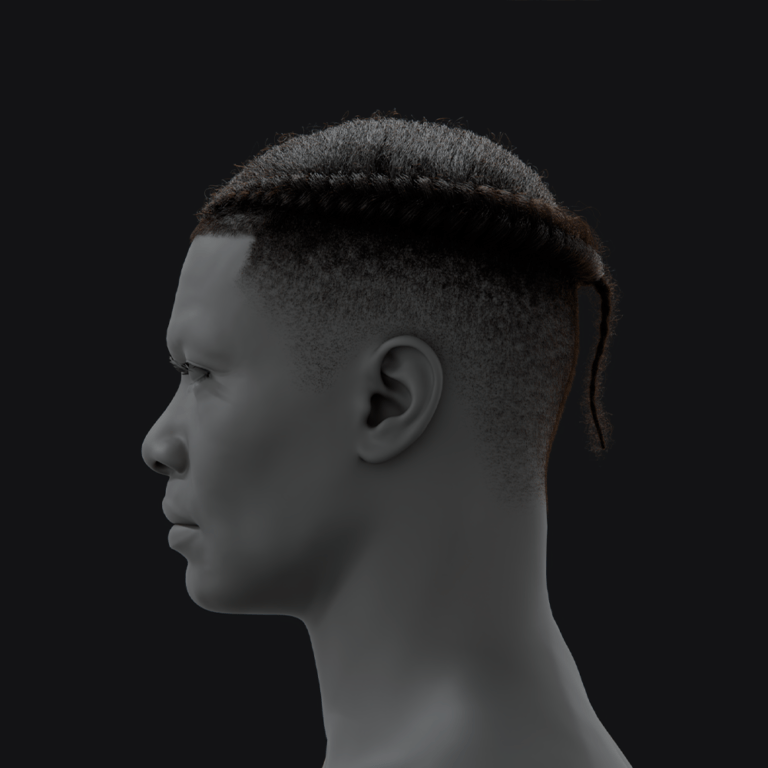
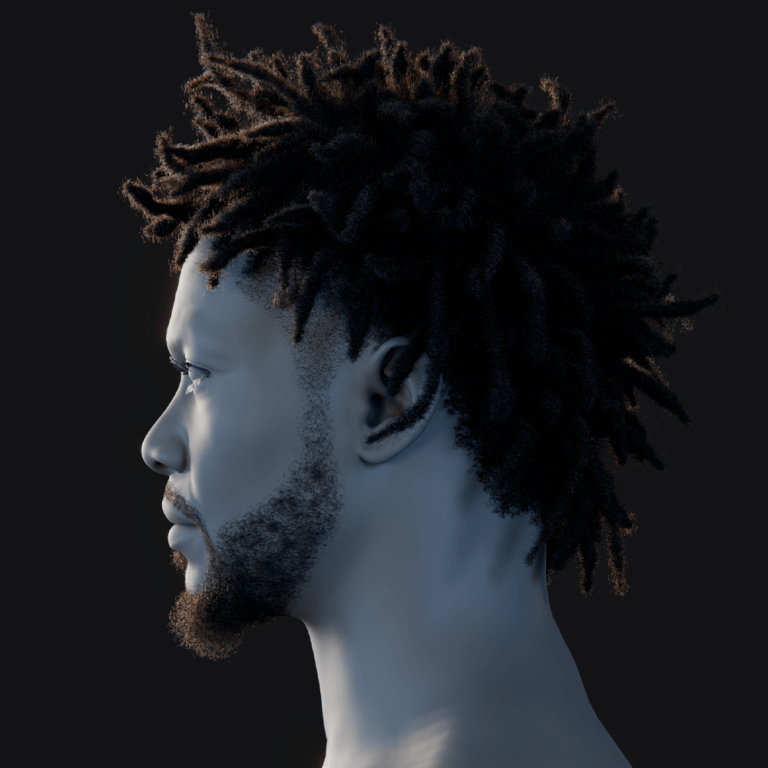
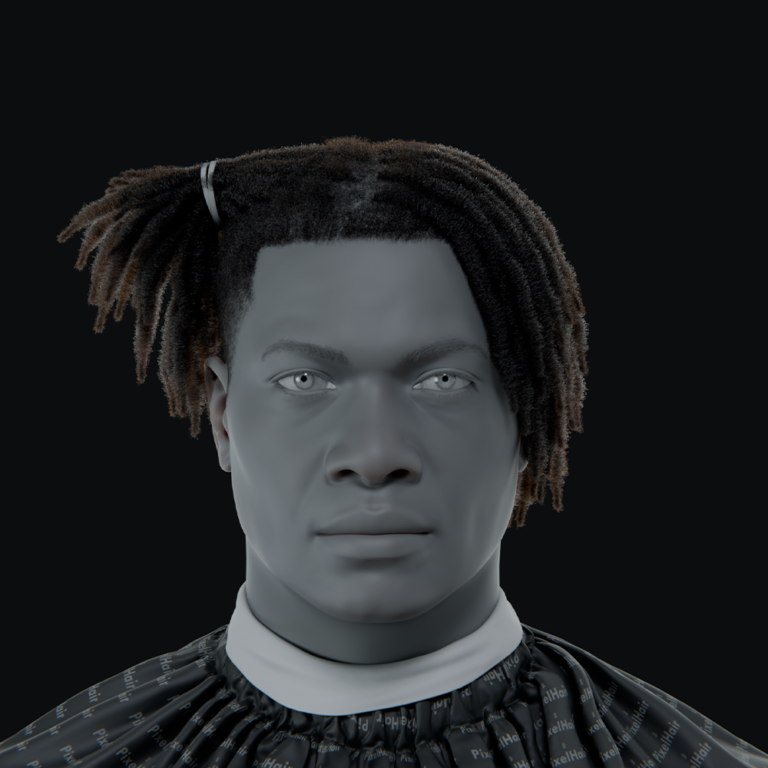
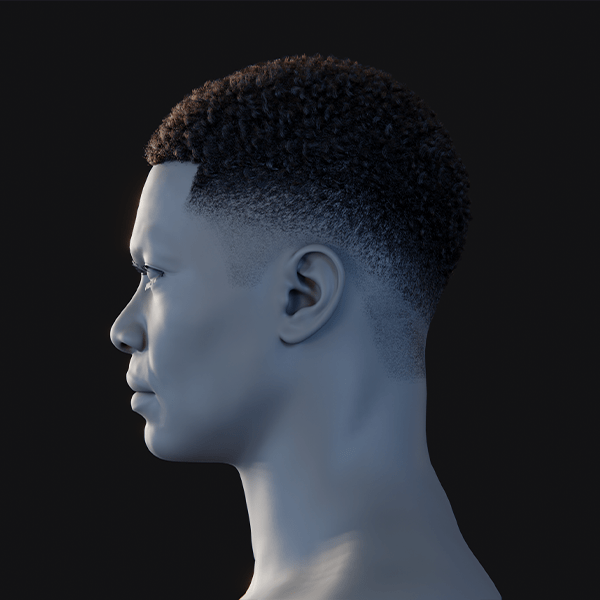
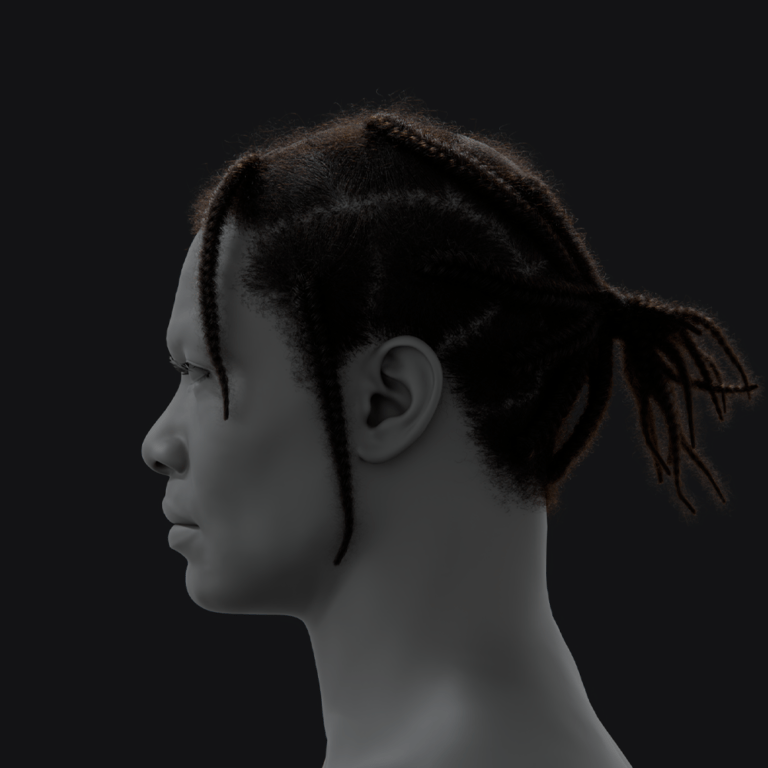
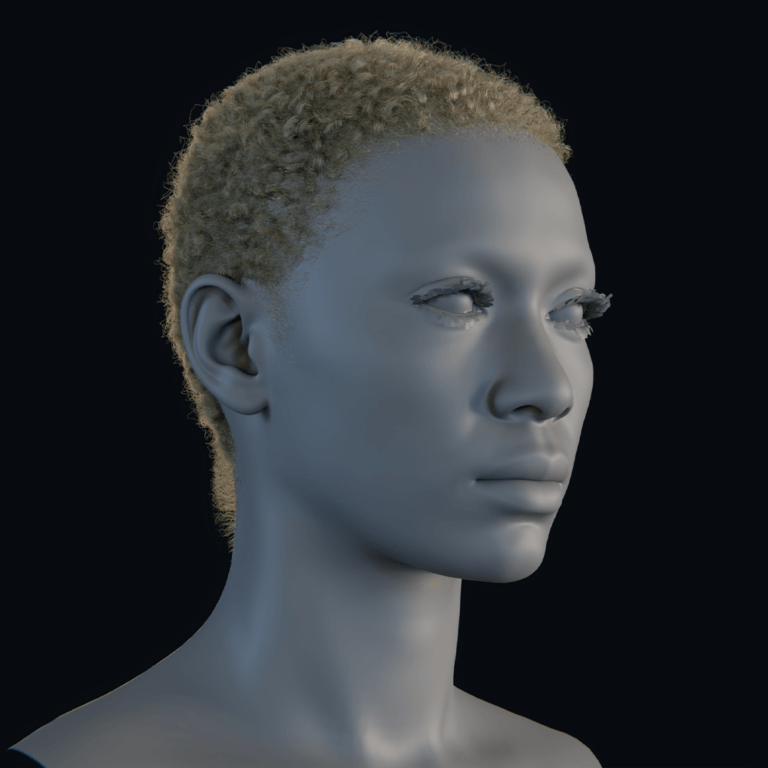
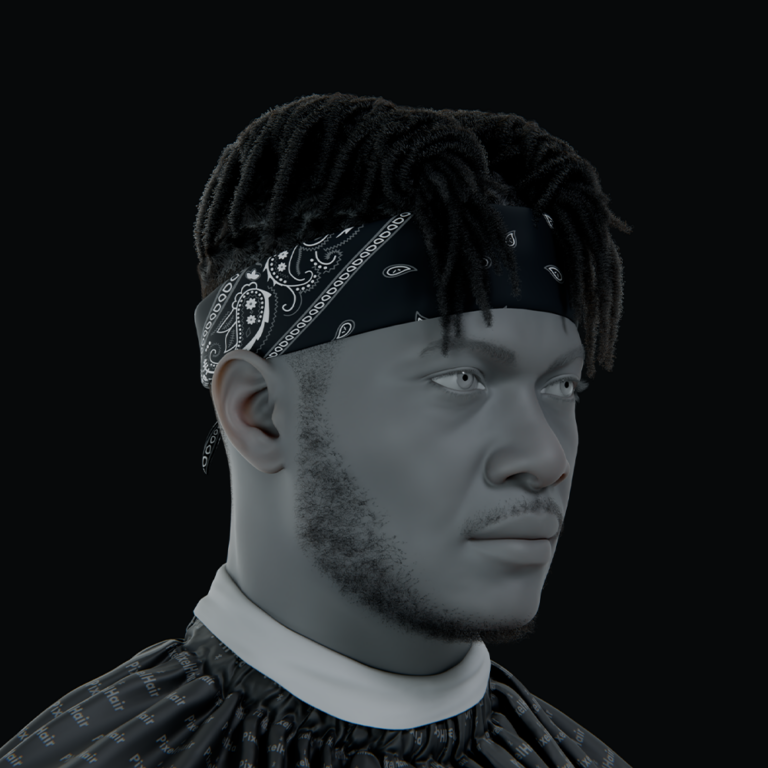
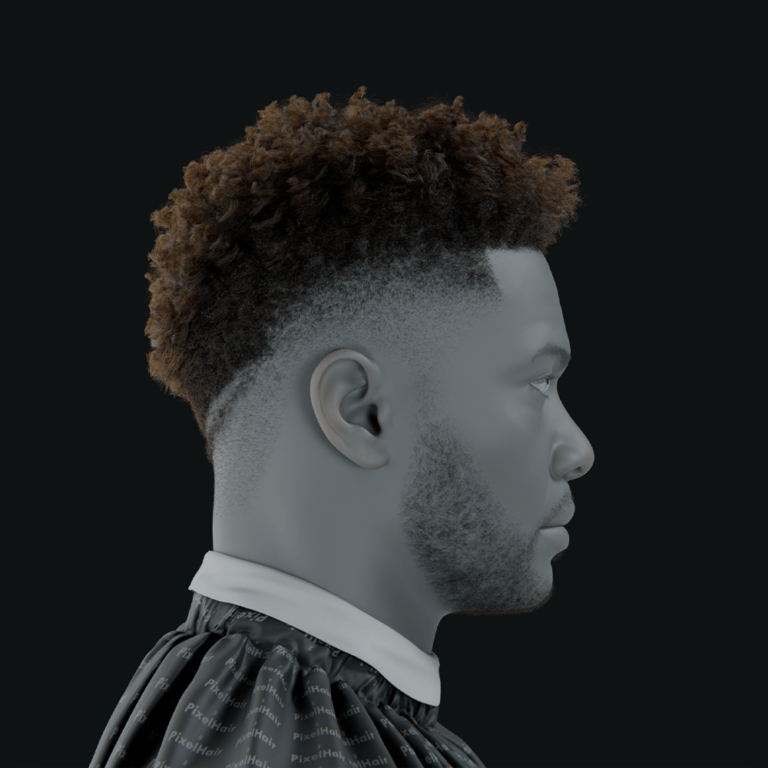
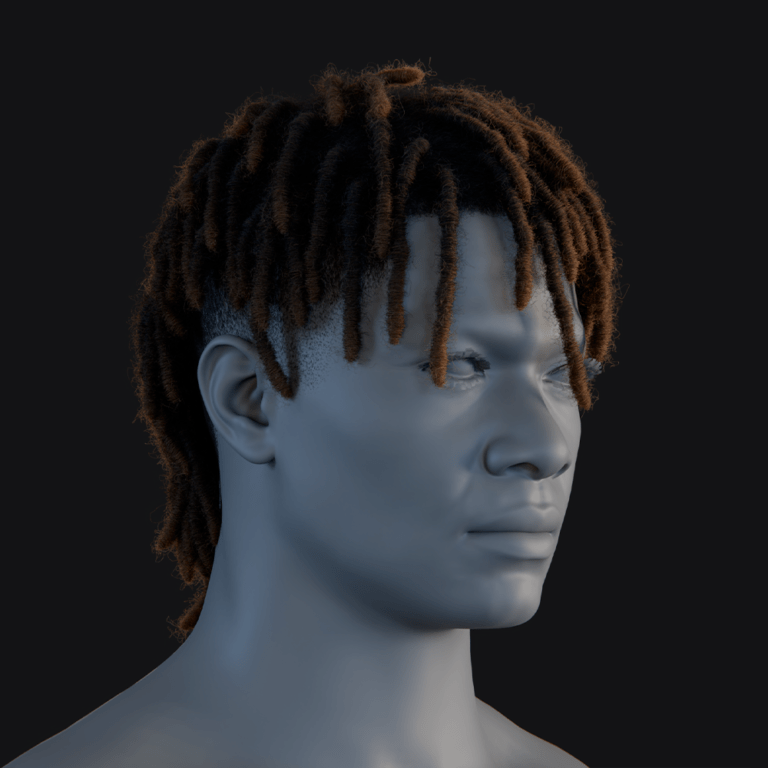
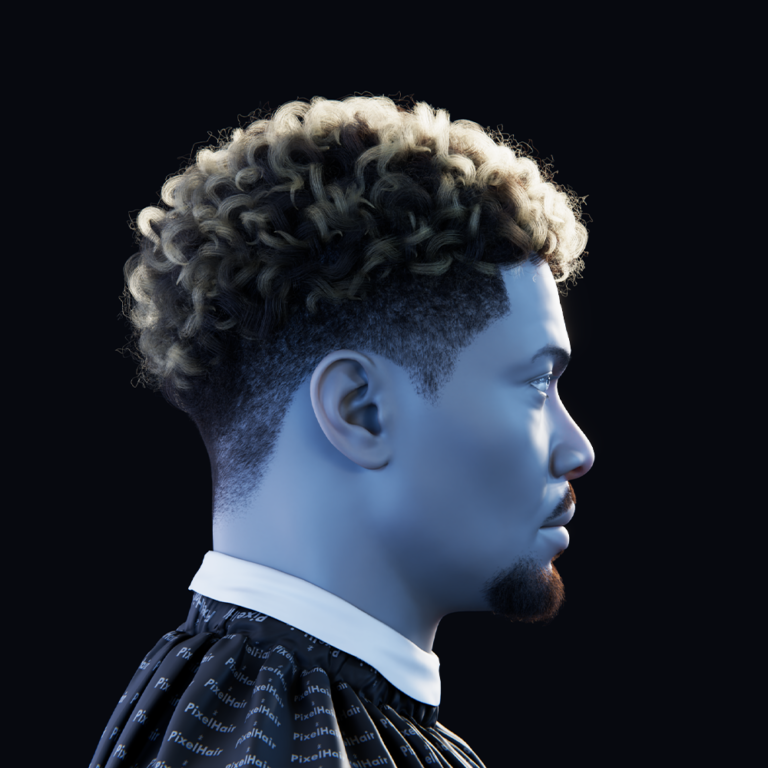
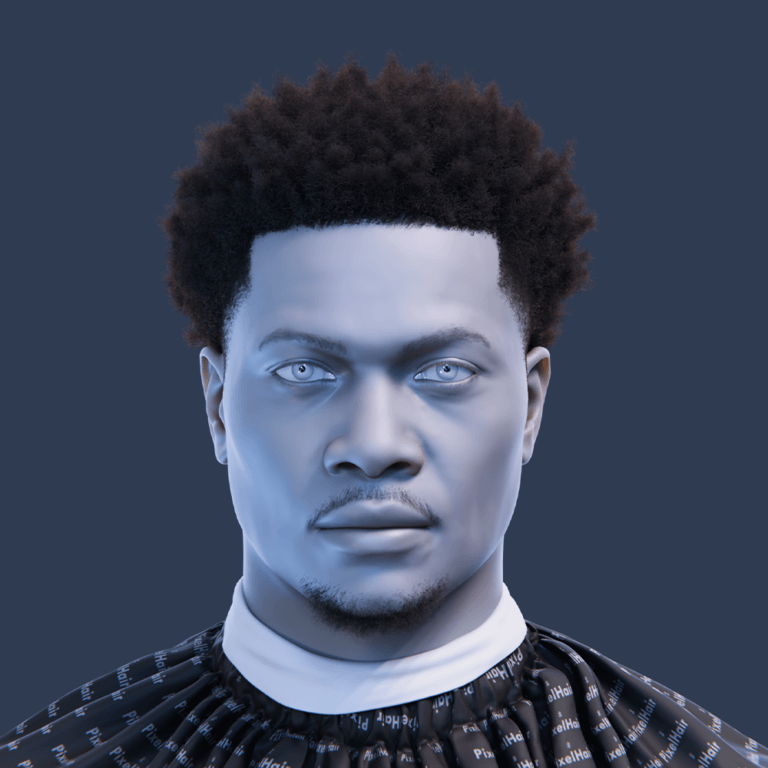
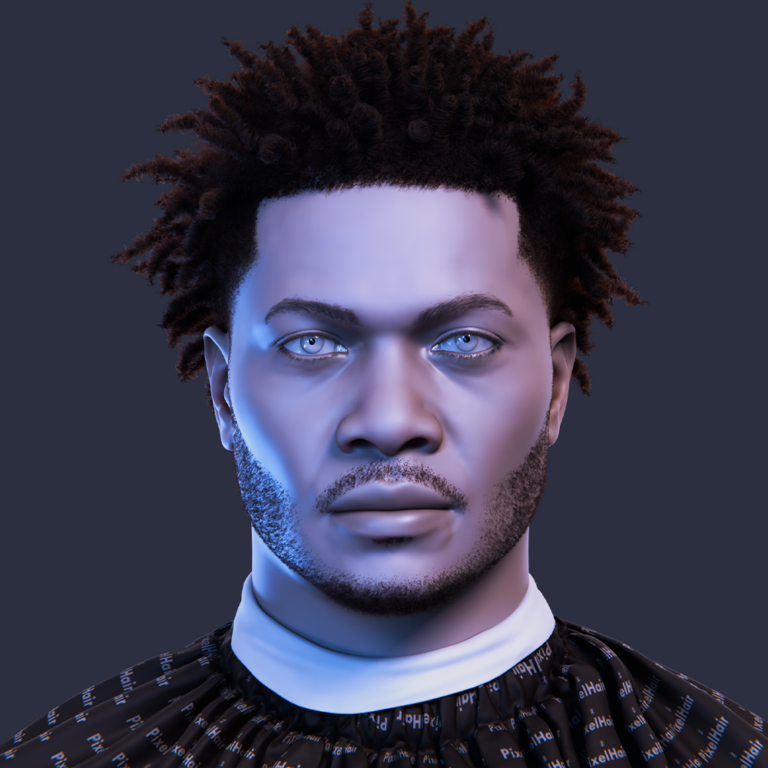
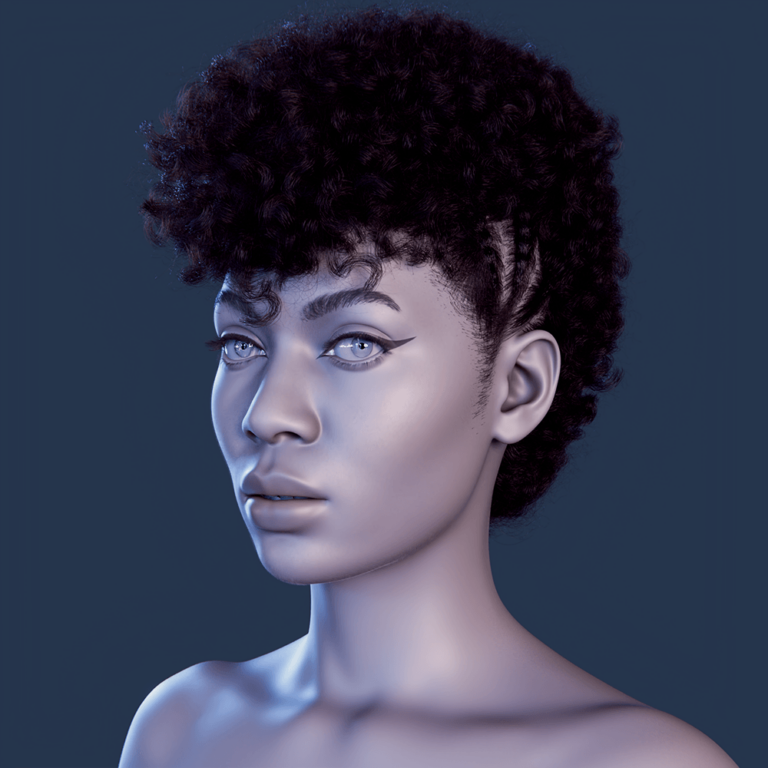
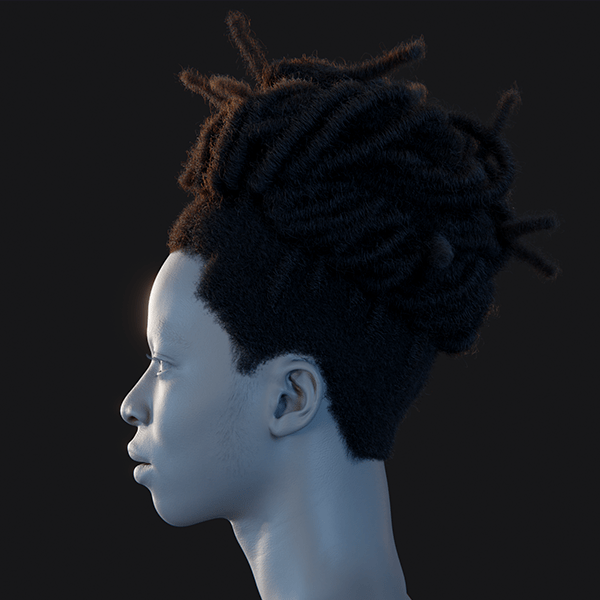
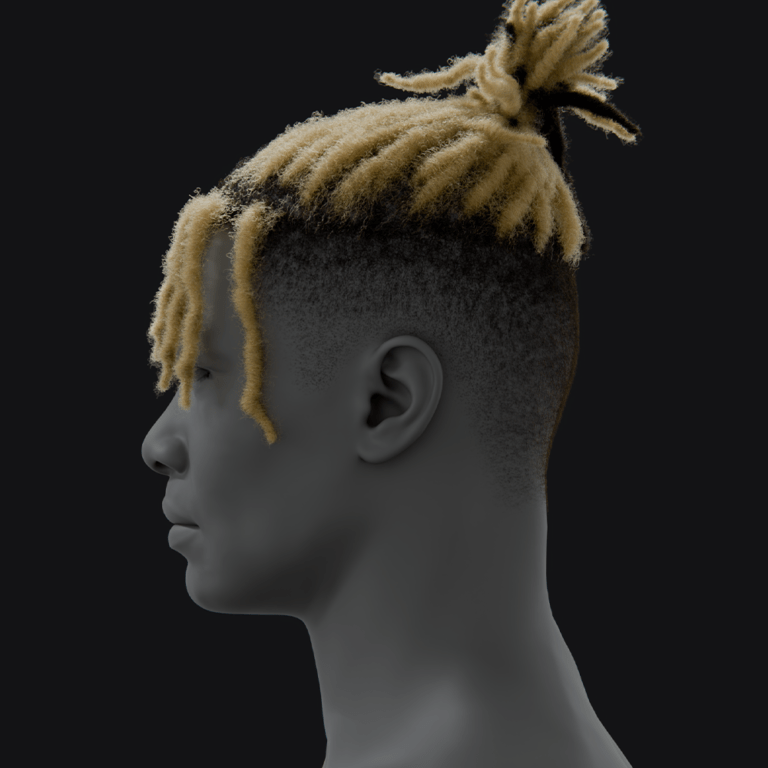
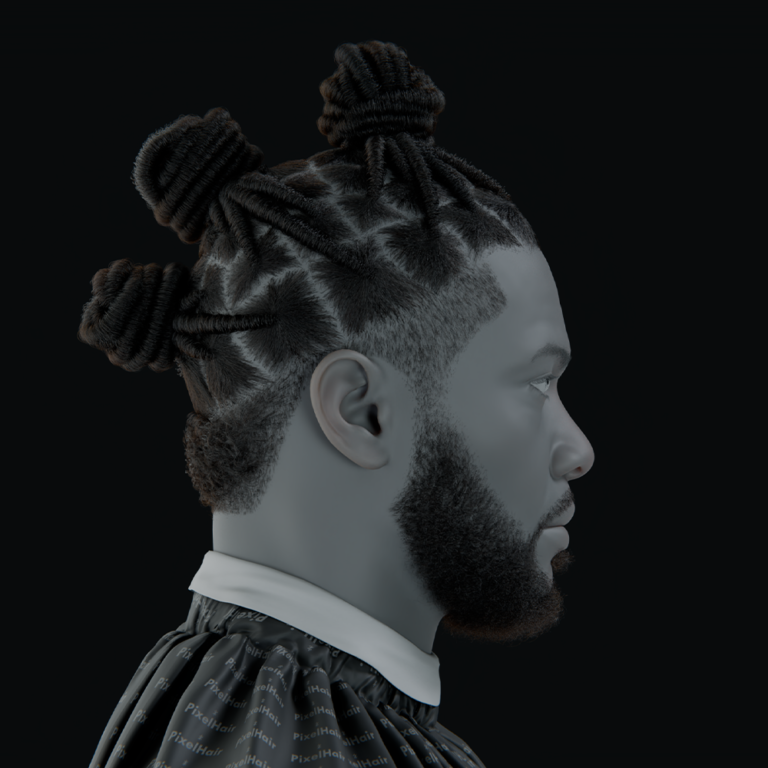
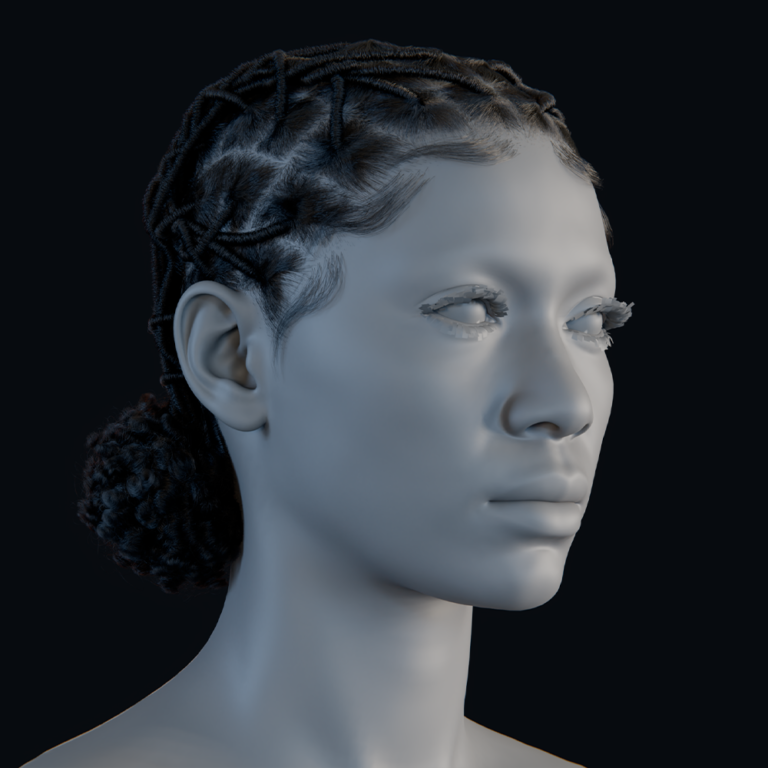
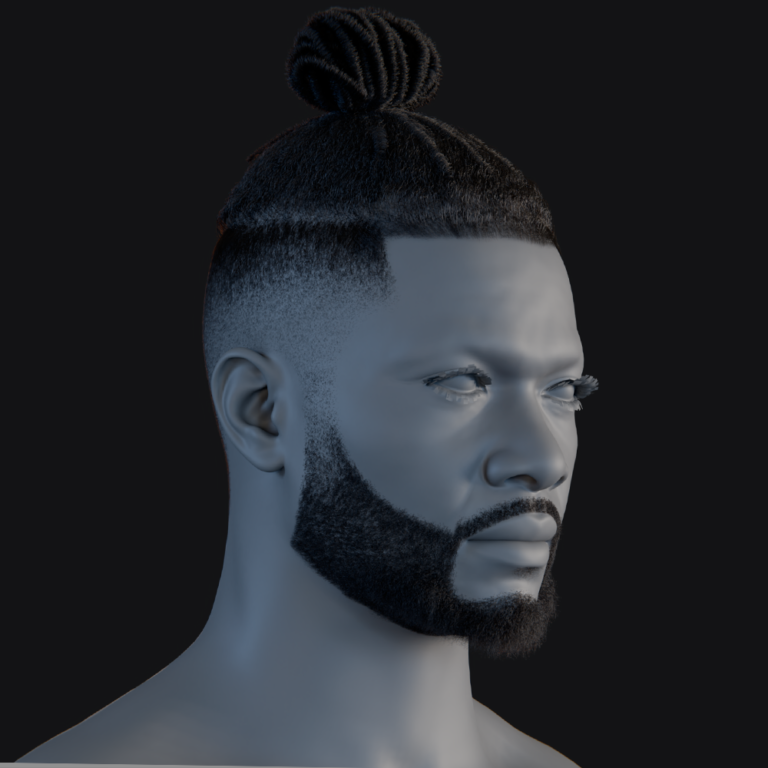
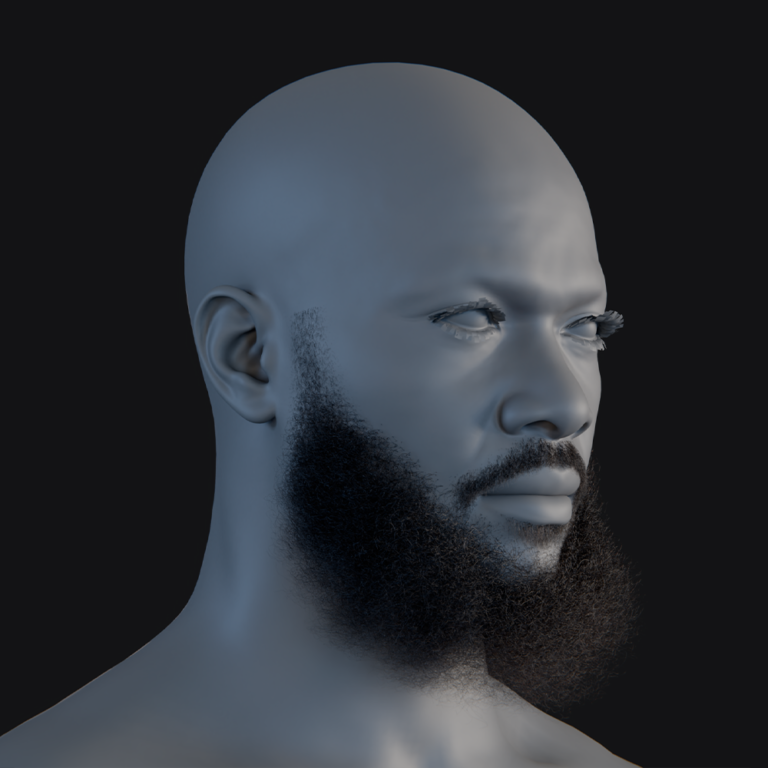
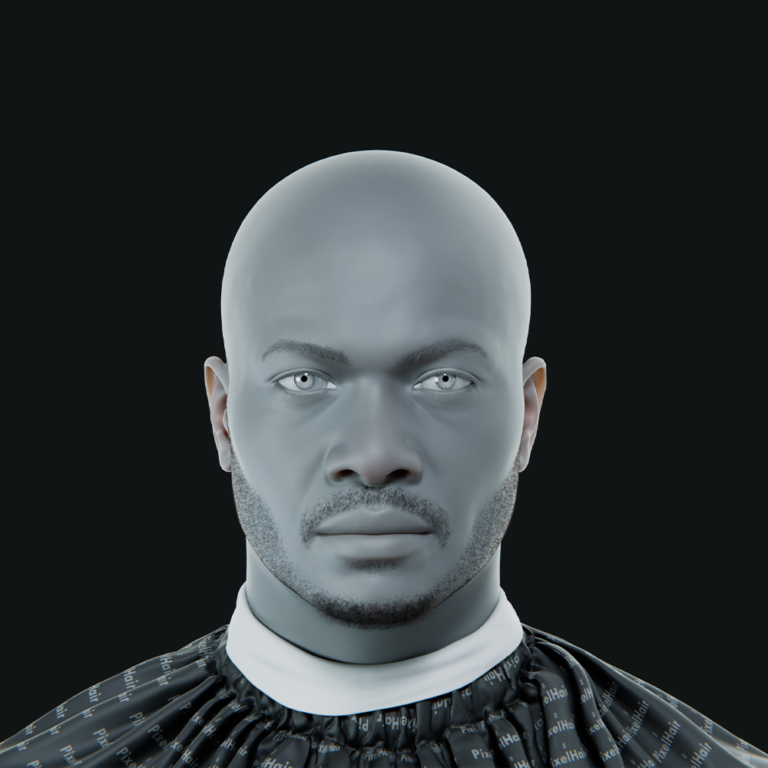
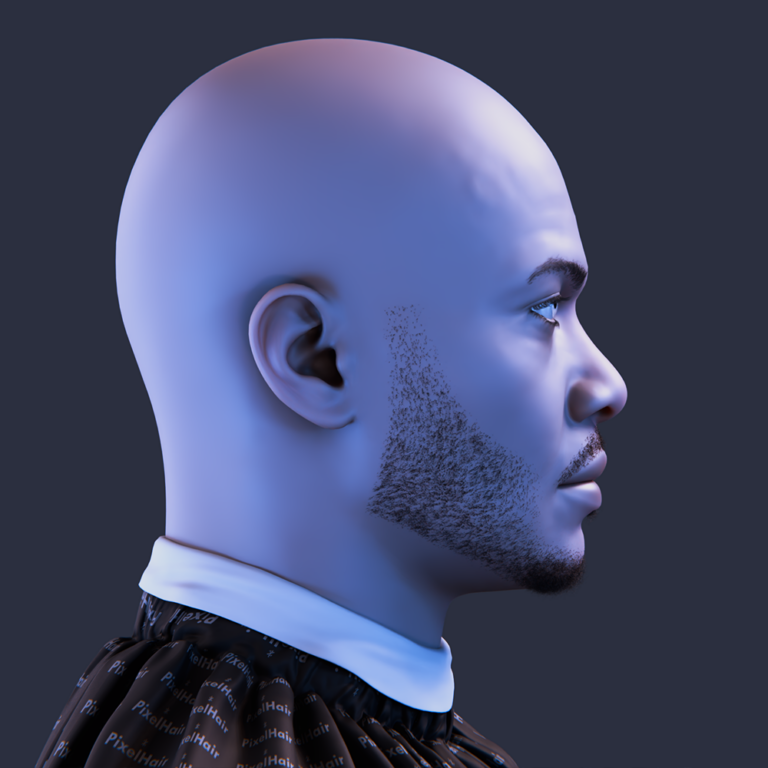
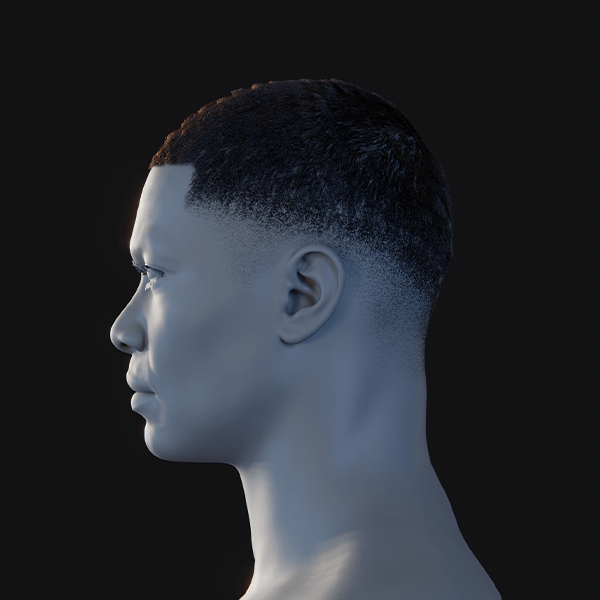
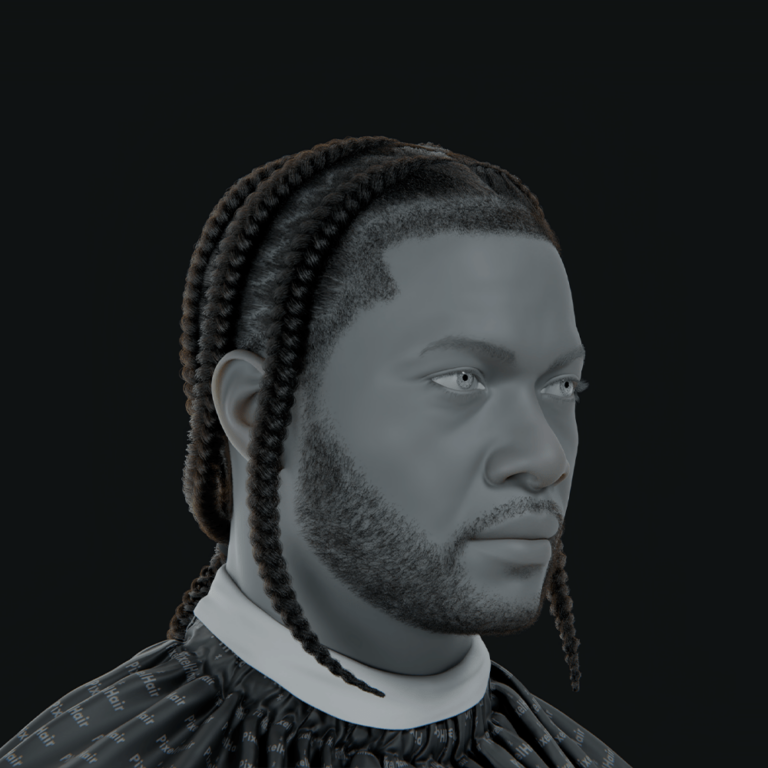
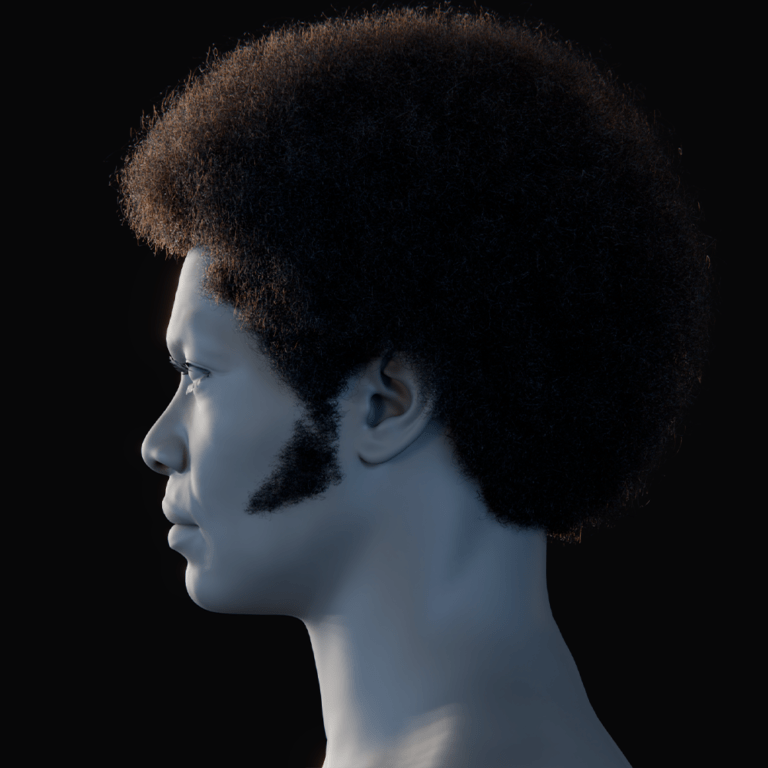
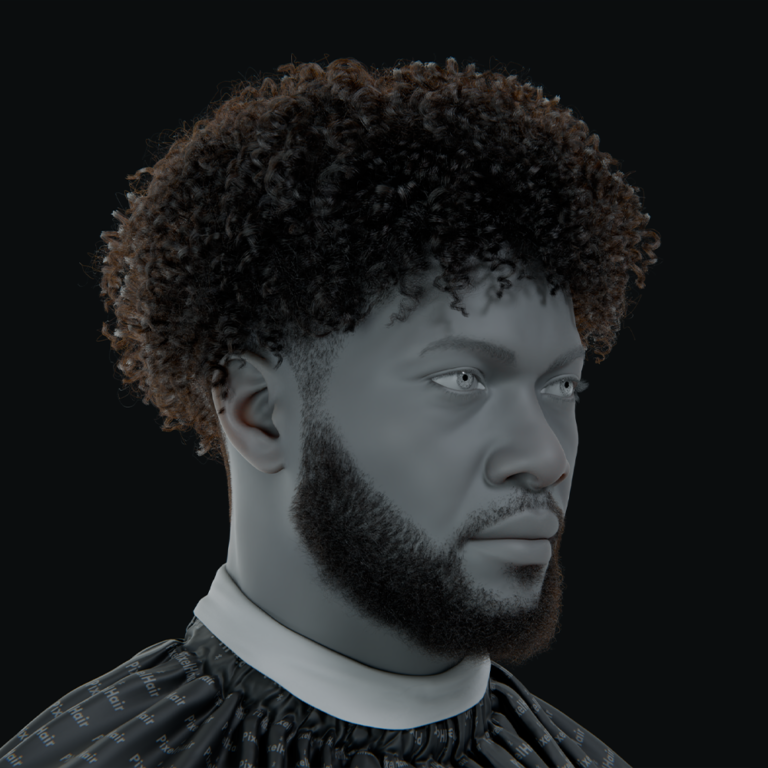
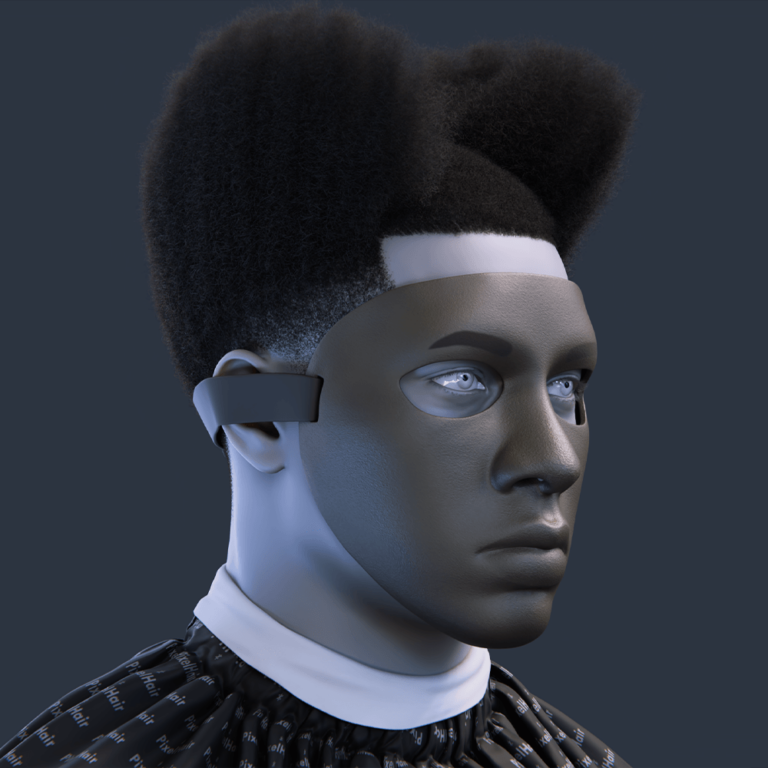
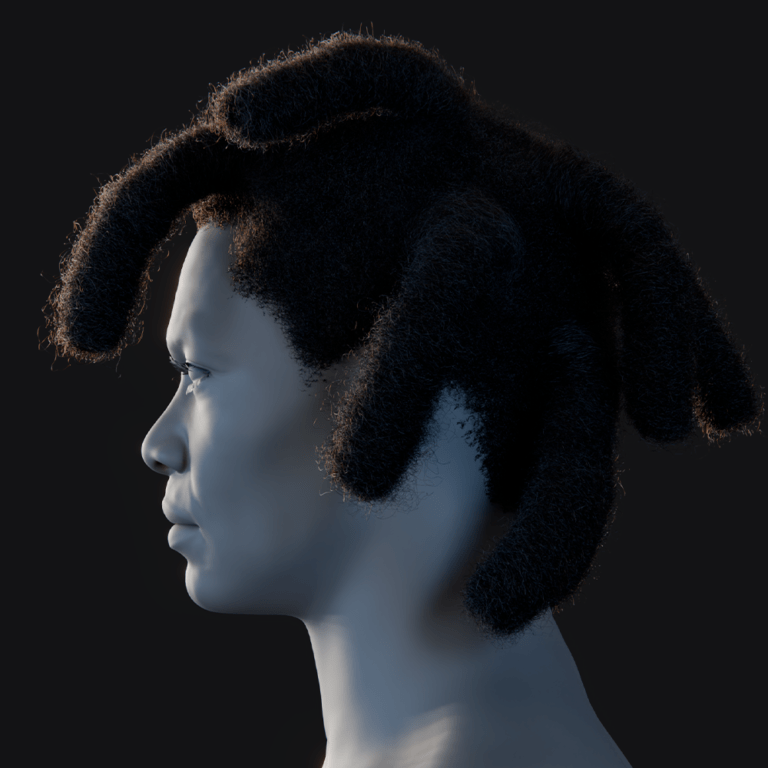
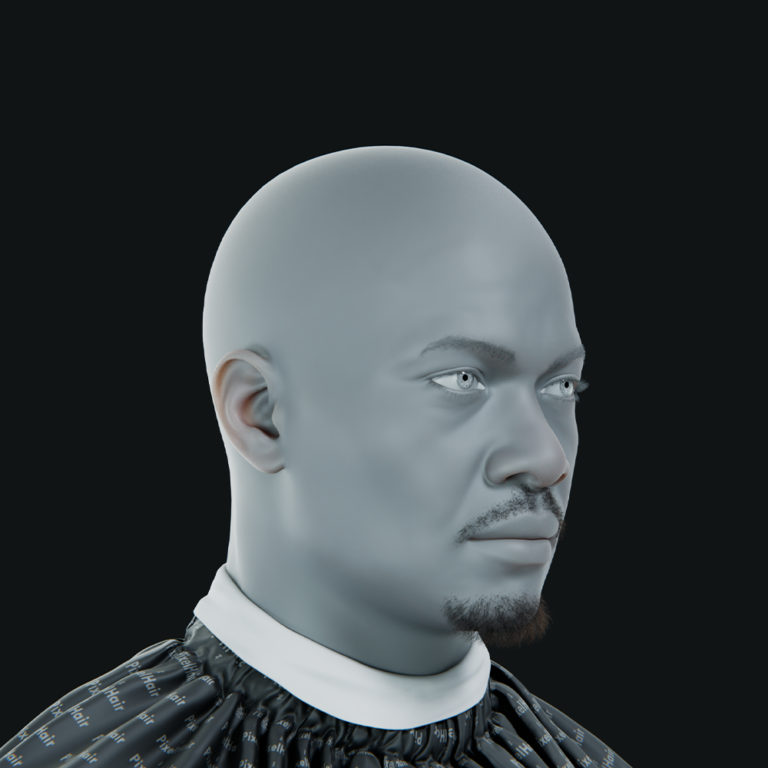
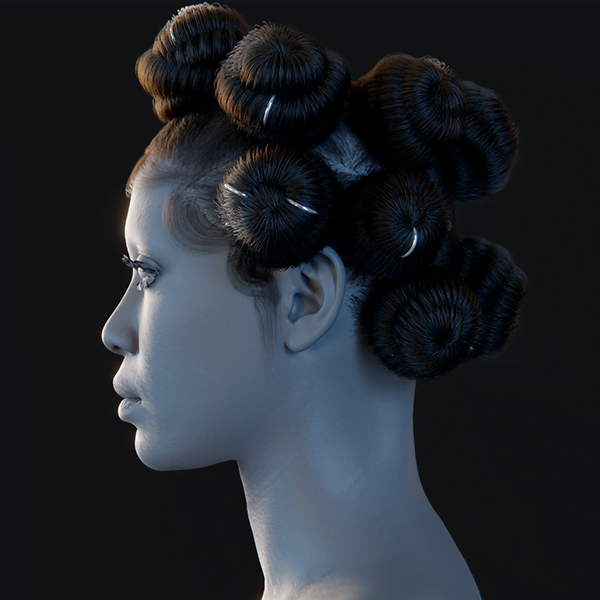
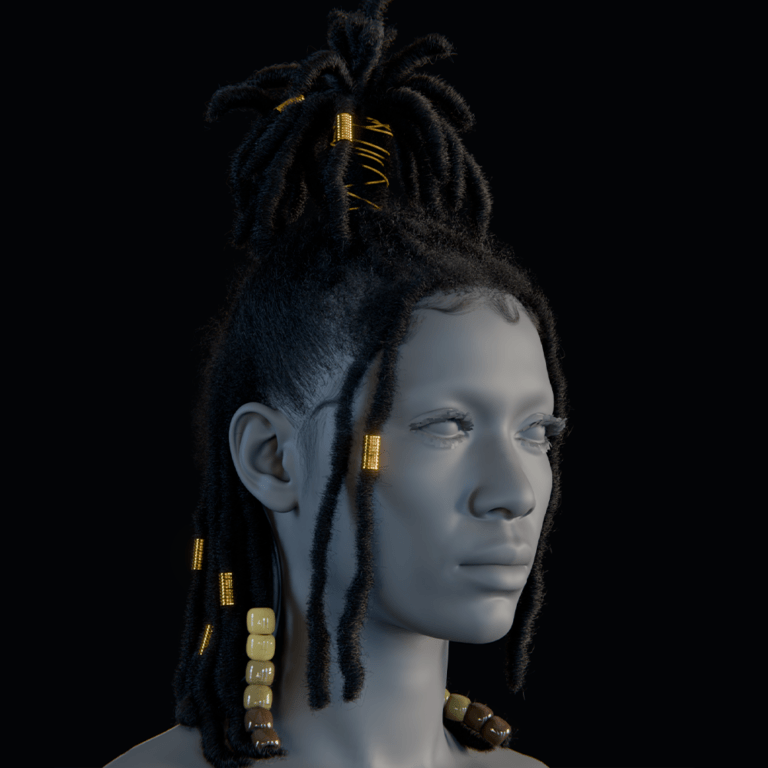
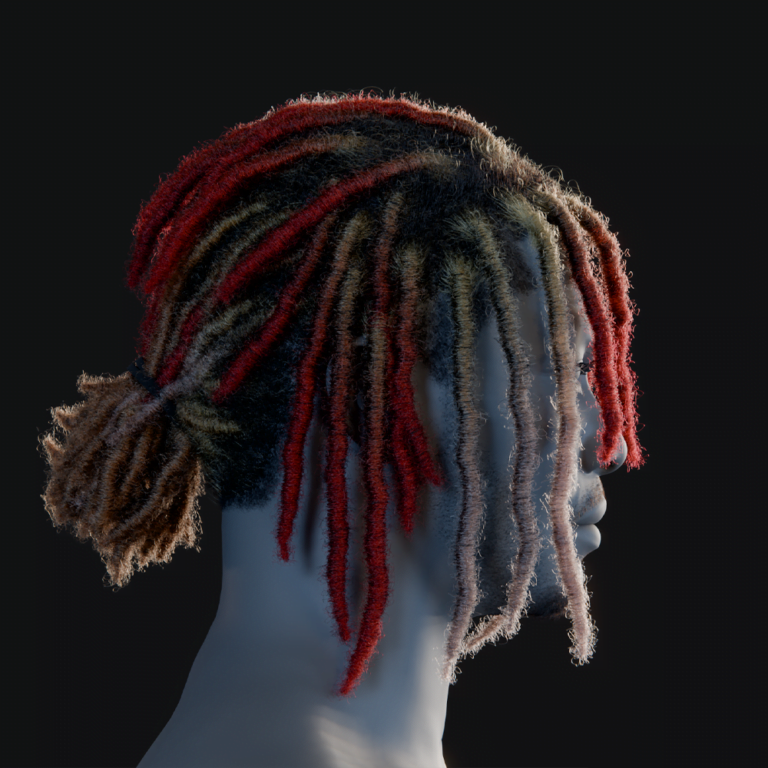
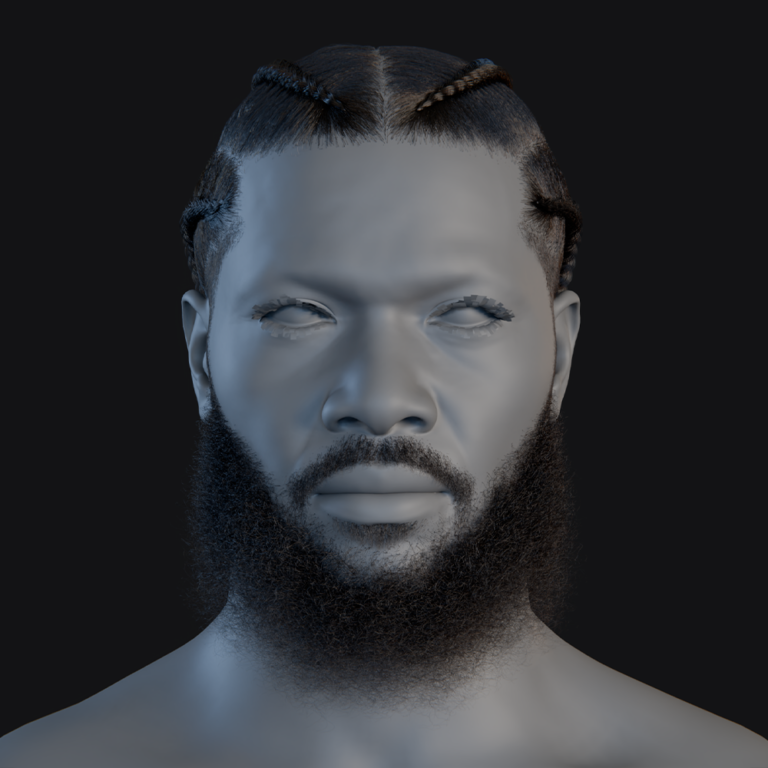
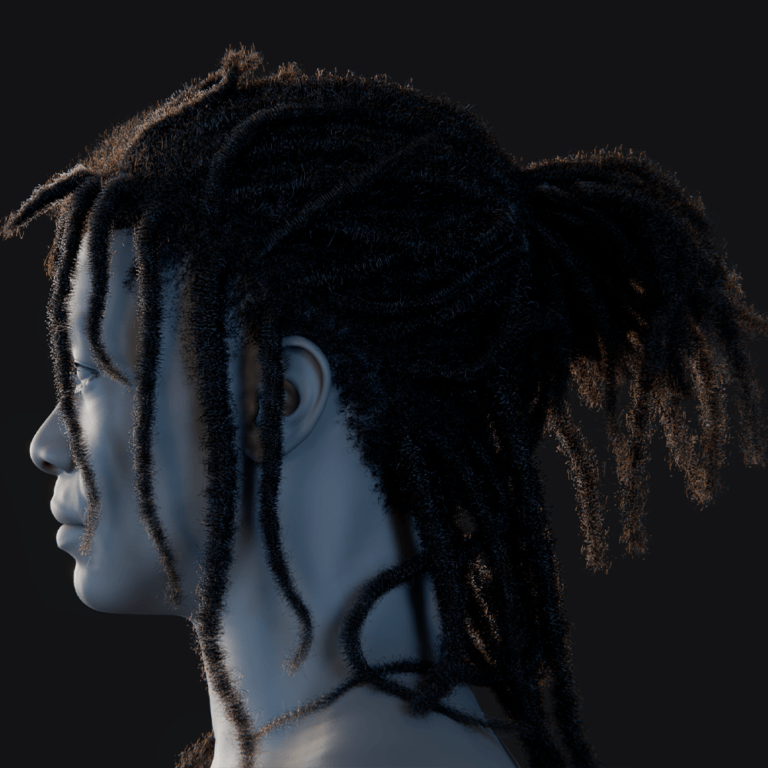
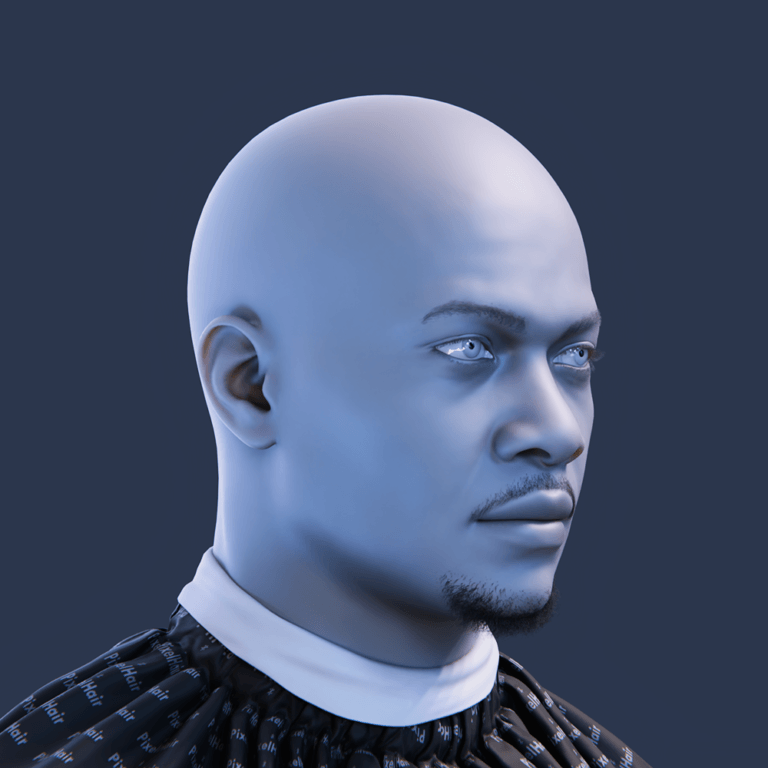
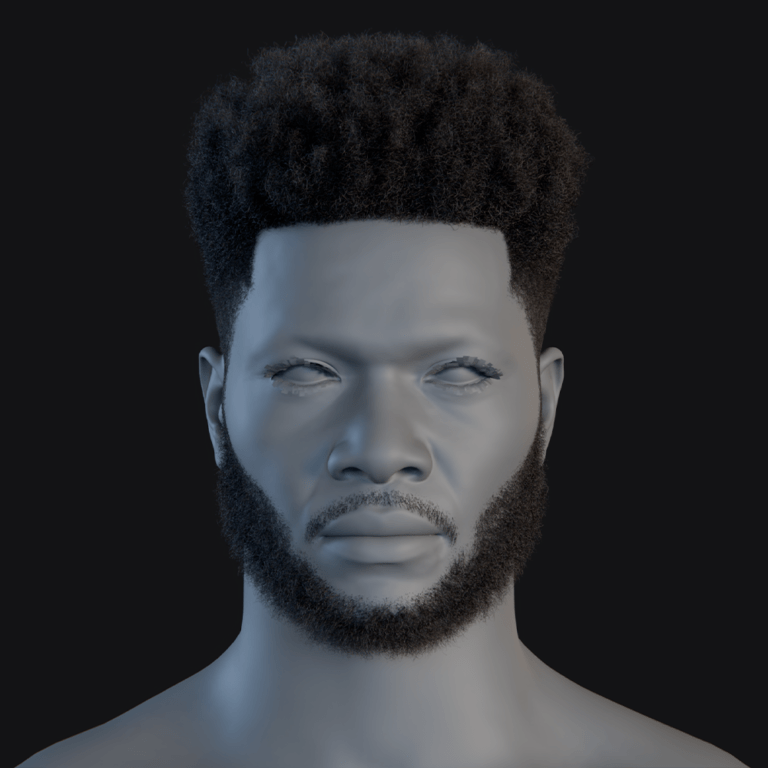
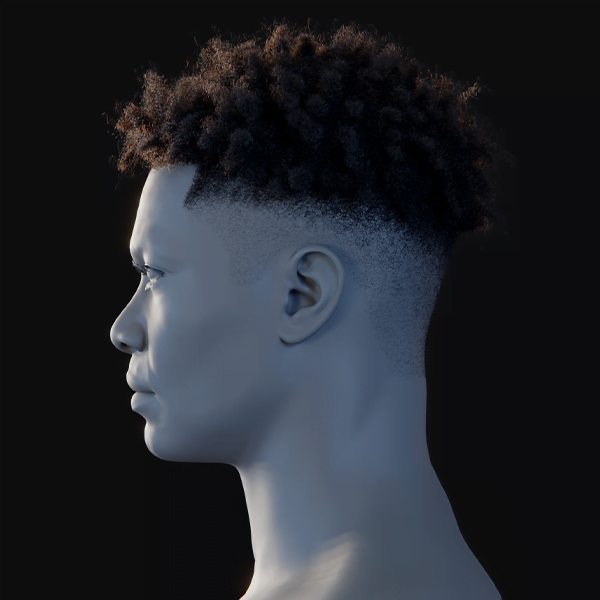
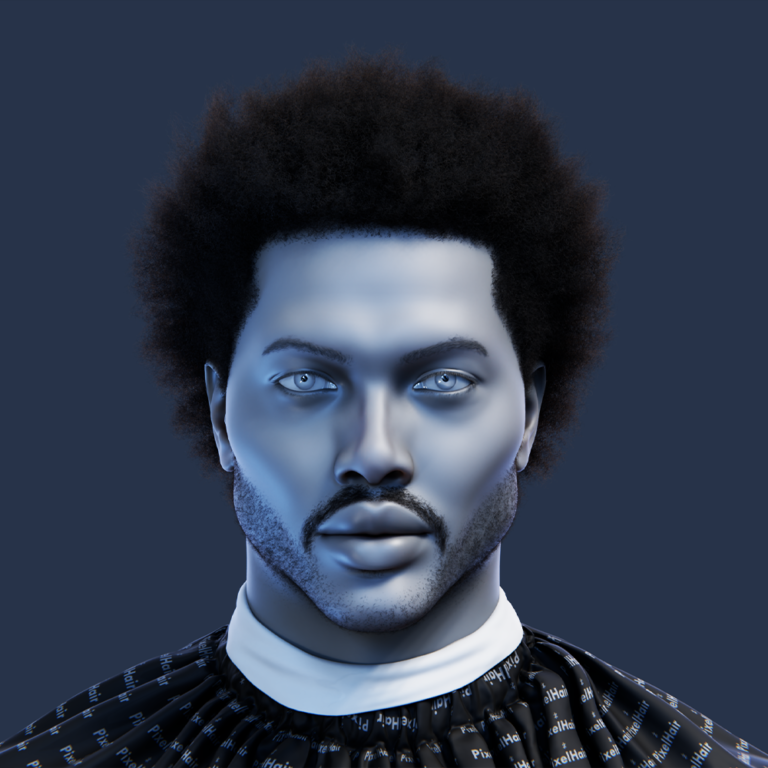
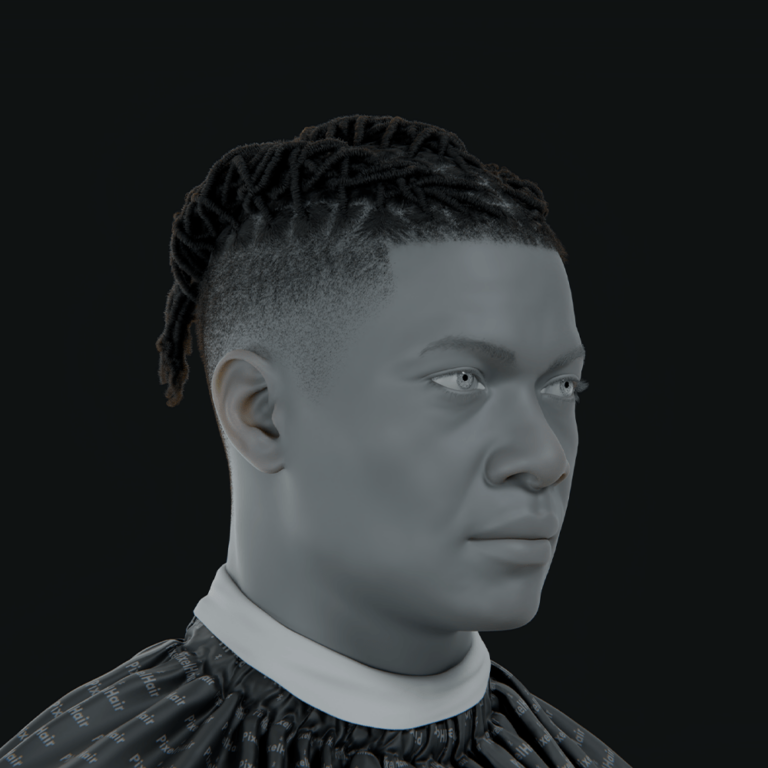
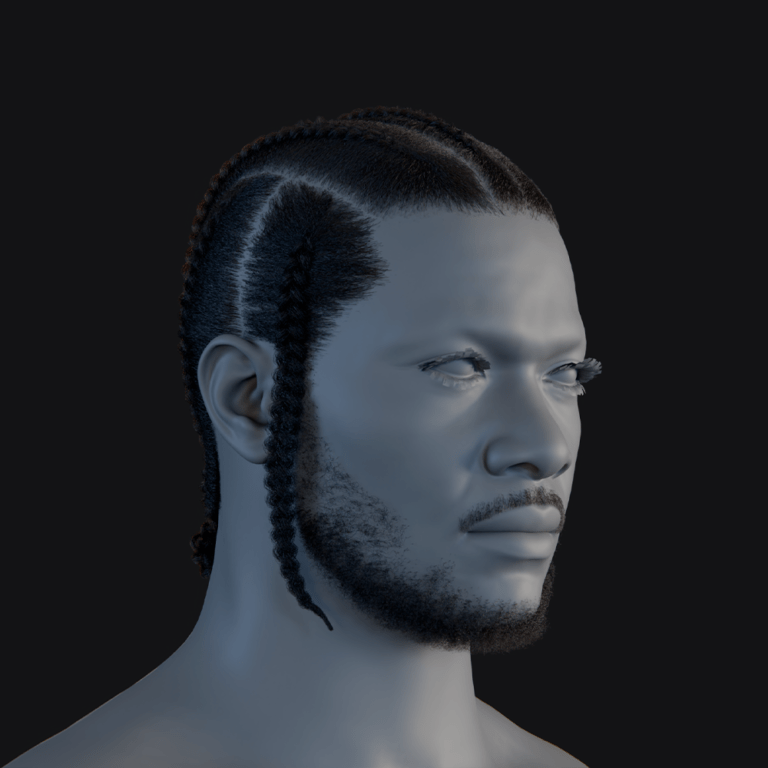
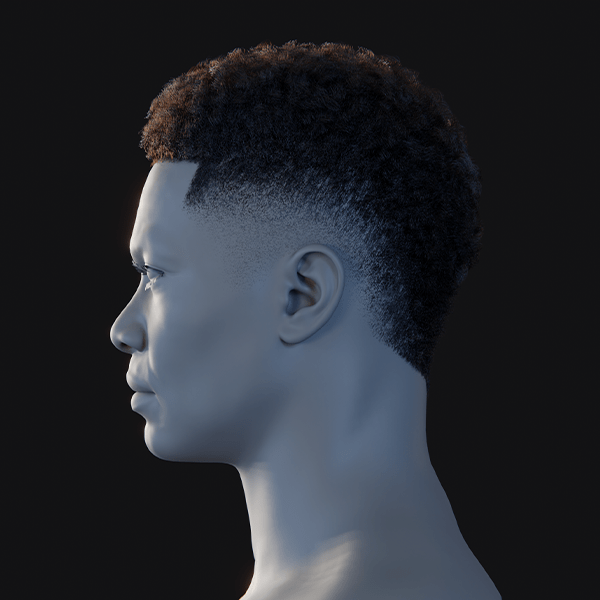
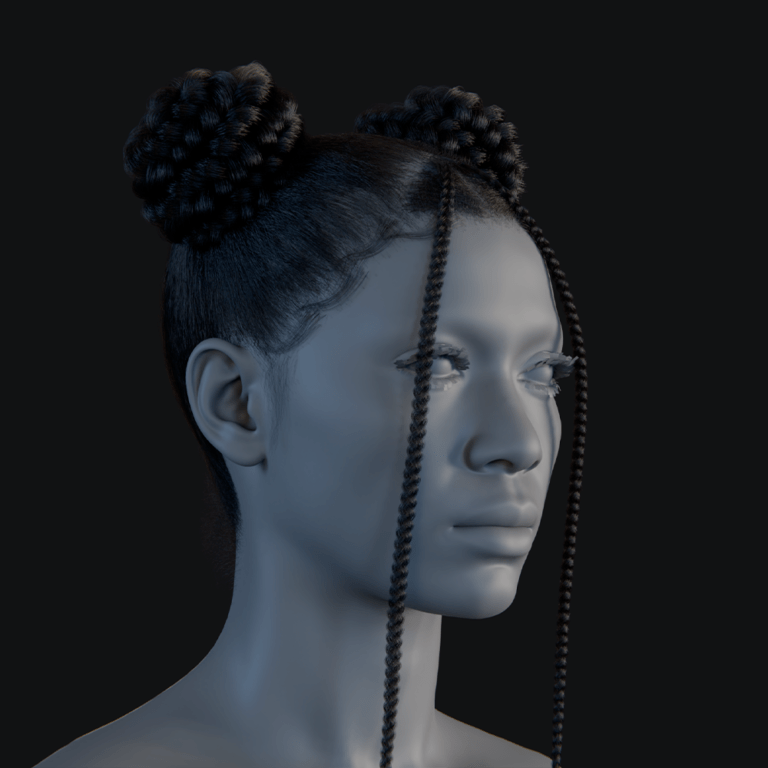
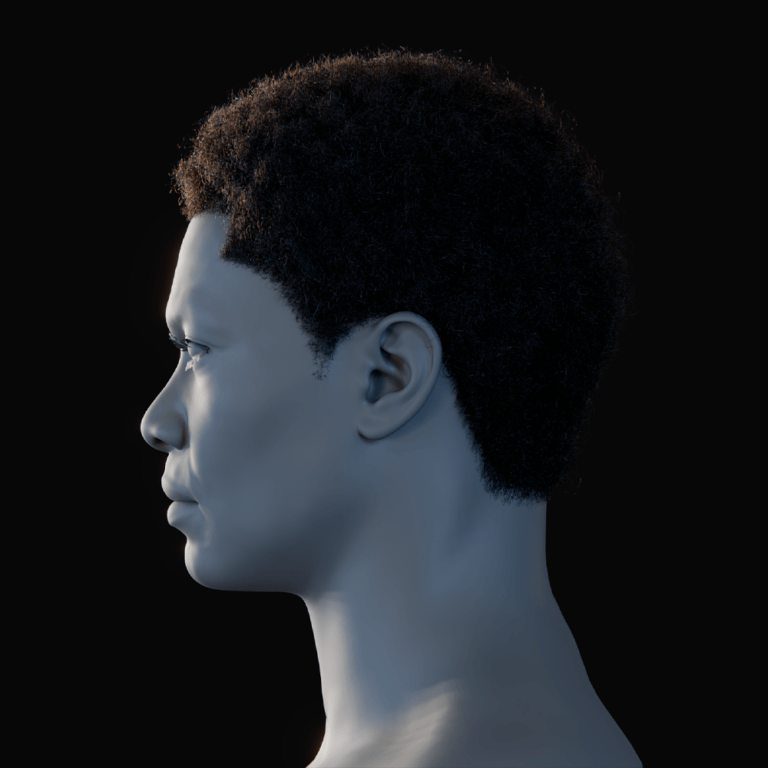
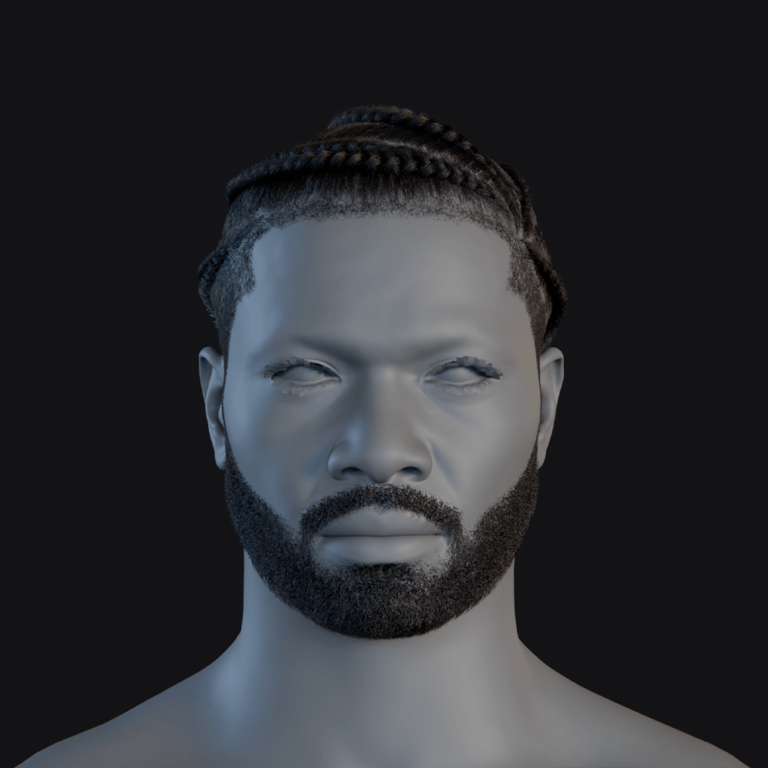
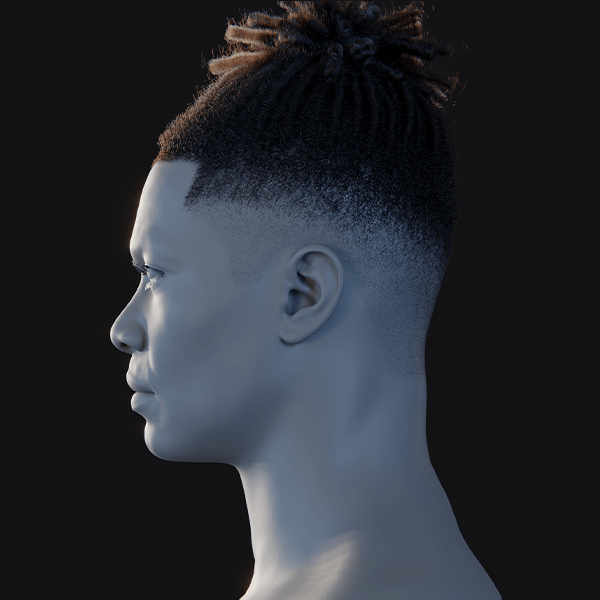
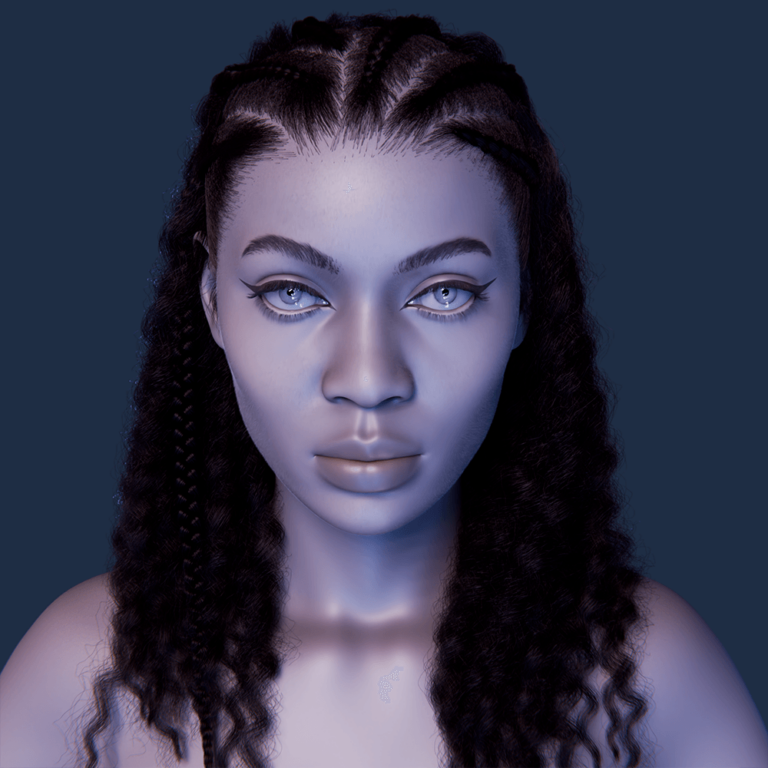
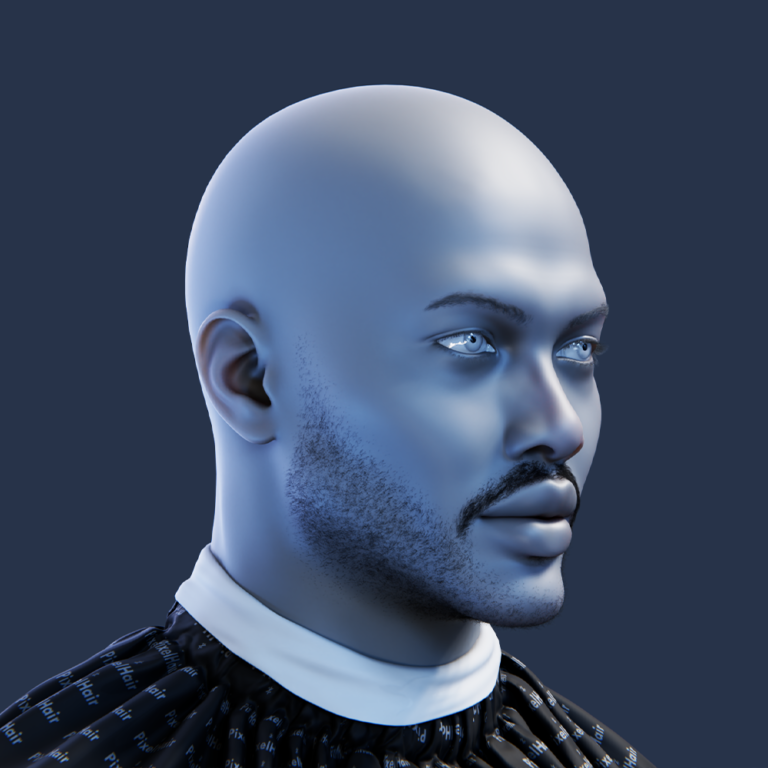
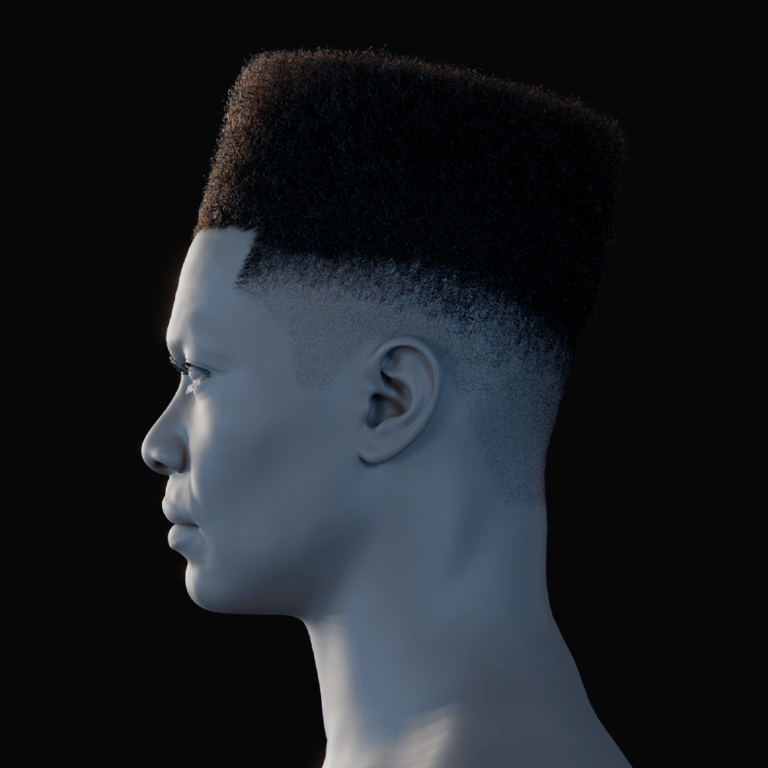
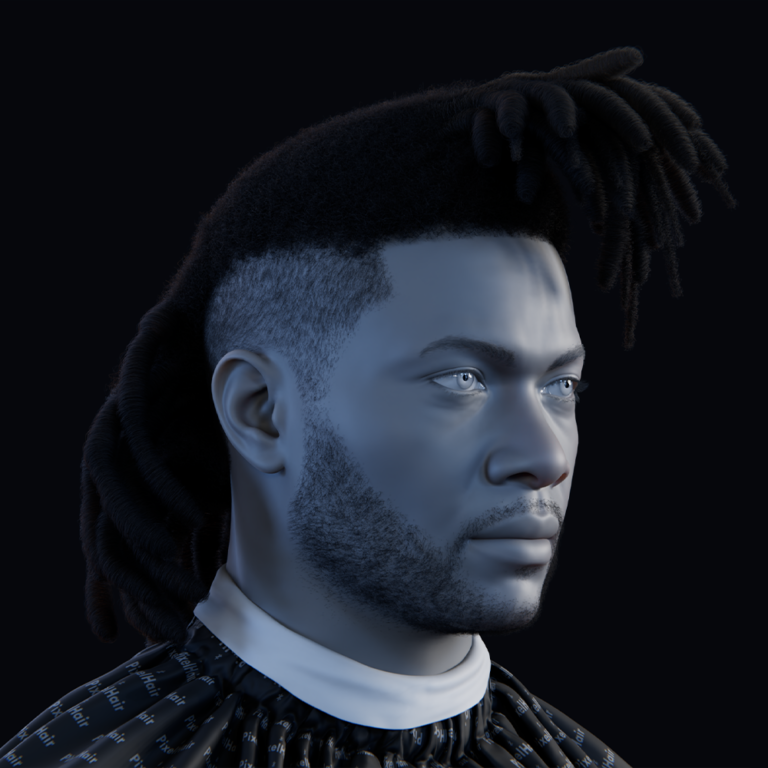
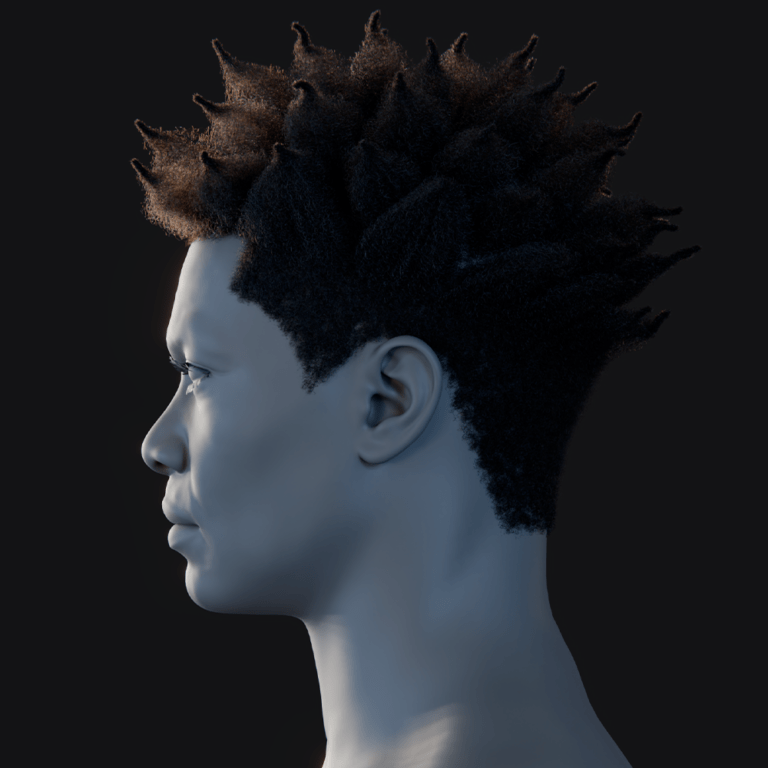
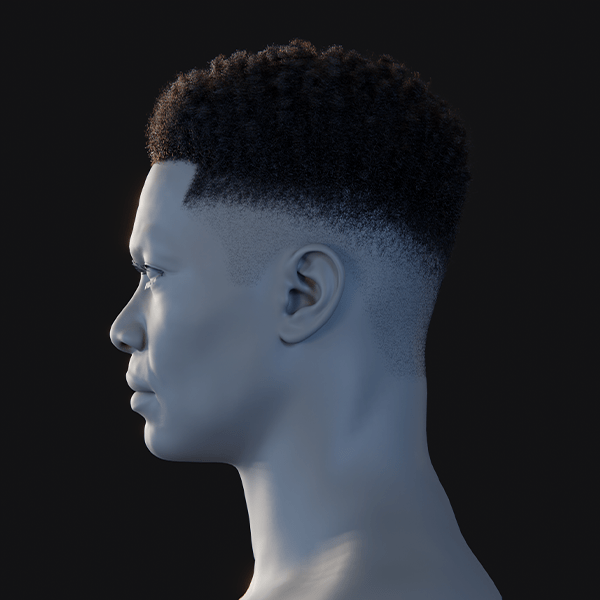
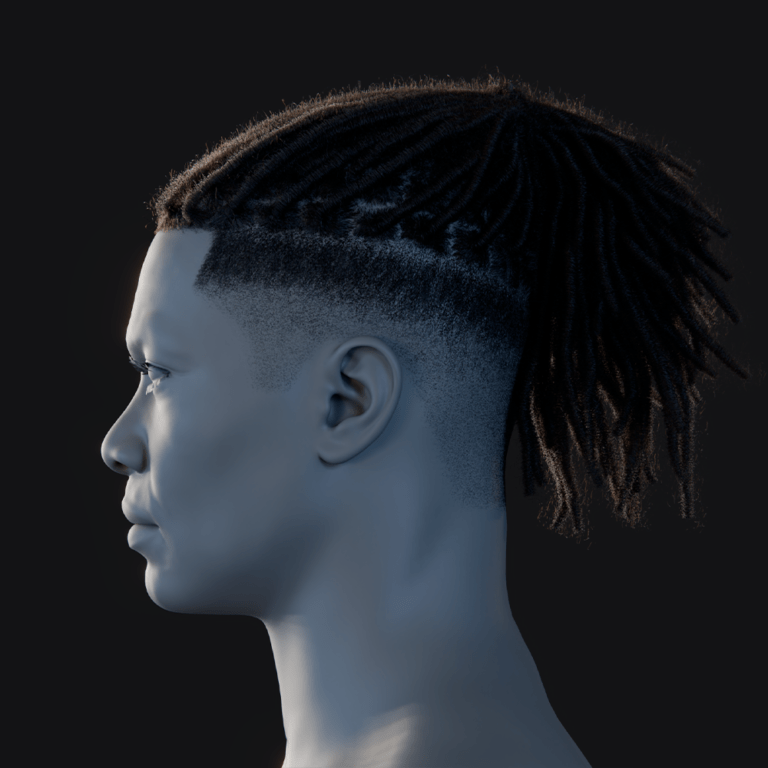
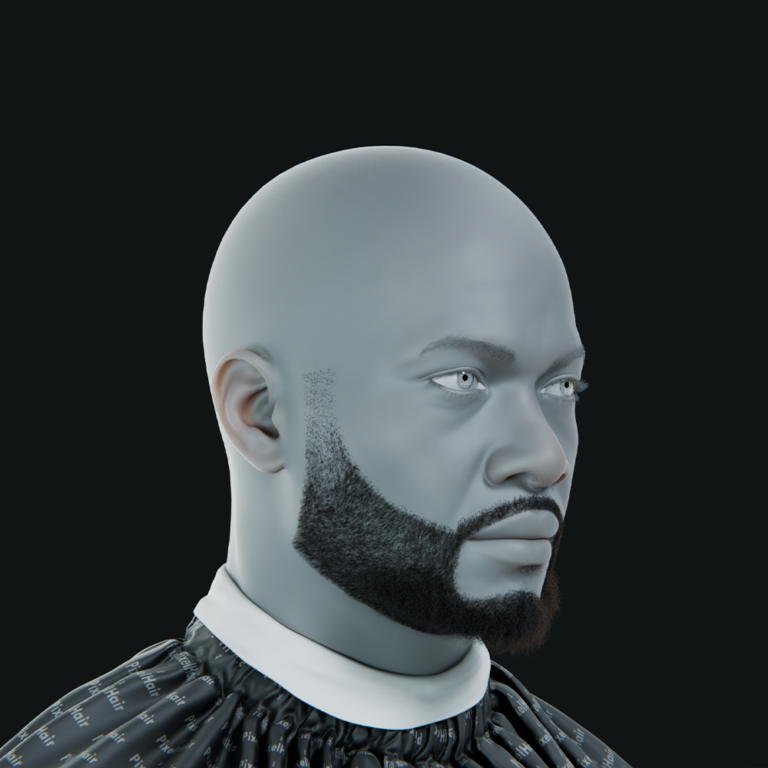
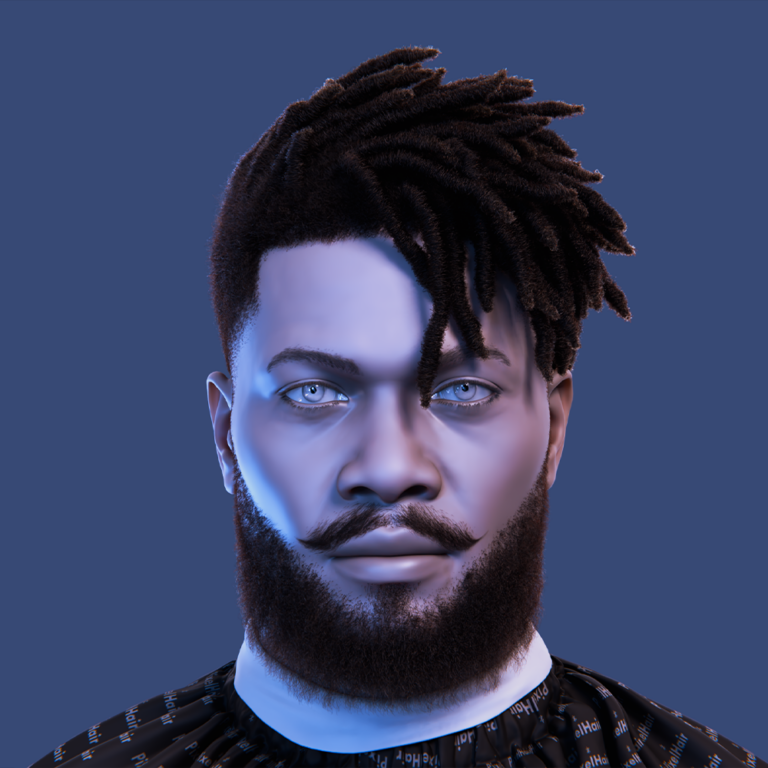
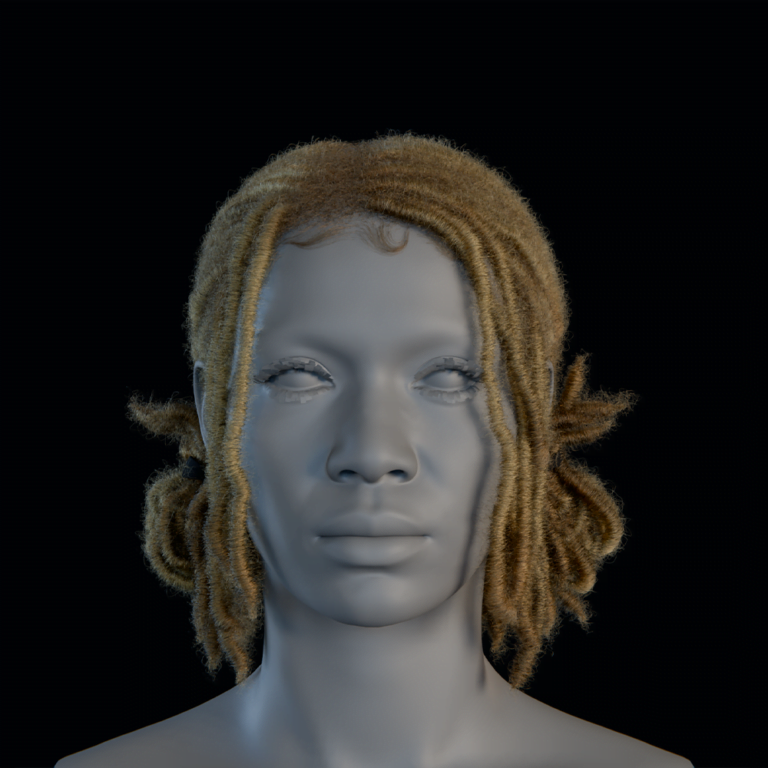
Add custom hair grooms, like those from PixelHair, to replace or enhance default hairstyles. This involves importing Alembic files and attaching them in Unreal or Blender. It’s a way to achieve unique, realistic hair designs. The process elevates character individuality. - Custom Clothing and Accessories:
Model and rig custom outfits or accessories in tools like Marvelous Designer or Blender, then attach them in Unreal. This expands wardrobe options beyond MetaHuman presets significantly. It’s great for period or fantasy characters. The clothing moves naturally with the rig. - Textures and Materials:
Edit MetaHuman textures in Photoshop or Substance Painter to add unique skin details or makeup. This customization refines the character’s appearance with personal touches. It’s a simple way to differentiate faces or add scars. Reapply the textures in Unreal easily. - Facial Morphs (DNA Calibration):
Adjust the MetaHuman DNA file in Unreal to push facial morphs for extreme or subtle changes. This technical tweak offers deeper control over feature shapes. It’s useful for fine-tuning beyond sliders. The DNA system is powerful but requires experimentation. - Animation and Posing Customization:
Create custom animations using Unreal’s Control Rig or external tools like Blender for unique motions. This lets you define signature poses or expressions tailored to the character. It’s a step up from default animation sets. The rig supports complex adjustments well. - Non-Human Adjustments (Limited):
Use textures, prosthetics, or mesh edits to create stylized non-human looks like aliens, within limits. This stretches MetaHuman’s realistic base creatively, though it’s not its strength. It’s best for subtle deviations from human norms. Results depend on artistic skill.
These methods unlock greater flexibility while preserving MetaHuman’s core quality. They cater to advanced users seeking bespoke characters.
Is Character Creator 3 (CC3) good for building stylized and realistic characters?
Yes, Character Creator 3 (CC3) excels at crafting both stylized and realistic characters with its adaptable tools. Its strengths include:
- Morphable Base Mesh:
The base mesh adjusts via sliders for realistic or exaggerated features like big anime eyes or lifelike faces. This flexibility supports a wide range of artistic styles easily. It’s a core feature for diverse character designs. You can morph from subtle to cartoonish effortlessly. - Realistic Characters:
CC3’s SkinGen and PBR texturing tools deliver detailed, lifelike skin and materials for realism. This competes with high-end tools when fully utilized. It’s ideal for projects needing photorealistic humans. The results hold up in close-up renders. - Stylized Characters:
It supports cartoonish proportions and toon shaders for playful or exaggerated designs effectively. This makes it a go-to for anime or fantasy characters. It’s easy to push features beyond realism. The shader options enhance the stylized look. - Material and Shader Adjustability:
Materials can be tuned for realistic PBR or stylized toon effects, adapting to your project’s needs. This versatility ensures visual consistency across styles. It’s a technical advantage for rendering control. You can switch styles without changing tools. - Content Libraries:
CC3 offers morph packs and assets for instant variety in both realistic and stylized forms. This library speeds up design with pre-made options. It’s a time-saver for iteration or prototyping. The content spans multiple genres and looks. - Fully-Rigged Output:
Every character exports with a full rig, ready for animation regardless of style chosen. This ensures stylized or realistic models move naturally. It’s a practical feature for animators. The rigging quality is reliable across designs. - Body and Face Adjustments:
Independent morphs for body and face allow detailed customization for any character type. This granularity supports unique builds and expressions consistently. It’s key for matching specific concepts. Adjustments are intuitive and precise.
CC3’s dual capability makes it a strong choice for projects needing varied character styles. Its tools balance ease and depth effectively.

How do I generate a character in CC3 and export to Blender or UE5?
Generating and exporting a character from CC3 to Blender or Unreal Engine 5 (UE5) is straightforward. Here’s the process:
- Design/Generate the Character in CC3:
Use morph sliders, presets, or the Headshot plugin to design your character from scratch or photos. This step shapes the face and body to your specs quickly. It’s flexible for realistic or stylized results. CC3’s interface makes it accessible and fast. - Exporting to Unreal Engine (UE5):
- Install CC3 Auto-Setup for Unreal: Download and install the Auto-Setup plugin for UE5 to streamline imports. This tool ensures materials and skeletons align with Unreal’s system. It’s essential for a smooth workflow. Setup is quick and automated.
- Export from CC3 as FBX (Unreal Target): Choose the Unreal preset in CC3, exporting meshes, textures, and rig together. This preset optimizes the character for UE5’s pipeline directly. It’s a one-click process with reliable output. The FBX is ready for Unreal instantly.
- Import into Unreal: Use Auto-Setup in UE5 to import the FBX, automatically applying materials and rig settings. The character becomes a rigged Skeletal Mesh ready for use. It’s efficient for animation or scenes. Unreal’s tools enhance it further.
- Exporting to Blender:
- Export FBX (Blender Target): Select the Blender preset in CC3 to export meshes, textures, and rig as an FBX file. This ensures basic compatibility with Blender’s structure. It’s a simple export tailored for Blender users. Textures may need manual linking later.
- Import in Blender: Import the FBX into Blender, then reconnect textures manually if they don’t load automatically. The character arrives with its armature intact for posing. It’s a quick setup with minor adjustments. Blender recognizes the rig fully.
- Verify and Tweak:
- In Unreal: Check physics settings or retarget animations in UE5 to ensure functionality. This step confirms the character works in your project. It’s a fast verification process. Adjustments are minimal with Auto-Setup.
- In Blender: Test poses and add IK constraints if needed to enhance the rig for animation. This ensures the character moves as intended in Blender. It’s a simple tweak for better control. The rig is solid out of the box.
CC3’s export options make it easy to integrate characters into Blender or UE5 workflows. The process is efficient and adaptable.
What are the differences between Metahuman and CC3 in terms of realism?MetaHuman and CC3 differ significantly in their approach to realism. Here’s a breakdown:
- Visual Fidelity:
MetaHuman uses 4K textures and strand-based hair for unmatched photorealism in real-time. This sets a high bar for visual quality out of the box. CC3 offers good realism but requires SkinGen or tweaks to approach MetaHuman’s level. MetaHuman wins in default detail. - Character Detail & Geometry:
MetaHuman’s higher poly counts, especially for faces, provide superior detail and smoothness. This enhances close-up realism significantly in renders. CC3 uses lower poly meshes that are optimizable but less detailed initially. MetaHuman excels in raw geometry quality. - Materials and Shaders:
MetaHuman’s shaders are pre-optimized for Unreal Engine, delivering lifelike skin and eyes effortlessly. This integration ensures top-tier results in UE5. CC3’s materials need manual tuning for comparable realism across engines. MetaHuman has the edge in shader ease. - Facial Animation Realism:
MetaHuman’s advanced facial rig with detailed blendshapes offers nuanced, lifelike expressions natively. This makes animations feel natural and subtle. CC3’s blendshapes are simpler and less refined by default, needing work for parity. MetaHuman leads in animation depth. - Variety of Realism:
MetaHuman focuses on realistic adult humans with limited stylization options currently. This narrows its scope to photorealism primarily. CC3 supports a broader range, from realistic to stylized, across ages and styles. CC3 is more versatile overall. - Engine/Rendering Context:
MetaHuman shines in Unreal Engine with native optimization for its rendering pipeline. This makes it ideal for UE5-specific projects exclusively. CC3 adapts to multiple engines like Blender or Unity with flexible exports. CC3 offers wider engine support. - Realism vs Performance:
MetaHuman’s high detail comes with heavier resource demands, suited for powerful systems. This trade-off prioritizes realism over broad accessibility. CC3 balances performance and realism better for varied hardware. CC3 is lighter and more practical.
MetaHuman prioritizes hyper-realism within Unreal, while CC3 offers adaptable realism across platforms and styles. Your choice depends on project needs.

How can PixelHair be used to add custom, realistic hairstyles to characters made in Blender, CC3, or Metahuman?
PixelHair provides premade, realistic hair assets to enhance characters across tools. Here’s how to use it:
- PixelHair Overview:
It offers salon-quality hairstyles with caps for easy fitting to any character’s head shape. This simplifies adding detailed hair without sculpting from scratch. It’s designed for realism and convenience. The assets work across multiple platforms. - Using PixelHair in Blender:
Import the PixelHair asset, shrinkwrap the cap to the character’s head, then adjust strands and materials. This fits the hair naturally to the mesh with minimal effort. It’s a fast process for Blender users. The result blends seamlessly with the model. - Exporting PixelHair to Unreal:
Export the hair as an Alembic groom from Blender, then attach it to MetaHuman or CC3 characters in Unreal. This integrates custom hair into UE5 projects smoothly. It’s compatible with Unreal’s grooming system. The hair animates realistically in-engine. - Using PixelHair in CC3 (Indirectly):
Import PixelHair into Blender first, fit it to the CC3 character, then export the combined model to Unreal or back to CC3. This workaround leverages Blender as a bridge for CC3 use. It’s effective despite the extra step. The hair enhances CC3 realism nicely. - Benefits of PixelHair:
It delivers professional-grade hairstyles quickly, boosting character realism across workflows. This saves time compared to manual hair creation. It’s a plug-and-play solution for artists. The quality rivals custom grooms. - Customization:
Edit strand shapes or recolor materials in Blender to personalize the hairstyle further. This flexibility adapts PixelHair to your character’s unique style. It’s a simple tweak with big impact. Shrinkwrap ensures fit for any head.
PixelHair streamlines adding lifelike hair to Blender, CC3, or MetaHuman characters efficiently. It’s a versatile tool for polished results.
Can I combine FaceGen head meshes with Blender bodies or rigs?
Yes, you can combine a FaceGen head with a Blender body or rig, a common workflow since FaceGen only generates heads. Export the head as OBJ or FBX, import it into Blender, and align it with a body mesh from Blender or sources like MakeHuman. Merge the head and body at the neck, adjusting vertices for a smooth seam, and combine textures to match skin tones.
If the body has a rig, weight paint the head to the head/neck bones, preserving FaceGen’s blendshapes for expressions. Test deformations to ensure natural neck bending and expression stability. Alternatively, keep the head separate, overlapping the neck, though this risks visible seams unless covered. This hybrid approach leverages FaceGen’s quick face creation with Blender’s flexible body modeling, ideal for unique characters or crowd assets in games or animations.
The process requires manual adjustments, particularly at the neck seam, to avoid gaps or stretching during animation. Once set up, the character is fully functional, with body movement driven by the rig and facial expressions via blendshapes, making it a practical solution for custom character pipelines.

How do I retarget animations across characters made in Blender, CC3, and Metahuman?
Retargeting animations across Blender, CC3, and MetaHuman characters involves mapping animations from one rig to another despite differing skeletons. In Unreal Engine, use the IK Retargeter to map bones between skeletons, like CC3’s UE4 mannequin-compatible rig to MetaHuman’s. In Unity, configure characters as Humanoid avatars for automatic retargeting. In Blender, use constraints or add-ons like Auto-Rig Pro to transfer animations by aligning rigs and baking motion. Ensure bone hierarchies align, adjusting for proportion differences to avoid issues like foot sliding. Facial animations are trickier, often requiring re-animation due to unique blendshapes, though compatible rigs (e.g., ARKit-based) can transfer expressions. This process saves time by reusing animations across diverse characters, streamlining workflows in game development or animation.
The following outlines key methods for retargeting:
- In game engines like Unreal Engine, use the retarget manager or IK Retargeter to map bone hierarchies and reuse animations between different rigs.
Unreal’s IK Retargeter maps bones like spine or arms, adjusting for proportions. It supports MetaHuman and CC3 skeletons, with pre-mapped profiles for efficiency. Interactive pose tweaks ensure accurate motion transfer. This method is ideal for UE-based projects, streamlining cross-character animation. - In Unity, utilize the Humanoid rig mapping for automatic retargeting between characters.
Unity’s Mecanim system maps bones to a Humanoid avatar, enabling animations to transfer across Blender or CC3 characters. Bone detection simplifies setup, though manual adjustments may be needed. This is user-friendly for Unity workflows. It’s less viable for MetaHumans due to licensing restrictions. - In Blender, use constraints or specialized add-ons to transfer animations from one rig to another if needed.
Constraints like Copy Transforms drive target bones, with add-ons automating mapping. Align rigs in rest pose before baking animations. This method suits Blender-only workflows but requires setup. It’s effective for custom rigs like Rigify to CC3 transfers.
Retargeting enables efficient animation reuse, preserving motion intent across diverse character types. Tools in Unreal, Unity, or Blender facilitate this, with game engines offering the most streamlined solutions for cross-platform characters.
Which tool is best for beginners learning to make 3D characters?
It depends on what the beginner’s goals are, but here’s a breakdown:
- If you want ease and speed: start with tools like MetaHuman (if using UE) or try MakeHuman/CC3. You’ll get results fast and learn the basics of character parameters without being overwhelmed by technical details.
MetaHuman and CC3 offer intuitive interfaces, producing rigged characters quickly via sliders. MakeHuman, a free alternative, simplifies humanoid creation. These tools motivate beginners with fast results, ideal for animation-focused learners. They’re limited to specific styles or engines, requiring minimal 3D skills. - If you want to truly learn 3D character creation inside-out: start learning Blender (or another modeling tool). It’s harder at first, but you’ll gain complete control and a deeper skill set.
Blender’s free, comprehensive toolset supports modeling, rigging, and animation, fostering foundational skills. Its steep learning curve demands patience, but extensive tutorials aid progress. It’s ideal for aspiring character artists seeking unlimited creative control. Beginners can combine it with generators for hybrid learning.
MetaHuman or CC3 suit beginners prioritizing quick results, especially for Unreal or multi-engine projects, while Blender is best for those committed to mastering 3D artistry. Hybrid approaches, like using CC3 bases in Blender, balance speed and skill-building, aligning with the beginner’s objectives and learning style.

How do I create blendshapes and facial rigs in Blender for character animation?
Creating blendshapes and facial rigs in Blender involves using Shape Keys for expressions and bones for broad movements, often combined for realistic animation. Start with a neutral face mesh, add Shape Keys in Object Data Properties, and sculpt expressions like smiles or blinks in Edit Mode. Keyframe Shape Key values in the Dope Sheet for animation.
For a facial rig, add bones for jaw or eye movements, weight painting them to affect specific areas. Use Drivers to link bone rotations to Shape Keys for corrective deformations, like cheek adjustments during jaw motion. Create a face GUI with control bones for intuitive animation. Export Shape Keys as morph targets via FBX for game engines. This hybrid approach, blending sculpted expressions with bone-driven motion, produces believable facial animations suitable for films or games.
The following steps outline the process:
- Blendshapes (Shape Keys) for Facial Expressions:
Add Shape Keys to a neutral mesh, sculpting expressions like smiles or phonemes in Edit Mode. Keyframe their influence for animation, combining multiple keys for complex expressions. Use mirror tools for symmetry, creating 20-50 keys for versatility. This method offers precise control over facial details. - Bone-Based Facial Rig:
Add bones for jaw or eye movements, weighting them to deform specific face areas. Use for broad motions, complementing Shape Keys for finer details. Hybrid rigs enhance realism with minimal bones. This simplifies major movements while maintaining flexibility. - Combination (Pose Space Deformations):
Link Shape Keys to bone rotations via Drivers for corrective shapes, like cheek adjustments during jaw motion. This automates natural deformations, reducing manual keyframing. It’s ideal for realistic rigs, mimicking high-end film techniques. Animators control bones, with Shapes enhancing results.
This setup, combining Shape Keys and bones, allows expressive, reusable facial animations. Blender’s tools support professional-grade rigs, exportable to engines for cinematic or interactive use.
What are the licensing differences between FaceGen, Metahuman, and CC3?
When using these tools, it’s important to understand what you’re allowed to do with the characters or assets you create. Here’s a breakdown of licensing for FaceGen, MetaHuman, and Character Creator 3 (CC3):
- FaceGen Licensing:
Purchased FaceGen software allows commercial use of generated models without royalties or platform restrictions. The free demo watermarks outputs, unsuitable for commercial work. Models are yours, like creations from any modeling tool, with no engine limitations. Sample content may have specific terms, but custom faces are freely usable. - MetaHuman Licensing:
MetaHuman assets are free for Unreal Engine projects but must be rendered in Unreal, prohibiting use in other engines like Unity. Rendered videos can be used anywhere, but real-time use is Unreal-exclusive. Epic bans AI training with MetaHuman data, and Unreal’s standard royalty applies for high-grossing projects. This locks users to Unreal’s ecosystem. - Character Creator 3 (CC3) Licensing:
CC3’s purchased software allows royalty-free commercial use of created characters in any engine. Content packs have Standard Licenses for single-character use or Extended Licenses for multiple characters or customization. Base morphs are unrestricted, but marketplace assets require appropriate licensing. Reselling raw 3D models is prohibited, though game/film use is allowed.
FaceGen offers unrestricted model use, MetaHuman ties assets to Unreal, and CC3 provides flexibility with content licensing nuances. Always review EULAs, as terms may update, to ensure compliance for commercial projects.

How do I choose between stylized vs realistic pipelines for character creation?
Choosing between stylized or realistic pipelines depends on your project’s artistic vision and resources. Stylized pipelines suit cartoonish or exaggerated aesthetics, using hand-painted textures and simplified models, while realistic pipelines aim for lifelike detail with photogrammetry or high-res textures. Stylized workflows allow artistic freedom and lower performance demands, ideal for mobile or iterative designs, but require strong design skills. Realistic workflows demand detailed sculpting and complex shaders, risking uncanny valley effects, but tools like MetaHuman streamline human creation. Consider audience, genre, and team strengths—stylized fits fantasy or younger audiences, realism suits gritty narratives. Performance, timeframe, and market differentiation also guide the choice. Commit to one style for cohesion, ensuring all production elements align.
A realistic pipeline uses tools like MetaHuman or ZBrush for detailed sculpting and PBR materials, often incorporating motion capture. Stylized pipelines emphasize concept-driven modeling and exaggerated animations, using simpler shaders for unique, timeless looks.
Can I use multiple tools in one workflow to build a single character?
Multiple tools can be combined to leverage their strengths in a single character workflow, a standard practice for efficiency and quality. Here are ways and examples of combining tools:
- Blender + Character Generators:
Use CC3 or MakeHuman for a quick base mesh, then import into Blender for sculpting or accessory modeling. This saves time on proportions while allowing customization. For example, combine a CC3 body with a Blender-sculpted face. It’s ideal for tailored characters with pre-rigged bases. - MetaHuman + Blender/Marvelous Designer:
Start with a MetaHuman for a rigged body, then model custom clothing in Marvelous Designer or Blender. Use Unreal’s Mesh to MetaHuman to fit Blender-sculpted heads to MetaHuman rigs. This blends MetaHuman’s realism with custom assets. It suits projects needing unique outfits or faces. - CC3 + ZBrush + Substance:
Create a base in CC3, sculpt details in ZBrush, and texture in Substance Painter. Export back to CC3 or directly to an engine for game-ready characters. This leverages CC3’s speed, ZBrush’s detail, and Substance’s texturing. It’s perfect for high-quality realistic characters. - Mixing rigging/animation tools:
Model in Blender or CC3, then animate in Maya or MotionBuilder with mocap. Use Mixamo for quick rigs and animations, refining in Blender. This separates modeling and animation tasks for efficiency. It suits studios with specialized workflows. - Face and Body from different sources:
Combine a FaceGen head with a CC3 or Blender body, merging in Blender. Use marketplace assets like hand models to save time. This mixes pre-made and custom parts for unique characters. Licensing compliance is crucial for commercial use. - PixelHair + Base Character:
Swap MetaHuman or CC3 hair with PixelHair assets from Blender for unique hairstyles. This enhances visual distinctiveness while retaining the base rig. It’s ideal for cinematic or stylized characters. Integration requires careful rigging adjustments. - Integrating multiple addons/plugins:
Use Blender add-ons like Rigify with MB-Lab-generated characters for enhanced rigging. Combine tools within Blender for a streamlined workflow. This maximizes Blender’s flexibility for custom pipelines. It suits users leveraging community resources.
Multi-tool workflows harness each tool’s strengths, using formats like FBX for compatibility. Professional pipelines often combine Blender, MetaHuman, CC3, ZBrush, and others to create high-quality characters efficiently.

What are the pros and cons of each platform: Blender, FaceGen, Metahuman, and CC3?
| Platform | Pros | Cons |
|---|---|---|
| Blender | Free, open-source with strong community support. – Comprehensive toolset for modeling, sculpting, rigging, animation in one program. – Highly flexible for creating any character type (realistic, stylized, creatures) from scratch. – Extensible with add-ons, scripts, and Python customization. – Extensive tutorials and forums for self-learning. | – Steep learning curve, challenging for beginners. – Time-consuming to create high-quality characters from scratch. – Lacks built-in high-end assets; starts with basic cube, no default human meshes. – Requires significant skill for AAA-level realism in modeling, sculpting, and materials. |
| FaceGen | – Quick face creation from one or few photos in minutes. – Over 150 morph controls for face adjustments (age, ethnicity, etc.) and random crowd generation. – Auto-rigs faces with blendshapes for animation, no manual rigging needed. – Exports to OBJ/FBX for easy integration with Blender, Unity, Unreal. – Proven in game studios for reliable human face results. | – Limited to heads; requires separate body creation. – Unedited faces may look generic, needing deep customization. – Paid software (~$130 for Pro); free demo is watermarked, limited. – Focused on realistic human faces, not suitable for stylized or creature faces without further work. – Windows-only, no Mac/Linux support. |
| MetaHuman (Unreal) | – Produces ultra-realistic digital humans (skin, hair, eyes) with minimal effort. – Easy-to-use cloud app, no 3D modeling skills required. – Fully rigged with advanced facial and body rigs for instant animation/mocap. – Fast character creation and modification, ideal for prototyping in Unreal Engine. – Free for unlimited use in Unreal Engine projects. | – Restricted to Unreal Engine; assets cannot be used in other engines or rendered outside Unreal. – Limited to realistic human characters, no non-humans or stylized styles (e.g., anime). – Requires internet and decent hardware for cloud-based creation and downloading. – High-poly models with strand hair are resource-intensive, less ideal for mobile or large crowds. – Unmodified MetaHumans may look similar due to shared asset pool, needing customization for uniqueness. |
| Character Creator 3 (CC3) | – Intuitive UI with sliders for easy character design, no sculpting skills needed. – Supports realistic and stylized characters via morphs and content packs. – Large library of morphs, clothing, hair; drag-and-drop assembly with Headshot plugin for photo-to-head. – Exports game-ready characters (rigged, LODs) for Unity/Unreal with no engine lock-in. – Integrates with iClone for facial mocap and animation. | – Paid software; Pipeline version and content packs cost hundreds, with licensing considerations for assets. – Requires extra work (textures, shaders) to match MetaHuman’s realism; skin/hair less detailed by default. – Focused on human/humanoid characters, limited for non-human creatures without external modeling. – Learning curve for advanced features (SkinGen, GoZ, physics) and managing polygon count. – Uses proprietary base mesh/rig, which may limit customization for specific project needs. |
Blender offers unmatched flexibility for all character types, FaceGen excels at quick realistic heads, MetaHuman provides top-tier realism for Unreal, and CC3 balances ease and versatility across engines. Combining tools often maximizes strengths, tailoring workflows to project needs.
Where can I find tutorials for making 3D characters using each of these tools?
Tutorials for Blender, FaceGen, MetaHuman, and CC3 are widely available across official and community resources. Here are key sources for each:
- Blender Tutorials:
The Blender Official Manual has modeling and rigging sections, ideal for tool reference. Blender Guru’s YouTube offers character modeling series for beginners. CG Cookie provides paid courses like “Humane Rigging” and free blog tips. Blender Studio’s Rain character workflow and stylized tutorials are insightful, complemented by YouTube channels like Grant Abbitt’s for beginner-friendly guides. - FaceGen Tutorials/Resources:
FaceGen’s official website includes a manual and FAQ for exporting heads. The Artist Documentation details photo-based head creation and Daz integration. YouTube has “FaceGen tutorial” videos showing morph adjustments, while Daz3D forums discuss FaceGen workflows. The manual and a few tries suffice for mastery due to its simplicity. - MetaHuman Tutorials:
Epic’s MetaHuman Documentation offers quick start guides and plugin tutorials. Unreal Online Learning has free courses like “Creating MetaHumans.” Epic’s YouTube channel includes “Meet the MetaHumans” and animation tutorials. Community forums and YouTubers like JSFilmz cover customization and workflows, with official docs detailing Control Rig use. - Character Creator 3 Tutorials:
Reallusion’s YouTube and Courses site offer “CC3 – Getting Started” series and export guides. The online manual details morphs and SkinGen, while forums address specific issues. Community YouTube tutorials cover stylized characters and Unreal integration, with webinars on Headshot and ZBrush workflows. Reallusion’s Magazine provides additional guides.
General resources like ArtStation Learning, Gnomon Workshop, and books like “Stop Staring” teach character art principles, while forums like Polycount and Blender Discord offer community insights. These resources build proficiency, with cross-tool learning enhancing workflows.
Finally, practice is key – follow along with tutorials, then try creating your own character as a project. Use the communities for feedback as you go. Happy learning and character creating!

FAQ questions and answers
- Can I use MetaHuman characters outside of Unreal Engine (for example, in Unity or in a pre-rendered film)?
MetaHuman assets are restricted to Unreal Engine for real-time use. Rendered cinematics or images can be used elsewhere, but meshes and materials cannot be exported to other engines like Unity. No additional royalties apply beyond Unreal’s standard terms. This ensures compliance with Epic’s licensing. - Do I need to know how to sculpt or model from scratch to create characters in Blender?
Blender’s tools like Skin Modifier or add-ons like MB-Lab allow character creation without sculpting. Premade bases can be modified for simple or stylized models. Mastering unique, high-quality characters requires learning modeling and sculpting skills. This balances accessibility with professional results. - Are characters made with these tools (Blender/CC3/MetaHuman) okay to use in commercial projects and sell?
Blender models are fully owned and sellable as assets. FaceGen’s full version and CC3 allow commercial use with licensing considerations. MetaHumans are free for Unreal Engine projects but cannot be sold standalone. Always check EULAs to ensure compliance. - How do I add clothing or props to my characters?
Model or import clothing and props, rigging them to the character’s armature in Blender or using CC3’s conforming tools. Use cloth simulation for loose garments in Blender or Unreal. MetaHuman outfits need external mesh creation and weight painting. Props are attached via bone parenting or engine sockets. - What if I need a non-human character or a very stylized character?
MetaHuman and CC3 are human-focused, so non-human or stylized characters require custom sculpting in Blender, Maya, or ZBrush. Rig with tools like Rigify or Mixamo for animation. VRoid Studio suits anime styles; otherwise, custom or outsourced assets are needed. This allows creative flexibility. - Do these tools support facial motion capture (facial mocap) and other animations easily?
MetaHumans support ARKit-based facial mocap via Live Link Face or MetaHuman Animator. CC3 with iClone integrates FaceWare/Live Face capture. Blender uses add-ons like FaceIT for ARKit data. All tools handle FBX retargeting for body motion from Mixamo or BVH files. - Is it better to model characters from scratch or use a character creator like CC3/MetaHuman?
Character creators like CC3 and MetaHuman produce game-ready humans quickly, ideal for realistic projects. Scratch modeling in Blender allows unique, optimized designs for stylized or non-human characters. Hybrid workflows combine generators with Blender refinements. This balances speed and creativity. - Are there free alternatives to Character Creator 3 for making characters?
MakeHuman and MB-Lab offer free human character creation with rigging. VRoid Studio excels for anime styles, while Daz Studio provides free bases with paid assets. Mixamo Fuse and Human Generator are additional options. These alternatives suit various project needs. - What kind of hardware do I need for character creation?
A mid-range PC (Ryzen 5/7, 16–32 GB RAM, GTX 10xx/RTX 20/30 GPU, SSD) supports Blender, CC3, and UE5 MetaHuman workflows. MetaHuman Creator is cloud-based, but UE5 editing needs a strong GPU. Lower-end systems can work with reduced settings. This ensures smooth performance. - How can I improve the realism of my characters created with these tools?
Enhance realism with detailed textures, subtle sculpting, and strand-based hair. Use PBR lighting, natural poses, and consistent detail across elements. Compare to real references and refine iteratively. Apply ray tracing and realistic renderer settings for immersion.

Conclusion
In this article, we’ve explored top methods to create 3D characters and compared four major platforms – Blender, FaceGen, MetaHuman, and Character Creator 3 (CC3) – each with unique strengths.
Choosing the right character creation pipeline depends on project goals:
- If you need realistic human characters quickly and are working in Unreal Engine, MetaHuman provides unparalleled fidelity and ease.
MetaHuman generates high-fidelity digital humans in minutes. Its advanced rig suits cinematic games and films. Assets are restricted to Unreal Engine. This ensures fast, realistic results. - If you seek flexibility and creative control (or have stylized/creature designs in mind), Blender offers an all-in-one creation suite with no cost barrier.
Blender’s free suite supports limitless character designs. It demands more skill and time. The community offers extensive resources and add-ons. This enables tailored, unique characters. - If your aim is efficiency in a broader range of styles and you prefer a dedicated character design tool, CC3 hits a sweet spot.
CC3 streamlines rigged, game-ready character creation. It supports near-realistic or stylized styles. Exports work across engines like Unity. Upfront costs and licensing apply. - FaceGen, while not a full pipeline on its own, can be a secret weapon when used alongside the others – generating realistic heads and facial morphs that you can integrate into Blender or CC3 bodies.
FaceGen accelerates realistic face creation. It integrates with Blender or CC3 workflows. It’s ideal for detailed facial morphs. This simplifies a challenging process.
A hybrid approach, combining MetaHuman, CC3, Blender, and FaceGen, leverages each tool’s strengths for efficient, high-quality results. Beginners can start with MetaHuman or CC3 for quick wins while learning Blender for long-term skill development. These tools reduce barriers, enabling small teams to create professional characters.
Real-time engines handle detailed characters, and software integration simplifies workflows. Licensing and performance must align with project plans to avoid issues like switching engines or exceeding budgets.
As you venture into character creation:
- Plan your pipeline according to the style, platform, and resources.
- Leverage available content (don’t reinvent the wheel for generic elements – save energy for what makes your characters special).
- Stay aware of constraints (poly counts, licenses, compatibility).
- Polish the details – regardless of the tool, fine tuning textures, materials, and rigging will elevate the result.
- And most importantly, keep practicing and iterating. Each character you build will teach you something new, especially if you’re using new software or techniques.
This arsenal of tools empowers creators to craft diverse, high-quality 3D characters for games and animation.
Sources and Citation
- Blender Features Overview – blender.orgblender.orgmeshy.ai
- FaceGen Wikipedia & Manual – Wikipedia; FaceGen.comen.wikipedia.orgfacegen.com
- Epic Games MetaHuman FAQ – unrealengine.comunrealengine.com
- Reallusion Character Creator info – Reallusion forums & docsforums.unrealengine.comreallusion.com
- iRender MetaHuman vs iClone Analysis – iRender Blog (2024)irendering.net
- PixelHair Blender Market page – blendermarket.com (Yelzkizi PixelHair)blendermarket.comblendermarket.com
- Unreal Engine Documentation (Retargeting) – dev.epicgames.comdev.epicgames.com
- Unity Mecanim Humanoid info – Unity Documentation (humanoid retargeting, not directly cited above but industry knowledge)
- Softpedia review of FaceGen (performance note) – Softpediaen.wikipedia.org
- Reallusion Course: AutoSetup for Unreal – courses.reallusion.comcourses.reallusion.com
These references back up key points on software capabilities, licensing restrictions, and technical features discussed in the article.

Recommended
- Blender Rendering Made Easy: Using The View Keeper for Multi-Shot Projects
- Helldivers 2: Comprehensive Guide to Gameplay, Features, Factions, and Strategies
- How do I change the camera aspect ratio in Blender?
- How The View Keeper Speeds Up Animation Rendering in Blender
- How do I change the camera’s near and far clipping distances in Blender?
- inZOI: The Ultimate Life Simulation Game – Features, Gameplay, and Comparisons
- Saving and Switching Blender Camera Angles with The View Keeper
- The Best Beards in Video Games: Iconic Characters and Their Legendary Facial Hair
- How do I animate a zoom effect with the Blender camera?
- How to Export MetaHuman to Blender: Comprehensive Step-by-Step Guide


