Introduction
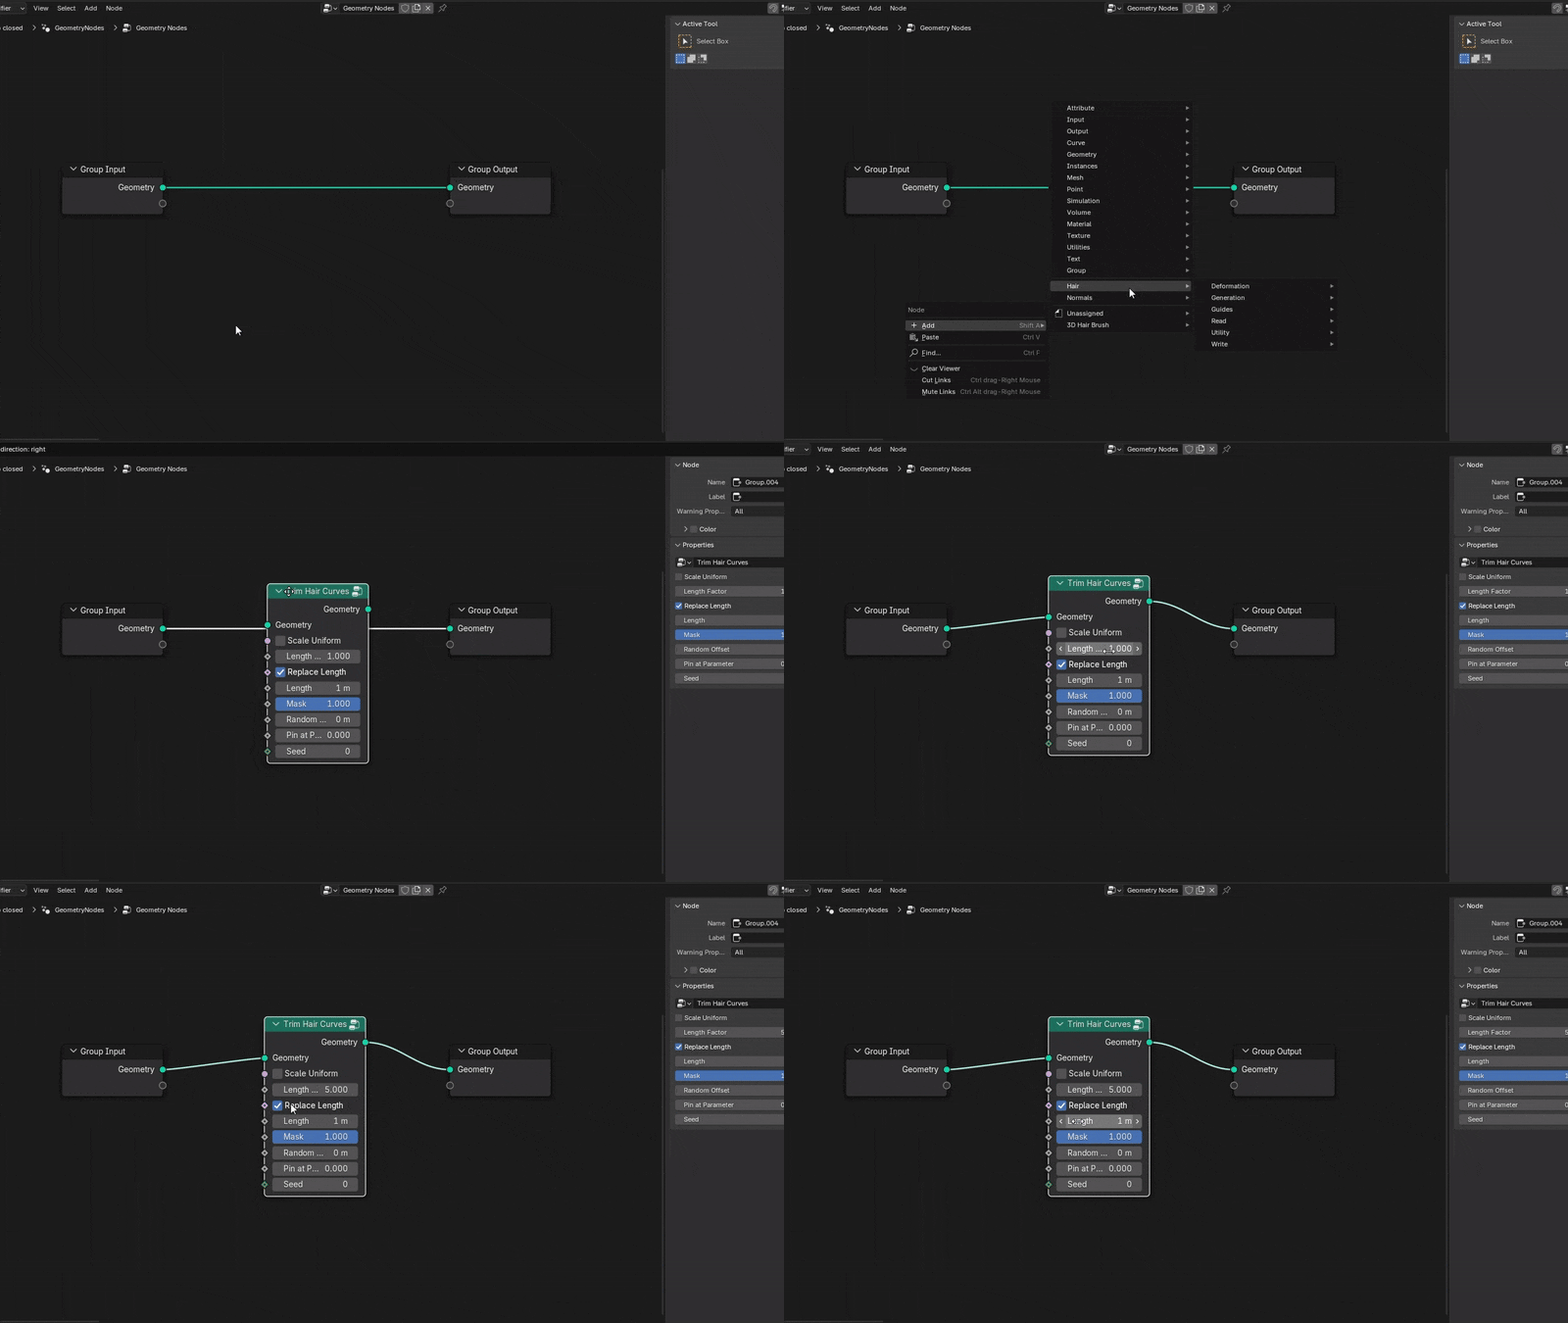
Blender’s Trim Hair Curves Geometry Nodes preset allows for procedural trimming or scaling of hair strands, offering a non-destructive way to adjust hair length within a node-based workflow. This preset, part of Blender’s new hair system, replaces manual trimming in Particle Edit mode, which was labor-intensive and irreversible.
It provides parametric control over hair length, enabling complex hairstyles with fine adjustments, masking, randomness, and animation. Used after generating hair guides, it ensures consistent results, quick iterations, and localized trimming via masks. Compared to previous particle hair trimming techniques, which relied on manual brushes like Length (Shrink) or Cut, the node offers procedural efficiency, allowing for effects like texture-driven length variations and uniform trimming of thousands of hairs. This modern approach benefits both beginners and experienced groomers, bridging artistic control with procedural workflows. The guide will further explore the node’s inputs, outputs, usage tips, and integration with Blender workflows and asset collections like PixelHair.

Understanding Inputs
The Trim Hair Curves node group’s inputs control trimming behavior:
- Geometry (Input Geometry):
The Trim Hair Curves node only works with curve-type geometry, specifically hair strands generated from Blender’s hair system. It does not affect meshes or other object types. To function properly, the input must come from a hair generation or interpolation node. If a mesh is connected or no curves are present, the node will have no effect. - Scale Uniform:
When enabled, Scale Uniform adjusts the entire hair strand proportionally, maintaining the shape of curls, waves, and roughness while changing its length. When disabled, it trims the strand by cutting off the ends without scaling the rest. - Length Factor: The Length Factor scales each hair strand’s original length by a specified value while preserving proportional differences between strands. By default, it is set to 1.0, meaning no change. A value of 0.5 shortens hair to half its length, while 2.0 doubles it. This input serves as the primary trimming control unless Replace Length is enabled.
- Replace Length:
The Replace Length toggle controls whether hair strands are scaled relative to their original length or set to a fixed length. When off, the Length Factor determines the new length by scaling each strand proportionally. When on, the original lengths are ignored, and all strands are trimmed or extended to match the specified Length input. This is useful for achieving uniform hair lengths or ensuring strands do not exceed a set length, such as in grass or fur grooming. - Length:
The Length input becomes active when Replace Length is enabled, setting a fixed target length for all hair strands. If a strand is longer than this value, it is trimmed, and if shorter, it is extended to match. This allows the node to function as both a trimmer and an extender, ensuring uniform hair length. It is useful for precise control, such as maintaining a consistent hairstyle or limiting hair growth in a groom. If only shortening longer hairs without extending shorter ones is needed, Length Factor or masking may be a better alternative. - Mask:
The Mask input controls where and how much hair is trimmed, using a 0 to 1 value for each strand or point along the strand. A value of 1.0 fully trims the hair, while 0.0 leaves it uncut, with intermediate values creating a partial trim. By default, the mask applies trimming everywhere, but plugging in textures, vertex group weights, or procedural patterns allows selective trimming. This is useful for designing complex hairstyles, fur patterns, or gradient cuts. Masks can be created using weight painting, image textures, or attribute-based inputs, offering precise control over hair length variations. - Random Offset:
The Random Offset input introduces variation in hair trimming by randomly shortening strands within a specified range. It does not lengthen hair—only reduces it by a random amount. This helps prevent perfectly even haircuts, adding natural imperfection for realism. Small values create subtle variations, while larger values produce ragged, uneven trims suited for wild hairstyles or fur. The Seed input controls the distribution of randomness without changing the overall variation range. - Pin at Parameter:
The Pin at Parameter input controls where the hair trim is anchored along the strand. A value of 0 (default) keeps the root fixed, adjusting the length from the tip. A value of 1 keeps the tip in place while adjusting from the root, which is rarely used in grooming. Intermediate values, like 0.5, keep the midpoint fixed, causing both the root and tip to move. For most cases, keeping the default (0) ensures hair remains attached to the scalp during trimming. Changing this value can lead to unexpected results, such as floating tips or gaps at the base, so adjustments should be made only for specific effects. - Seed: The Seed input controls the random distribution pattern of trimmed hair lengths but does not affect the range of variation set by Random Offset. Changing the Seed shuffles which hairs are trimmed more or less, helping to eliminate unwanted patterns like bald patches. This input has no effect if Random Offset is set to zero. For consistency, the Seed value is typically left fixed to maintain stable randomization across frames, though it can be adjusted to explore different random outcomes.
These inputs enable precise, non-destructive control over hair trimming, allowing for complex hairstyles through combined adjustments.

Understanding Outputs
The Trim Hair Curves preset has a very simple output setup:
The Trim Hair Curves node outputs modified hair geometry with updated strand lengths based on the node’s inputs. It retains all curve attributes (points, normals, widths) while adjusting strand positions.
This output is typically used as a final step before rendering or can be followed by additional styling nodes like Frizz or Curl. If multiple Trim nodes are used, the output of one feeds into the next. The node does not generate extra data (such as cut hair pieces), so capturing trimmed segments would require a separate setup.
In simple terms, the node takes in hair curves, trims them, and outputs the modified result for further processing or final rendering.
Faster Hair in Blender Using PixelHair 3D Hair Asset Collection
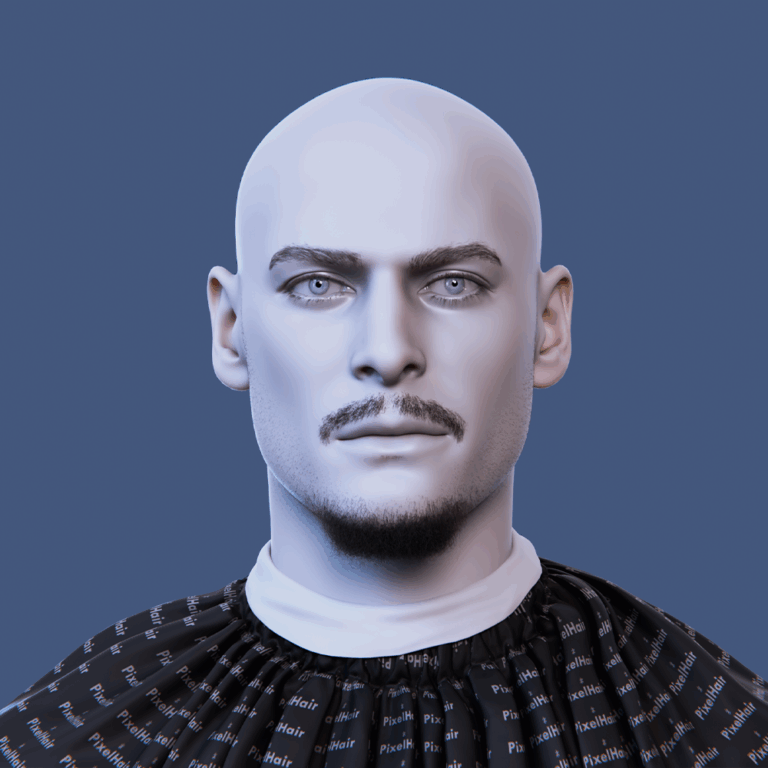
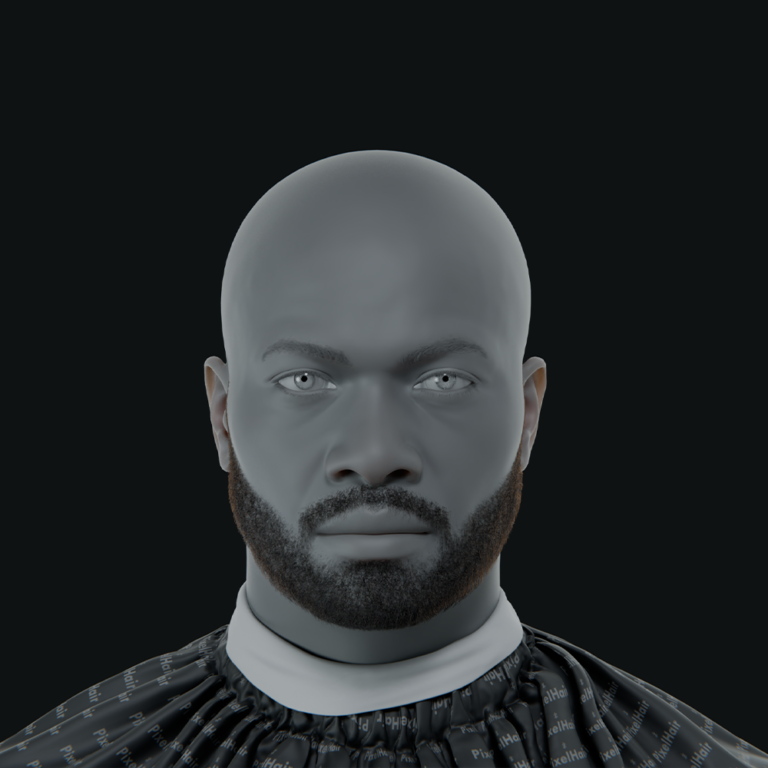
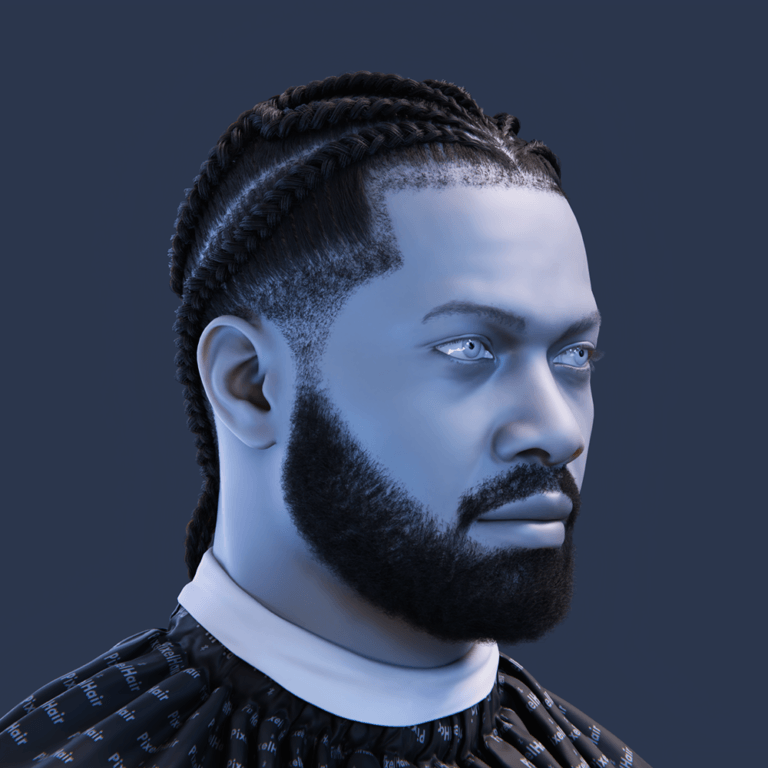
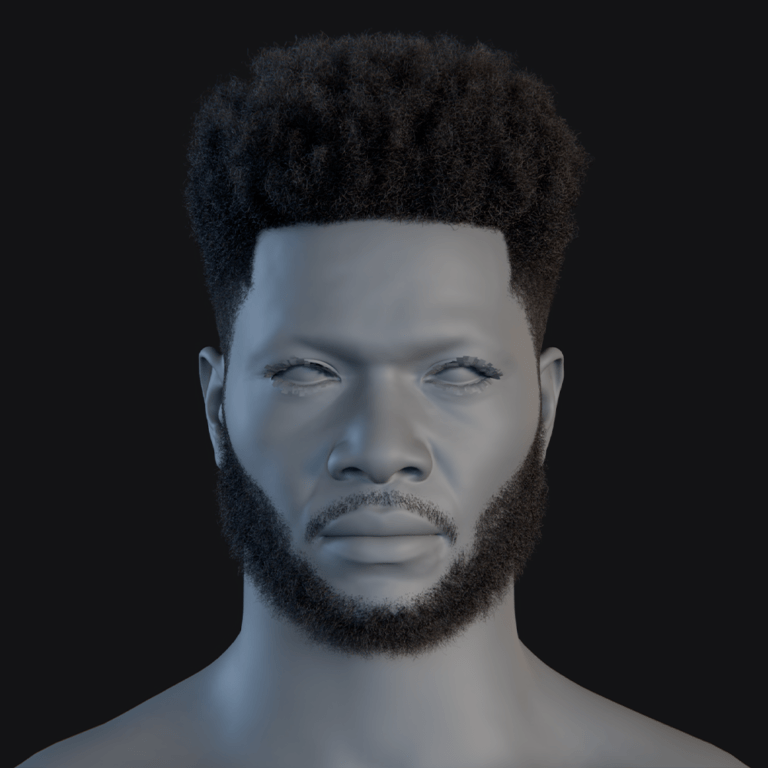
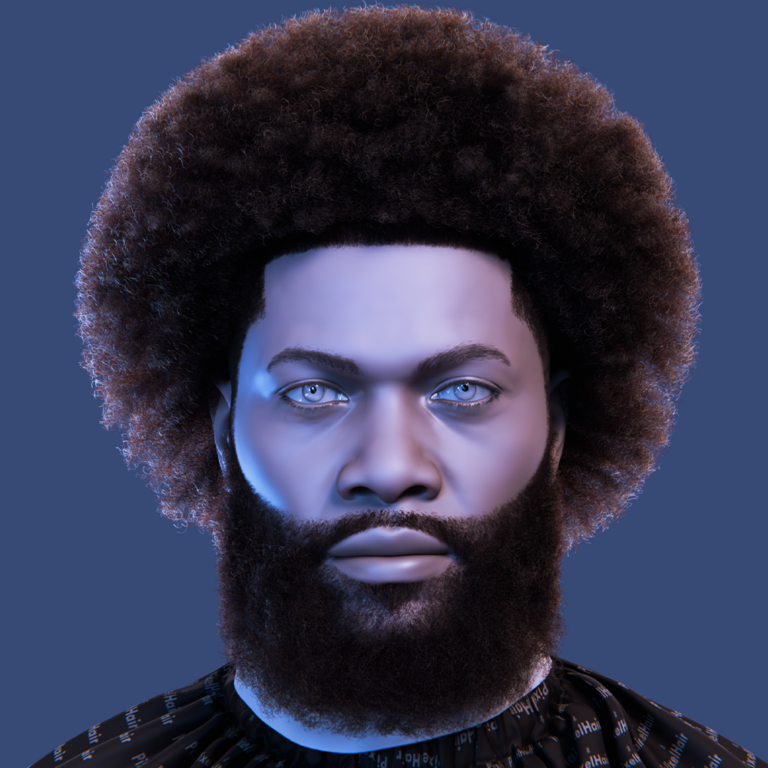
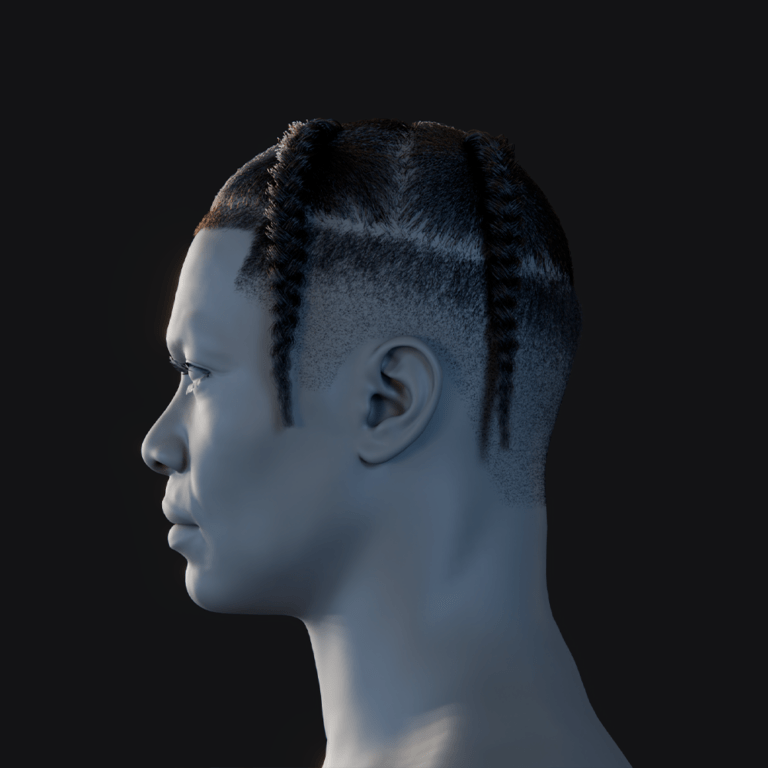
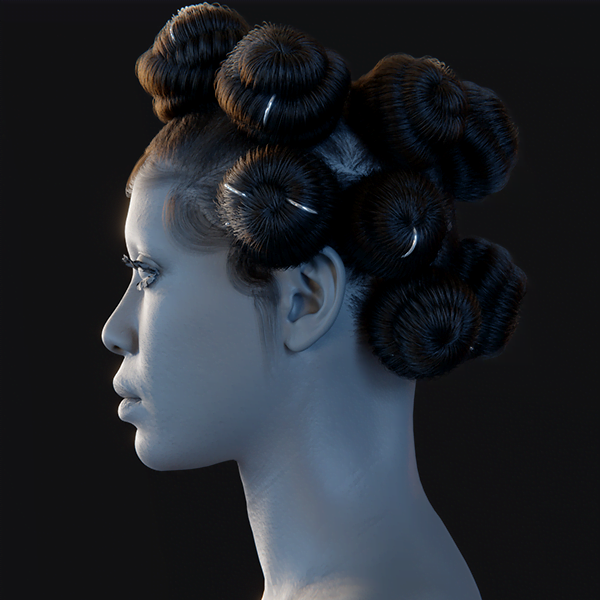
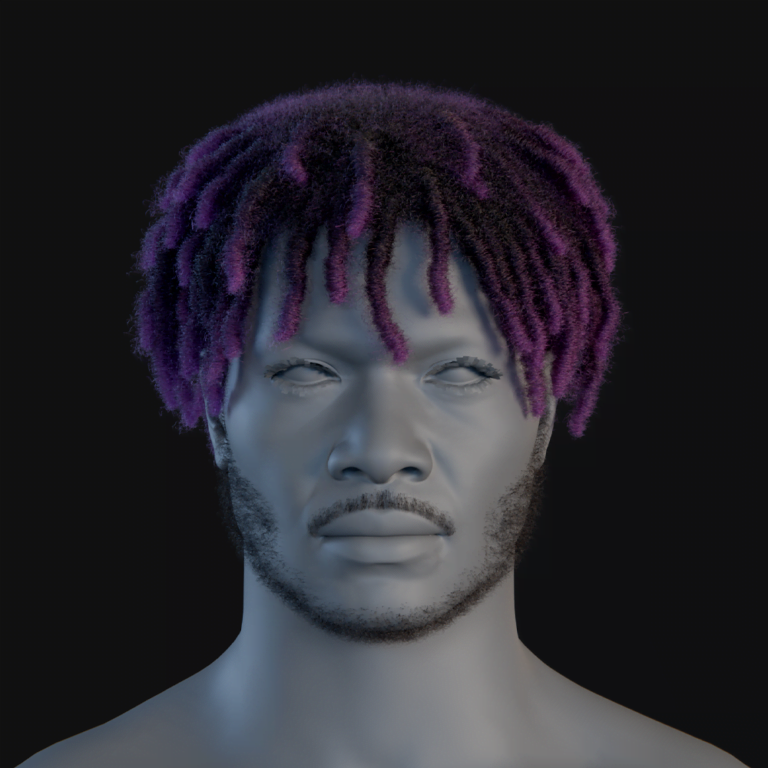
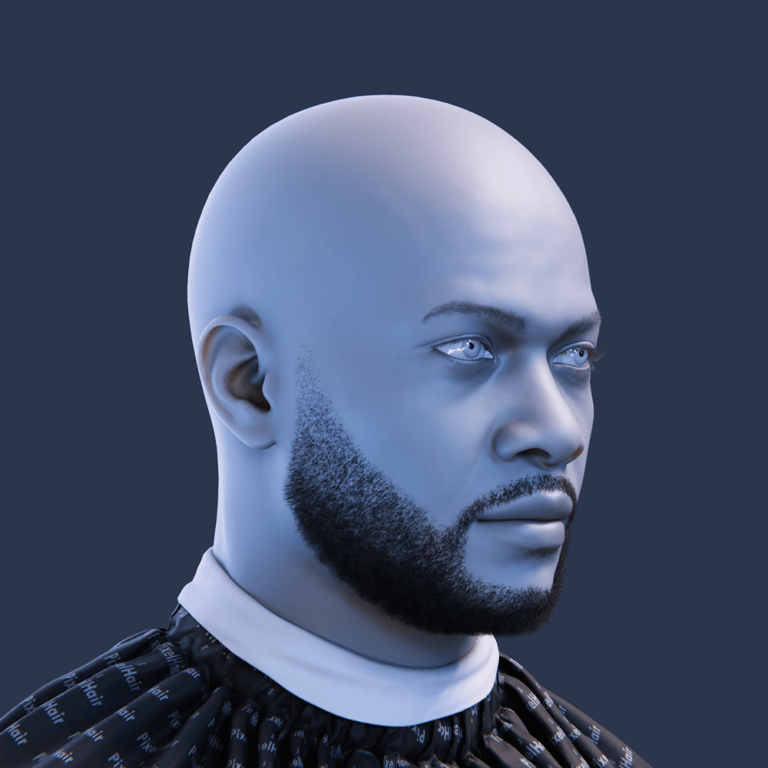
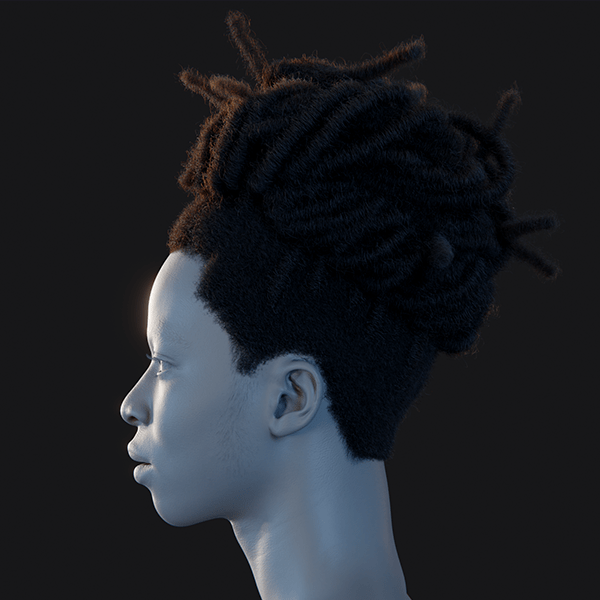
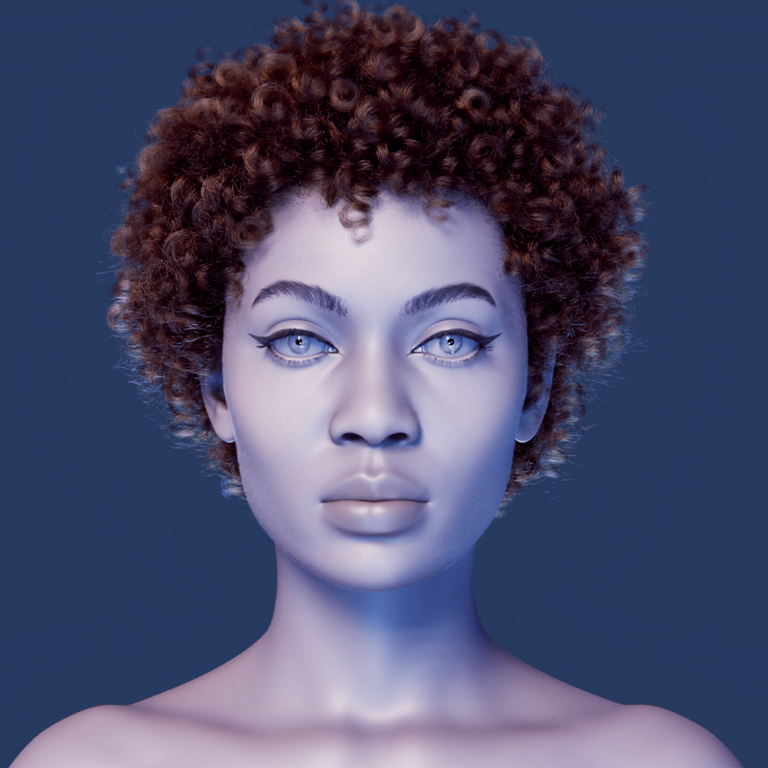
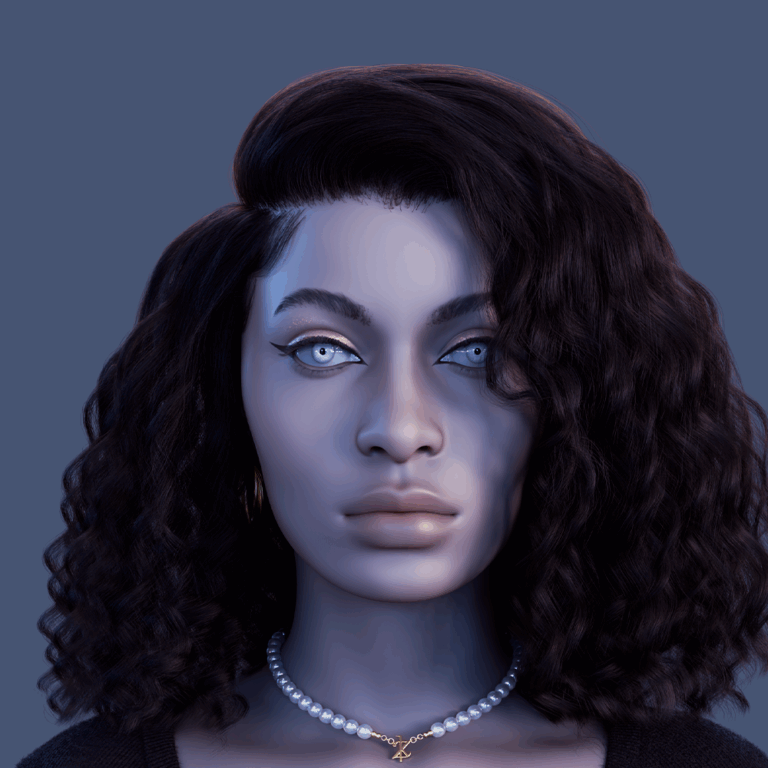
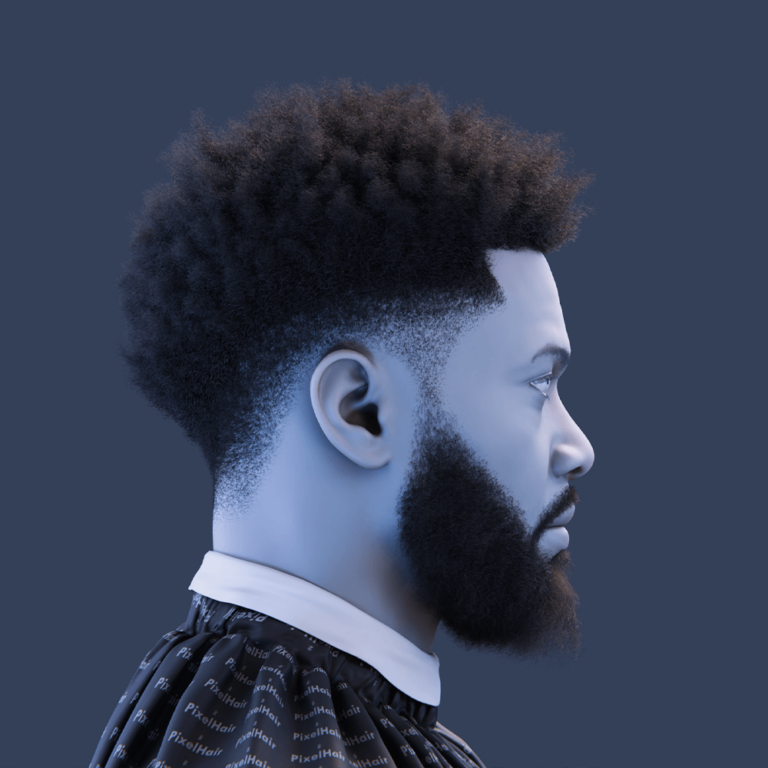
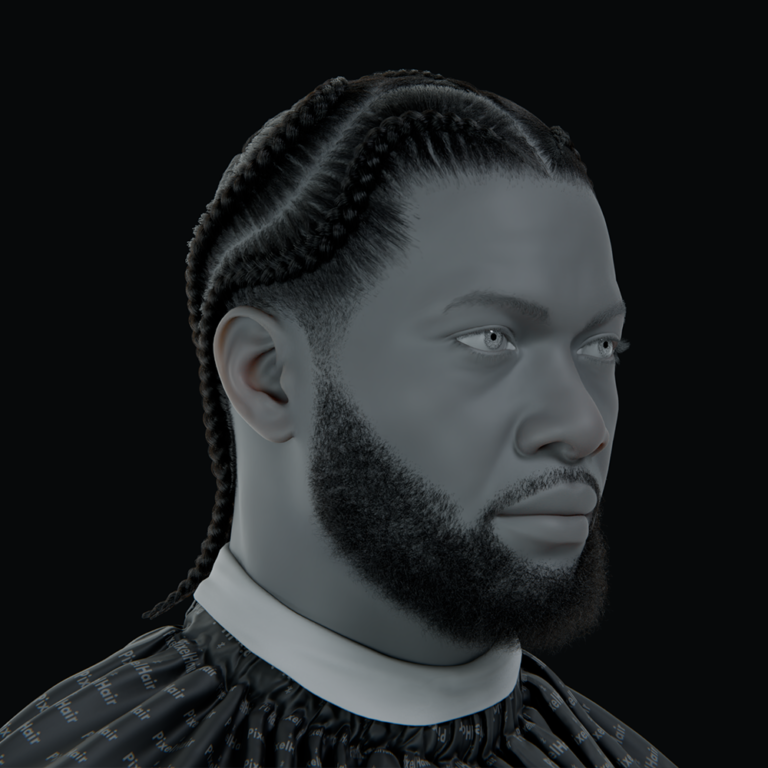
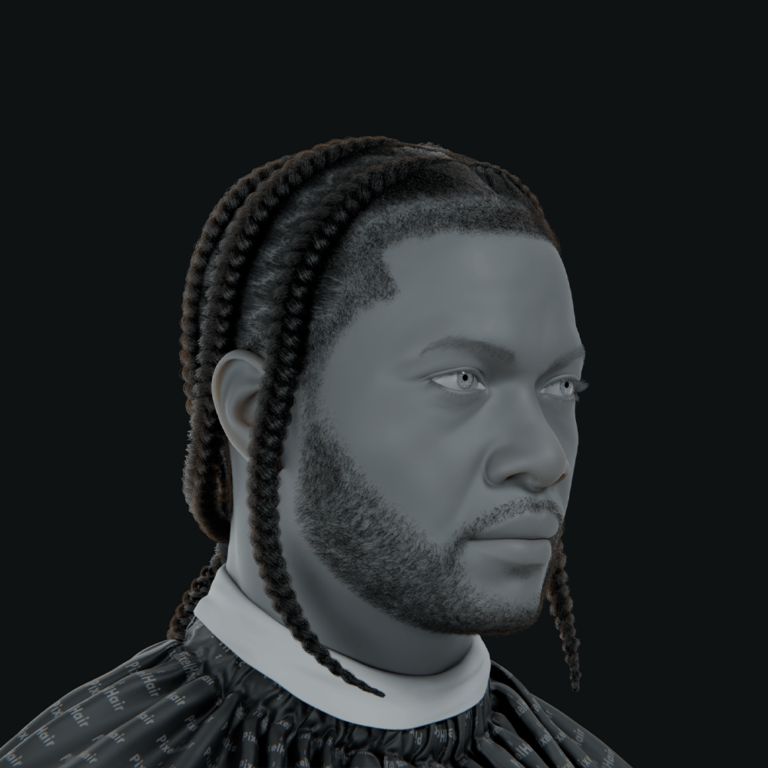
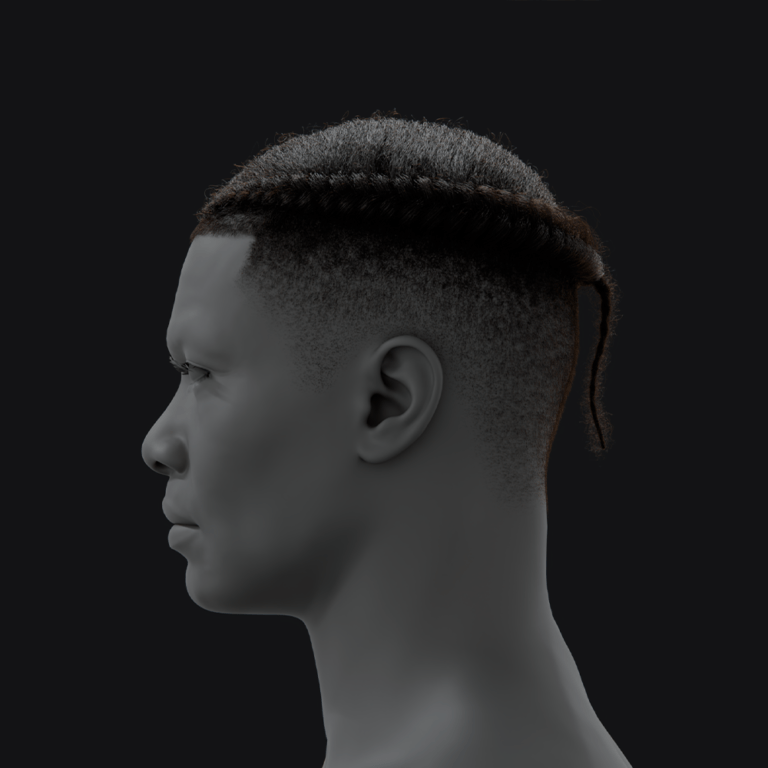
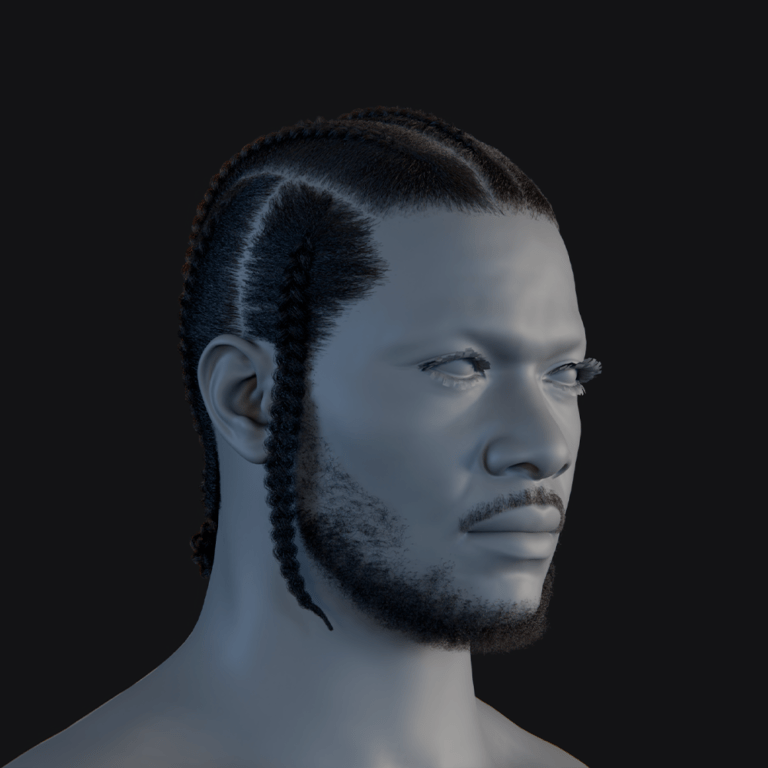
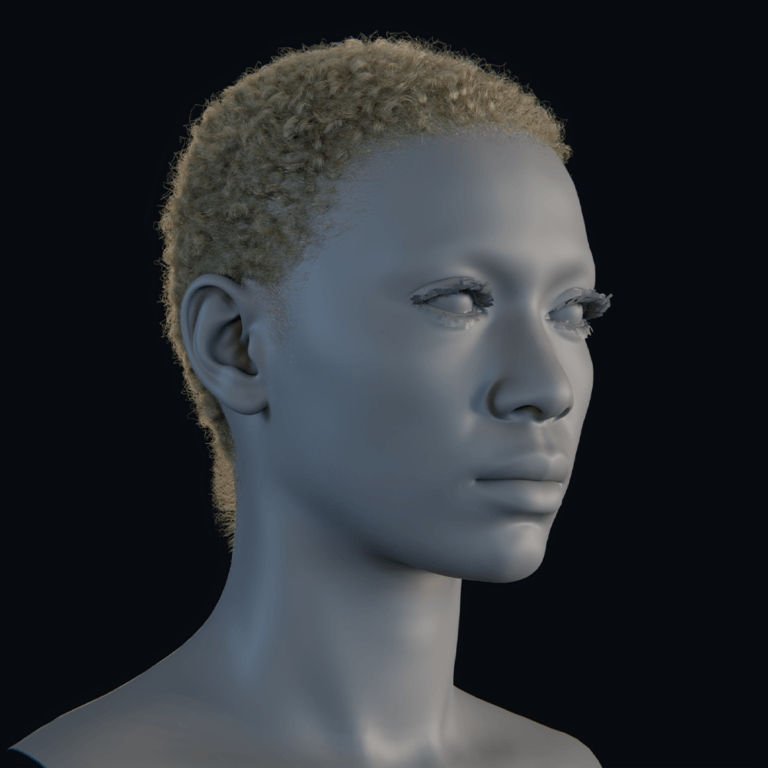
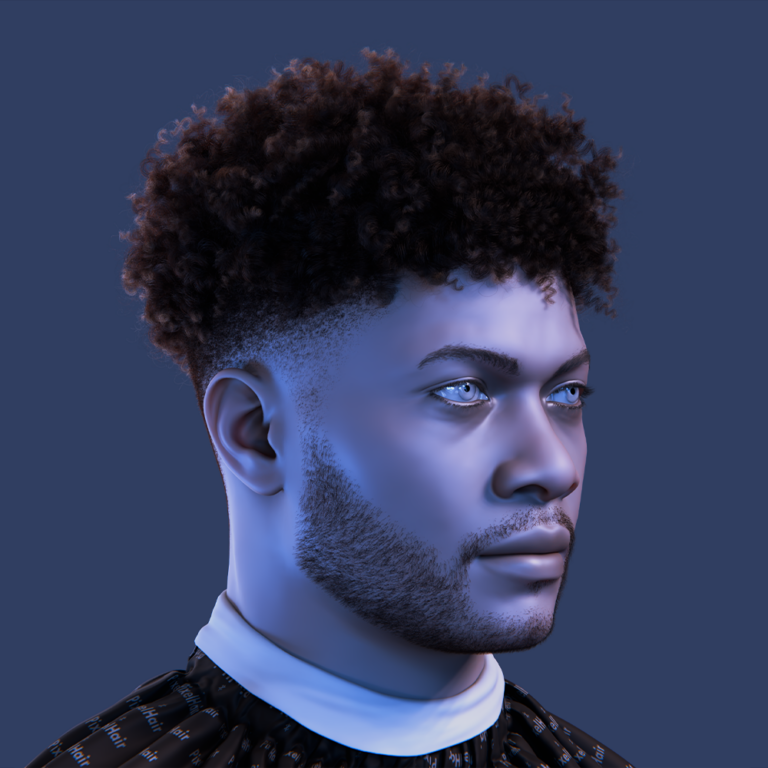
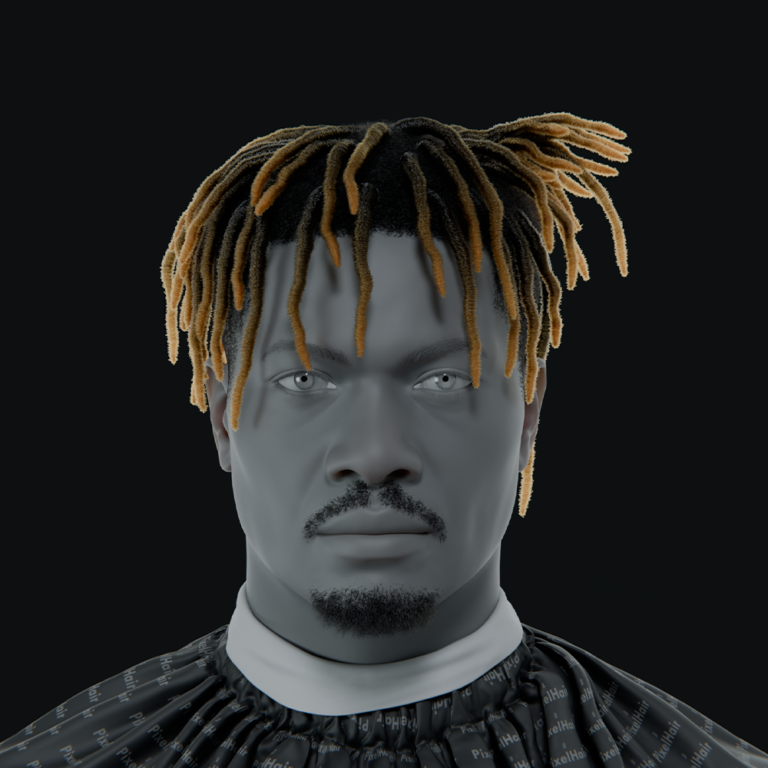
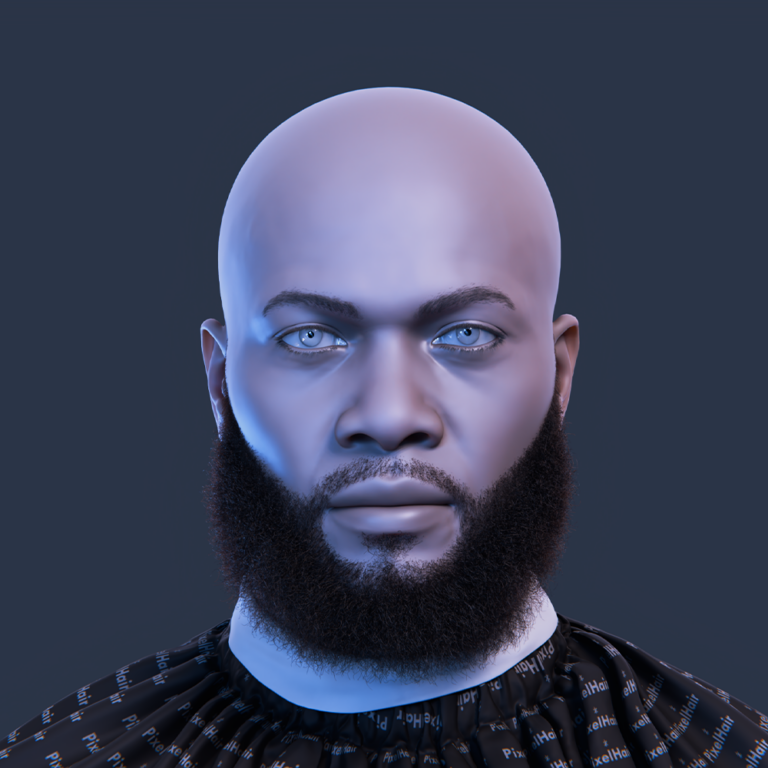
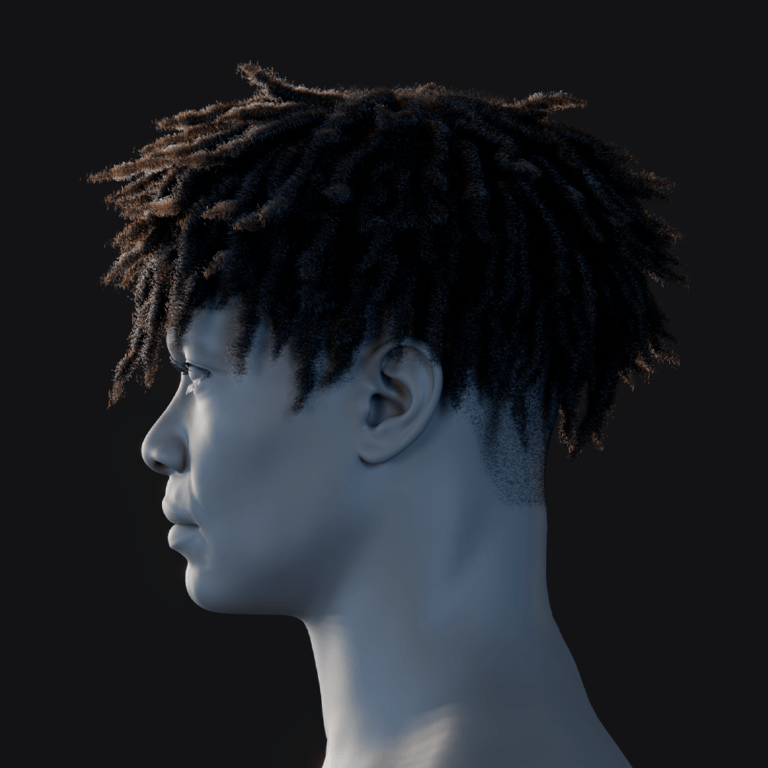
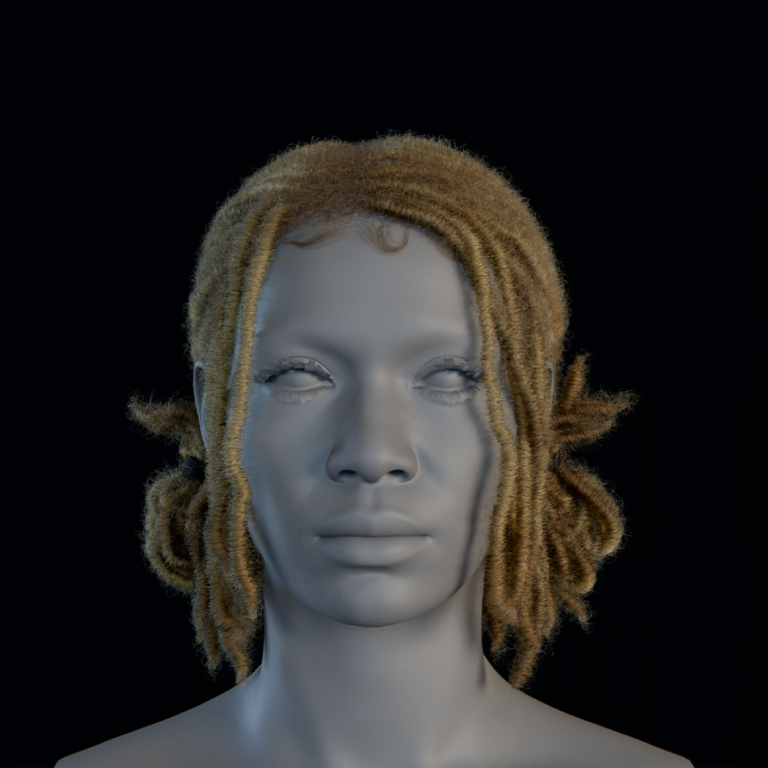
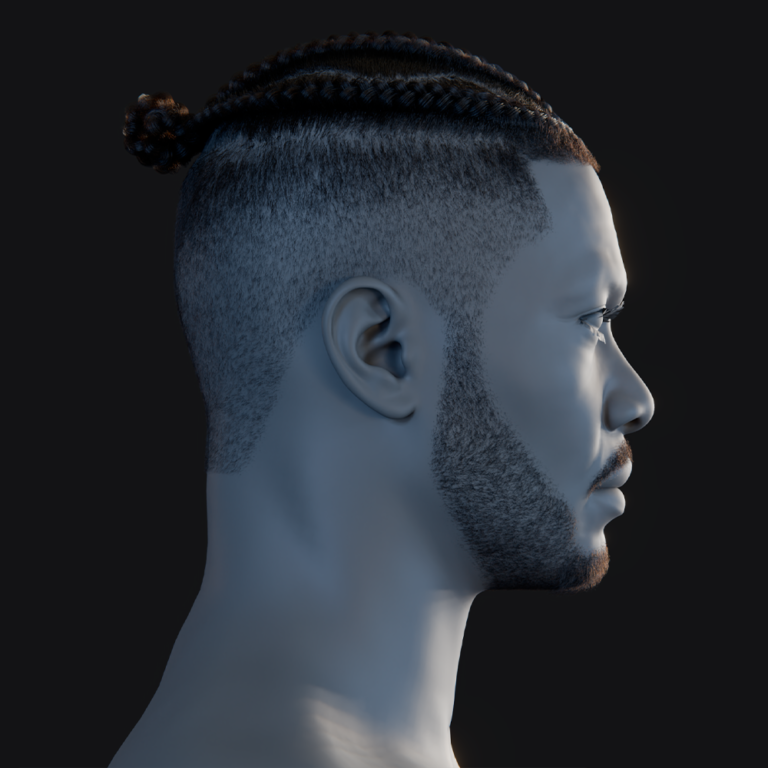
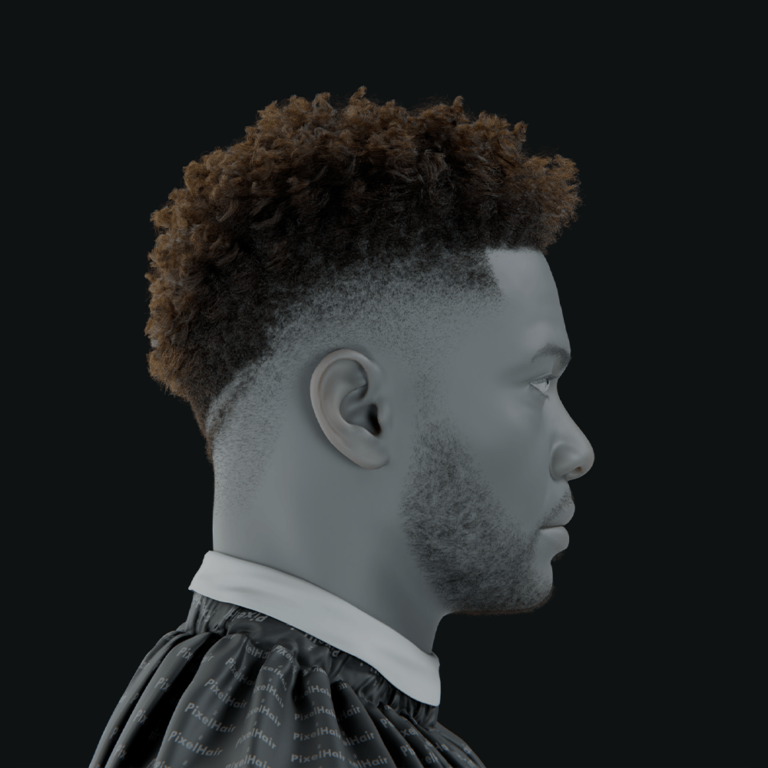
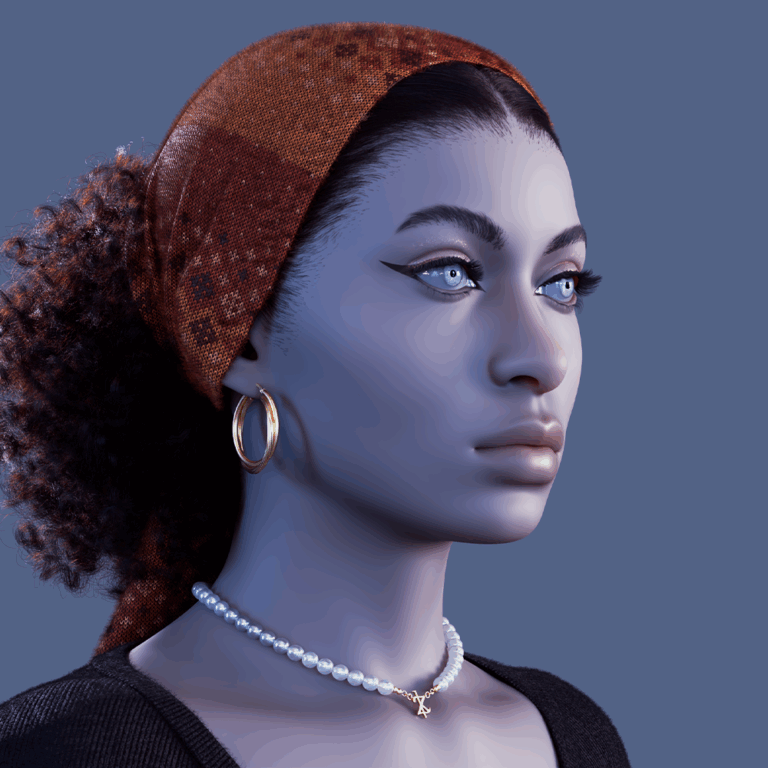
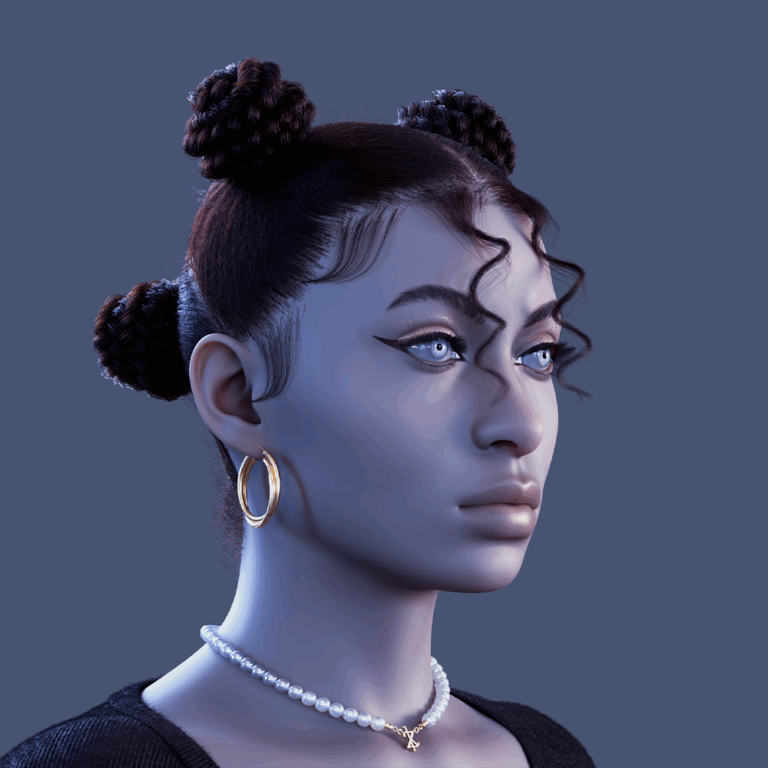
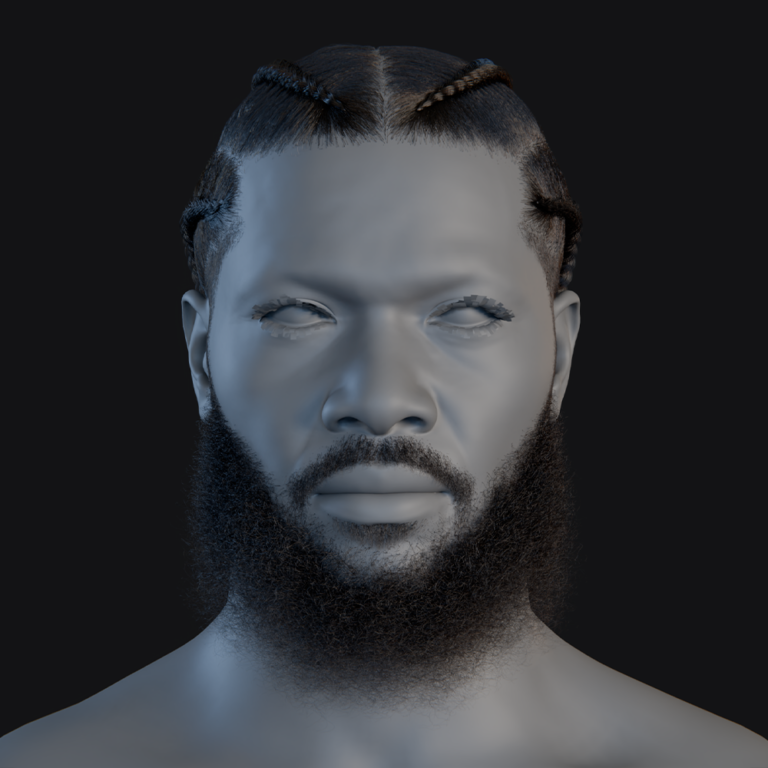
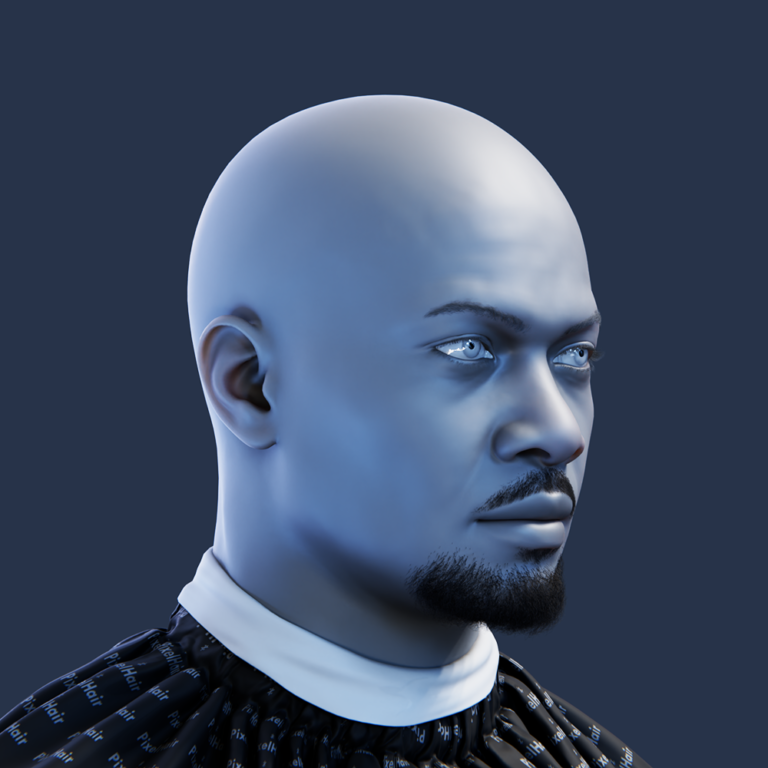
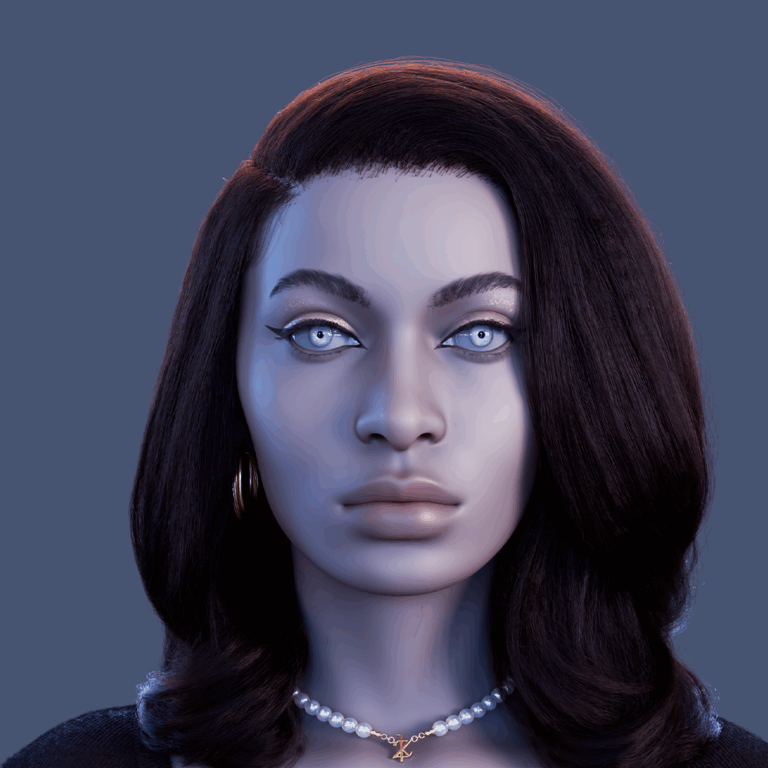
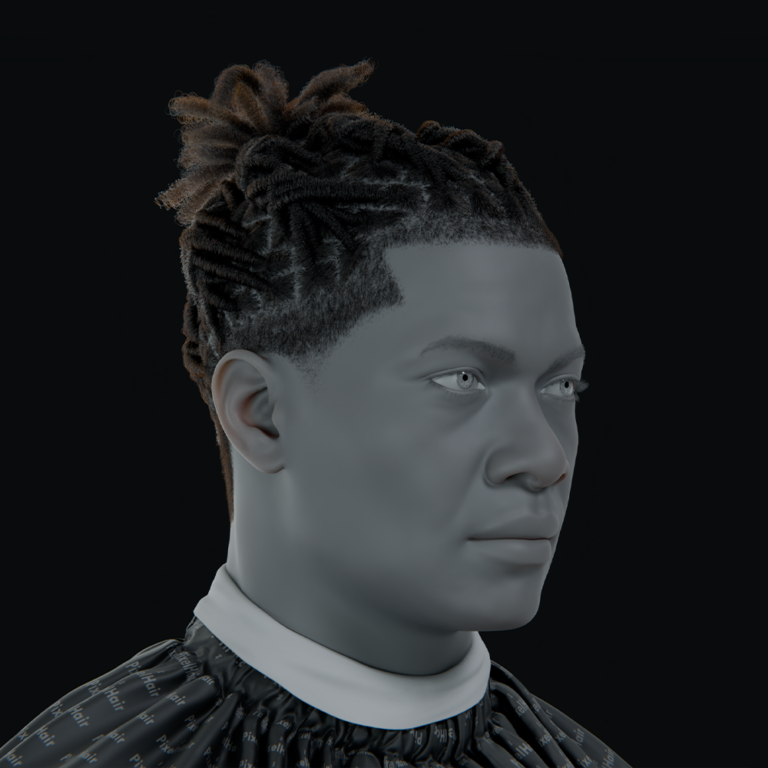
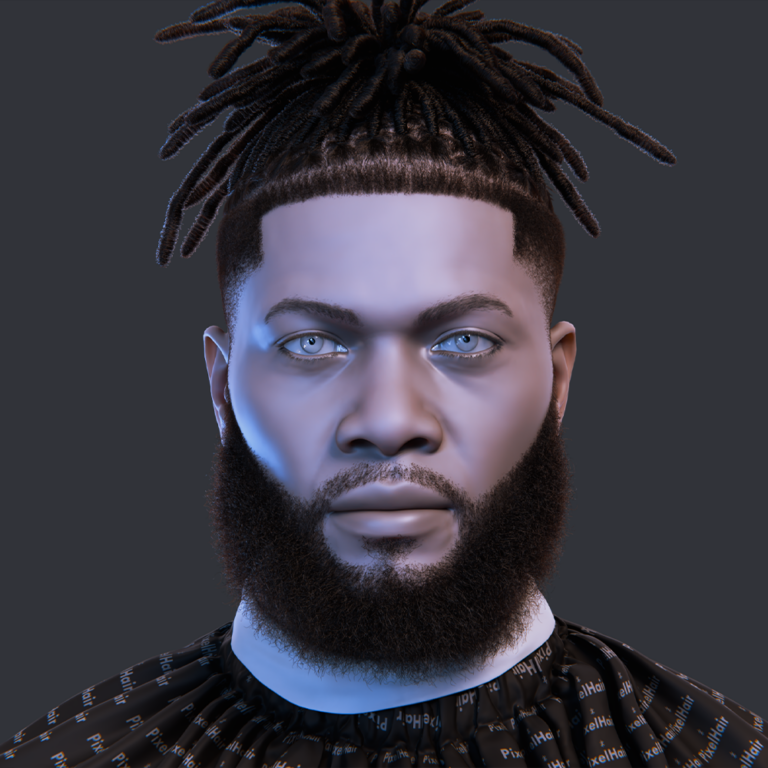
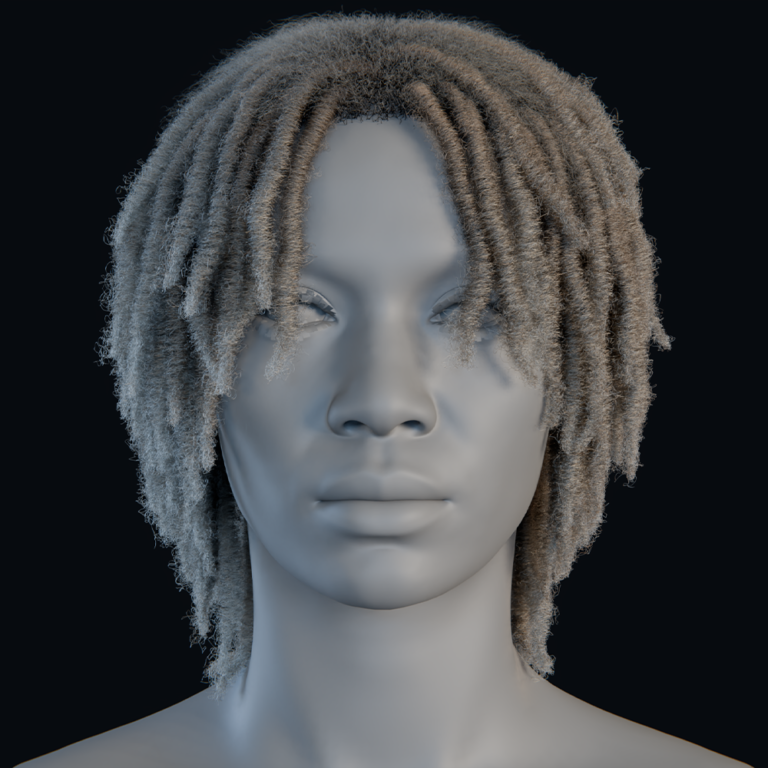
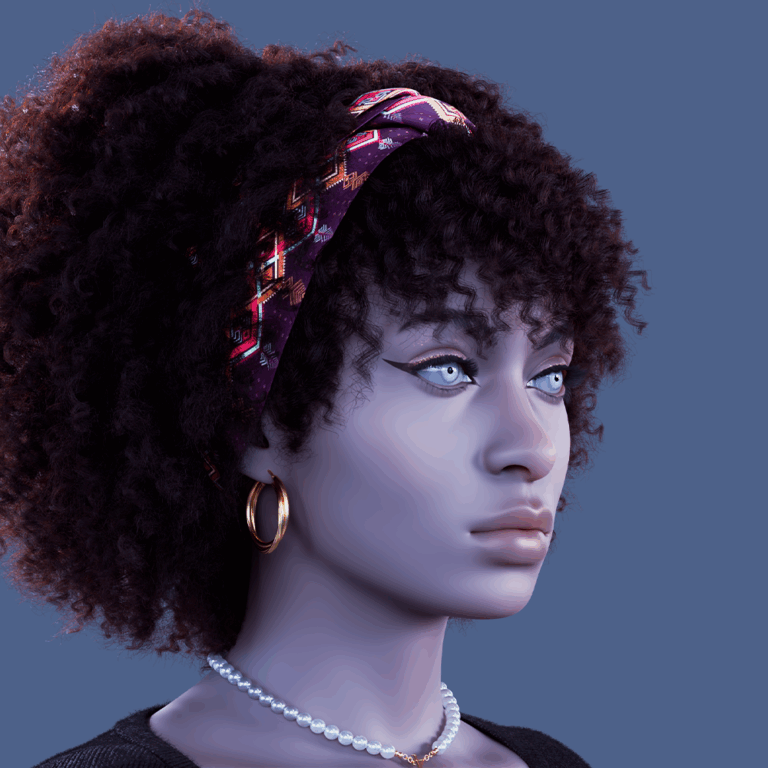
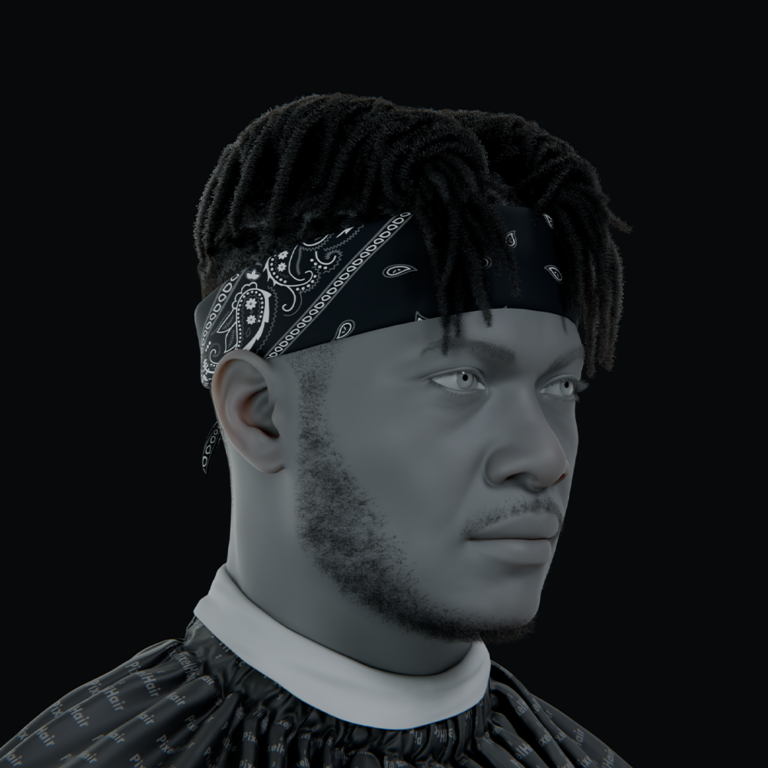
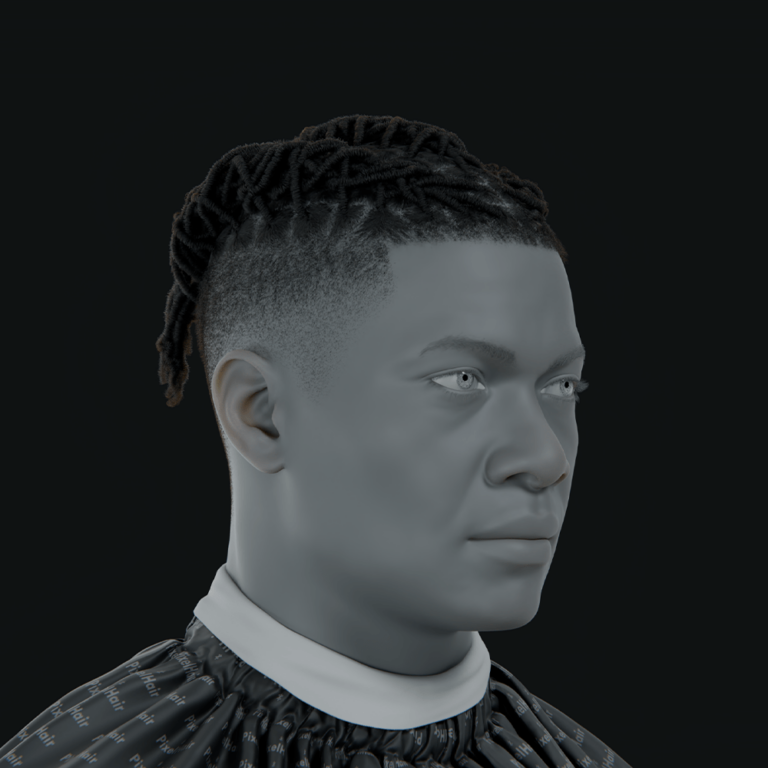
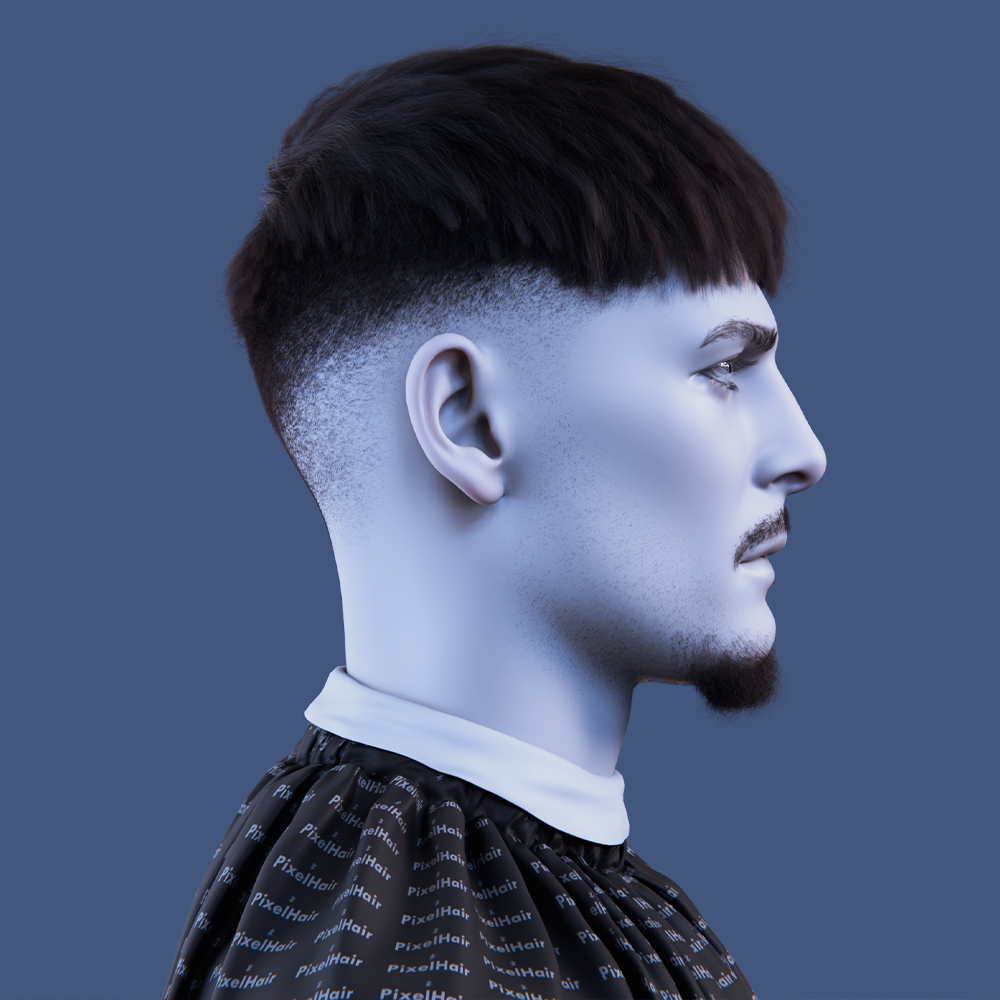
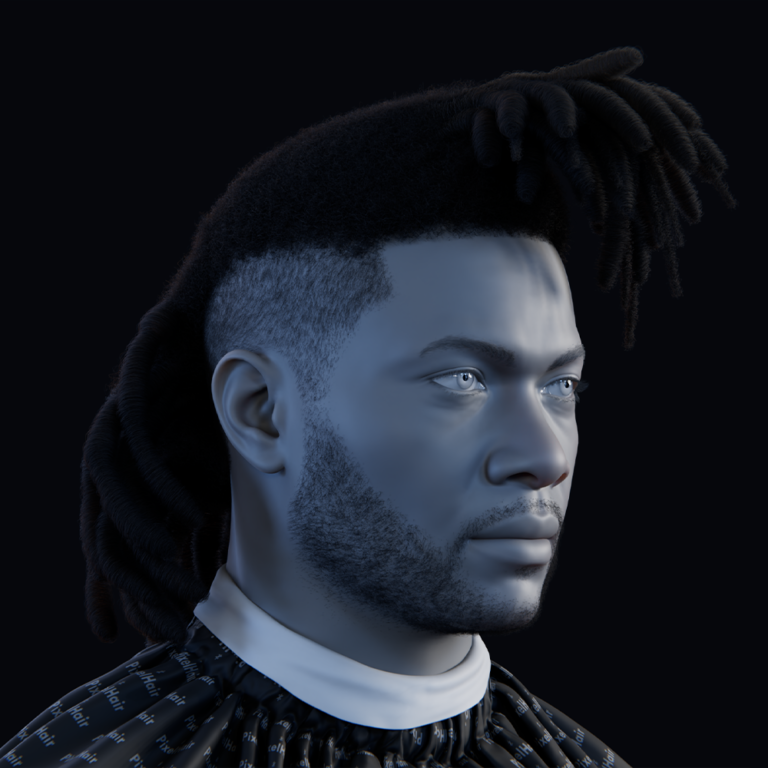
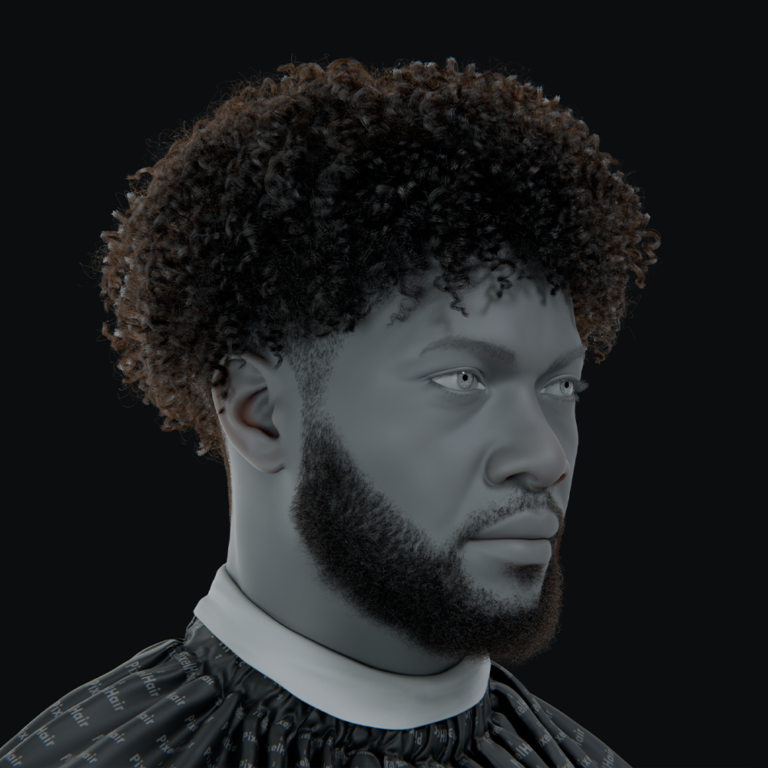
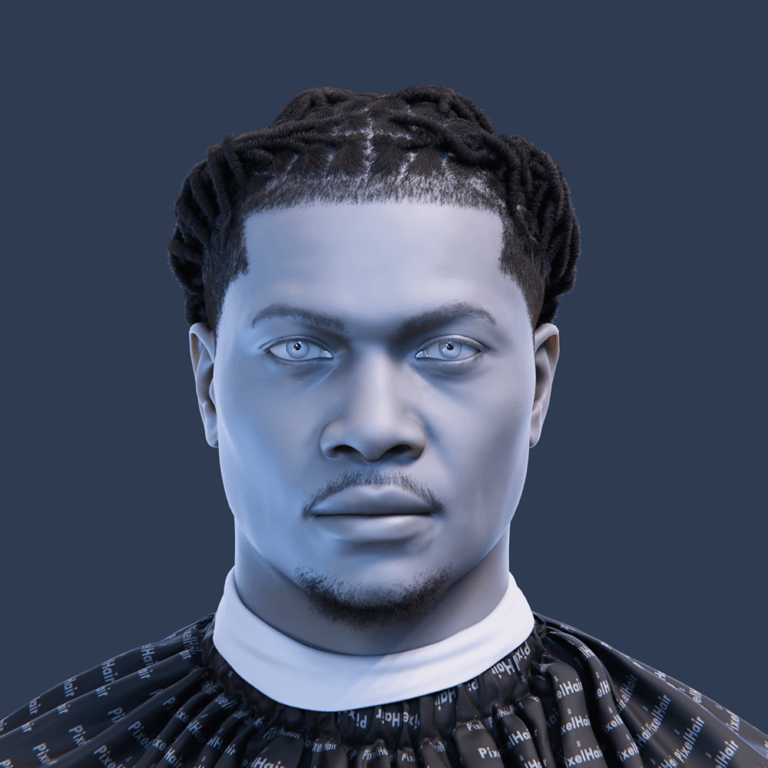
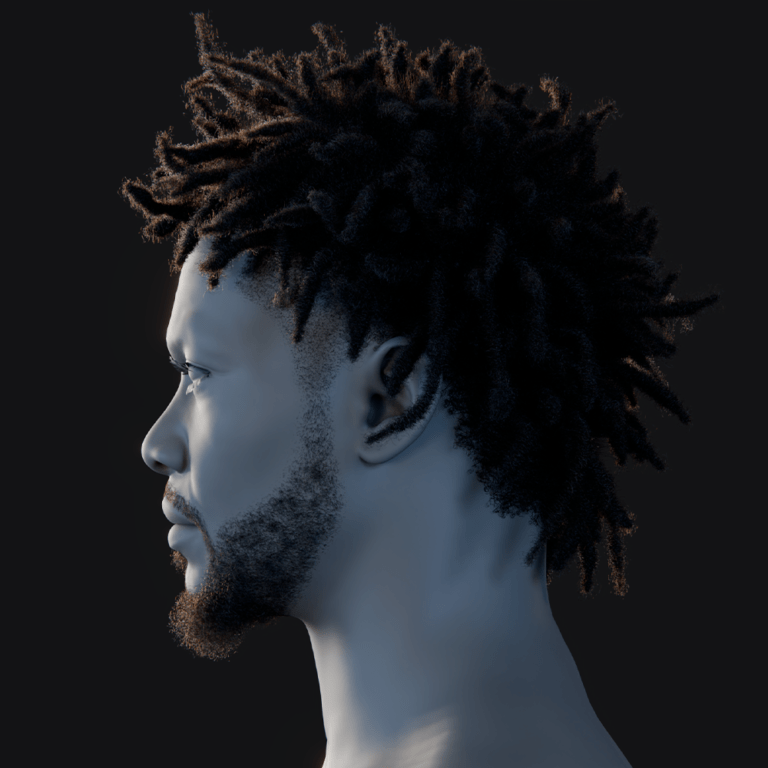
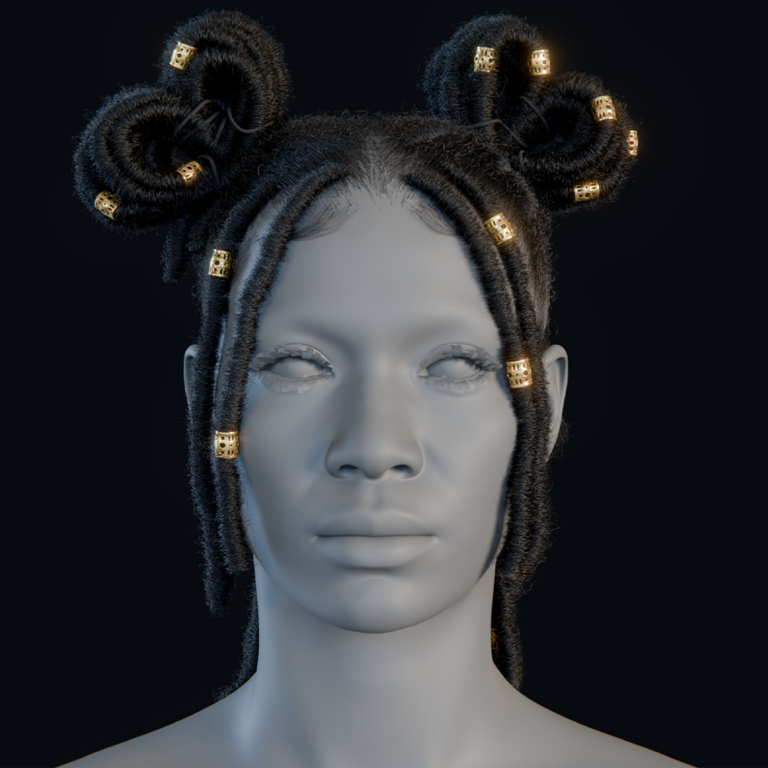
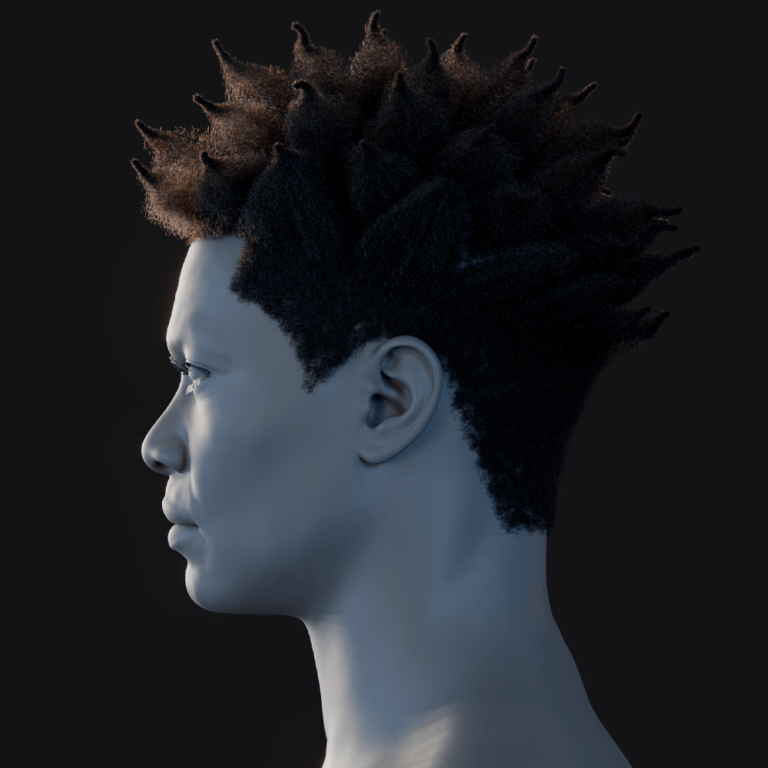
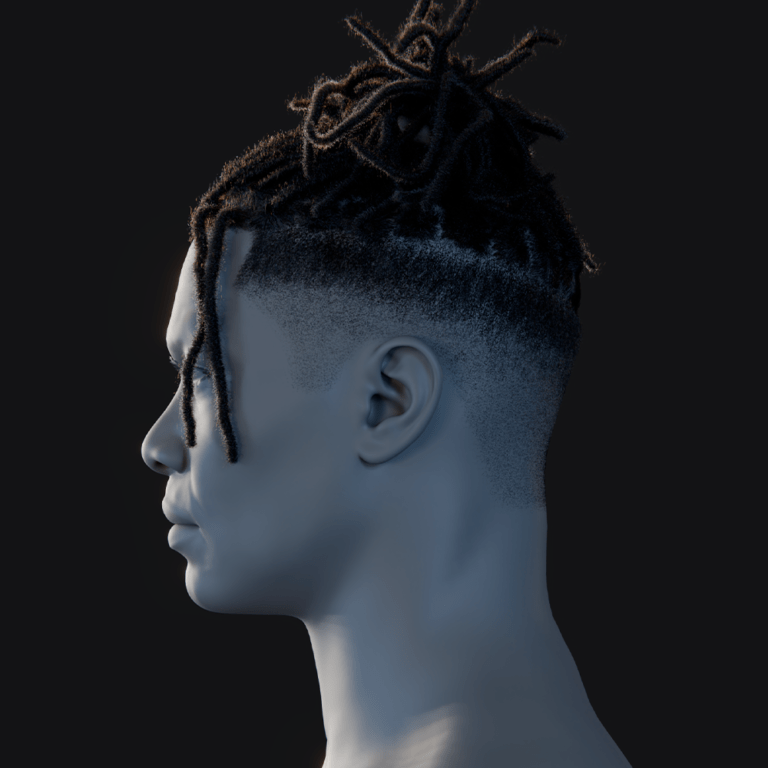
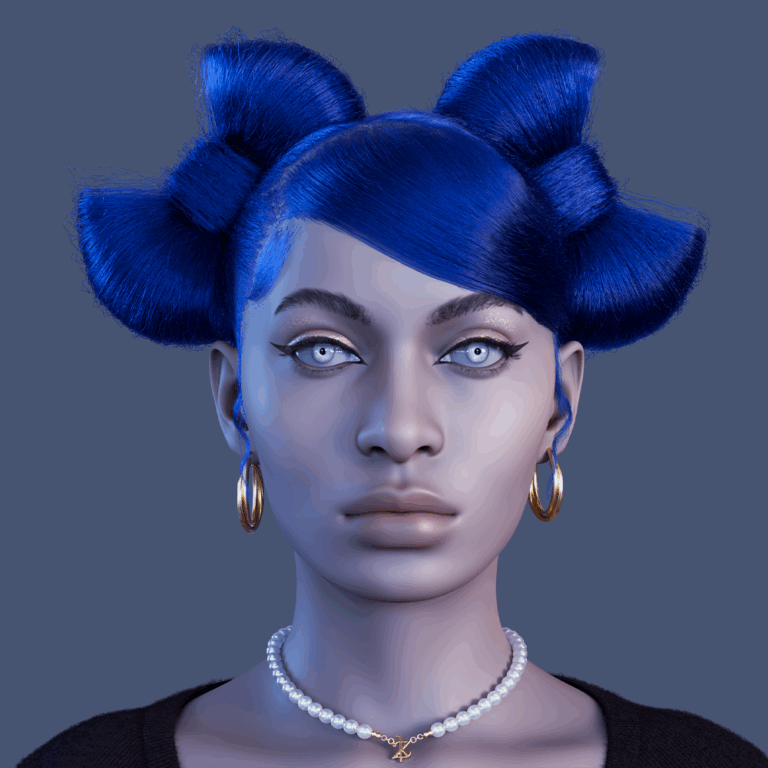
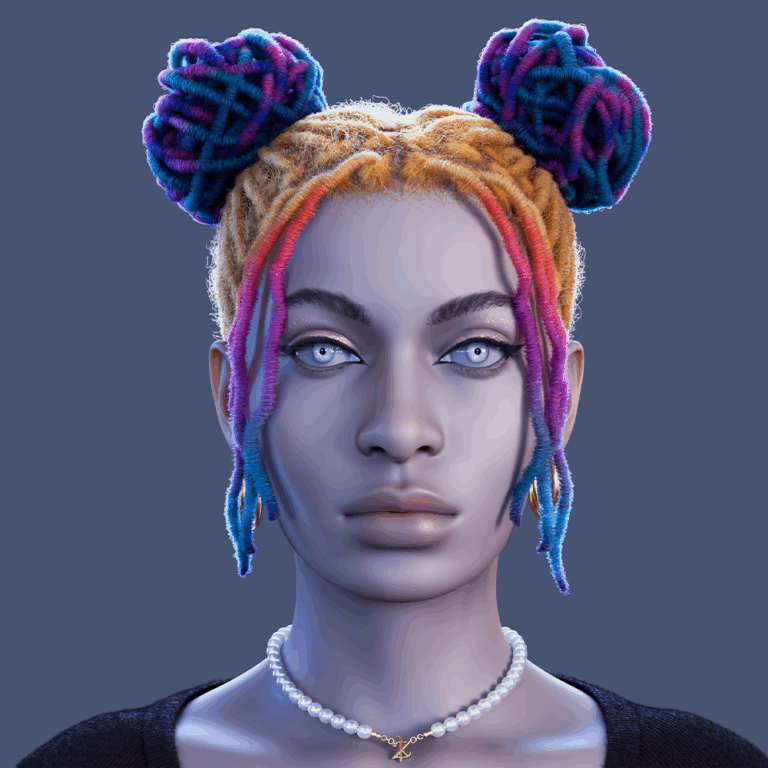
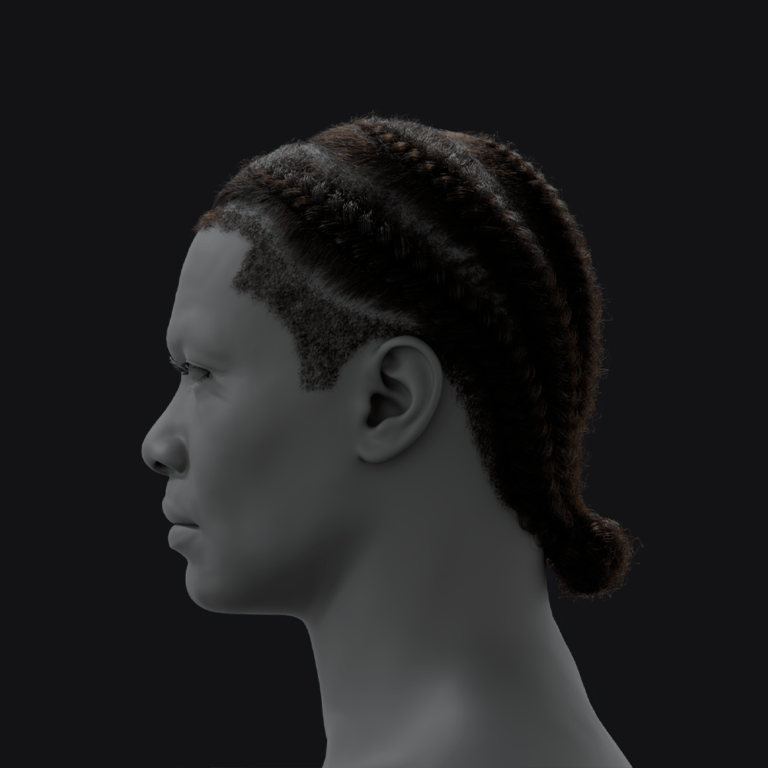
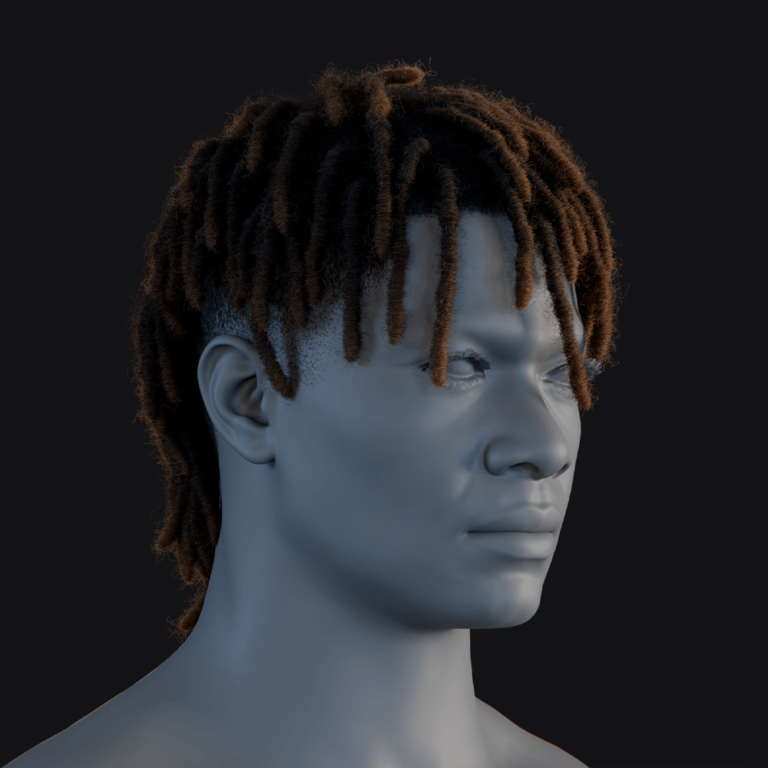
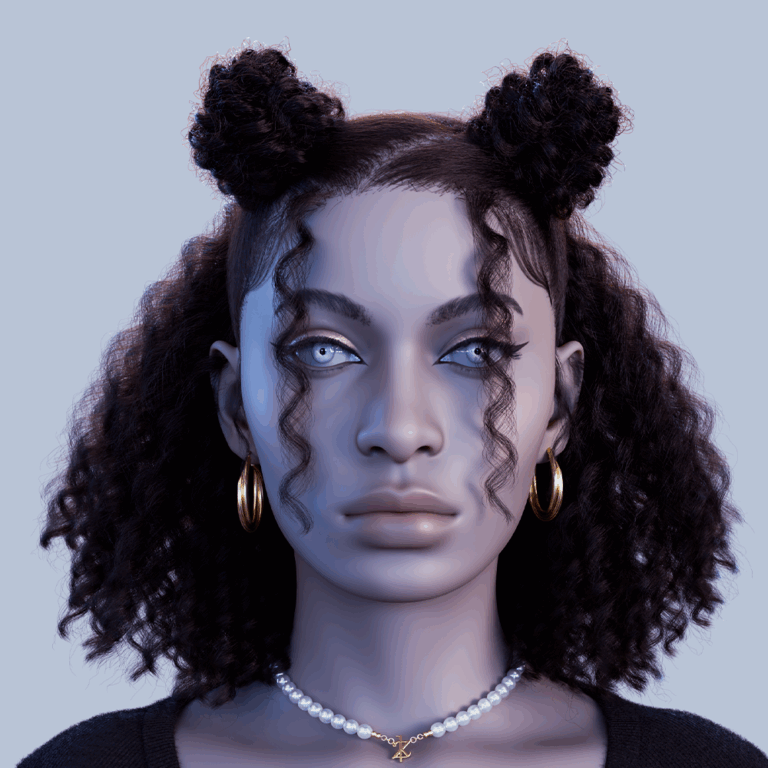
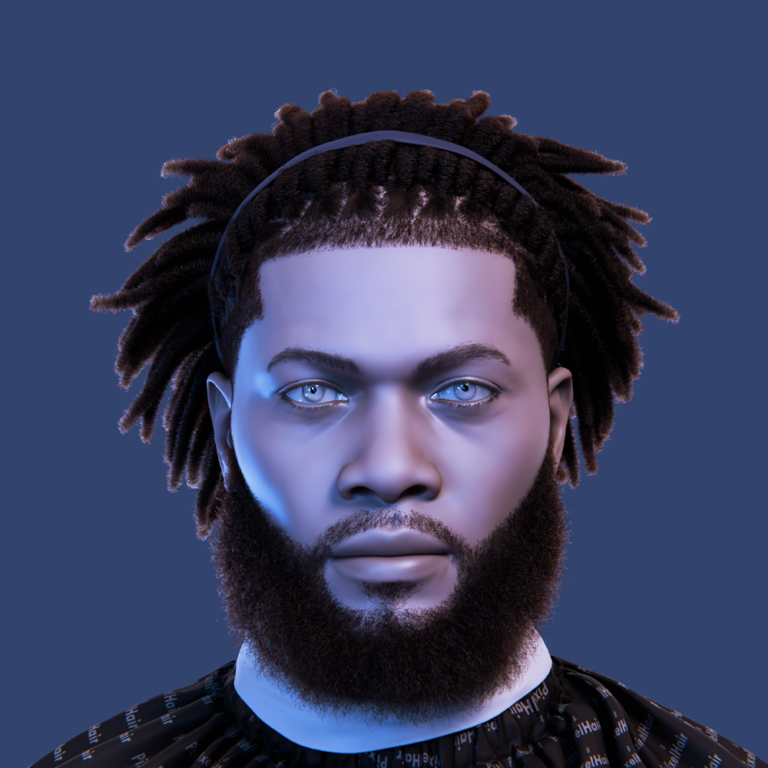
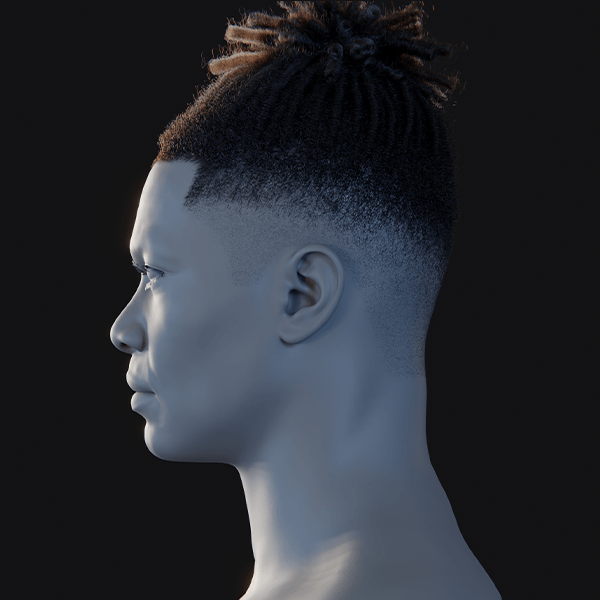
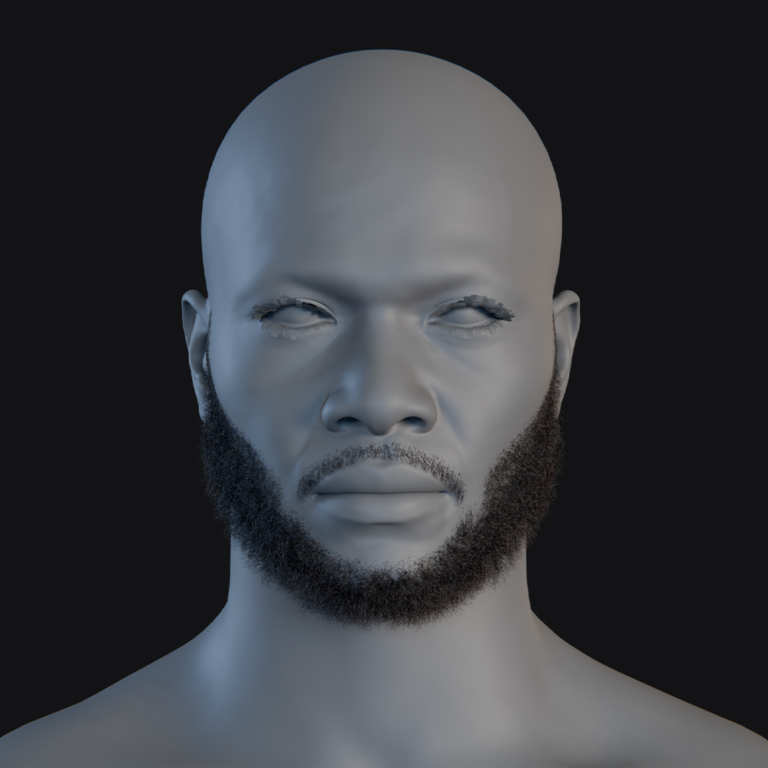
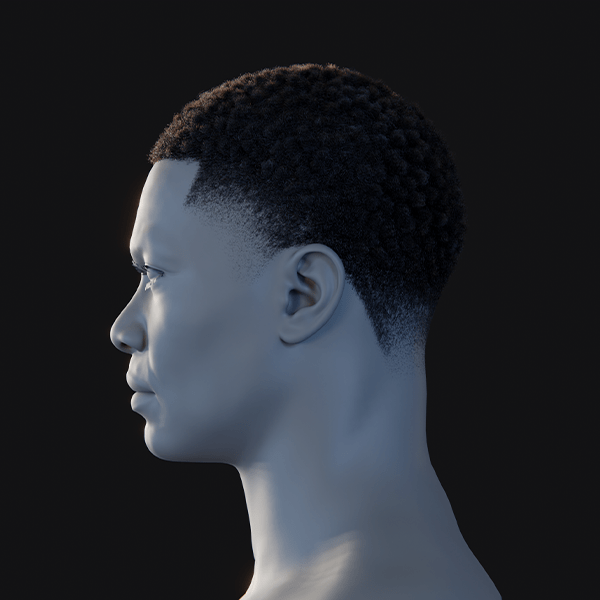
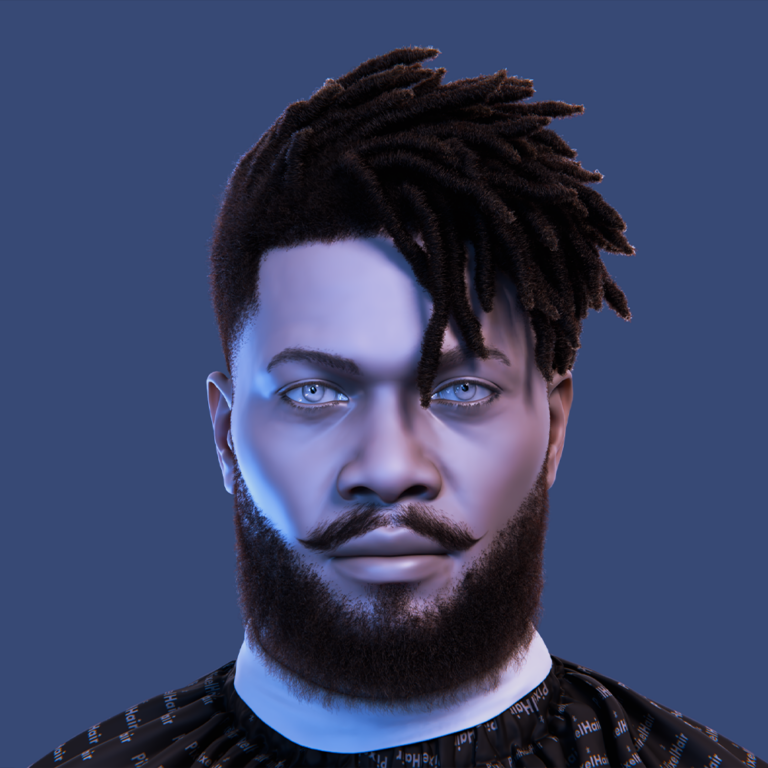
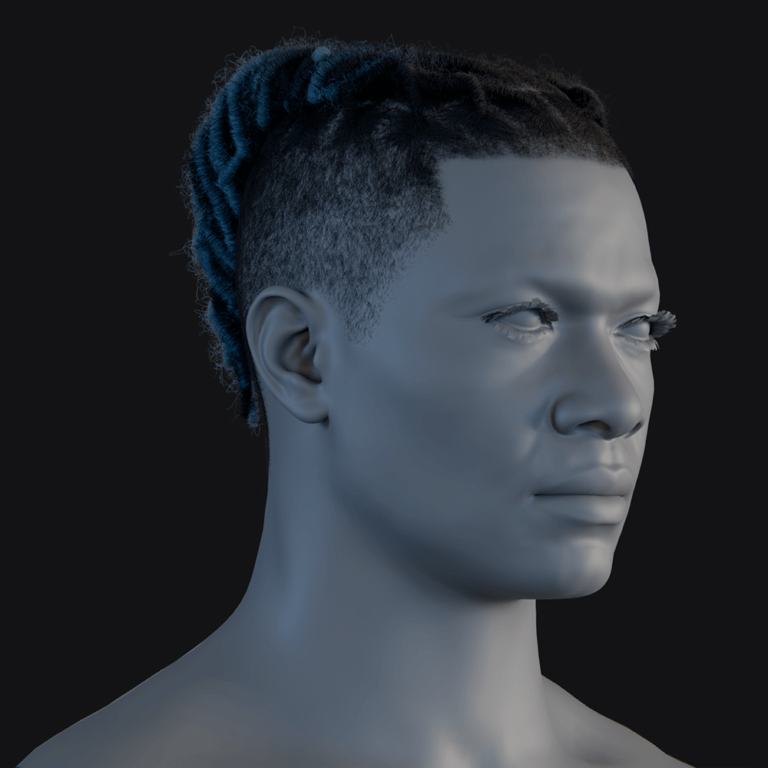
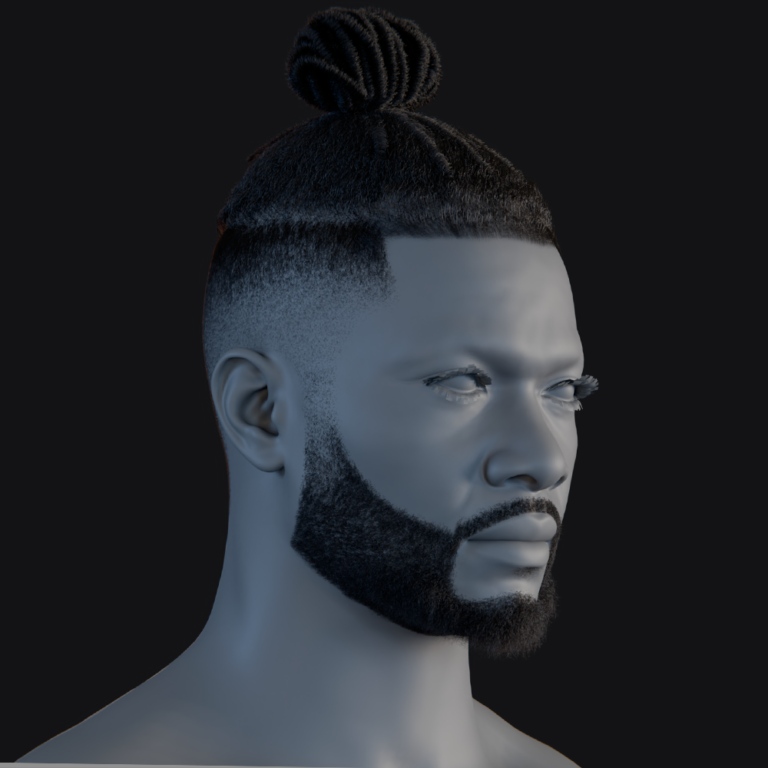
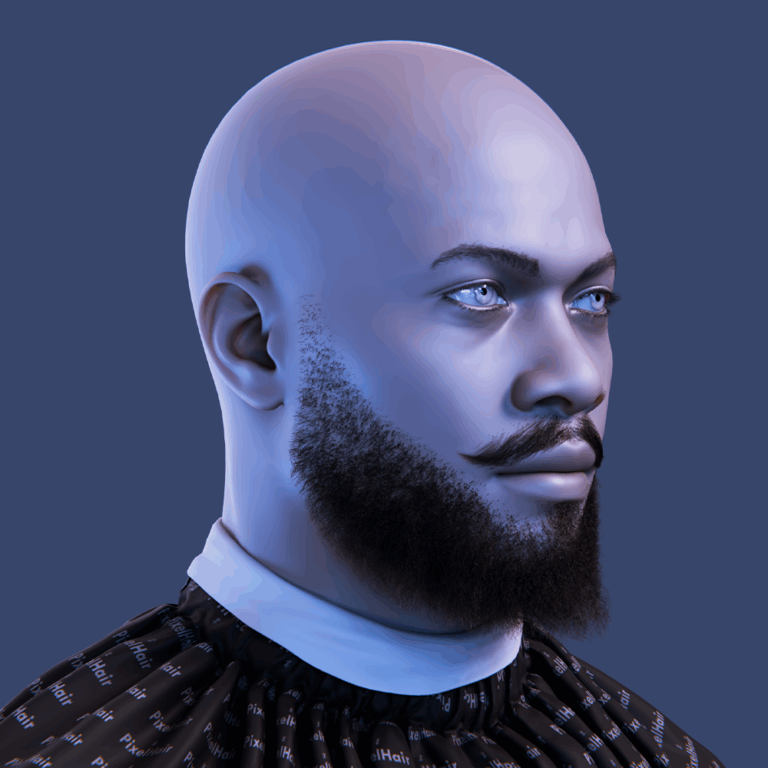
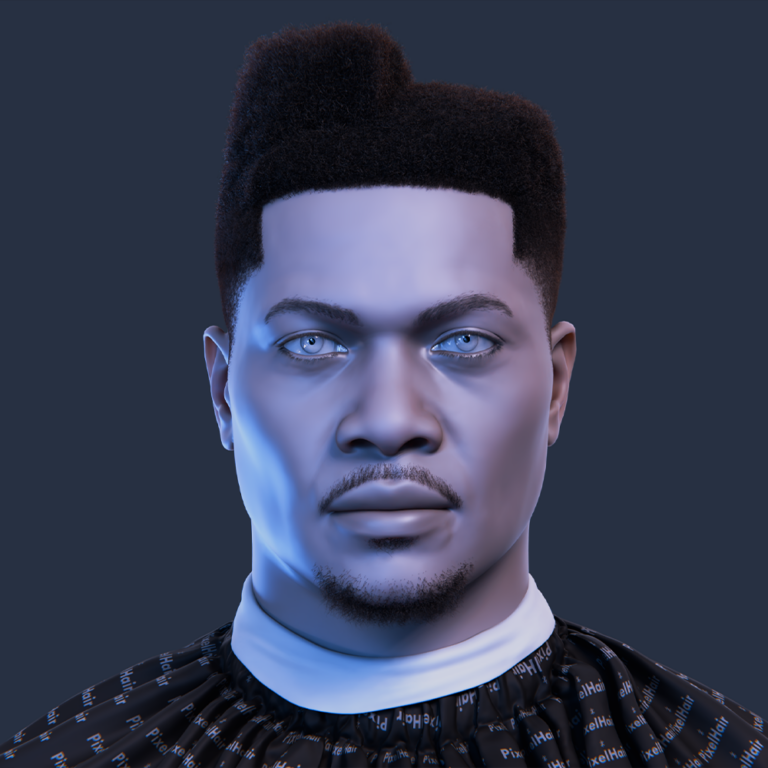
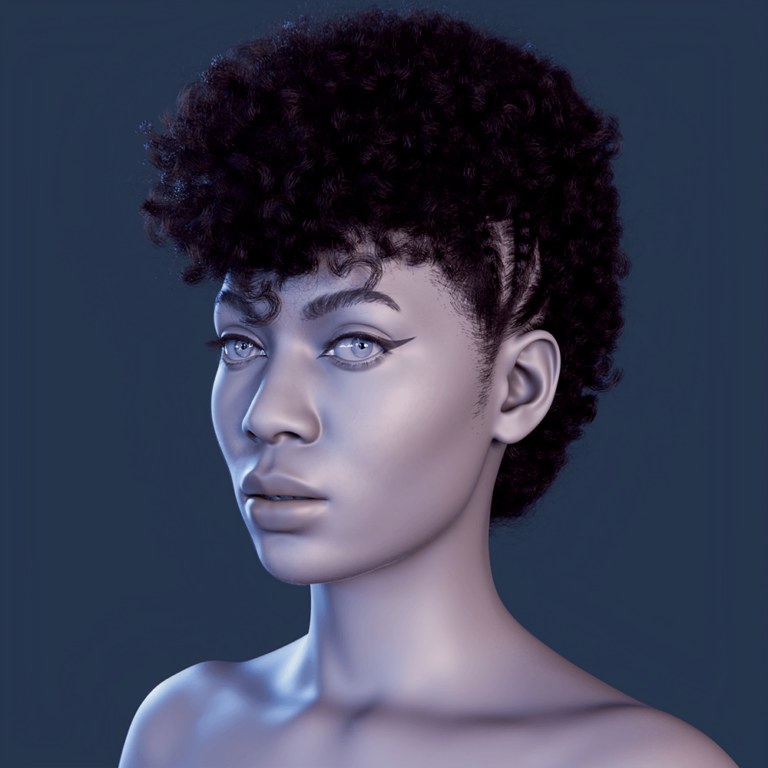
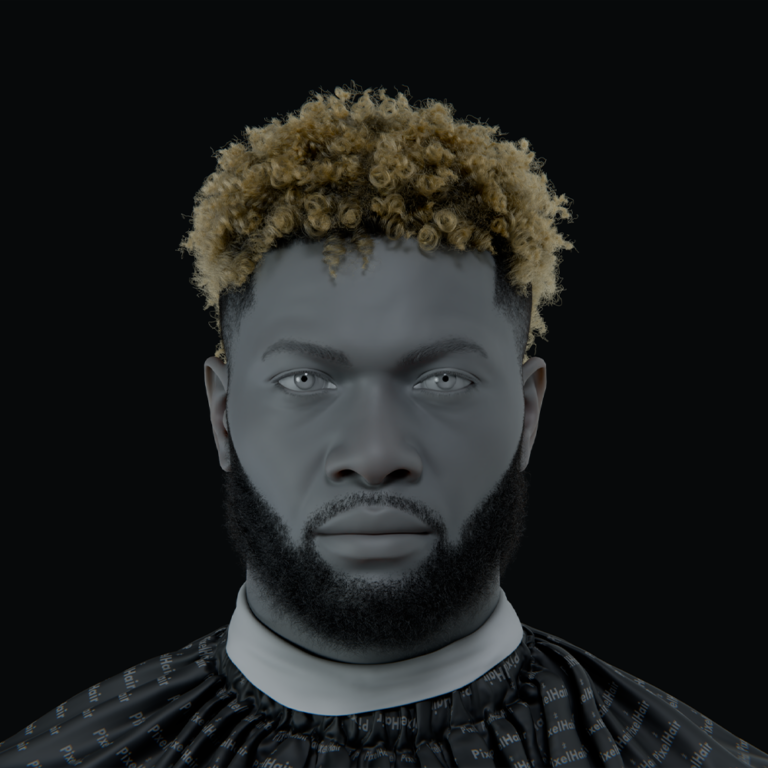
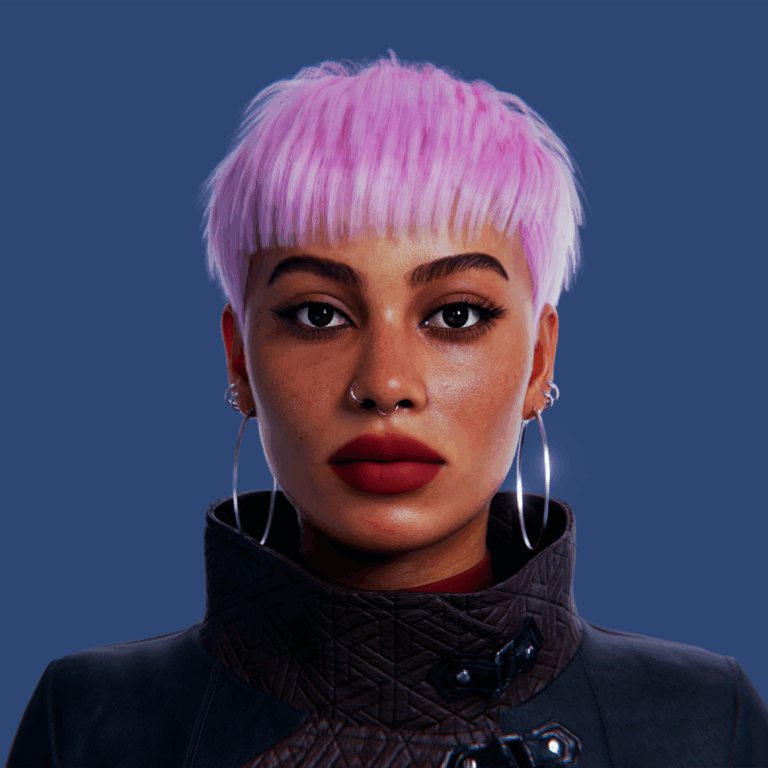
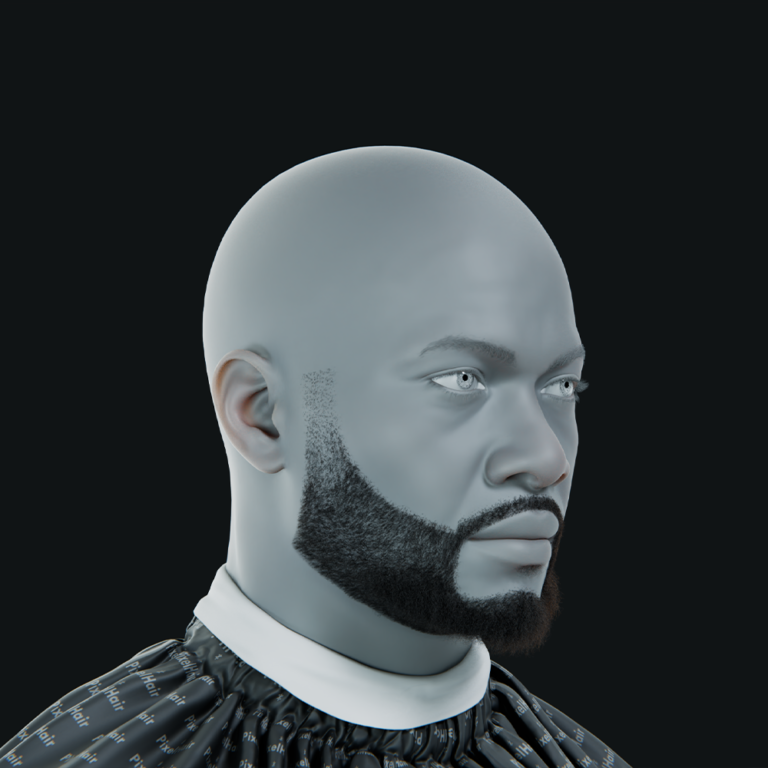
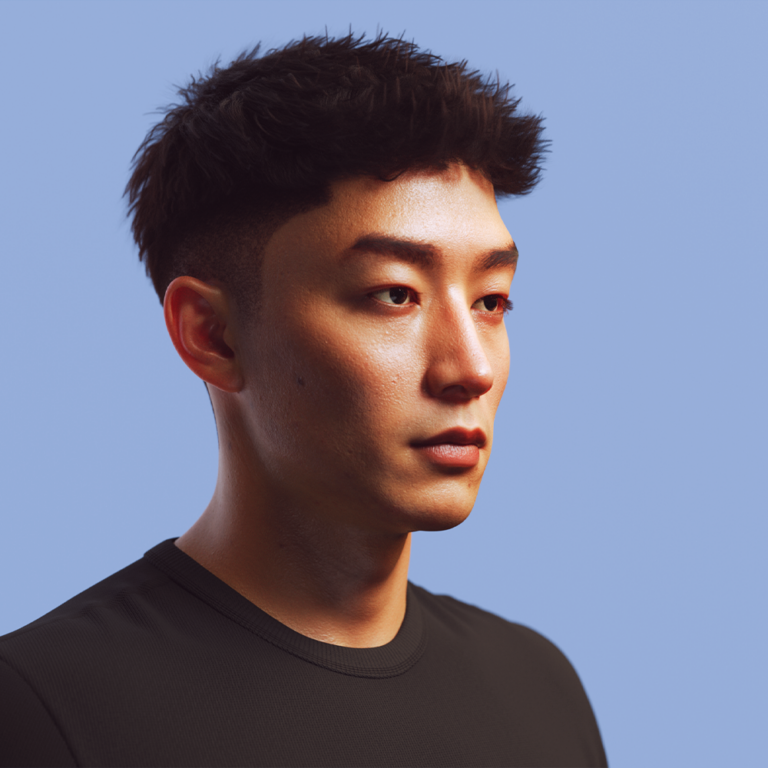
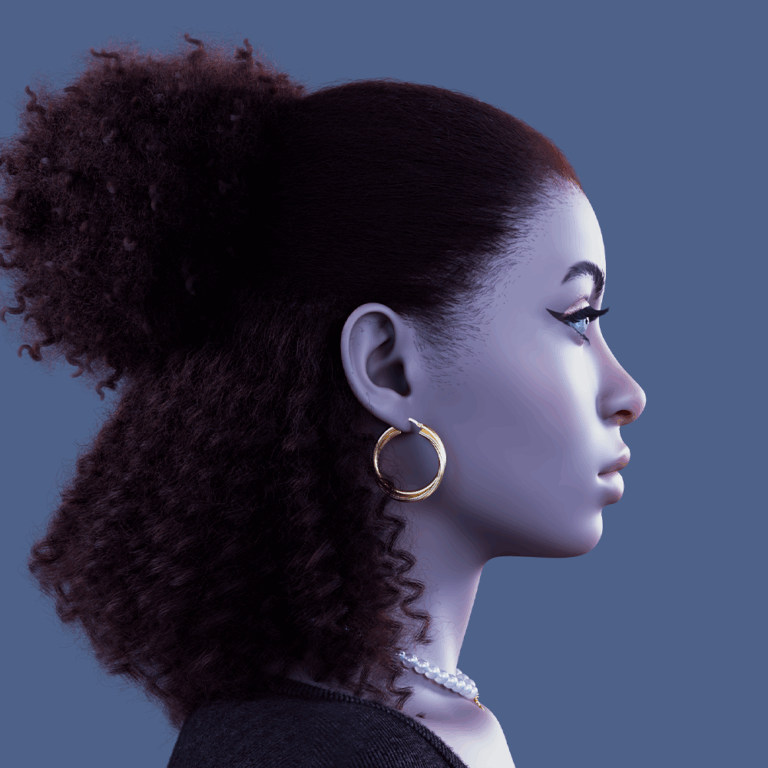
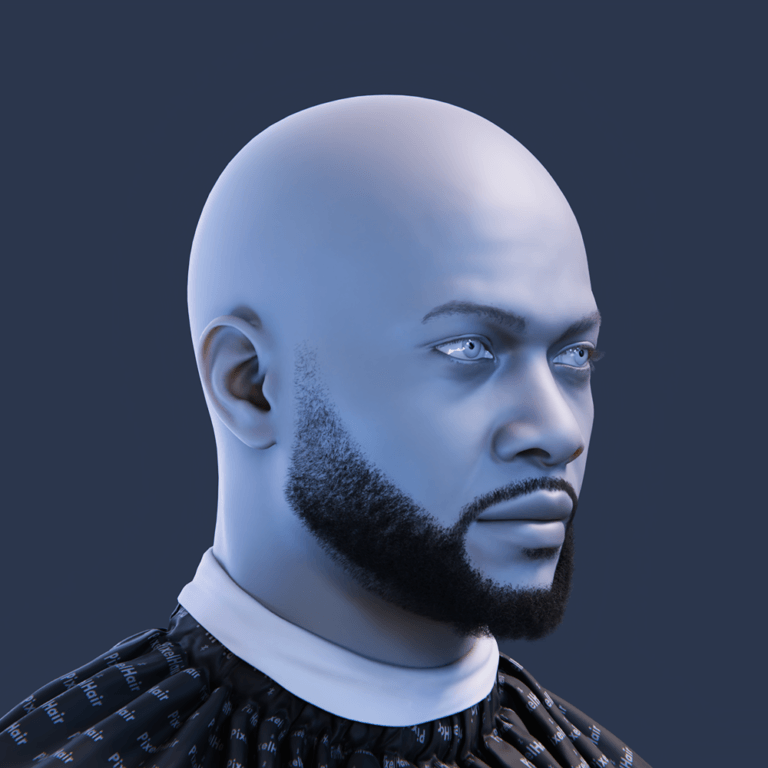
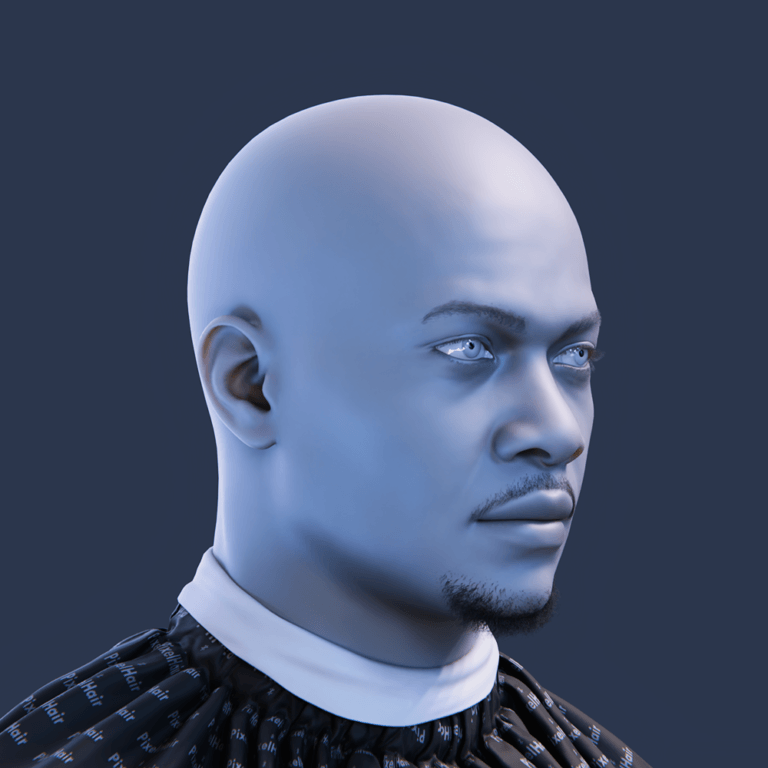
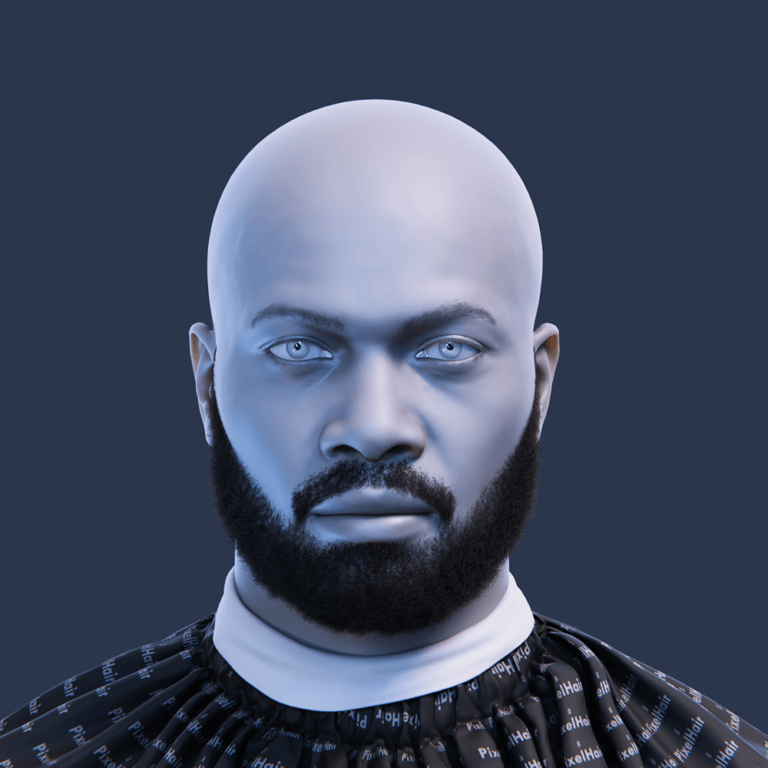
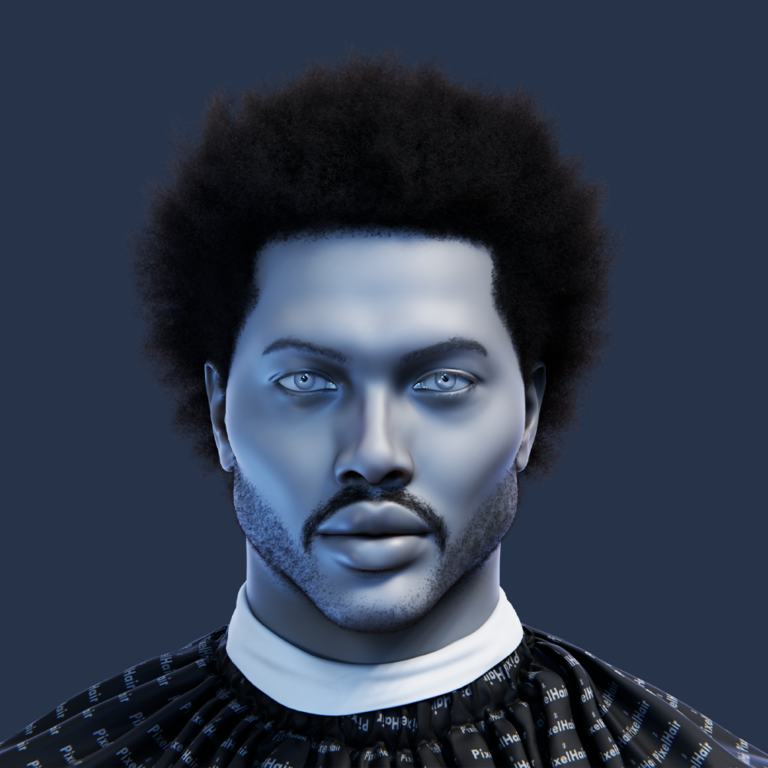
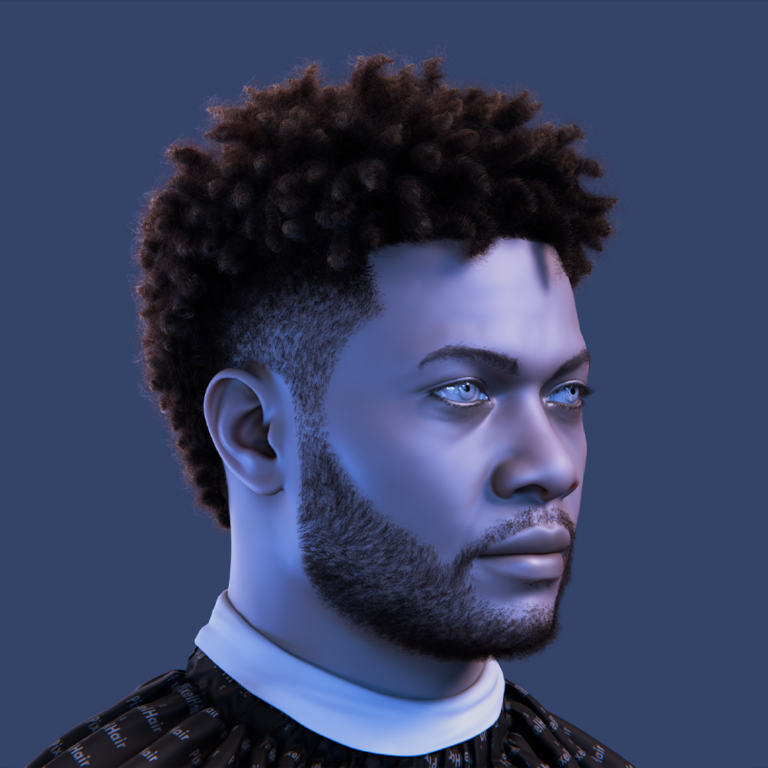
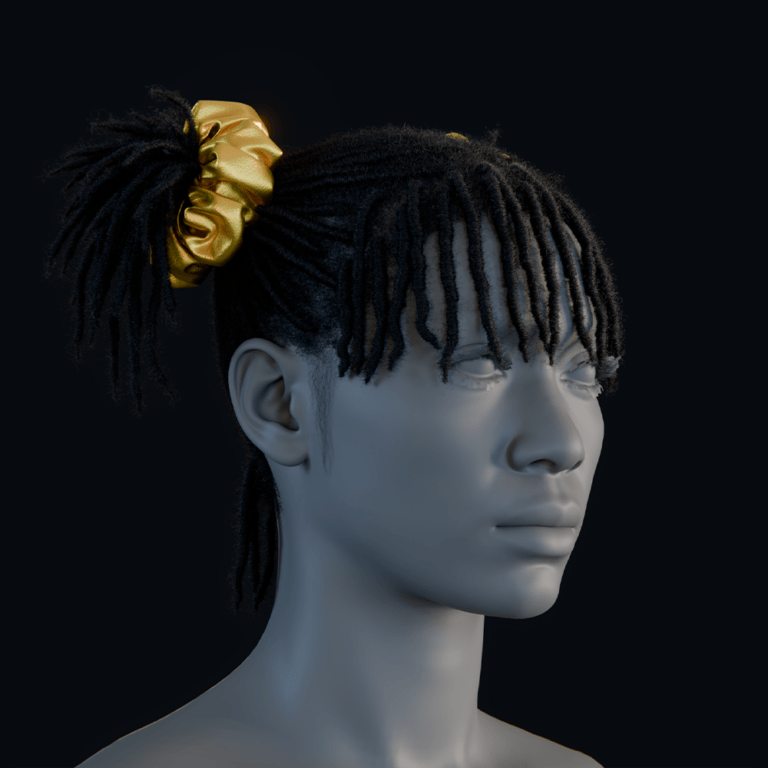
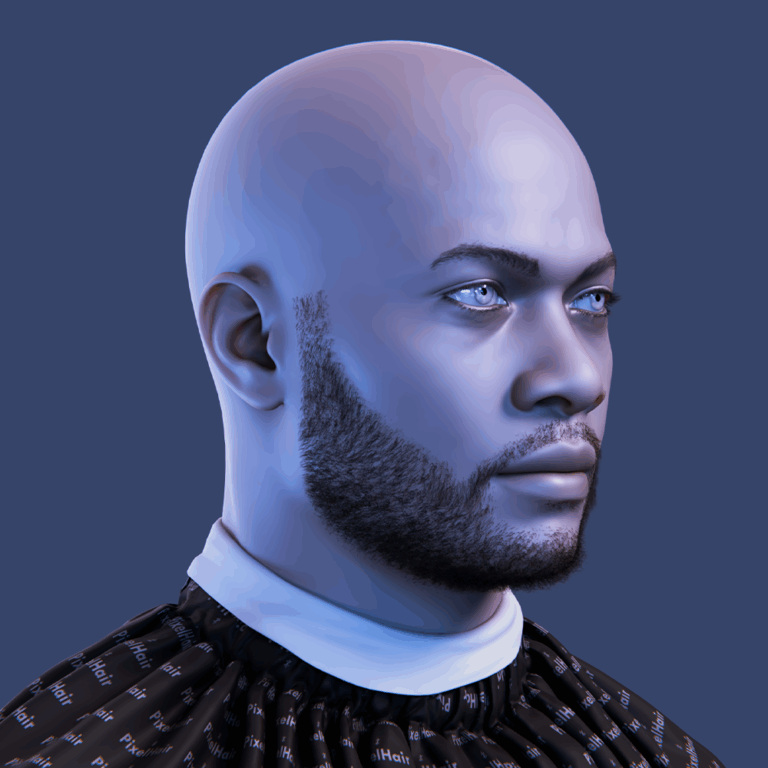
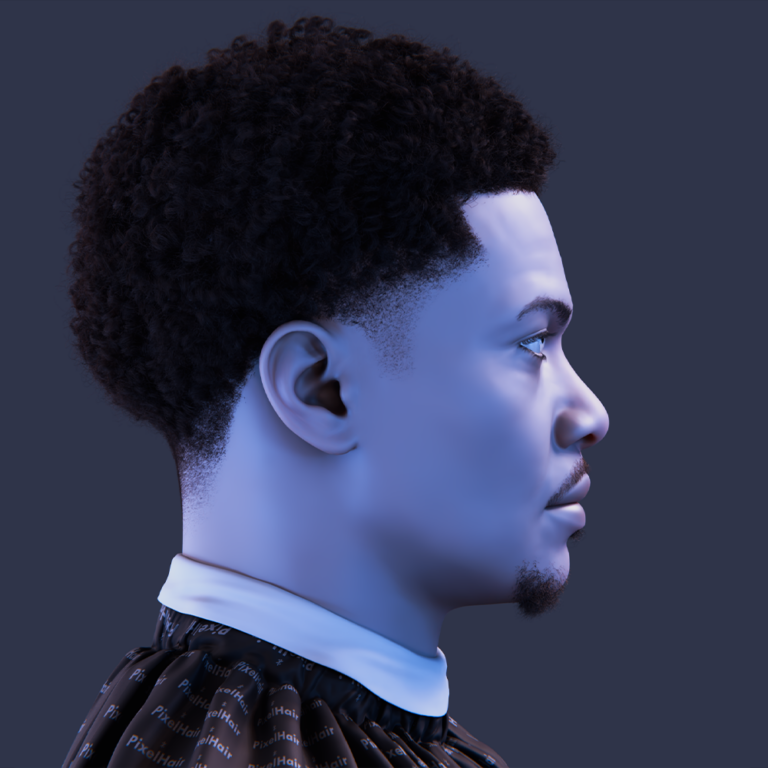
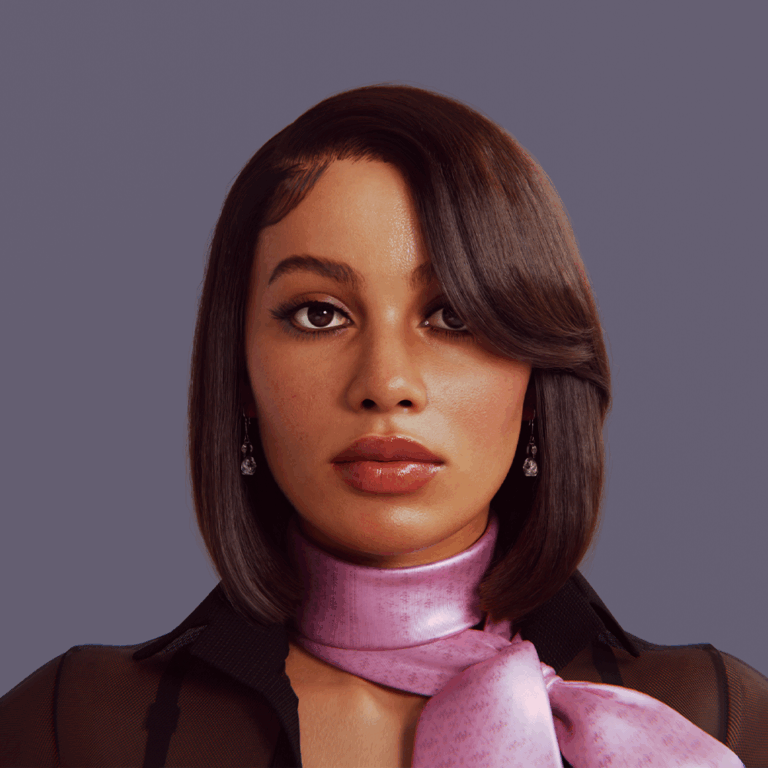
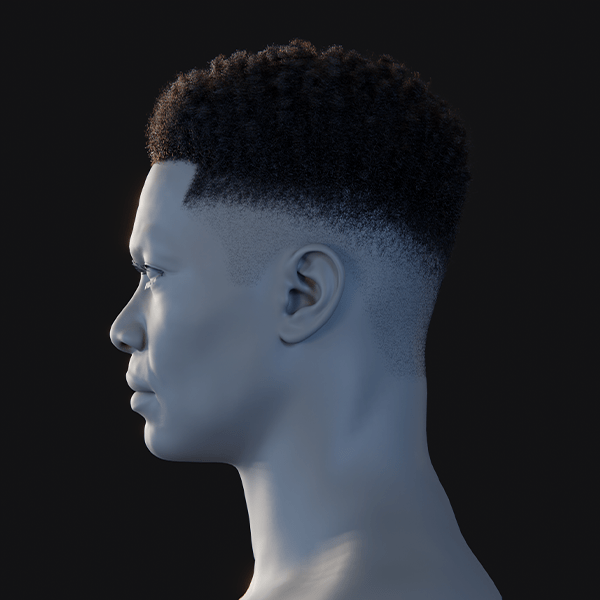
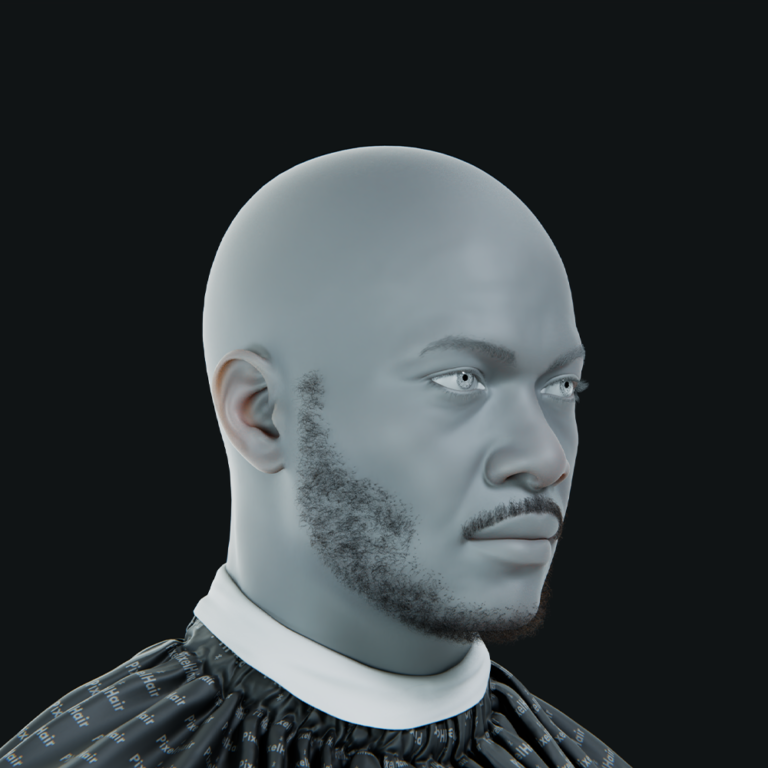
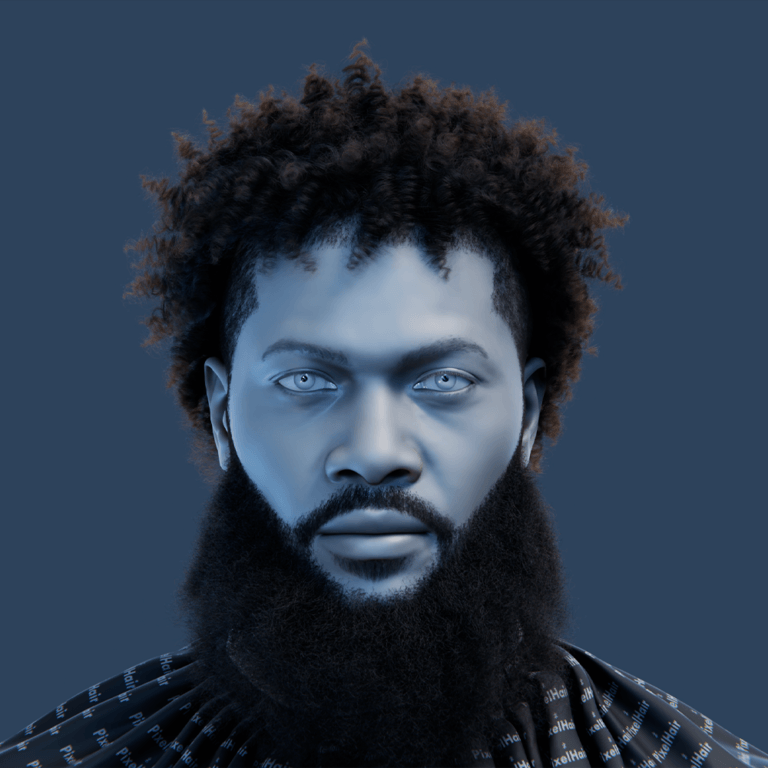
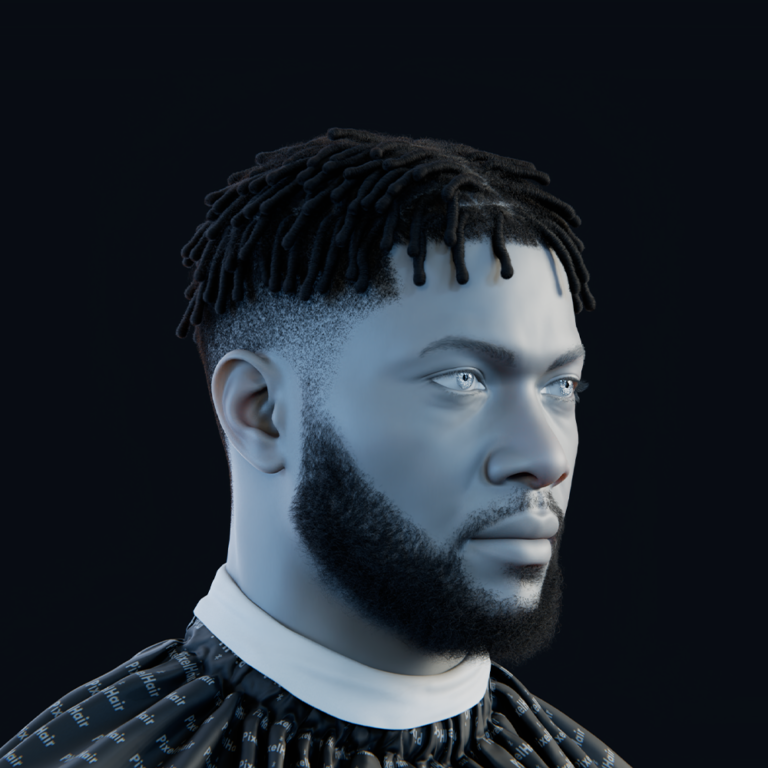
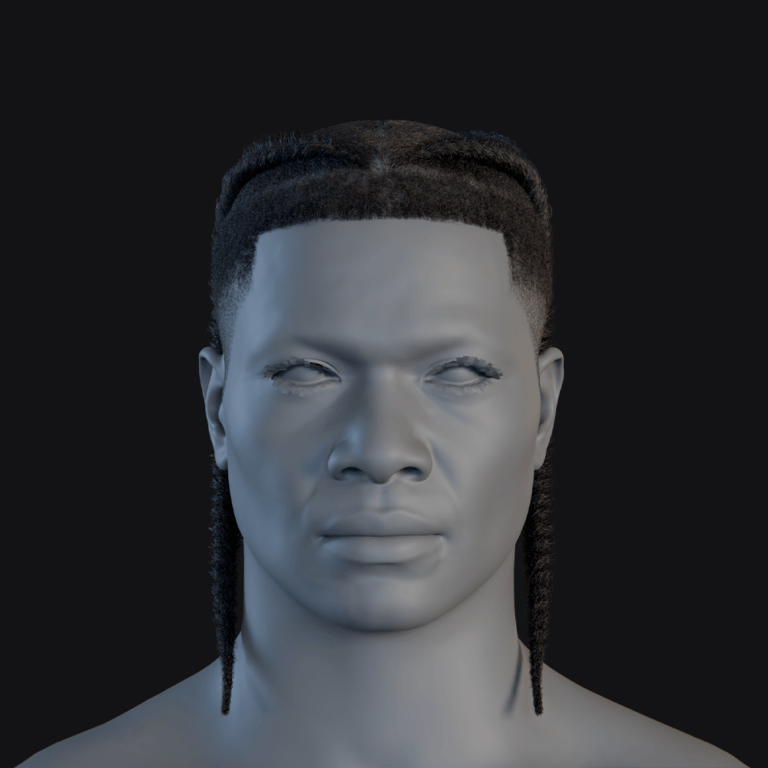
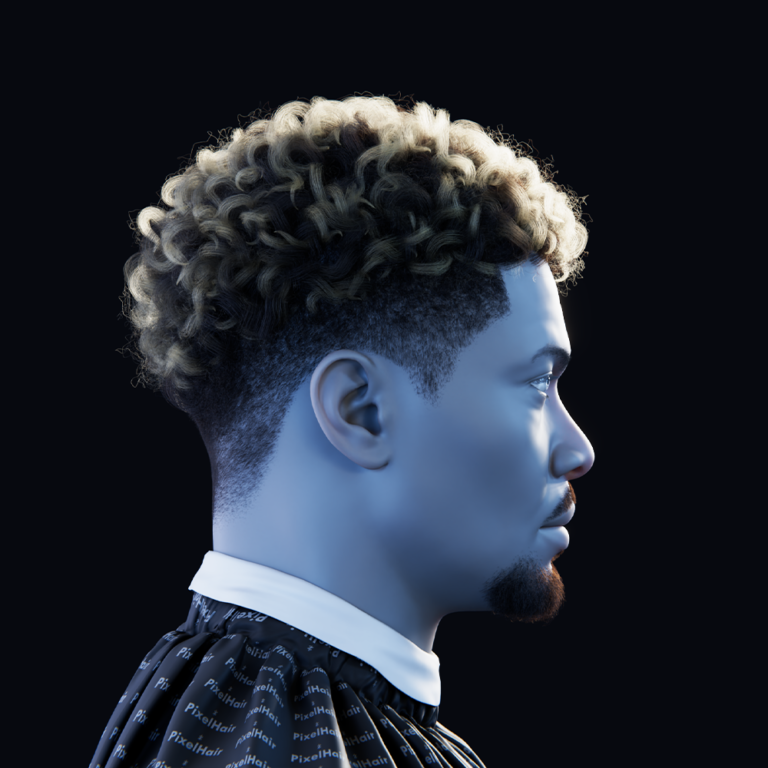
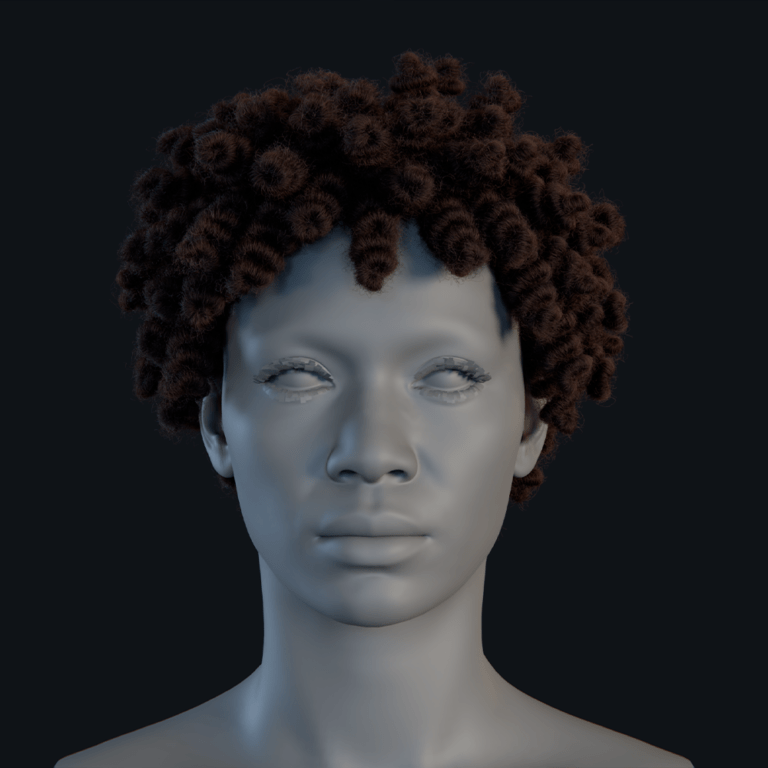
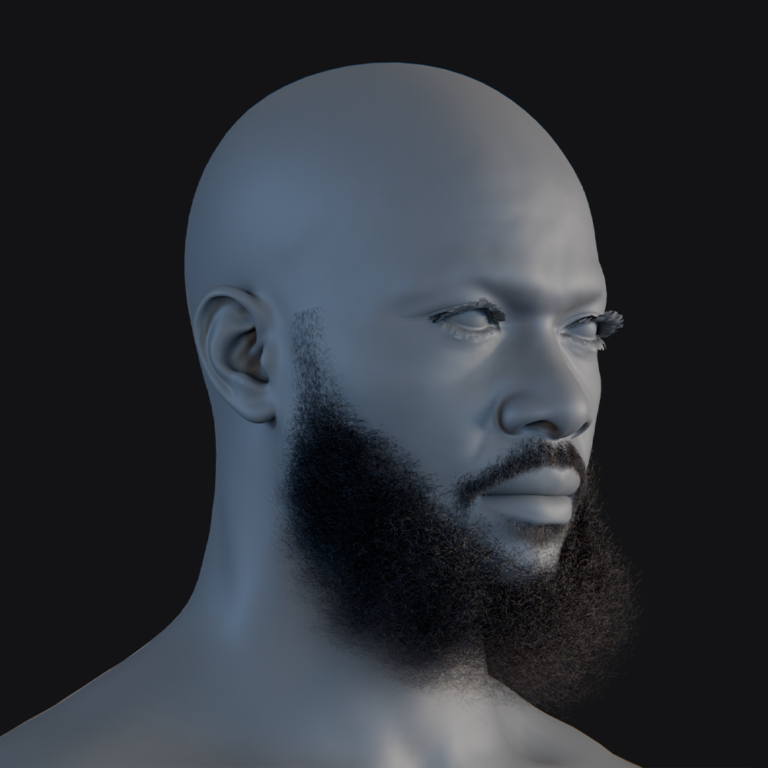
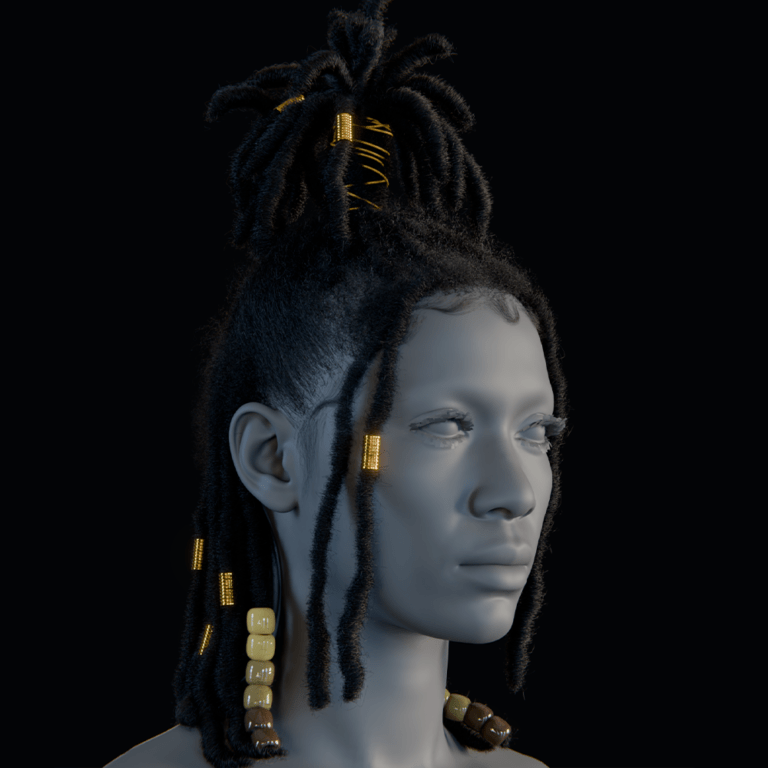
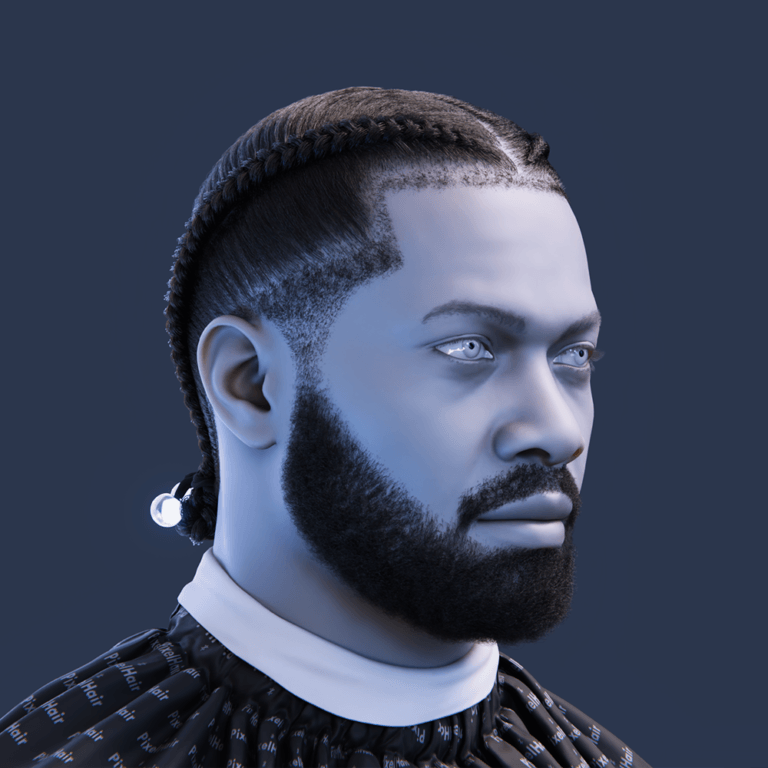
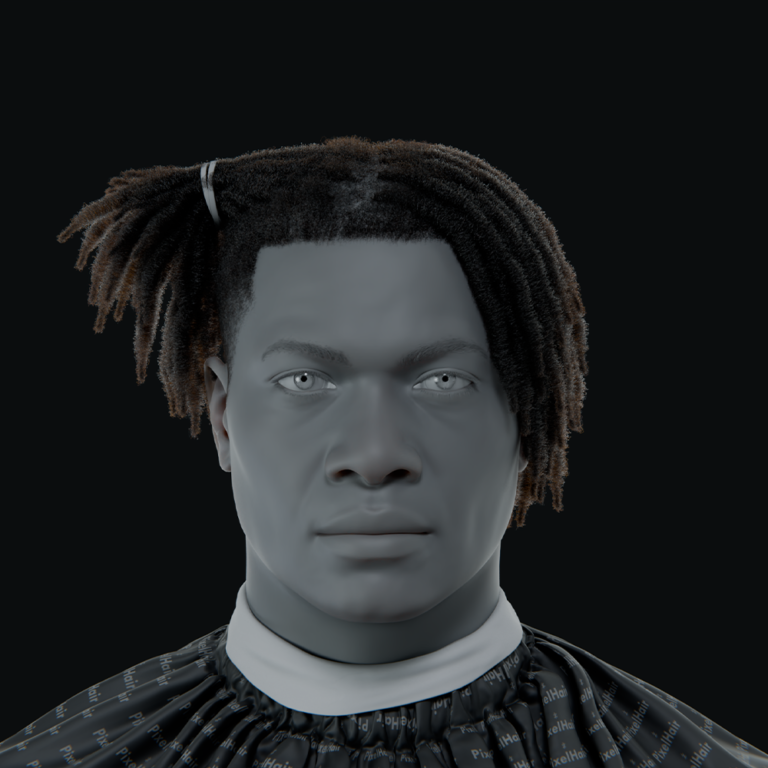
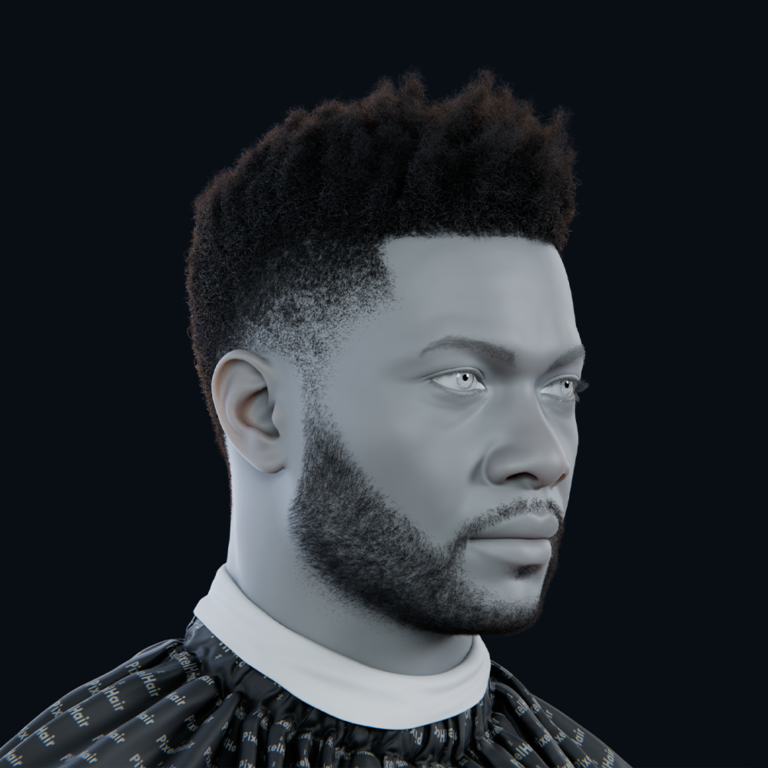
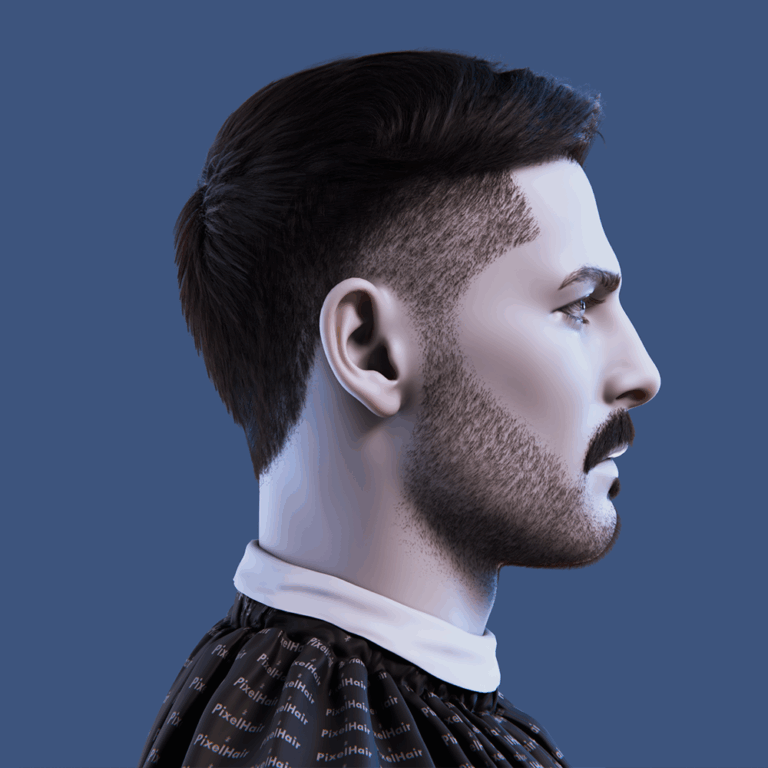
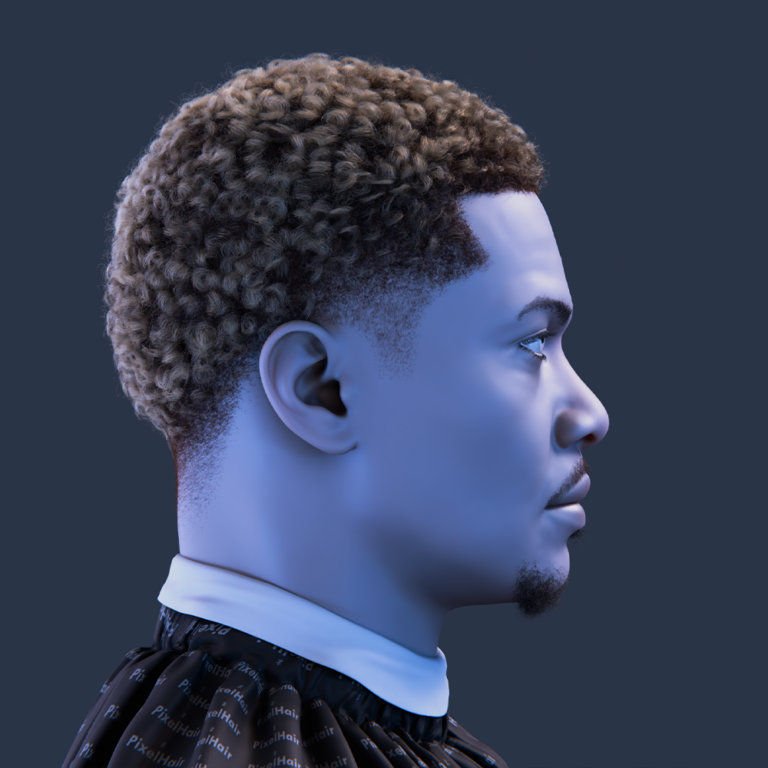
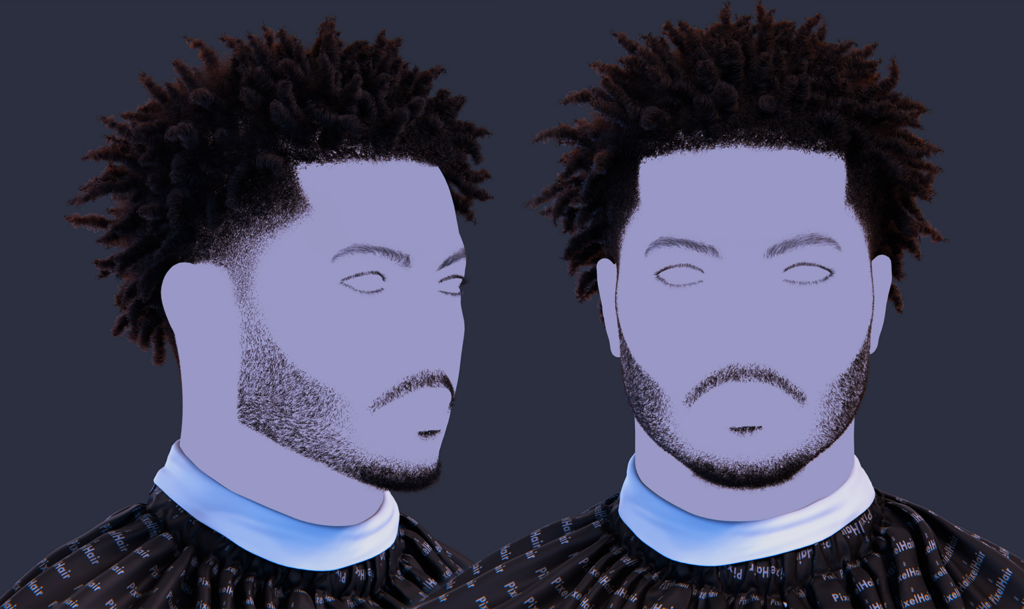
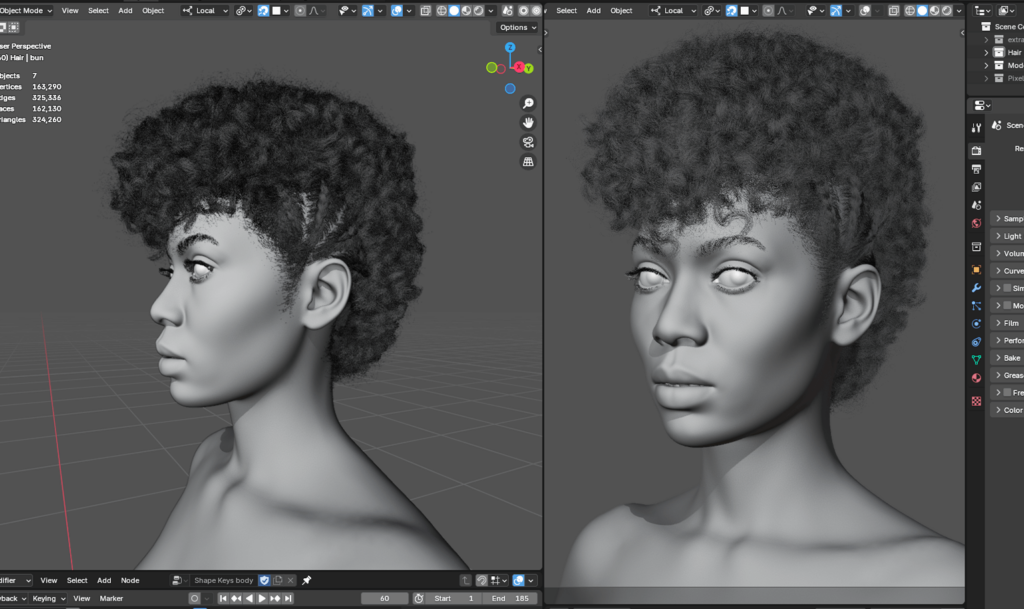
PixelHair provides a pre-made 3D hair asset collection for Blender and Unreal Engine, offering a faster alternative to manual hair grooming. Created using Blender’s hair system, these assets include a wide range of realistic hairstyles that can be imported, attached to characters, and customized further. Each hairstyle comes with a hair scalp mesh that shrink-wraps to different head shapes for easy fitting.
Advantages of PixelHair
PixelHair speeds up workflow by eliminating the need for manual grooming. Instead of growing, trimming, and styling hair from scratch, artists can start with a fully groomed hairstyle and refine it as needed. The assets are affordable, customizable, and designed for professional-quality results, making them useful for freelancers, studios, and large-scale productions. PixelHair can also be modified using Blender’s tools, including Particle Edit and Geometry Nodes, allowing further procedural adjustments.
Future Integration with Geometry Nodes
Currently based on Blender’s particle hair system, PixelHair is expected to transition to Geometry Nodes, allowing even greater flexibility and procedural customization. This will enable users to integrate node-based modifications, such as the Trim Hair Curves node, directly into PixelHair assets for even more control.
Unreal Engine Compatibility & Real-Time Workflow
PixelHair can be exported to Unreal Engine and used with MetaHuman characters, making it ideal for real-time applications. This integration allows artists to groom hair in Blender and transfer it to Unreal Engine while maintaining high visual fidelity. The assets include LOD-friendly features, such as a mesh cap for optimized rendering, ensuring they work well in both high-end cinematics and real-time environments.
PixelHair provides an efficient and high-quality alternative to manual grooming by offering ready-made hairstyles that can be modified with Blender’s hair tools and geometry nodes. The ability to use these assets in both Blender and Unreal Engine makes them a valuable resource for animators, game developers, and digital artists, enabling faster and more consistent results across projects.
Frequently Asked Questions (FAQs) about the Trim Hair Curves Node
To solidify our understanding, let’s address some common questions and challenges artists encounter when using the Trim Hair Curves geometry node preset. These FAQs cover best practices, troubleshooting, and clever tricks related to trimming hair in Blender:
- Can the Trim Hair Curves node also lengthen hair, or is it only for cutting hair shorter?
The Trim Hair Curves node adjusts hair length, extending strands if the target length exceeds the current length, or shortening them if it’s less. It functions as a length regulator. - How do I use a texture or weight map to control which parts of the hair get trimmed?
Use the Mask input with textures or weight maps to control hair length variation. Textures are sampled via UVs, weight maps are transferred from the scalp mesh. This allows for precise, patterned trimming. - What’s the difference between using Length Factor versus Replace Length (with an absolute Length)?
Length Factor scales hair lengths proportionally, preserving relative differences between strands. Replace Length sets all strands to a uniform, absolute length. Use Length Factor for uniform scaling and Replace Length for a specific or maximum length. Replace Length overrides Length Factor when enabled, and vice versa. They can be combined to scale and cap lengths. - How can I preserve the hairstyle’s shape (curls, layers, etc.) when trimming the hair shorter?
To maintain hair strand shapes while trimming, enable Scale Uniform to proportionally scale the entire strand, preserving curls and waves. Ensure Pin at Parameter is set to 0 (root). Disabling Scale Uniform will cut off strand ends, potentially losing curl tips. Trim in small increments and adjust deformation node order for desired effects. Generate and trim before applying curls or frizz to maintain shape. - The Trim Hair Curves node isn’t changing my hair at all – nothing happens when I adjust it. What am I doing wrong?
If the Trim Hair Curves node isn’t working, check: adjusted length values, correct node placement after hair generation, proper geometry input, curve geometry input, active mask, and correct hair object. Isolate the node for troubleshooting. - How can I add random length variation so the hair ends don’t look too even?
Use the Random Offset input to add natural length variation to hair. Adjust the Seed for different random patterns. Start with a small offset and increase gradually. Combine with a Mask for localized variation. - Is it possible to animate hair being trimmed or growing over time using this node?
Trim Hair Curves parameters can be animated with keyframes for length changes like haircuts or growth. Smooth interpolation is automatic. Sudden changes might affect physics simulations. Animate the Mask for patterned effects. Preview animations for smoothness. - What does the “Pin at Parameter” input actually do, and when would I use it?
Pin at Parameter sets a fixed point on hair strands during trimming. By default, the root is pinned. Changing it pins other points, affecting how the hair shortens. It’s rarely needed for standard grooming; keeping it at the default (root pinned) is usually best. - After trimming, my hair tips look too blunt or artificial. How can I make the haircut look more natural?
To fix blunt hair tips: vary length with Random Offset, taper tips with Set Hair Curve Profile, add frizz or noise, smooth or perturb lengths, and adjust lighting. These techniques create a more natural look. - Is using Trim Hair Curves better than the old method of cutting hair in Particle Edit mode?
The Trim Hair Curves node is generally better than Particle Edit trimming due to its non-destructive, adjustable nature, and advanced features like texture-driven control. While Particle Edit has limited use cases, the node offers speed, flexibility, and consistency.
These FAQs hopefully address some of the most common points of confusion or interest. As you continue to work with Blender’s hair geometry nodes, you’ll likely come up with your own questions – the Blender community (forums, Stack Exchange, etc.) is a great place to search for answers. Many artists are sharing their experiences as this new system evolves.
Best Practices
When using the Trim Hair Curves preset, follow these best practices:
- Plan Hair Length Early
Trimming hair before applying styling nodes like curls or clumps helps maintain the intended silhouette. Establishing a base length first reduces the need for drastic adjustments later. - Use Masks for Regional Control
The Mask input allows precise trimming in specific areas, such as creating undercuts or fades while preserving volume in other sections. Weight-painted masks or textures help control trim variation. - Stack Multiple Trim Nodes for Complex Styles
Using multiple Trim Hair Curves nodes in sequence can refine overall length, add layered effects, or achieve detailed tapering. Labeling trim nodes ensures clarity in complex setups. - Apply Random Offset Carefully
Subtle Random Offset values add realism without distorting the hairstyle. Combining random variation with masking allows for nuanced, controlled randomness. - Maintain Hair Thickness and Taper
Trimming can result in blunt-looking hair ends. Using the Set Hair Curve Profile node or adjusting the curve profile ensures strands taper properly from root to tip for a more natural appearance. - Consider Node Order for Styling Effects
Trimming before or after styling nodes like Clump, Frizz, or Curl affects the final look. Trimming first ensures stylized effects are tailored to the correct length, while trimming after may remove some of those details. - Optimize for Performance
Reducing initial hair length and segment count before trimming improves viewport performance. Using simplified masks and limiting unnecessary subdivisions also helps maintain smooth interaction while grooming. - Keep Node Trees Organized
Grouping related nodes, labeling trims, and using frames in the node editor make adjustments easier and reduce errors. Versioning different trim setups provides a fallback for comparison. - Experiment and Iterate Non-Destructively
Since trimming is non-destructive, tweaking values and testing different Length Factor, Mask, and Seed settings can lead to unexpected but useful results. Saving multiple versions of trims allows for easy comparison. - Integrate Thoughtfully into the Full Pipeline
If using PixelHair assets or exporting to Unreal Engine, ensure geometry nodes are applied properly before conversion. Plan the workflow so that trimmed hair integrates seamlessly into styling, simulation, and rendering stages.
These practices ensure efficient and precise hair grooming, allowing for both artistic control and procedural flexibility.
References & Additional Resources
To deepen your understanding and provide credit to sources of information, here are some reliable references and resources related to Blender’s Trim Hair Curves node and hair grooming, as well as PixelHair:
- Blender Manual – Trim Hair Curves Node: Official documentation for the Trim Hair Curves geometry node, detailing its inputs and usagedocs.blender.orgdocs.blender.org. This is a primary reference for understanding what each input (Geometry, Length Factor, Mask, etc.) does in Blender’s latest version.
- Blender Manual – Particle Edit (Hair Cutting): Official docs on the old particle hair grooming tools, like the Cut and Length brushesdocs.blender.orgdocs.blender.org. Useful for comparing how hair trimming was done before geometry nodes, highlighting the differences in workflow and capabilities.
- Reddit – Blender Hair Nodes Discussion (r/blenderhelp): A community discussion where artists talk about using weight paint with the new hair nodesreddit.com. For example, one user demonstrates using a vertex group as a mask for the Trim Hair Curves node. This kind of peer insight can be very helpful for solving specific technical challenges (like transferring a painted mask to hair curves).
Recommended
How do I create a depth map using the Blender camera?
How do I align the camera to a specific axis in Blender?
Top 10 Blender Add-ons for Camera Animation (Cinematic Shots & Workflow Boosters)
How do I lock a camera to an object in Blender?
How do I create a bird’s-eye camera view in Blender?
PixelHair on Stylized Characters in Blender: Achieving Studio-Quality Hair with Ease
Can I Improve My Metahuman in Blender? A Comprehensive Guide
How do I add a background image to the camera view in Blender?


