


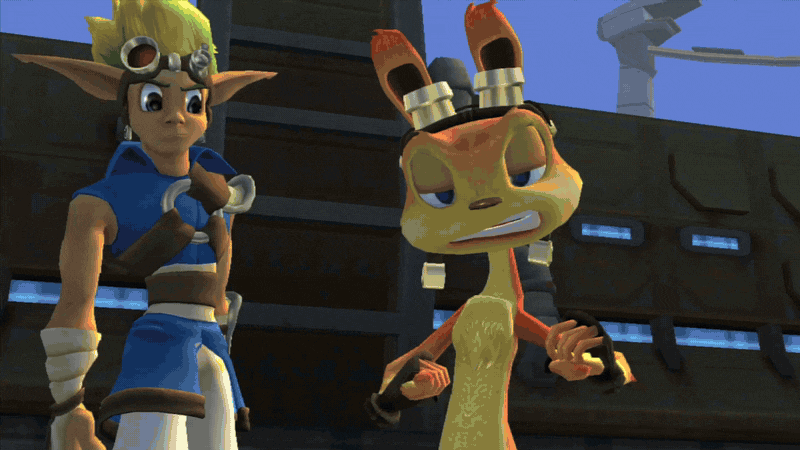

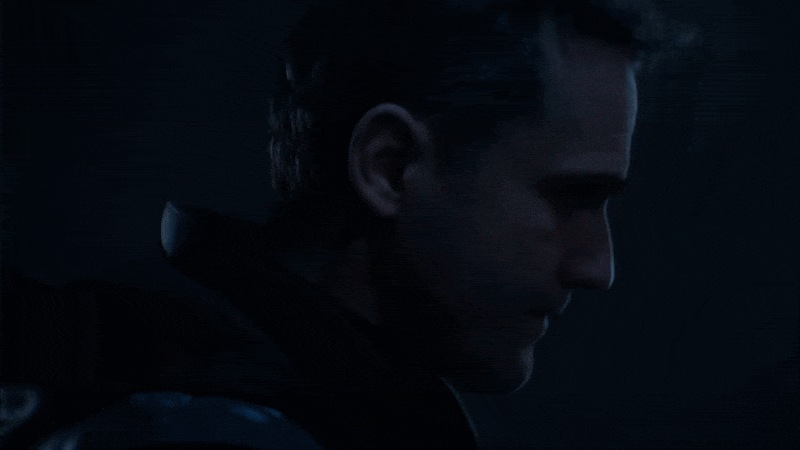


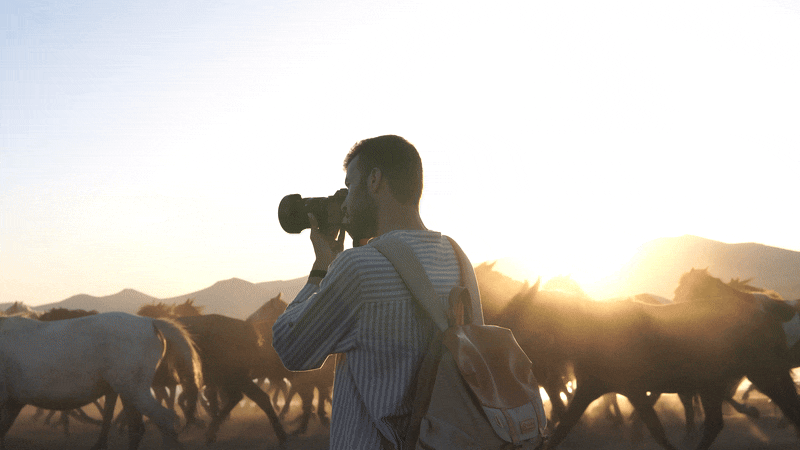
The dolly zoom effect, also known as the Vertigo effect or Hitchcock zoom, is a dramatic cinematic technique that creates an illusion of the background stretching while keeping the subject the same size. This effect is achieved by simultaneously zooming in while physically moving the camera backward, or zooming out while moving the camera forward. It is often used in films to create a sense of unease, tension, or disorientation.
In this guide, we will walk through the step-by-step process of creating a dolly zoom effect in Blender.
Why Use the Dolly Zoom Effect?
The dolly zoom effect is widely used in filmmaking and animation to:
- Create a sense of disorientation or tension in thriller and horror movies.
- Emphasize emotional moments by isolating the subject from the background.
- Simulate depth perception changes for surreal or dreamlike sequences.
- Highlight movement dynamics in fast-paced action scenes.
Understanding the Dolly Zoom Effect
The dolly zoom effect works by maintaining the subject’s size while altering the background perspective. This is achieved through two simultaneous actions:
- Dolly Movement: Physically moving the camera closer or further from the subject.
- Focal Length Adjustment: Changing the camera’s focal length to compensate for the dolly movement.
When executed correctly, the background appears to expand or contract while the subject remains unchanged in size.
Setting Up a Dolly Zoom Effect in Blender
1. Create a New Scene and Add a Camera
- Open Blender and create a new project.
- Press Shift + A to add a Camera.
- Position the camera so that it faces the subject.
2. Adjust the Initial Camera Settings
- Select the camera and navigate to the Camera Properties Panel.
- Set the Lens Type to Perspective.
- Adjust the Focal Length to a starting value, such as 35mm.
3. Animate the Camera Movement (Dolly In or Out)
- Move to Frame 1 in the Timeline.
- Select the camera and press G + Z to move it closer to the subject (for zooming out) or further away (for zooming in).
- Press I and choose Location to insert a keyframe.
- Move to a later frame (e.g., Frame 100).
- Move the camera in the opposite direction and insert another Location keyframe.
4. Animate the Focal Length (Zoom In or Out)
- Go to Frame 1 and in the Camera Properties, set the Focal Length.
- Hover over the Focal Length value, press I to insert a keyframe.
- Move to Frame 100 and adjust the Focal Length in the opposite direction.
- Insert another Focal Length keyframe.
5. Refining the Animation in the Graph Editor
- Open the Graph Editor to refine the movement curves.
- Select the Focal Length and Location curves.
- Adjust the easing to Linear Interpolation (press T in the Graph Editor and select Linear).
Fine-Tuning the Dolly Zoom Effect
To enhance the realism of the effect:
- Use Motion Blur: Enable motion blur in the render settings for a smoother look.
- Refine Camera Motion: Adjust interpolation curves in the Graph Editor to fine-tune transitions.
- Experiment with Focal Lengths: Test different starting focal lengths to see how it affects background stretching.
- Use Depth of Field: Adjust camera depth of field to emphasize the subject while blurring the background.
Using The View Keeper for Advanced Dolly Zoom Management
For complex projects where multiple dolly zoom effects are needed, The View Keeper simplifies the process by allowing users to:
- Store multiple dolly zoom camera setups and switch between these dolly zoom setups effortlessly.
- Quickly recall different focal length and position adjustments without resetting manually.
- Use Alternative Rendering to generate multiple versions of the dolly zoom effect in a single scene.
For example, if you are working on a film sequence where different objects require separate dolly zooms, The View Keeper enables easy switching between these setups, ensuring efficient workflow management.
Common Issues and Solutions
Why does my subject size change during the animation?
- Ensure that Focal Length and Camera Location keyframes are properly balanced.
- Use the Tracking Constraint to keep the subject locked in the same position.
How do I make the effect look smoother?
- Adjust the Graph Editor curves for a gradual transition.
- Use motion blur to enhance the effect.
Can I preview the effect in real-time?
- Enable Rendered Viewport Shading in the viewport to see changes in real-time.
- Reduce scene complexity to improve playback performance.
Why is my camera pointing in the wrong direction?
- Check the Track To constraint settings and ensure the correct target is selected.
- Adjust the To Axis and Up Axis settings to fix orientation.
Can I animate the object the camera is locked to?
- Yes! You can keyframe movement and rotation for the object, and the camera will follow accordingly.
How do I prevent the camera from inheriting scale when using parenting?
- Parent the camera using Object (Keep Transform) to maintain independent scaling.
- Use constraints instead of direct parenting for better control.
Can I create a dolly zoom effect using an orthographic camera?
- No, dolly zoom relies on perspective distortion, which orthographic cameras do not have.
Can I animate multiple dolly zooms in one scene?
- Yes, using The View Keeper, you can store and switch between different dolly zoom animations effortlessly.
The dolly zoom effect is a powerful cinematic tool that adds dramatic tension and perspective manipulation to your shots. By combining camera movement with focal length adjustments, you can create compelling visuals that enhance storytelling. Using The View Keeper, you can further streamline and automate multiple dolly zoom setups, making it an essential tool for advanced camera work in Blender. Experiment with different focal lengths and distances to achieve the perfect effect for your scene!sually compelling shots that draw the viewer’s attention to your subject while distorting the background.


