


Introduction to Hair Creation in Blender
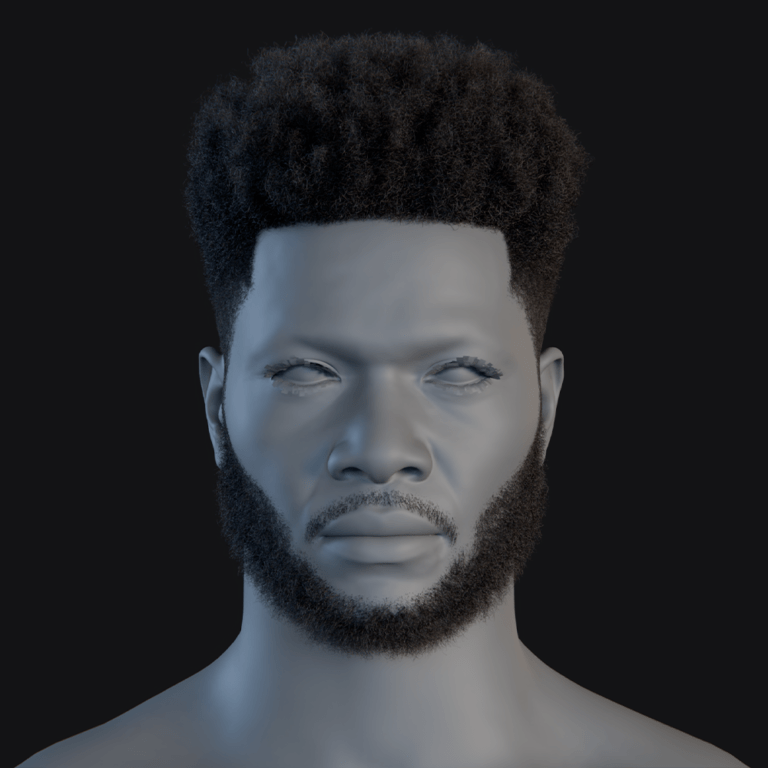
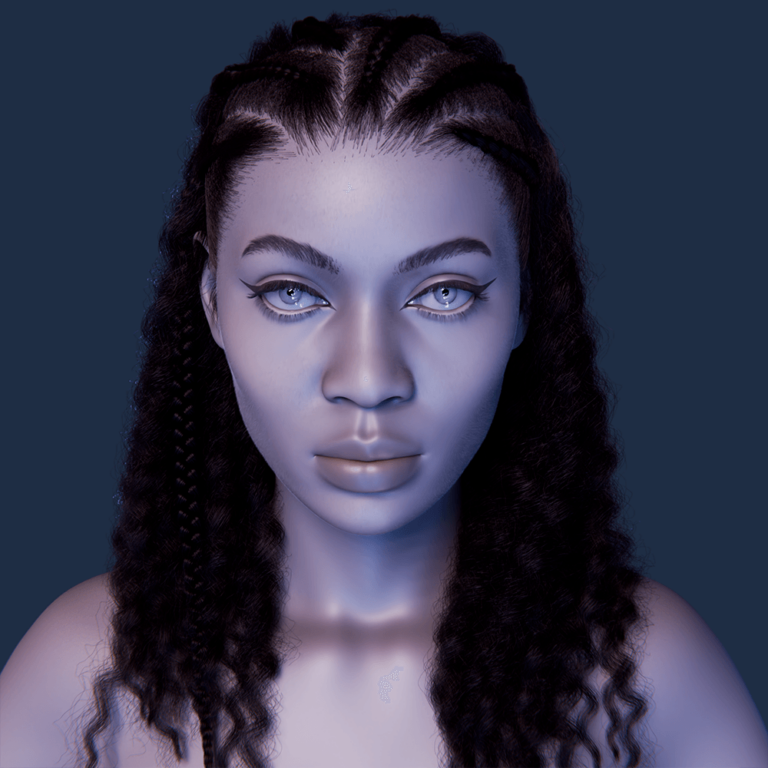
Creating realistic 3D hair is one of the most challenging aspects of 3D character design. Hair isn’t just an aesthetic detail – it can convey a character’s personality and story 1. In Blender, believable 3D hair can make the difference between a character that looks alive and one that feels like a plastic doll. Thankfully, Blender offers powerful 3D hair grooming systems to help artists achieve lifelike results.
This guide will walk you through everything from understanding Blender’s hair tools to advanced techniques, so you can master 3D hair creation at any skill level. We’ll explore Blender’s default 3D hair systems, compare different 3D hair techniques (strand-based hair, 3D hair cards, stylized 3D hair), and provide step-by-step workflows. By the end, you’ll know how to groom 3D hair in Blender, shade it realistically, optimize it for rendering or real-time use, and even speed up your workflow with pre-made assets.
Understanding Blender’s 3D Hair Systems
Blender currently has two primary 3D hair systems: the classic Particle Hair System and the newer Geometry Nodes Hair Curves system. Both serve to create strand-based hair, but they function differently. The particle system treats 3D hair as particles that can be combed and styled, while the geometry nodes approach uses Blender’s node-based workflow and a special Curves data type for 3D hair grooming 2.
Blender’s Particle System for 3D Hair:
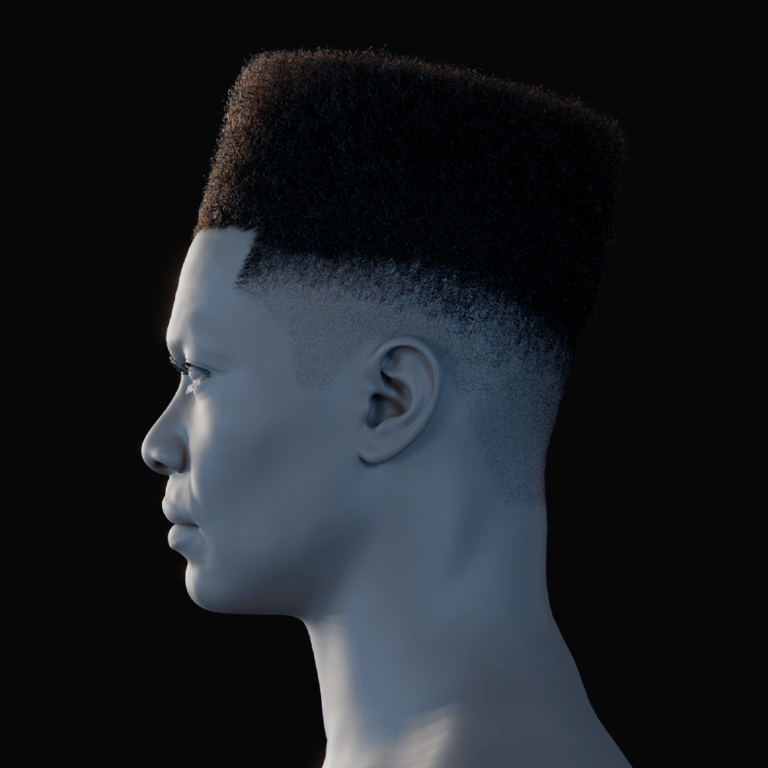
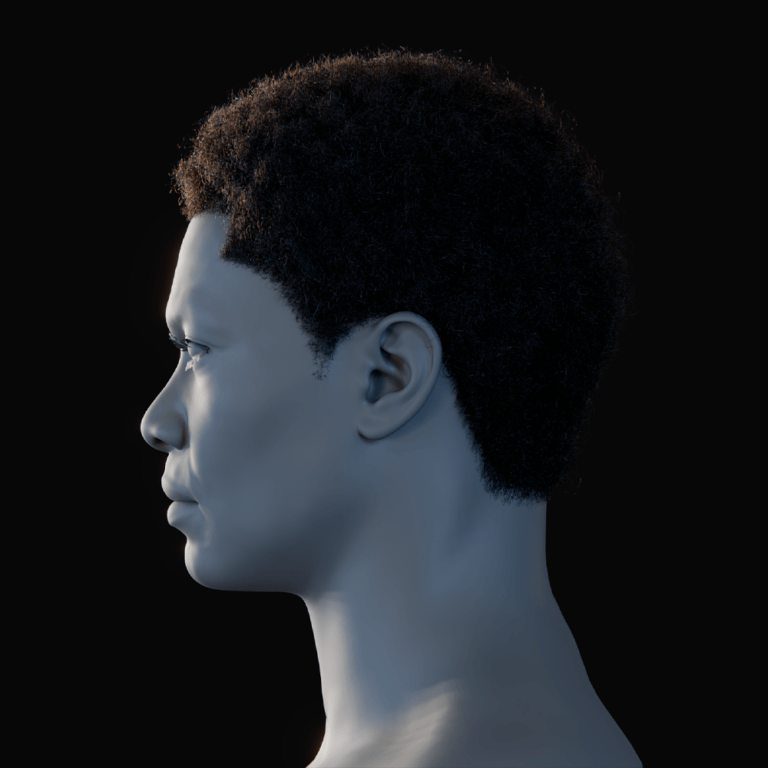
Blender’s particle hair system, the default for years, generates 3D hair strands from a mesh like a scalp, allowing control over strand count, length, and shape. Each 3D hair is interpolated as a curve with adjustable segments, editable in Particle Edit Mode for combing, trimming, and styling. Additional “children” hairs enhance volume and randomness (clumping, roughness, curling) without manual grooming. Praised as superior to older tools like 3ds Max’s 3D hair modifier, it offers robust styling control but follows a destructive workflow, where combed changes aren’t procedural, often requiring regrooming for complex edits.

Geometry Nodes 3D Hair Curves:
Introduced in Blender 3.3, the Geometry Nodes 3D Hair Curves system uses a Curves object and node-based workflow for procedural, non-destructive hair design. Attached to a surface like a character’s head, it allows grooming in Sculpt Mode with tools like Comb and Lengthen, featuring an improved 3D comb brush over the old 2D version. Node groups enable parametric adjustments to density, clumpiness, length, and curl, supporting reusable setups across characters. Still evolving, it initially lacked features like children strands and physics, added later via nodes or particle conversion. Enhanced in Blender 3.5 with preset node groups for clumping and bending, it offers flexibility to convert between geometry nodes and particle systems for hybrid workflows.
Types of Hair in 3D:
Before diving deeper, it’s important to understand three common approaches to 3D hair across all software:
Strand-Based Hair:
This is the method used by Blender’s hair systems (and tools like Maya’s XGen). 3D Hair is represented as many individual strands or curves. This yields the most realistic volume and silhouette, as each strand can cast shadows and interact with light naturally3. The trade-off is performance: rendering thousands of strands is computationally heavy, and real-time engines struggle with so much geometry. Also, strand hair doesn’t easily transfer between software without special formats (like Alembic). Blender’s particle and curves systems are both strand-based.
3D Hair Cards:
3D Hair cards, using flat polygon strips with hair textures and transparency, simulate 3D hair clumps for real-time applications like games and VR, minimizing polygon count compared to strand hair. Each card features an image of multiple strands with alpha cutouts for soft edges, layered around the head to mimic full 3D hair. Less memory-intensive, they pose challenges like transparency sorting for rendering and less accurate lighting due to their flat nature. Grooming is manual, often requiring individual card placement, though Blender offers a hybrid approach by instancing cards along particle hair guides. Ideal for game engines, 3D hair cards balance performance and visuals as a medium to low-cost method.

Stylized Solid 3D Hair (Polygonal):
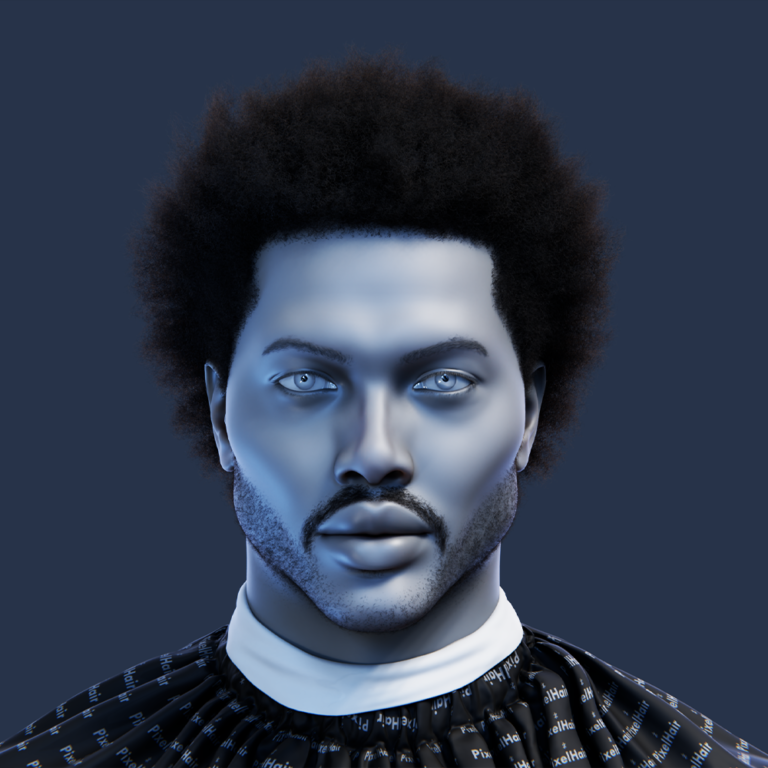
Stylized or cartoon characters, like those in Pixar or anime, often feature 3D hair as solid shapes or large curve strips instead of individual strands, resembling big locks or chunks. In 3D, this is achieved by modeling 3D hair as meshes or using curves with bevels to form thick ribbons, offering low polygon counts and no transparency for performance efficiency. Easy to render and animate sometimes rigged like body parts this method sacrifices realism for a stylistic look. Blender’s new 3D hair curves can be converted to mesh strips for this purpose, or 3D hair can be directly modeled. Ideal for mobile games and specific art styles, it’s often paired with strand or card details for added finesse.
3D Hair Cards vs. Stylized 3D Hair vs. Strand-Based Hair – When to Use What:
Strand-based hair, like Blender’s particle system, is ideal for ultra-realistic VFX and cinematics, offering precise shading and simulation per strand, but it’s resource-intensive and often requires baking for platform transfers. 3D Hair cards suit real-time projects (games, AR/VR), efficiently mimicking hair with lower costs, though setup is tedious with alpha textures and lighting challenges. Stylized polygonal 3D hair excels for artistic styles and low-power devices, using minimal large meshes for top performance, yet it lacks realism. Hybrid workflows blend these strand hair for close-ups, 3D hair cards or simplified shapes for distance or real-time making Blender’s versatile tools key for project-specific choices.
Popular Strand-Based 3D Hair Systems in 3D:
Blender isn’t the only software with grooming tools.
- Maya’s XGen: A powerhouse for film and animation, offering extensive control over guide curves, clumping, and high 3D hair counts with optimizations, widely used in high-end VFX.
- Ornatrix: A flexible plugin for Maya, 3ds Max, Cinema4D, and Unreal Engine, praised for user-friendly grooming and consistency across game and film pipelines.
- ZBrush’s FiberMesh: Generates hair/fur as geometry, perfect for creating hair cards or initial shapes to retopologize within ZBrush.
- Houdini: Known for powerful procedural 3D hair tools and complex simulations, excelling in VFX with strong physics integration.
- Blender: Rising in popularity, especially among freelancers and small studios, with free, improving tools its geometry-nodes 3D hair rivals Houdini’s flexibility while being more user-friendly than XGen’s steep learning curve.
Each tool has a niche: XGen and Houdini lead in VFX, Ornatrix spans software, and Blender grows with accessibility.
Blender’s 3D Hair System Development Over the Years
Blender’s hair grooming capabilities have evolved significantly, going from a basic feature to a system on par with industry standards. Let’s take a quick look at how it developed and how it stacks up against other tools:
- Blender’s 3D Hair System Evolution: Blender’s hair tools progressed from a basic particle system in the 2.x era offering simple strand rendering and styling to a robust setup by 2.7/2.8 with enhanced children generation, combing, and physics. The non-procedural particle system shifted in Blender 3.3 (2021-2022) to a geometry-nodes-based Curves system, introducing intuitive 3D sculpting tools like the Spherical comb and a non-destructive workflow, rivaling tools like XGen while staying artist-friendly.
- Industry Comparisons: Maya’s XGen excels in film with precise control and dynamics but demands optimization for real-time use. Ornatrix simplifies grooming across Maya, 3ds Max, and Unreal Engine, balancing ease and power. ZBrush’s FiberMesh aids quick hair geometry creation, ideal for concepting, while Houdini shines in procedural VFX 3D hair. Blender, free and versatile, gains traction among independents and studios, closing the gap with modern features.
- Best 3D Hair Grooming Software: XGen and Houdini lead for control in high-end VFX; Blender offers affordability and ease, rapidly advancing; Ornatrix suits multi-platform workflows; Unreal’s Groom and tools like FiberShop cater to real-time needs. Blender’s free, frequent updates and versatile tools physics, Cycles rendering, and new grooming make it a strong, adaptable choice.

Creating 3D Hair in Blender: Step-by-Step Guides
Now that we’ve covered the theory and options, let’s get hands-on. In this section, we’ll go through practical workflows for making 3D hair in Blender. We’ll start from setting up the scene, then cover both methods – using the traditional particle system and using the new geometry nodes hair – and finally some advanced styling tips for complex 3D hairstyles like braids and curls.
Workspace Setup: Prepare your Blender scene by applying a consistent scale to your character model ideally real-world size so 3D hair length settings align naturally. Check that surface normals are correct for proper 3D hair emission. For particle systems, adjust the Display percentage in the Particle System tab to view sufficient hairs during grooming. For the new curves system, use the Geometry Nodes workspace or add a Spreadsheet panel for node insights. Enable the 3D Hair Grooming workspace for particle tools or switch modes in Layout. Add basic lighting (HDRI or area lights) to spot density issues, and apply a uniform material (e.g., diffuse) to the scalp for clear strand visibility.
Steps to Create Hair Using Blender’s Particle System:
If you choose the particle hair approach, follow these general steps to create and style hair:
- Add a Hair Particle System: Select the mesh object (typically the scalp) and add a new particle system. Switch the system type to “Hair.” Adjust the number of particles (50-1,000 for head hair) and the hair length to match your desired style.
- Define the Scalp Area for Density: Use Vertex Groups or weight painting to control where the hair grows. Set the Density value to 1 for areas with hair and 0 for areas without (like the forehead or neck).
- Initial Parameter Styling: Disable gravity (physics) so the hair stays upright. Under Children, set to Interpolated to visualize child hairs and get an idea of the fullness. Increase the Display Amount for more strands.
- Groom in Particle Edit Mode: Switch to Particle Edit mode and use the Comb tool to shape the hair. Use other tools like Smooth, Add, Cut, and Puff to refine the hair’s look. Enable X Mirror for symmetrical hairstyles.
- Clumping and Roughness: Increase the Children value to add more hair strands. Use the Clump slider to group hairs together. Adjust the Roughness sliders for randomness, creating natural-looking hair texture. For curls, adjust the Kink settings.
- Hair Physics (Optional): Enable Hair Dynamics if you need movement for animations. Use Blender’s cloth simulator for hair strands’ motion, though for still renders, manual posing might be sufficient.
- Finalize Materials and Render Settings: Apply a Hair BSDF shader to the hair object for realistic shading. Adjust the strand thickness and fine-tune hair shape settings for the right look.
That’s the general particle hair workflow. The key is iterative refinement: comb, check from all angles, adjust children/clump, maybe go back to comb stray areas, and so on until it looks right.
Steps to Create Hair Using Blender’s Geometry Nodes Hair Curves:
The new system in Blender 3.3+ is a bit different to set up. Here’s a step-by-step for that approach:
- Add a Curves Hair Object: In Object Mode, select the scalp or head mesh and go to Add > Curve > Empty Hair. Blender will create a new Curves object attached to the surface, though hair won’t appear yet.
- Sculpt Mode – Add and Comb: Switch to Sculpt Mode on the Curves object. Use the Add brush to add hair strands and adjust density with strength and count settings. After adding, switch to the Comb brush to shape the hair. Use the Snake Hook for faster styling like ponytails. Enable Mirror X for symmetry and select regions of hair to comb separately.
- Density and Length Control: Use Geometry Nodes for procedural control. Drag preset node groups from the Asset Browser (Blender 3.5+), such as “Cut Hair to Length” or “Clump Hair.” You can also manually groom with brushes without heavy node setups for simpler styles.
- Iterate with Layers: Add multiple Curves objects to create layered hair systems (e.g., one for short underhair and one for longer overhair). Toggle visibility in the Outliner for efficient grooming.
- Join or Convert if Needed: Convert curves to a particle system if you need features like children or Hair BSDF for melanin-based rendering. You can also convert old particle hair to curves for further customization.
- Hair Physics: Blender 4.x is still developing direct dynamics for the new hair system. For now, convert to a particle system for Hair Dynamics or use Soft Body physics for simulations.
- Material on Curves: Assign a material to the Curves object, using the Principled Hair BSDF for rendering. Set the Curves to render as Strips (less accurate, more performance) or Thick (round strands for more geometry).

Advanced Styling Techniques:
Whether you use particles or curves, some hairstyles require more than basic combing. Here are tips for advanced styles:
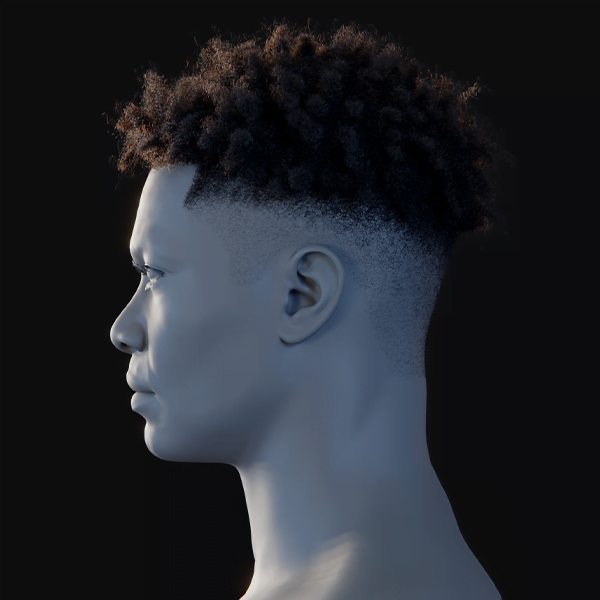
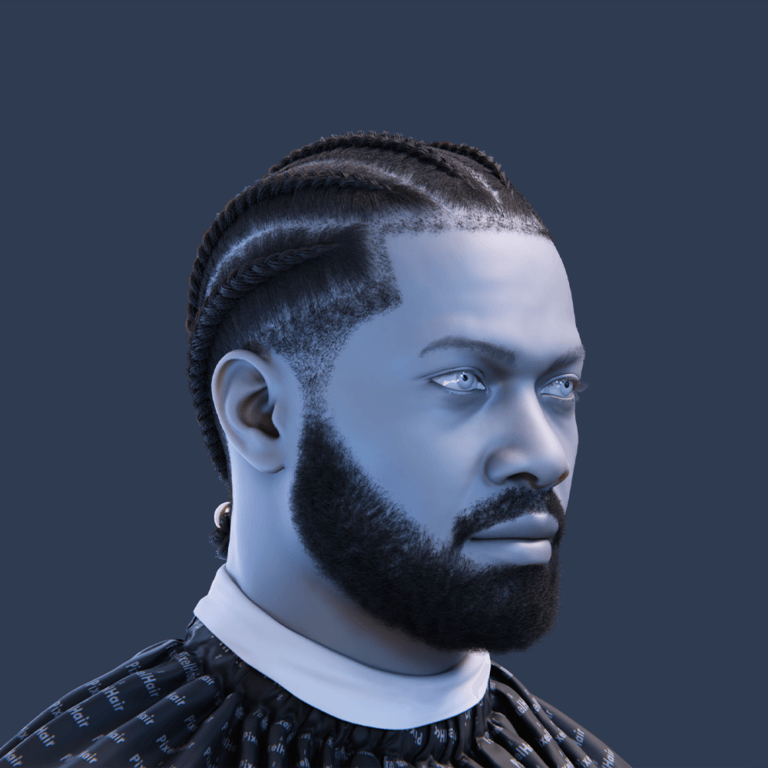
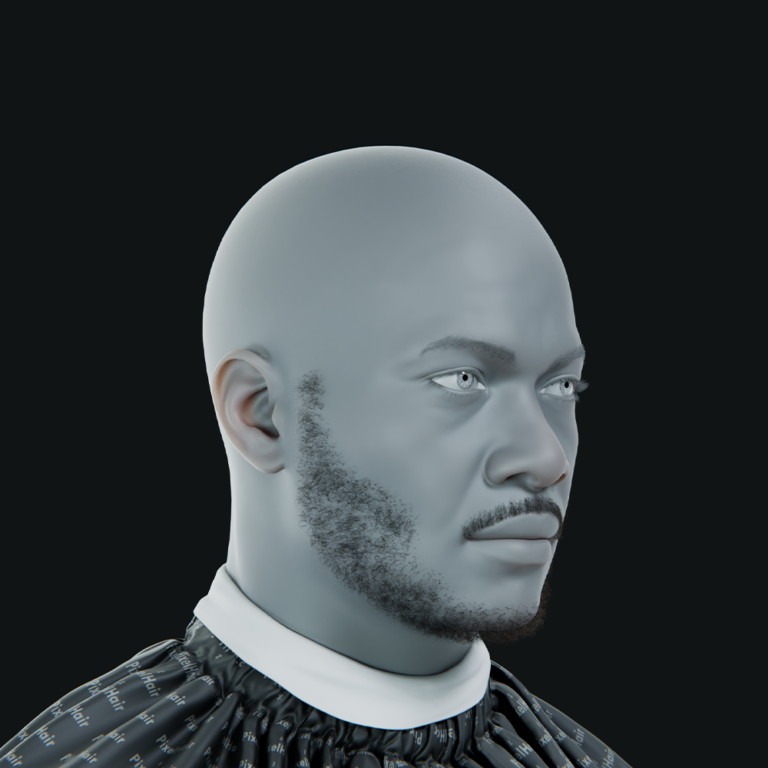
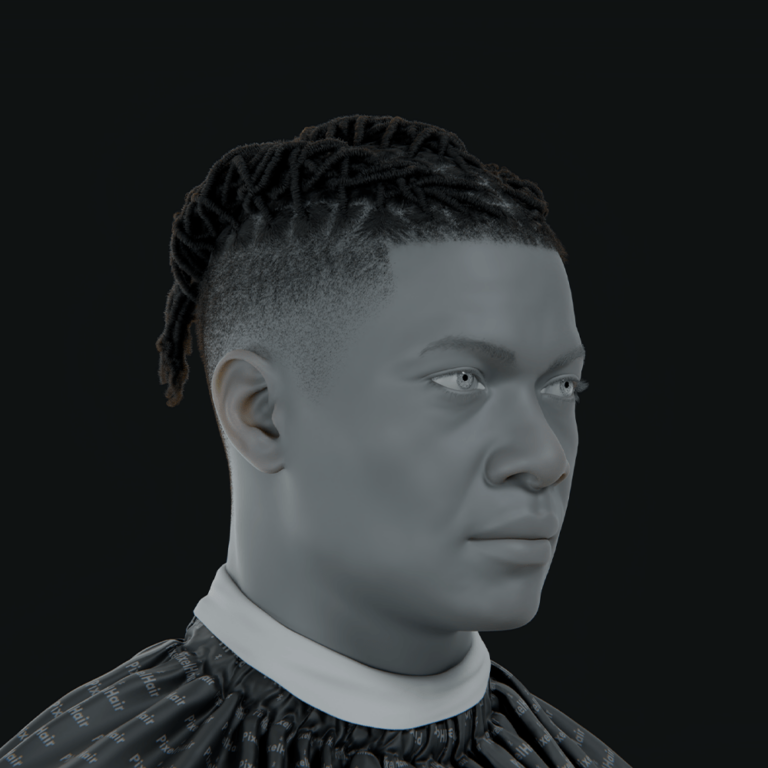
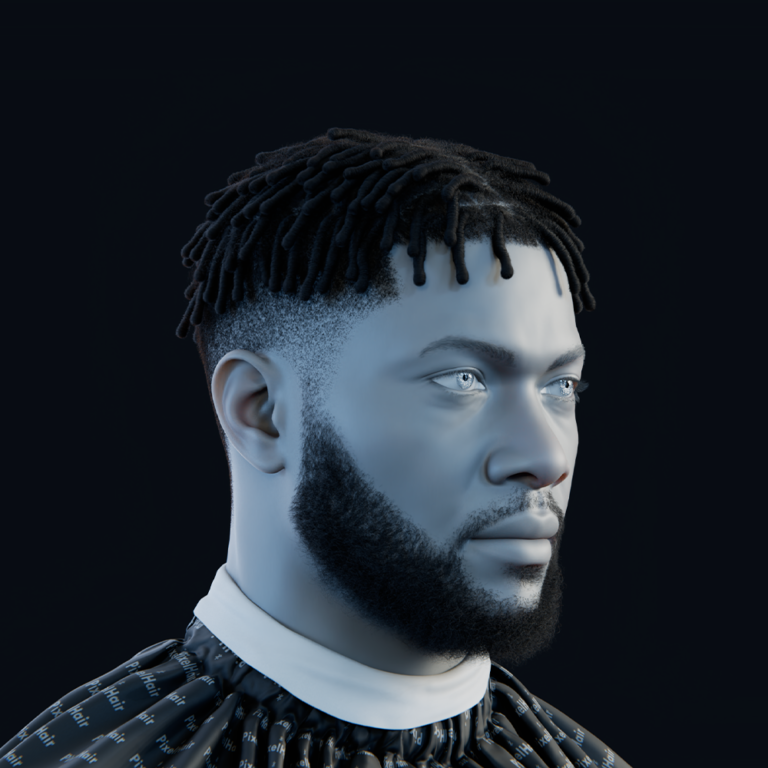
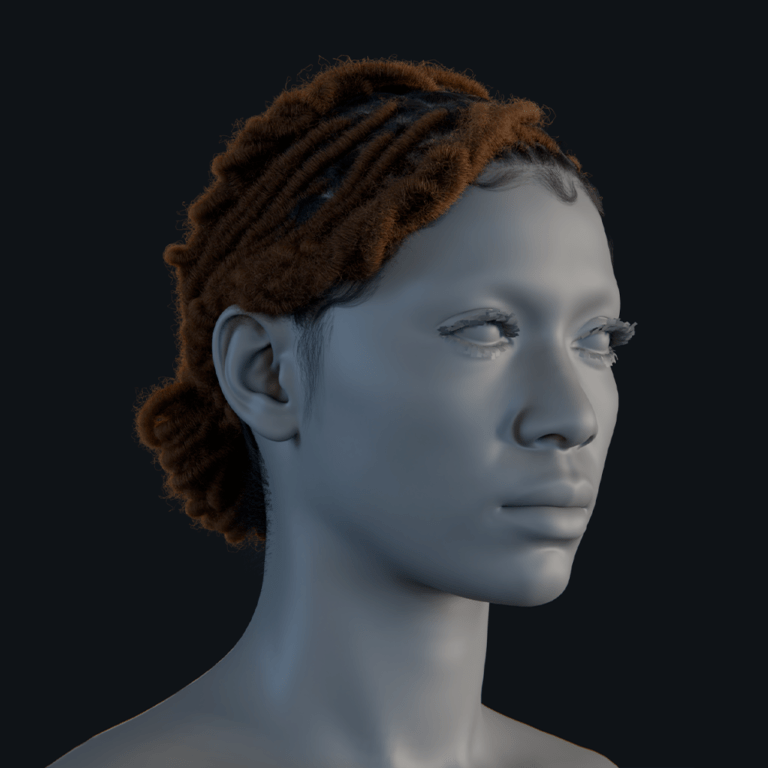
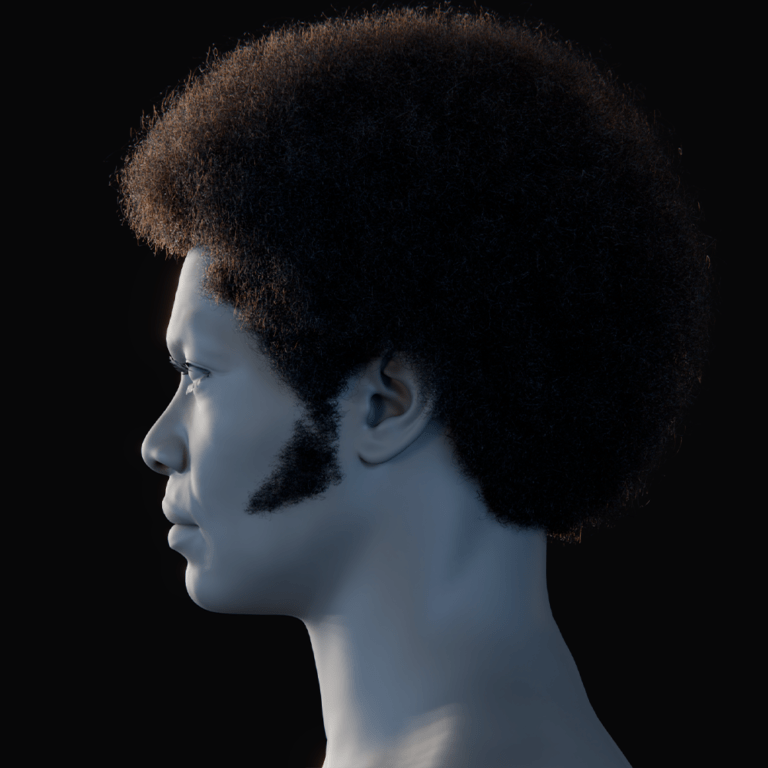
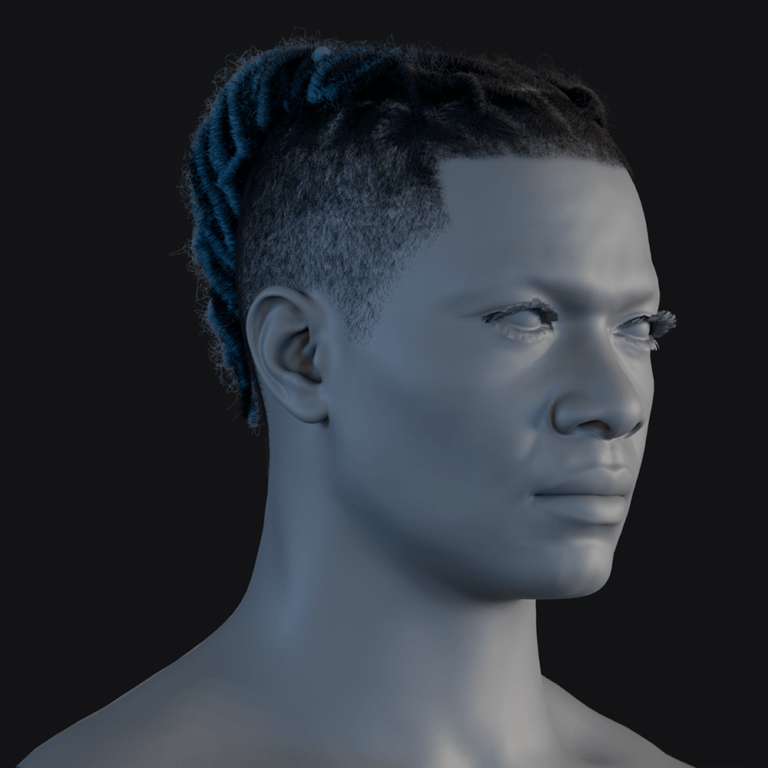
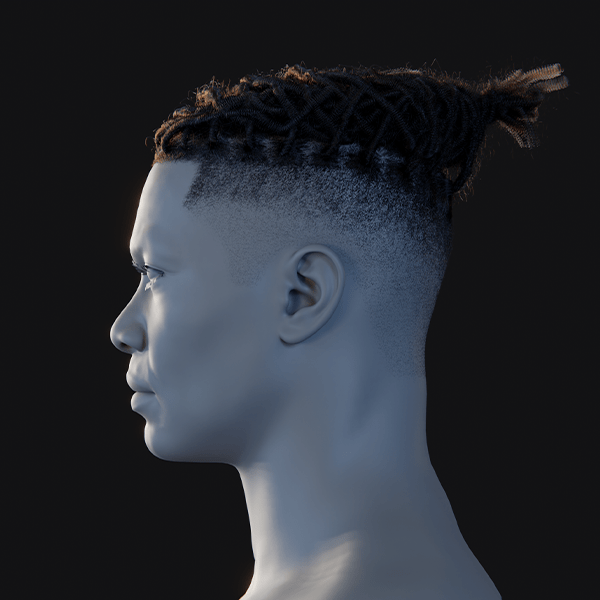
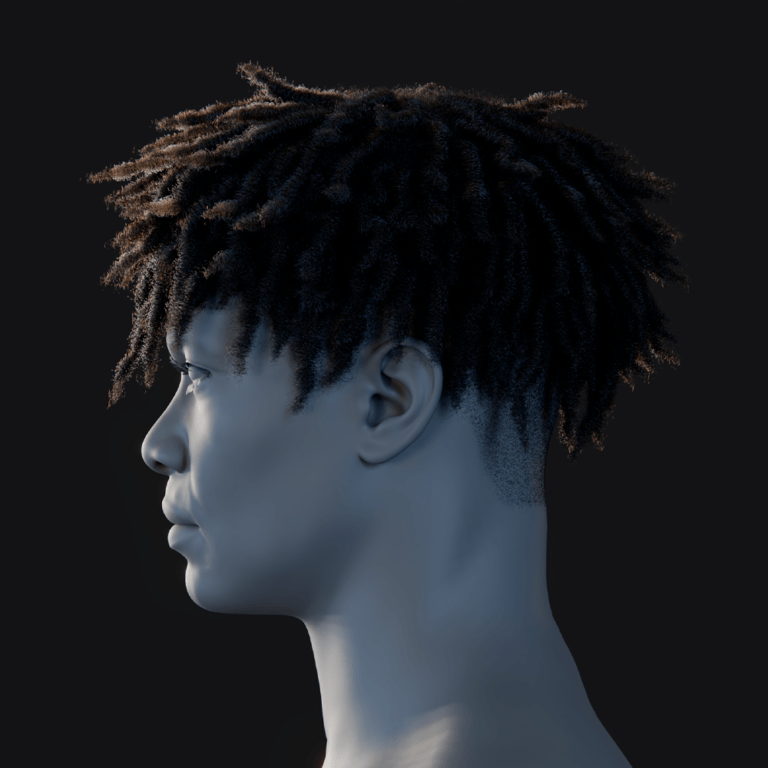
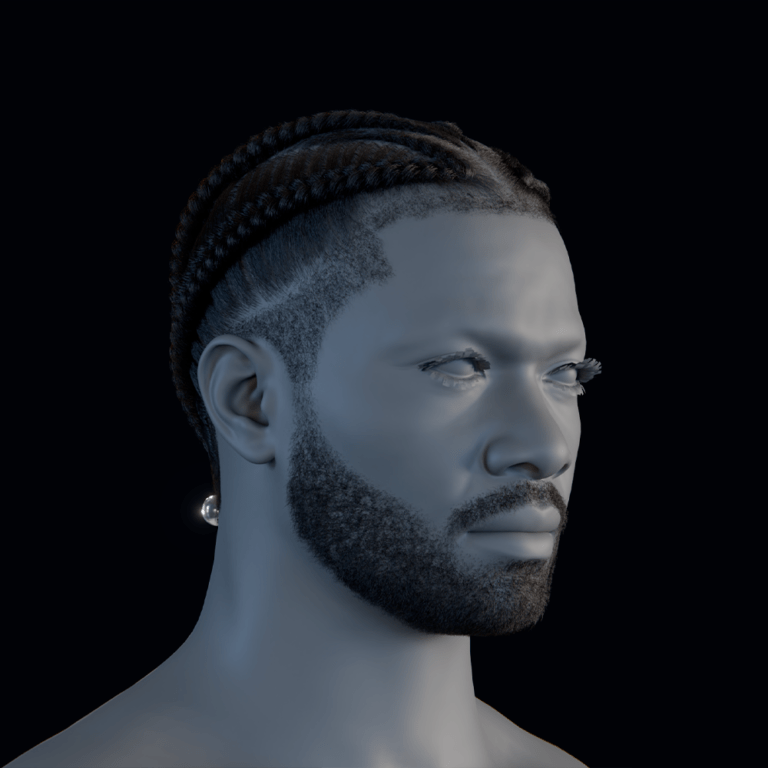
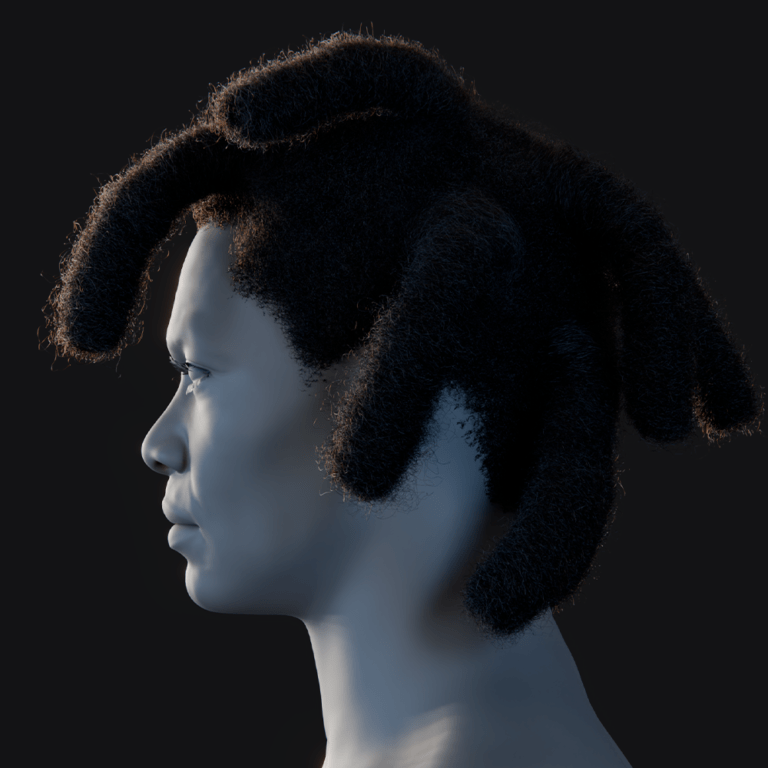
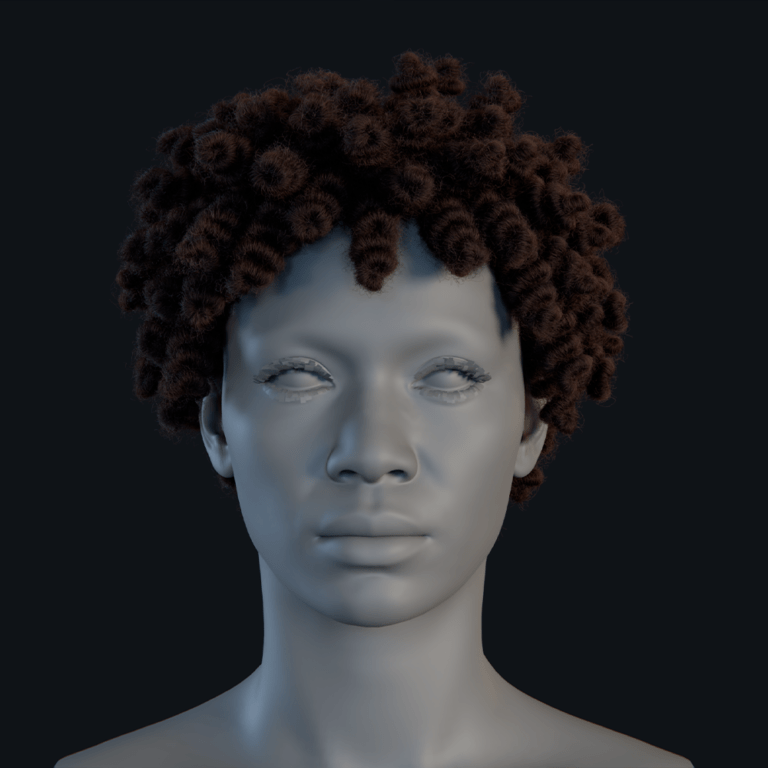
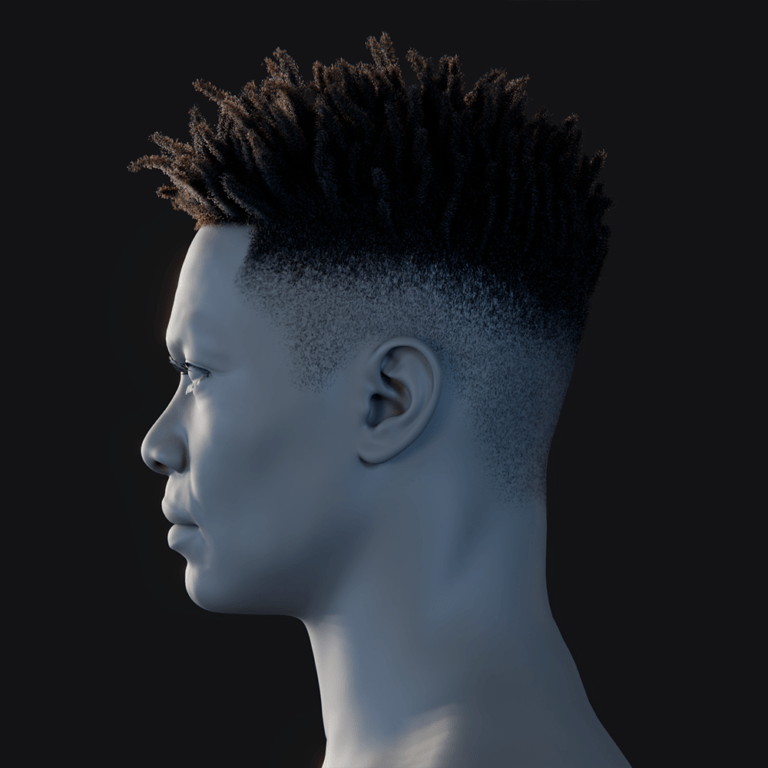
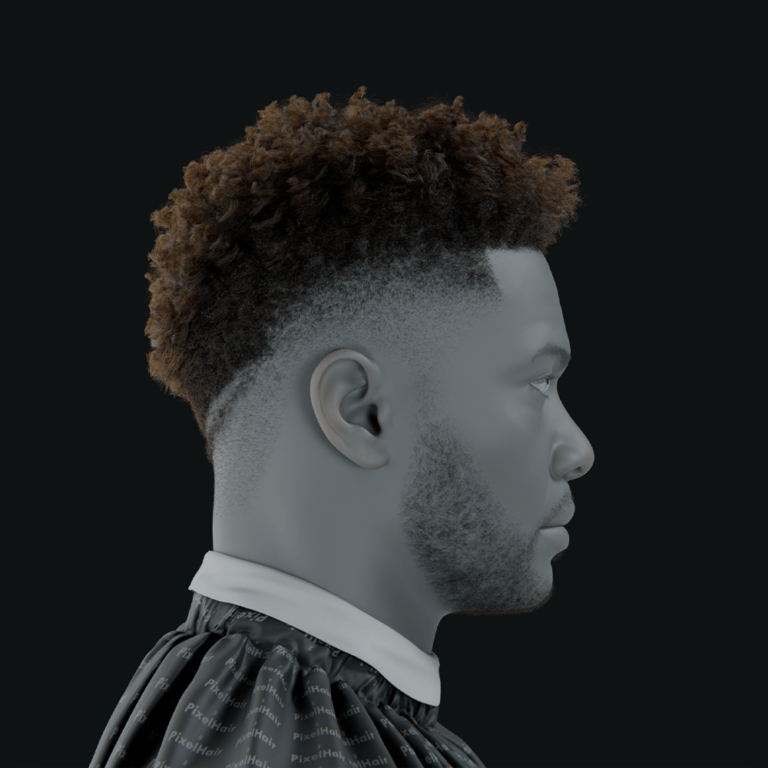
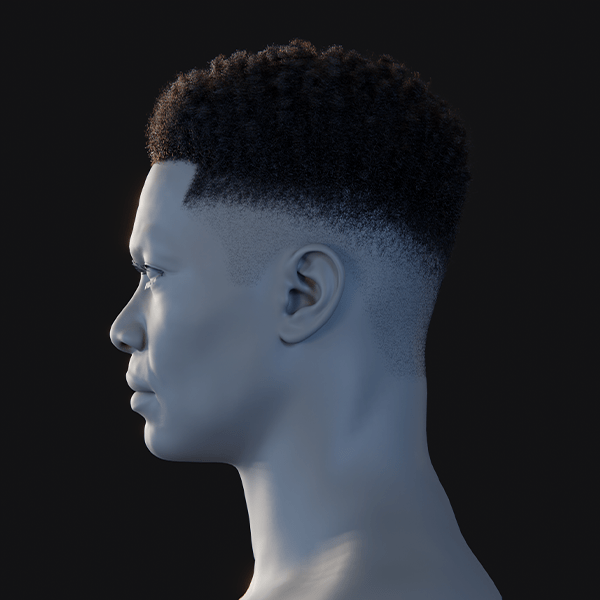
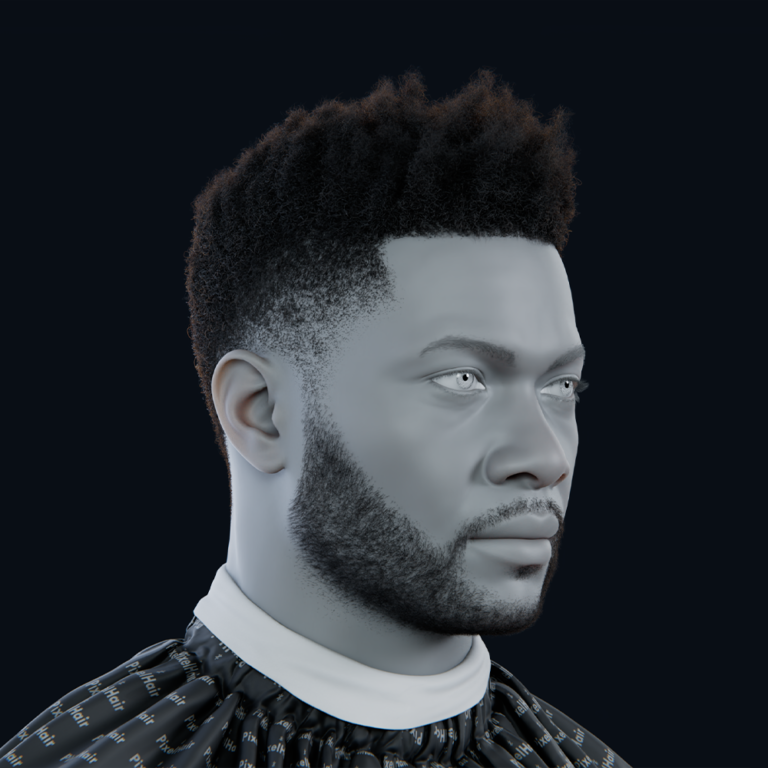
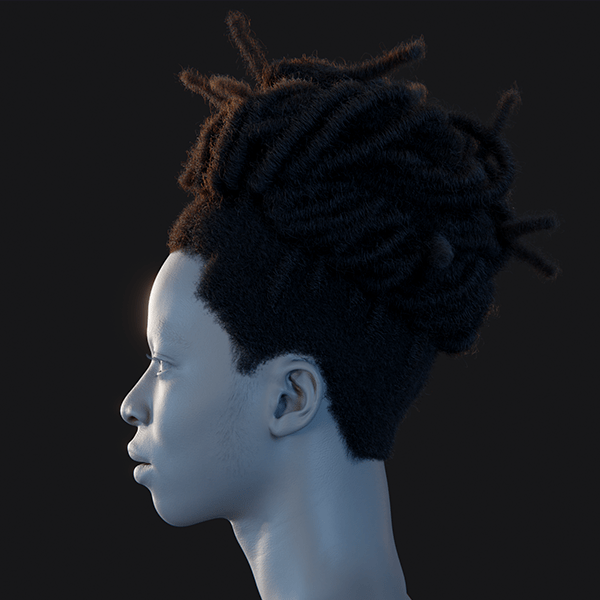
- Combing & Layering: For complex styles, break the 3D hair into sections. Use separate particle systems or Curves objects for each section (e.g., left, right, back). Isolate regions with vertex groups for finer control, such as in an afro fade, where multiple systems are layered for different hair lengths.
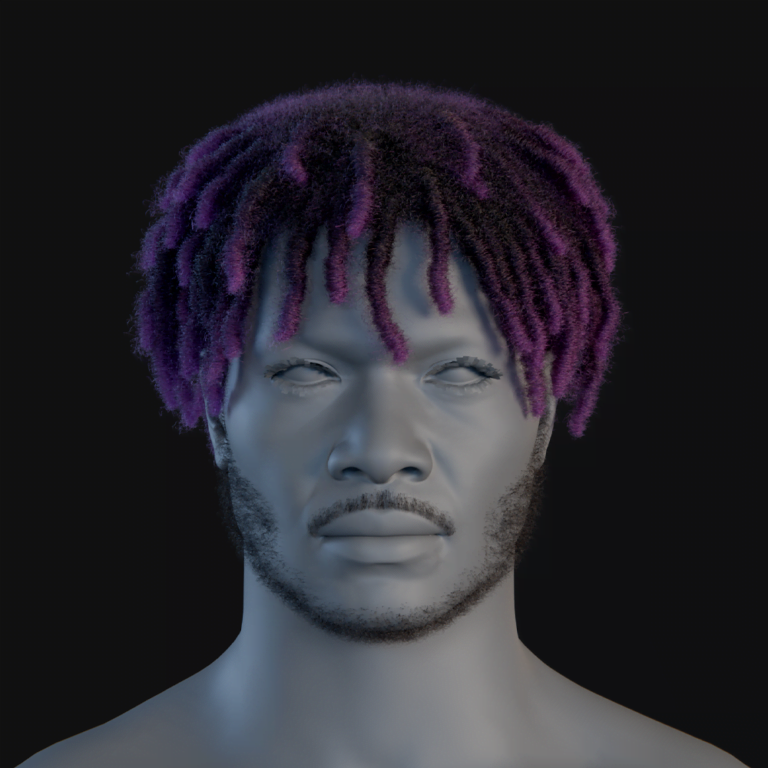
- Clumping: Natural hair forms clumps, especially when long or wet. Use the Clump setting in particles (0.6 for slight clumping, 1 for dreadlocks). The Shape parameter biases clumping toward the root or tip for organic clumps. In Geometry Nodes, use a Clump node to group nearby curves. Weight paint influences for different areas (e.g., smooth top, clumped ends).
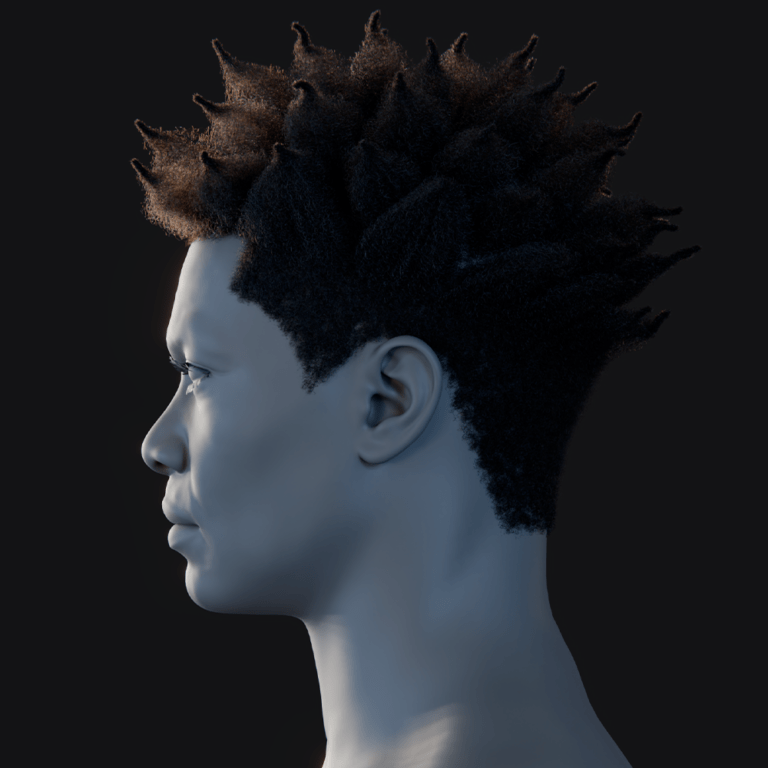
- Curls and Waves: Use the Kink option in particles to create curls or waves, adjusting amplitude and frequency for tightness. For consistent curls or braids, use a Noise or Curl node in the new system. For more artistic control, employ curve guides or adjust the phase to simulate hair springiness.
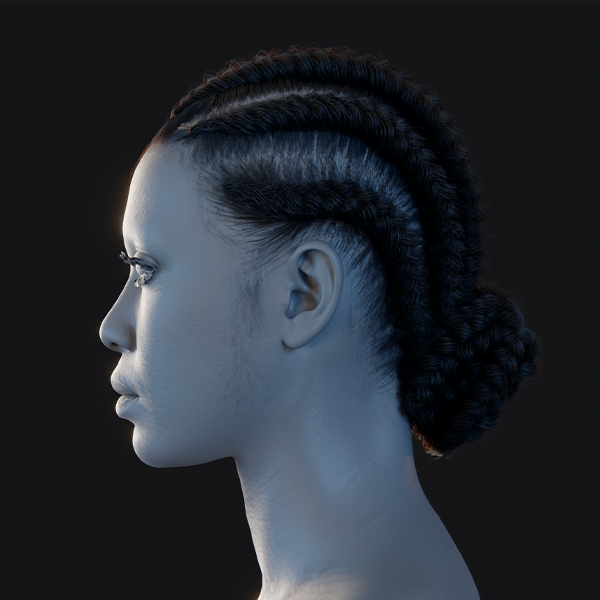
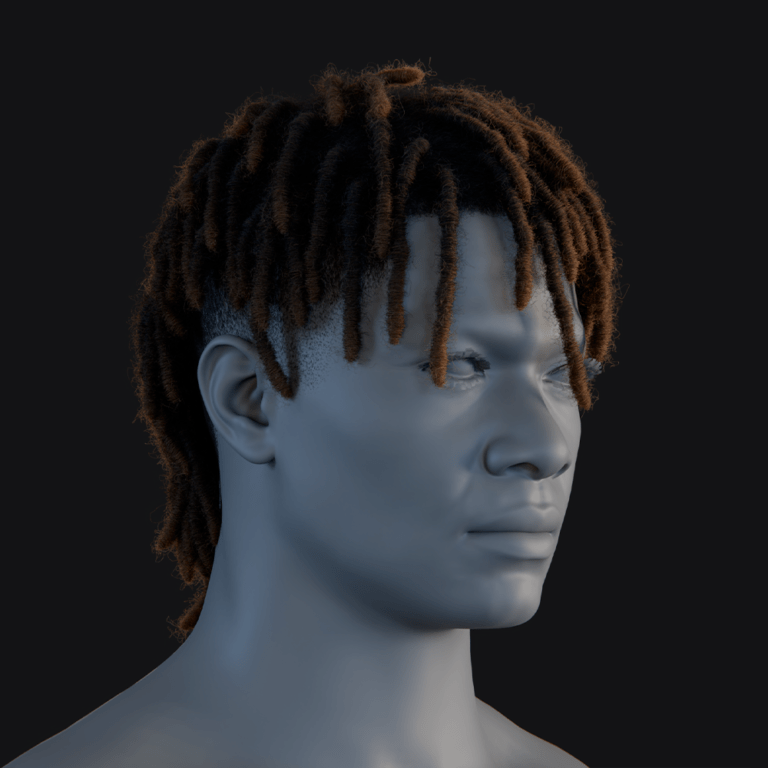
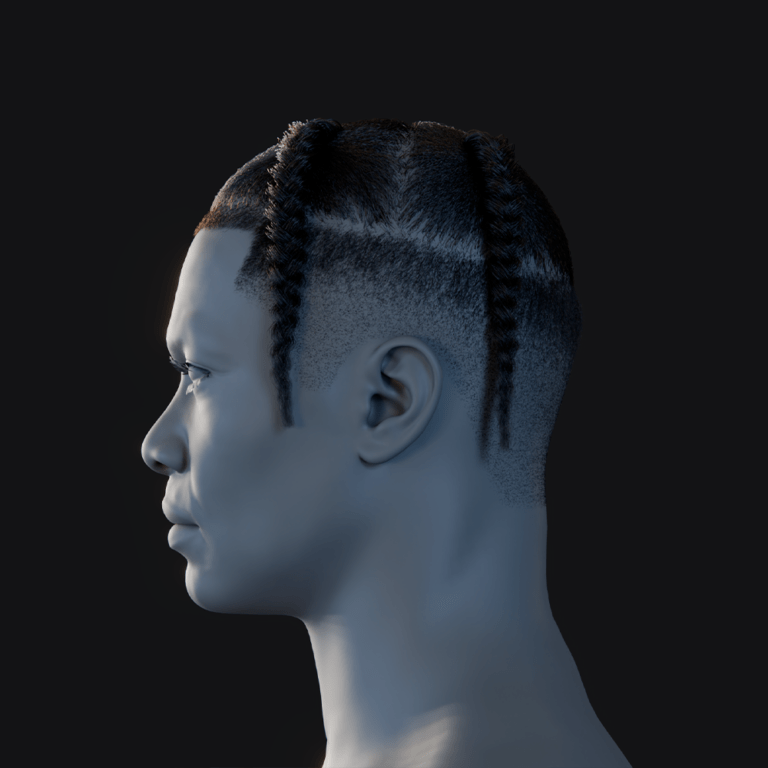
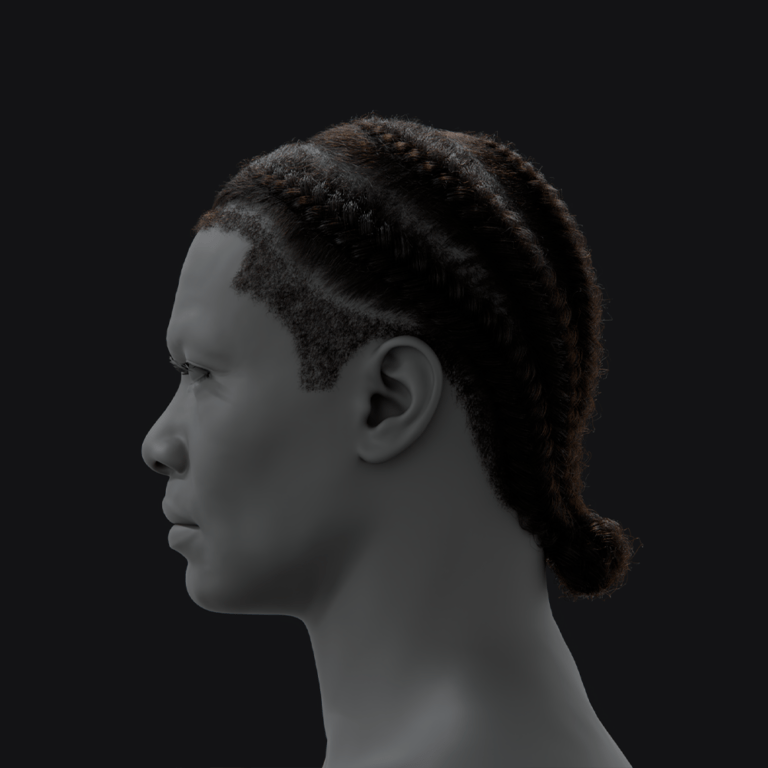
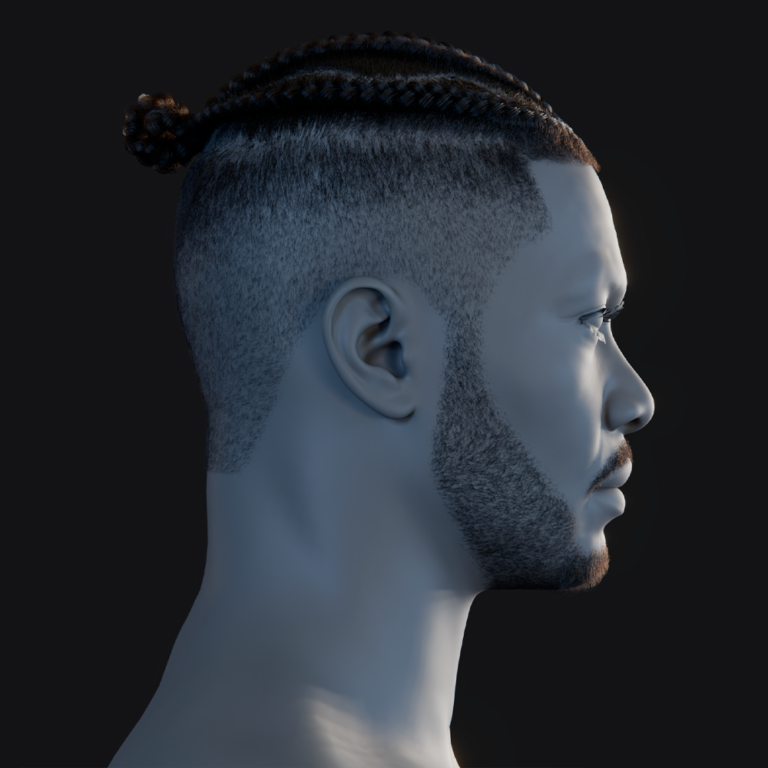
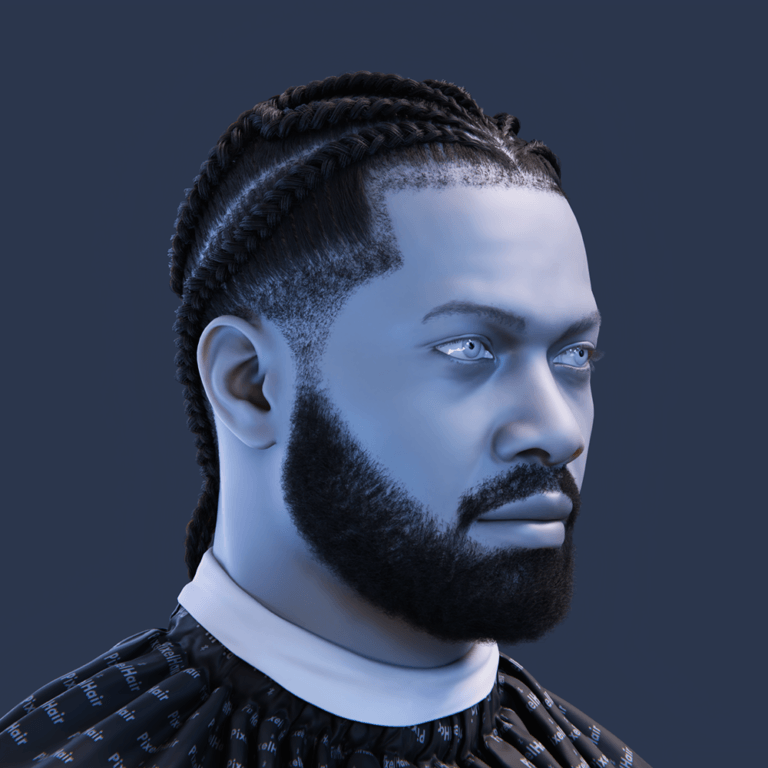
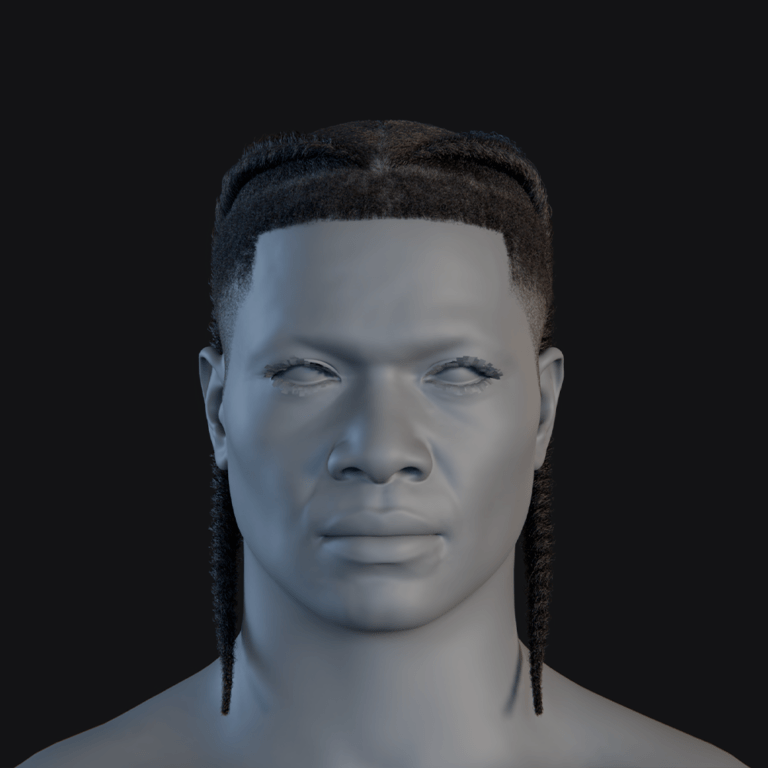
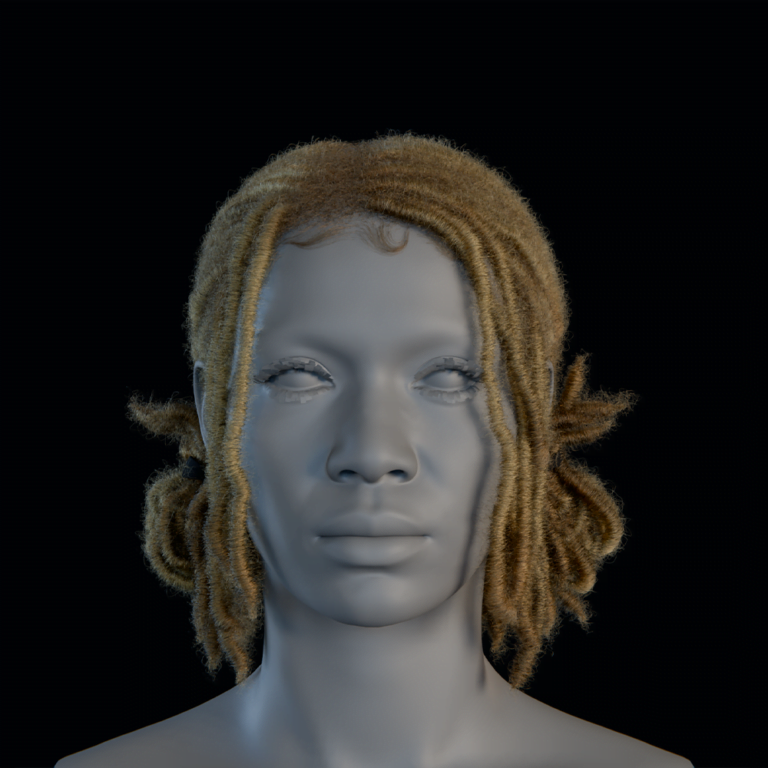
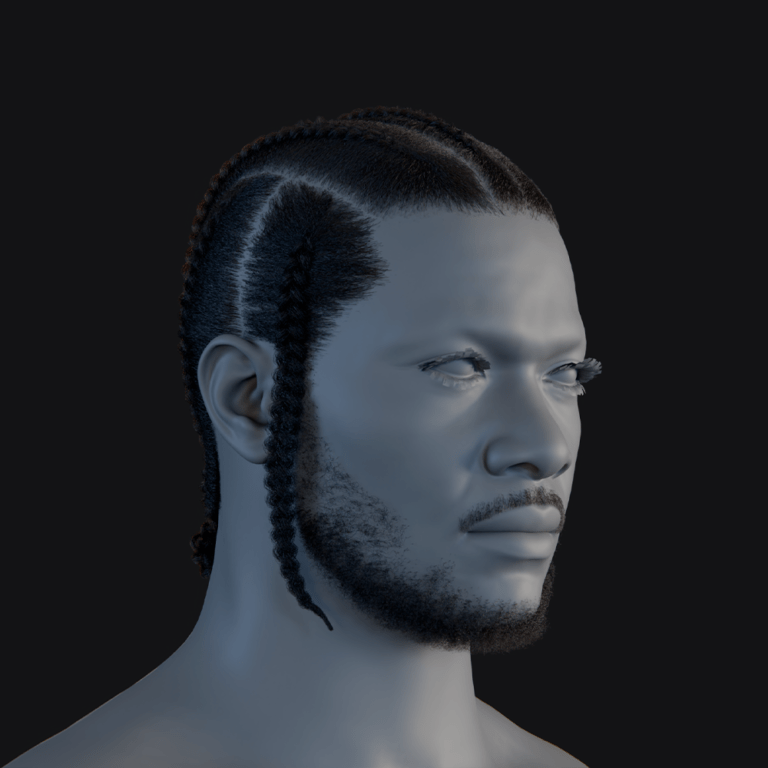
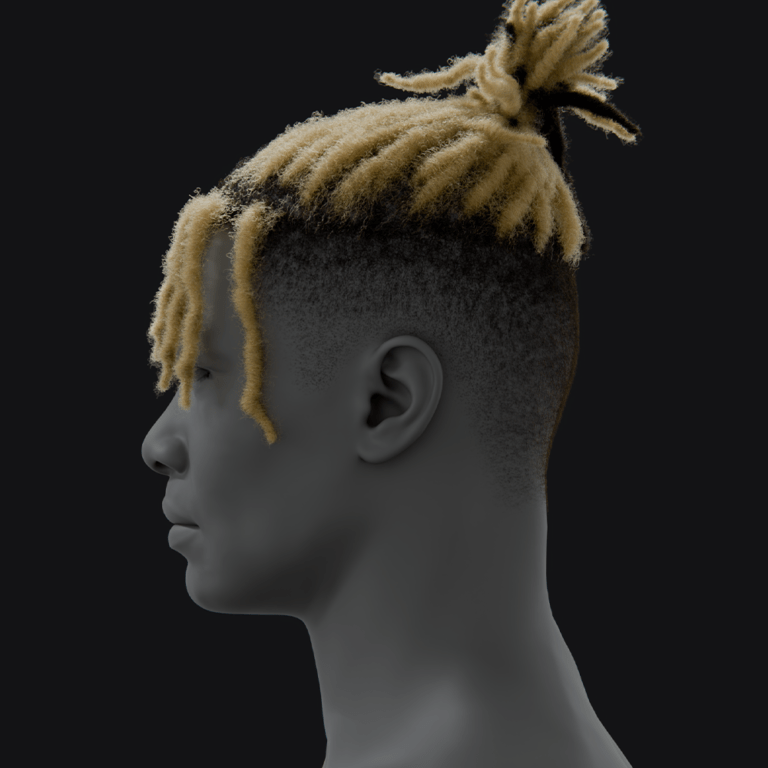
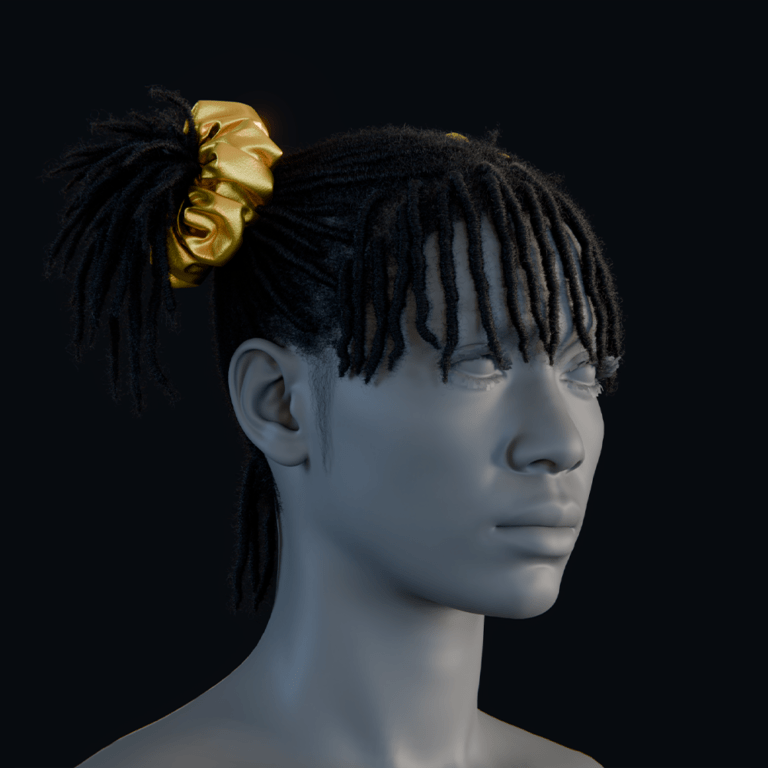
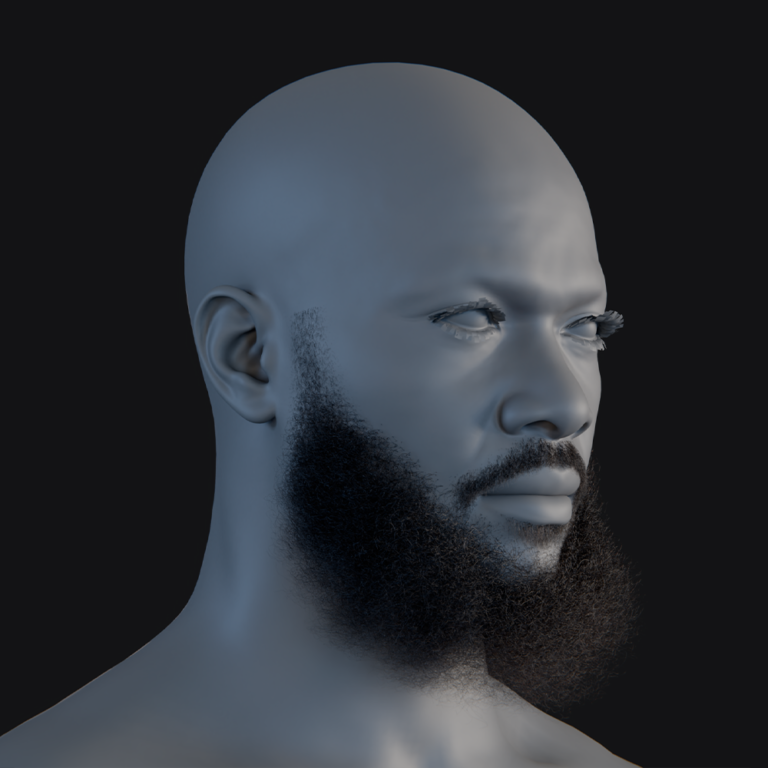
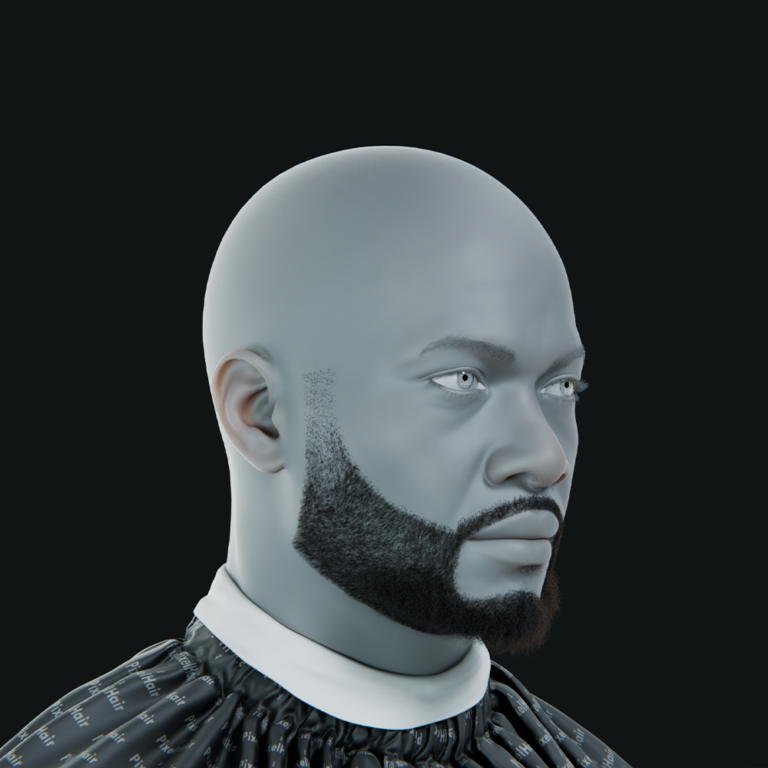
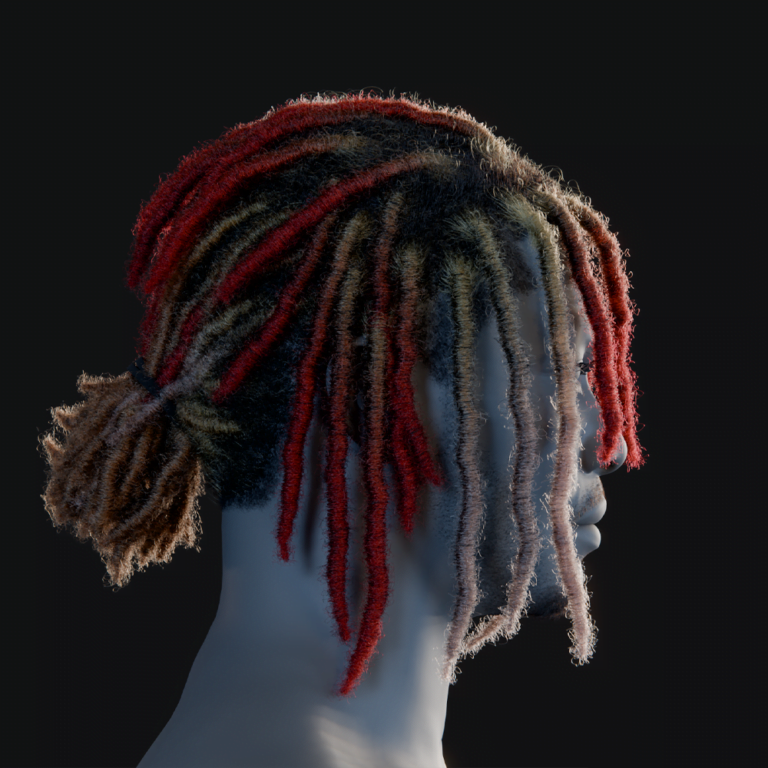
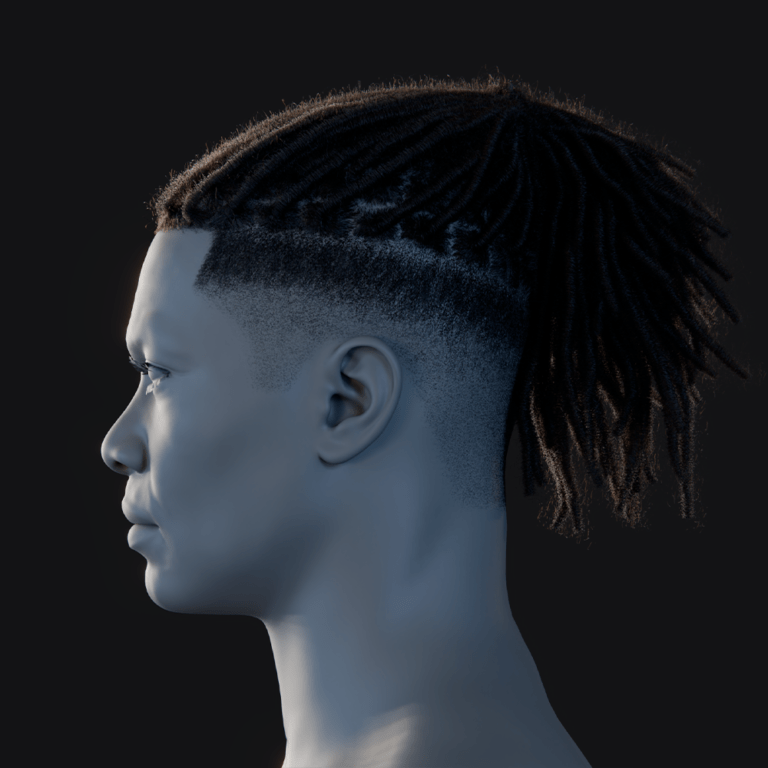
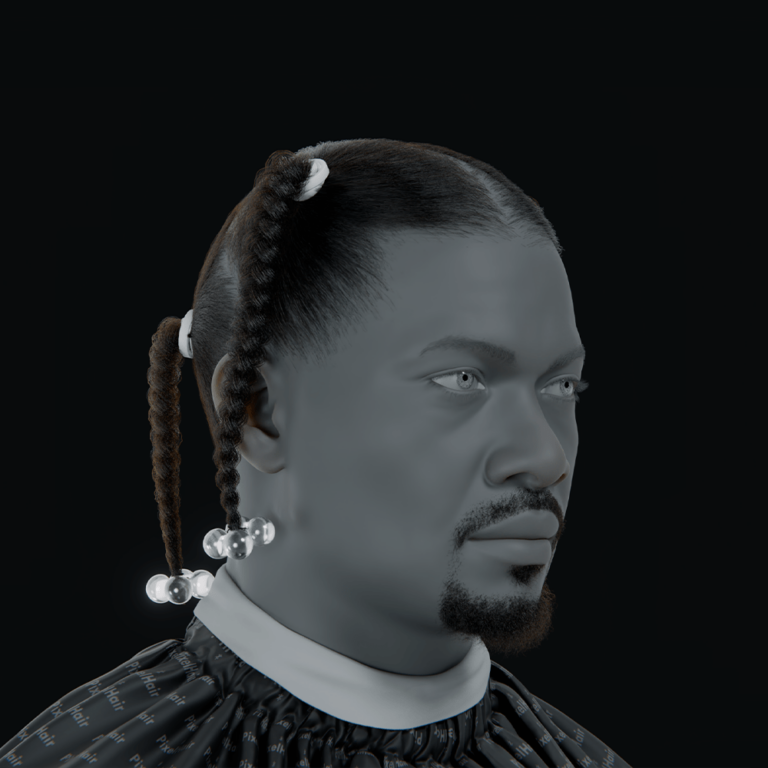
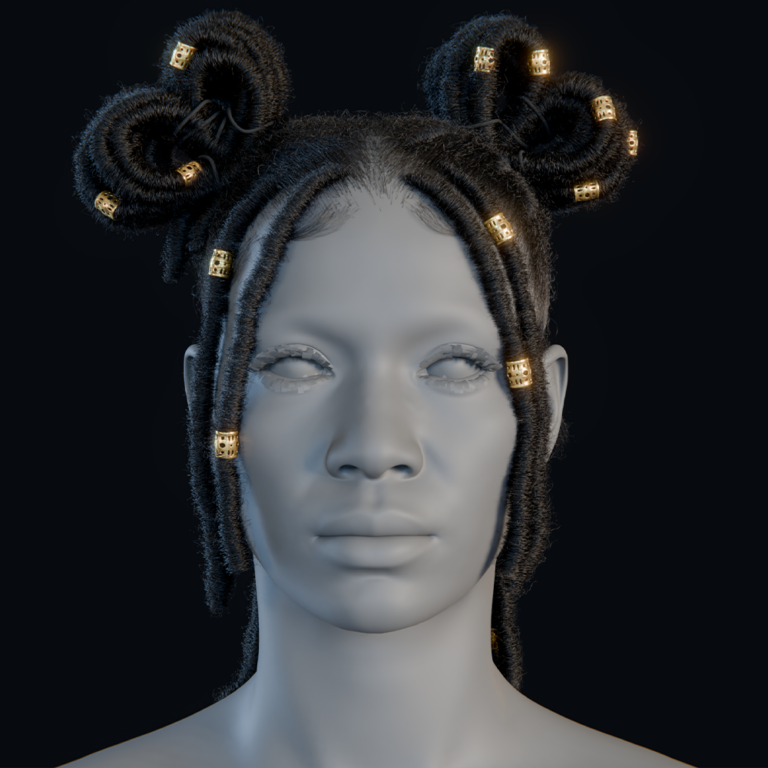
- Braids and Dreadlocks: For braids, use the Kink -> Braid option in particles, adjusting frequency and amplitude. You may need a separate particle system for braids. Dreadlocks can be created with heavy clumping, roughness, or by modeling dreadlock meshes and using the Particle Instance Modifier to attach them to particles.
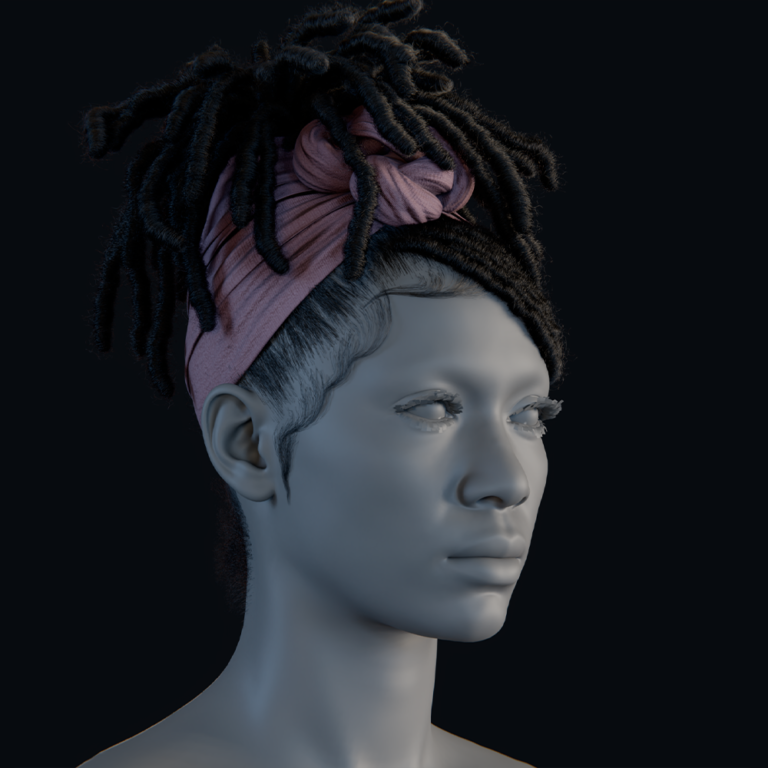
- Hair Accessories and Binding: For hairstyles with accessories (e.g., ponytail bands, ribbon-tied braids), model the accessory and pin hair using physics or manually adjust strands to wrap around. In the curves system, manually adjust strands for ties.
- Using Support Meshes for Styling: Use temporary mesh guides (e.g., cones for a beehive) with Particle Edit’s Length and Comb tools or the Shrinkwrap modifier on curves for specific styling effects. This technique helps shape hair around specific silhouettes or make it lie flat.
By combining these techniques, you can create very advanced hairstyles in Blender – from tight fades with patterns, to flowing curly hair, to intricate braids – it just takes practice and sometimes a bit of ingenuity in using Blender’s tools in unconventional ways. Don’t be afraid to experiment; grooming is as much art as tech, and every hairstyle might require a slightly different approach.
3D Hair Materials and Shading
Even the best groom won’t look convincing without proper shading. Hair has unique material properties: it’s typically anisotropic (highlights stretch along the strands) and partially transparent or thin. Blender provides the Principled Hair BSDF shader, which makes realistic hair shading much easier. Let’s break down hair materials:
- Hair Shader Basics: Use the Principled Hair BSDF shader for realistic hair shading. It has two color modes: Melanin (for natural hair colors) and Direct coloring (for custom RGB). Melanin mode controls hair color through concentration values (0 = blonde/white, 1 = black). Adjust roughness for highlights: longitudinal roughness for soft highlights along the strand, radial roughness for highlights across the strand.
- Creating Custom Hair Materials: For root-to-tip color variation, use a Gradient Texture or Hair Info node (if available). This can darken the roots and lighten the tips for realism. You can also add subtle color variation by using the Random Per Island setting, affecting each hair strand’s hue. Principled Hair has built-in Random Color and Random Roughness parameters for variance.
- Transparency and Alpha: For hair cards or mesh hair, use a standard Principled BSDF shader with a Diffuse + Transparent mix. In Eevee, set Blend Mode to Alpha Hashed or Alpha Clip for better transparency. For strand particles, use a Ribbon rendering technique, but Eevee struggles with strand rendering, so Cycles is often preferred for realistic hair shading.
- Specular and Anisotropy: Human hair has both a primary highlight (outer surface reflection) and a secondary highlight (light passing through the hair). The Principled Hair shader models both these highlights based on melanin values. If using other shaders, you can mimic this with an Anisotropic BSDF for the primary highlight and a second anisotropic layer with a reddish tint for the secondary highlight.
- Using Color Maps: For unique hairstyles, like dyed tips or fantasy hair, apply texture maps to control density, length, and color. You can paint specific streaks or dyed areas on the scalp, which are inherited by the hair system. Geometry Nodes allows mapping UV from surface to hair strands for more detailed control.
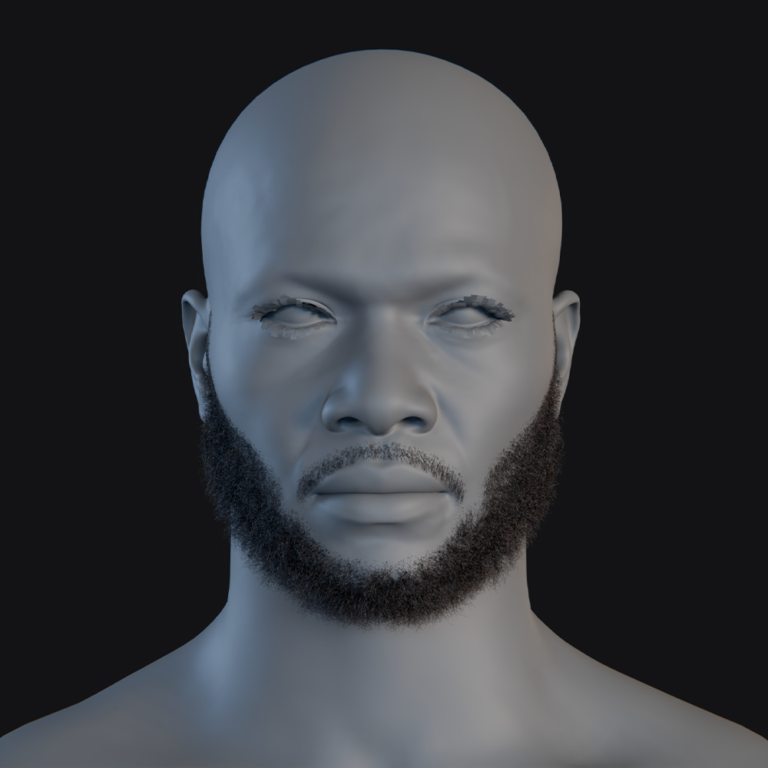
- Matching Hair and Scalp: Ensure the scalp matches the hair, especially in shorter or thinner 3D hairstyles where the scalp is visible. Use a darker shade for the scalp or paint a slight stubble to seamlessly transition between the scalp and hair.
With proper materials, hair will interact with light naturally, showcasing realistic reflections and shading. Test hair under strong backlighting to check for rim light and use area lights to evaluate specular highlights along the strands.

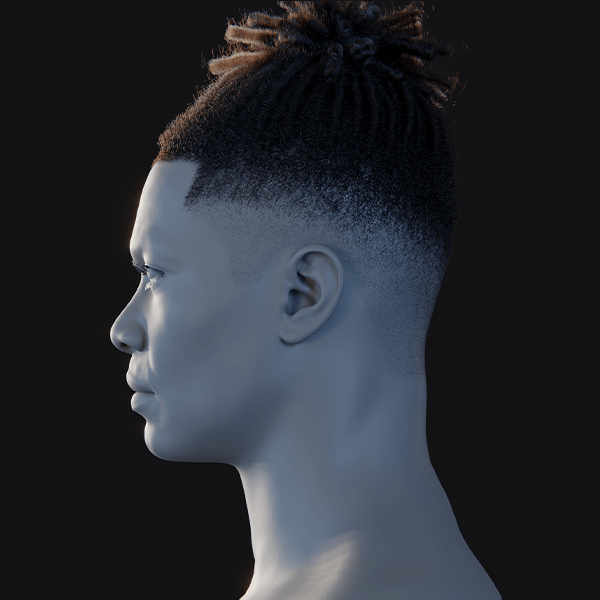
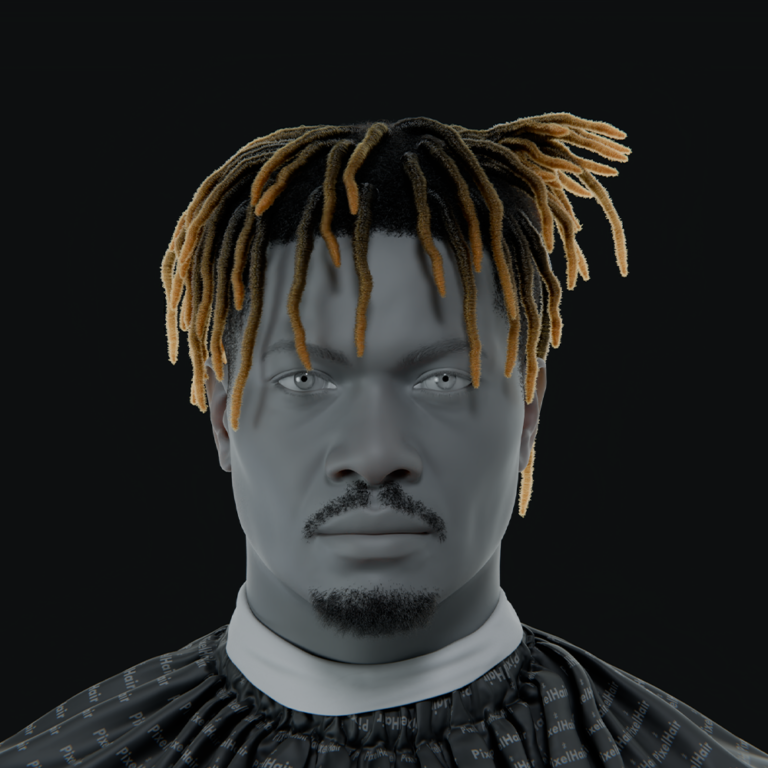
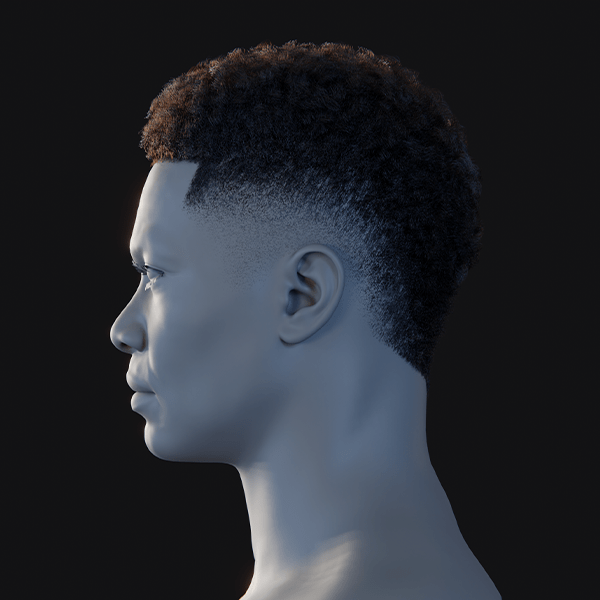
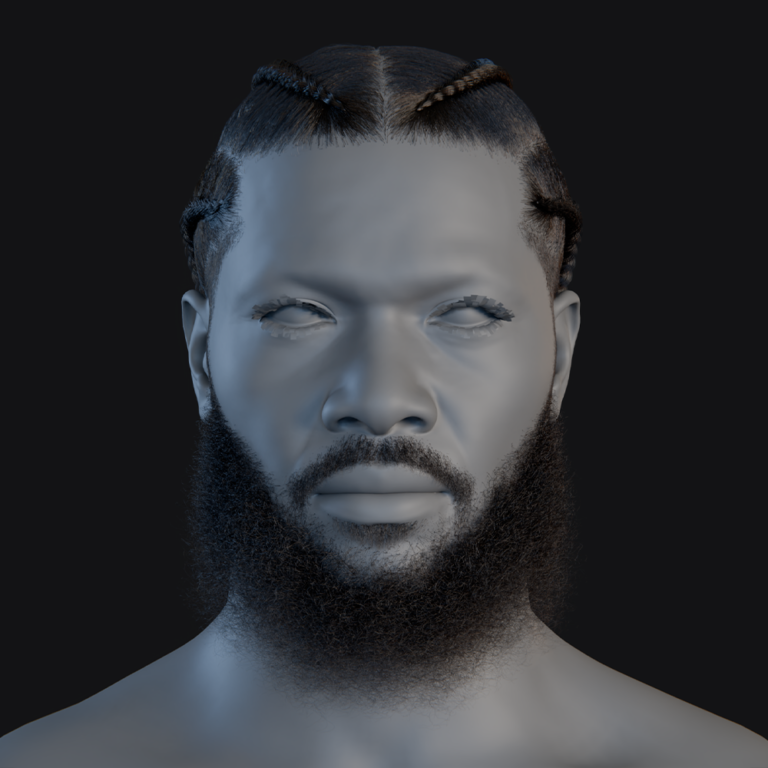
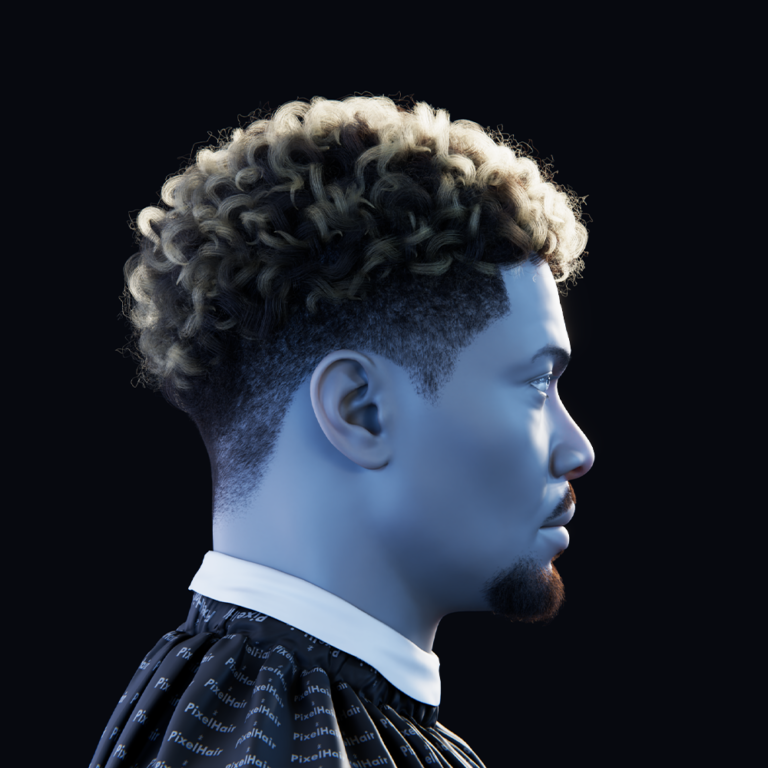
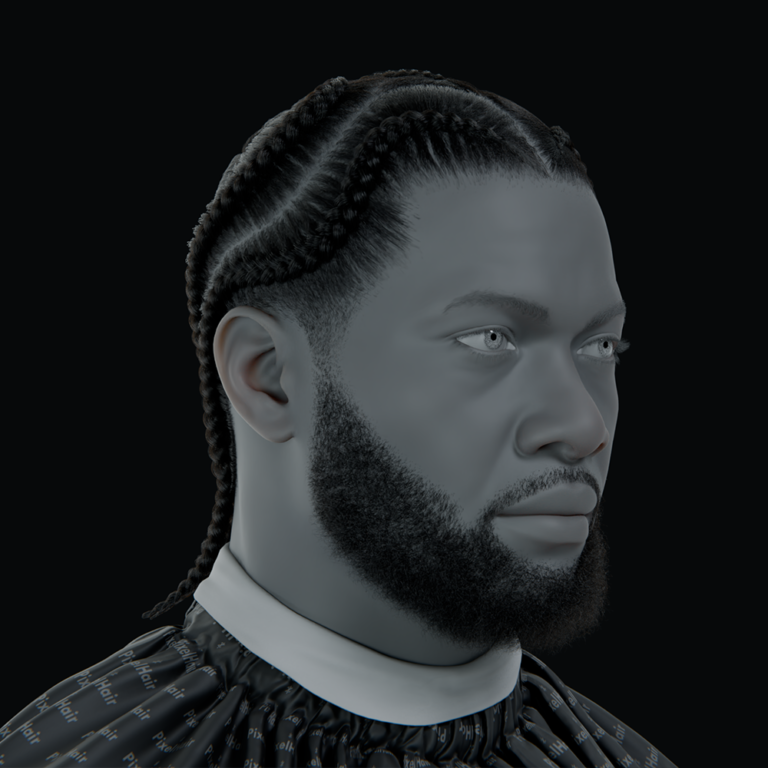
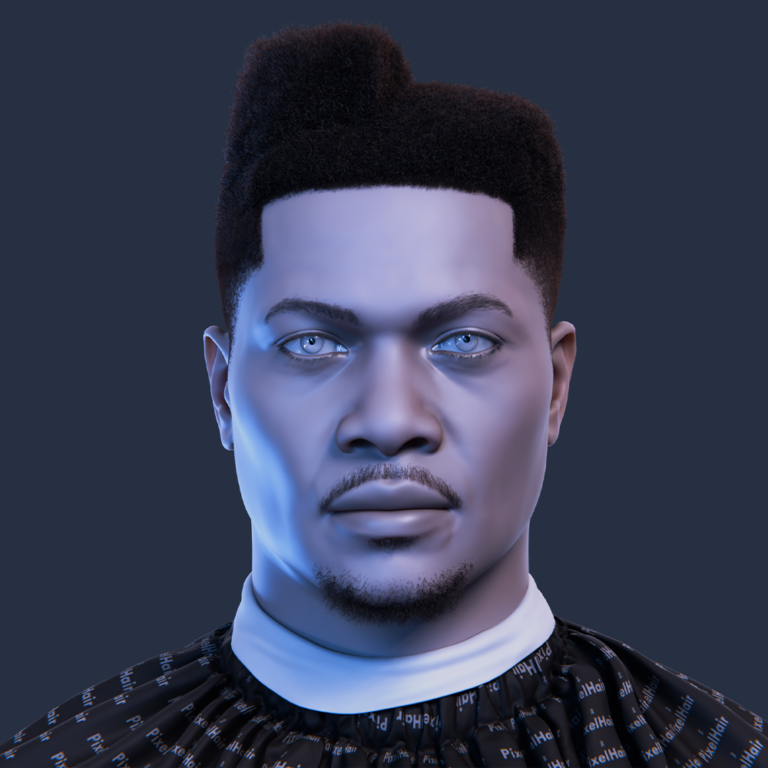
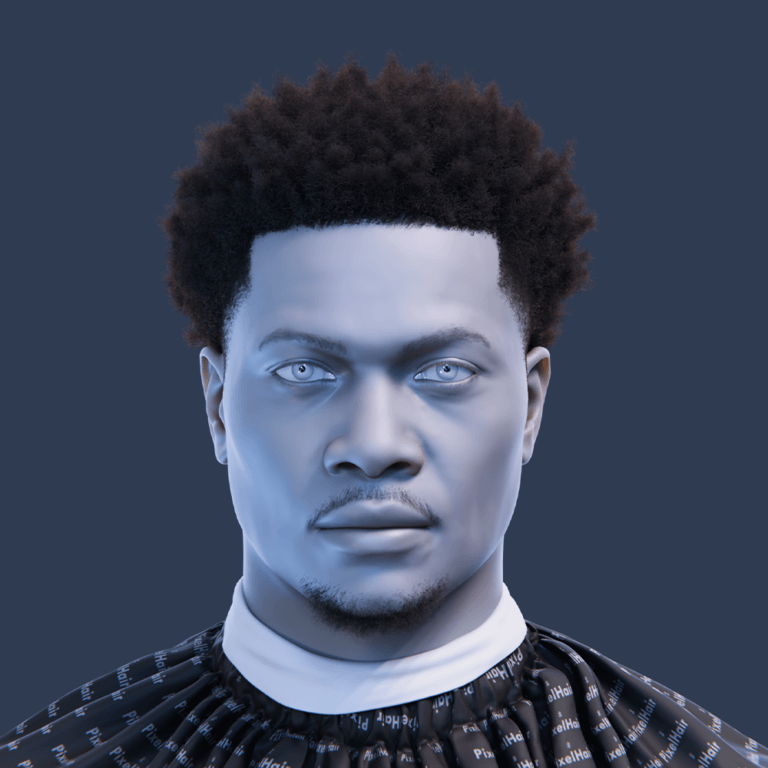
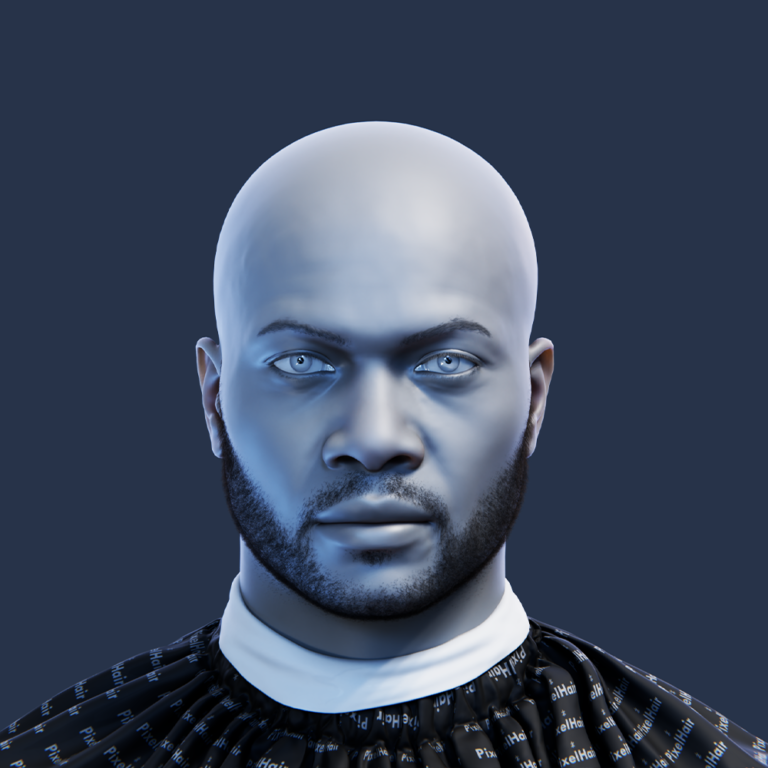
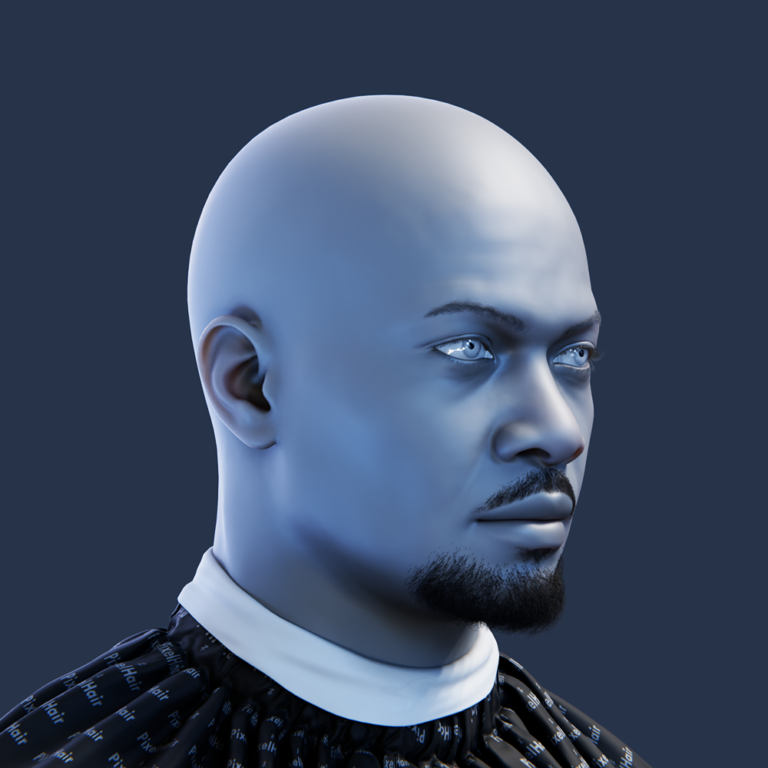
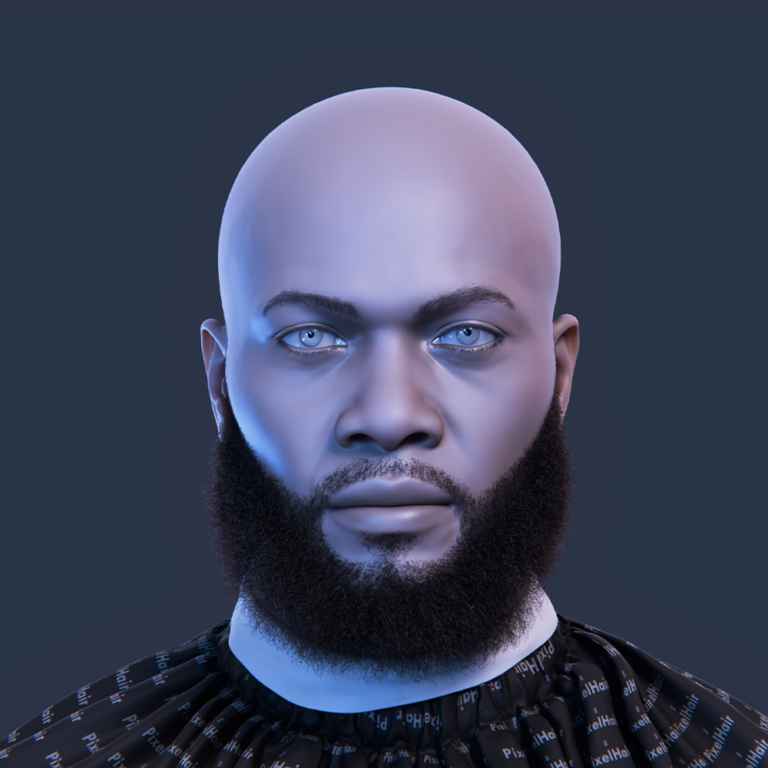
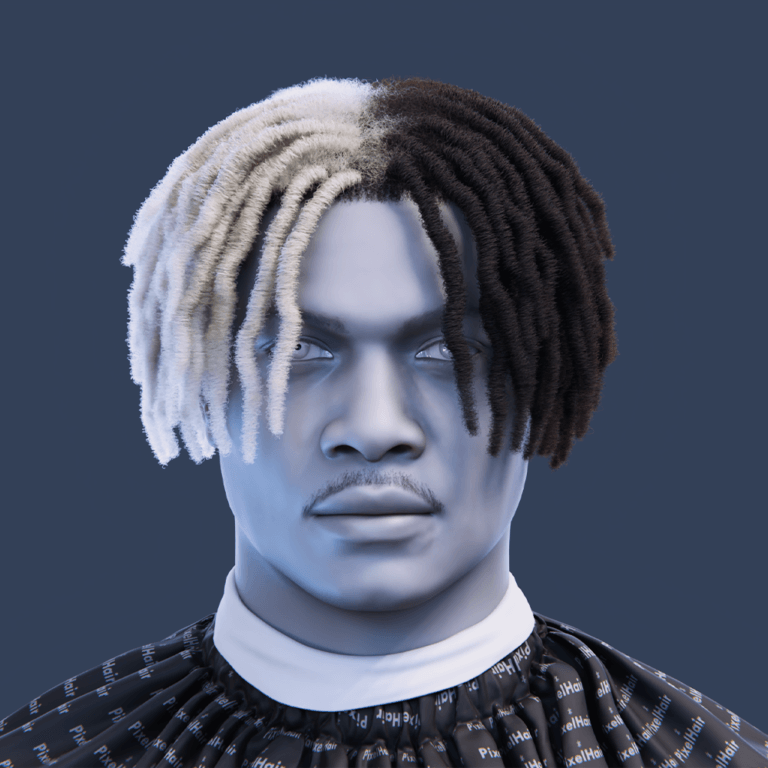
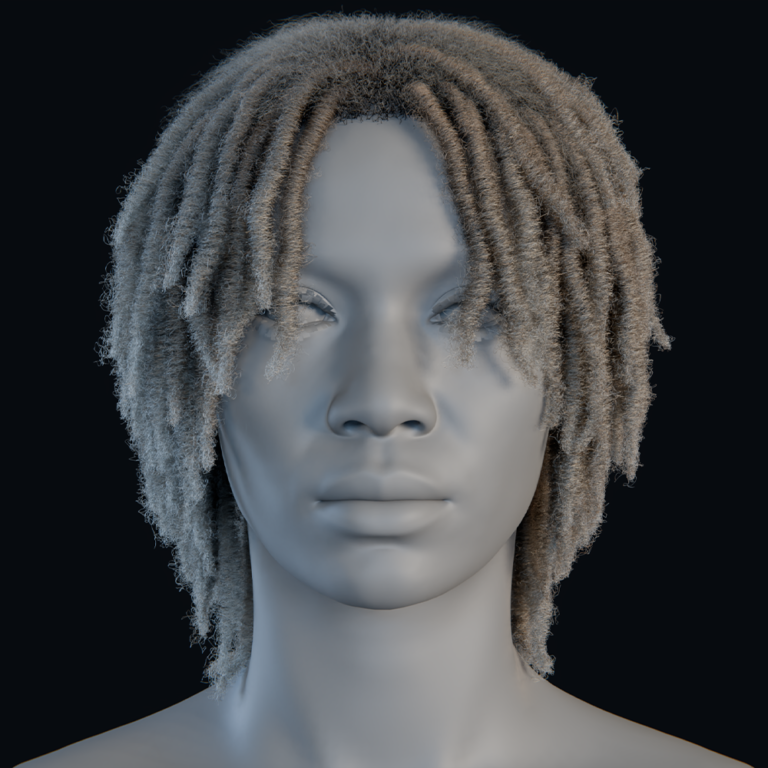
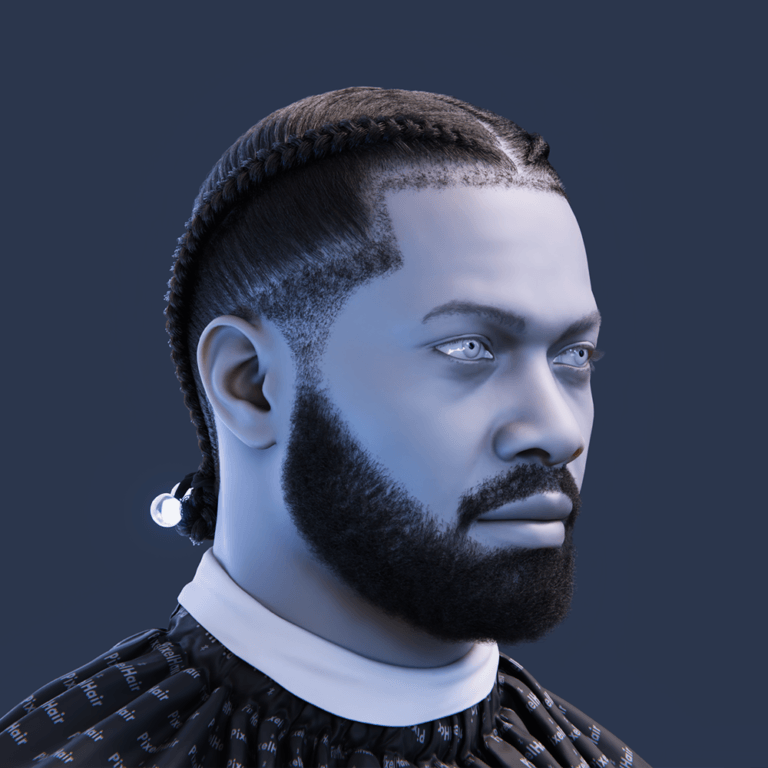
Speeding Up Workflow with Pre-Made 3D Hair Assets (PixelHair)
Creating hair from scratch, as you can see, is time-consuming and technical. What if you could start with a realistic hairstyle and just tweak it? This is where pre-made hair assets like PixelHair come in. PixelHair is a library of ready-made Blender hairstyles designed to save you hours of work by providing professionally groomed hair that you can drop into your project. Let’s explore how PixelHair can speed up your workflow and how to use it in Blender:
What is PixelHair and Why Use It?
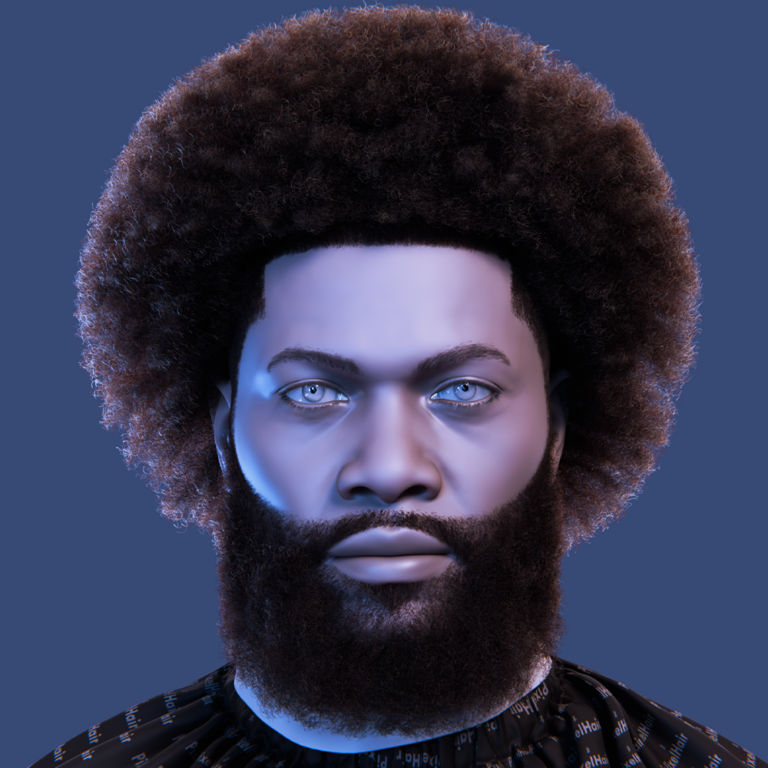
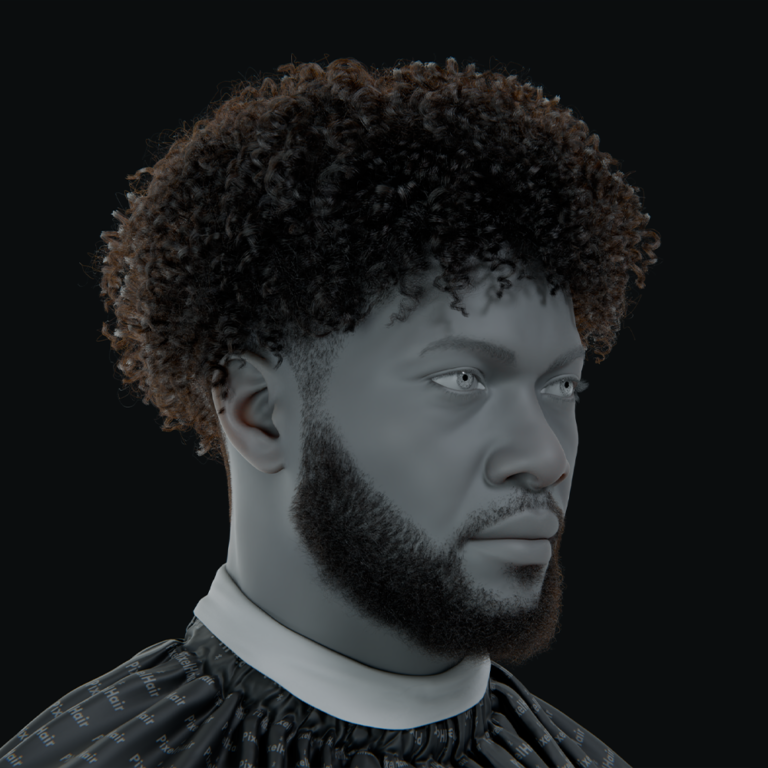
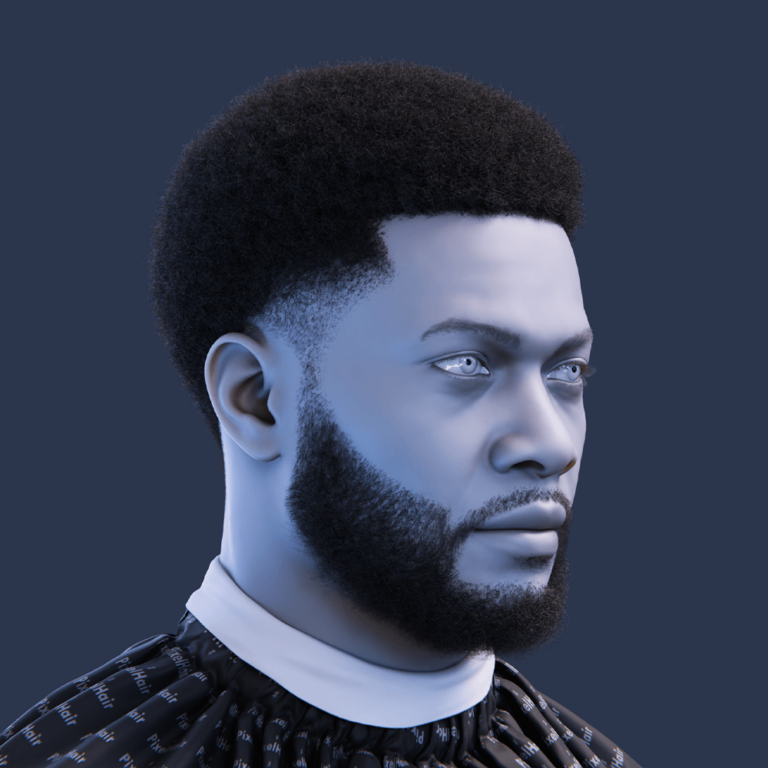
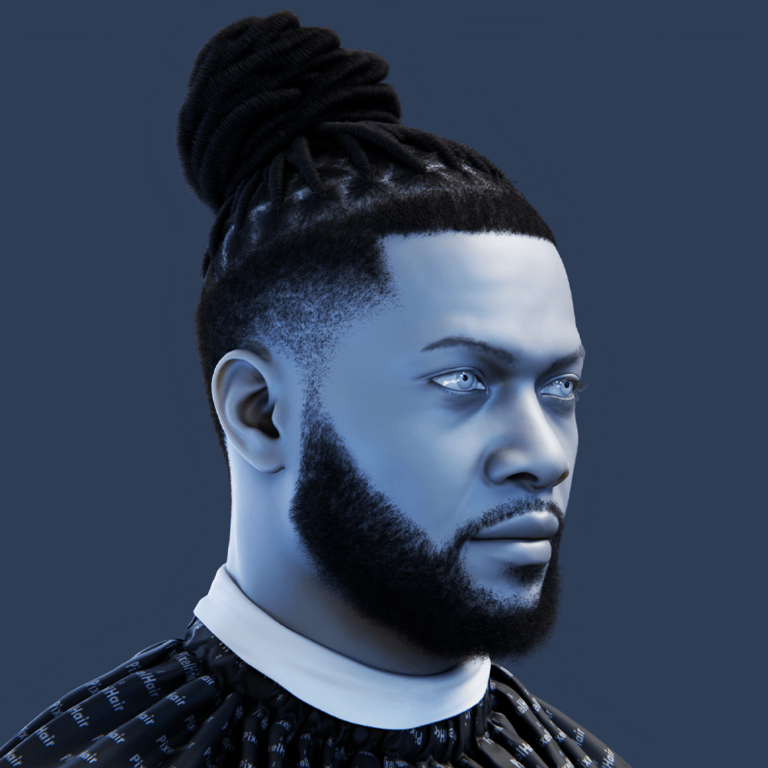
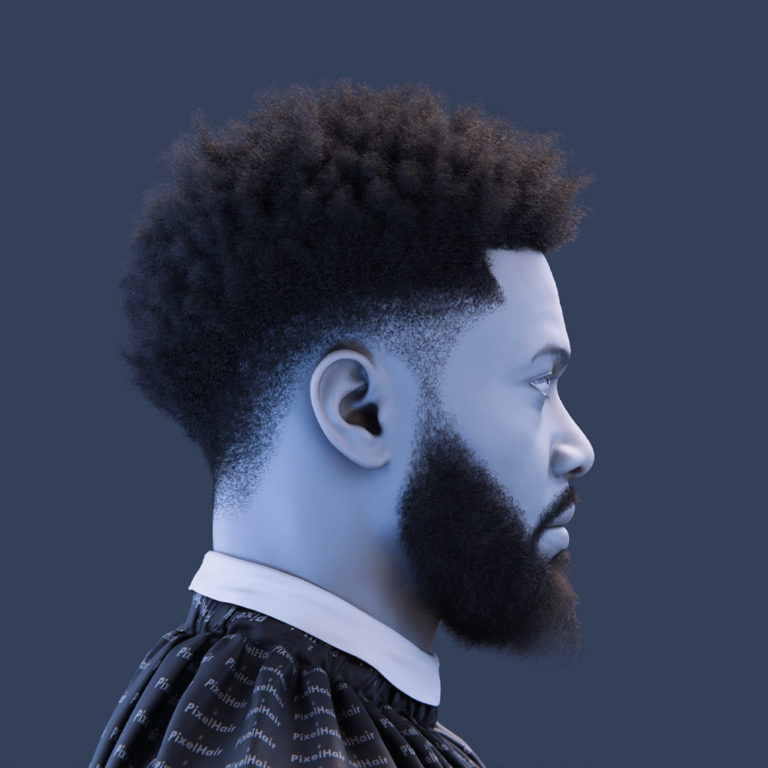
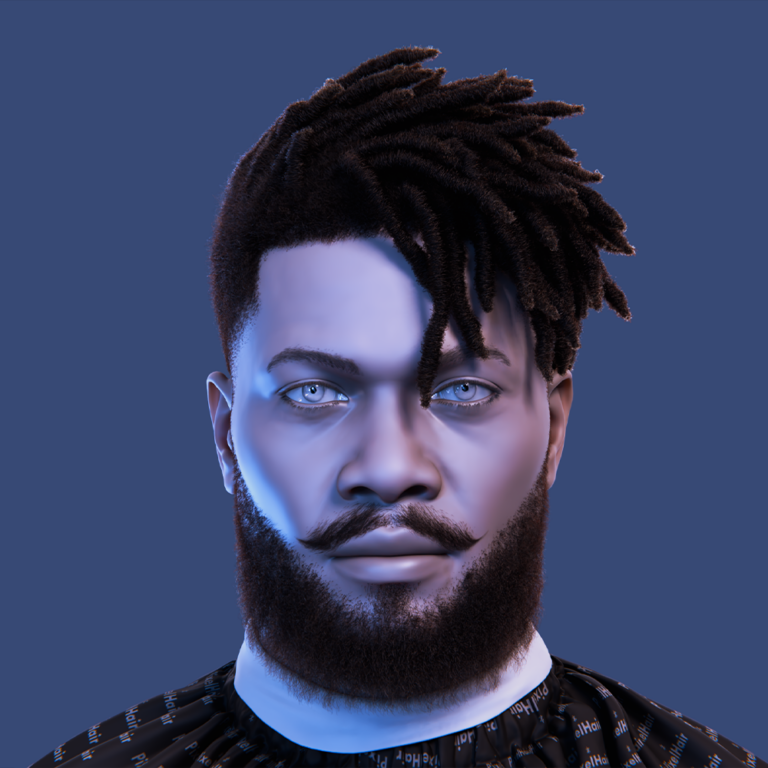
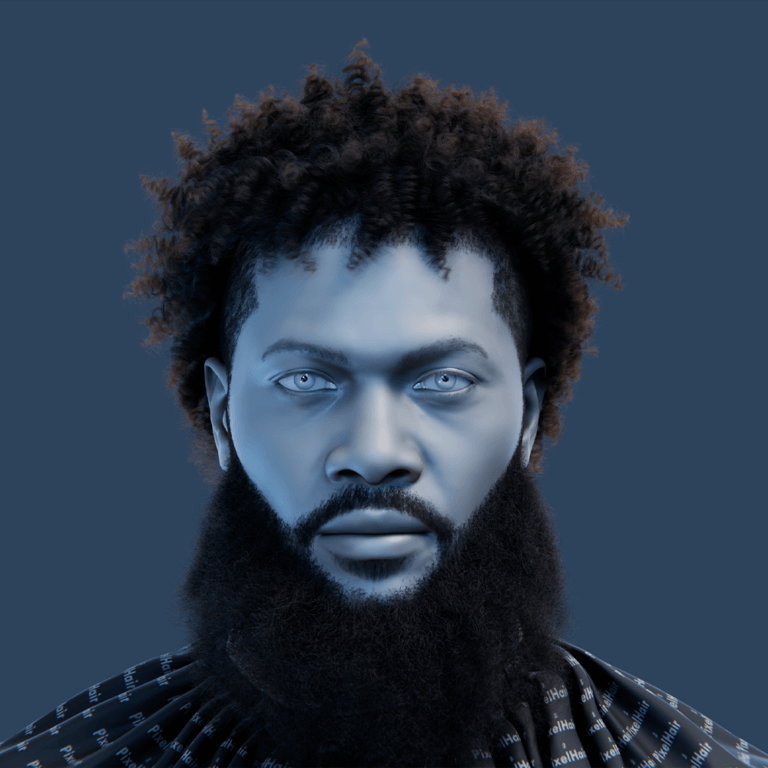
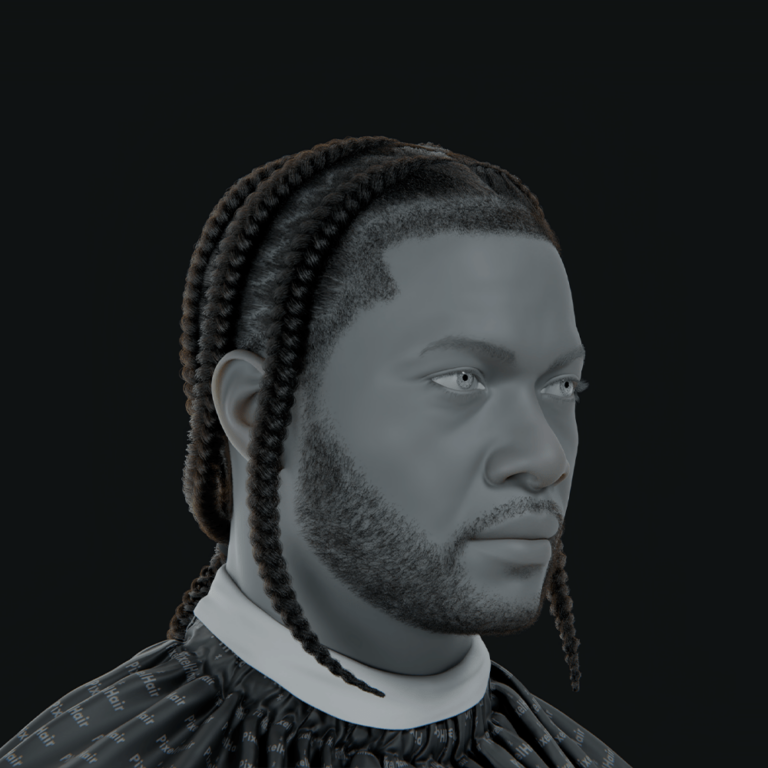
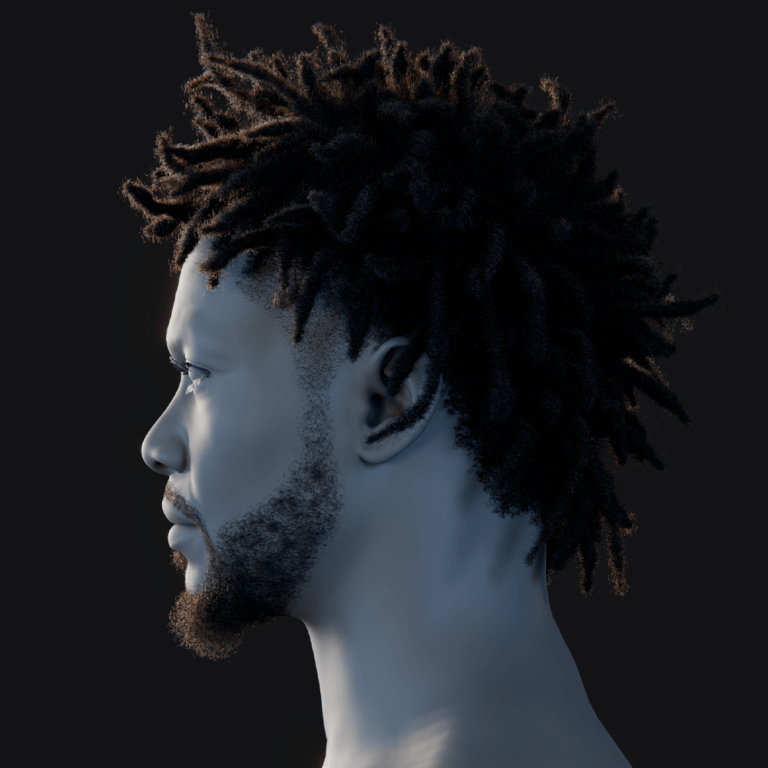
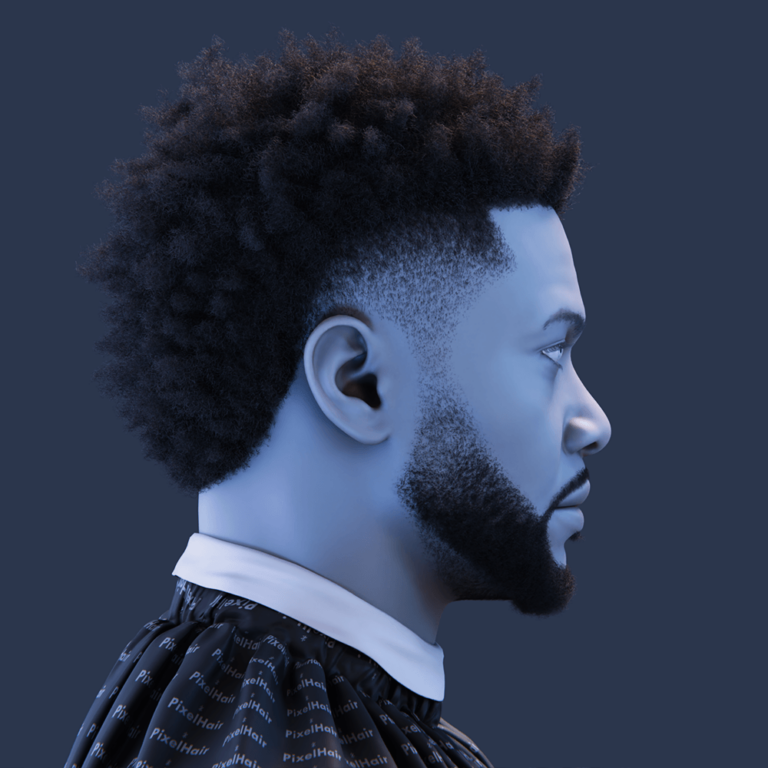
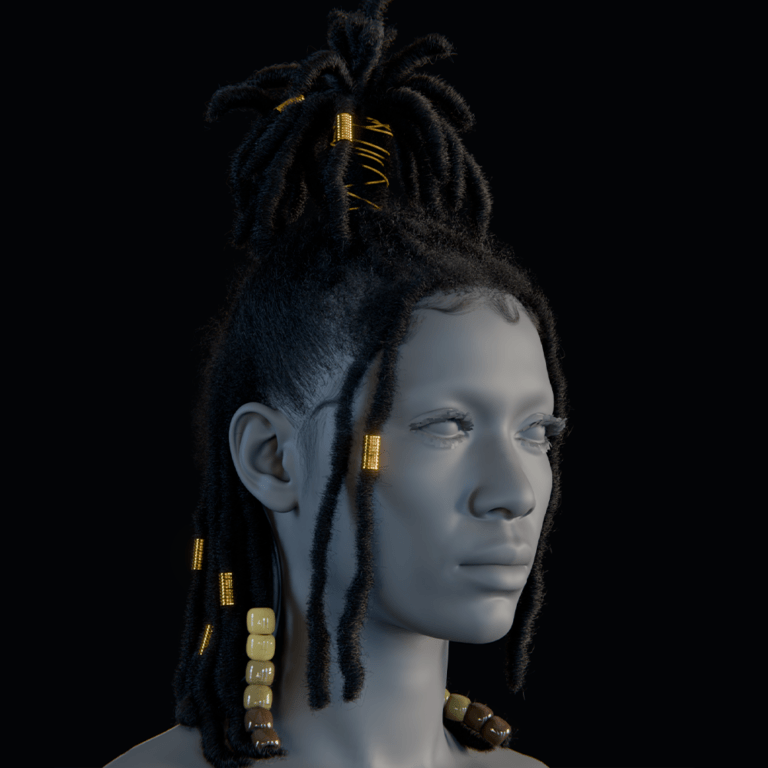
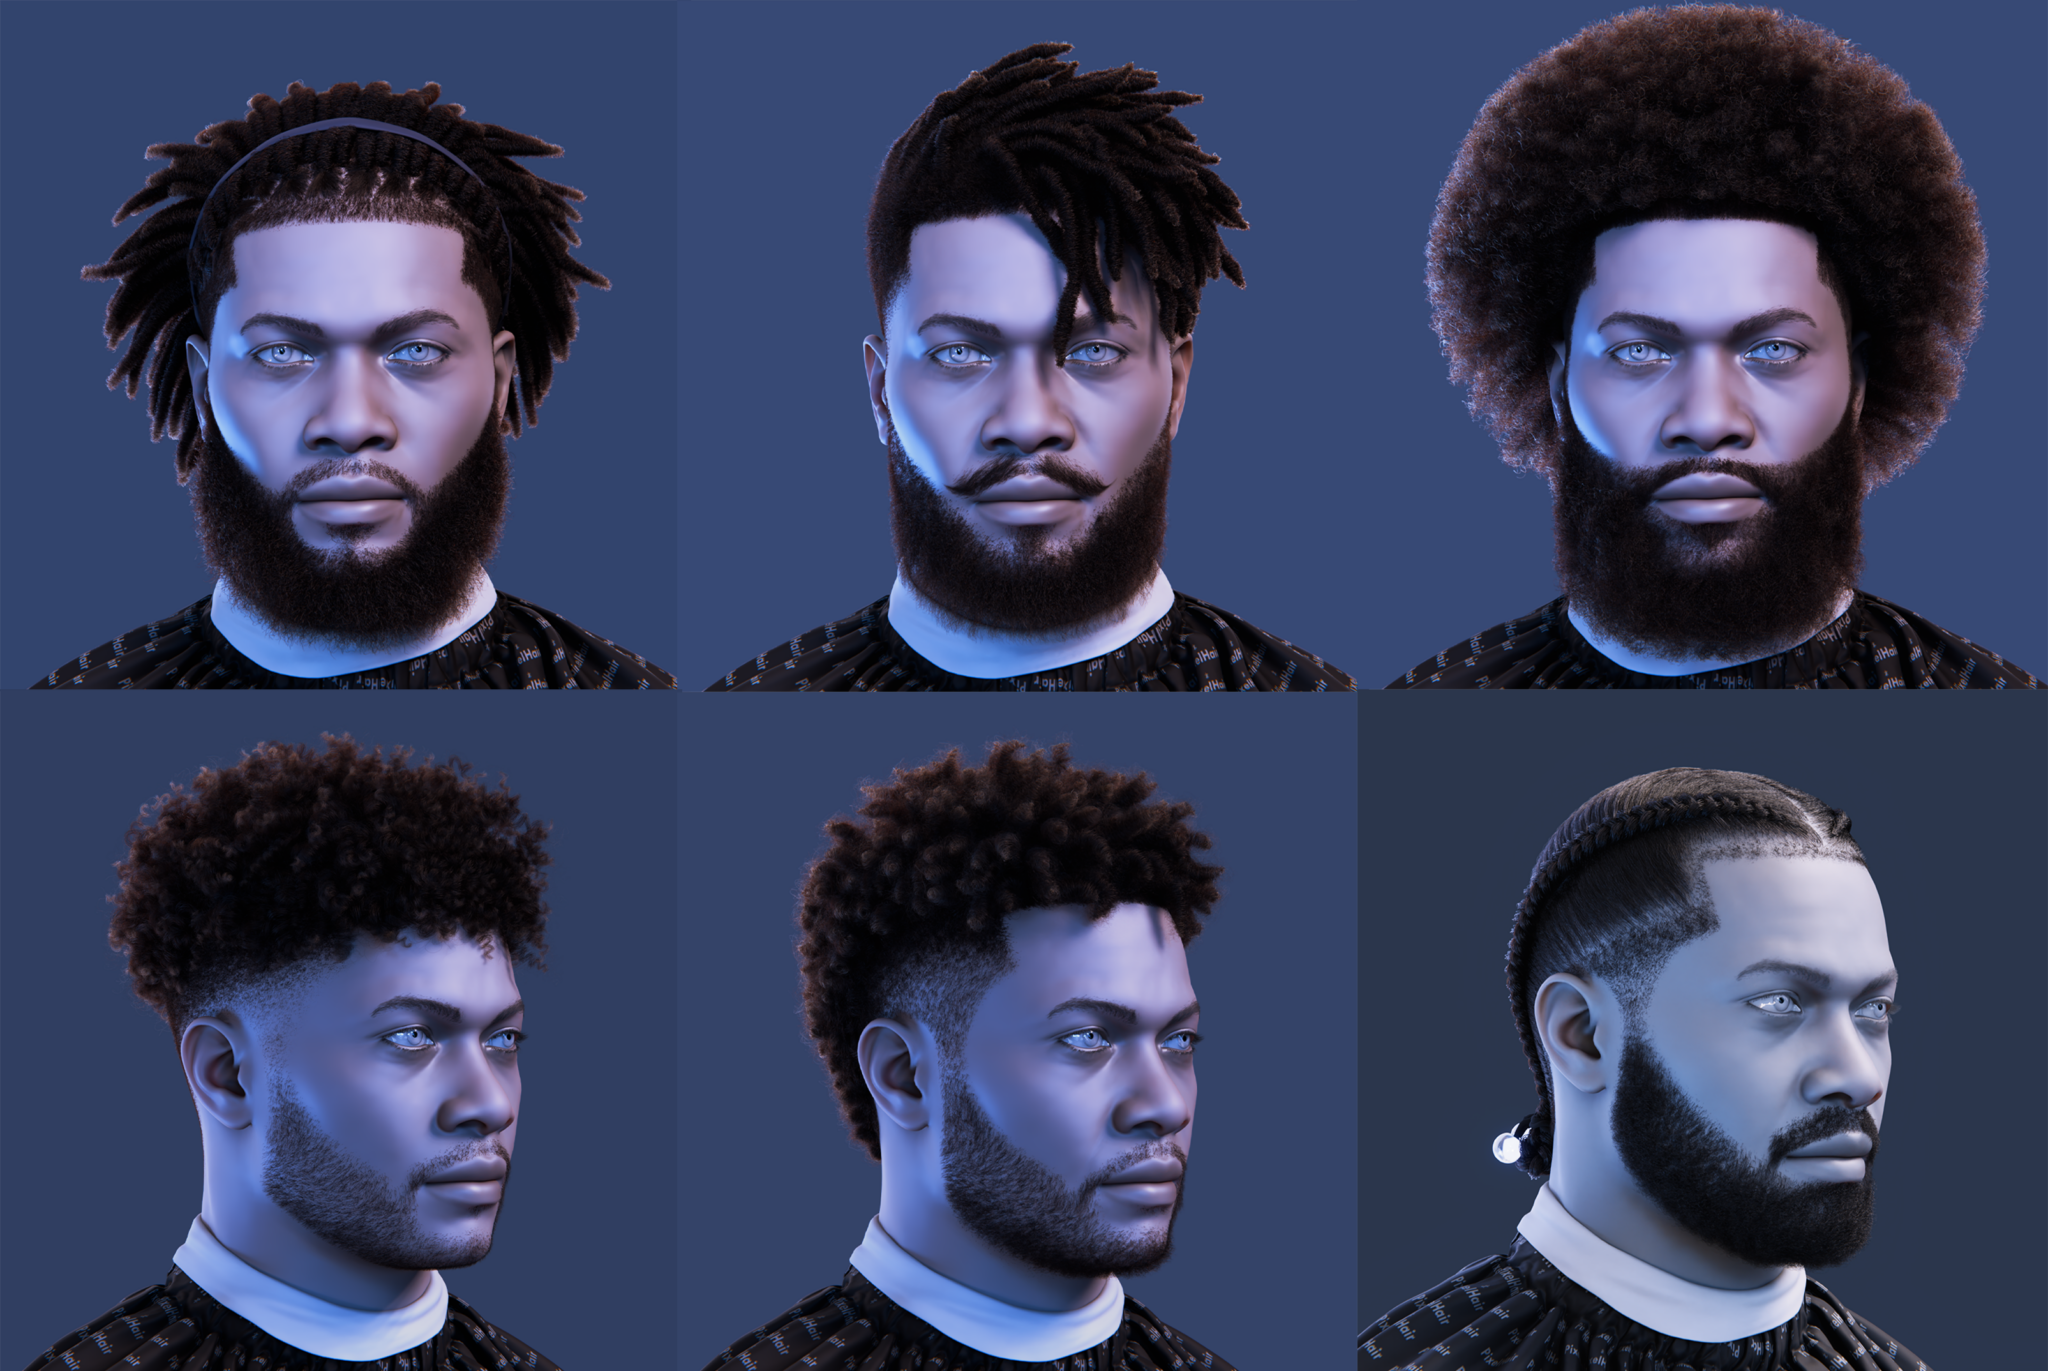
PixelHair is a collection of realistic, strand-based 3D hair grooms created with Blender’s hair particles. Developed by Yelzkizi, PixelHair aims to simplify realistic hair creation by providing high-quality, customizable hair presets. Rather than starting from scratch, you can load a preset style (like a curly afro, braid, or short bob) and modify it to fit your needs. This saves you hours of grooming work and serves as a learning tool for beginners and a time-saver for professionals.
Quality and Customizability:
Each PixelHair asset is designed with proper volume, flow, and detail. Made by an experienced groomer, these presets offer professional-quality results comparable to Maya’s XGen. PixelHair comes with a mesh “hair cap” (scalp) and a fully set-up particle system, including children, materials, and more. While pre-made, they are highly customizable: you can adjust the particle settings, change strand thickness and length, or even edit the hair in Particle Edit mode. This makes PixelHair suitable for all skill levels, from beginners to advanced users.
Cross-Platform and Game Engine Use:
PixelHair is not limited to Blender renders. It is compatible with Unreal Engine, allowing you to export hair via Alembic and import it as a groom in UE5, even for MetaHuman characters. This eliminates the need to convert hair to hair cards, preserving the strand hair fidelity in Unreal Engine. PixelHair offers a seamless workflow for studios that model in Blender and render in Unreal, combining the strengths of both platforms.
How to Import and Apply PixelHair in Blender:
Each PixelHair hairstyle comes as a .blend file. Using it is straightforward:
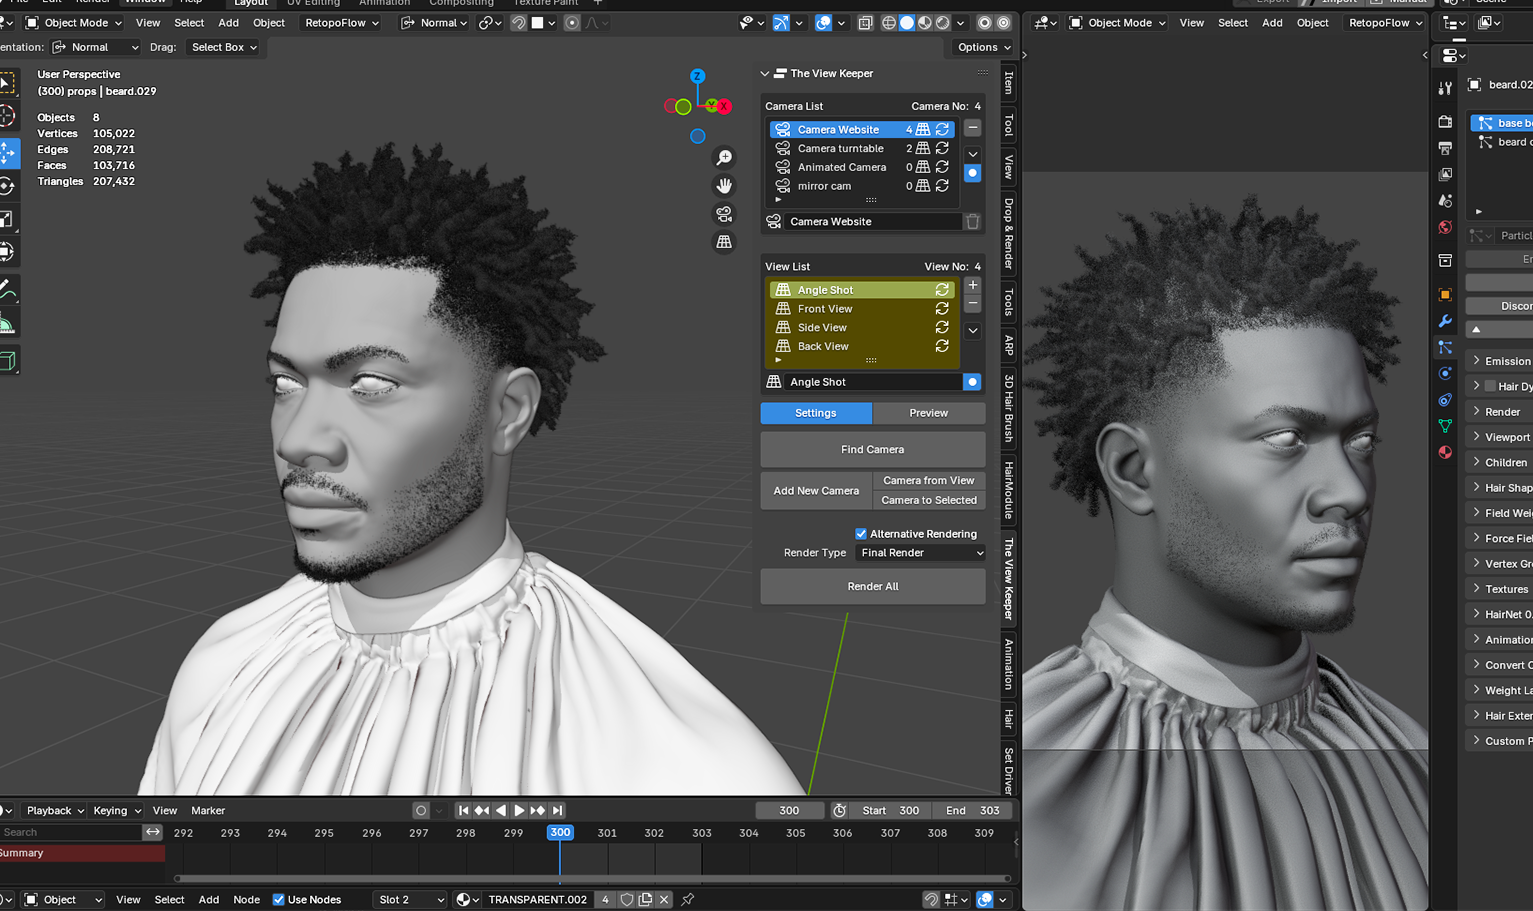
- Open or Append: To use PixelHair, open the .blend file or append it into your character’s scene. Go to File > Append, navigate to the PixelHair .blend, and select the “Object” (or sometimes a Collection) containing the hair system. Typically, the file will have an object like “braids_long_01” which includes the hair cap and particle system. Append that object into your scene.
- Positioning: Once appended, the hair object may not align with your character. Use the move, rotate, and scale tools to position it onto the character’s head. For easier positioning, set the hair object’s origin to the geometry center.
- Snap to Head (Shrinkwrap): Many PixelHair assets include a Shrinkwrap modifier to help the hair cap conform to the character’s head. If not, add one manually. Set the Shrinkwrap target to the character’s head mesh, using Outside Surface with a small offset like 0.0002m. Apply the Shrinkwrap modifier once the hair cap fits.
- Reveal and Adjust Hair: If the hair particles are hidden in the viewport, unhide them by adjusting the particle system tab or the hide emitter/strand settings. You can now see the hairstyle on your character. If needed, edit the particle settings such as hair length, density, and children amount. You can also go into Particle Edit mode to make minor grooming adjustments.
- Material and Render: The PixelHair asset comes with its own material, typically using a Principled Hair BSDF. Adjust the hair color as needed (change melanin values or tint). Rendering is straightforward as the hair system is already set up in Blender.
Customizing PixelHair for Projects:
Once you’ve imported PixelHair, you can fully customize it for your project. Here are a few ways to personalize the hair:
- Performance Optimization: If the hair is too heavy on performance (e.g., too many children causing slowness), you can reduce the child count or strand steps while maintaining a good look.
- Re-style Hair: Treat PixelHair as if you created it yourself. You can trim or adjust the shape using the Cut tool in Particle Edit mode to shorten bangs or alter the style.
- Add Volume: Increase the child count to add more volume, or adjust the Roughness setting for a frizzier, messier look.
- Advanced Tweaks: For more unique styles, you can add a second particle system on top of PixelHair to create extra wispy strands or flyaways.
- Performance Optimization: If the hair is too heavy on performance (e.g., too many children causing slowness), you can reduce the child count or strand steps while maintaining a good look.

Benefits Recap:
Using pre-groomed assets like PixelHair saves you significant time. Rather than dealing with the technical challenges of hair grooming, you can focus on the creative aspects of styling and integrating the hair with your character design. PixelHair ensures consistency across projects, as a studio can use the same asset on multiple characters to maintain uniform quality and style. It’s also a great learning tool, allowing you to dissect and improve your grooming skills by studying how the PixelHair styles are created. Whether you’re a beginner seeking a plug-and-play solution or an experienced artist aiming to speed up repetitive tasks, pre-made hair assets like PixelHair are a game-changer.
Optimizing Hair for Performance and Rendering
High-quality hair can be resource-intensive, but here are some tips to optimize hair in Blender without sacrificing visual fidelity:
- Reducing Strand Segments (Steps): Each hair strand is made up of segments. You can reduce the number of segments in the particle system or curve system to lighten the load. For long hair, reducing from 10 segments to 5 might still approximate the shape, though it may appear slightly polygonal. For final renders, use higher segments, while keeping it low in the viewport for better interactivity. When exporting to game engines, ensure hair doesn’t exceed the segment limits (e.g., Unreal Groom supports up to 255 points per strand, roughly 8 segments).
- Managing Children Count: Children make hair look fuller but multiply strand count significantly. To maintain performance, reduce the child count or use thicker strands for distant shots. Use Interpolated children for even coverage or Simple children for faster performance. For final renders, consider adjusting the Viewport Display % to optimize performance (e.g., 0% for grooming, 100% for rendering).
- LOD (Level of Detail) for Hair: For real-time engines, create multiple particle systems for different levels of detail (high, medium, low). You can swap these systems based on the camera distance to manage performance. In Blender, test hair with fewer children or simplified geometry to predict its performance in game engines.
- Simulation Performance: Keep parent strand count low during physics simulations to improve performance. Only simulate parent strands, as children follow the parent’s motion. Minimize collision complexity and use proxy objects or simplified collision meshes to reduce simulation load. Pin hair roots with vertex groups to limit simulation to only the moving outer strands.
- Rendering Settings: In Cycles, use Adaptive Sampling to increase samples in high-detail areas like hair. For Eevee, adjust Shadow settings and enable Alpha Hashed shadows for transparency. Backface culling on hair cards can prevent lighting issues. You may need to increase shadow map size for better results.
- External Engines (Unreal/Unity) Best Practices: Export hair as Alembic files for Unreal, adjusting strand count with Unreal’s Groom asset decimation settings. In Unity, convert hair to cards or ribbons and generate normal and flow maps. Test in the target engine for any required tweaks to thickness and texture settings.
- Strand Thickness and Fill: Reduce strand count by increasing strand thickness. Thicker strands may perform better without compromising the visual result, as multiple thin strands can be replaced by fewer, thicker strands. Adjust clumping to make children appear as thicker strands.
- Use of Cards/Proxies for Far Shots: For cinematic shots, use particle hair for close-ups and swap to hair cards for far shots. Hair cards can be generated from particle hair, offering a low-poly solution for distant views.
In summary, always be mindful of where the hair will be used. If it’s for a still render, you can push quality at the cost of render time. If it’s for animation, find a sweet spot where grooming detail and render times are balanced. And if it’s for real-time, be aggressive in optimization: use cards or simplified strands, and leverage the engine’s tools (like Unreal’s LOD and grooming physics settings). Remember, an optimized hair that looks 95% as good as the ultra-dense one is usually worth it, especially when you have multiple characters or frames to deal with.
Troubleshooting Common Hair Creation Issues
Even with good techniques, hair can be finicky. Here are solutions to some common issues Blender users face when creating hair:
- Hair is Not Visible in Renders:
Ensure the “Render As: Path” option is set in the particle system under Render. Check visibility settings in the Outliner and confirm the camera icon is enabled for the hair object. If using Eevee, switch to Cycles as Principled Hair BSDF doesn’t render in Eevee. Enable “Strand” under Eevee’s render settings if necessary. If hair particles are too large, consider using CPU rendering or reducing the number of children for better performance. - Hair Penetrating the Mesh:
For grooming, use collision combing with the deflect emitter option to avoid hair piercing the mesh. Enable Hair Dynamics > Collision for physics-based solutions and increase substeps for better collision accuracy. If some strands still poke through, manually edit them in Particle Edit after simulation or use a shape key. Shrinkwrap the hair for problem areas like baby hairs to keep them lying flat. Minor penetrations can be hidden by adjusting camera angles or using depth of field. - Hair Renders Too Noisy or Slow:
To reduce noise, enable Hair BSDF clamping for both direct and indirect light in Cycles. For faster rendering, use combined CPU and GPU rendering. Consider rendering the hair separately and compositing with a lower sample count. The Path Guiding feature in Cycles helps optimize light sampling in hair volumes. For noise, use the Denoiser (OptiX or OpenImageDenoise) to clean up hair reflections and ensure a reasonable sample count. - Hair Looks Unrealistically Stiff:
Increase strand subdivision for smoother bending, and add randomness through slight Noise modifiers in Particle Edit to avoid uniform, straight hair. Introduce variation with mild turbulence or effector forces. For animations, consider adding subtle deformations or dynamics to simulate movement or hair bounce when the character moves. - Memory Management:
To manage large hair systems, reduce viewport display settings or hide children while grooming. Use Simplify settings to reduce child count during previews. Save versions regularly to avoid crashes, especially before making significant changes like converting systems. If Blender refuses to render due to memory issues, try rendering in tiles or using command-line rendering for better memory management. - Post-Processing and Compositing:
Use high-resolution renders and denoising to avoid aliasing on hair. In compositing, if rendered separately, ensure the Alpha Over node uses premultiplied alpha to prevent fringes. Add a slight glow or bloom effect to hair highlights to enhance realism, especially for lighter hair in sunlight. For color adjustments, minor hue shifts in compositing are often easier than re-rendering. If the hair appears flat, use ambient occlusion or extra lighting passes to add depth. - Showcasing Hair in Portfolio:
To showcase hair grooming, use high-quality renders with a three-point lighting setup: backlight for rim lighting, a key light for the front, and a fill light to avoid shadows. For more focus on the hair, consider clay renders or displaying wireframes and particle guides in a breakdown. - Exporting Hair for External Engines:
Ensure proper transforms are applied when exporting Alembic hair to external engines. For hair cards, set up normals to point upwards or follow the hair flow, and bake normal maps from high-res strands. For DCC software like Maya, export curves as .fbx or .obj or use Alembic for better shape and width preservation. - Unwanted Results from Children or Interpolated Children Issues:
Uneven hair density can occur due to non-uniform emitter mesh faces. If this happens, subdivide the scalp mesh more uniformly or switch to Simple children and manually adjust. If clumping causes children to intersect, reduce clumping or increase hair count to compensate.
Many issues can be solved by going back to basics: more geometry for accuracy vs. simplifying for performance, adjusting materials, or splitting things into layers. And don’t forget the community – if you’re really stuck, places like Blender Artists or Stack Exchange have many Q&As (many answers exist for “hair not rendering” or “hair looks weird”). Chances are someone has encountered the same issue.

FAQs on Blender Hair Creation
- How do I add hair to a 3D model in Blender?
You can add hair by selecting your mesh (usually the scalp area) and adding a Particle System set to Hair. This generates strand particles for grooming. Alternatively, use the new Curves tool (Add > Curve > Empty Hair) in Blender 3.3 and above to create hair in Sculpt Mode. - What’s the difference between Blender’s particle hair and the new geometry nodes hair?
Particle hair is the traditional method where you manually groom and adjust strands with children settings. The new geometry nodes hair system allows for procedural grooming with more intuitive brushes and non-destructive edits. While the new system lacks children and physics support out-of-the-box, it’s catching up quickly. - How can I make hair look realistic in renders?
To make hair realistic, ensure good grooming (enough parent strands and children to avoid a patchy look), comb in natural directions, and add randomness. For shading, use the Principled Hair BSDF shader in Cycles, set an appropriate melanin value, and adjust roughness for shine. Ensure lighting highlights the hair, and render at high samples with denoising for detail. - How do I make curly or afro-textured hair in Blender?
To create curls, use the Kink setting in the particle hair system and adjust amplitude and frequency. For afro hair, use many children, high roughness, moderate clumping, and a Noise modifier. Increase strand segments for tight curl shapes, and use combing for the final shape. - My hair keeps passing through my character’s body during animation – how do I fix that?
Enable hair collision in the Particle system, and add a Collision modifier to your character’s body mesh. Adjust substeps for better accuracy. If using curves, add a Collision modifier for the hair curves. Manually correct any strands still passing through by adjusting the simulation or in Particle Edit. - Should I use hair particles or hair cards for a game character?
Hair cards are more performance-friendly for game characters. Hair particles are too polygon-heavy for real-time rendering, and many engines don’t support them well. For a game, use hair cards or a combination of cards and simplified strands, with hair cards often being the best option. - How can I export Blender hair to Unreal Engine or Unity?
For Unreal, export hair as an Alembic file and use the Groom plugin to import it. In Unity, since native strand support isn’t available, export hair as geometry, or convert hair to cards. Unity’s HDRP offers experimental hair shaders, but for best performance, export hair cards or meshes. - Why does my hair look jagged or aliased in the render?
Jagged hair may be due to insufficient sampling. In Cycles, increase render samples and check Pixel Filter settings. If using hair cards in Eevee or Cycles, ensure Alpha Hashed transparency is used to avoid sorting issues. Increasing resolution and scaling down can also help smooth jagged edges. - How can I groom hair symmetrically?
In Particle Edit mode, enable X-Axis Mirror for symmetric grooming. In the new curves system, use symmetry options in Sculpt Mode. Groom symmetrically for the base, then add asymmetry for realism by turning off symmetry and adjusting one side. - Any tips for beginners starting with hair in Blender?
Start with short hair or fur to learn the basics, use reference images, and practice key tools like Comb, Smooth, and Add. Be patient and iterative; grooming can take several attempts. Make use of Blender’s particle editing features and check out community tutorials to improve your skills. Focus on achieving neat results on one style before moving to more complex projects.
Conclusion and Next Steps
Creating realistic hair in Blender combines both artistic skill and technical knowledge. In this guide, we explored how hair can elevate your 3D characters and reviewed Blender’s traditional and new hair systems. We compared different techniques strand-based hair, hair cards, and stylized solids and saw how Blender’s tools measure up against industry-standard tools like XGen and Ornatrix. Whether using the classic particle system or the advanced geometry nodes workflow, Blender offers the tools to create any style, from buzz cuts to flowing locks.
We also covered shading, emphasizing the importance of the Principled Hair shader for lifelike results. Pre-made assets like PixelHair can save time without sacrificing quality, and we touched on practical matters such as optimization, troubleshooting common issues, and answering FAQs to solidify your understanding.
Key Takeaways:
- Practice and Observation: Hair creation requires constant practice. Observe real hair its clumping, light interaction, and how gravity affects it.
- Start Simple: Begin with simple hairstyles and gradually move to complex ones. Refining hair grooms takes time, even for experienced artists.
- Resources: Utilize Blender’s manual, Blender Cloud, Blender Studio, and external courses (like CG Cookie) for in-depth learning.
- Community Engagement: Share your hair renders on platforms like ArtStation or BlenderArtists for feedback and ideas. Contributing your own techniques can also help others.
Further Learning:
- Explore detailed guides in the Blender Manual on hair particles.
- Watch Blender Cloud and Studio’s grooming workflows in production.
- Look for tutorials on the new geometry nodes hair system (Blender 3.5+).
With patience, practice, and creativity, you’ll master hair creation in Blender. Start grooming now, and enjoy the process of bringing your characters to life! Happy blending!
Recommended
The Ultimate Guide to the Most Popular Black Hairstyle Options
Redefining Representation: Authentic Black Hairstyles in Video Games
The Ultimate Guide to Hair for Games: Techniques, Tools, and Trends