
In today’s fast-paced world of 3D production, achieving consistent, high-quality renders across multiple camera angles is crucial. Whether you’re working on complex animations, intricate architectural visualizations, or detailed product designs, every shot demands its own set of render settings. These settings can include resolution, sampling rates, and even post-processing effects. Managing these parameters manually for every camera can be both time-consuming and prone to errors. Fortunately, The View Keeper add-on for Blender offers an efficient and reliable solution for saving and managing render settings for multiple cameras, streamlining your workflow and ensuring that each shot meets your high standards.
This comprehensive guide will explore the importance of saving render settings for multiple cameras, provide a detailed walkthrough of setting up and using The View Keeper, and discuss best practices and real-world applications. By the end of this article, you will understand how to automate and preserve camera-specific settings in Blender, saving you valuable time and reducing potential mistakes, while maintaining consistency across your projects.
Introduction: The Challenge of Managing Render Settings Across Multiple Cameras
When working on a project in Blender, particularly in animations or multi-angle visualizations, it’s common to use multiple cameras to capture the scene from different perspectives. Each camera might be responsible for a specific type of shot—a close-up to highlight intricate details, a wide shot to establish the scene, or an angled shot to convey dynamic action. These varying shots often require distinct render settings to optimize their quality and visual impact.
However, Blender applies a single set of render settings to the entire scene by default. This means that if different cameras require different settings—such as resolution, sampling, or post-processing effects—users must manually adjust the settings between each render. The process typically involves rendering one shot, waiting for it to finish, then modifying the settings before rendering again. This workflow is not only time-consuming but also prone to errors and inconsistencies. Even minor mistakes in configuration can result in jarring differences between shots, disrupting the visual coherence of the final project.
Moreover, as projects grow in complexity, the number of cameras in a scene increases. Having to manage multiple render settings manually for each camera adds unnecessary workload and increases the likelihood of errors. This can slow down production and create inconsistencies in the final renders.
The solution to these challenges is automation and centralization. The View Keeper add-on for Blender enables users to save and recall unique render settings per camera, eliminating the need for manual adjustments between renders. With a single click, users can ensure that each shot is rendered with the exact settings they’ve designated, maintaining consistency and quality while significantly improving workflow efficiency.

The View Keeper: An Overview
Managing multiple cameras in Blender can be overwhelming, especially when each shot requires unique render settings. The View Keeper is an advanced add-on designed to simplify this process by allowing users to store multiple cameras, save multiple views within each camera, and automate the rendering of all camera and view records. With a centralized interface accessible from Blender’s N-panel, this tool eliminates the need for manual adjustments, ensuring precision, consistency, and efficiency in your workflow.
Why The View Keeper is Essential for Blender Users
Blender’s default camera system applies a single set of render settings to all cameras, requiring users to manually adjust settings when switching between different shots. This process is time-consuming, error-prone, and disrupts the creative workflow.
The View Keeper solves these challenges by enabling users to:
- Store multiple cameras as camera records, making it easy to manage different shots without duplicating objects.
- Save multiple views within a single camera, reducing unnecessary duplication and scene clutter.
- Customize each camera and view with unique render settings, including resolution, focal length, depth of field, and post-processing effects.
- Automate batch rendering of all saved camera and view records, eliminating the need to manually switch settings between renders.
Key Features of The View Keeper
- Multiple Camera Views in One Interface
Instead of creating separate cameras for different angles, The View Keeper allows you to store multiple camera presets within a single camera object. This makes managing scene composition significantly more organized. - View-Specific Camera Settings
Each stored camera view can have its own custom lens settings, ensuring that close-ups, wide shots, and dynamic angles are tailored for the best results. Depth of field, perspective, and even exposure values can be adjusted for each shot independently. - Instant Recall and Switching
Switching between camera views is as simple as selecting from a list. Each transition automatically updates the camera’s settings, eliminating the need for manual reconfiguration. - Batch Rendering for Efficiency
With batch rendering capabilities, The View Keeper allows users to render multiple saved camera views in one session. This ensures uniform settings across all shots and streamlines the post-production process. - Automation Tools for Seamless Production
The add-on includes smart automation features that dynamically update settings, helping you focus on creative aspects rather than technical configurations. - Seamless Integration with Blender
Designed for ease of use, The View Keeper integrates directly into Blender’s interface, making it a natural extension of your existing workflow. There’s no steep learning curve, allowing both beginners and professionals to take advantage of its time-saving features immediately.

Why Save Render Settings for Multiple Cameras?
Managing multiple cameras in a Blender project requires precision, as each shot may demand a unique combination of resolution, sampling rates, and post-processing effects. The View Keeper simplifies this by allowing users to save and recall render settings per camera, ensuring consistency and efficiency across all shots.
The Need for Different Render Settings per Shot
Each camera in a scene serves a different purpose, and its render settings should reflect that. For instance:
- Close-Up Shots
These require higher resolution and sharper depth of field to capture intricate details. The finer the details, the more samples and resolution are needed to avoid noise. - Wide Shots
Unlike close-ups, wide shots focus on overall composition rather than fine details. They can often be rendered at a lower resolution or with fewer samples to optimize performance while maintaining visual quality. - Dynamic Shots
Fast-moving sequences in animations may require motion blur or post-processing effects to emphasize speed and movement. These effects need specific render settings to avoid ghosting or unnatural motion artifacts.
The Challenges of Manual Adjustments
Traditionally, managing different render settings for each camera means manually changing parameters every time you switch views. This process introduces several risks:
- Time inefficiency – Adjusting settings for every camera manually slows down production.
- Inconsistencies – Small variations in resolution, lighting, or sampling can lead to jarring differences between shots.
- Human error – Forgetting to adjust one setting can negatively impact the final render quality.
How The View Keeper Solves These Issues
The View Keeper automates this process by saving and recalling render settings for each camera view. Whenever you switch to a specific camera, Blender automatically applies the correct render settings, ensuring:
- Seamless transitions between different shots without manual intervention.
- Uniform quality control across all camera angles.
- Faster workflow with reduced setup time and minimized risk of errors.
By centralizing render settings per camera, The View Keeper ensures that every shot meets the intended artistic and technical standards, preserving the visual coherence of your final product.

Step-by-Step Guide: Setting Up The View Keeper for Render Settings
To take full advantage of The View Keeper’s capabilities, follow these detailed steps:
Step 1: Installing and Enabling The View Keeper
- Download the Add-On:
Visit the official developer website or Blender Market and download the latest version of The View Keeper. - Install in Blender:
Open Blender and navigate to Edit > Preferences > Add-ons. Click Install, locate the downloaded ZIP file, and install the add-on. - Enable the Add-On:
Once installed, check the box next to The View Keeper in the add-ons list to enable it.
Step 2: Accessing The View Keeper Interface
- Open the N-Panel:
In the 3D Viewport, press the N key to reveal the side panel. - Locate The View Keeper Tab:
Scroll through the tabs until you find The View Keeper interface. Click on it to open the panel.
Step 3: Saving Camera Settings for a Camera View
- Select and Position Your Camera:
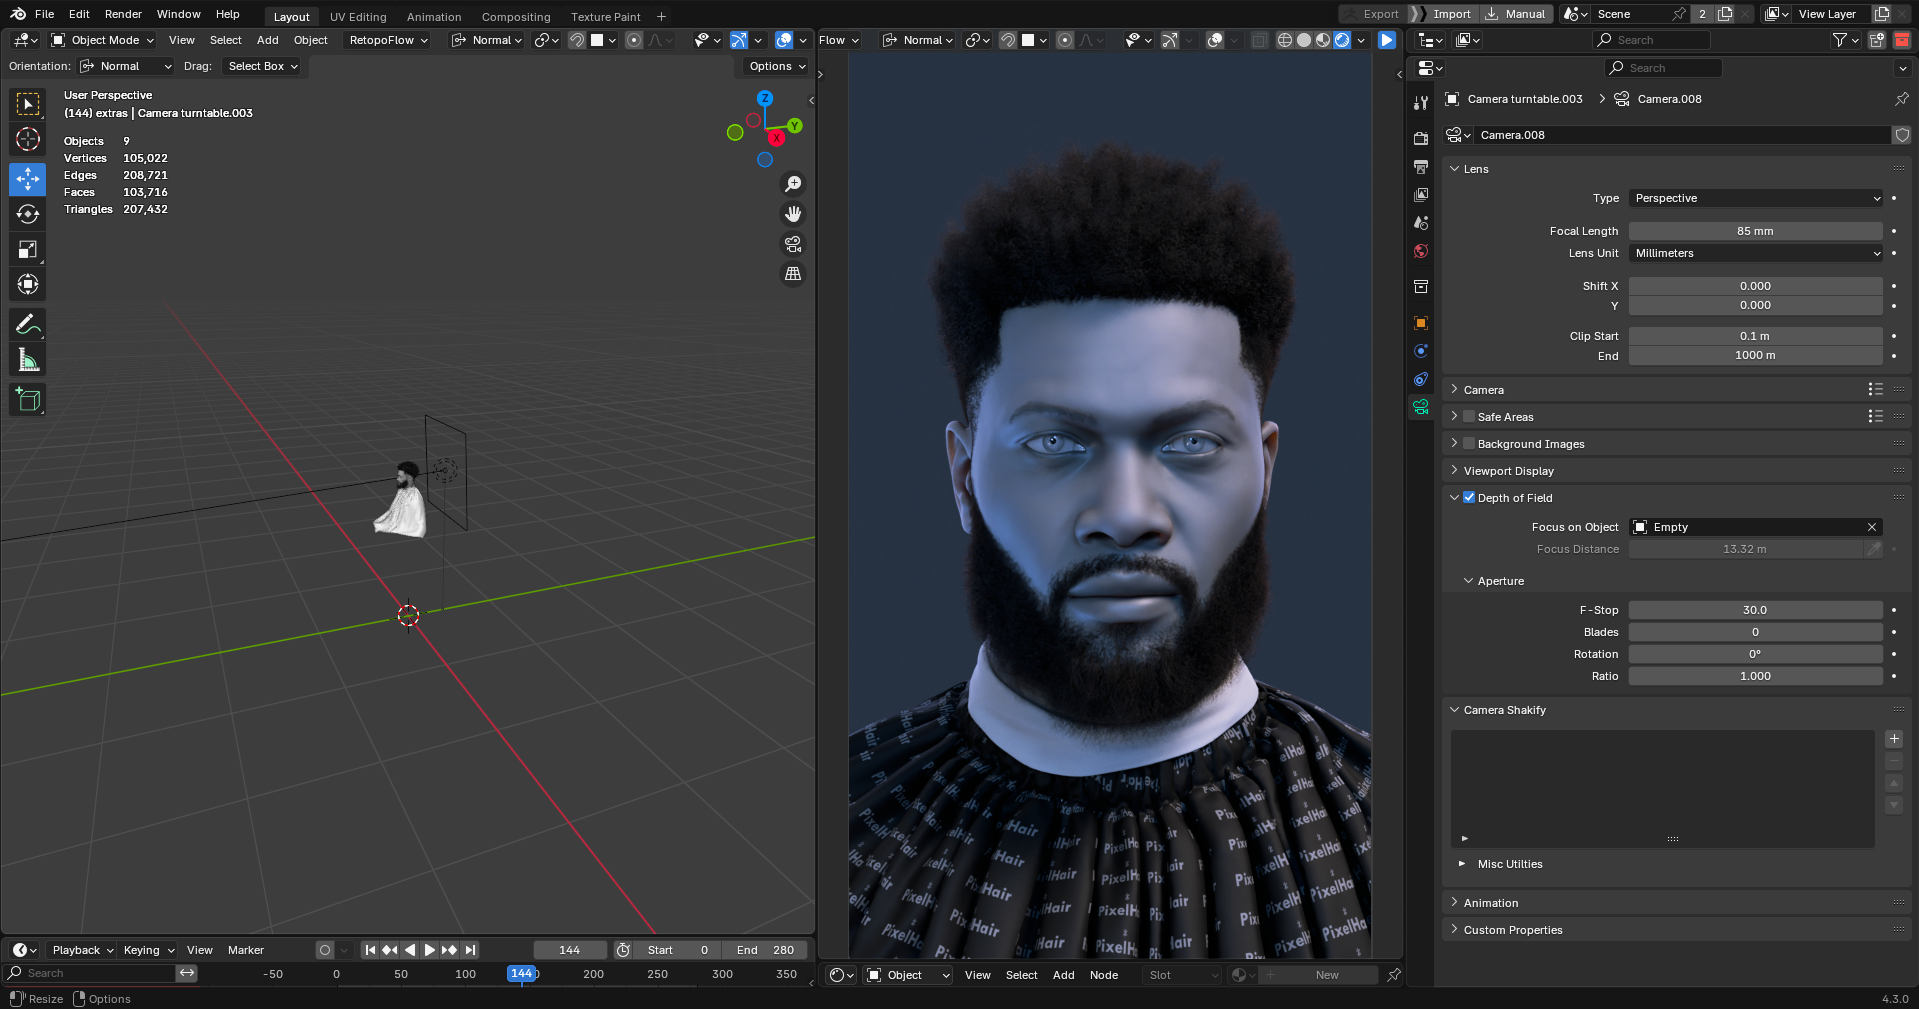
Choose a camera in your scene and position it to capture the desired shot. Adjust the camera’s focal length, depth of field, and other settings. - Customize Render Settings:
In the Render Properties panel, set the desired resolution, sampling rates, aspect ratio, and any other parameters specific to this camera. - Save the Camera View:
With the settings adjusted, go to The View Keeper interface and click Add View. This saves the current camera view along with all the camera settings. - Name Your View:
Give your saved view a descriptive name (e.g., “CloseUp_Detail,” “Wide_Shot_Light”) so that you can easily recall it later.
Step 4: Managing Multiple Camera Render Settings
Once you have saved several camera views, you can manage them efficiently using The View Keeper’s interface.
- Switch Between Views:
In The View Keeper’s camera List Table, click on any saved camera record. The add-on automatically applies the stored render settings to the active camera. - Edit Individual Settings:
If you need to adjust the render settings for a particular view, select it and modify the settings in Blender’s Render Properties panel. Use The View Keeper’s Refresh View option to update the saved record. - Batch Render All Views:
When your scene is complete, use the batch rendering feature to render all saved camera views in one go. This ensures that every view is rendered with its designated settings, saving you time and maintaining consistency.

Best Practices for Saving Render Settings
To maximize the benefits of The View Keeper, consider these best practices:
1. Maintain Consistent Naming Conventions
Adopt clear, descriptive naming for your camera views. Consistent labels like “Cam_CloseUp_01” or “Wide_Shot_Exterior” make it easier to identify and switch between views, minimizing the risk of confusion during production.
2. Customize Settings for Each Specific Shot
Take the time to adjust camera settings for each view based on the shot’s requirements. For example, if a close-up shot needs extra detail, increase the focal length and adjust the depth of field accordingly. This attention to detail ensures that every shot is optimized for its purpose.
3. Test Render Settings Frequently
Regularly render test frames to see how your saved settings perform under different lighting and scene conditions. Testing helps you catch inconsistencies early and refine the settings as needed.

4. Leverage Batch Rendering
Batch rendering can be a huge time saver, especially when dealing with multiple camera views. Always use the batch rendering feature once you have your settings dialed in, ensuring uniformity and efficiency across all outputs.
5. Use Automation Tools
Take advantage of The View Keeper’s automation features, such as the “Refresh View” option, to keep your saved settings up to date. These tools minimize manual adjustments and ensure that your camera records always reflect the latest configuration.
6. Keep Your Workflow Organized
A cluttered Blender scene can hinder productivity. Regularly review and clean up your camera views in The View Keeper, deleting any that are no longer needed. A well-organized workspace contributes significantly to a smoother workflow.
7. Document Your Settings
Maintain a log of the settings you use for different types of shots. Documenting your workflow not only helps in replicating high-quality results in future projects but also assists in troubleshooting if issues arise.
Practical Applications and Use Cases
Saving render settings for multiple cameras isn’t just a technical exercise—it has real-world applications that can transform your projects. Here are some scenarios where this capability is particularly beneficial:
Animations
Animations often require a variety of camera angles to capture the full narrative. Each angle might need different render settings to emphasize certain details. For example, close-up shots may require high resolution and specific depth of field settings, while wide shots might prioritize lighting and color accuracy. By using The View Keeper to save these settings, animators can ensure that every frame is rendered with the intended visual quality.
Example:
An animator working on a short film uses The View Keeper to save different camera views for various scenes. When the camera switches during the animation, each view automatically applies its unique settings, resulting in a consistent and professional final product.
Architectural Visualizations
Architectural projects often feature both interior and exterior shots, each with its own optimal render settings. For instance, interior shots might require higher detail and softer lighting, while exterior shots might focus on broad lighting conditions and ambient effects. By saving render settings for each camera, architects can quickly produce a cohesive set of images that showcase every aspect of a design.
Example:
A visualization studio uses The View Keeper to manage multiple cameras that capture different angles of a modern building. With each camera set to its ideal render settings, the final render is uniform and polished, impressing clients with its consistency.
Product Designs
In product design, showcasing a product from multiple angles is key to highlighting its features. Different shots might call for varied render settings—one close-up might need high resolution to capture fine details, while a wide shot might require a different aspect ratio for contextual presentation. Saving these settings in The View Keeper ensures that every product render is optimized for its specific purpose.
Example:
A freelance artist working on a smartphone advertisement uses The View Keeper to save camera views for close-ups and wide shots. Each view is configured with custom camera settings that highlight the product’s best features, resulting in a set of images that are both striking and consistent.
Social Media Content
Content creators often need to produce visuals in multiple formats to suit different social media platforms. For instance, Instagram might require square images, YouTube widescreen, and TikTok vertical videos. By saving render settings for each camera, creators can easily switch between the required formats and batch render them, ensuring that each platform receives optimized content.
Example:
A social media influencer uses The View Keeper to manage cameras tailored for different platforms. Automated render settings ensure that each output meets the specific requirements of Instagram, YouTube, and TikTok, making content production fast and efficient.
Virtual Reality and Interactive Media
VR experiences demand high consistency across all angles to create an immersive environment. Managing multiple cameras with precise render settings is essential for ensuring a seamless user experience in virtual reality projects. The View Keeper allows VR developers to save and manage render settings for every camera, ensuring that all aspects of the virtual world are rendered uniformly.
Example:
A VR development team employs The View Keeper to manage the render settings for a 360-degree interactive environment. Every camera view is optimized for VR output, resulting in an immersive and visually coherent experience.

Advanced Techniques for Optimizing Render Settings
For those looking to push their workflow even further, here are some advanced techniques to optimize render settings using The View Keeper:
Customizing for Different Lighting Conditions
Lighting can dramatically affect render settings. It may be necessary to adjust parameters like exposure and gamma for different parts of a scene. With The View Keeper, you can save different render configurations for various lighting conditions. For instance, you might have one set of settings for daytime outdoor scenes and another for indoor, low-light environments.
Using Scripts to Automate Repetitive Tasks
For power users, scripting in Blender can automate the process of updating render settings. By writing small scripts that adjust parameters based on scene analysis, you can integrate these scripts with The View Keeper to automatically refresh camera records. This can be particularly useful in large projects where manual updates would be impractical.
Integrating with Other Add-Ons
The View Keeper works well with other Blender add-ons. For instance, combining it with PixelHair for hair grooming or other asset management tools can further streamline your workflow. Integrating multiple add-ons allows you to create a fully automated, cohesive production pipeline where render settings, assets, and camera views all work together seamlessly.
Fine-Tuning with Post-Processing Effects
Sometimes, the final look of your render depends on subtle post-processing effects like depth of field or motion blur. The View Keeper lets you save these settings for each camera view, so you can fine-tune the final output without having to adjust them manually for every shot.
FAQ
- What is The View Keeper?
It’s a Blender add-on that saves and manages unique render settings for each camera, so every shot gets its own optimized look. - Why is it important to save render settings for multiple cameras?
Different shots often need different settings like resolution or sampling to look their best, and saving these settings prevents mistakes and saves time. - How does The View Keeper streamline the workflow?
It automates switching between camera-specific settings and enables batch rendering, reducing manual adjustments and keeping your project consistent. - How does it manage multiple cameras in one interface?
It lets you store multiple camera views and their settings within a single interface (accessed from the N-panel), cutting down on clutter and confusion. - What kinds of projects benefit most from The View Keeper?
Animations, architectural visualizations, product designs, and social media content all projects where different camera angles need tailored render settings. - How do you install and enable The View Keeper?
Download it from the official site , then install it via Blender’s Preferences > Add-ons, and enable it by checking its box in the list. - How do you save render settings with The View Keeper?
Position your camera, adjust its settings in the Render Properties panel, then click “Add View” in The View Keeper panel and name the saved view. - What is batch rendering and how does it work here?
Batch rendering lets you process all saved camera views in one go, ensuring every shot is rendered with its pre-set settings saving both time and hassle. - What are some best practices for using The View Keeper?
Keep clear, consistent names for each view, test settings frequently, and regularly update and organize your camera views to maintain a tidy workflow. - What future enhancements are expected for The View Keeper?
Future features may include real-time render adjustments, and deeper integration with Blender’s tools further boosting productivity.
Conclusion: Embracing Automated Render Settings Management
Managing render settings for multiple cameras in Blender is a critical yet often tedious part of the production process. Manual adjustments not only consume valuable time but also increase the risk of inconsistencies between shots. The View Keeper add-on provides a transformative solution by allowing you to save, recall, and batch render unique settings for each camera, ensuring that every shot in your project is rendered with precision and consistency.
By automating the process of saving render settings, The View Keeper helps you maintain a clean, organized workflow, reduce human error, and free up more time for creative endeavors. Whether you are working on animations, architectural visualizations, product designs, or social media content, The View Keeper is an invaluable tool that enhances productivity and ensures high-quality results.
In this guide, we’ve explored every step of the process—from installing and accessing The View Keeper, saving individual camera views with custom camera settings, and managing multiple cameras efficiently, to practical applications, best practices, and future trends in render settings management. The benefits of using The View Keeper are clear: it saves time, enhances consistency, and allows for greater creative freedom.
As the 3D production industry continues to evolve, embracing tools that streamline technical tasks will be essential for staying competitive. The future promises even more advanced features, including real-time render adjustments, AI-driven optimization, and deeper integration with Blender’s ecosystem. By integrating The View Keeper into your workflow now, you prepare yourself to take full advantage of these upcoming innovations, ensuring that your projects always meet the highest standards.
In conclusion, if you’re dedicated to producing professional-quality renders with minimal hassle, adopting The View Keeper for managing render settings across multiple cameras in Blender is a smart investment. It not only improves efficiency and consistency but also empowers you to focus on the creative aspects of your work. Say goodbye to tedious manual adjustments and welcome a new era of automated, optimized rendering workflows.

Recommended
The Ultimate Guide to the Most Popular Black Hairstyle Options
Redefining Representation: Authentic Black Hairstyles in Video Games
The Ultimate Guide to Hair for Games: Techniques, Tools, and Trends