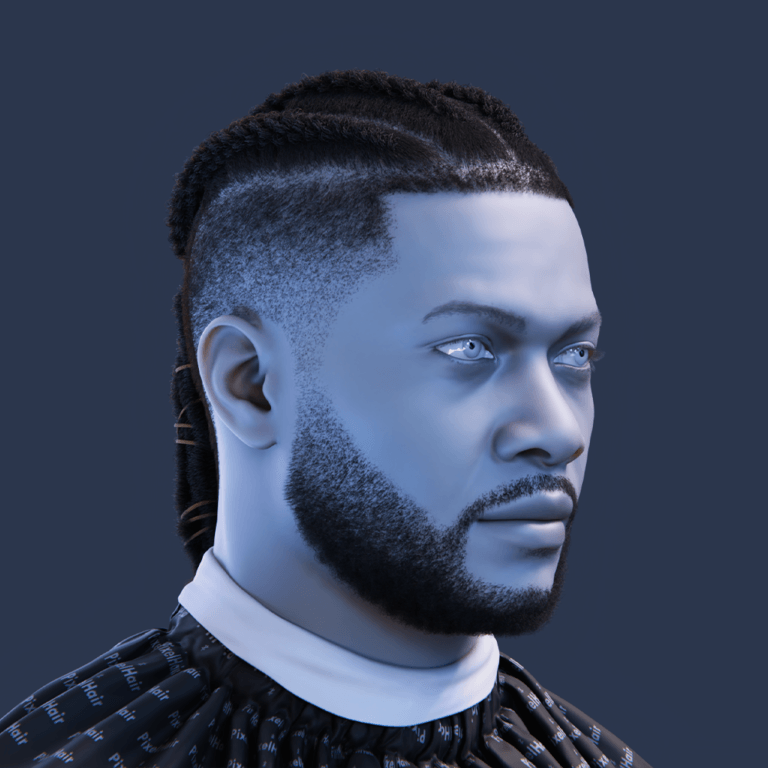
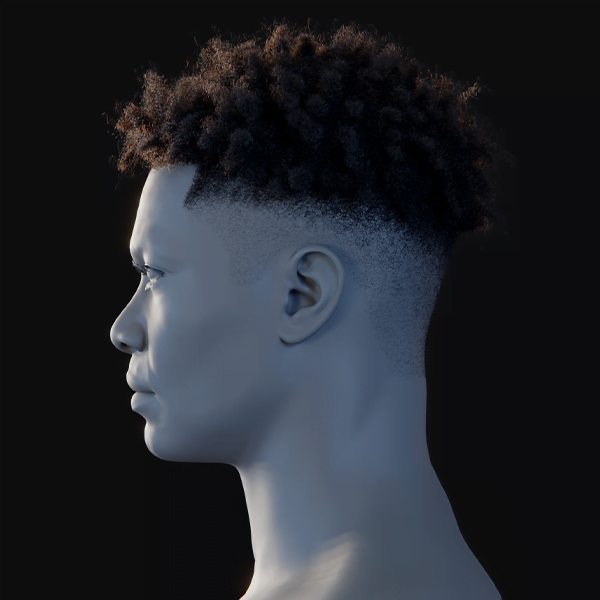
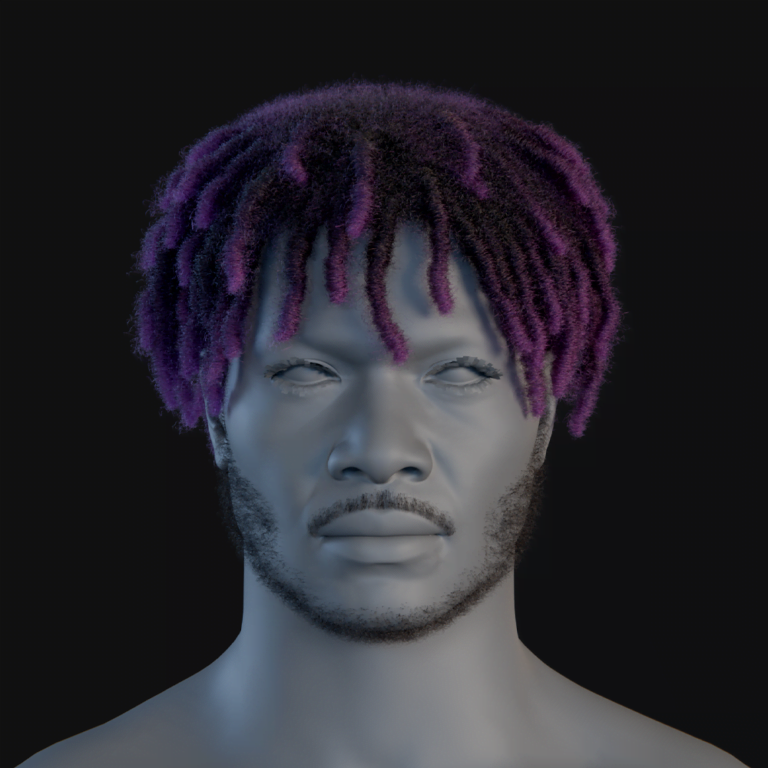
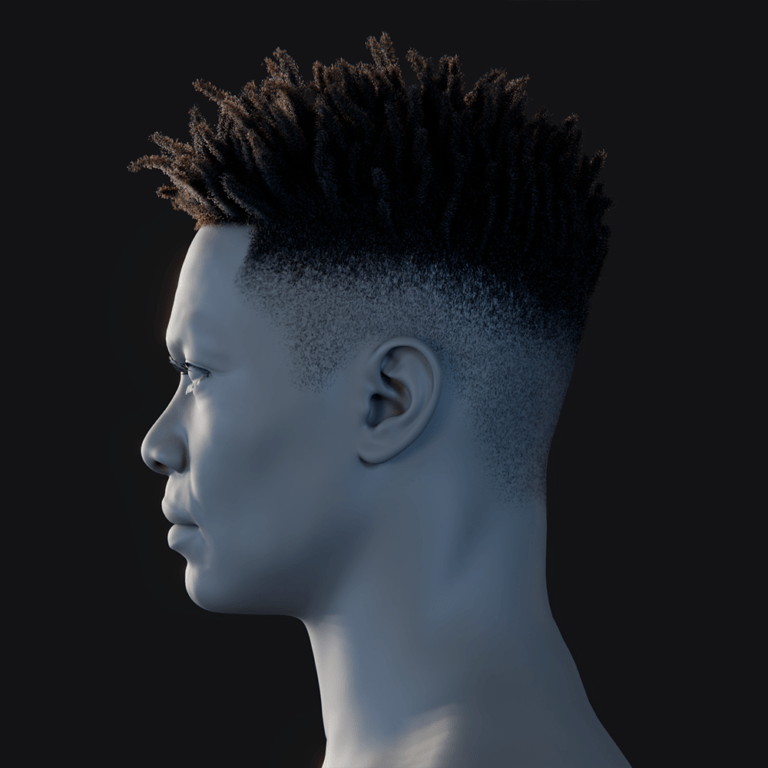
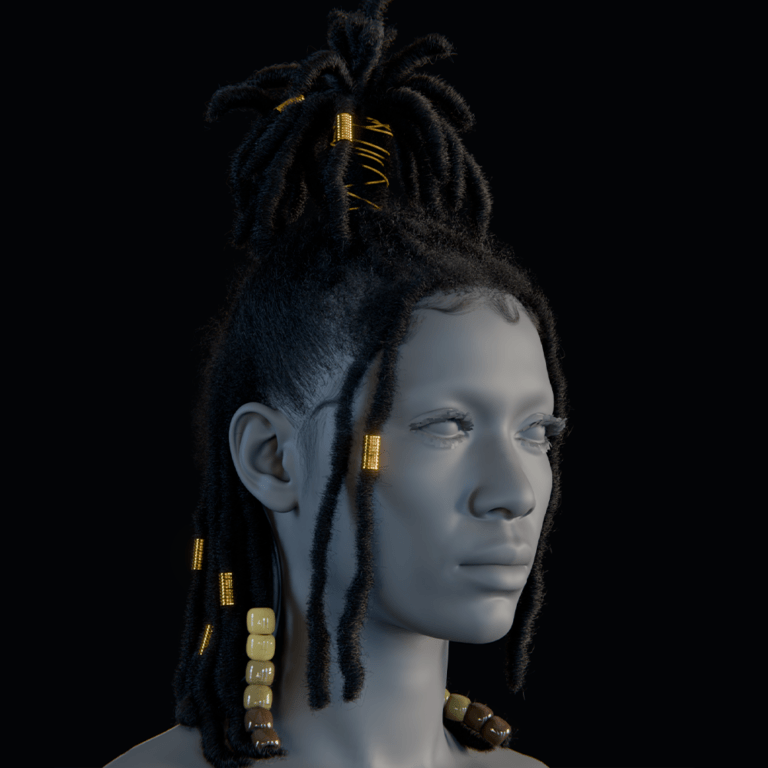
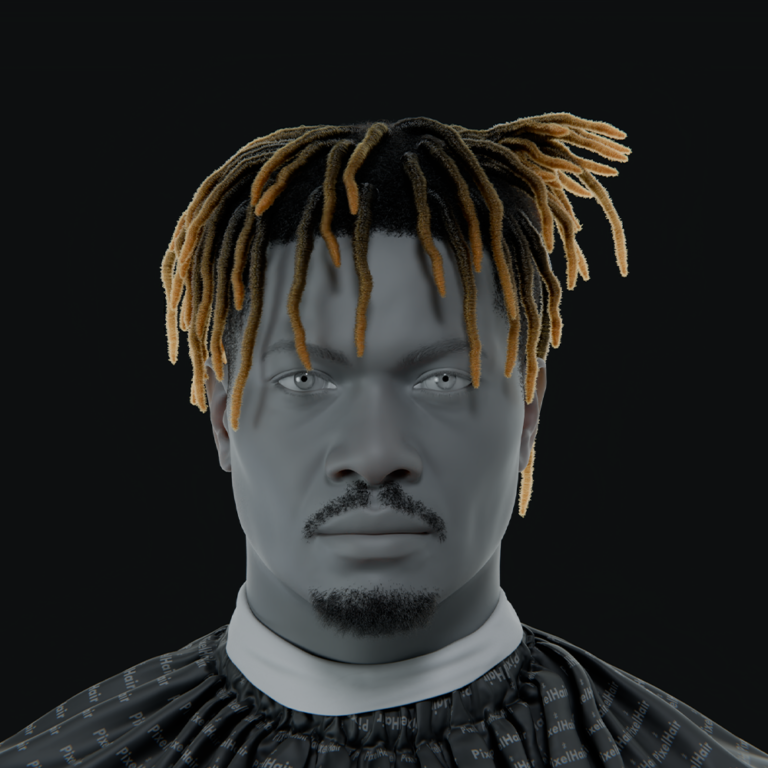
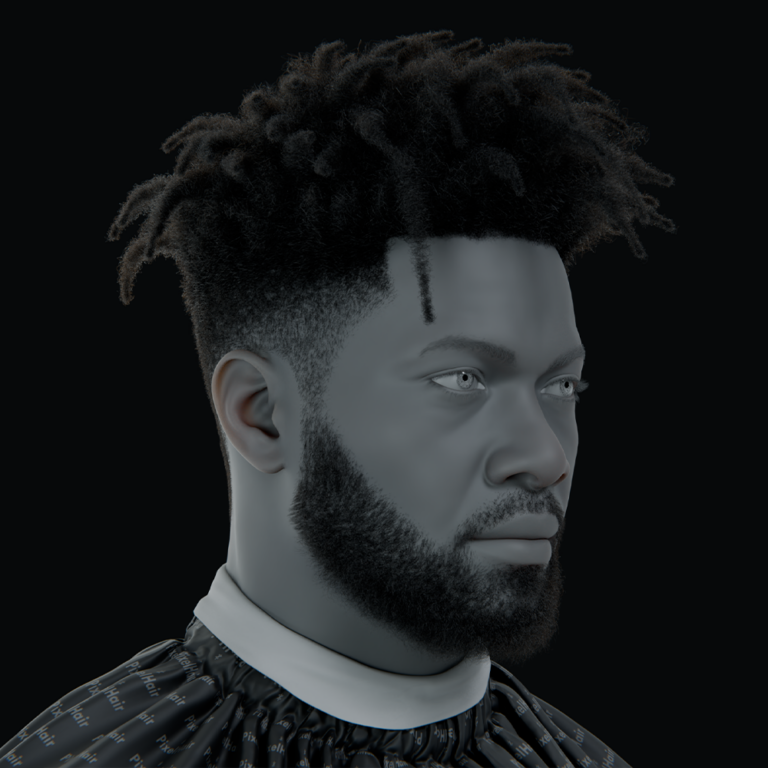
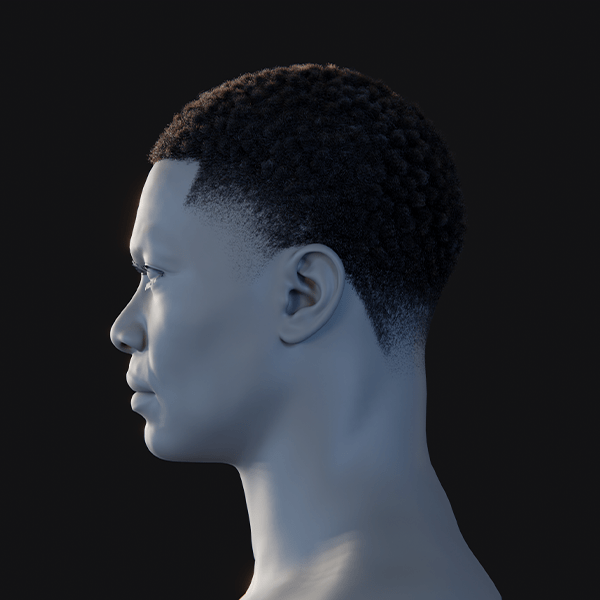
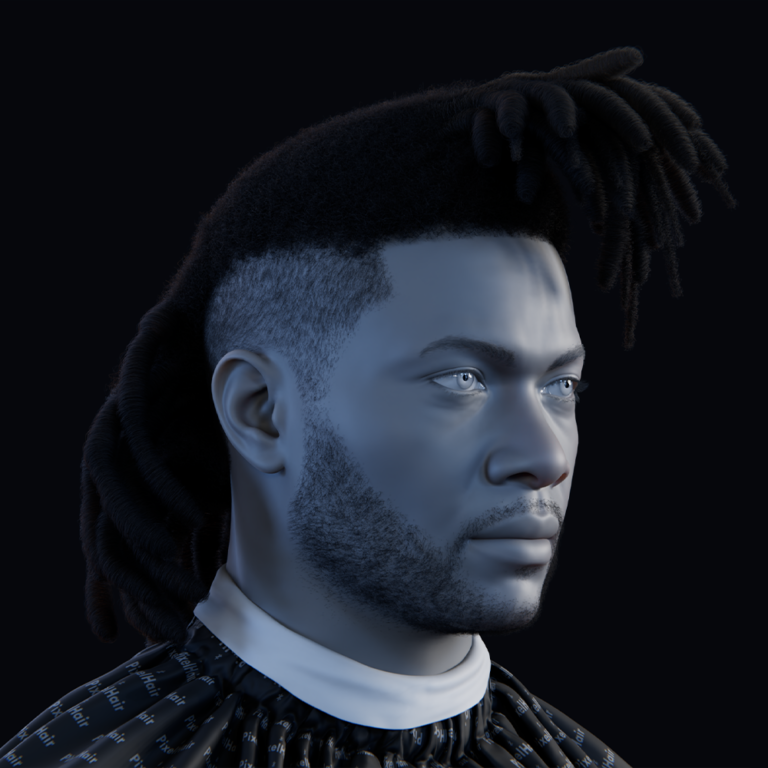
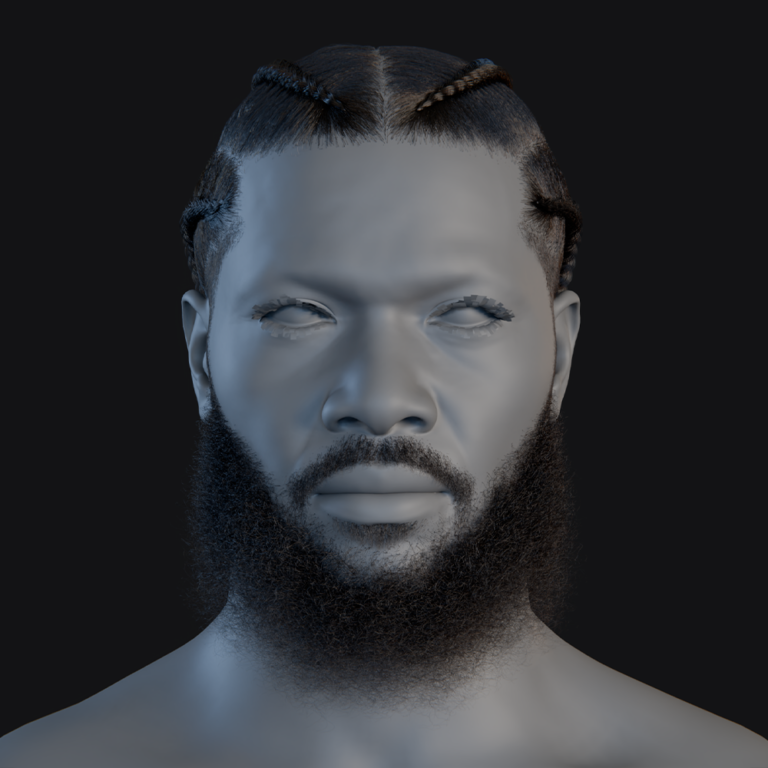
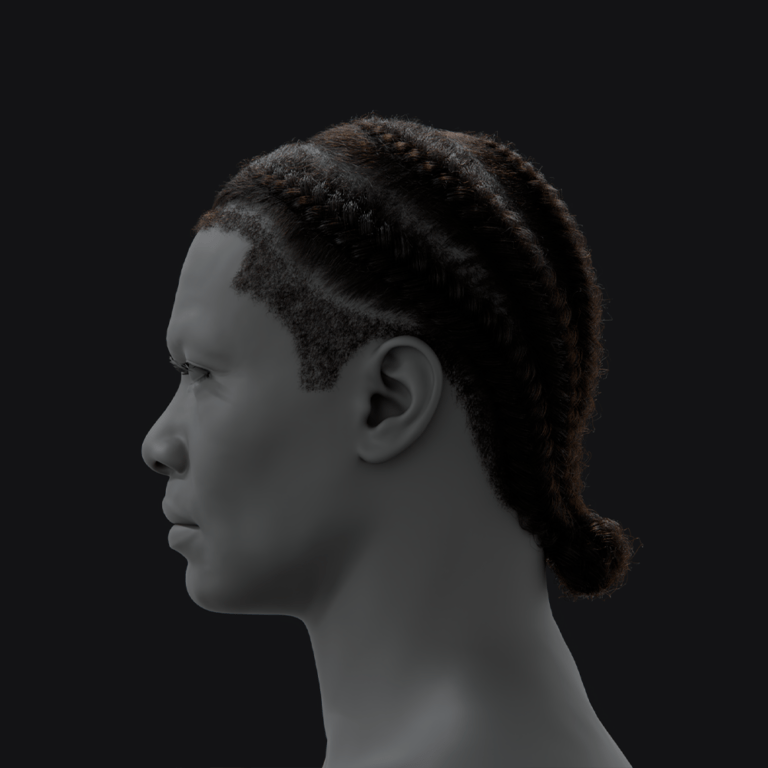
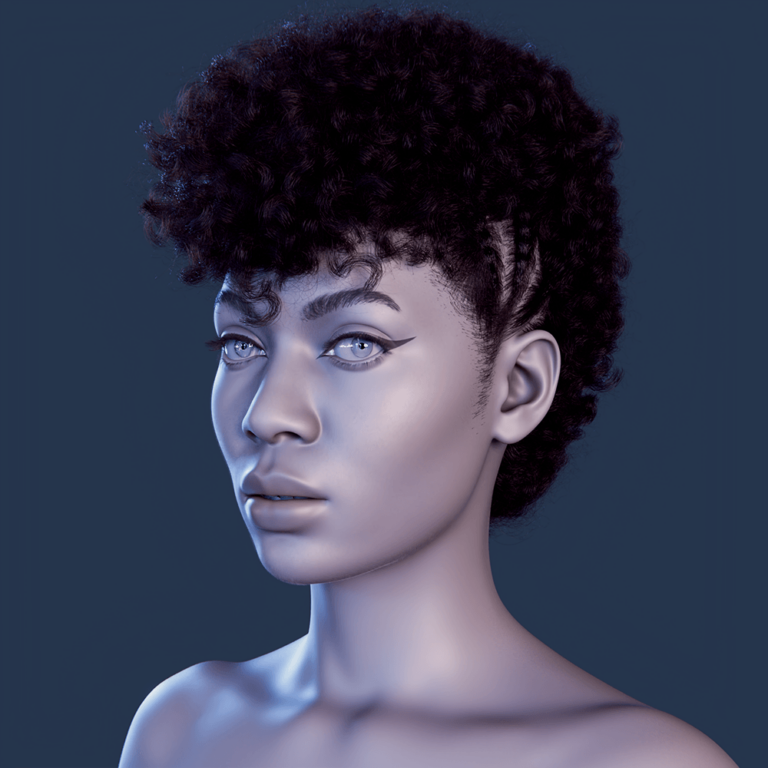
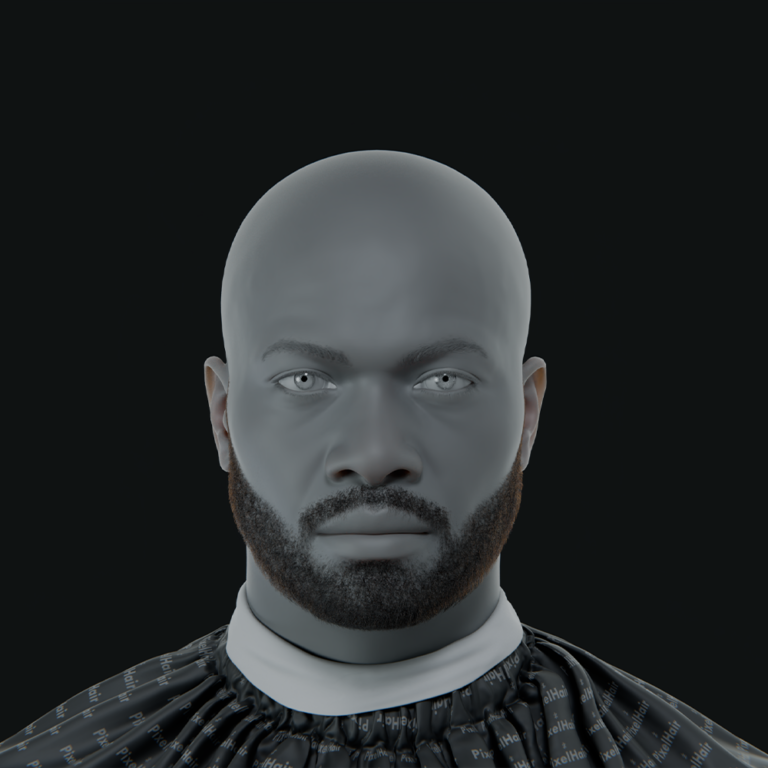
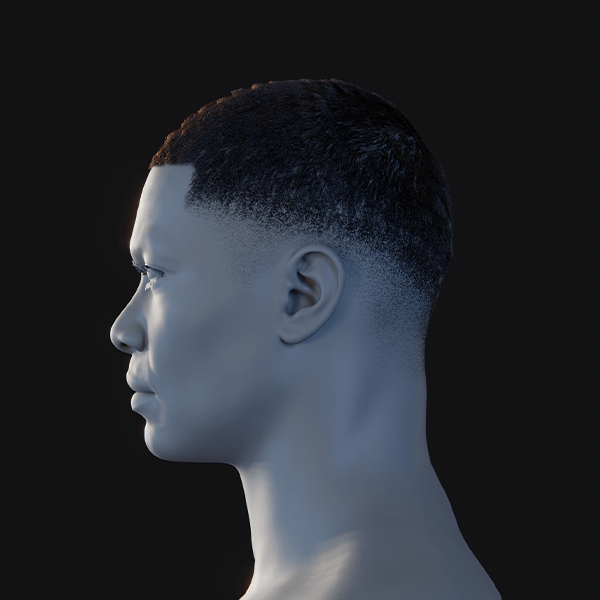
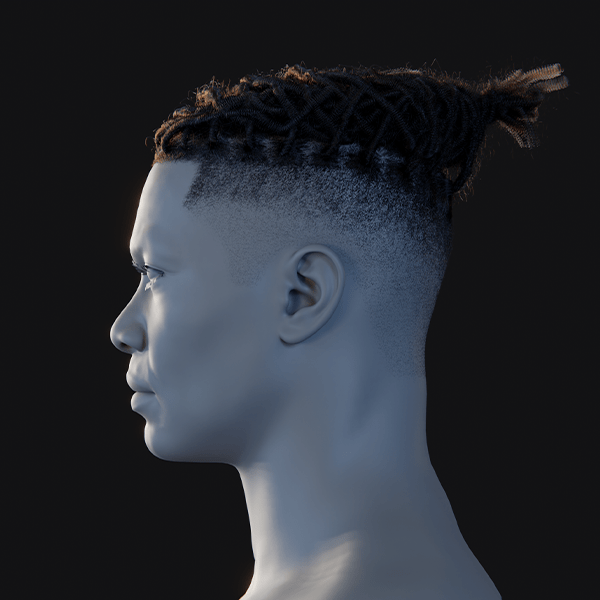
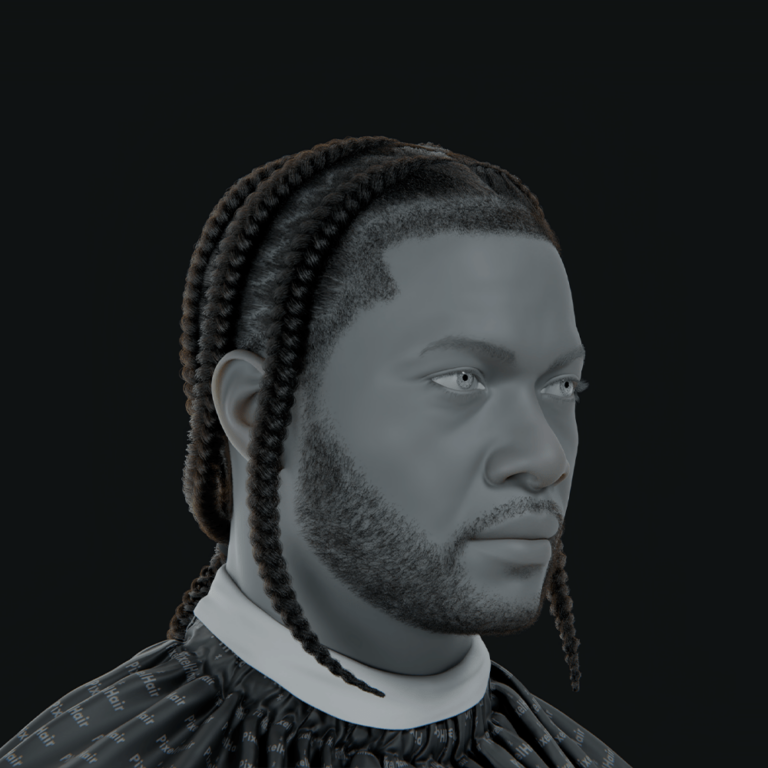
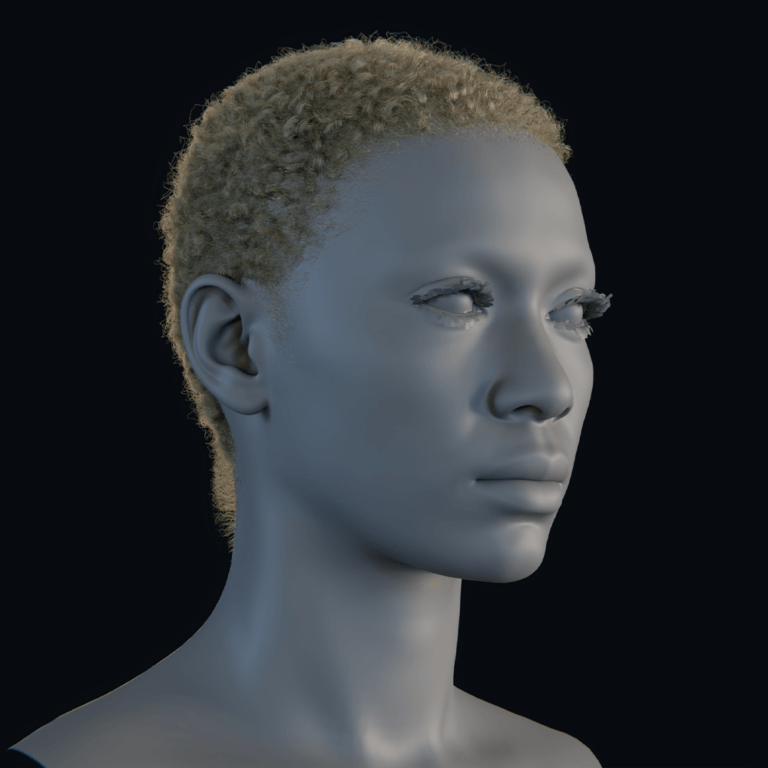
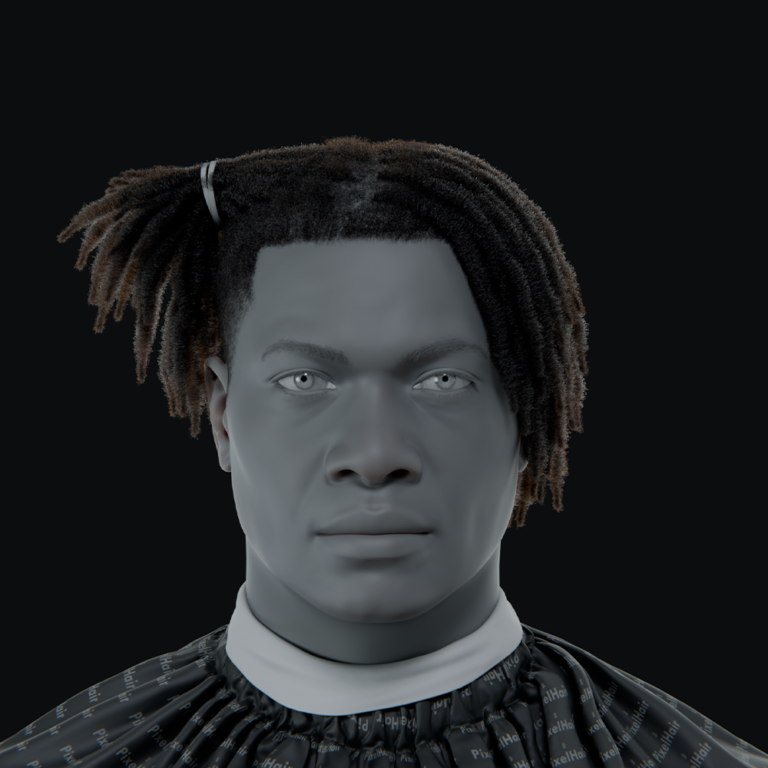
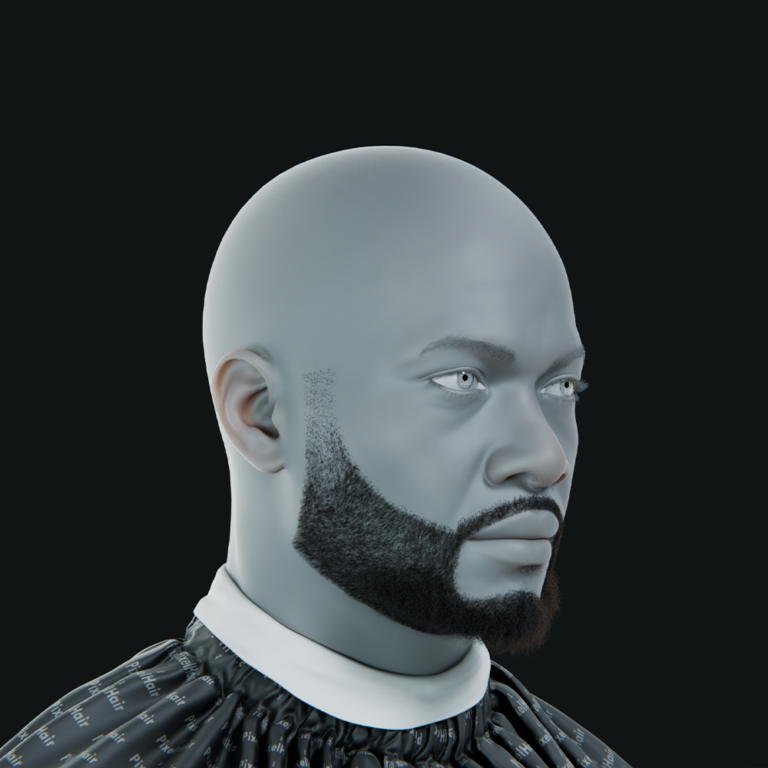
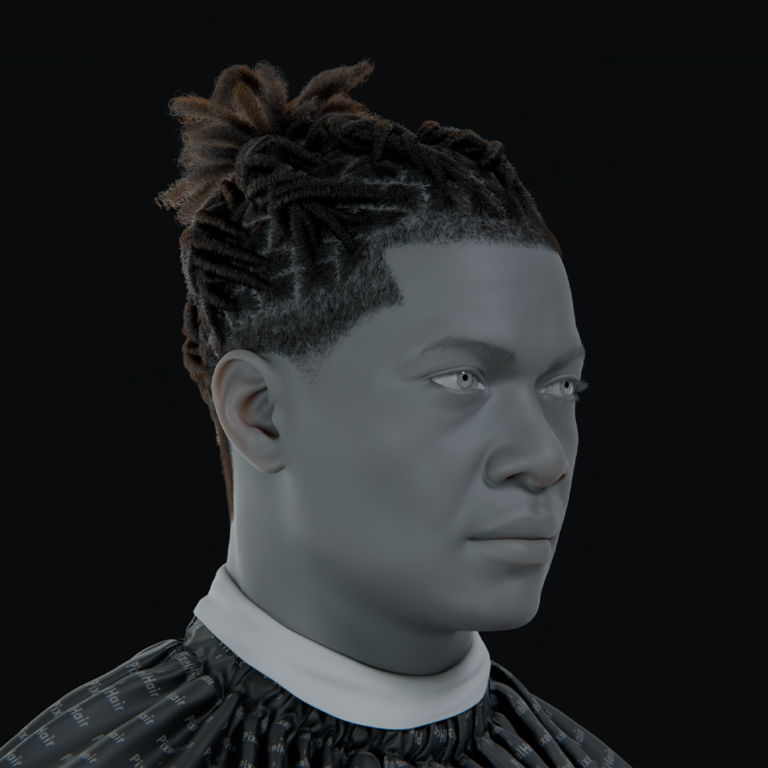
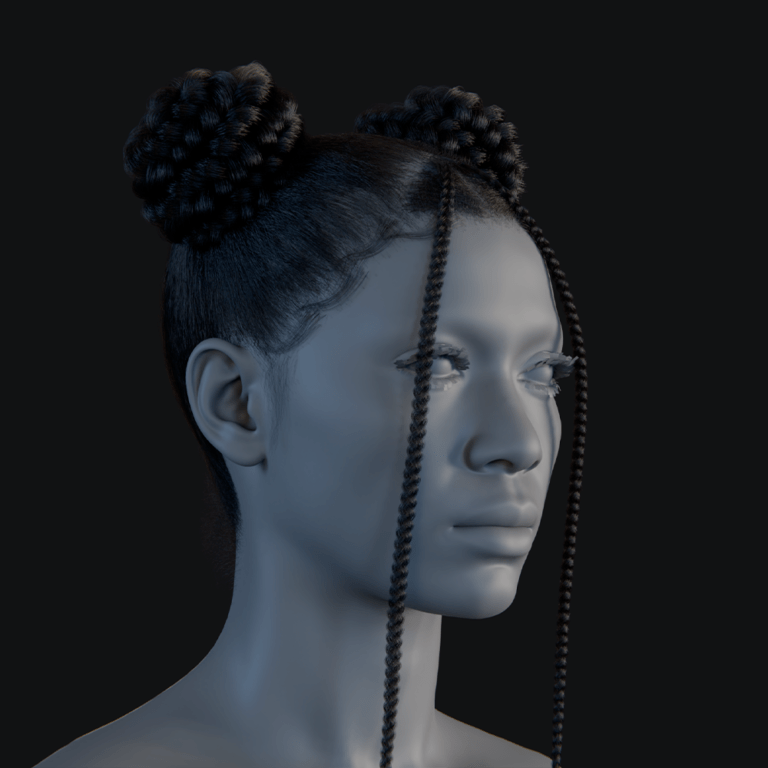
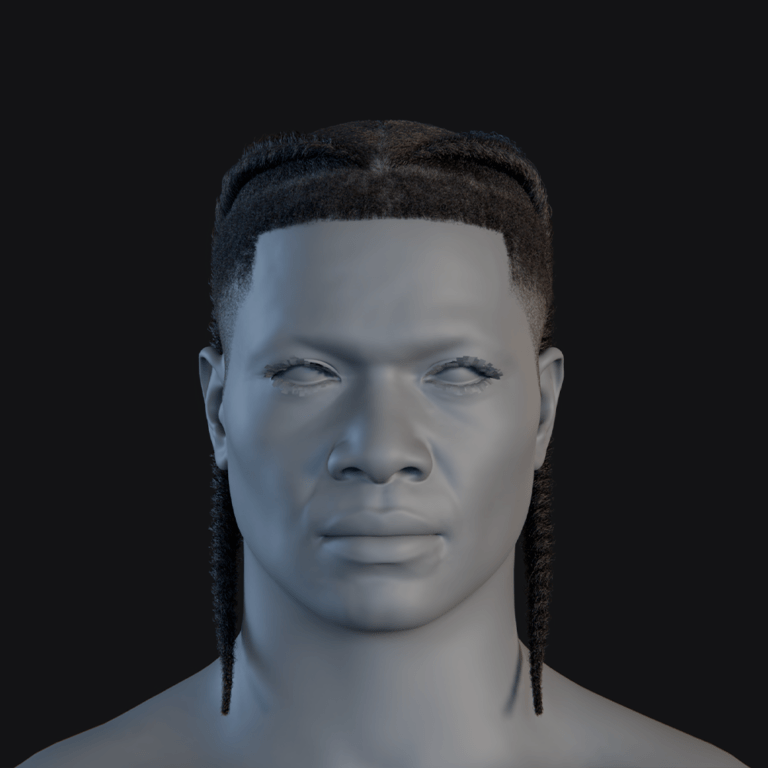
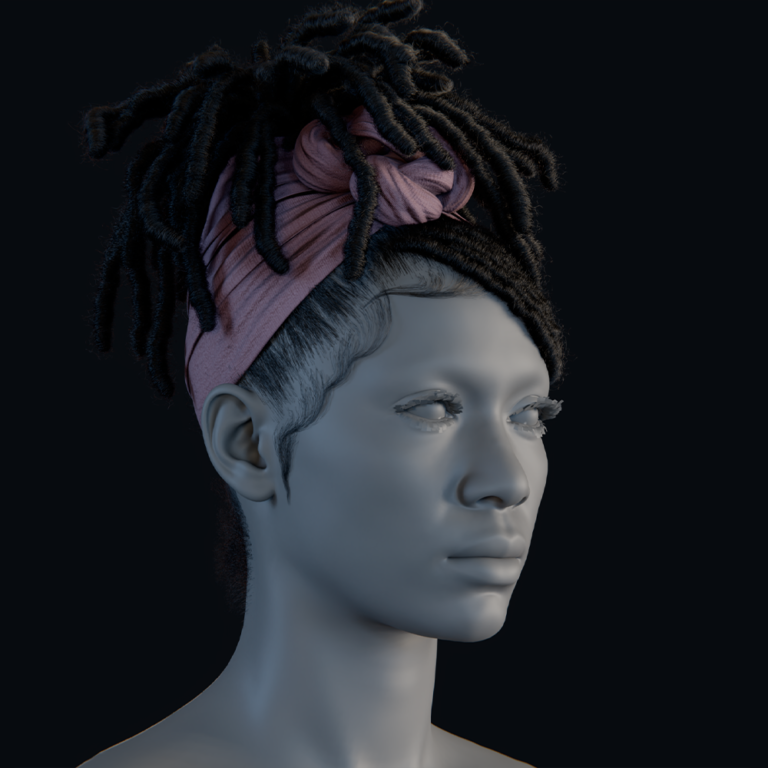
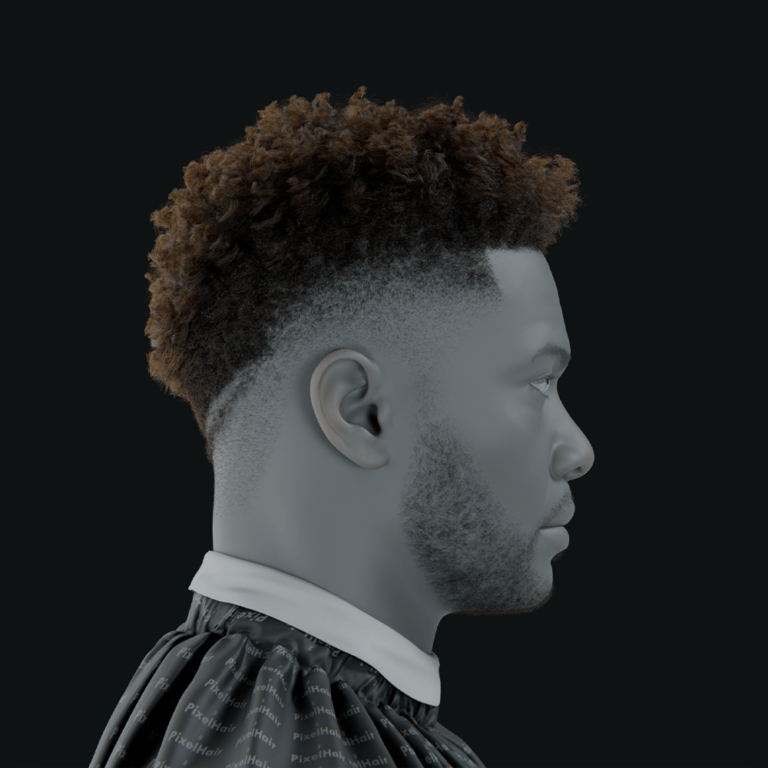
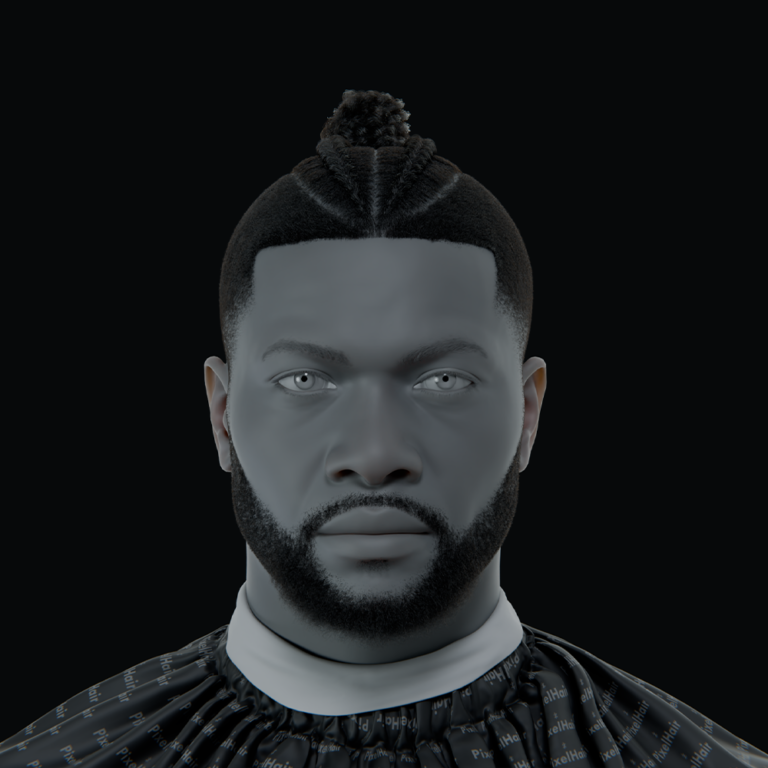
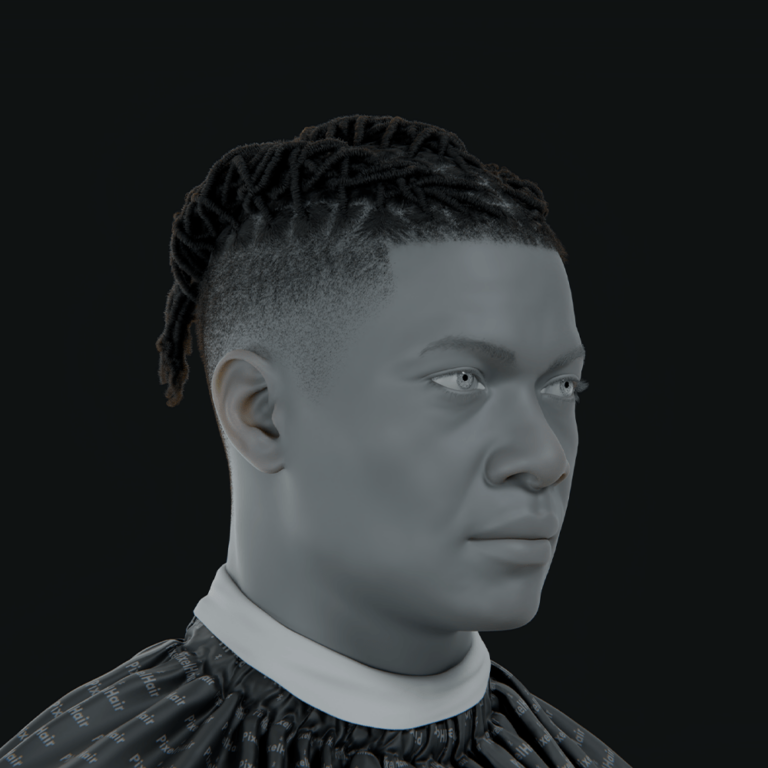
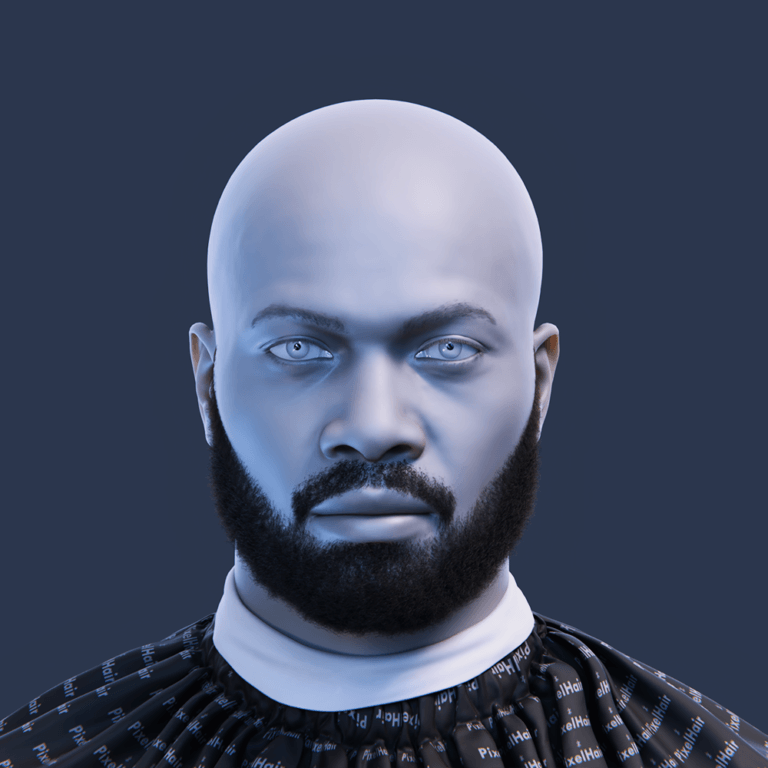
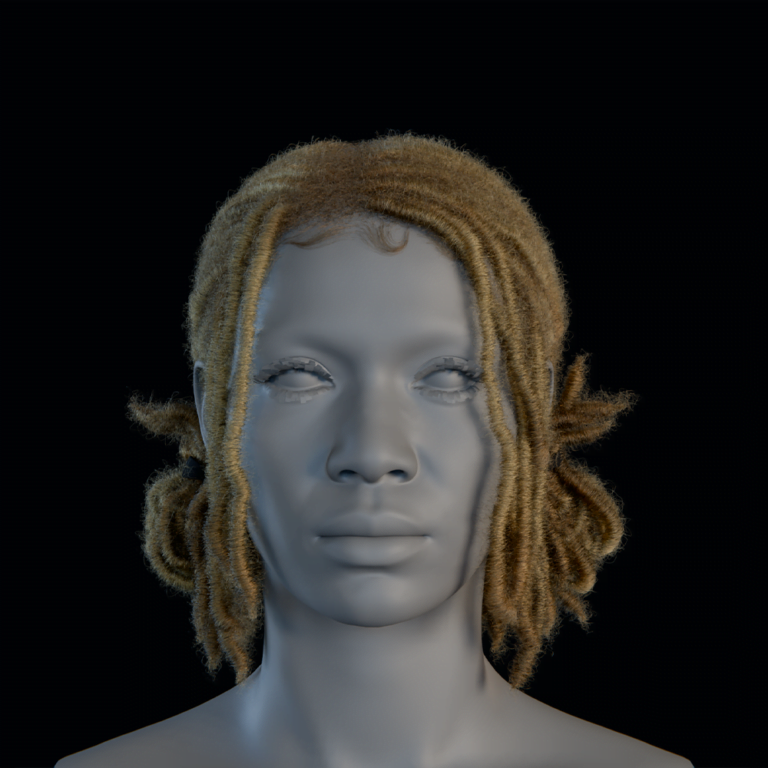
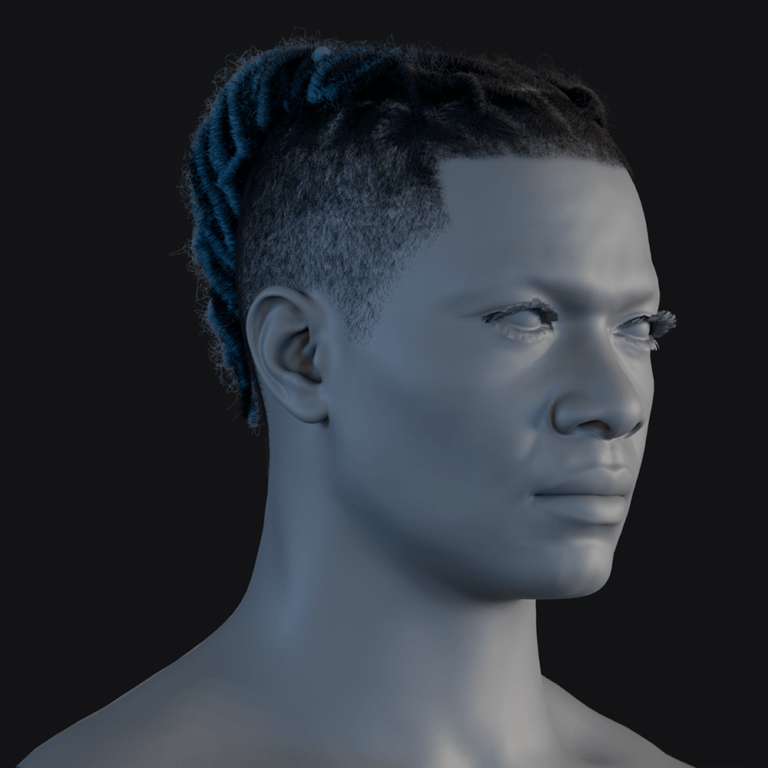
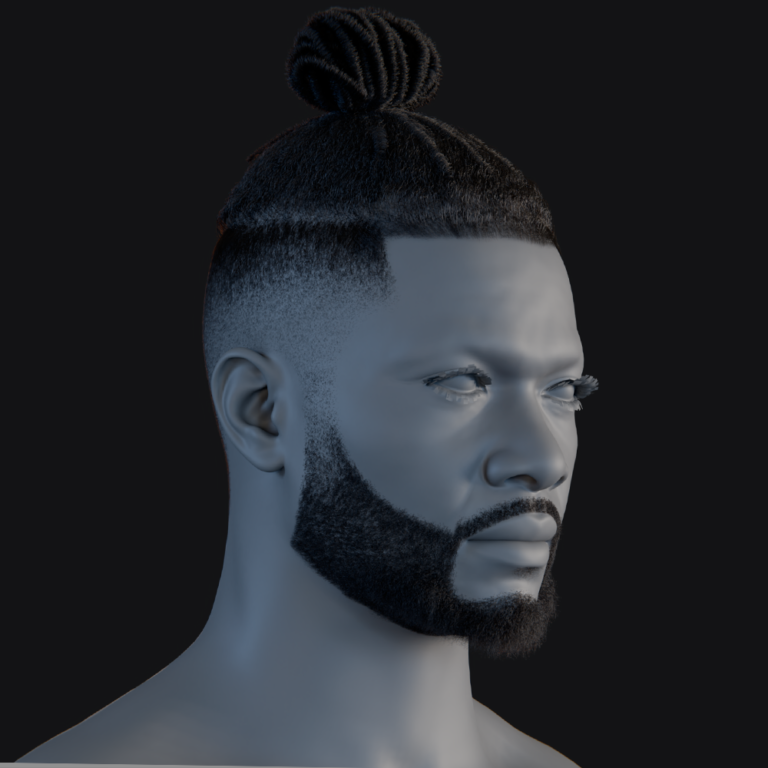
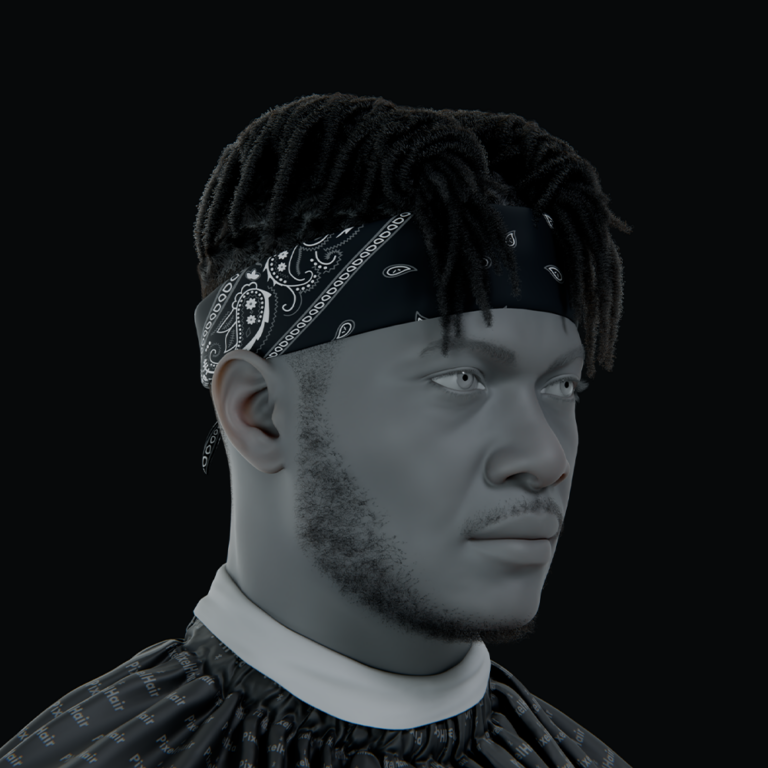
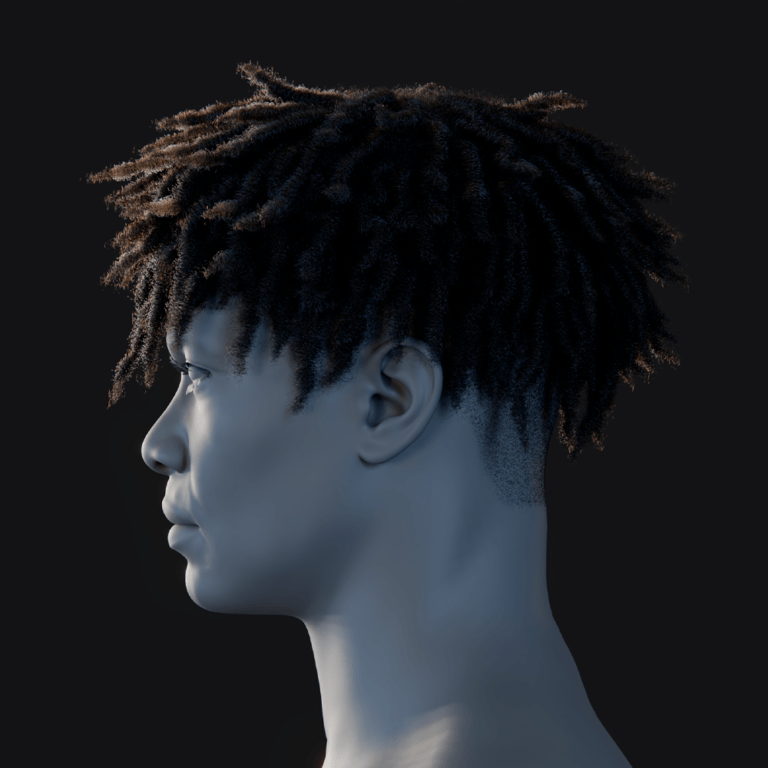
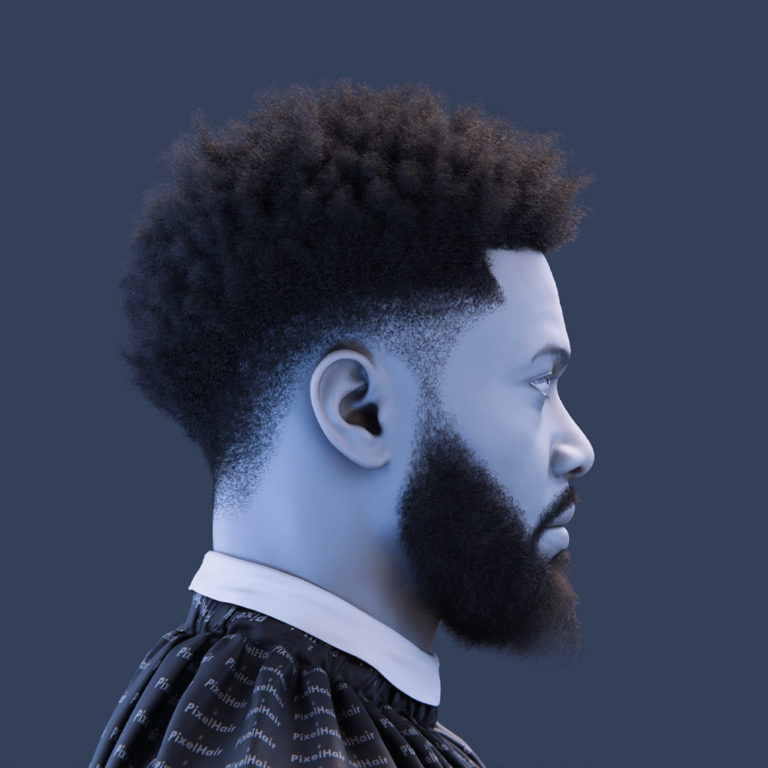
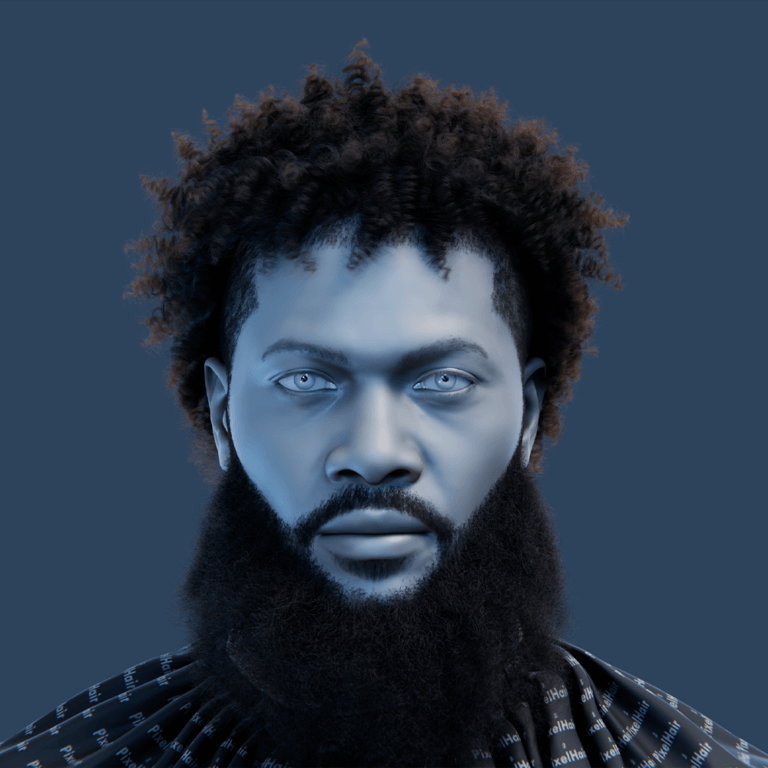
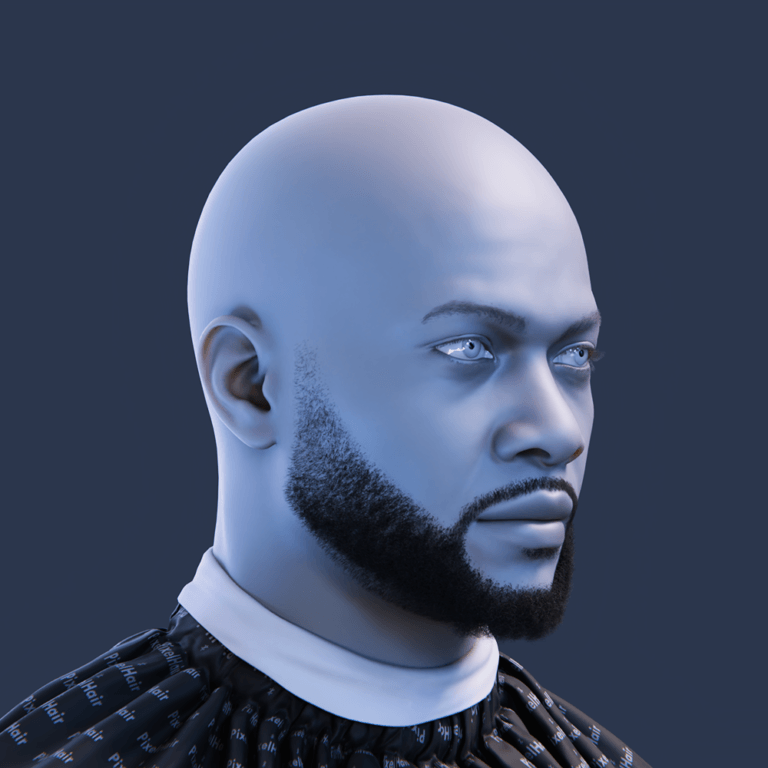
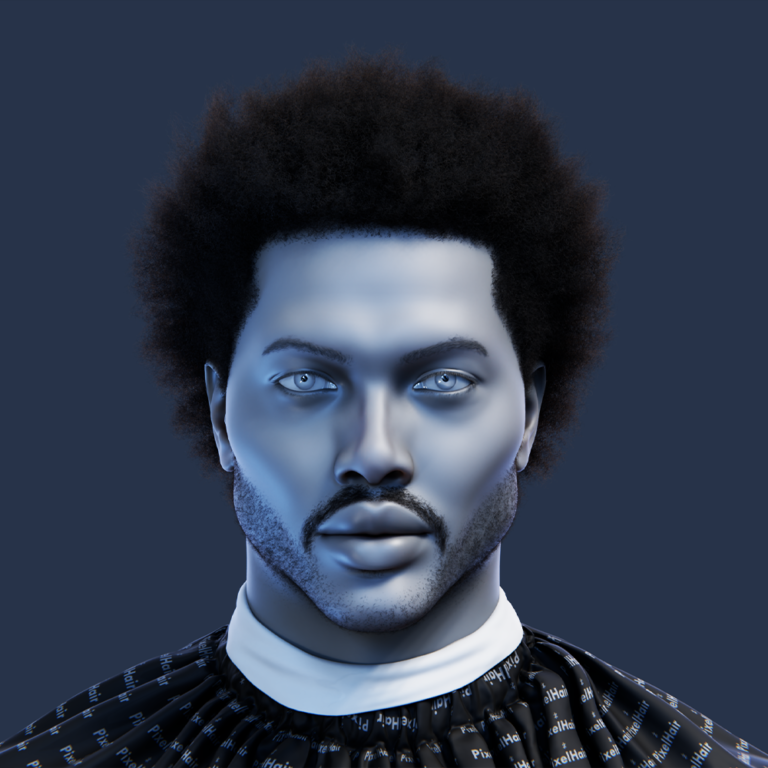
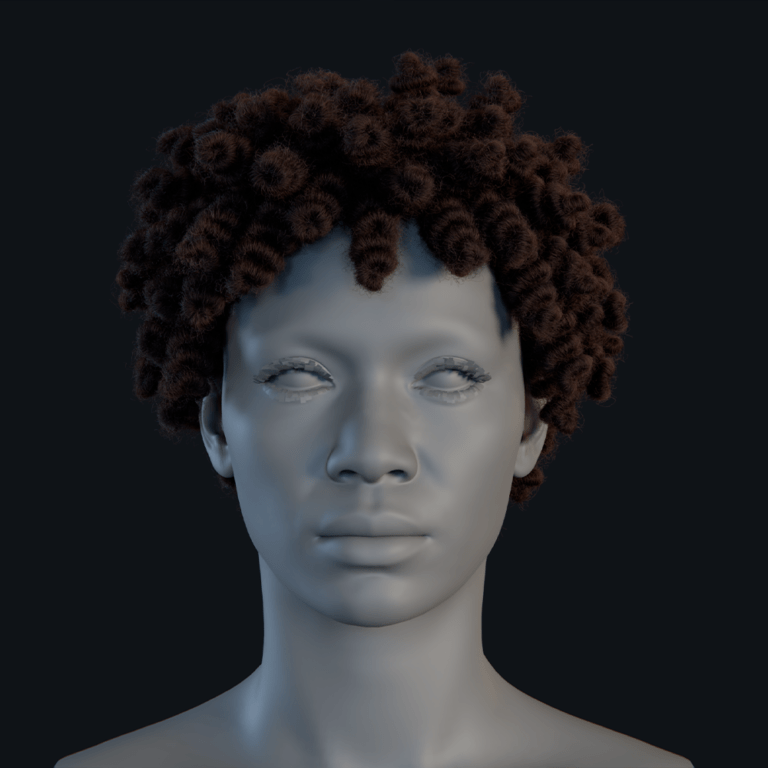
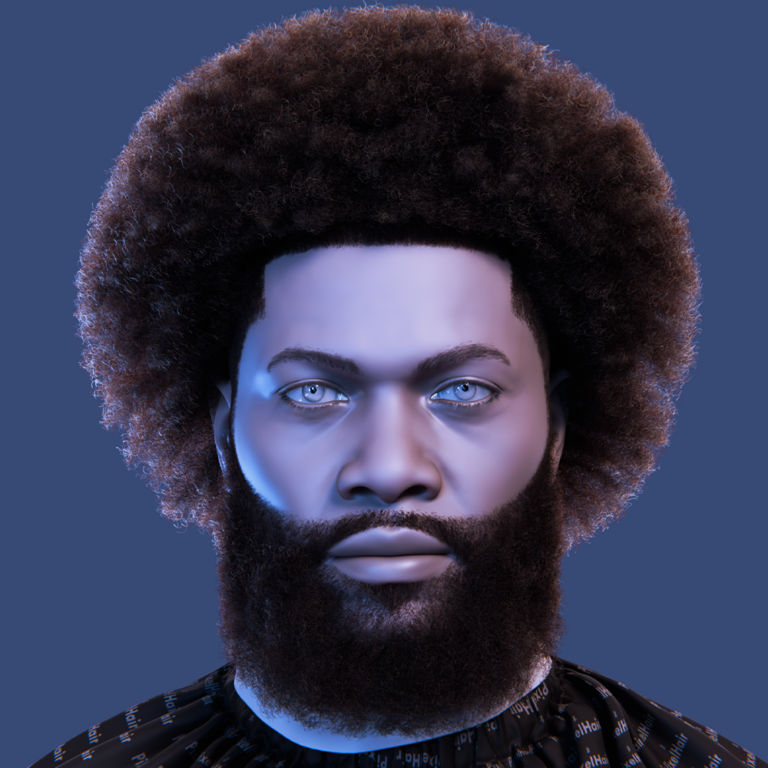
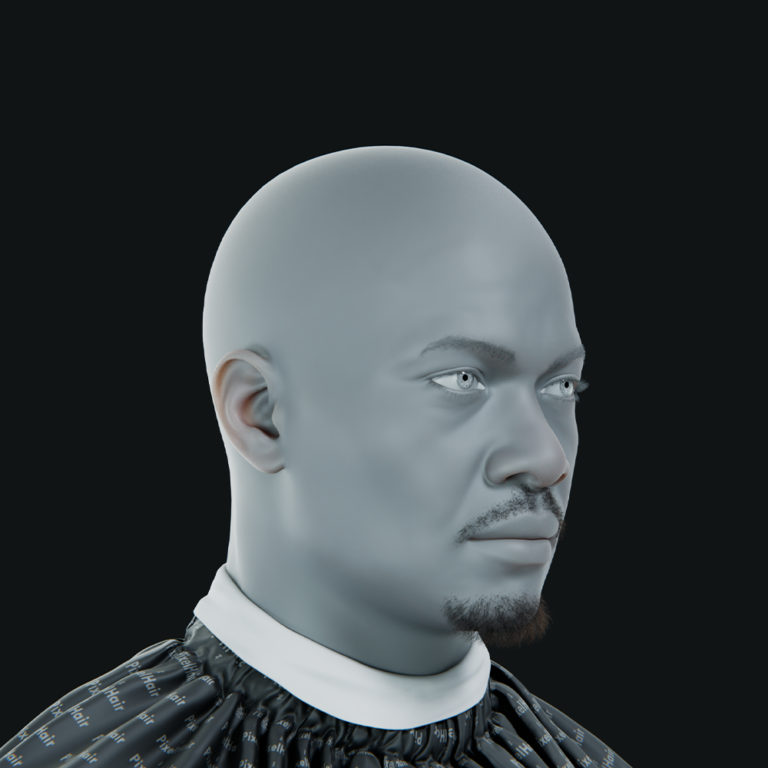
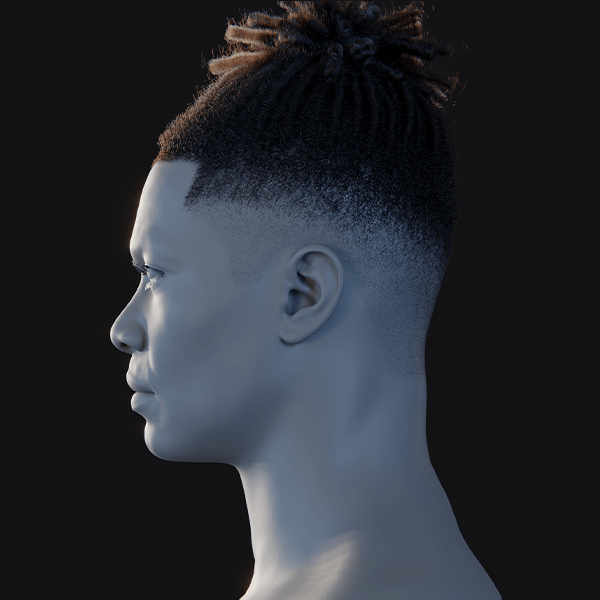
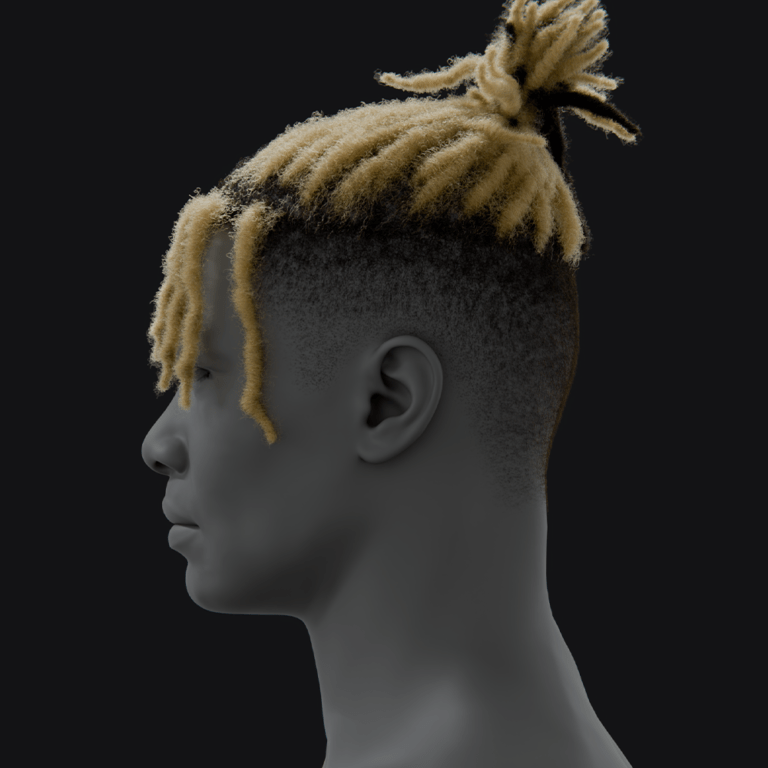
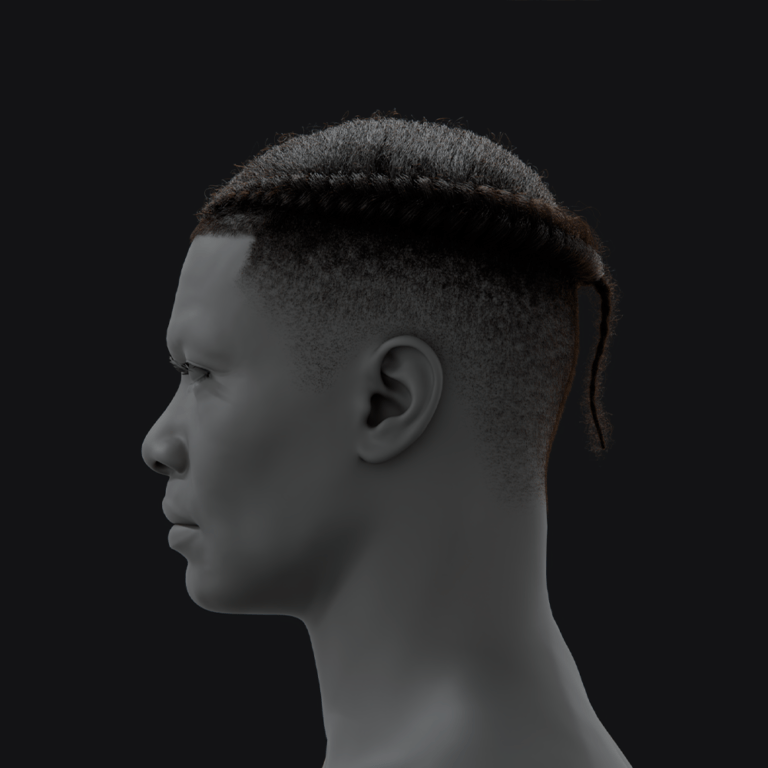
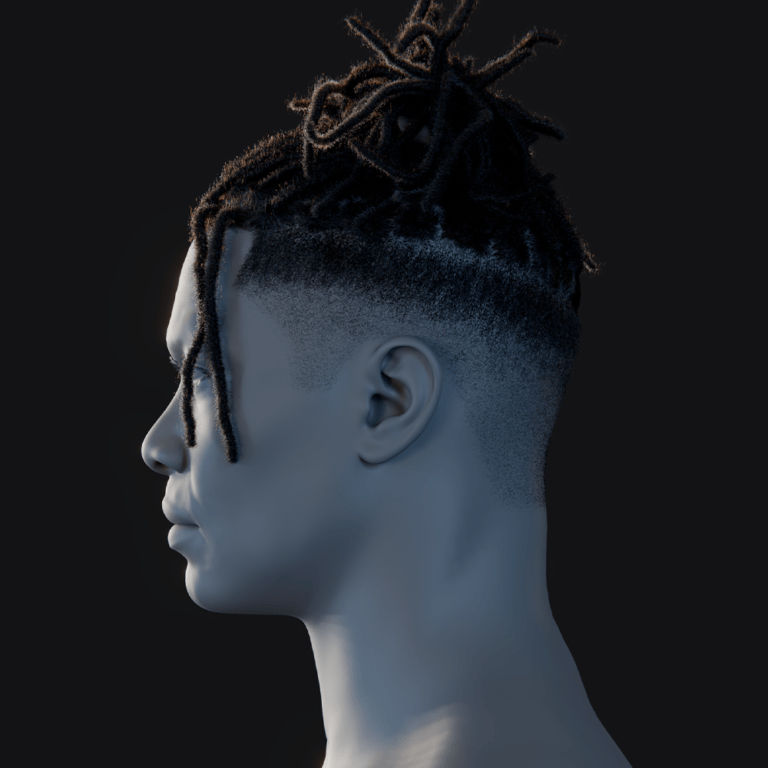
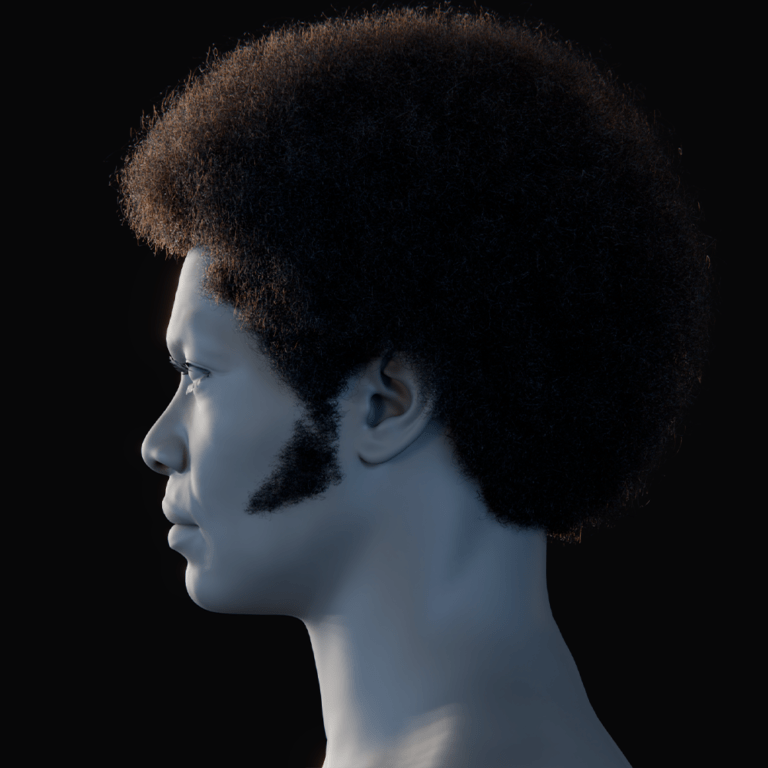
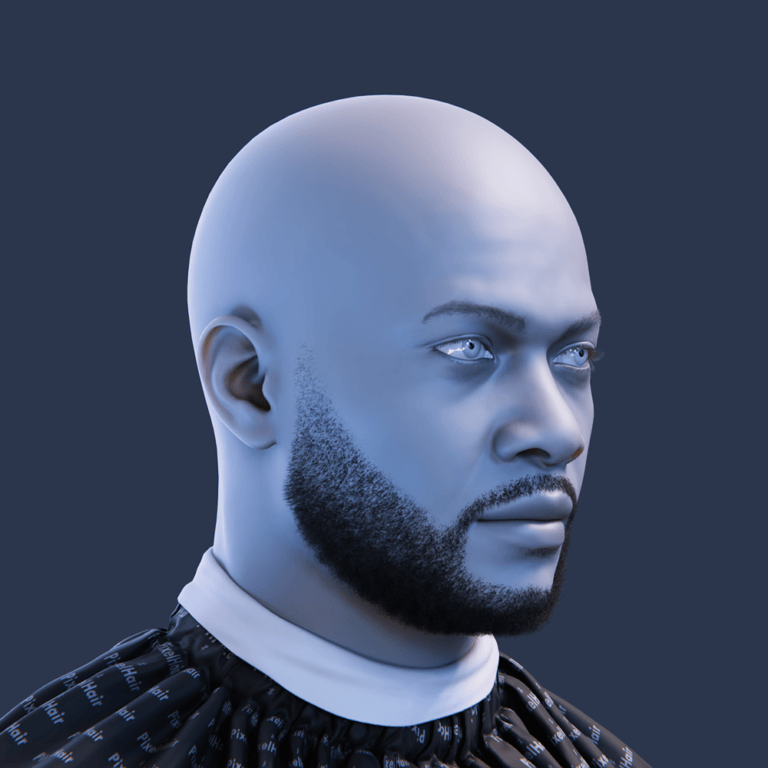
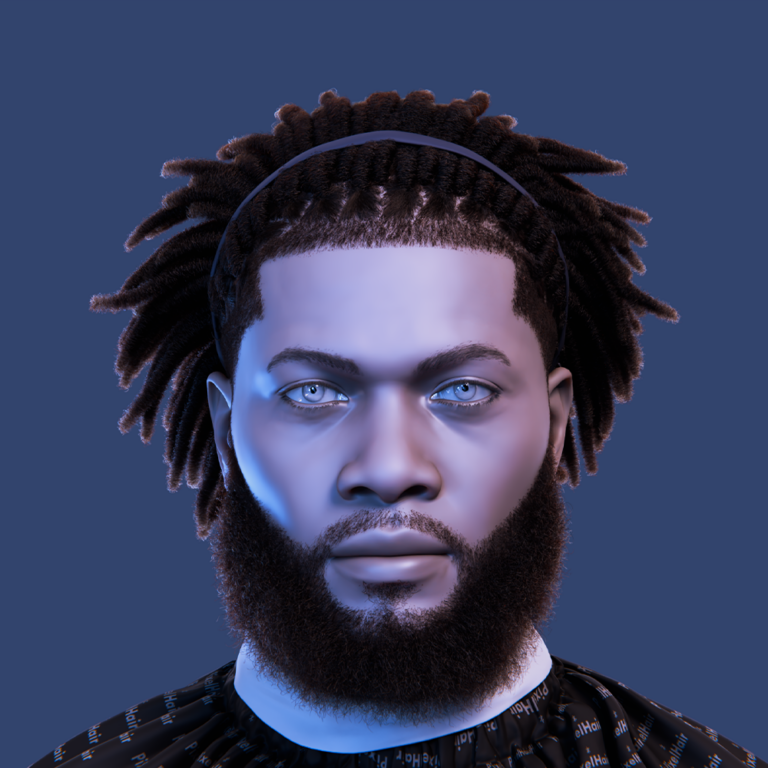
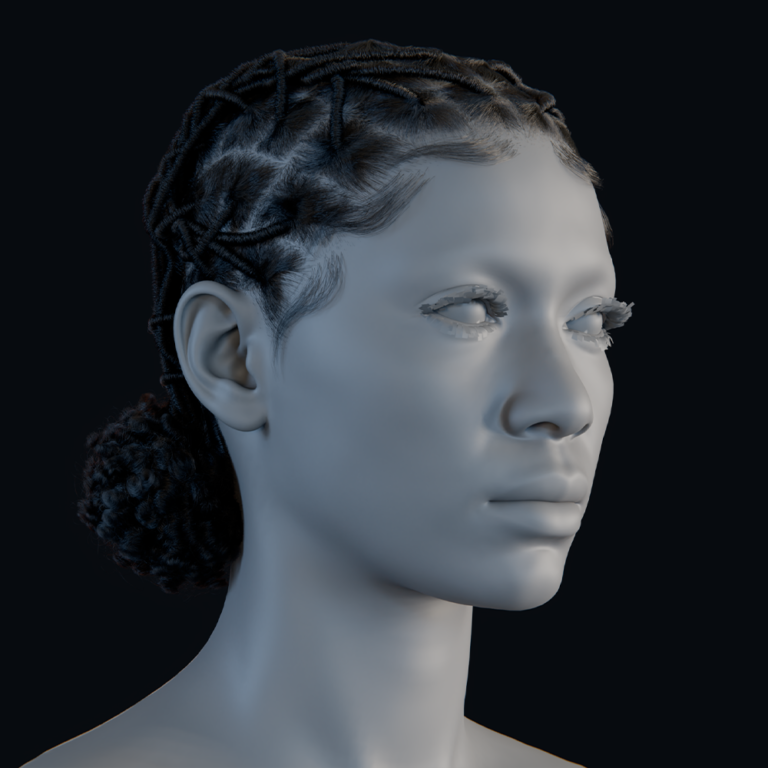
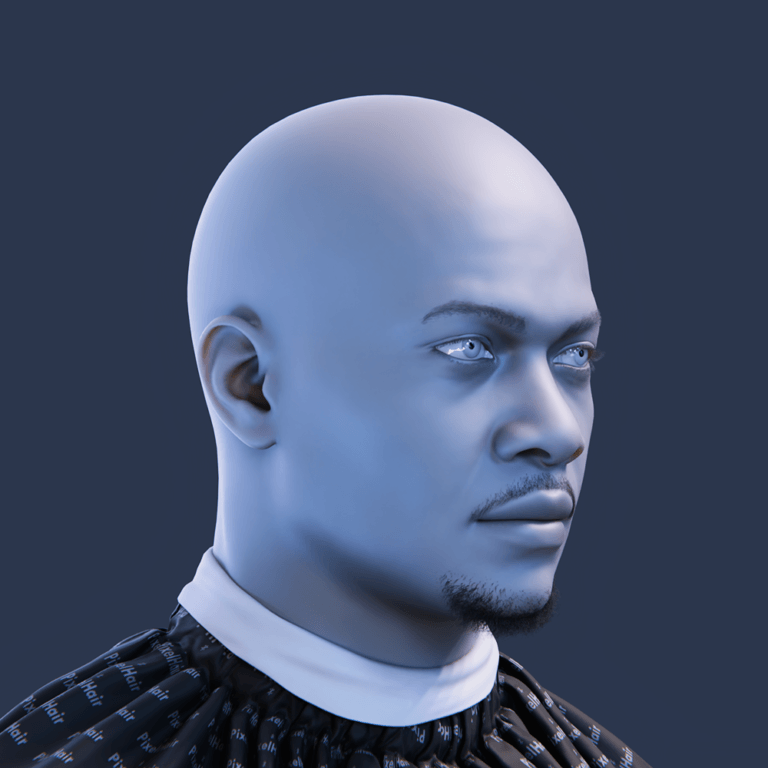
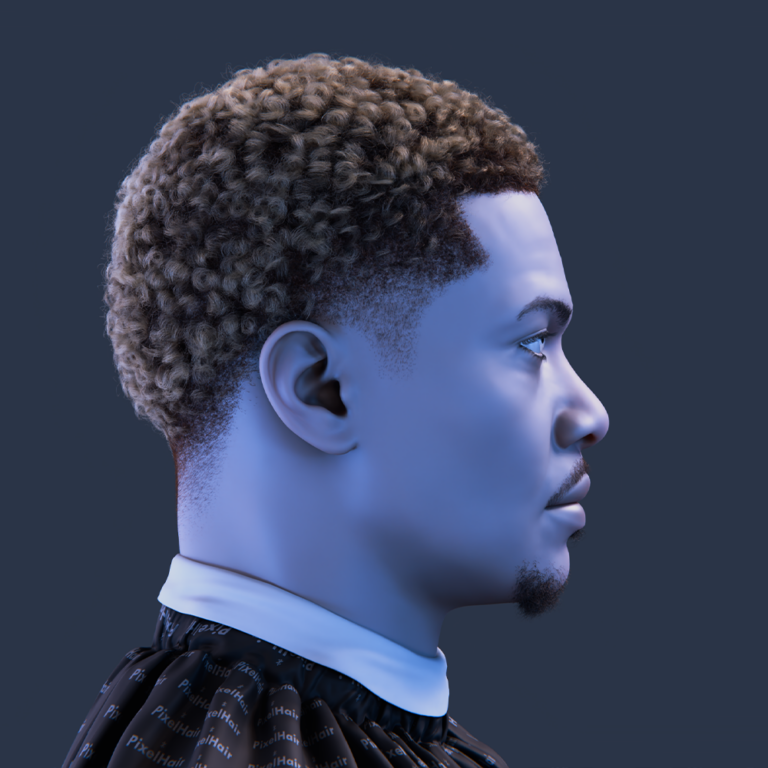
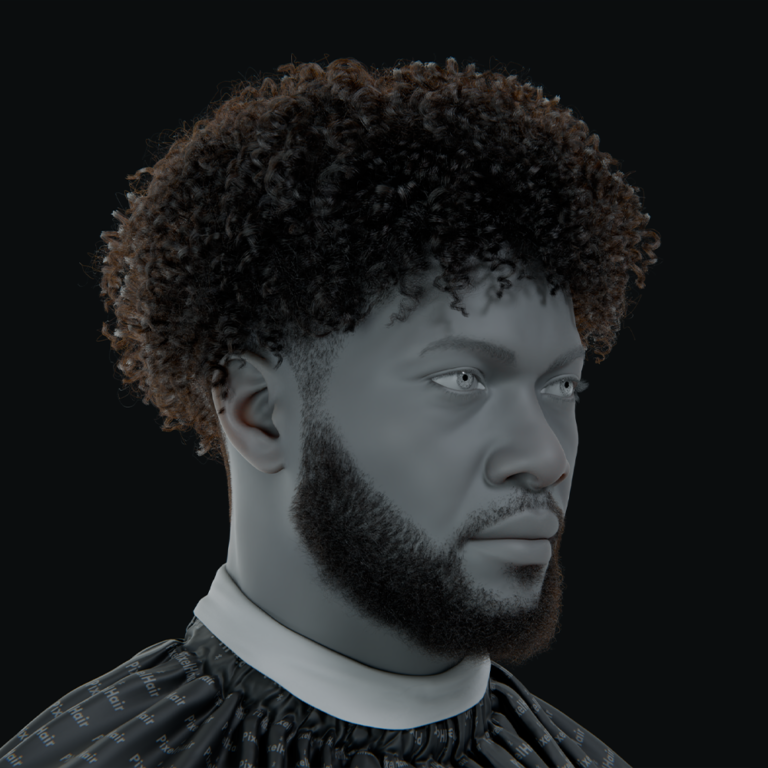
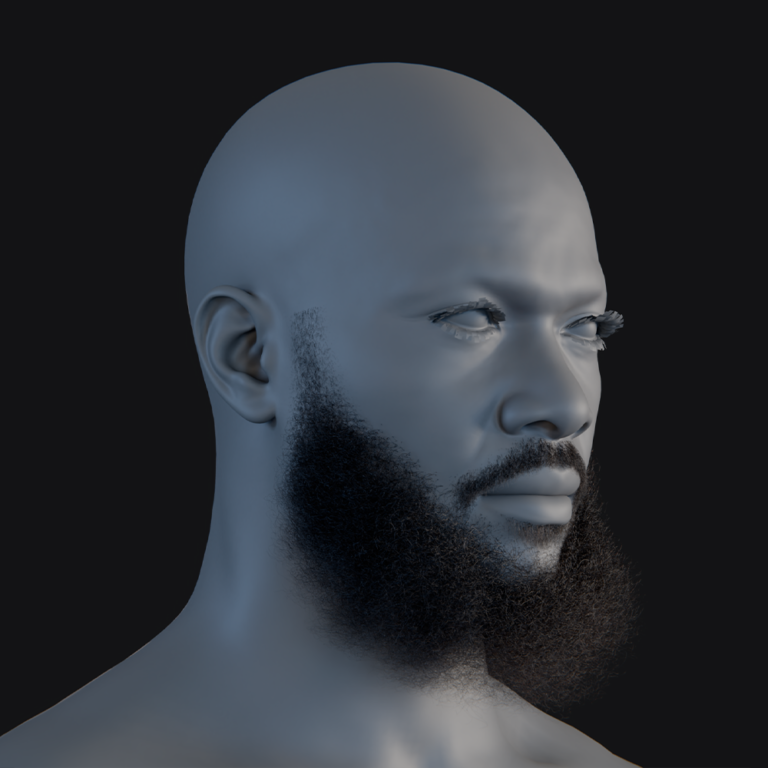
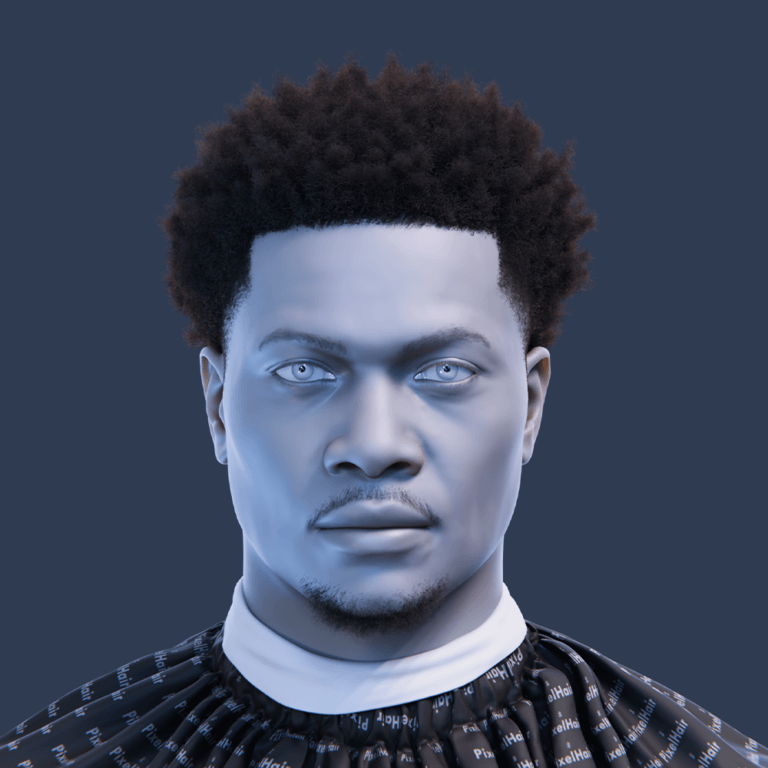
Creating a lifelike 3D character in Blender is a complex but rewarding process. This guide will walk you through a realistic character creation process in Blender – from initial planning and sculpting to texturing, hair grooming (including PixelHair assets), rigging, and final rendering. Whether you aim for game-ready low-poly models or cinematic high-detail characters, this step-by-step workflow balances best practices and the latest Blender features. We’ll also compare older workflows (like Blender’s old particle hair) with newer tools (such as the hair curves system), so artists of all experience levels can follow along and update their techniques.
How do I start the realistic character creation process in Blender?
- Concept and References: A clear concept is vital for realistic characters. Gather diverse reference images (front, side, 3/4 views, anatomical diagrams) to guide modeling. Use tools like PureRef or Blender’s Image Empty to organize and load references. Multiple angles and lighting conditions ensure a comprehensive 3D understanding.
- Planning & Base Mesh: Start with a base mesh to save time on proportions and topology. Blender’s meta-rig or free base meshes (e.g., Blender Studio’s) work well. Use a neutral A-pose for easier rigging. This foundation streamlines sculpting realistic human forms.
- Block Out Shape: Begin sculpting by blocking out primary shapes in Blender’s Sculpt Mode using Clay Strips, Grab, and Snake Hook brushes. Focus on proportions, body type, and silhouette without fine details. Append placeholder shapes (e.g., eyeballs) for a rough character look. Approve this block-out before detailing.
- Use Color Early: Assign basic materials or vertex colors early to distinguish skin, hair, and clothing. Simple flat colors aid visualization during sculpting. This helps assess the design’s feel and coherence. It’s a practical step for realistic character development.
- Embrace Feedback & Iteration: Realism requires accuracy through frequent reference checks and feedback. Take breaks to spot anatomy or proportion errors with fresh eyes. Iterate by adjusting off-looking features. This ensures a convincing human sculpt before detailed modeling.

What are the best practices for sculpting realistic human anatomy in Blender?
- Use the Right Sculpting Workflow: Use a Multiresolution modifier for detailed sculpting while preserving base topology. Multires avoids stretched polygons, unlike Dyntopo, which suits early concept sculpts but needs retopology. Start with a good base mesh to skip Dyntopo. Switch to Multires for fine details.
- Focus on Forms Before Details: Sculpt large forms (head, torso, limbs) first, then refine muscles and bones at lower subdivisions. Ensure anatomical landmarks (ribcage, pelvis) are proportionate before adding secondary (muscles, fat) and tertiary (wrinkles) details. Keep early models low-poly. This maintains likeness and avoids premature detailing.
- Symmetry and Asymmetry: Use symmetry in Sculpt Mode for even placement of features like ears and limbs. Introduce subtle asymmetry (e.g., tilted smile, raised eyebrow) for facial realism after primary forms. Asymmetry enhances character believability. Re-symmetrize or use modifiers if needed.
- Sculpting Human Anatomy Details: Use Clay Strips and Draw brushes for muscle masses, Crease and Pinch for wrinkles and lip edges, and Smooth for lumpy areas. Add fine details like pores via textures for games or high-res sculpts for cinematics. Choose brushes based on detail level. This ensures anatomical accuracy.
- Continually Reference Anatomy: Keep anatomy references or 3D models nearby to understand bone and muscle structure. Verify proportions (e.g., 7.5 heads tall, wrists at groin). Check forearm length or eye placement against references. This prevents uncanny valley errors in sculpts.
How do I use references effectively when modeling a realistic character?
- Gather Diverse Reference Material: Collect multiple images (orthographic, perspective, various angles, expressions) of similar age or build for fictional characters. Use anatomical sheets for accuracy. Diverse references ensure a 3D understanding. Avoid relying on a single photo.
- Use Tools for Reference Management: Use PureRef to arrange images or Blender’s Image Editor, Reference objects, or camera backgrounds for reference placement. Match camera angles to reference photos for sculpt checks. These tools enhance modeling precision. Align views to verify proportions.
- Observation Over Assumption: Trust references over mental images for nuanced anatomy (e.g., eyelid folds). Study skin folds, fat softness, and bone protrusions. Feel your own face for form insights. Observation ensures accurate translation of real forms.
- Multiple Perspectives: Use high-res front, side, and 3/4 images for likeness, or anatomical data for generic characters. Overlay 3D scans as guides without copying copyrighted material. Multiple perspectives ground sculpts in reality. This improves model accuracy.
- Reference for Textures and Materials: Use close-up skin photos for pore patterns and fabric images for clothing folds. Reference hair for strand clumping. Texturing references enhance material realism. Apply these during shading for lifelike results.

What tools in Blender are essential for realistic character modeling?
- Sculpt Mode & Brushes: Use Clay Strips, Draw, Crease, Grab, and Smooth brushes for organic shaping. Dyntopo aids early sculpts, while Multires supports detailed subdivisions. Mask and Face Sets isolate parts for performance. These tools are core for high-res modeling.
- Modifiers for Modeling: Mirror Modifier ensures symmetry, Shrinkwrap aids retopology, and Subdivision Surface smooths meshes. Cloth Simulation creates realistic draping for accessories. Apply modifiers for final sculpt tweaks. These streamline modeling workflows.
- Mesh Modeling Tools: Edit-mode tools like Poly Build, F2 addon, and Knife create low-poly bases or retopology. Snap to Face with Shrinkwrap simplifies retopo. These tools complement sculpting for clean topology. They’re essential for base mesh preparation.
- Shading and Texture Painting: Shader Editor’s Principled BSDF creates realistic skin materials. Texture Paint allows direct model touch-ups. UDIM UV tiles support high-res textures. These tools enhance material realism for characters.
- Hair and Particle System: New Hair Curves (Geometry Nodes) and Particle Hair systems create hair, with Particle Edit and Sculpt Curves for styling. Add-ons like PixelHair provide pre-made hairstyles. These systems are vital for realistic hair. They integrate with sculpts seamlessly.
- Rigging Tools: Armature system, Weight Paint, Automatic Weights, and Rigify/CloudRig rigs animate characters. Shape keys manage facial expressions. These tools ensure models are animation-ready. They complete the character pipeline.
- Lighting and Rendering: Cycles offers realistic Subsurface Scattering and hair shaders, while EEVEE suits fast previews. Area Lights, HDRIs, and Filmic color management enhance lighting. These ensure lifelike renders. They finalize character presentation.
How do I create detailed facial features like eyes, nose, and lips in Blender?
Creating realistic facial features requires attention to anatomy and fine details:
- Eyes: Model a realistic eye with two spheres: an inner eyeball for iris/sclera and an outer transparent cornea for a bulging, refractive effect. Sculpt eyelids around the eyeball, ensuring thin lids with a defined fold and slight overlap at outer corners. Include the caruncle for added realism. This setup captures light and highlights, making eyes lifelike.
- Nose: Use references to shape the bridge, tip, nostrils, and alar cartilage. Sculpt with Clay/Draw brushes for volume, then Crease for nostril openings and cheek separation. Ensure nostrils have thickness and a teardrop shape with a visible septum. Soft transitions and proper thickness enhance realism, especially for underside views.
- Lips and Mouth: Define lips with edge loops, sculpting them as soft mounds with a Cupid’s bow on the upper lip. Use Crease for the mouth line and subtle lip indentations, ensuring smooth transitions to the face. Model simple gums, teeth, and tongue for open-mouth realism. Avoid sharp edges and add a slight corner pinch for natural lip shapes.
- Ears: Model ears separately, focusing on helix, antihelix, concha, tragus, antitragus, and lobe. Use references for varied shapes and isolate ears with Face Sets or masking for easier sculpting. Ensure sufficient geometry during retopology for detail. Orthographic side views aid in accurate shaping of complex ear structures.
- Topology Consideration: Plan edge loops during sculpting for eyes, lips, and ears to support animation. Use Flatten/Polish brushes to hint at loop placements, finalizing topology later. Good loops ensure smooth deformation for expressions like smiles or blinks. Anticipating retopology enhances animation-readiness and feature definition.

How do I model realistic hands, feet, and body proportions in Blender?
- Body Proportions: Verify proportions using references: wingspan equals height, crotch at midpoint, shoulders three heads wide for males. Legs and torso should align with human ratios. Use Blender’s measuring tool to check against a reference model. Accurate proportions establish a believable character foundation.
- Hands: Model hands in a relaxed pose with slightly bent fingers, varying lengths (middle longest, pinky shortest). Sculpt palm pads and creases, adding visible tendons on the back when bent. Include fingernail indentations and ensure loops for smooth finger bending. Attention to knuckle joints and palm details enhances realism.
- Feet: Model feet relaxed, including the foot arch and ankle bones (inner higher). Proportion toes correctly if visible, adding toenails and knuckle details for barefoot models. Focus on shoe fit if covered, sculpting sole padding at the ball and heel. Natural shapes and proportions prevent unrealistic appearances.
- Approach to Modeling Hands/Feet: Sculpt from a block with Dyntopo for organic results or extrude polygons from a cube. Work in a separate file for high-detail sculpts, blending wrists seamlessly when attaching. Choose a method suiting your comfort, prioritizing form initially. This flexibility ensures detailed, natural-looking hands and feet.
- Attention to Joints: Slightly exaggerate knuckles and joints in sculpts for realism in poses, as smoothing or posing enhances their visibility. Ensure anatomical placement for knuckles and Achilles tendon. Subtle joint definitions convey realism in dynamic poses. Proper joint emphasis supports believable character movements.
- Scaling: Scale hands to match face length (wrist to middle fingertip) and feet to forearm length. Use reference photos to avoid overly small or large extremities. Correct scaling prevents disproportionate appearances. Proportional hands and feet significantly boost character credibility.
What is the best way to retopologize a high-poly character sculpt in Blender?
- Manual Retopology with Snapping: Manually draw polygons over the sculpt in Edit Mode, snapping to the high-poly surface. Start with loops around eyes, mouth, ears, and joints, using a mirror modifier for symmetry. Poly Build and Bsurface tools speed up quad placement. This ensures animation-friendly topology with precise control.
- Use of Quad Remesher or Remesh Modifiers: QuadriFlow remesh creates a quad mesh but may need cleanup for faces and joints. Voxel Remesh merges pieces but produces uniform quads, requiring refinement. These tools provide a quick base but need manual adjustments. Automated methods save time but lack final precision.
- Topology Guidelines: Follow these for optimal topology:
- All-Quads: Use quadrilateral faces to avoid shading artifacts, minimizing triangles in non-deforming areas.
- Edge Loop Flow: Place loops along muscles and motion lines (e.g., mouth, eyes, joints) for smooth animation and detail.
- Even Density vs Concentrated Detail: Increase polygon density in face and hands, lower in limbs, avoiding extreme density differences.
- Polycount Budget: Target 50k–100k triangles for game-ready characters, higher for cinematic renders, reducing sculpt’s millions of polygons.
- Projecting Details: Use Shrinkwrap modifier or normal map baking to project high-poly details onto the low-poly mesh. Multires workflows allow reapplying details via Wrap or sculpting. This captures sculpt contours accurately. Projection ensures the retopologized mesh retains fine details.
- Layering and Mesh Separation: Create separate meshes for wrinkles or detailed head sculpts, but unify for final models. Ensure details are in geometry or baked maps for a single mesh. This balances detail and efficiency. Unified meshes streamline texturing and animation workflows.

How do I create UV maps for realistic skin texturing?
- Plan Seams Strategically: Place seams in less visible areas:
- Around the back of the head (hidden by hair or not often seen).
- Along the sides of the torso, inside arms, and inner legs (less visible areas).
- Separate islands for arms, legs, torso, head, hands, feet, etc. For the head, a seam from just behind one ear over the top of the head to the other ear is typical (so the face is one piece). The seam inside the ears (if detailed) to unwrap them.
- Fingers and toes can be tricky; seams often run along less-seen sides (e.g., sides of fingers).
- Mouth interior, if unwrapping, can be separate since it won’t be seen much outside of open mouth shots.
- Uniform Texel Density: Scale UV islands for consistent detail, giving more space to the face for higher resolution. Use Blender’s Average Islands Scale and pack tools. Adjust for critical areas like the head. Balanced texel density ensures even texture quality across the model.
- Use UDIMs for High Resolution: Employ UDIM tiles for multiple textures (e.g., 4K/8K for head, torso, arms). Create a UDIM grid in Blender’s UV Editor, moving islands to tiles. This supports high-detail renders. UDIMs allow pore-level detail for realistic skin.
- Avoid Stretching and Pinching: Check UVs with a grid texture to detect distortion. Adjust seams or use Relax/Unwrap to fix stretched areas like armpits or groin. Splitting tough areas into islands reduces distortion. Distortion-free UVs ensure clean texture application.
- Symmetry vs. Asymmetry in UVs: Avoid mirroring UVs for main characters to allow unique details like moles or tattoos. Mirroring saves space but reduces realism, especially for faces. Use separate UV space for detailed areas. Asymmetrical UVs enhance character individuality.
- Seam Concealment: Minimize seam visibility by placing them under hair or clothing and using 3D painting to blend. Add texture bleed to avoid mipmapping lines. Blender’s texture paint hides seams effectively. Strategic seam placement and blending ensure seamless textures.
How do I texture realistic skin using Blender’s shader editor?
Texturing realistic skin involves both painting image textures (for color, bump, etc.) and building a shader that simulates skin’s material properties. Here’s a breakdown:
- Diffuse/Albedo Map: The base skin color map captures subtle variations like cheek redness, bluish vein tints, and darker eye areas. Hand-paint in Blender’s Texture Paint or use external tools, ensuring high-res (4K+) textures. Use photo references or projections, removing lighting information for pure color. Slightly desaturated maps allow real-time lighting to add contrast naturally.
- Specular/Roughness Map: Skin varies in oiliness, with shinier T-zone (forehead, nose, chin) and matte cheeks. Create a roughness map to define these, with glossy lips and matte wrinkles. Hand-paint or derive from diffuse highlights, tweaking manually. In Blender’s Principled BSDF, the Roughness input uses white for rough and black for shiny surfaces.
- Subsurface Scattering (SSS): Skin’s translucency requires SSS in Principled BSDF, using a reddish Subsurface Color. Set Subsurface Radius (e.g., 1.0, 0.2, 0.1) for realistic light scattering, with values around 0.5. Modulate with a map for less SSS on thick areas like the nose. Avoid overuse to prevent a waxy look, enhancing ears and thin parts.
- Normal and Bump Maps: Normal and bump maps add pore and wrinkle details without high poly counts. Sculpt high-res pores or use ZBrush alphas, baking to normal maps. In Blender, combine Bump nodes for fine pores and Normal nodes for wrinkles, keeping strengths subtle (e.g., bump 0.1-0.3). Overdone maps make skin look rough.
- Shader Setup: Principled BSDF simplifies skin shaders:
- Plug Color map into Base Color, Roughness map into Roughness.
- Set Subsurface ~0.3-0.5 with reddish Subsurface Color.
- Use Normal Map node for normal input, combining with Bump via MixRGB.
- Add specular tweaks or masks for makeup/wet skin, keeping Specular ~0.5.

What are the best techniques for adding pores and skin imperfections in Blender?
- High-Res Sculpt & Bake: Sculpt pores on a high-poly Multires mesh using pore alpha brushes, then bake a normal map to a low-poly model. This captures accurate details but is resource-intensive. Duplicate the face for sculpting and bake to the real-time model. Time and computing power are needed for millions of polygons.
- Texture-based Bump Maps: Use high-res pore textures as stencil masks in Blender’s Texture Paint or sculpt with pore brushes. Paint or stamp pores in specific areas, creating bump maps. Available maps (e.g., TexturingXYZ) enhance realism. This method is direct and less resource-heavy than sculpting.
- Procedural Detail (Microdisplacement): In Cycles, use noise/voronoi textures for pore-like displacement in close-ups. Tune for high frequency, but real pore patterns are hard to mimic procedurally. Image-based or scanned textures are preferred for realism. This suits generic roughness but lacks specific detail.
- Layering Multiple Detail Maps: Combine layers for varied skin details:
- Pores: Tiny, stretched on cheeks, pronounced on nose.
- Fine wrinkles: Forehead lines, crow’s feet, lip lines.
- Bumps/moles: Add subtle raised details.
- Use separate normal/bump maps, chaining in Blender or combining externally for independent strength control.
- Imperfections and Variation: Add freckles, scars, or discoloration in the color map, with normal map components for raised/indented effects. These break perfect skin looks. Subtle layers enhance realism unless flawless skin is intended. Paint directly in Blender for control.
- Paint in 3D: In Texture Paint, paint bump maps on the model with a pores texture brush on a black canvas. Real-time feedback may need test renders to verify details. This allows precise pore placement. Save and render frequently to check normal map accuracy.
- Material Tweaks for Imperfections: Use low-roughness patches for oily sheen or specular layers for sweat. Paint weight maps for oily zones or add reflectivity for wet lips/eyes. These shading tweaks enhance realism beyond geometry. They complement bump maps for lifelike skin.
How do I model and groom realistic eyebrows, eyelashes, and beards in Blender?
- Particle Hair System: Use hair particles for realistic facial hair:
- Eyelashes: Emit ~40-50 upper and ~30 lower lashes from a thin eyelid strip, combing outward/up or downward in Curves Sculpt mode. Use minimal children, adjusting each parent strand manually. Apply a shiny hair material (Principled BSDF, high specular). This ensures precise, realistic lash placement.
- Eyebrows: Emit short, flat hairs from a brow patch or vertex group, combing upward then toward temples. Use clumping children for fullness or textured planes for games. Control flow to avoid unnatural uniformity. Hair material should reflect natural brow sheen.
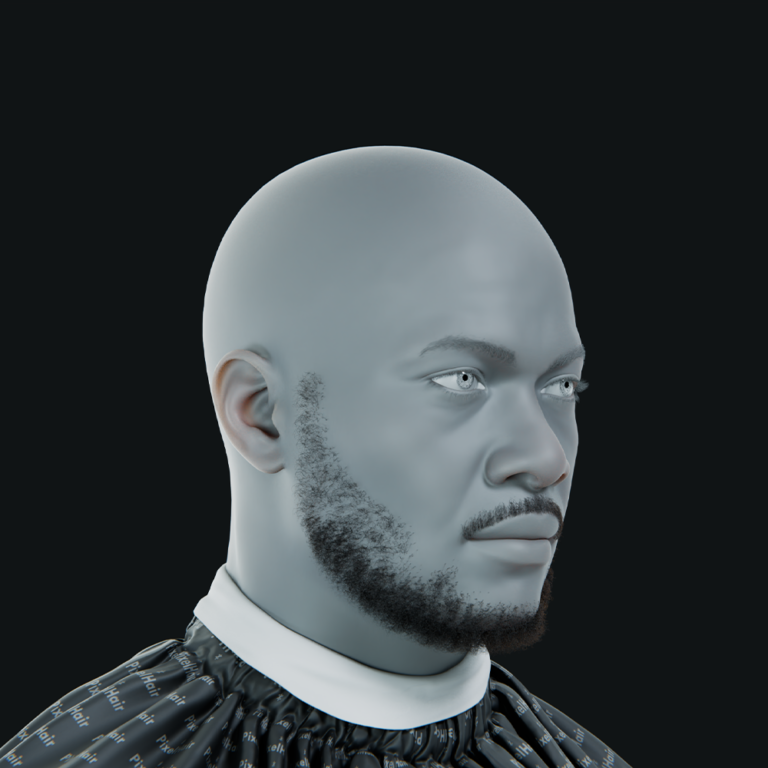
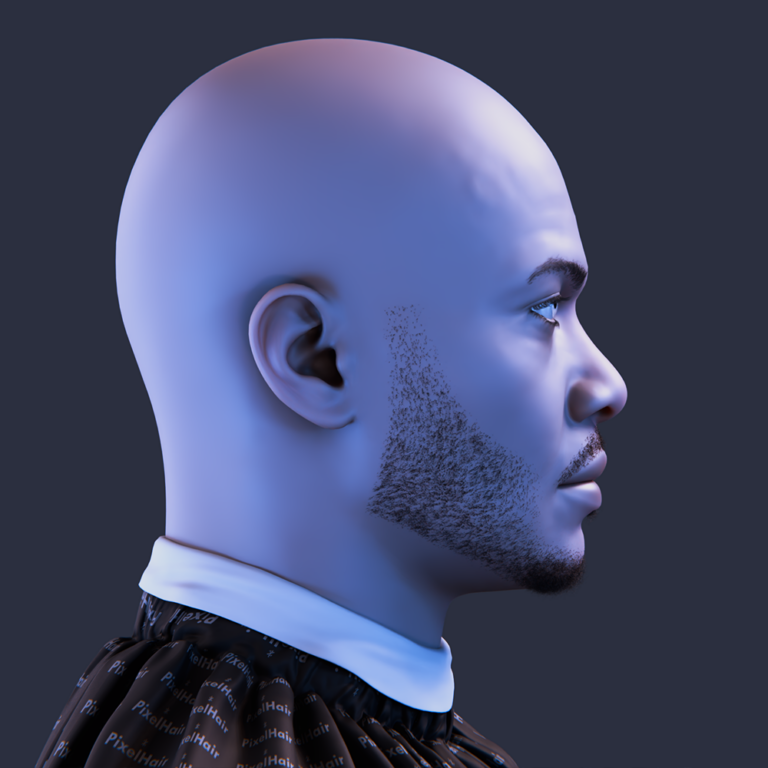
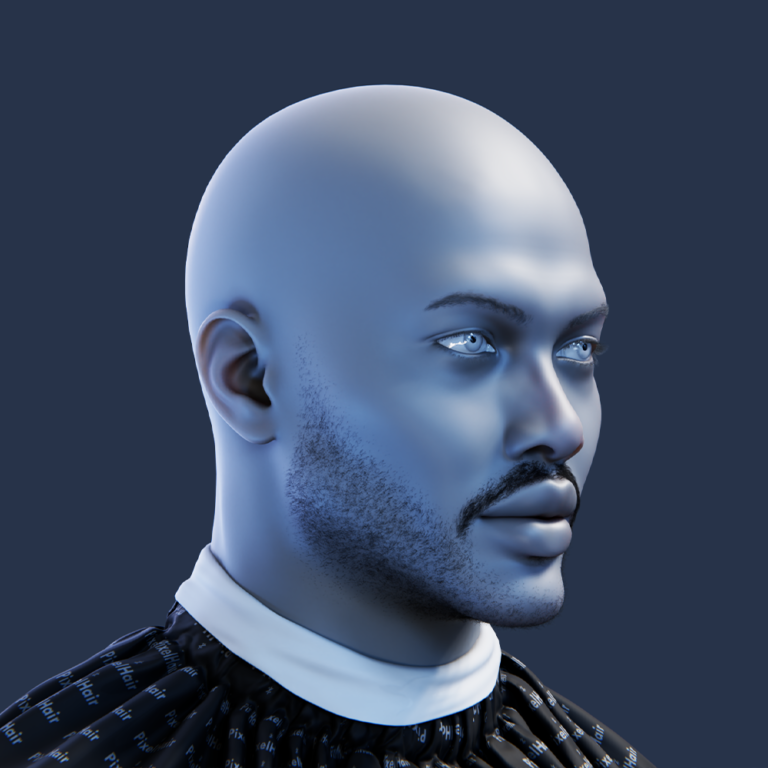
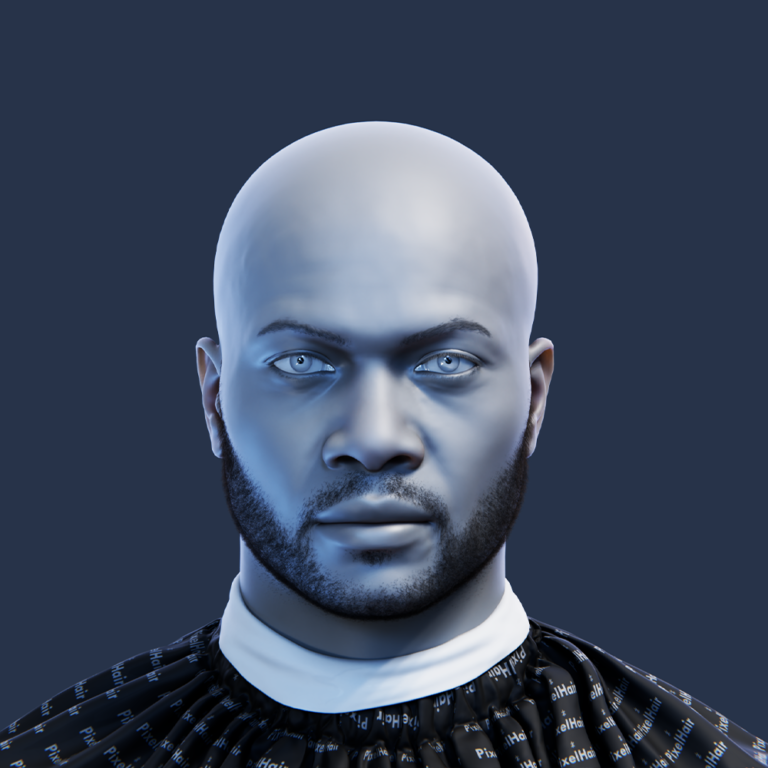
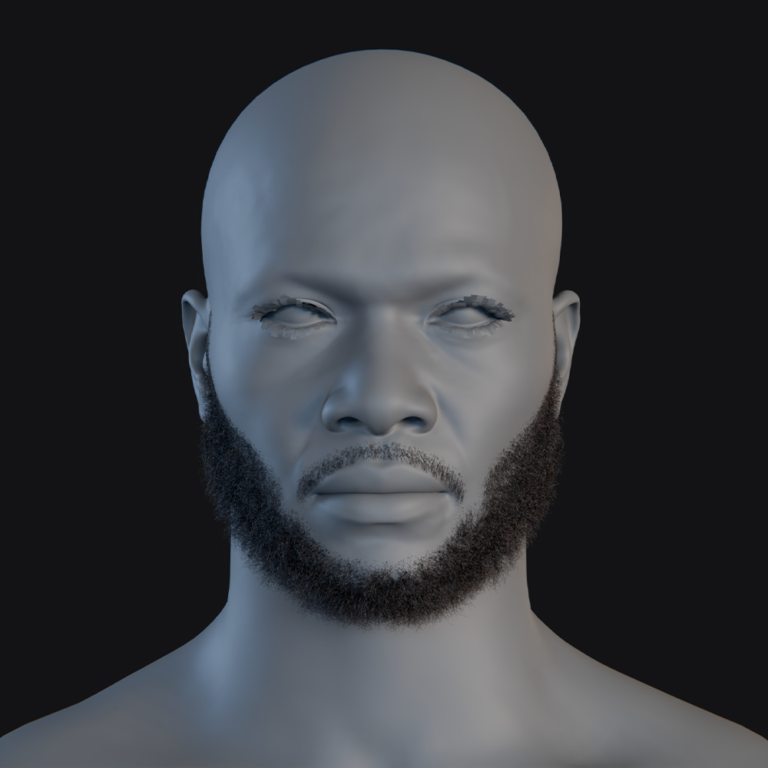
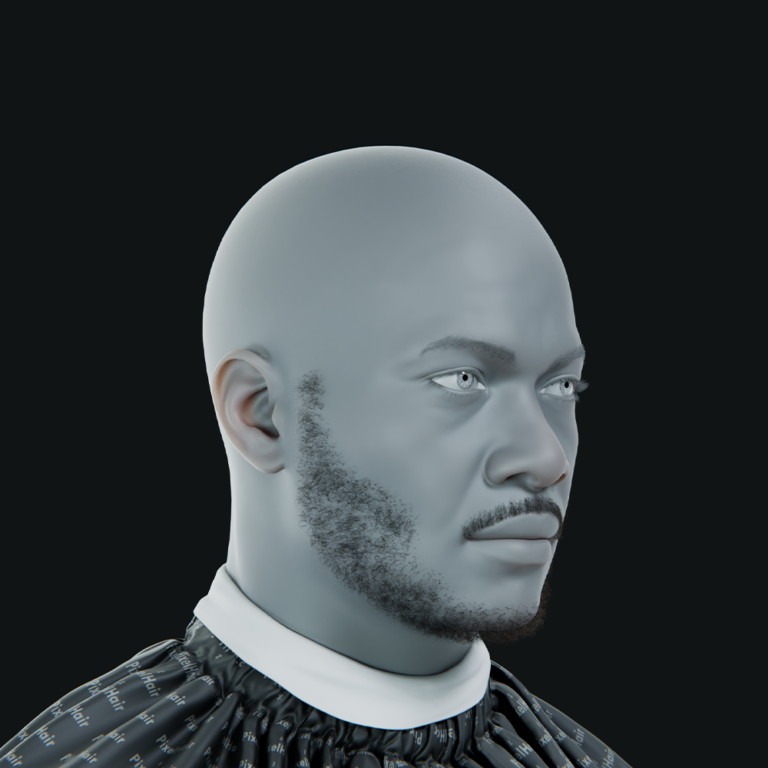
- Beards & Facial Hair: Use multiple particle systems for mustache, chin, and sideburns, with hundreds of parent strands and children for volume. New Hair Curves ease grooming, allowing strand movement. Add physics for long beards or sculpt short stubble. Vary thickness and roughness for coarse facial hair.
- Geometry Hairs (Poly Cards): For game-ready models, use hair cards with alpha textures. Place a few planes for eyelashes (covering multiple lashes) and textured strips for eyebrows. This is performance-friendly but less realistic in renders. Cards simplify real-time rendering needs.
- Grooming Tips: Follow natural growth patterns:
- Eyelashes: Thicker/longer at outer edges, shorter inward, slightly irregular.
- Eyebrows: Messy, short hairs with upward-to-temple flow, avoiding skin penetration.
- Beard: Directional growth (mustache outward, chin downward), with Weight Paint for density variation.
- These ensure facial hair looks organic and properly anchored.
- Materials: Use Principled Hair BSDF in Cycles for realistic hair shading, with melanin ~0.7-1 for dark hair or ~0.3 for blonde. In EEVEE, use diffuse+gloss or transparency for cards. Test renders ensure proper density. Fine “peach fuzz” particles can add realism for close-ups.

How can PixelHair be used to add ultra-realistic hairstyles to characters created in Blender?
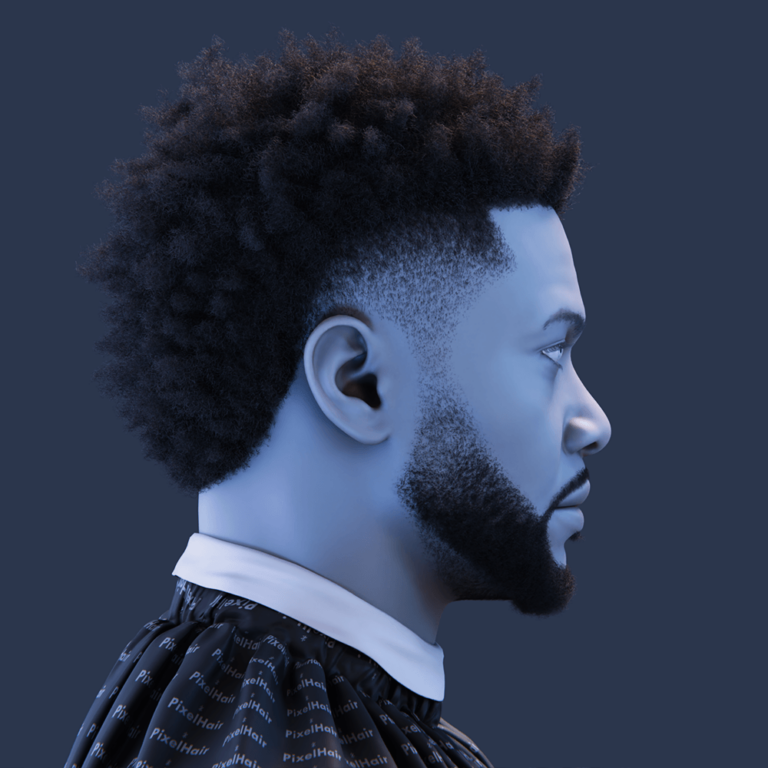
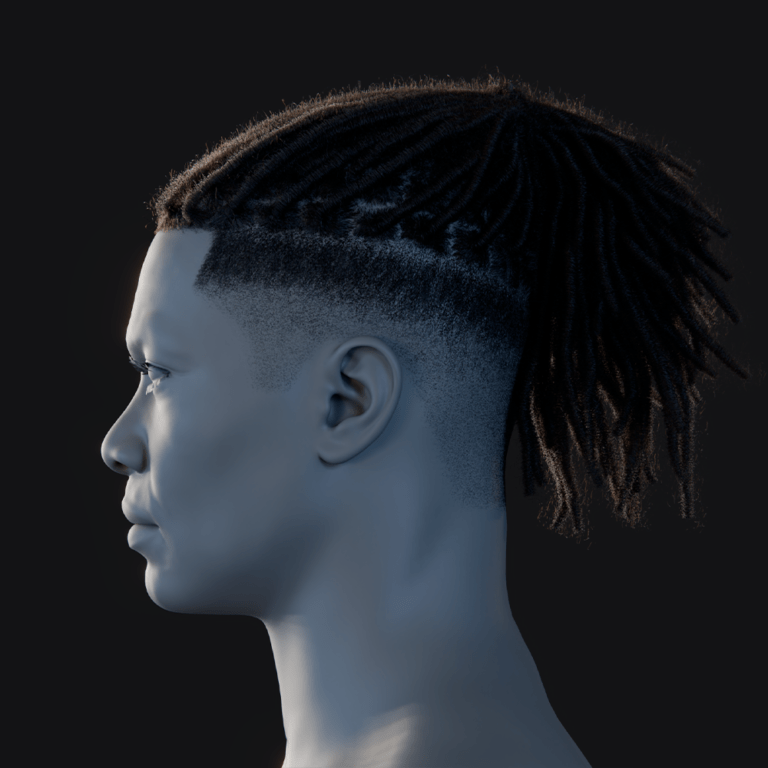
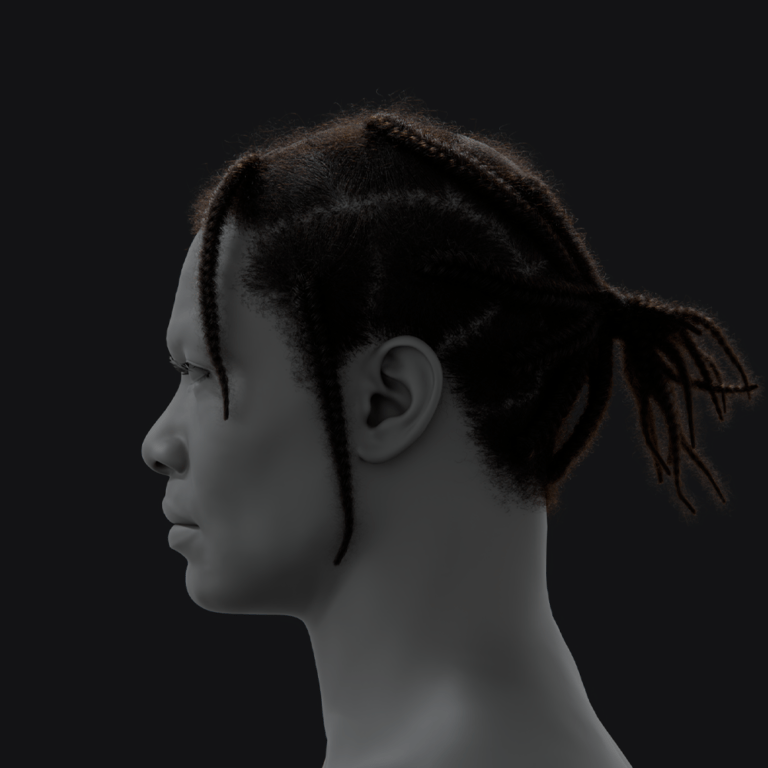
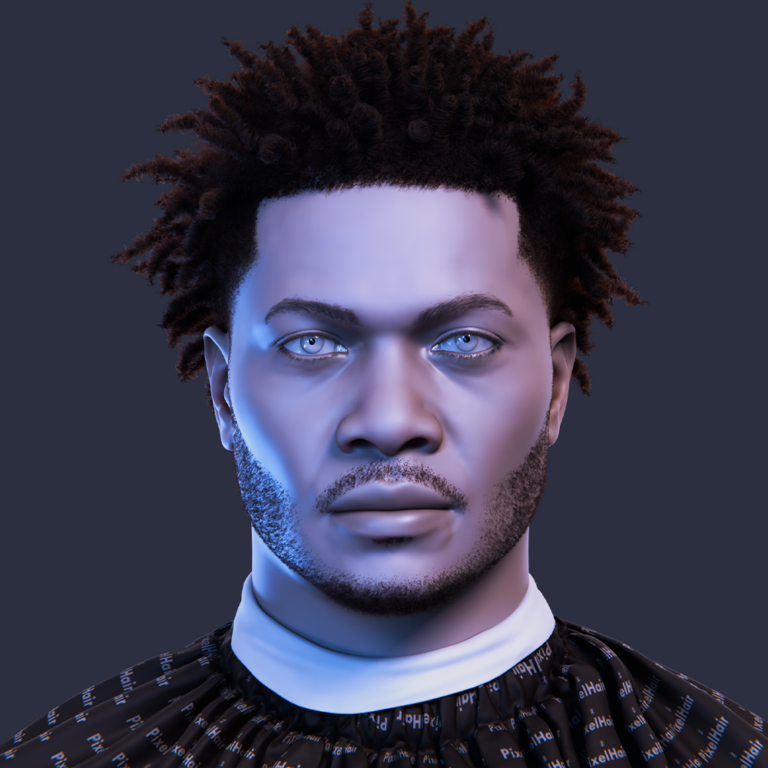
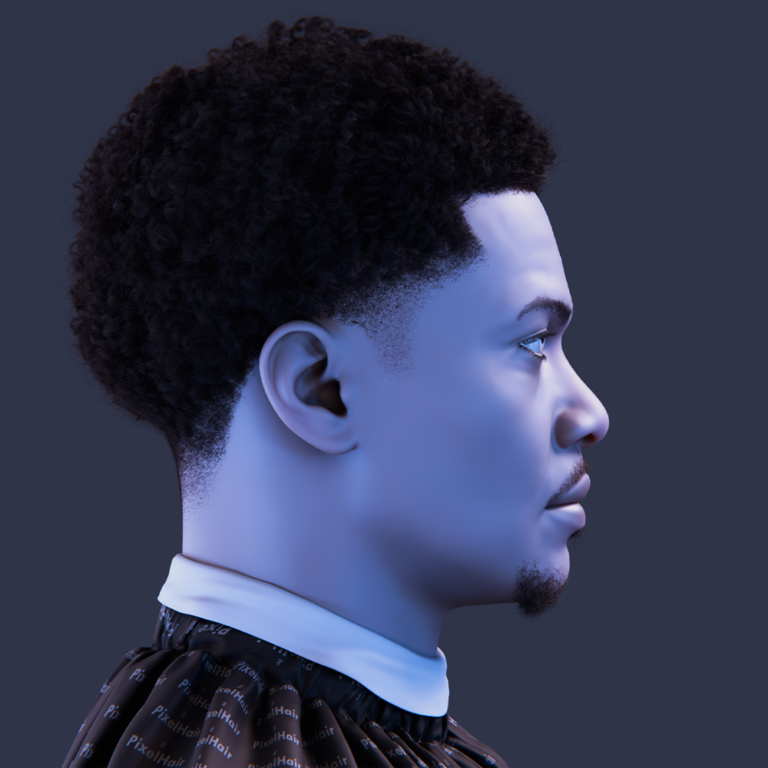
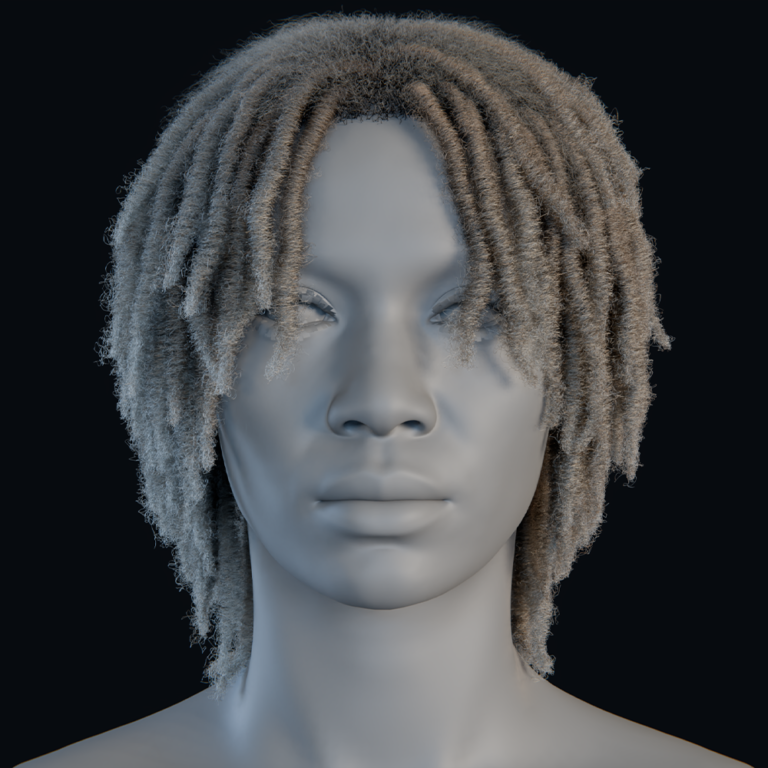
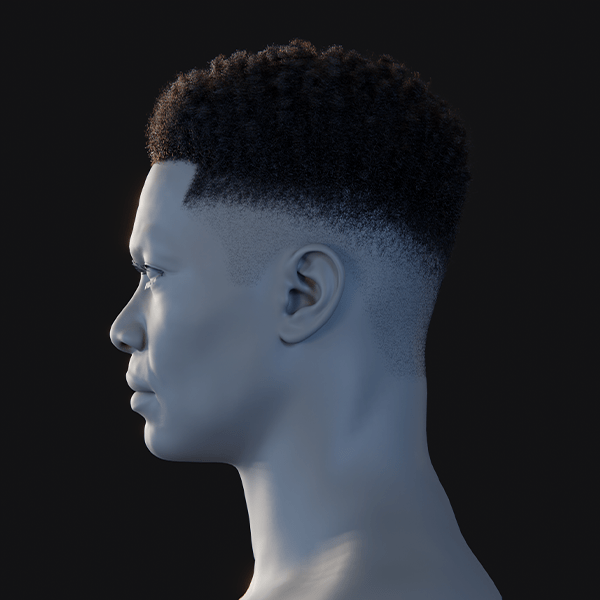
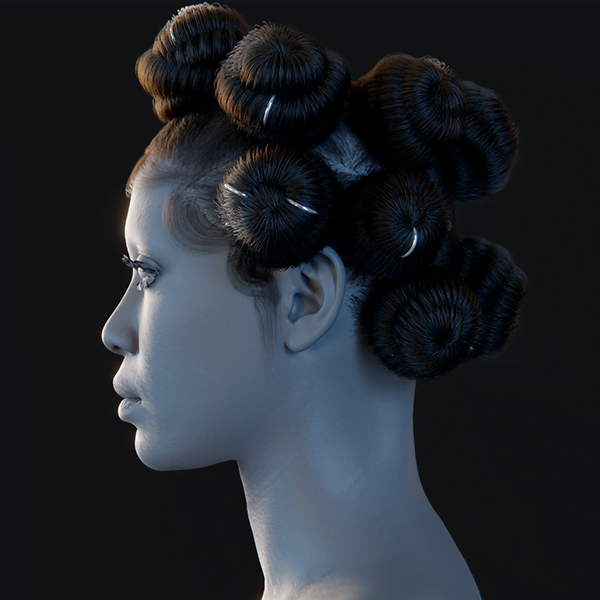
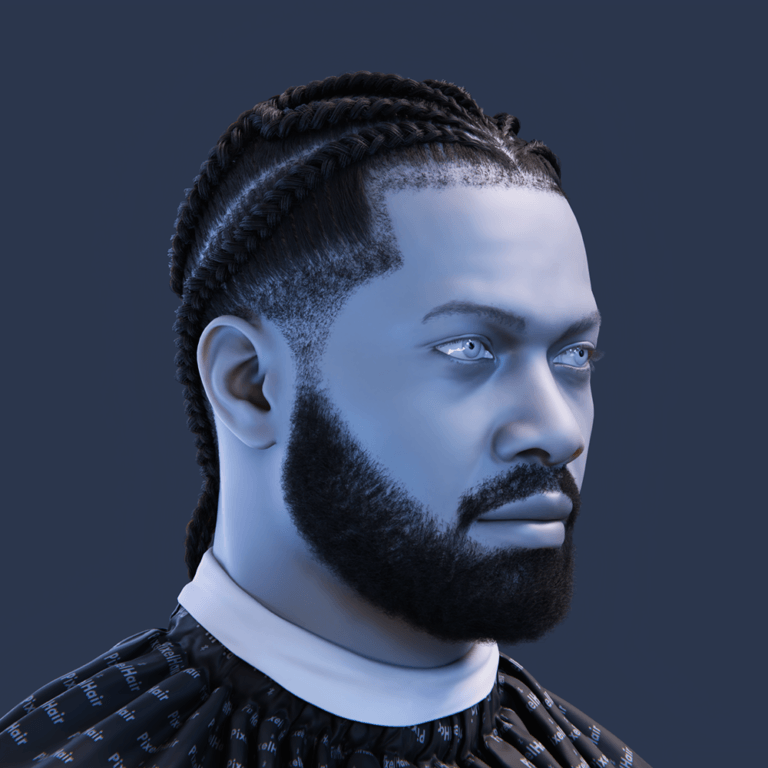
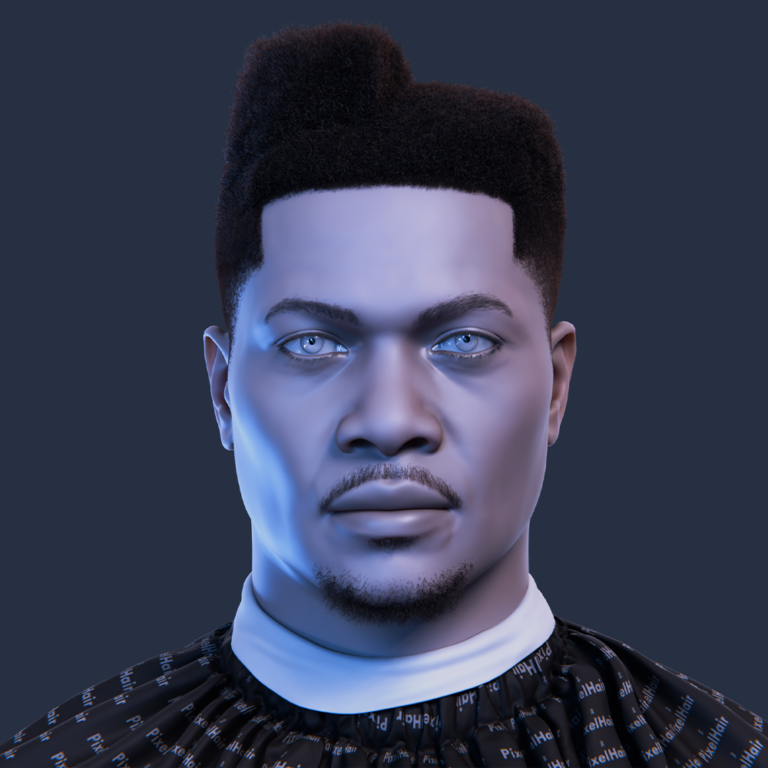
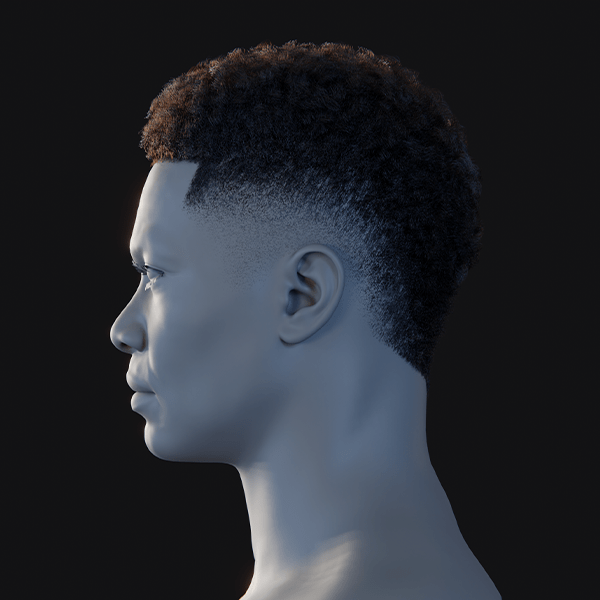
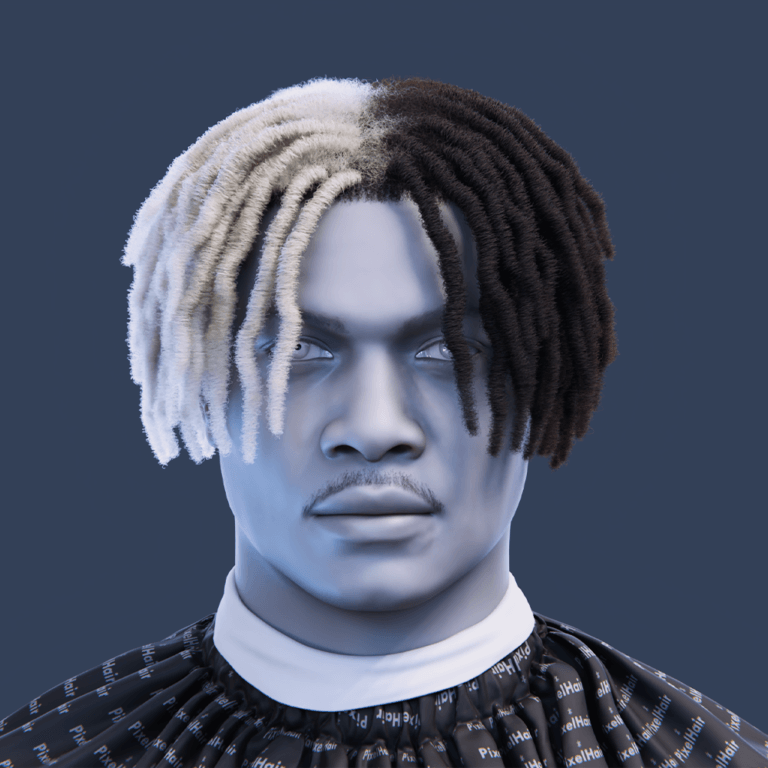
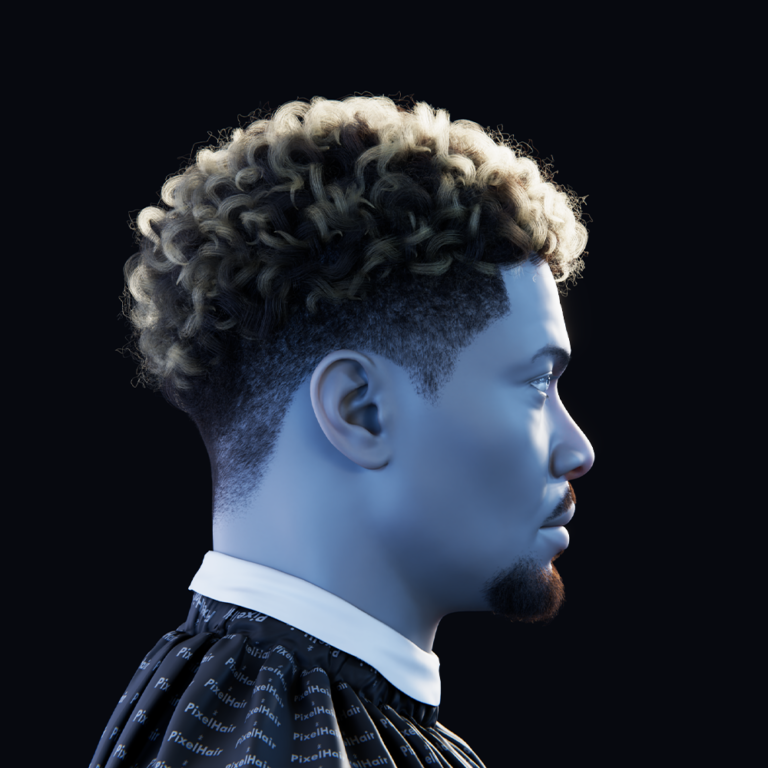
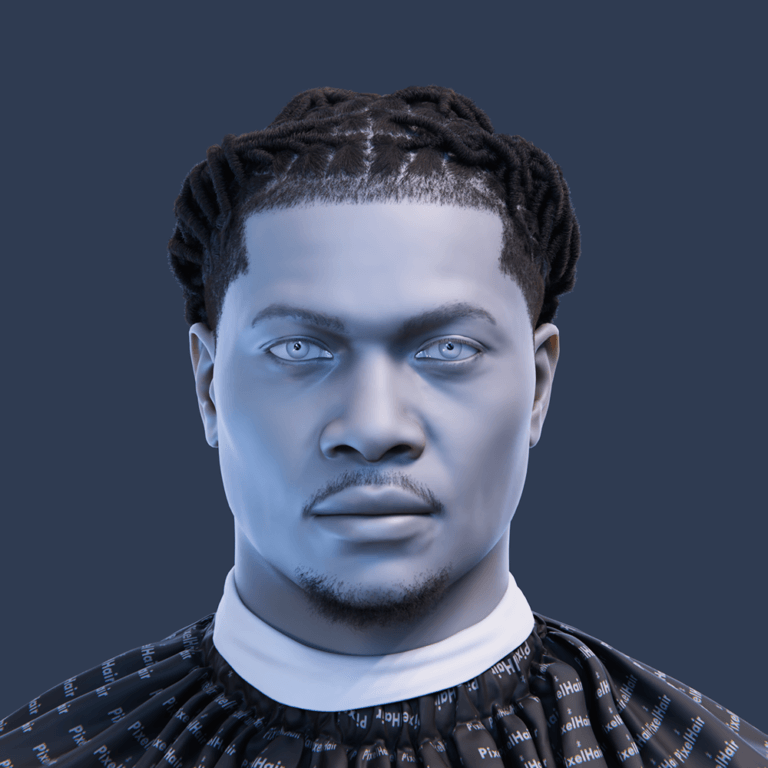
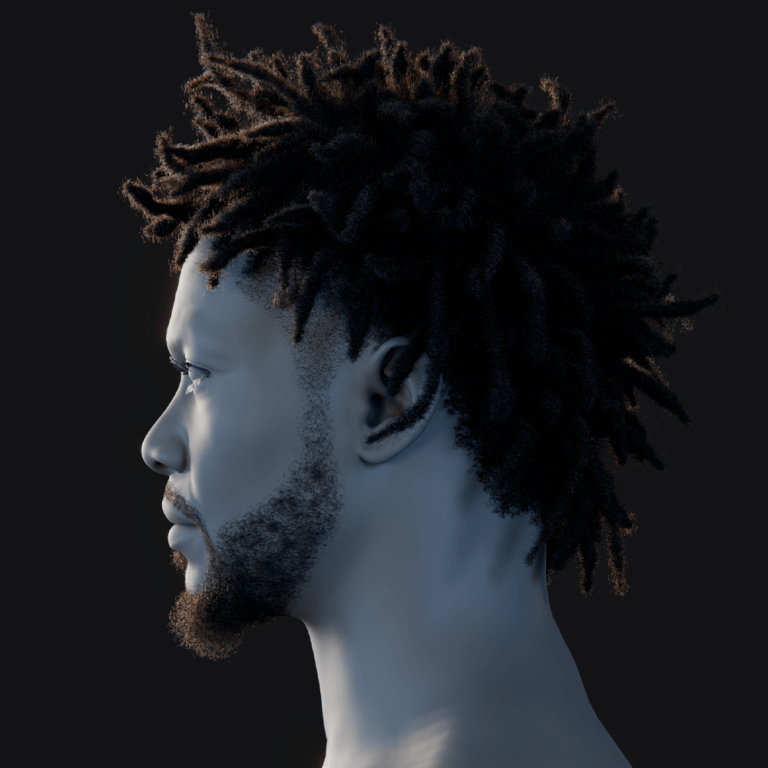
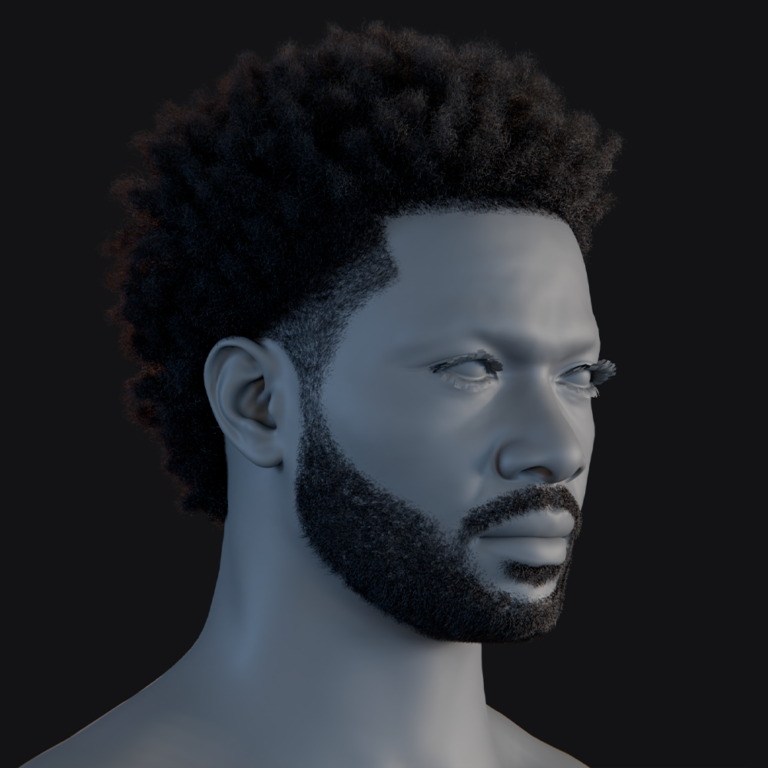
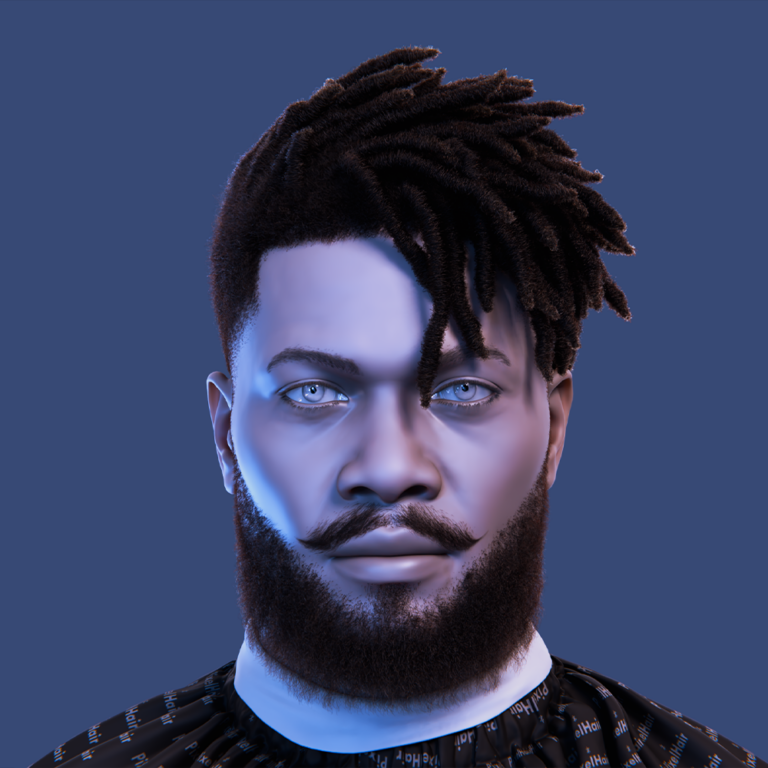
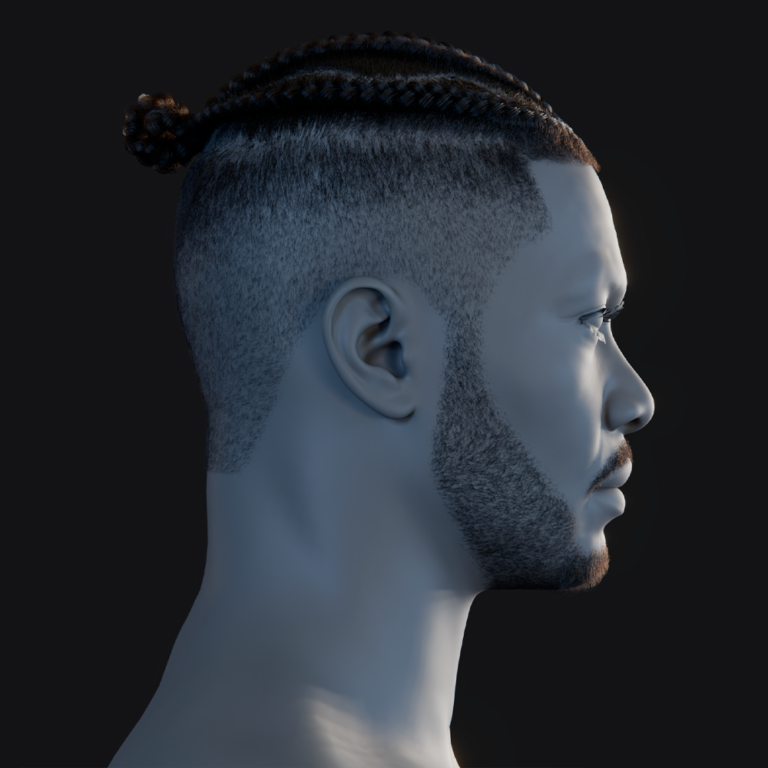
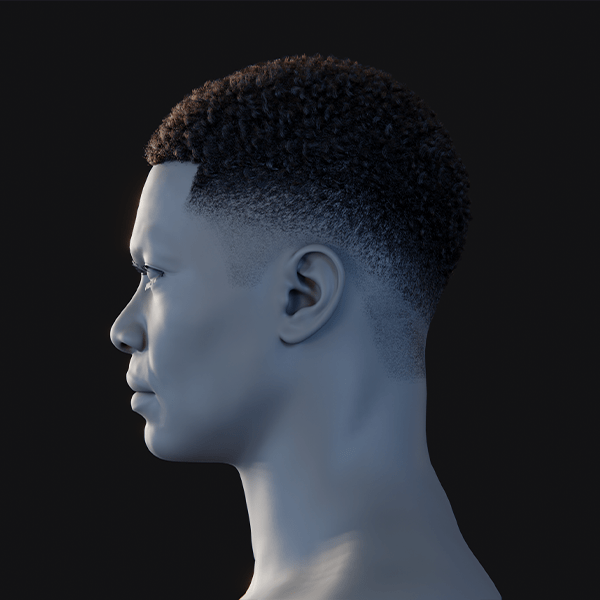
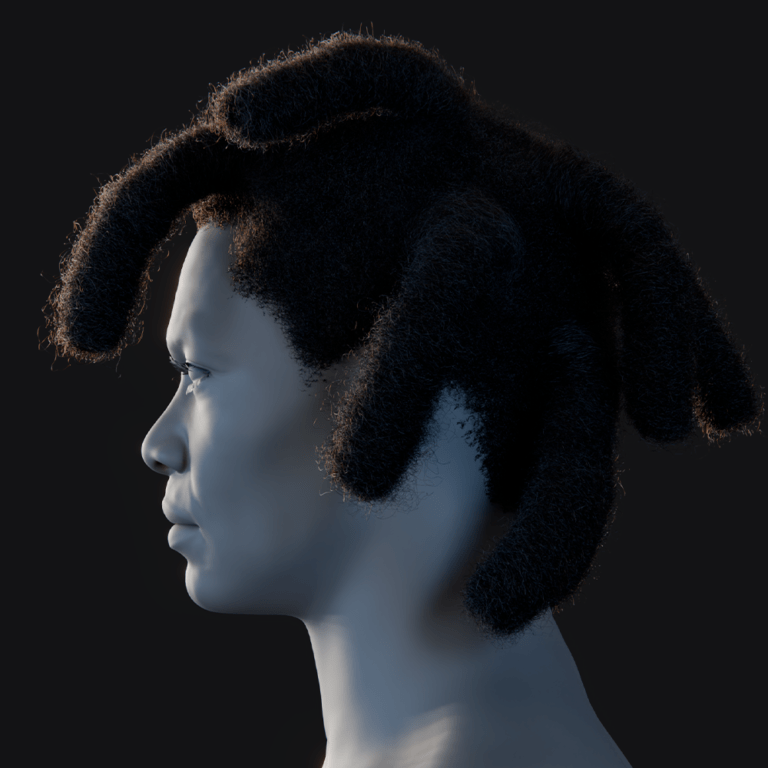
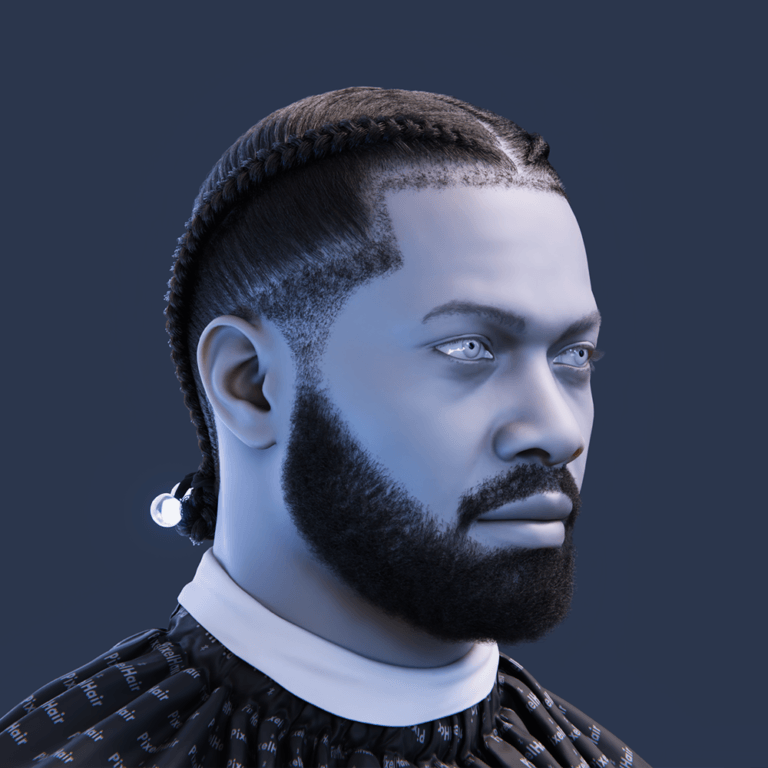
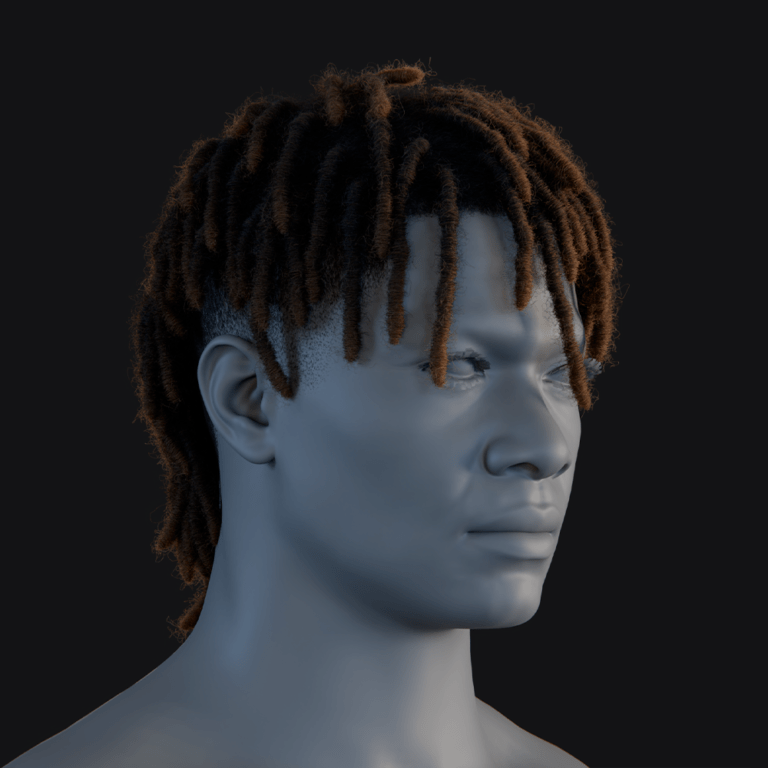
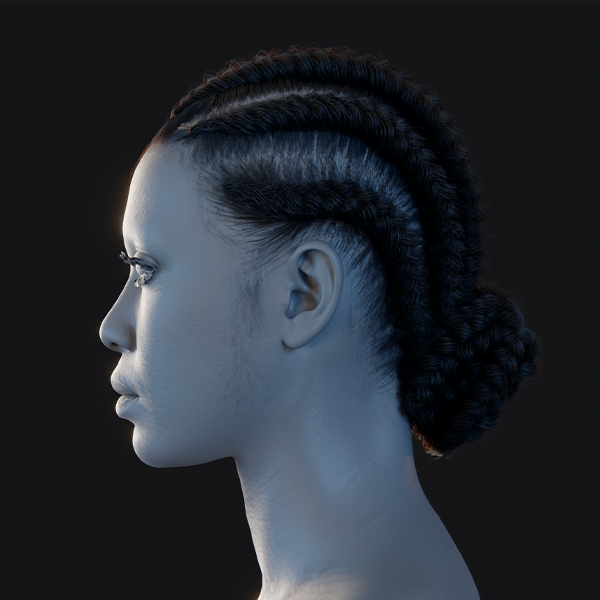
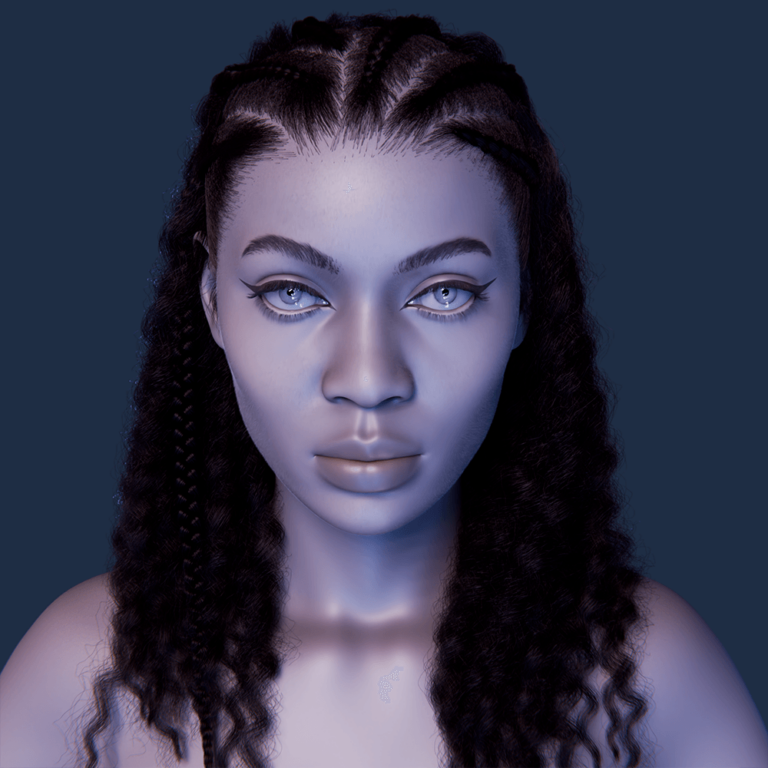
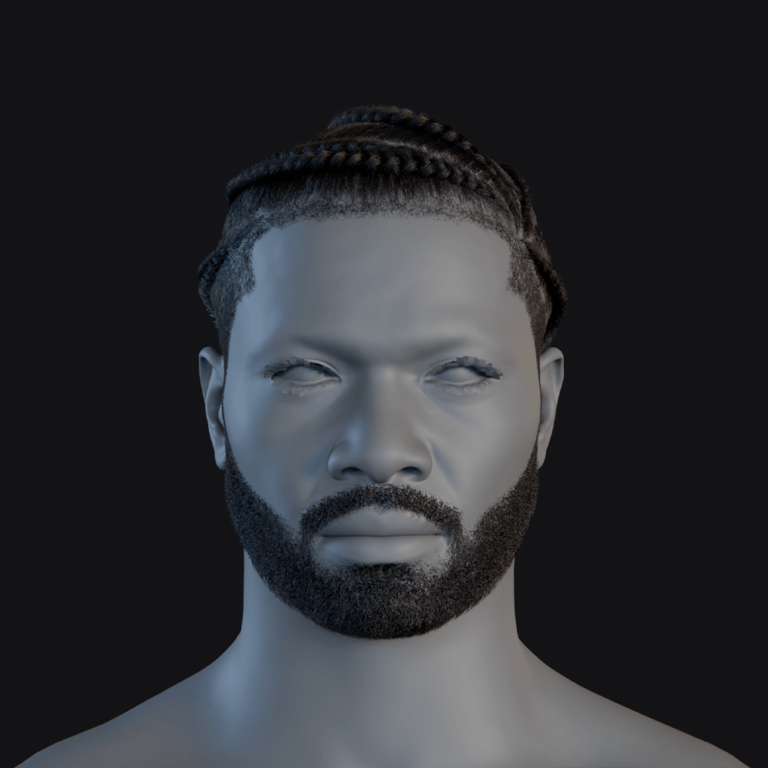
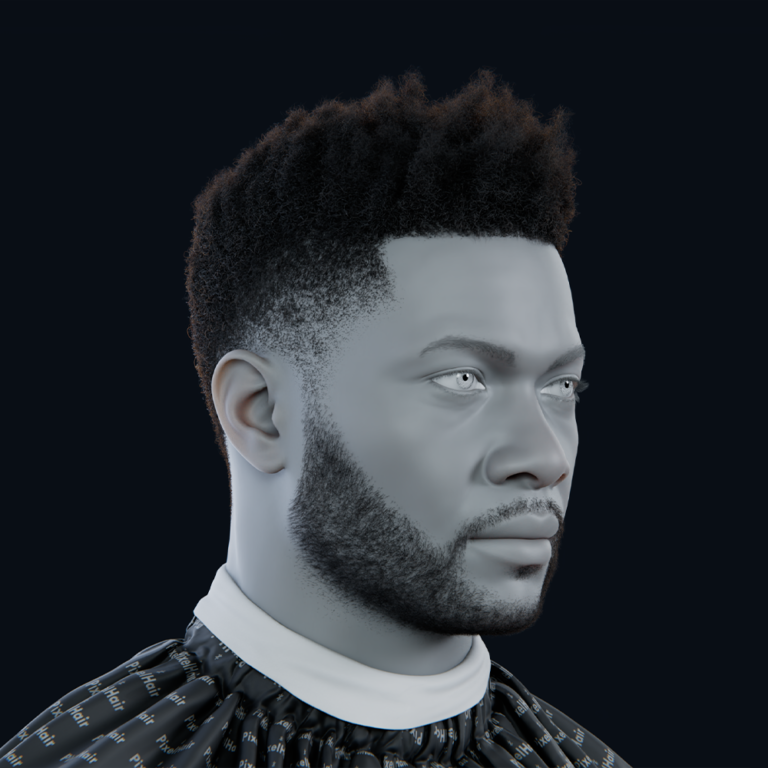
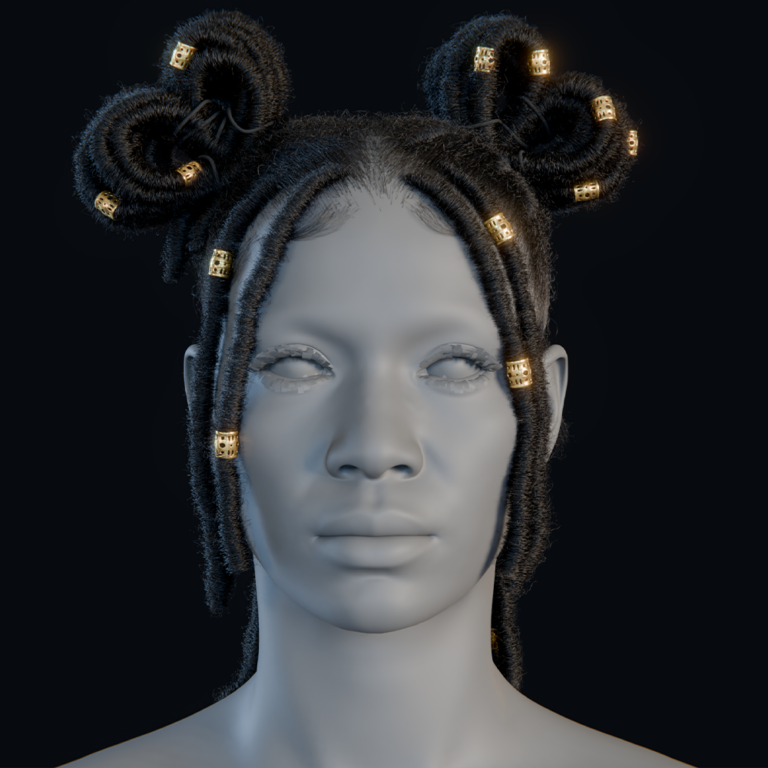
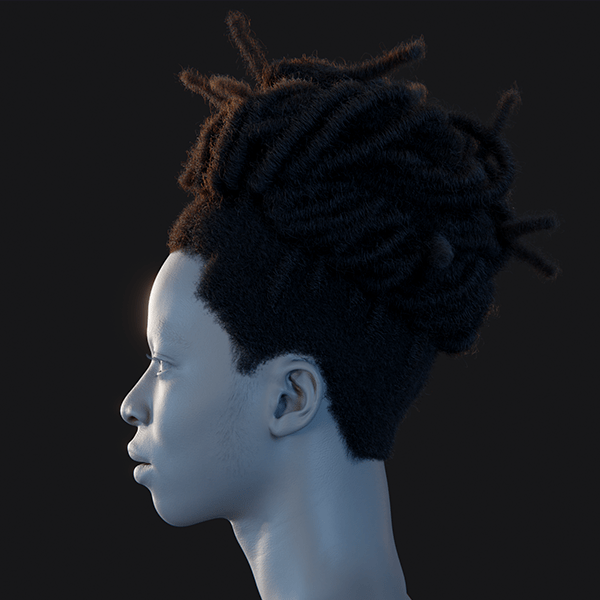
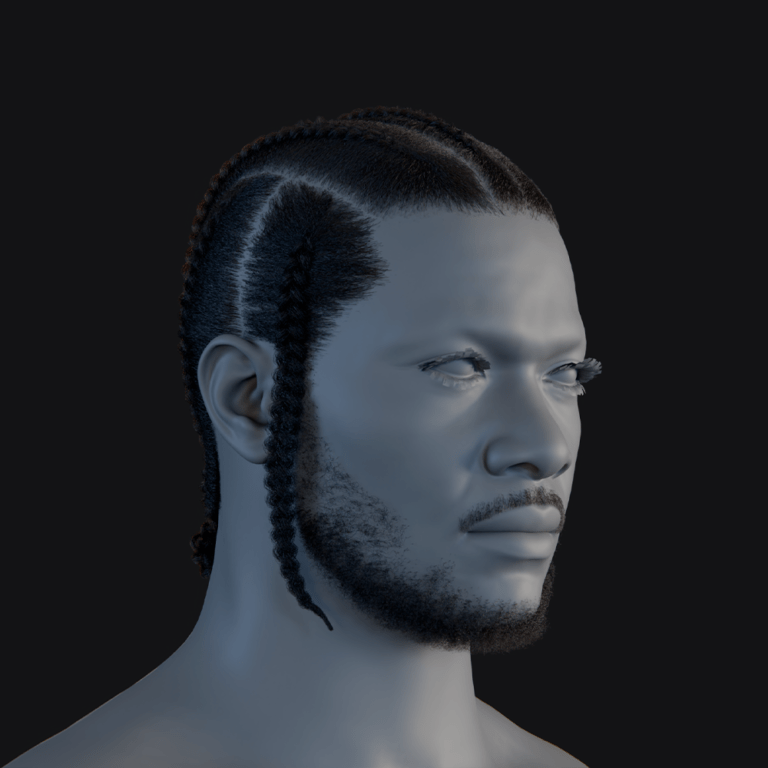
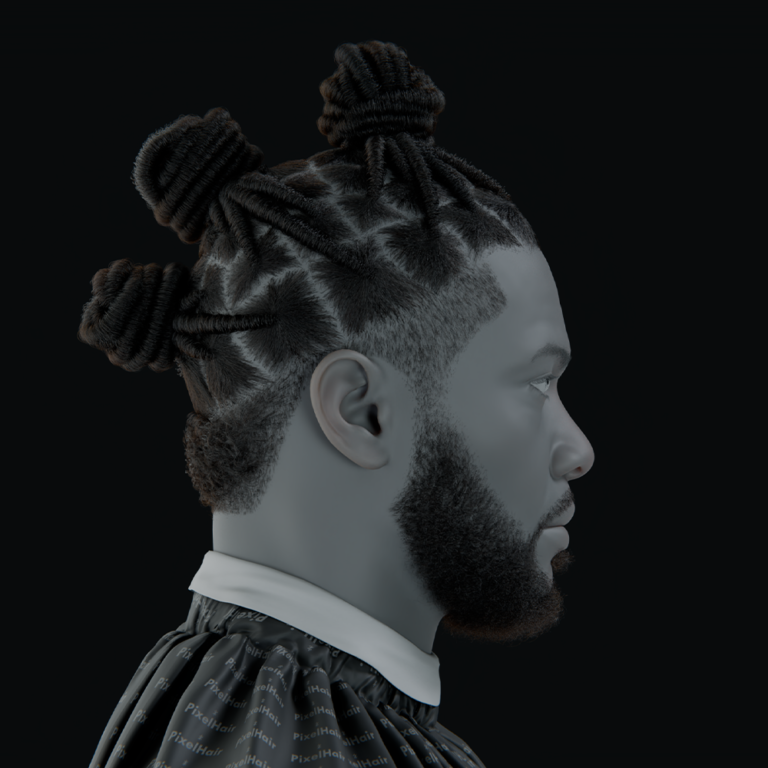
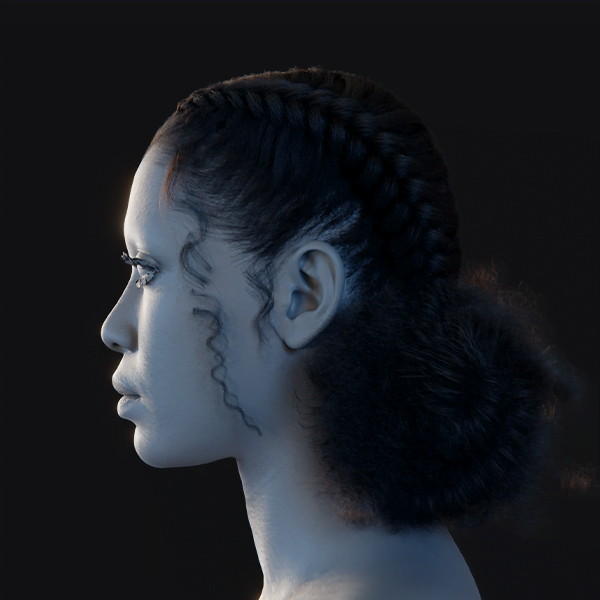
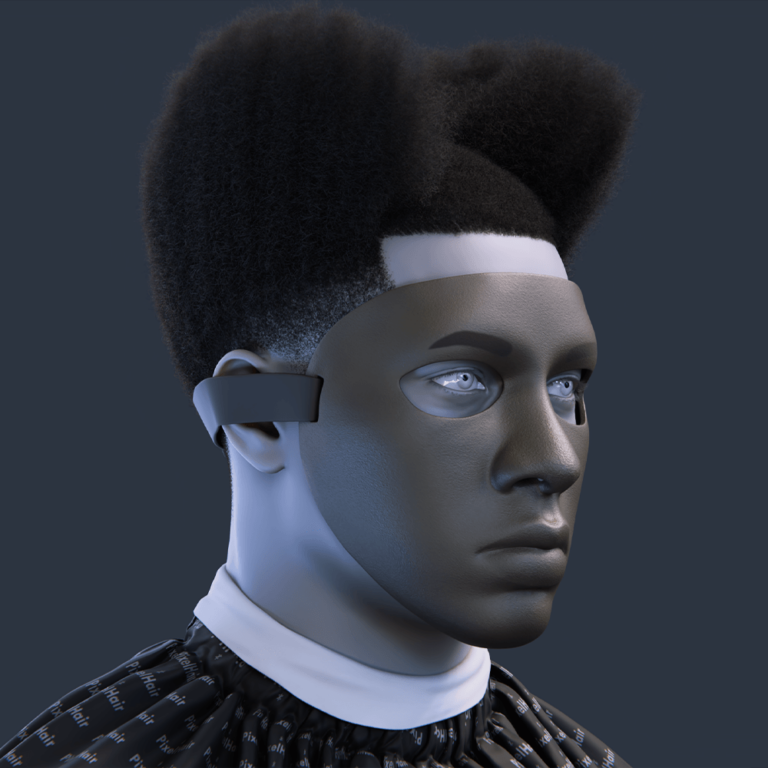
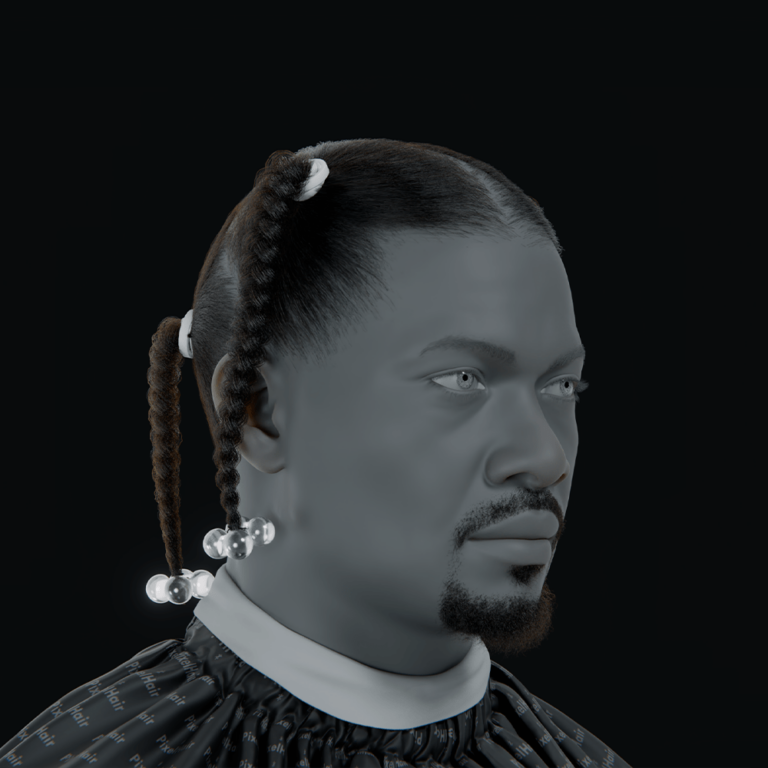
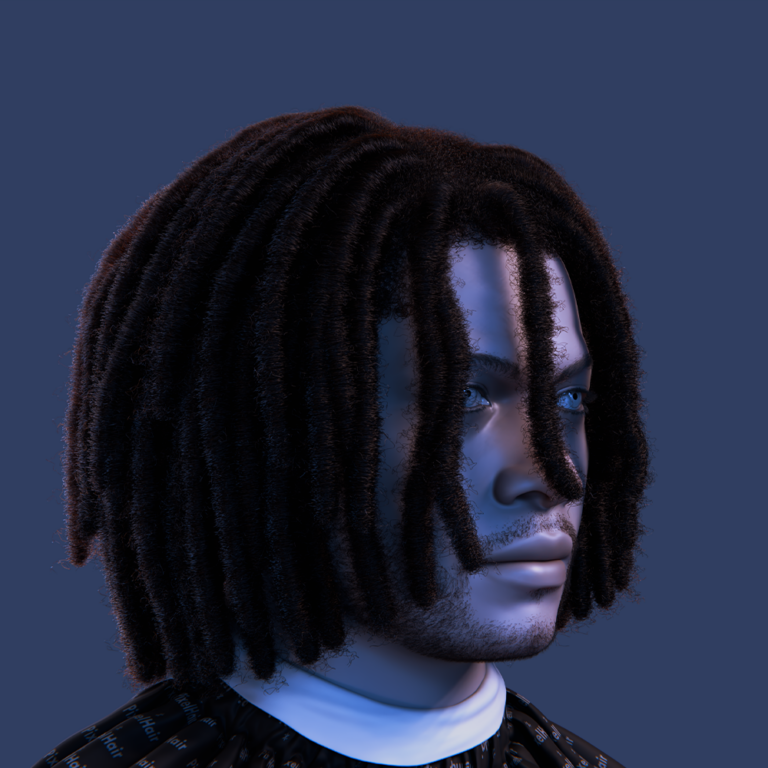
- Ready-to-use Hairstyles: PixelHair provides pre-groomed hairstyles like braids, buns, afros, and dreadlocks as Blender hair particle or curve assets. These are pre-styled for realism, saving grooming time. Import into your scene for instant use. They include scalp meshes for emission.
- Ease of Use: Append PixelHair assets and position the scalp mesh on your character’s head, using a shrinkwrap modifier to fit custom head shapes. The high-poly scalp ensures adaptability. Minimal setup is needed to apply hairstyles. This streamlines the hair creation process.
- Customization: Adjust PixelHair in Particle Edit or Curves mode to tweak strand positions, length, density, or color to suit your character. Assets are fully customizable, allowing artistic refinements. Use as a starting point for further detailing. This ensures a tailored fit.
- Realism and Dynamics: PixelHair balances realism and performance, using children particles and Cycles materials. Add hair dynamics for motion, like swaying ponytails. Designed for Blender and Unreal Engine, they suit cinematic or game use. They deliver stunning results with ease.
- PixelHair vs Manual Grooming: PixelHair offers speed and quality, bypassing time-consuming manual grooming. Pre-made by artists, hairstyles are production-ready yet adaptable. Ideal for those seeking cinematic hair without grooming expertise. It’s like using high-quality kitbash assets.
- Integration with Pipeline: Render PixelHair directly in Blender or convert to hair cards for game engines like Unreal. Compatible with Metahumans and UE5, assets guide curve or mesh conversion. This ensures versatility across rendering and export needs. PixelHair elevates character realism efficiently.
How do I simulate or sculpt clothing and fabric for realistic characters in Blender?
Clothing a character realistically is another big challenge. You have two main approaches: simulate or sculpt (or a combination):
- Cloth Simulation Approach: Blender’s physics engine enables realistic cloth simulation through a structured workflow. A rough garment mesh is modeled around the character, and the Cloth modifier is applied with settings for fabric types like cotton or leather. Collisions are enabled on the character’s body to ensure proper draping, and the simulation is run to settle the cloth naturally. The modifier can be applied to freeze the shape, with further sculpting for fine details. This method excels at creating dynamic folds for loose clothing but requires careful parameter tuning to avoid mesh issues.
- Sculpting Approach: Manually sculpting cloth wrinkles offers precise artistic control, as seen in Blender’s Project Heist. Using Blender’s Cloth brush, artists can simulate cloth behavior for realistic wrinkles without full simulation. This approach is faster for static poses but less adaptable for dynamic movements, requiring corrective shape keys for different poses. Sculpting ensures stylized folds but may look unnatural if the character’s pose changes significantly.
- Hybrid: Combining simulation and sculpting leverages both strengths. A base drape is simulated for physical accuracy, then refined with sculpting for detailed wrinkles. This method balances realism and artistic control, ensuring natural garment behavior with character-specific tweaks. It’s ideal for achieving a polished look while maintaining physical correctness.
- Topology of Clothes: Clean topology is crucial for animated or sculpted clothes. Simulated cloth often requires retopology to create quad-based meshes that follow major folds. Adding thickness to edges like hems or collars enhances realism, as paper-thin meshes appear unnatural. Proper topology ensures garments deform naturally during animation.
- Detailing Fabrics: Fabric realism is enhanced with normal or bump maps to mimic textures like cotton or leather. Procedural noise can add subtle wrinkles, while shaders tailored to fabric types (e.g., silk’s sharp specular or wool’s fuzzy diffuse) improve visual fidelity. These details elevate the overall realism of the garment.
- Accessories Simulation: Small cloth elements like belts or straps may require separate simulations or rigging. These can be driven by bones or treated as distinct cloth simulations to ensure realistic movement. Proper setup ensures accessories integrate seamlessly with the main garment.
Choosing between simulation and sculpting depends on the project’s needs. Simulation suits dynamic animations, while sculpting is ideal for static, art-directed poses. A hybrid approach often delivers the best results, combining physical accuracy with detailed refinements for realistic clothing.

Can I use hair curves or particle hair for realism in character design?
- Particle Hair (Legacy System): Blender’s older particle hair system uses a scalp mesh as an emitter, with guide strands combed in Particle Edit mode. Child hairs fill gaps, and Hair BSDF or Principled Hair shaders create realistic materials. Proven for high-quality results, it supports hair dynamics for animation but lacks flexibility in layering and has a less intuitive editing workflow. It remains reliable for projects using existing assets or tutorials.
- Hair Curves (New System): Introduced in Blender 3.3, hair curves use geometry nodes for procedural hair generation. Attached to a scalp, hairs are sculpted in Curves Sculpt mode, with multiple hair objects for better organization. Nodes like Interpolate Hair Curves add child hairs, offering flexibility and future-proofing. While more technical, this system aligns with modern grooming tools and supports mesh conversion for advanced workflows.
- Realism with Each: Both systems achieve realistic hair with proper grooming. Hair curves offer granular control through nodes for clumping and variation, making them ideal for cutting-edge projects. Particle hair, while simpler, relies on workarounds for similar effects but benefits from extensive documentation. The choice depends on project goals and familiarity with workflows.
- Compatibility: Neither system exports directly to game engines like Unity or Unreal, requiring conversion to meshes or hair cards. Hair curves may integrate better with future pipelines, but manual hair cards are common for game-ready assets. This ensures compatibility regardless of the chosen system.
- Which to use?
- Use hair curves in Blender 3.5+ for modern, artist-friendly tools like Snake Hook and procedural nodes, ideal for new projects. The system’s active development ensures long-term support. It’s more intuitive for 3D brush-based grooming.
- Stick with particle hair for existing assets or familiarity with older workflows. It’s reliable for quick results but will eventually be phased out. Particle hair suits projects leveraging established resources.
- Mixing systems is possible, such as using hair curves for hairstyles and particle hair for secondary elements like fur, though sticking to one system simplifies the pipeline. Consistency streamlines project management.
Both systems deliver realistic hair with proper grooming. Hair curves are the future of Blender’s grooming, offering flexibility and procedural control, while particle hair remains a robust choice for established workflows. Choosing depends on project requirements and the artist’s comfort with each system.

How do I rig a realistic character for animation in Blender?
- Armature Setup: An Armature object forms the skeleton, with bones placed for the spine, arms, legs, and head in Edit Mode. Bones must align with anatomical structure, using X-axis mirroring for symmetry. This foundational setup ensures natural deformation during animation. Additional bones for shoulders or eyes can be included for specific needs.
- Rigify or Preset Rigs: Blender’s Rigify addon provides a human metarig, adjustable to the character’s proportions, which generates a full rig with IK/FK switches and foot roll controls. This saves time compared to manual rigging, offering a functional setup for realistic humans. Custom rigs or alternatives like BlenRig are viable but more complex.
- Skinning (Weight Painting): Binding the mesh to the armature with automatic weights is followed by Weight Paint mode to refine deformations. Shoulders and hips require careful weight distribution to prevent collapsing, while elbows and knees need blended weights for smooth bending. Fingers and facial bones demand precise painting for accurate movement.
- Controllers and Constraints: Control bones with constraints like IK for arms and legs simplify posing. Rigify automates these setups, including pole targets for elbow/knee direction. Spine rigs may use FK or spline IK for smooth bending, with head bones optionally independent. These controls enhance animator efficiency.
- Muscle and Corrective Shapes:
- Corrective Shape Keys: Sculpted shape keys fix unnatural deformations in poses like bent elbows or raised arms, driven to activate automatically. These ensure realistic volume preservation during extreme movements. The Corrective Smooth modifier can address minor issues.
- Muscle Bones or Simulation: Advanced setups use scaling bones to mimic muscle bulging or addons for muscle systems. Shape keys often suffice for volume corrections, balancing realism with simplicity. This approach enhances lifelike deformation.
- Face Rigging:
- Bone-based: Bones for eyes, jaw, and facial features drive expressions. Complex to set up manually, they suit smooth keyframing. Simplified versions focus on key movements like eyebrow raises, supported by rigs like BlenRig.
- Shape keys: Sculpted expressions (smile, frown) are animated directly or driven by bones/custom properties. This method excels at fine nuances, making it ideal for realistic facial details. A hybrid approach often combines both for flexibility.
- Testing Deformations: Rigged characters must be tested in extreme poses to ensure natural deformation. Issues like shoulder collapse or unnatural wrinkles are fixed via weight painting or corrective shapes. A robust rig supports dynamic posing and convincing facial expressions for realistic animation.
Rigging blends technical precision with artistic judgment. Rigify simplifies the process for beginners, handling complex controls, while weight painting and shape keys refine realism. A well-rigged character moves believably, enabling dynamic animation or expressive still renders.
How do I apply facial rigging or shape keys for expression control?
- Shape Keys for Facial Expressions: Shape keys store alternate mesh shapes for expressions. In Object Data Properties, a Basis key is created, followed by keys like “Smile” or “Blink.” Sculpt Mode edits these shapes, with sliders interpolating between rest and expression. Subtle keys like nostril flares enhance realism for nuanced expressions.
- Driving Shape Keys: Shape keys can be keyframed or driven by bones for intuitive control. A driver links a bone’s rotation (e.g., eyebrow bone) to a shape key’s value, or custom properties create a UI for animators. This setup streamlines animation while maintaining precise expression control.
- Bone-based Facial Rig:
- Jaw bone: A rotating jaw bone, weight-painted to the lower jaw, opens the mouth. Shape keys may refine lip deformation for natural movement. This ensures realistic jaw motion during speech or expressions.
- Eyelid bones: Small bones control eyelid blinks, constrained to follow eye rotation partially. This creates natural eye movements, critical for lifelike expressions.
- Brow bones: Bones along the eyebrow raise or lower sections, enabling dynamic brow expressions. They integrate with other facial controls for cohesive animation.
- Lip bones: Bones around the mouth adjust lip curls or smile corners, simplifying complex expressions. They reduce reliance on multiple shape keys for key movements.
- Corrective Blendshapes for Face: When bones alone don’t capture skin nuances (e.g., cheek bulging during a smile), corrective shape keys are sculpted and driven to activate with specific bone combinations. This advanced technique, known as pose-space deformers, ensures realistic facial deformations in complex expressions.
- Testing Expressions: Rigs are tested for natural blinks, lip sealing, and teeth/tongue movement. Subtle details, like eye squinting during smiles or brow furrowing in frowns, are verified using reference expressions. This ensures the face conveys authentic emotion without appearing static.
Facial rigging combines shape keys for fine control with bones for broad movements, often in a hybrid setup. Shape keys excel at detailed expressions, while bones simplify keyframing for jaw and eyes. A robust facial rig, tested thoroughly, brings characters to life with emotive, realistic expressions.

What lighting setup makes realistic characters look more believable in renders?
Lighting is a huge factor in selling realism. A well-modeled and textured character can still look flat or “CG” if lighting isn’t done right. For believable character renders:
- Three-Point Lighting as a Base: This classic setup uses a Key light for primary illumination, a Fill light to soften shadows, and a Rim light to outline the character. For example, position the Key light at a 45-degree angle above, the Fill lower on the opposite side, and the Rim behind for a glowing edge. This method, ideal for portraits, defines features and separates the character from the background. Adjust intensities to balance contrast and ensure a natural look.
- HDRI Environment Lighting: High Dynamic Range Images (HDRIs) provide realistic lighting with natural color and intensity variations. Set an HDRI in Blender’s World environment for subtle reflections and light wrap, suitable for studio or outdoor scenes. A high-resolution HDRI ensures crisp reflections, acting as a fill light while a key light can add focus. This approach grounds the character in a believable environment.
- Light Size and Softness: Larger light sources, like area lights, create softer shadows that complement skin’s translucent quality, mimicking real-world diffused lighting. Position a large area light in front for soft facial illumination, paired with a smaller rim light for sharp hair highlights. Avoid hard shadows unless simulating intense sunlight. This balance enhances skin texture and realism.
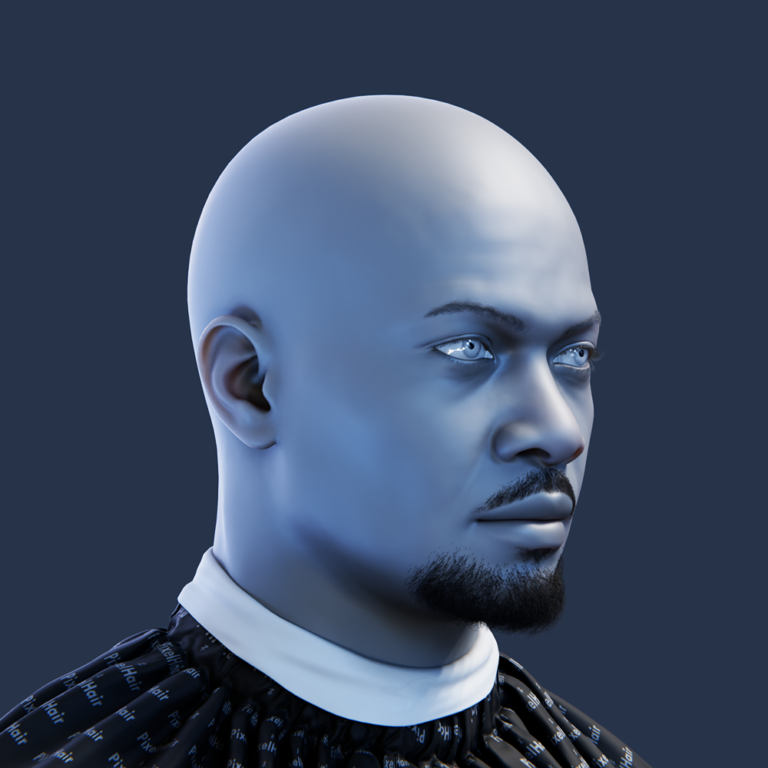
- Subsurface and Backlighting: Back or grazing lights highlight subsurface scattering, showing skin translucency, especially in thin areas like ears. A rim light behind the head can create a red glow through ears, enhancing realism. Subtle side lighting also reveals translucency in cheeks or noses. Use sparingly to avoid over-emphasizing the effect, ensuring natural skin appearance.
- Eye Highlights: Catchlights in the eyes add life to a character, mimicking real-world reflections. Position an area light in front to reflect in the cornea, or use a non-rendering plane for Eevee. Ensure the reflection is visible but not overpowering, as in portrait photography. This detail makes the character’s gaze engaging and realistic.
- Color and Intensity: Realistic light colors, like warm tungsten or cool sunlight, add depth. Use a warm key light with a cooler fill for natural contrast, and vary intensities to create shadows that add dimension. Avoid overly even lighting, as real-world conditions often have one side darker. This approach enhances the character’s three-dimensionality.
- Background and Ground: A ground plane ensures realistic shadow casting and light bounce, anchoring the character. Even for portraits, include a subtle environment for context, avoiding pure black or white backdrops. A neutral backdrop color enhances mood and silhouette readability. This grounds the character in the scene naturally.
- Rendering and Camera Settings: Depth of Field keeps focus on key areas like eyes, mimicking real cameras. Use Filmic color management for accurate tonal mapping and add subtle bloom in post-processing for realistic highlight effects. These settings enhance the render’s photographic quality, making the character appear lifelike.
How do I render realistic skin with subsurface scattering in Blender?
Realistic skin rendering in Blender relies on a well-configured material setup and optimized render settings to showcase subsurface scattering (SSS). Proper lighting and texture balance ensure skin looks soft yet detailed, avoiding plastic or waxy appearances. Cycles is preferred for its accurate light scattering, but careful tuning is needed for best results. Below are essential techniques for rendering realistic skin:
- Use Cycles for Final Renders: Cycles’ path tracing excels at rendering SSS, unlike Eevee’s approximations. Set the Principled BSDF’s Subsurface value above 0 for realistic light penetration. This ensures light scatters beneath the skin, creating a soft, natural look. Adjust settings to balance translucency and surface detail.
- Scale and SSS Radius: SSS depends on model scale, with default radius values suited for meter-scaled models. Adjust for darker skin by lowering SSS scale, or increase for a translucent effect. Test with backlighting to ensure ears glow subtly without losing detail. Proper scaling maintains realistic light scattering behavior.
- Sampling and Noise: SSS can introduce noise, requiring higher render samples in Cycles. Enable denoising to preserve detail while reducing blotches. Adjust sampling to eliminate artifacts, ensuring clean renders. This ensures the skin’s subtle details remain visible without graininess.
- Subsurface + Bump Detail: SSS can soften bump map details due to light scattering. Counter this by boosting bump strength or using detailed diffuse maps to maintain pore visibility. Adjust Principled BSDF’s texture blur settings if needed. This preserves skin texture clarity under SSS effects.
- Surface vs Volume Scatter: Stick with Principled BSDF’s SSS for skin, as it’s designed for layered surfaces, unlike Volume Scatter for uniform objects. This simplifies setup while ensuring accurate skin rendering. Combine with proper lighting to highlight scattering effects. This approach streamlines the material workflow.
- Lighting for SSS: Use back or edge lighting to emphasize SSS, such as a rim light for ear translucency. Thin areas like fingertips or cheeks also showcase scattering when lit from behind. This enhances the skin’s lifelike glow. Proper light placement is key to revealing SSS naturally.
- Material Tweaks: Set Subsurface Color to a reddish hue for realistic flesh tones beneath the skin. Use epidermal and subdermal maps if available for detailed color bleed, like veins. For simpler setups, a pinkish-red color works for light skin. This adds depth to the skin’s appearance.
- Eyes and Teeth in Renders: Realistic eyes need a refractive cornea for highlights, while teeth and gums require slight translucency. Add minimal SSS to gums and a touch to teeth to avoid a chalky look. These details ensure the entire character feels cohesive. Neglecting them can undermine the skin’s realism.
- Render Resolution: High-resolution renders (4K or 8K) capture fine skin details like pores. Start with a large render size, scaling down if needed, to preserve texture quality. Low-res renders may miss critical details. This ensures the skin’s intricacy is fully showcased.

Can I export my Blender character for use in Unreal Engine or Unity?
Exporting Blender characters to Unreal Engine or Unity is straightforward with proper preparation, ensuring compatibility with game engine workflows. Baked textures, optimized meshes, and correctly configured rigs are critical for seamless integration. Both engines support real-time rendering, though some adjustments are needed to match Blender’s quality. Below are key steps for successful export:
- Export Format: Use FBX for rigged characters and animations, widely supported in both engines, or glTF 2.0 for modern workflows. FBX is reliable for meshes, textures, and rigs, while glTF is lightweight and increasingly supported. Choose based on engine compatibility. Ensure the format carries all necessary data.
- Apply Transforms and Scale: Apply rotation and scale (Ctrl+A) in Blender to ensure a 1.0 scale, matching engine units (1 meter = 1 unit in Unity, ~100 units in Unreal). Orient the character to face the correct axis (-Y for Unreal, -Z for Unity). This prevents scaling or orientation issues on import.
- Mesh and Materials: Bake textures (Albedo, Normal, Roughness) as game engines don’t support Blender shaders. Consolidate materials for performance, avoiding multiple materials per mesh. Use a single UV set if possible, as UDIMs may import as separate materials. This ensures efficient rendering in-game.
- Rig and Animations: Export rigs via FBX, ensuring bones transfer correctly. Bake animations to bones, as constraints don’t export. Shape keys export as morph targets for facial animations, but test for naming issues. This allows smooth animation playback in Unreal or Unity.
- Hair and Clothing: Convert particle hair to mesh strips or hair cards, as engines don’t support Blender’s hair systems. Export clothing as part of the mesh or separately for physics. Unreal’s Groom system or Unity’s hair cards can enhance hair rendering. This ensures hair and cloth integrate well.
- Weight Painting and Vertex Groups: Limit vertex influences to four bones to meet engine performance limits. Check weight painting to avoid deformation issues. Use Blender’s weight limit modifier if needed. This ensures smooth animations without artifacts.
- Unit Conversions: Adjust for Unreal’s 0.01 import scaling (1 unit = 1cm). Set correct scale in Blender’s FBX exporter or engine import settings to avoid size issues. glTF typically handles scale better. This ensures the character appears at the correct size.
- Materials in Engine: Recreate skin shaders in Unreal (Subsurface profile) or Unity (HDRP Diffusion Profile) using baked textures. Tweak settings to approximate Blender’s look, as Cycles nodes don’t transfer. This maintains skin realism in real-time rendering.
- Testing: Test exports with a simple mesh first to verify scale and orientation, then import the full character. Check Unreal’s skeleton tree or Unity’s rig to confirm bone integrity. Import normals and tangents for consistent normal maps. This ensures a flawless import process.
What are common mistakes in realistic character creation and how to avoid them?
Creating realistic characters in Blender requires avoiding pitfalls that can undermine the final result. Common errors stem from poor planning, incorrect techniques, or overlooking details, but they can be mitigated with careful workflows. Awareness of these issues helps artists maintain quality throughout the process. Below are frequent mistakes and how to address them:
- Ignoring References or Poor Reference Use: Sculpting without references leads to inaccurate anatomy. Always collect ample references for body parts and faces, consulting them regularly. This ensures anatomical accuracy and realism. Pause and gather references if unsure about details.
- Uneven or Incorrect Proportions: Subtle proportion errors, like oversized heads, make characters look off. Use measurement tools or reference rigs, and compare silhouettes to real humans. Flipping the model helps spot issues. This maintains believable proportions throughout.
- Over-detailing too Early: Focusing on details like eyes before establishing overall form wastes time. Block out the entire model first, progressing in stages with checkpoints for proportions. Set timers to stay disciplined. This ensures a cohesive model before detailing.
- Plastic or Unnatural Skin Shading: Overly glossy or waxy skin results from excessive SSS or incorrect roughness. Study real skin under similar lighting, balancing sheen and diffuse areas. Test with backlighting to calibrate SSS. This achieves a natural skin appearance.
- Eyes Not Looking Alive: Lifeless eyes stem from missing highlights or misaligned gazes. Model a refractive cornea, add catchlights, and toe-in eyes for focus. Include subtle wetness at eye corners for realism. This makes the character’s gaze engaging and lifelike.
- Hair Looking Unnatural: Sparse or uniform hair exposes the scalp or looks artificial. Use enough particles with randomness in roughness settings to fill out hair. Ensure roots are covered with shadows or children. This creates natural, dense hair flow.
- Poor Topology for Deformation: Bad topology causes animation artifacts. Plan edge loops at joints, following topology guides, and test with a quick rig. Manually fix auto-retopo issues. This ensures smooth deformations during movement.
- Lack of Secondary Motion or Weight: Stiff or symmetrical poses lack realism. Add asymmetry in static poses, like weight on one leg, and incorporate follow-through in animations. Use physics for subtle jiggle. This mimics natural human movement and stance.
- Uniform Textures or Repeating Patterns: Tiling textures or visible seams break immersion. Paint textures to avoid repeats, using large maps or UDIMs. Add noise and asymmetry for variation. This creates organic, realistic surfaces.
- Rendering Mistakes: Wrong focal lengths or flat lighting distort realism. Use portrait lenses (50-85mm), enable depth of field, and light thoughtfully. Treat renders like photo shoots with realistic camera settings. This enhances the photographic quality of the render.
- Over-Reliance on One Technique: Overemphasizing sculpting or texturing alone limits realism. Balance modeling, texturing, shading, and lighting efforts for a holistic result. Each aspect contributes equally. This ensures a well-rounded, realistic character.
- Not Leveraging Tools/Resources: Reinventing workflows wastes time. Use base meshes, add-ons like PixelHair, or community assets to streamline generic tasks. Focus creativity on unique character details. This improves efficiency and quality.

Where can I find tutorials and resources to improve realistic character creation in Blender?
A variety of resources can elevate your skills in creating realistic characters in Blender, from official documentation to community-driven content. These provide structured guidance, practical tips, and inspiration for refining your workflow. Engaging with both free and paid materials accelerates learning and improves results. Below are key sources to explore:
- Blender Official Documentation and Training: Blender’s Manual covers modeling, sculpting, and texturing, while Blender Studio shares production workflows from Open Movies. These detail professional techniques for sculpting and topology. Access them for free to learn industry-standard approaches. They’re ideal for understanding Blender’s latest tools.
- Yelzkizi.org Courses and Blog: Yelzkizi.org offers articles on hair grooming and potentially full character creation courses. Their blog, including PixelHair breakdowns, provides advanced techniques tailored for Blender artists. Check for free guides or paid courses. These are valuable for specialized character workflows.
- Blender Artists and Community Forums: Blender Artists and Reddit (r/blender, r/blenderhelp) host discussions and critiques on realistic character projects. Search for threads on “realistic human” to find tips and feedback. Engage with the community for personalized advice. These platforms connect you with experienced artists.
- Tutorial Videos (YouTube/Udemy/etc.): YouTube channels like YanSculpts and Victory3D, or CGCookie and Udemy courses, offer series on realistic character creation. Look for multi-part guides on head sculpting or texturing. Paid courses provide structured learning, while free videos cover specific techniques. These cater to various skill levels.
- ArtStation and 80.lv Articles: ArtStation and 80.lv feature artist breakdowns of realistic characters, explaining skin, hair, and lighting techniques. Though not always Blender-specific, the concepts apply. Study these to adapt professional workflows. They inspire and inform cross-software techniques.
- Academic and Reference Resources: Books like “Anatomy for Sculptors” and the Polycount Wiki provide anatomy and topology insights. These non-Blender resources improve foundational knowledge. Use them to refine proportion and modeling accuracy. They complement digital tools with traditional principles.
- Asset Libraries and Scans: Free 3D human scans from sites like RenderPeople or 3DScanStore serve as references for proportions and lighting. Import them into Blender to study real-world details. Use ethically as study aids, not final work. These enhance your understanding of realism.
- Blender Development Updates: Blender’s Developer Blog highlights new features like hair grooming or sculpting tools, often with workflow tips. Stay updated to leverage the latest advancements. These posts ensure you’re using cutting-edge techniques. They keep your skills current.
- Courses like those on Yelzkizi.org: Yelzkizi.org’s potential courses likely cover the full character pipeline, integrating tools like PixelHair. Investing in a structured course accelerates learning with expert guidance. Check their site for availability. These are tailored for Blender character artists.
Frequently Asked Questions (FAQ)
- Do I need a graphics tablet for sculpting a realistic character in Blender?
A graphics tablet isn’t mandatory but is highly recommended for sculpting in Blender. Its pressure sensitivity and natural hand motion enhance control over organic shapes and fine details like wrinkles. A mouse is less efficient, especially for detailed work, making tablets (e.g., Wacom or Huion) ideal for smoother, high-quality sculpts. Starting with a mouse is fine, but a tablet significantly boosts efficiency and precision. - How many polygons should a realistic character have for good deformation and detail?
Polygon count varies by use: cinematic renders can have millions of polygons, while game-ready characters typically range from 30k to 100k faces, plus hair and accessories. Topology is critical—well-placed polygons ensure smooth deformation, even at lower counts. Use normal/displacement maps for fine details to optimize performance. For VR/mobile, lower counts are needed, but silhouette and joint loops remain key. - Should I rig and pose my character before or after sculpting the high details?
Sculpt in a neutral pose (A- or T-pose), retopologize, rig the low-poly mesh, then pose or animate. High-detail sculpting is easier in a neutral pose, with rigging done on the retopologized mesh. Test rigging early to check proportions, then add details via normal maps or Multires. For static renders, sculpt corrective details like wrinkles after posing. - What is the difference between using Multiresolution vs. Dynamic Topology in Blender sculpting?
Dynamic Topology (Dyntopo) dynamically adds/removes mesh detail, ideal for concepting with flexible geometry but produces uneven, animation-unfriendly topology. Multiresolution subdivides a quad-based mesh, retaining editable lower levels and supporting normal map baking. Use Dyntopo for early shapes, retopologize, then Multires for high-detail sculpting. Multires requires a decent base mesh, unlike Dyntopo’s freeform approach. - How can I make the eyes of my character more realistic?
Realistic eyes require careful modeling, shading, and placement:- Modeling: Use a sphere for iris/sclera and a bulging cornea for refraction, with detailed eyelids and tearline.
- Shading: Apply a textured iris, a clear cornea (IOR ~1.38), subtle sclera SSS, and wet tearline highlights.
- Lighting & Placement: Ensure catchlights reflect in the cornea and position eyes for focused gaze, with slight asymmetry for naturalness.
- Animation: Add micro-saccades for animated eyes or match eyelid/brow positions to the emotion for static renders.
- My character’s skin looks good in Blender, but when I export to Unreal/Unity, it looks different. Why?
Differences arise from shader and lighting variations:- Different Shading Models: Cycles’ SSS differs from Unreal’s Subsurface Profile or Unity’s HDRP diffusion profile, requiring engine-specific setup.
- Lighting Differences: Blender’s HDRI or lights may not match the engine’s; replicate lighting conditions.
- Normal Map Format: Ensure correct normal map import (OpenGL vs. DirectX) to avoid lighting issues.
- Scale and Material Calibration: Adjust for scale mismatches affecting SSS and tweak metallic/roughness values to match Blender’s look.
- How do I ensure my character is game-ready?
A game-ready character needs:- Efficient Topology: Retopologize to low-poly (e.g., 5k for heads), using normal maps and LODs.
- Single Mesh: Combine meshes for performance, separating only for physics or swaps.
- Textures Optimized: Use packed texture maps (Metallic/Roughness/AO) to reduce draw calls.
- Rigging Constraints: Bake animations, avoid complex constraints, and limit to basic bones and blend shapes.
- Collision and Physics: Add proxy colliders in-engine for ragdolls or cloth.
- Testing: Verify deformation and appearance with engine animations.
- Is Blender good enough for professional realistic character creation, or do I need ZBrush/Marvelous/Substance, etc.?
Blender is fully capable of professional realistic character creation, handling sculpting, texturing, and animation. Tools like ZBrush (for ultra-dense sculpts), Marvelous Designer (for cloth), or Substance Painter (for PBR texturing) can speed up specific tasks but aren’t essential. Blender’s all-in-one workflow, enhanced by add-ons, rivals specialized tools. Artist skill, not software, drives quality, and Blender’s versatility suits end-to-end production. - How can I improve the realism of hair without causing huge render times?
Optimize hair for realism and efficiency:- Optimize Children: Use fewer interpolated children (e.g., 50) with balanced thickness.
- Strand Thickness: Set realistic thickness (0.002-0.005 units) to reduce noise.
- Culling and Levels: Reduce children for distant shots or use LODs.
- Clumping and Roughness: Add clumps and variation for realistic grouping without extra strands.
- Use of Cards: Employ hair cards for faster rendering in non-close-up shots.
- Simplify Curves: Lower curve segments and use Simplify settings for distant hair.
- Denoising: Apply modern denoisers to reduce samples while maintaining quality.
- PixelHair Assets: Use optimized presets for balanced realism and performance.
- Any tips for making a character look good in both Blender Cycles and real-time (e.g., Eevee or game engine)?
Ensure compatibility across Cycles and real-time:- Use PBR Textures/Shaders: Stick to Principled BSDF for consistent texture maps across platforms.
- Bake What You Can: Bake AO and normal details for real-time use, applying them in Cycles too
- Test in Eevee: Tune SSS and reflections in Eevee as a real-time proxy for game engines.
- LOD for Real-Time: Use high-poly for Cycles, mid-poly for Eevee/game engines.
- Consistent Scale: Maintain real-world scale for predictable lighting and SSS.
- Hair Alternatives: Use particle hair for Cycles, hair cards for engines, or cards for both.
- Shader Tricks: Apply detail normal maps consistently across renderers for microdetail.
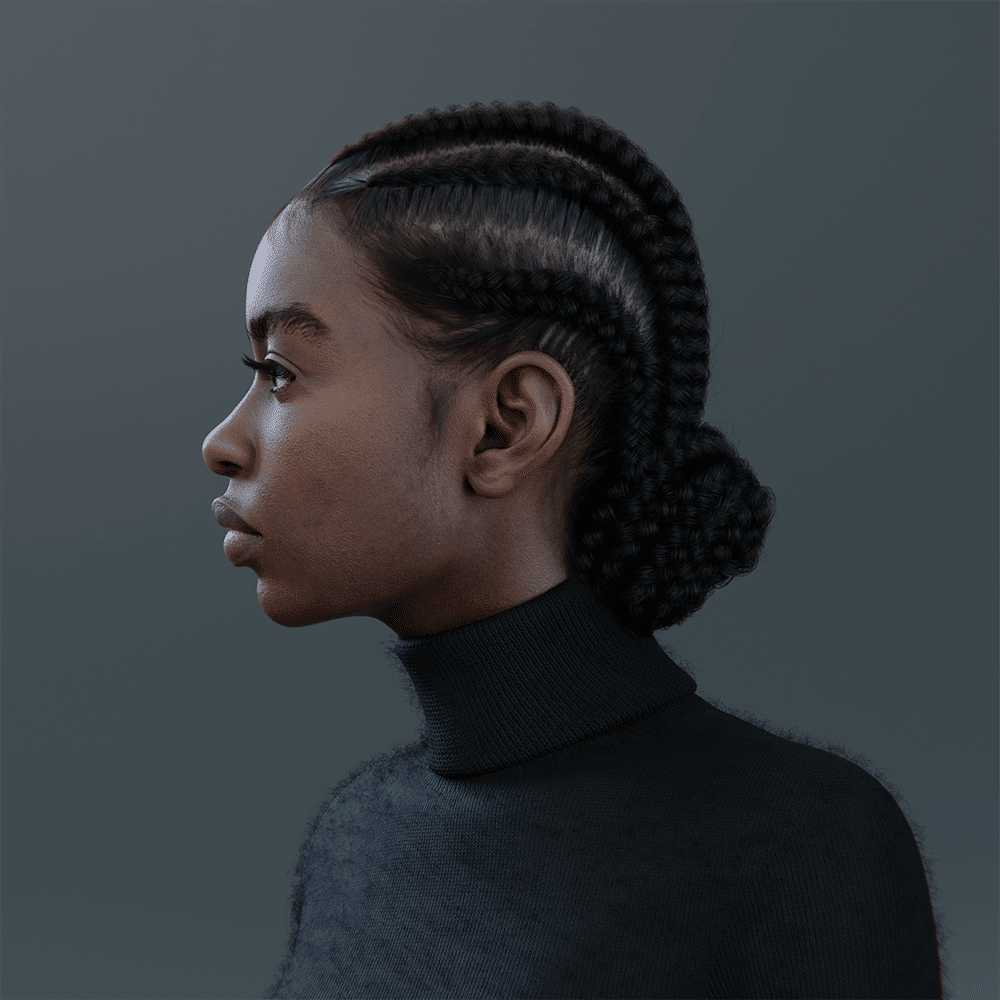
Conclusion
Creating realistic characters in Blender involves mastering anatomy, sculpting, texturing, hair grooming, rigging, and rendering for game-ready or cinematic results. Start with references and base meshes, sculpt forms and details, retopologize for optimized geometry, and apply realistic skin shading with subsurface scattering. Use tools like PixelHair for lifelike hairstyles, rig for animation, and ensure export compatibility. Focus on subtle details like asymmetry, skin blemishes, eye glints, and ear translucency to enhance realism. Leverage resources like courses and Blender’s evolving features, such as hair systems and geometry nodes, to refine your workflow. With patience and practice, you’ll create lifelike characters by iterating and adapting these steps.
Sources:
- Blender Studio – Realistic Character Workflow (documentation from Project Heist)Blender Studio – Realistic Character Workflow
- Blender Artists Community – Advice on likeness sculpting and reference useBlender Artists – Likeness Sculpting
- Blender Developers Blog – The Future of Hair Grooming (introduction of new hair system)Blender Developers Blog – The Future of Hair Grooming
- Yelzkizi Blog – PixelHair: Ultimate Blender 3D Hair Grooming Pack (overview of PixelHair benefits)Blender Artists – PixelHair Overview
- Blender Manual – Retopology (on using QuadriFlow remesher and best practices)Blender Manual – Retopology
- Nabesaka.com – A Look at Skin Shading (detailed guide on skin texture components and shader setup)Nabesaka – Skin Shading Guide
- Blender StackExchange – Discussion on subsurface scattering values for skinBlender Stack Exchange – Subsurface Scattering for Skin
- Blender Code – Procedural Hair Nodes in Blender 3.5 (geometry nodes assets for hair interpolation and clumping)Blender Manual – Hair Nodes
- Blender Studio – Design Blocking & Sculpting (on starting with base meshes and sculpting in stages)Blender Studio – Design Blocking & Sculpting
- Blender Studio – Sculpting Clothes vs Simulation (Project Heist decision to sculpt detailed wrinkles for control)Blender Studio – Sculpting Clothes
Recommended
- What Is Depth of Field in Blender, and How Do I Set It?
- Camera Switching in Blender Animations: Mastering The View Keeper
- Blender Set Hair Curve Profile Geometry Nodes Preset
- What is the clipping range in Blender cameras?
- How to Make a 3D VTuber Avatar: The Complete Guide for Beginners and Content Creators
- How do I simulate a GoPro-style camera in Blender?
- Metahuman Animator: How to Animate Realistic Characters in Unreal Engine 5
- Can You Use Perspective and Orthographic Cameras in Blender?
- Top 10 Blender Render Farm Services for Faster, High-Quality Renders
- What’s New in Blender 4.4: A Comprehensive Overview of Features and Improvements
