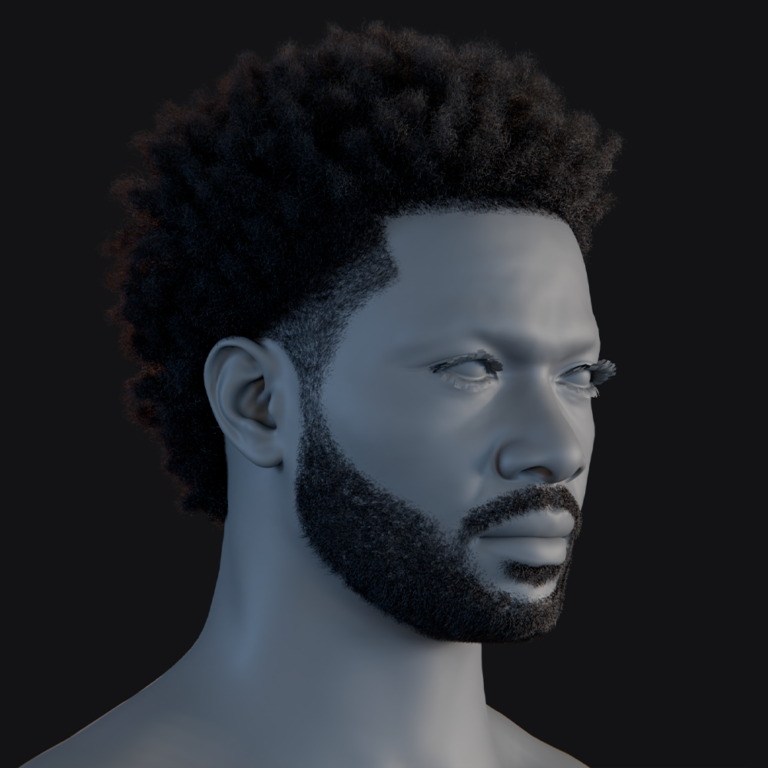
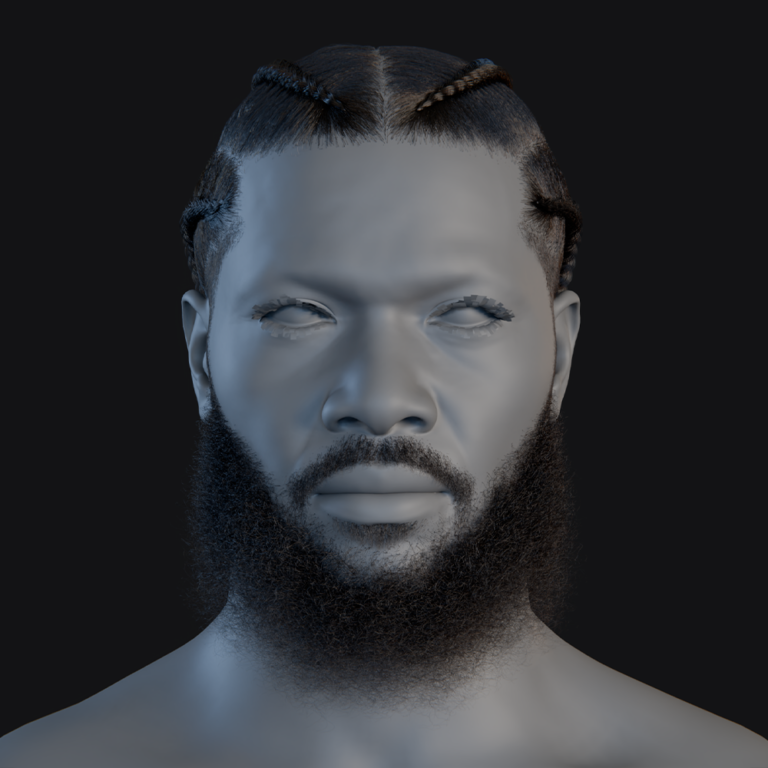
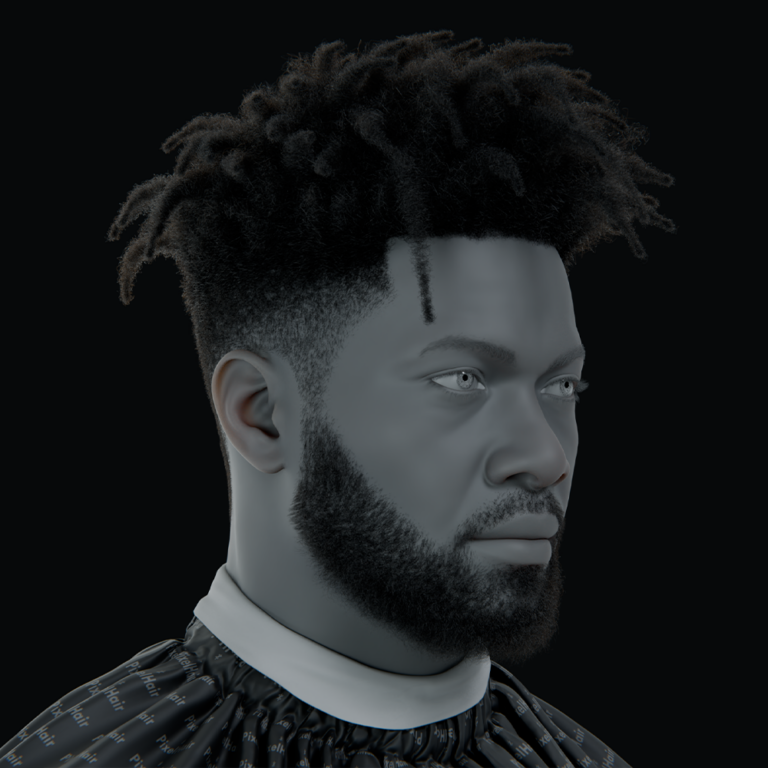
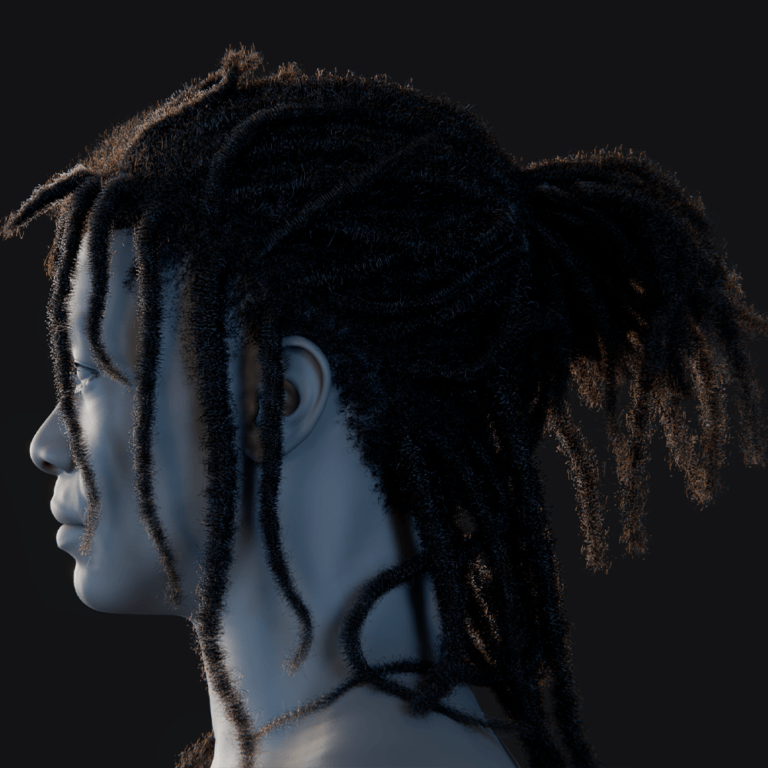
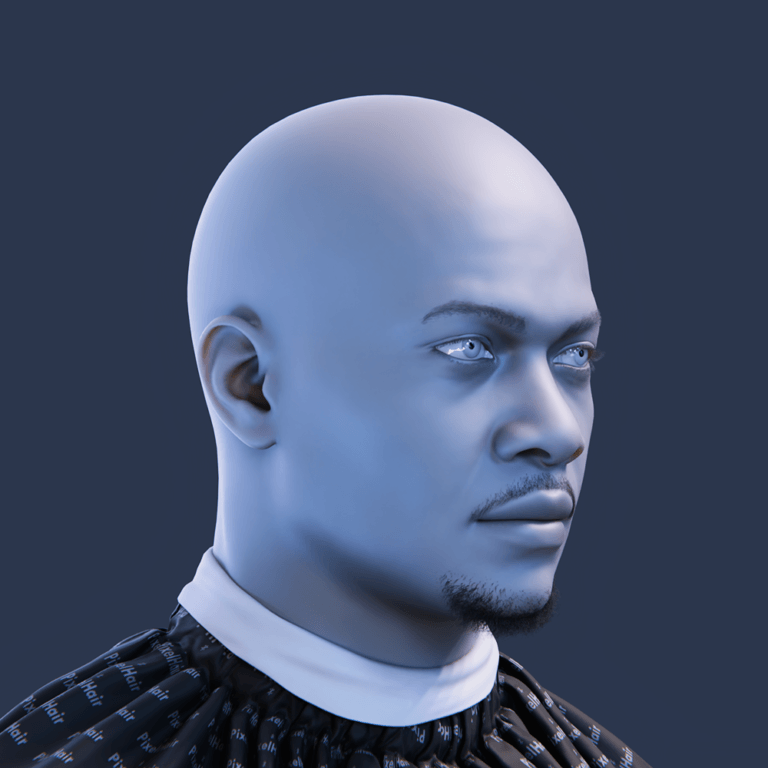
Creating a 3D VTuber avatar is an accessible yet intricate process that blends creativity and technology. This guide outlines the full pipeline, from modeling to streaming, suitable for beginners and advanced creators. It covers essential steps like designing a 3D character, rigging it for motion, and animating it in real-time using tracking software. With tools like Blender or VRoid Studio, anyone can craft a unique virtual persona. The process requires patience but yields dynamic avatars for streaming or performance. Follow these steps to bring your VTuber vision to life.
What is a 3D VTuber avatar and how does it work?
A 3D VTuber avatar is a digital 3D character representing a content creator, animated in real-time via motion tracking. Unlike 2D avatars, it moves in 3D space, allowing dynamic actions like dancing or VR interactions. The avatar’s rigged skeleton and blendshapes map the creator’s movements—facial expressions, head tilts, or body gestures—captured by a webcam or sensors. This creates a lifelike virtual persona that maintains privacy while enabling creative expression, popular among VTubers like Kizuna AI for its versatility, though it demands more computing power.
What software do I need to make a 3D VTuber avatar?
- 3D Modeling Software: Blender (free) or Maya/3ds Max (paid) are used for modeling. VRoid Studio, a beginner-friendly free tool, offers anime-style templates for quick avatar creation. These programs build the character’s mesh and structure. Choose based on skill level and customization needs.
- Texture Editing Software: Adobe Photoshop, Krita, or Substance Painter create textures for clothing or makeup. VRoid Studio supports imported textures for customization. These tools enhance the model’s visual details. They’re essential for unique aesthetics.
- Rigging and Animation Tools: Rigging is done in Blender or Maya, with plugins like Blender’s Rigify or VRM add-on simplifying humanoid rigs. Unity with UniVRM prepares VRM avatars for export. These ensure the model is animatable. Automation tools save time.
- VTuber Avatar Software: VSeeFace (free) or Luppet (paid) animate avatars in real-time using webcam or motion capture input. They handle face tracking, lip sync, and body movement. These programs bring the avatar to life during streams. They’re critical for performance.
- Unity for VRM Setup: Unity imports models for VRM conversion, setting up blendshapes and physics. It’s used for VRChat uploads or advanced shaders, not streaming. This step ensures compatibility with VTuber platforms. It’s a key preparation tool.
- Hardware for Tracking: A webcam is sufficient for basic face tracking; iPhones with face ID offer advanced capture. Microphones are standard, while Leap Motion or VR trackers enable hand or full-body tracking. Basic setups are affordable. Advanced tracking enhances immersion.

Can I make a 3D VTuber avatar using Blender?
Yes, Blender is a free, powerful tool for crafting 3D VTuber avatars, handling modeling, rigging, and animation. Its learning curve is steep for beginners, but with tutorials, it’s accessible, offering full customization for unique avatars. Indie VTubers favor it for its community support and versatility. Blender can be combined with VRoid Studio imports for easier starts, making it ideal for all skill levels.
- Modeling: Blender creates meshes for body, hair, and outfits, with sculpting for organic details. Community base models can speed up the process. It supports detailed customization. This forms the avatar’s visual foundation.
- Rigging: Blender’s armature tools and add-ons like Rigify or VRM provide VTuber-ready humanoid rigs. Inverse Kinematics simplifies limb and eye control. These ensure smooth animation. Rigging is critical for motion.
- Blendshapes (Shape Keys): Shape keys for expressions like smiles or lip sync are sculpted in Blender. These translate to VRM or Unity for real-time animation. They enable emotive performances. This step adds personality.
- Animation Testing: Blender allows posing and test animations to check deformations. It prepares the avatar for streaming software, not live performance. This ensures reliability. Testing prevents in-stream issues.
What are the best tools for modeling a VTuber avatar from scratch?
When modeling a VTuber avatar from scratch, creators can choose from various software options based on budget, skill level, and style. Below are the top tools for 3D avatar creation:
- Blender: A free, versatile tool ideal for indie VTubers, offering modeling, sculpting, texturing, and rigging. Its steep learning curve is offset by a supportive community and plugins that simplify tasks. Blender suits those seeking full creative control and willing to invest time in learning. It’s a top all-around choice for custom avatars.
- Maya / 3ds Max: Industry-standard tools from Autodesk, with Maya excelling in character rigging and animation, and 3ds Max often used for modeling. Both are costly and complex, best for those with prior experience or aiming for professional animation/VFX careers. For most VTubers, their expense outweighs the benefits unless already proficient.
- ZBrush: A sculpting tool for high-detail character designs, like intricate costumes or realistic features. Creators sculpt high-poly models, then simplify them for animation in other software. It’s ideal for detailed, non-anime avatars but requires additional tools for full VTuber functionality. ZBrush suits advanced users prioritizing ultra-detailed designs.
- VRoid Studio: A beginner-friendly character generator for anime-style avatars. Users customize pre-made models with sliders for proportions and textures, requiring no 3D modeling experience. It’s free, quick, and popular for fast avatar creation. Models can be refined in Blender for added customization.
- Character Creator / Daz3D: Tools for generating humanoid characters, often used in game development. They offer realistic bases and assets like clothing, saving time on modeling. Models need rigging and format conversion for VTubing, with license checks for store-bought assets. These are great for realistic avatars with minimal modeling effort.
Other tools like Metahuman Creator or niche anime makers exist but often require significant adjustments or have licensing limits. Blender and VRoid Studio are the most accessible, while Maya and ZBrush suit professionals. VRoid is especially popular for its free, anime-style focus, letting beginners create avatars quickly.

How do I rig a 3D VTuber avatar for real-time animation?
Rigging adds a skeleton and controls to a 3D model for movement, critical for VTuber avatars. It involves a body skeleton for motion and blendshapes for facial expressions. Below is how to rig for real-time use:
- Create a Skeleton (Armature): Add a humanoid bone structure with a hierarchy for spine, limbs, head, and extras like hair. Standard humanoid rigs ensure compatibility with VTubing software. Tools like Blender’s Rigify or VRM templates simplify this. Proper bone placement is key for natural movement.
- Skin Weight the Mesh to the Bones: Bind the mesh to bones via weight painting or automatic weighting, ensuring vertices move with the correct bones. For example, arm vertices follow arm bones, with smooth transitions at joints. Fine-tuning prevents unwanted deformations, like hair moving with unrelated bones.
- Set Up Inverse Kinematics (IK) and Controls: IK helps limbs move naturally, like feet staying grounded. While some VTubing apps handle IK internally, manual setup aids complex animations or multi-platform use. A humanoid-friendly rig with consistent bone naming ensures compatibility with Unity or other engines.
- Facial Rigging – Blendshapes: Create blendshapes for expressions (e.g., blinking, smiling, phonemes) by modifying duplicate meshes. These morphs, exported with specific names, enable real-time face tracking. A wide range of expressions ensures natural looks, as VTubing apps interpolate between them.
- Physics and Secondary Motion (Optional): Add physics for hair or clothing using spring bones or Unity colliders. For example, a ponytail might use a bone chain that bounces with movement. While optional, physics enhances realism. Beginners can skip this but plan for it later.
After rigging, test in Blender’s Pose Mode to ensure smooth deformations and expression blending. VTubing apps are forgiving, interpolating blendshapes and bone rotations based on tracking. Rigging is technical but manageable with tutorials or auto-rigging tools like Mixamo (body only). Once rigged, export to VRM or FBX for VTubing.
Can I use VRM or FBX format for 3D VTuber avatars?
VRM and FBX are common file formats in VTuber workflows, each serving distinct purposes. Below is how they fit into avatar creation and use:
- VRM: A humanoid avatar format based on glTF 2.0, designed for VTubing. It packages the model, textures, bones, blendshapes, and metadata into one file, ensuring compatibility across apps like VSeeFace or Luppet. Export via Unity with the UniVRM plugin after modeling in Blender or Maya. VRM’s standardized setup supports easy sharing and expressive features.
- FBX: A versatile 3D format for transferring models, rigs, and animations between tools like Blender, Maya, and Unity. It’s an intermediate format, not typically used directly in VTubing apps. For example, export an FBX from Blender to Unity, then convert to VRM for VTubing or use for VRChat setup. FBX requires manual bone naming for compatibility.
Use VRM for VTubing apps to ensure seamless integration and standardized features like blendshapes. Use FBX during development for moving models between software or for platforms like VRChat or Unreal Engine. Most creators finalize with VRM for streaming, while FBX supports the editing pipeline. Beginners using VRoid Studio often get VRM by default.

How do I add facial expressions and lip sync to a 3D VTuber model?
Facial expressions and lip sync bring VTuber avatars to life, driven by blendshapes on 3D models controlled by face or voice inputs. Here’s how to implement them:
- Create Blendshapes for Key Expressions: In 3D modeling software, sculpt blendshapes for expressions like eye blinks, smiles, frowns, eyebrow raises, and character-specific faces (e.g., “joy” or “angry”). Start with a neutral face, duplicate the mesh, and adjust for each shape, keeping them subtle for natural combinations later. These shapes form the basis for dynamic expressions in VTuber software.
- Lip Sync (Mouth Shapes): Lip sync uses microphone or camera input to drive mouth blendshapes, often based on Japanese vowels (A, I, U, E, O). Software detects sounds and activates corresponding shapes, creating a speaking effect. Ensure distinct mouth shapes (e.g., puckered for “O”, wide for “E”). Basic setups need 3-5 shapes, which are wired automatically in VRM or manually in VTuber apps.
- Eye Blinks and Eye Movement: Create blendshapes for closed eyelids (separate for left and right in VRM, named “Blink_L” and “Blink_R”). Eye movement typically uses bone rotation, but blendshapes can simulate gaze or squinting. Ensure models have eye bones or blendshape support for gaze, as VRM accommodates both based on setup.
- Eyebrows and Other Facial Muscles: Craft blendshapes for eyebrow movements (raised for surprise, furrowed for anger) and unique expressions like cheek puffs or tongue out. These convey emotion and can be triggered via hotkeys in VTuber software, adding personality. Some avatars include special eye textures for expressive effects.
- Configure Expressions in Software: Export models as VRM and assign blendshapes in Unity or VTuber apps like VSeeFace, which often auto-detect standard VRM names. Custom blendshapes can be mapped to hotkeys or specific facial triggers. VRM’s preset expressions (e.g., Joy, Angry, A, I, U) simplify setup if named correctly.
- Testing and Refinement: Test lip sync with phrases to ensure natural mouth movement, adjusting shape strength if needed. Verify blinks fully close without eyeball protrusion. If expressions look off, tweak shapes in modeling software and re-export for polished results.
What is the best software for animating 3D VTuber avatars?
To animate 3D VTuber avatars in real time, software tracks face, body, and voice inputs to update poses and expressions. Here are the top options:
- VSeeFace: A free, popular PC program with high-quality face and hand tracking, supporting VRM models. It uses webcam-based tracking for head, eyes, and mouth, with Leap Motion for hands and Perfect Sync for iPhone users. Its beginner-friendly interface, teleprompter mode, and active community make it ideal for all skill levels. VSeeFace also sends tracking data to other software via VMC protocol.
- Luppet: A paid (~¥5,000 JPY) app offering professional-grade tracking, excelling in facial nuances and full-body motion with Vive trackers. It supports VRM models, Leap Motion for hands, and features like background customization. Favored by Japanese VTubers, Luppet is stable and ideal for serious creators seeking premium tracking quality.
- Animaze (by FaceRig): A freemium Steam app with strong facial tracking via webcam or iPhone, supporting VRM and 2D/3D avatars. Its user-friendly UI, pre-made avatars, and streaming integration make it plug-and-play. Animaze’s tracking is reliable, though less nuanced than VSeeFace with iPhone, ideal for easy setup and multi-format use.
- Others – Honorable Mentions:
- Wakaru: Free, webcam-based, but outdated with lower tracking fidelity.
- 3tene: Free/Pro Japanese app with decent VRM support and multiple camera angles.
- VRoid Hub: Web-based for testing, not streaming.
- VMagicMirror: Free, animates via keyboard/mouse, no webcam needed, for limited motions.
- VUP: Feature-rich Chinese app for 2D/3D, with a complex interface.
- VRChat with LIV/VMC: Full-body VR setup for advanced users, not beginner-friendly.

How do I use motion capture with my 3D VTuber avatar?
Motion capture enhances VTuber avatars with full-body movements using VR hardware or mocap suits. Here’s how to integrate it:
- Webcam Face Capture vs. Full Motion Capture: Webcam tracking covers face and basic upper body, but full mocap uses sensors for precise body movements. This ranges from VR controllers for arms to suits tracking every joint, unlike limited webcam inferences.
- VR Hardware: Use HTC Vive or Valve Index with Vive Trackers on waist/feet for full-body tracking. Tools like Virtual Motion Capture send SteamVR data to VRM avatars in VSeeFace via VMC protocol. Oculus Quest 2 supports head/hand tracking, but full-body needs additional devices like Kinect.
- Leap Motion: A sensor for hand/finger tracking, supported by VSeeFace and Luppet. Mounted in front, it captures detailed gestures, enhancing expressiveness for sign language or hand motions. It’s affordable (~$100) and easy to integrate without VR setups.
- Kinect and Other Depth Sensors: Repurpose Kinect for body skeleton tracking using tools like MediaPipe. It offers full-body motion without wearables, though with lower fidelity than VR. Setup requires staying in view, making it a budget-friendly option.
- AI Pose Estimation: AI tools like ThreeDPoseTracker use webcam feeds to compute 3D skeletons, piped into VSeeFace. This hardware-free method varies in accuracy and requires technical setup, but it’s accessible for webcam users.
- Professional Mocap Suits: High-end suits like Rokoko or Xsens track every joint for precise motion, ideal for advanced VTubers. Data streams into Unity/Unreal for real-time avatar control, but costs thousands and needs complex setup.
- Hybrid Setups: Combine iPhone face tracking, Leap Motion for hands, and keyboard-triggered animations. Or use VR trackers for arms/hips with webcam face tracking, scaling mocap based on equipment and needs.
What is the easiest way to track facial and body movements for VTubing?
For minimal setup, use accessible tools for face and body tracking. Here are the easiest methods:
- Facial Tracking – Use a Standard Webcam: A basic webcam (720p or 1080p) enables accurate face tracking in VSeeFace, capturing eyes, mouth, and head tilts via machine learning. It’s plug-and-play, requiring no markers or complex calibration, just good lighting. This covers most expressions effectively for beginners.
- Body Movement – Leaning and Gesturing with Webcam: Webcams infer slight upper body shifts from head movements, with software applying inverse kinematics for natural shoulder motion. Trigger preset animations (e.g., waves) via hotkeys for added expressiveness without extra hardware.
- Easiest Upgrade – Smartphone Face Tracking: iPhones with Face ID use ARKit apps (e.g., iFacialMocap) to send precise facial data to VSeeFace. Mount the phone, connect to PC, and capture nuanced expressions like tongue out. It’s simple but less plug-and-play than webcams.
- Basic Body Tracking – Use a Chair and Your Keyboard: For seated streams, rely on head movements and facial expressions. VMagicMirror animates arms based on typing/mouse inputs, while idle animations add life. Hotkeys trigger poses like thumbs-up, enhancing motion without trackers.
- Easiest Real Body Tracking – VR or Kinect: Existing VR setups (e.g., Vive) offer user-friendly full-body tracking with trackers synced to SteamVR. Kinect, if available, tracks via depth sensing with minimal setup, though it needs driver tinkering, making it less beginner-friendly.
- Use LuppetX or Similar Simplified Setups: LuppetX combines webcam face tracking with Leap Motion for hands, offering rich upper-body motion. Attach Leap Motion via USB, ensure it sees your hands, and the software merges data seamlessly, providing an easy hardware upgrade.

How do I stream with a 3D avatar on Twitch or YouTube Live?
Streaming with a 3D avatar involves integrating an animated character into live broadcasts, similar to a facecam setup but capturing the avatar instead. Here’s a concise guide to get your 3D avatar streaming on platforms like Twitch or YouTube Live:
- Avatar Software Setup: Launch your VTuber software (e.g., VSeeFace, Luppet, Animaze) and load your 3D model. Ensure tracking works for movement and speech, adjusting lighting and background settings. Use a transparent or green background for easy integration; transparency is ideal, but chroma-keying a green background works too.This setup ensures your avatar animates correctly. The software’s tracking captures your movements, creating a lifelike performance. Transparent backgrounds simplify overlaying the avatar in streams. Testing these elements prevents issues during live broadcasts.
- Capture Method: Use Window Capture in OBS to grab the VTuber software’s window or a Virtual Camera to treat the avatar as a webcam feed. For Window Capture, select the avatar window and apply chroma key if needed. Virtual Camera is selected as a Video Capture Device in OBS.
- Window Capture: Captures the software window directly, ideal for transparent backgrounds.
- Virtual Camera: Outputs the avatar as a webcam feed, simplifying integration.
- Game Capture: Use for 3D-rendered windows if Window Capture fails, enabling “capture layered windows.”
- Scene and Audio Setup: Position the avatar in OBS like a facecam, typically in a corner or waist-up, over game footage or other backgrounds. Add overlays like chat or alerts. Use your microphone in OBS for voice, ensuring lip sync aligns, and configure any voice changer software.This creates a professional stream layout. The avatar integrates seamlessly with other elements, maintaining visual appeal. Clear audio setup ensures viewers hear you, with lip sync enhancing immersion. Testing levels prevents audio issues.
- Streaming and Etiquette: Configure OBS with your stream key and server as usual. Ensure your system handles both avatar software and OBS encoding; adjust settings if needed. Recalibrate tracking with hotkeys if necessary, and use an AFK scene for breaks to avoid awkward avatar visuals.These steps finalize your stream. Proper configuration ensures smooth performance, while recalibration maintains avatar accuracy. An AFK scene keeps the stream polished during pauses. Testing in OBS preview confirms readiness.
Can I Use VSeeFace, Luppet, or Animaze with Custom 3D VTuber Models?
Yes, VSeeFace, Luppet, and Animaze support custom 3D models, typically in VRM format. Here’s how each works:
- VSeeFace: Load VRM models into VSeeFace by placing them in the Avatars folder or using the file chooser. Models from VRoid, Blender, or commissioned artists work if converted to VRM via Unity. VSeeFace reads blendshapes for expressions, allowing easy use of custom avatars.VSeeFace’s VRM focus ensures compatibility with custom models. The drag-and-drop process simplifies setup. Blendshape support enables expressive animations. Always verify model optimization for smooth performance.
- Luppet: Import VRM models using Luppet’s “Load VRM” button. Convert FBX or Blender files to VRM via Unity’s UniVRM. Luppet supports VRM 0.x and 1.0, expecting users to provide their own models, as it includes few defaults.Luppet’s VRM reliance makes it ideal for custom avatars. The straightforward import process supports both old and new VRM standards. Proper Unity setup ensures compatibility. Check model licensing for usage rights.
- Animaze: Import VRM or glTF models into Animaze Editor for setup, converting to Animaze’s .avatar format. It also supports ReadyPlayerMe avatars. Custom models are encouraged, with guides for VRM imports to configure expressions and animations.Animaze’s flexibility accommodates various model formats. The Editor streamlines import and customization. VRM support aligns with VT VRM model support ensures compatibility. Testing post-import ensures proper functionality.

How Do I Customize Hair, Outfits, and Accessories on My Avatar?
Customizing an avatar’s hair, outfits, and accessories can be done via creation software, 3D modeling, or asset libraries:
- Character Creation Software (VRoid): VRoid Studio offers tools for hair, outfits, and accessories. Draw hair strands for unique styles, adjust outfit templates or import textures, and toggle accessories like glasses. Booth.pm provides additional VRoid-compatible assets.
- Hair: Create hairstyles by drawing strands, adjusting thickness or curl.
- Outfits: Modify templates or apply textures for new clothes.
- Accessories: Toggle preset items or import 3D objects.
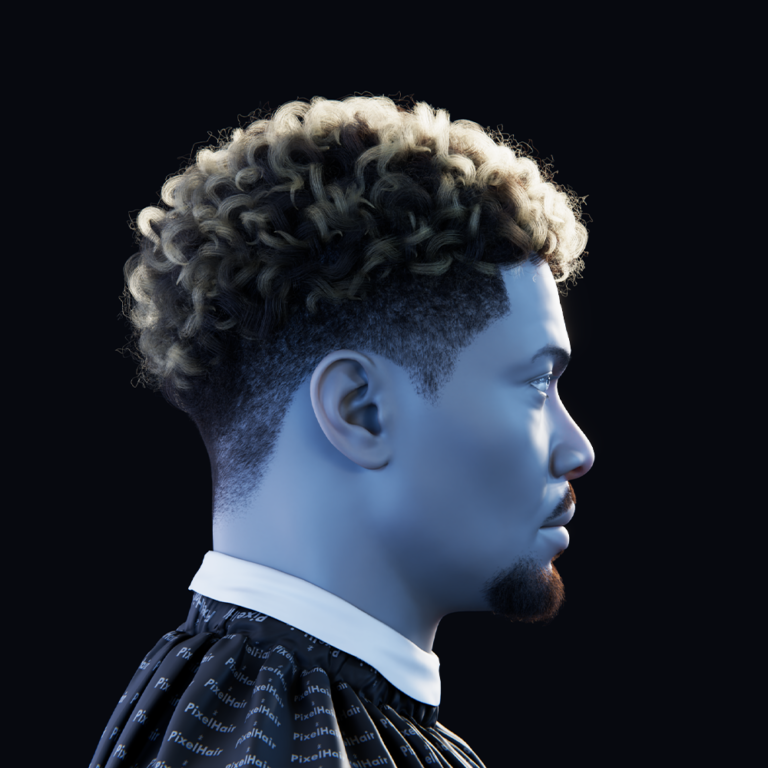
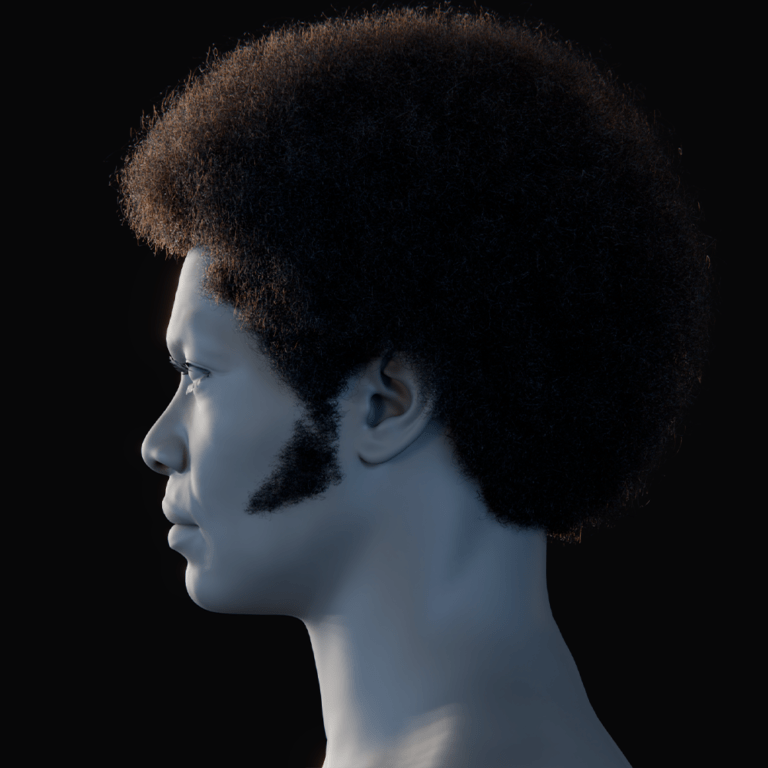
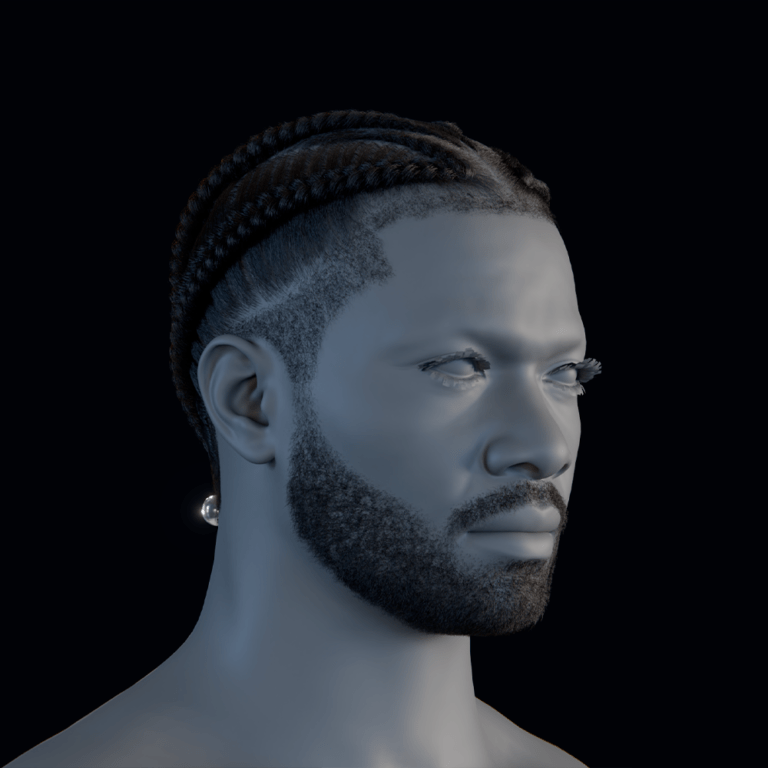
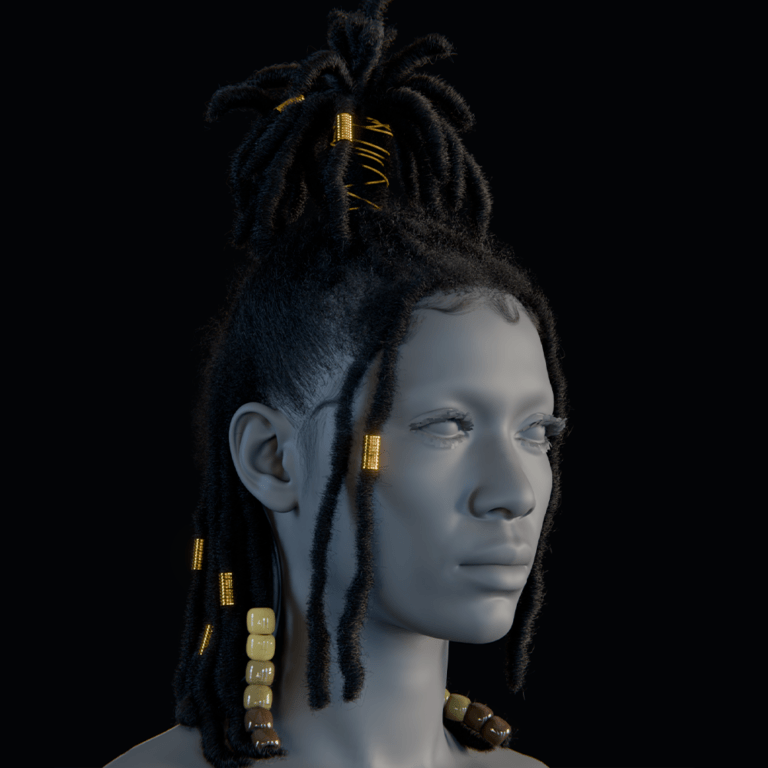
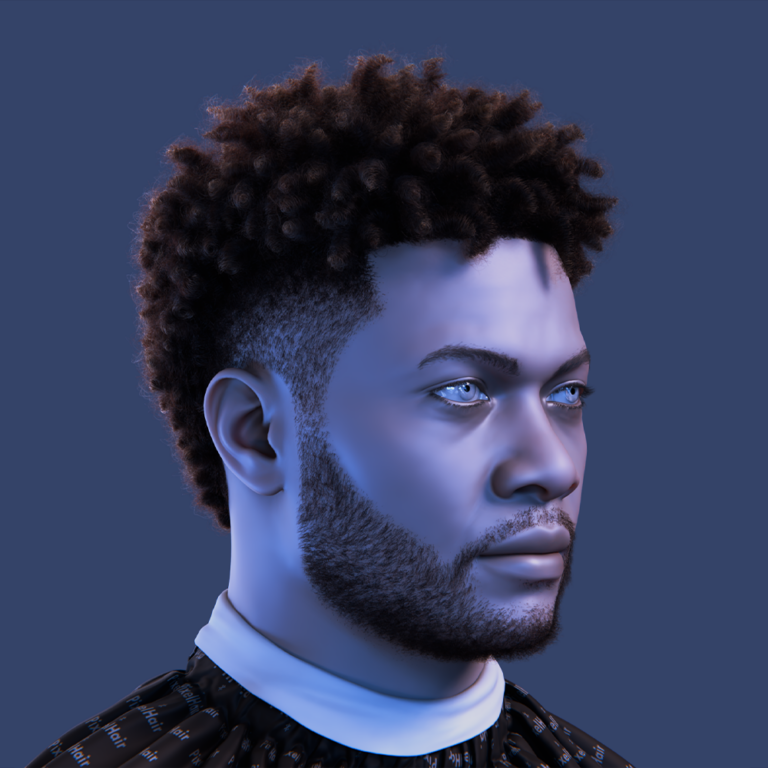
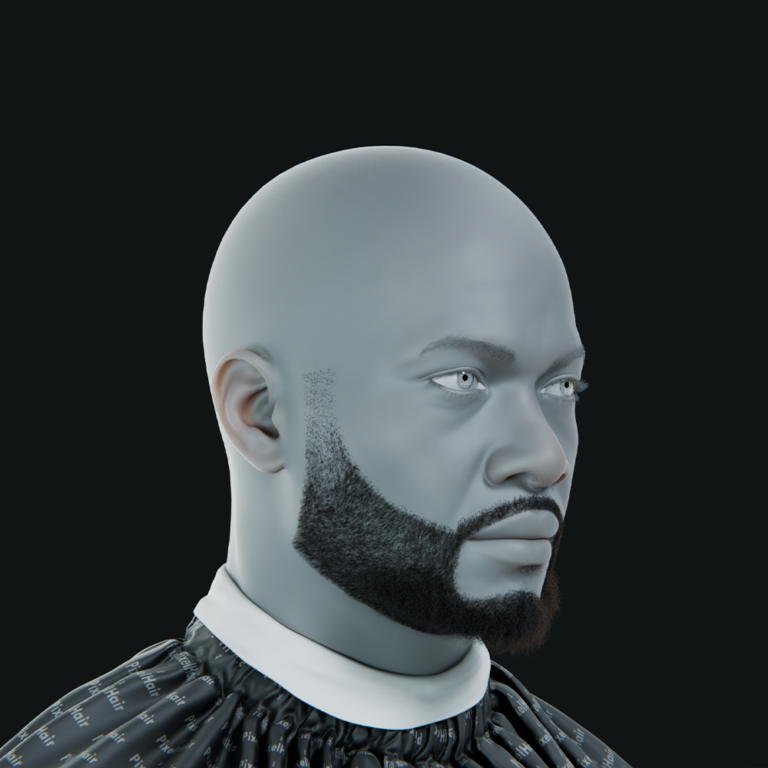
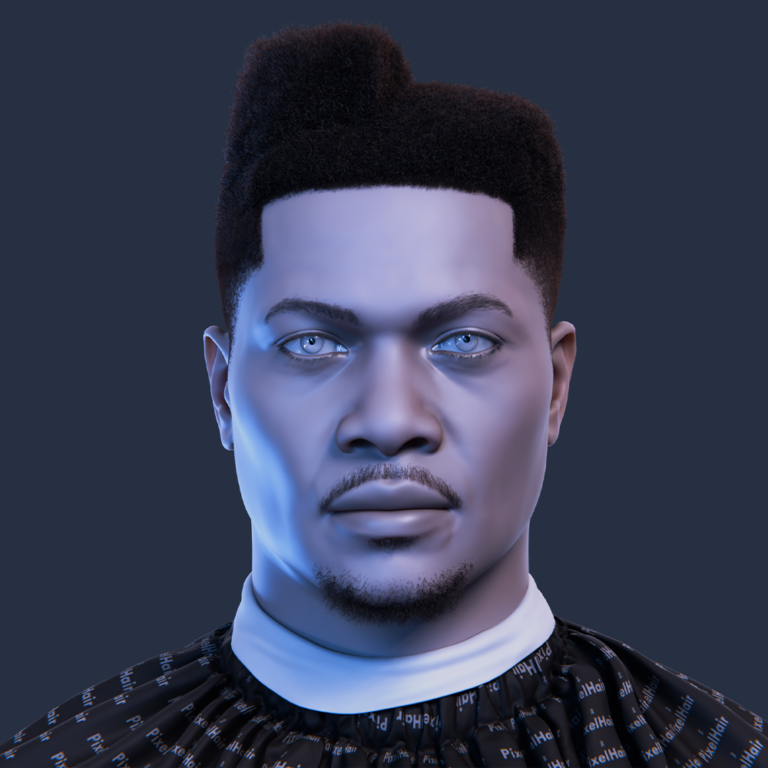
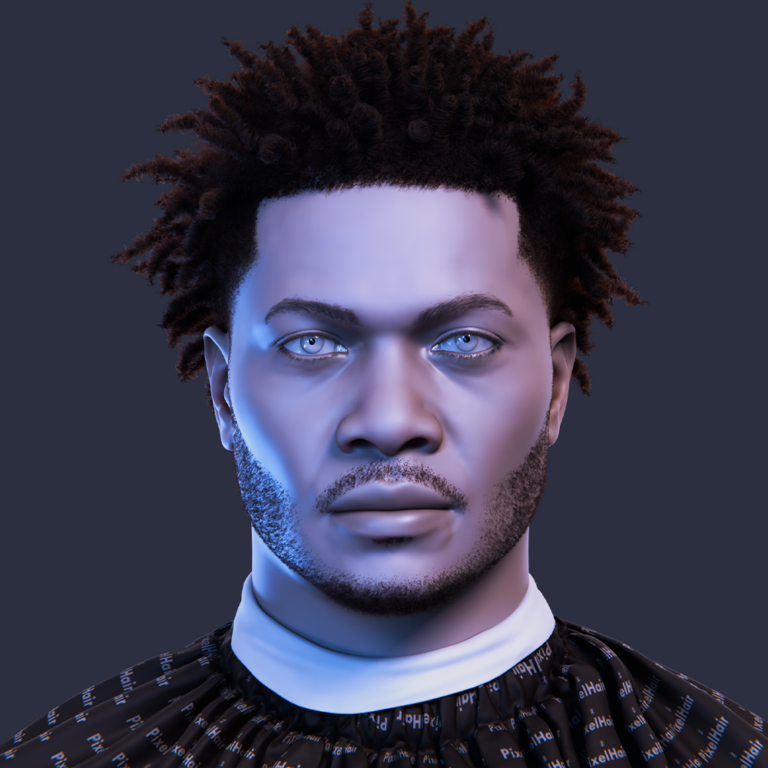
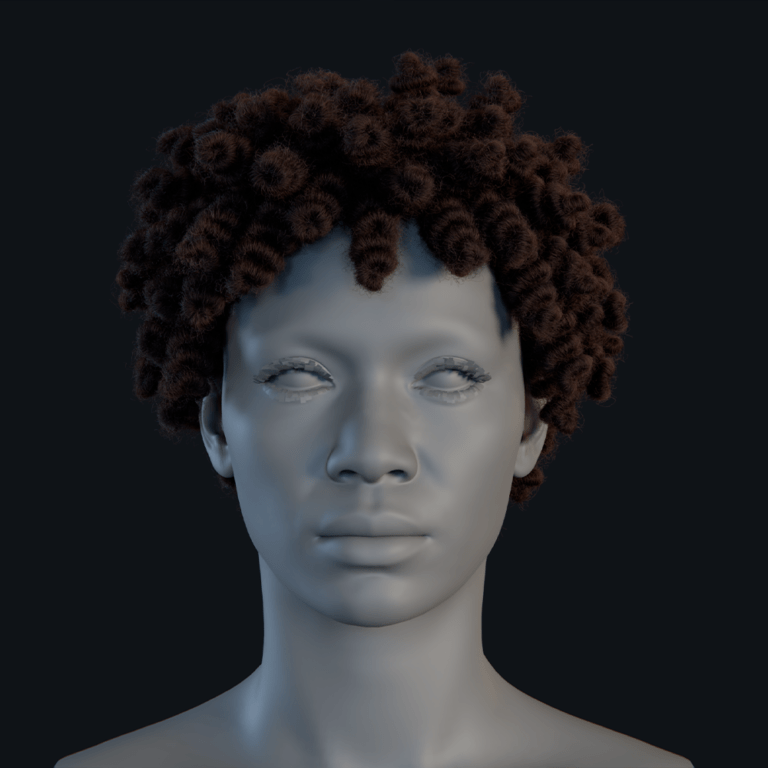
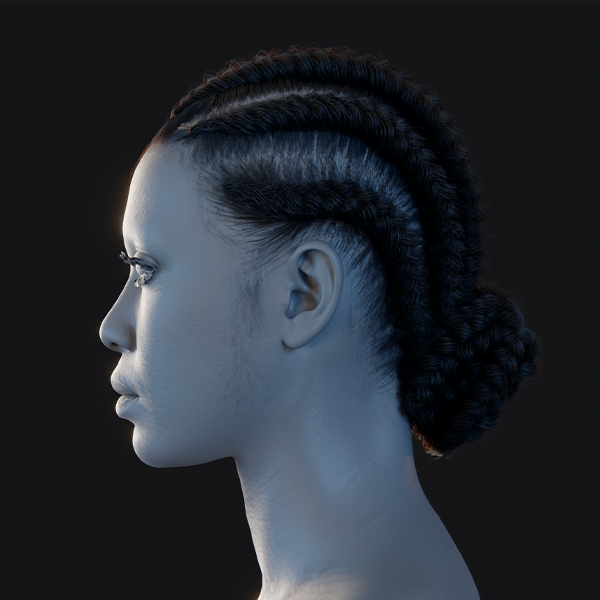
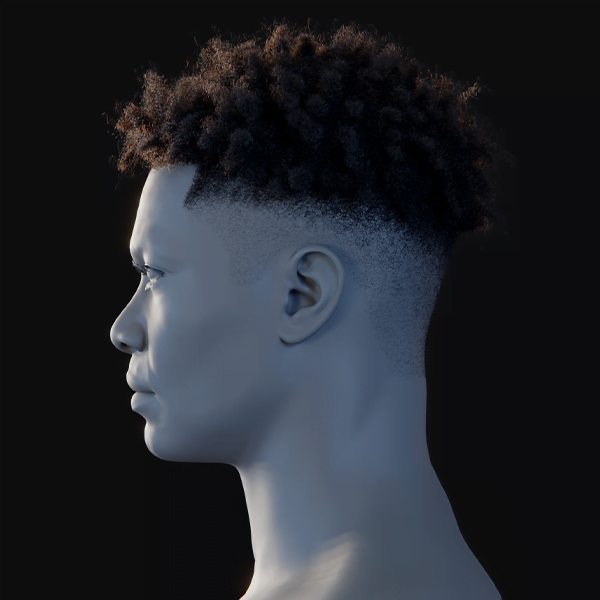
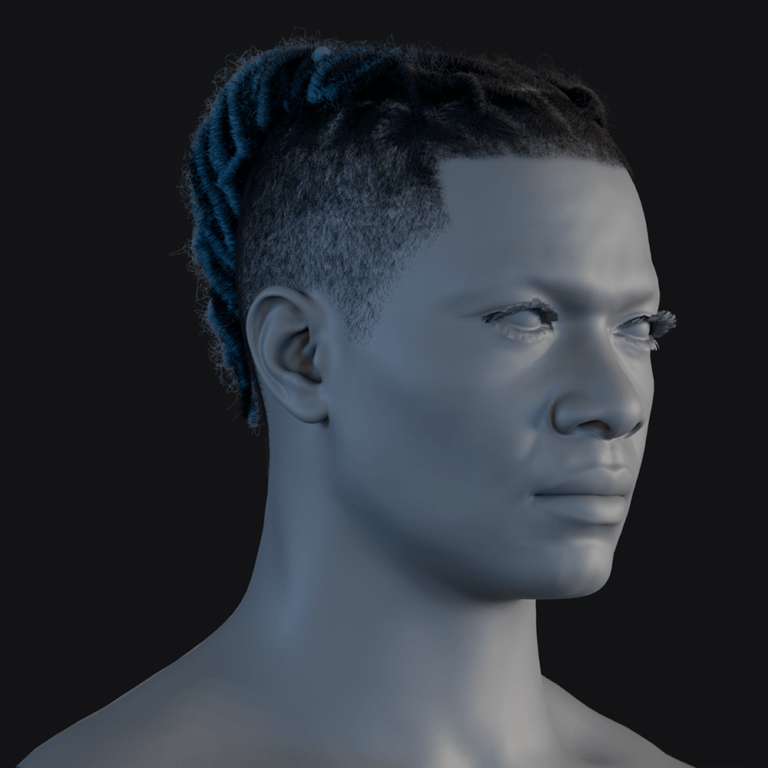
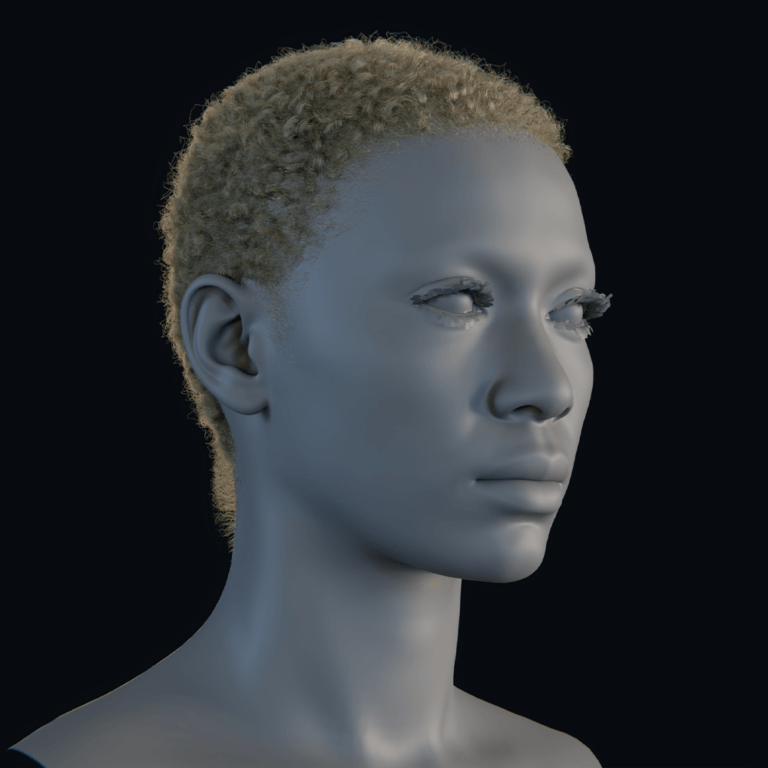
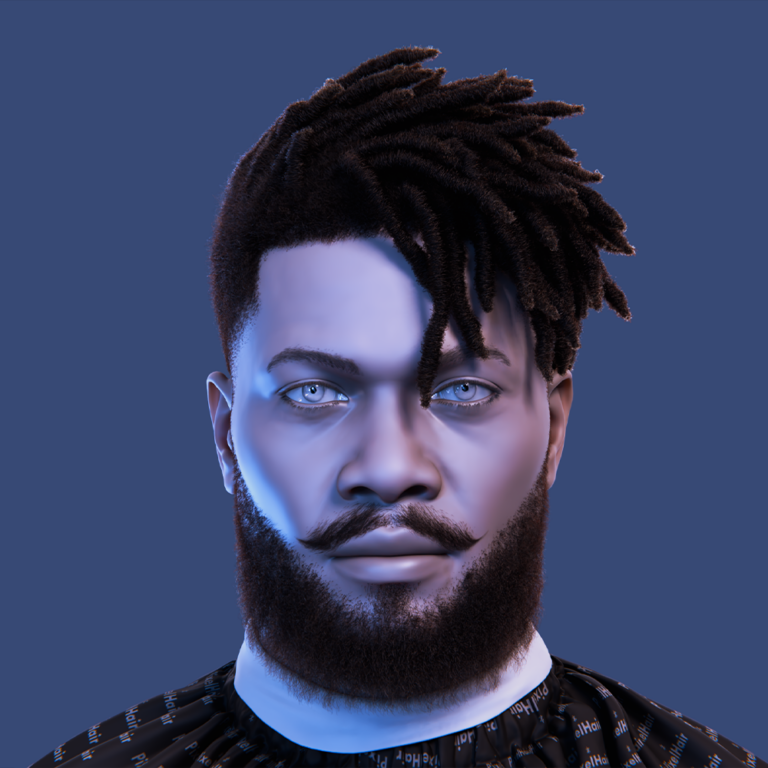
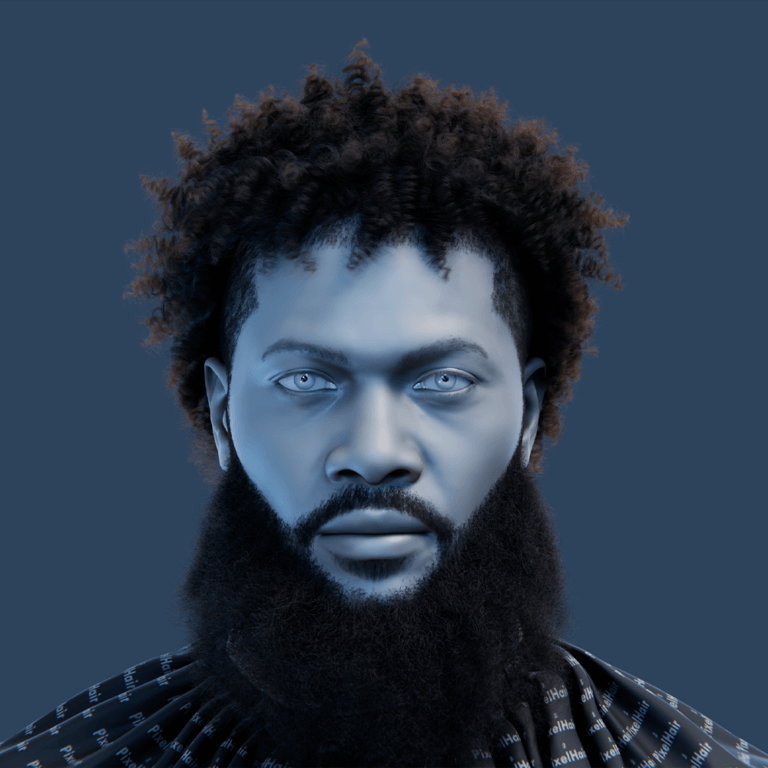
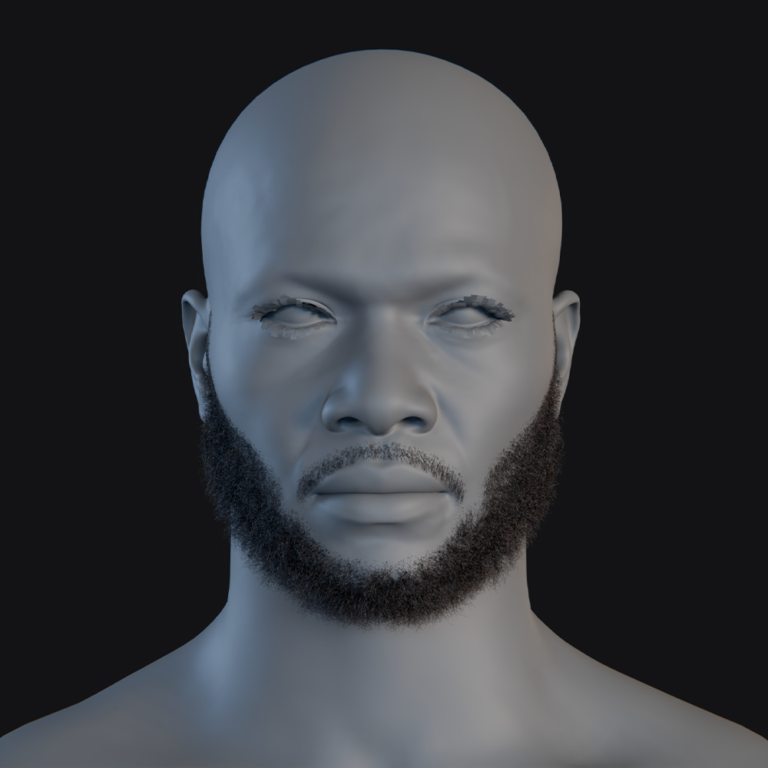
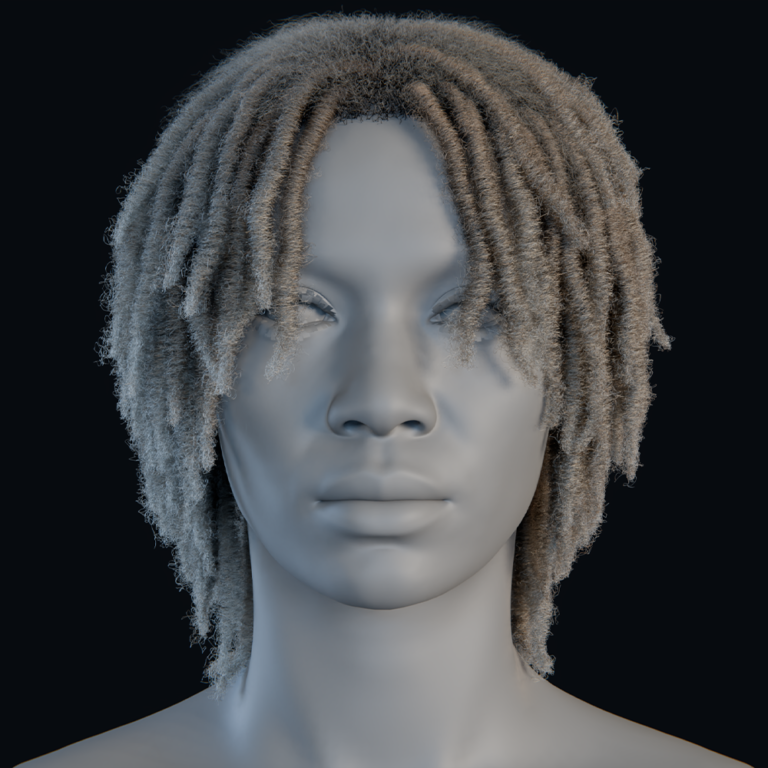
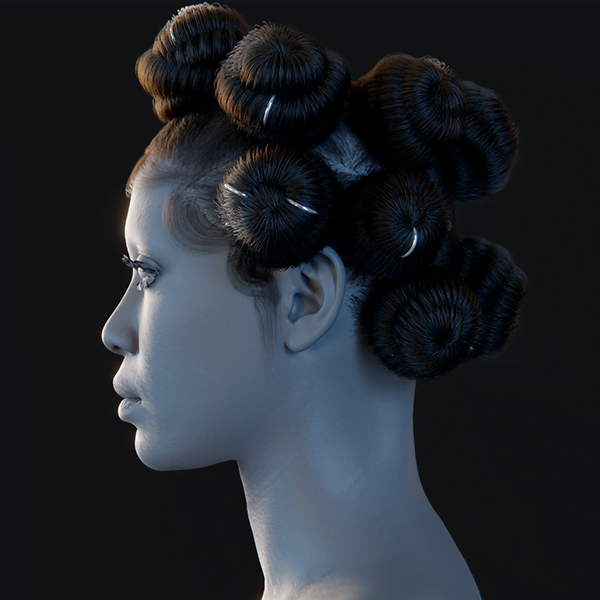
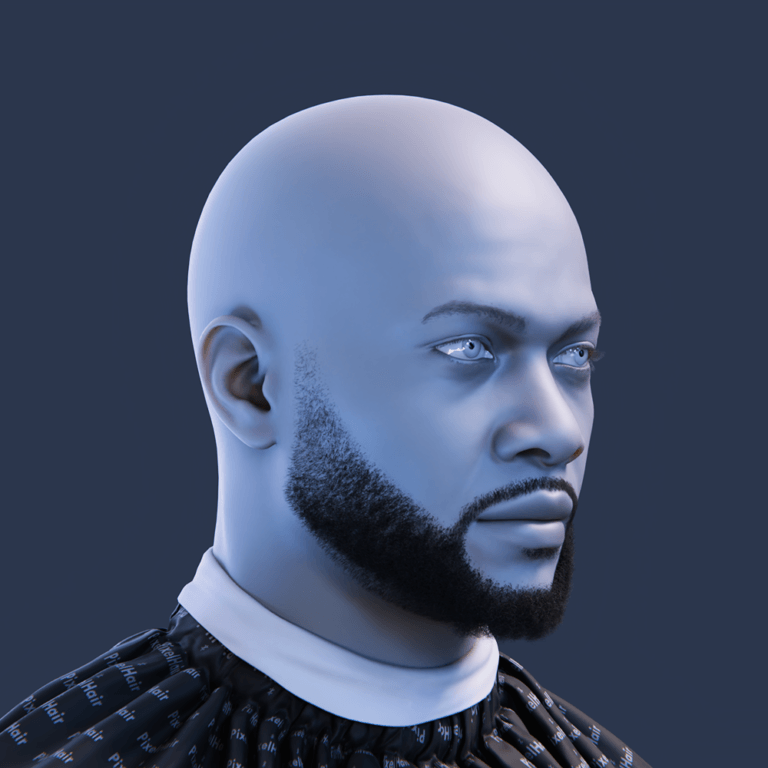
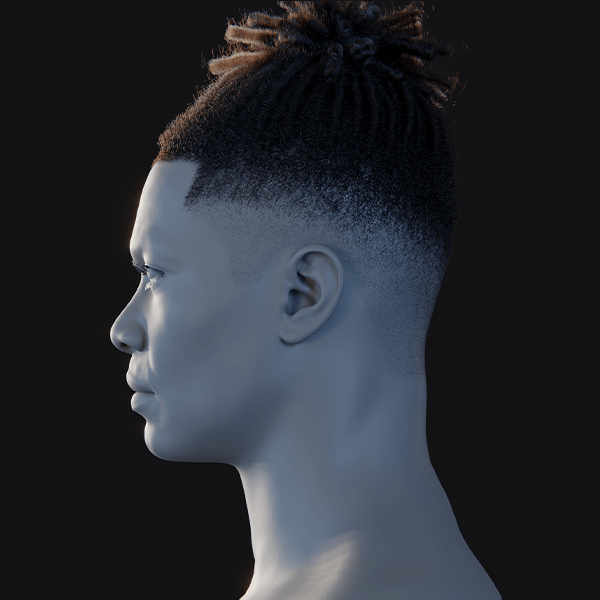
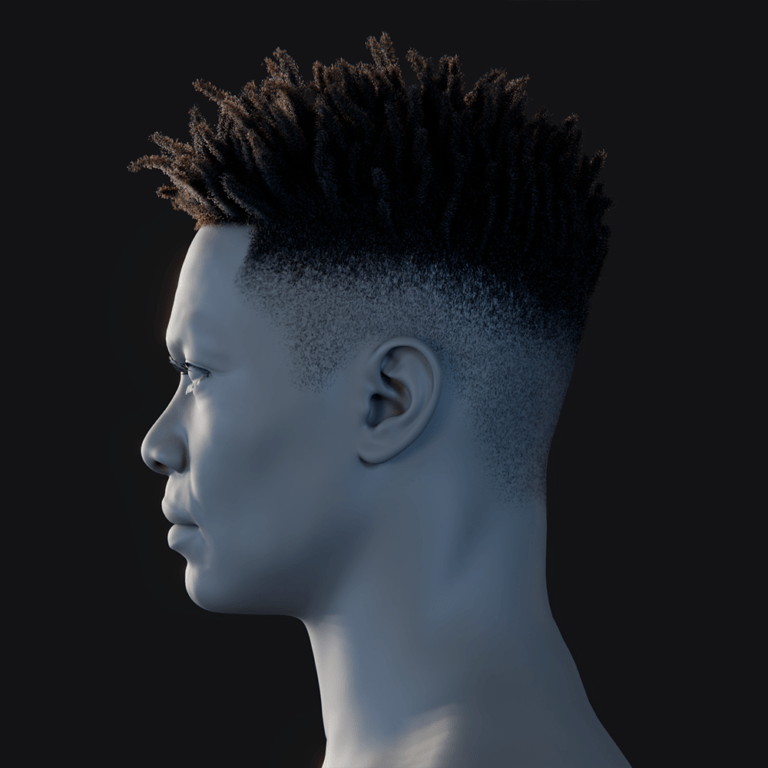
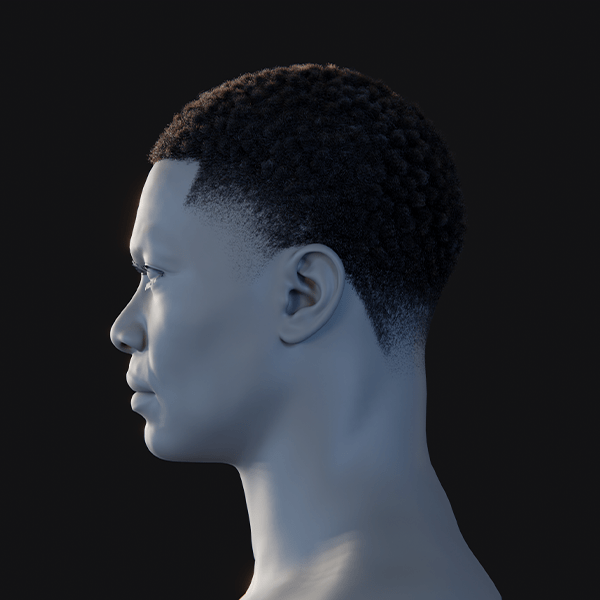
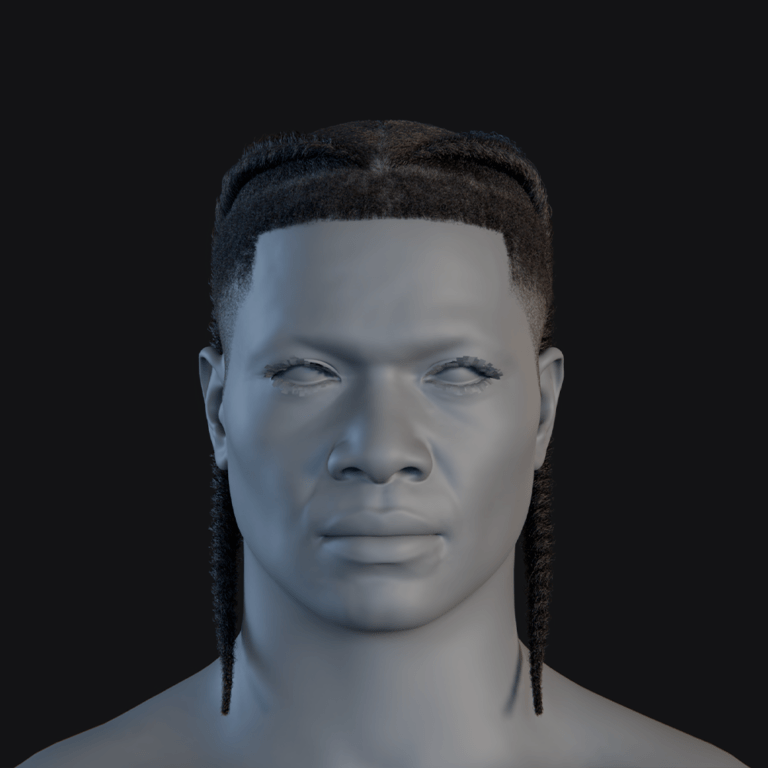
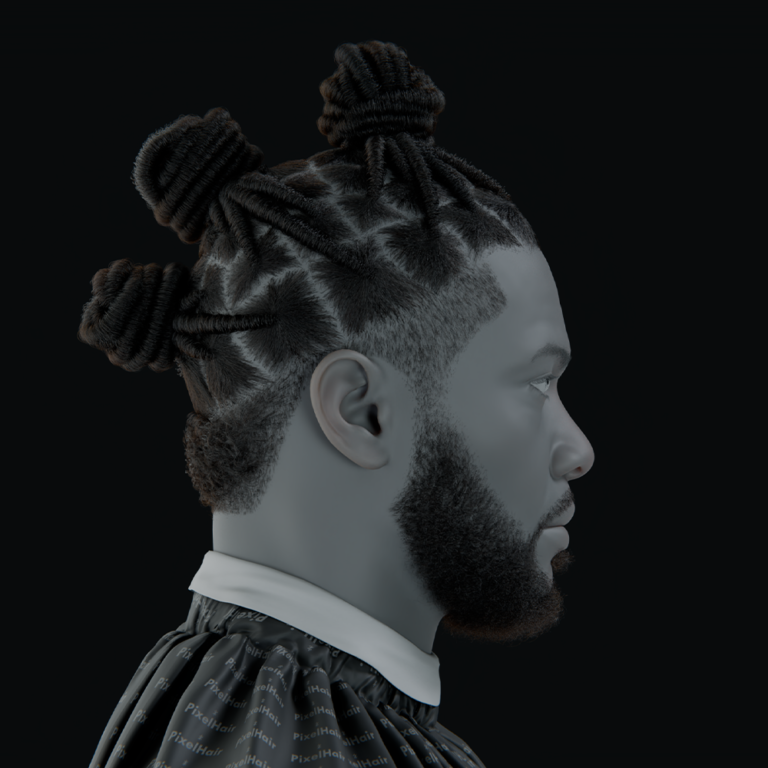
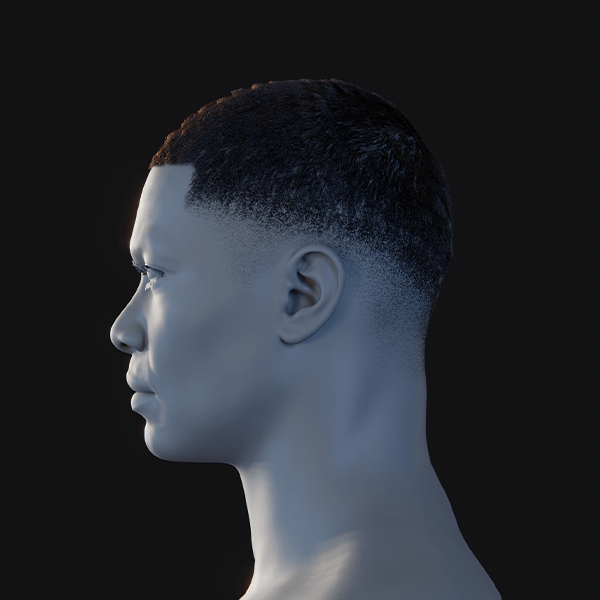
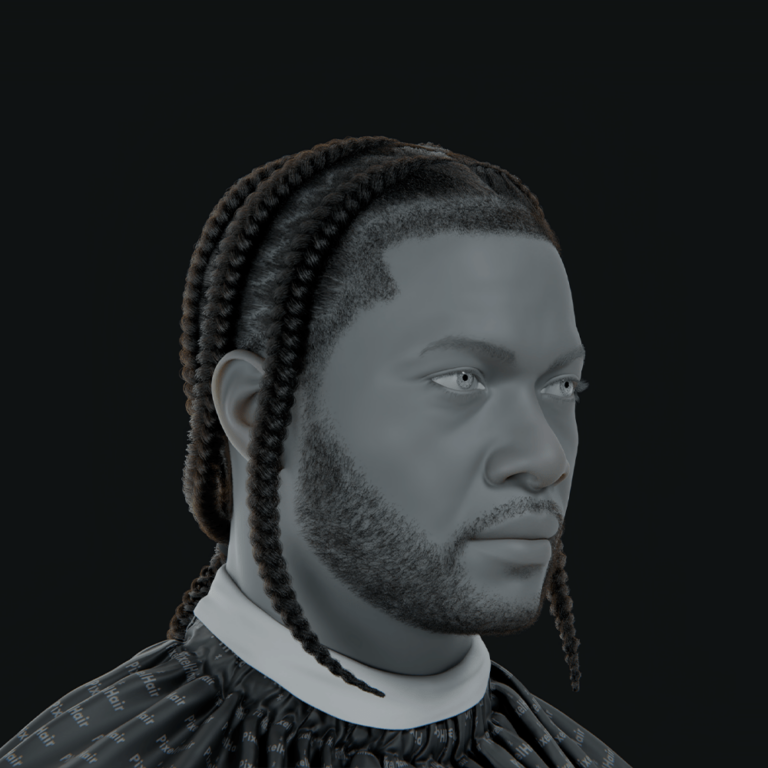
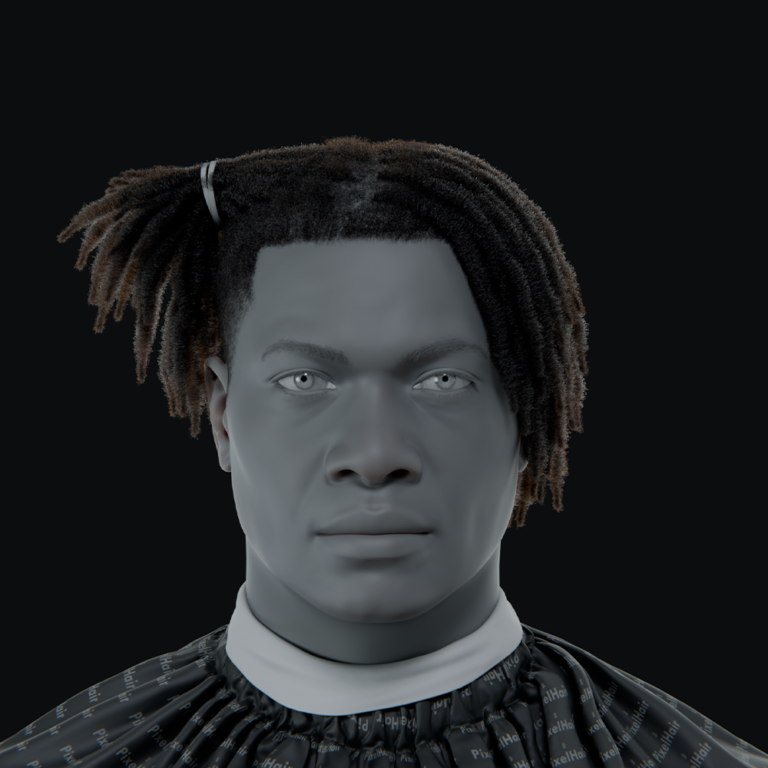
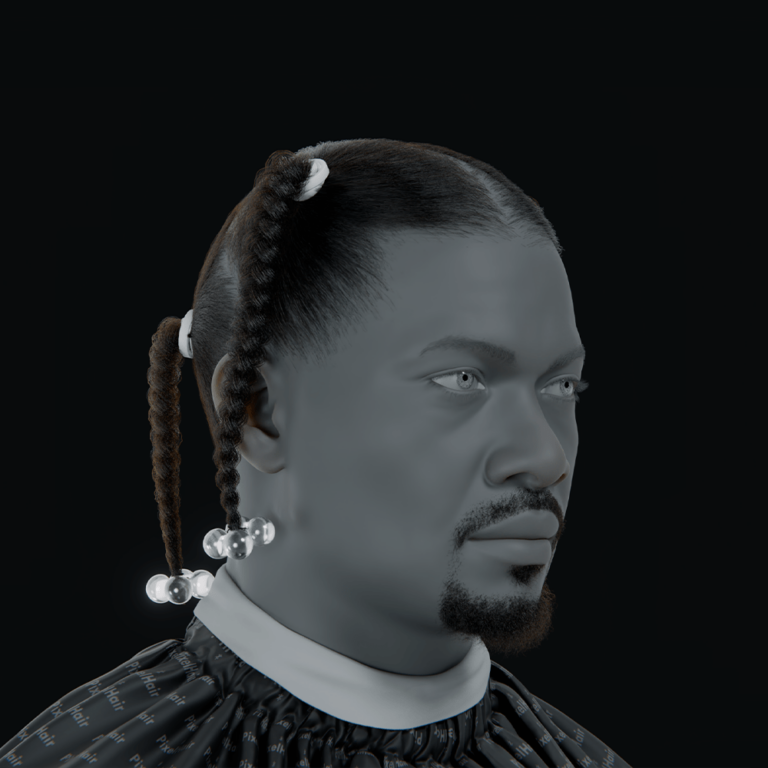
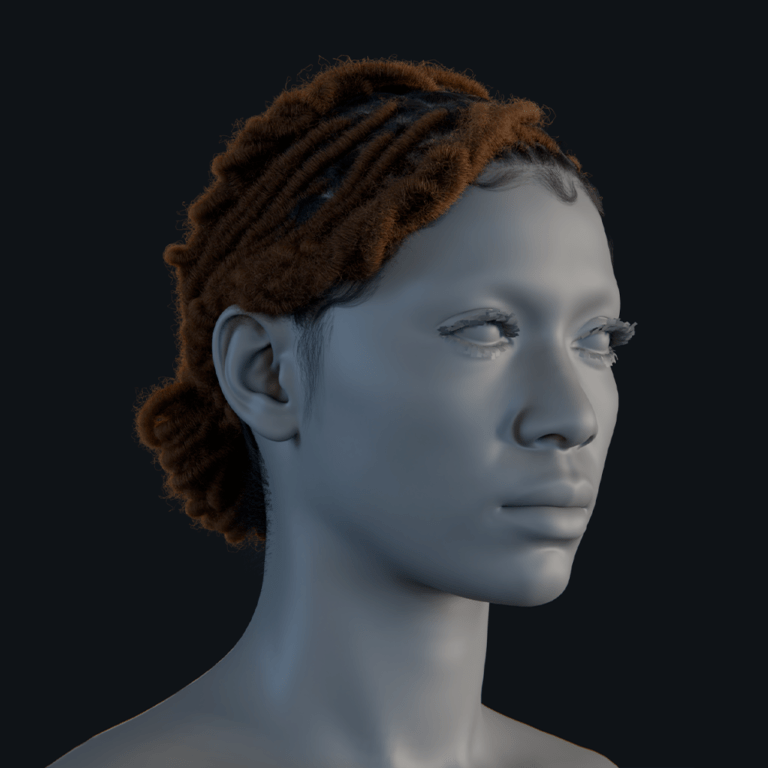
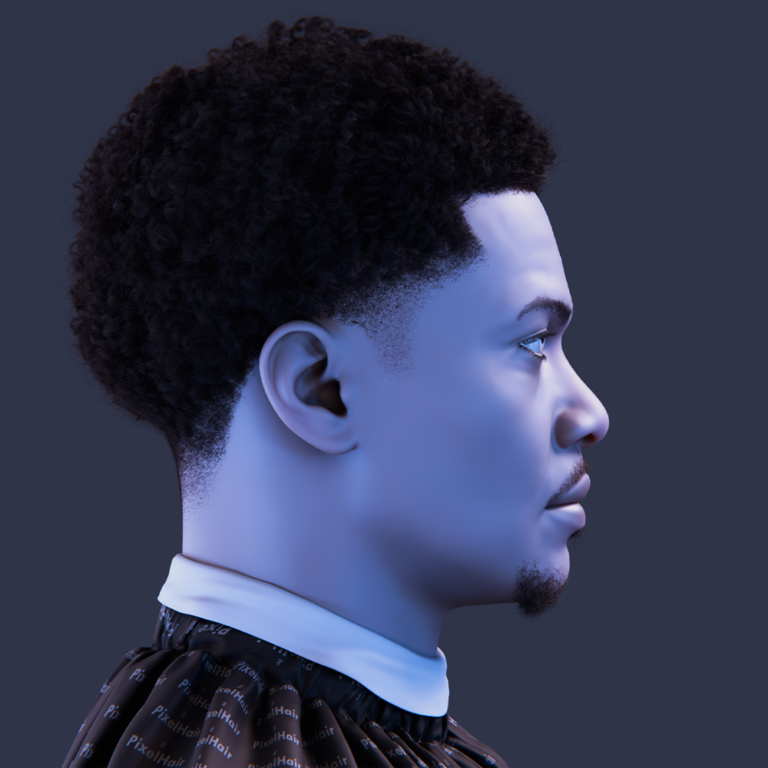
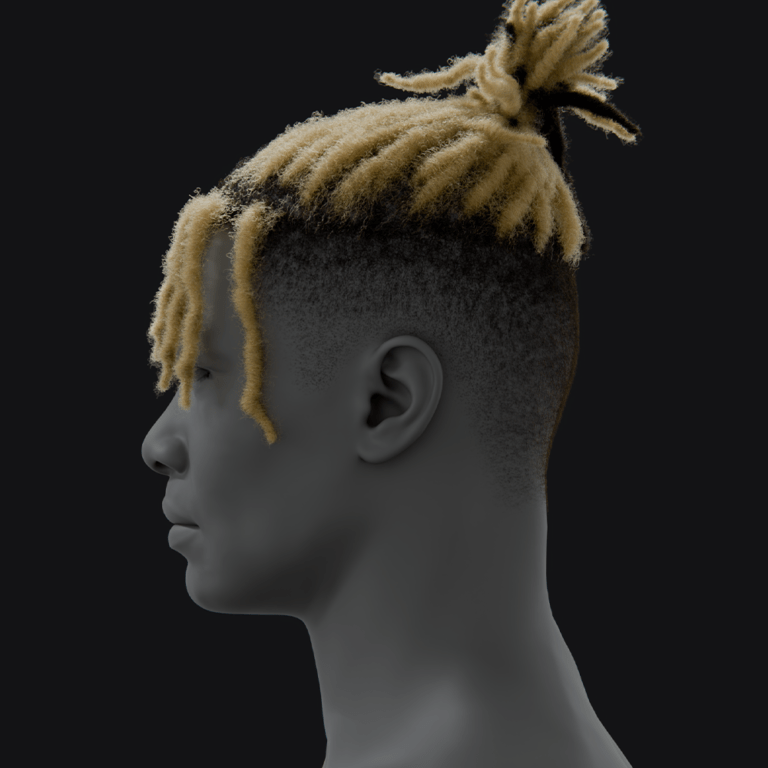
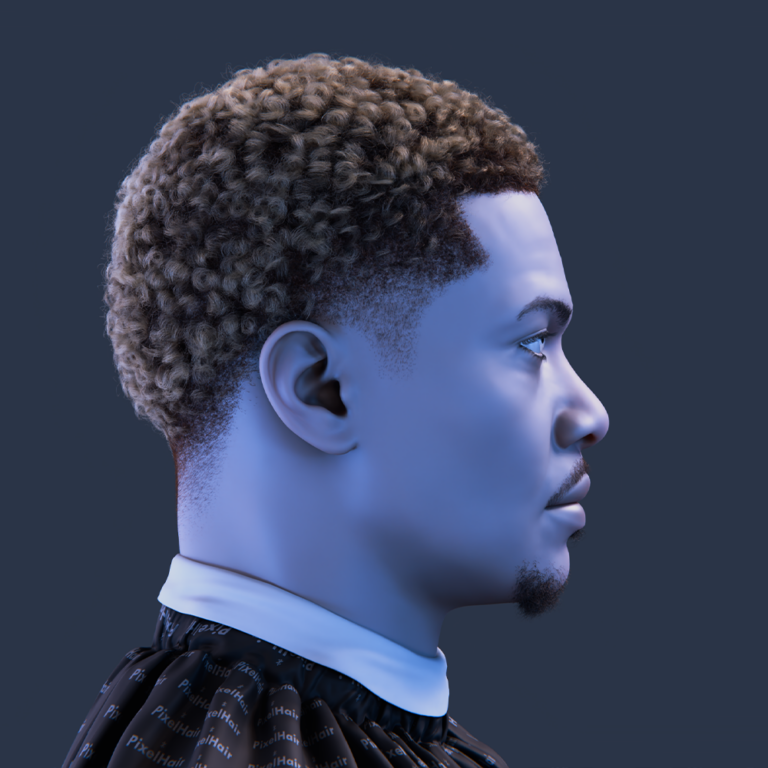
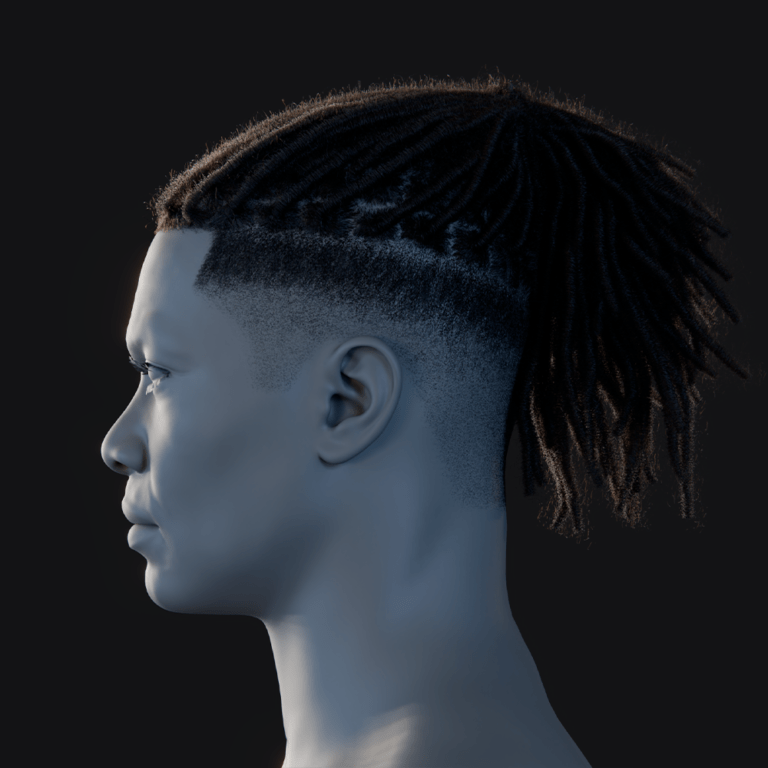
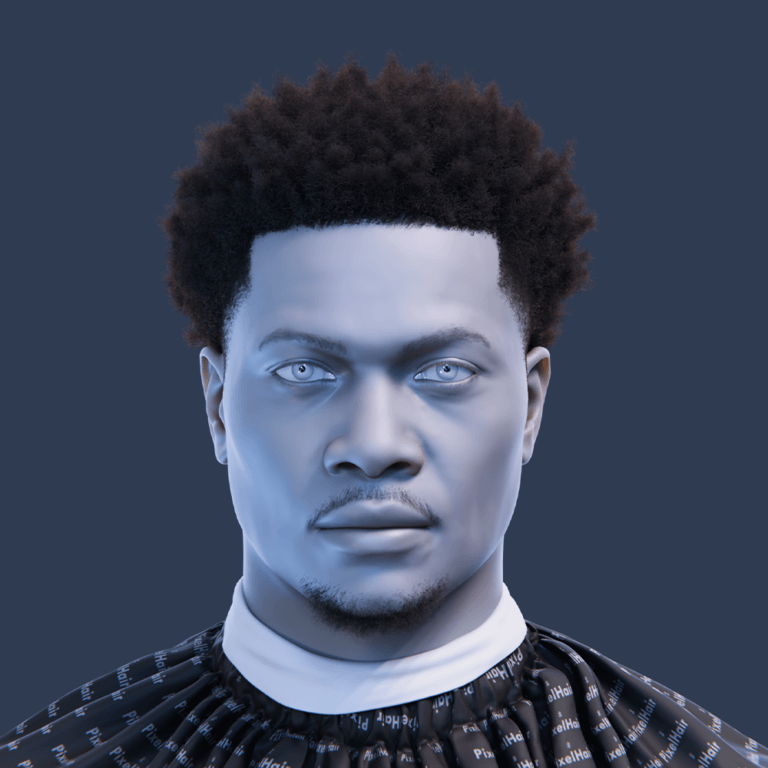
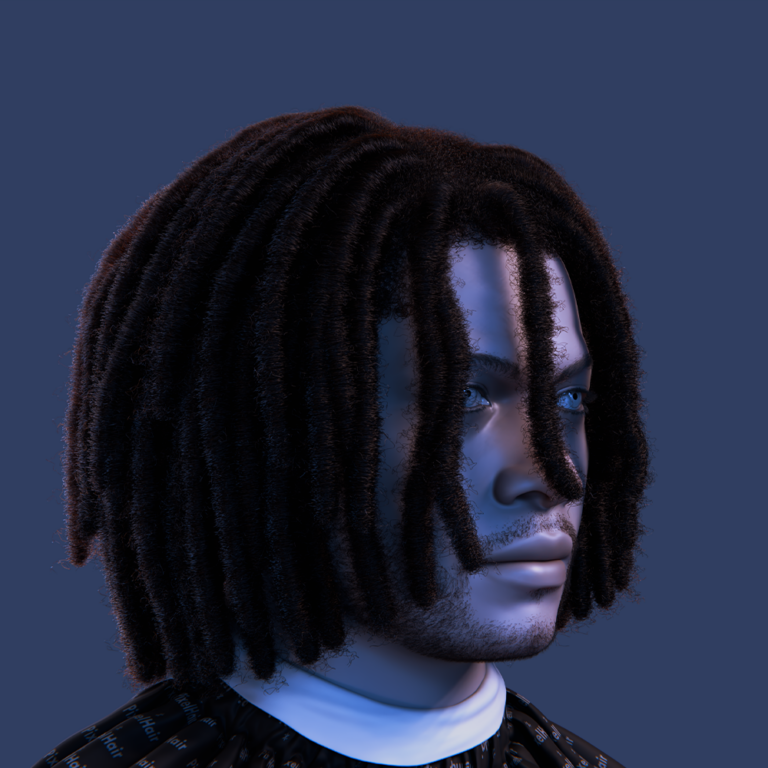
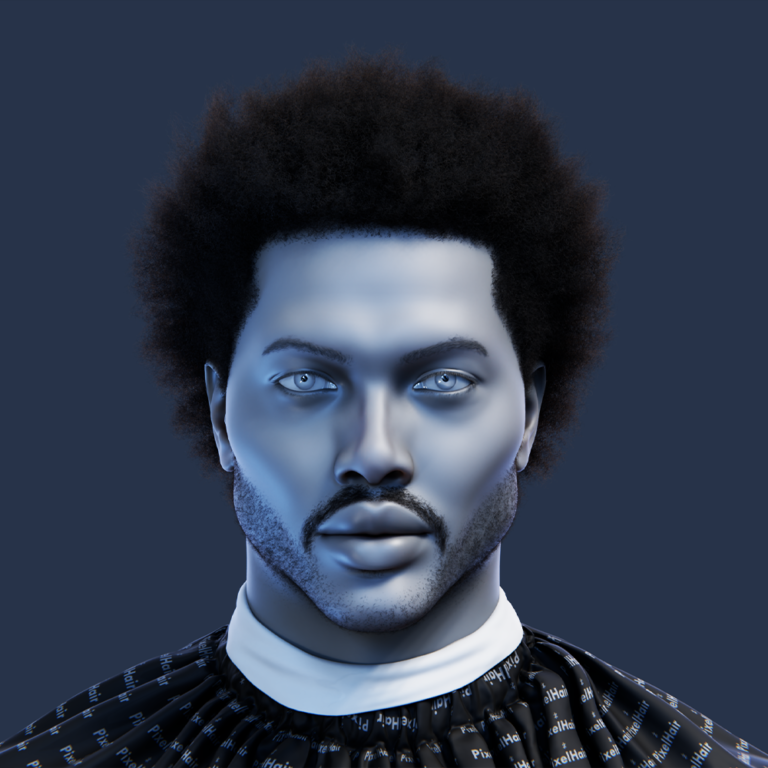
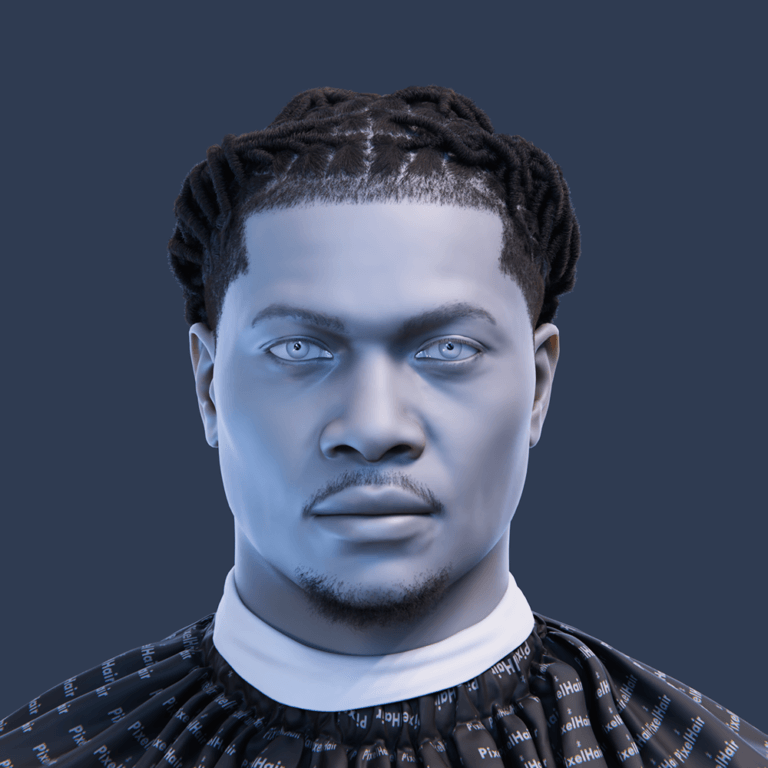
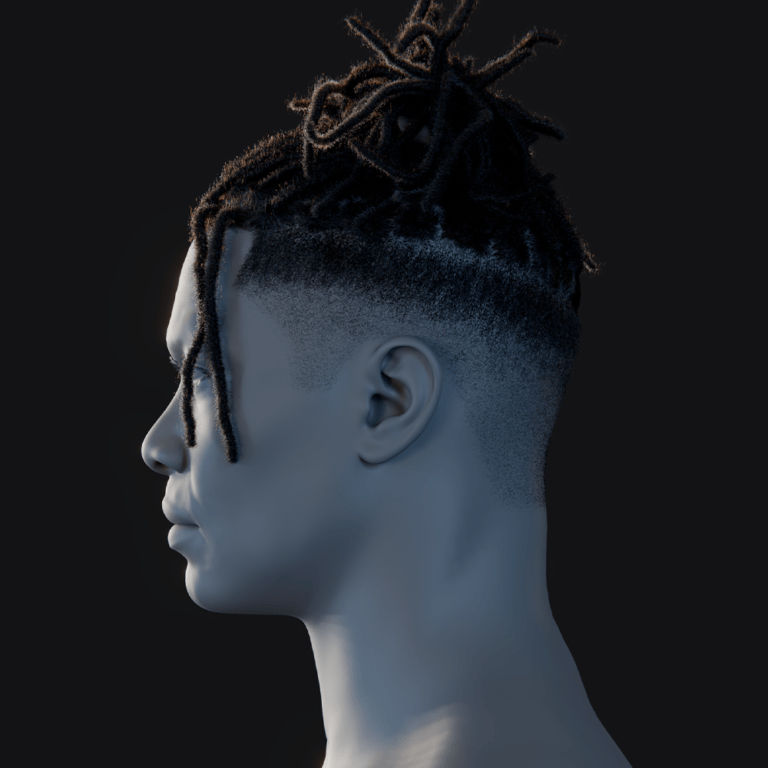
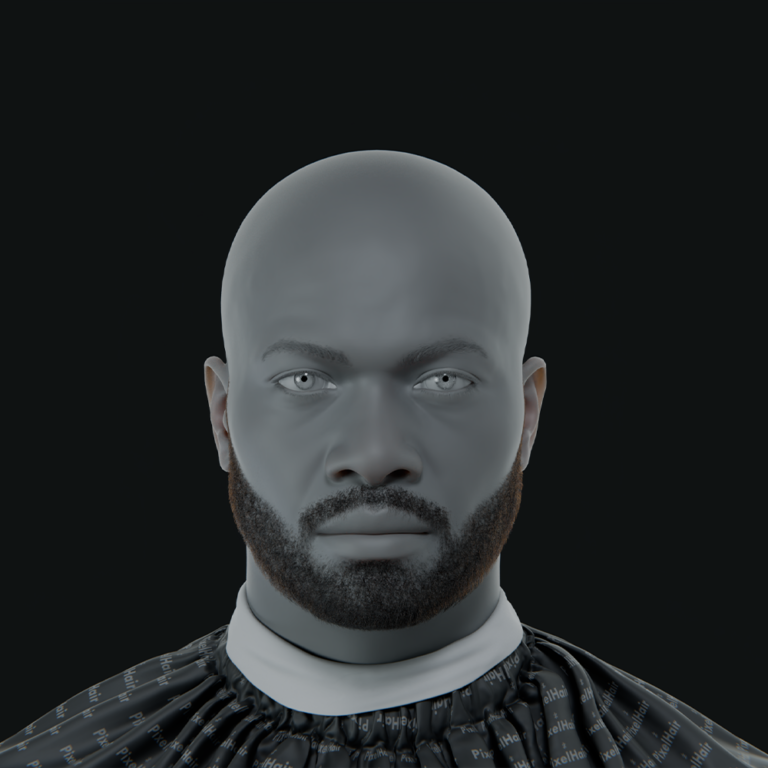
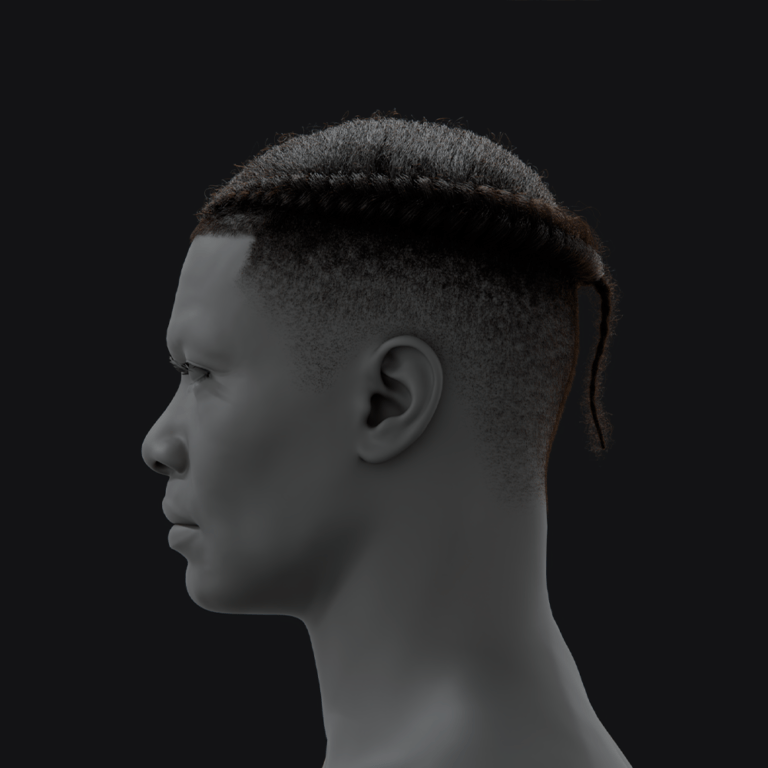
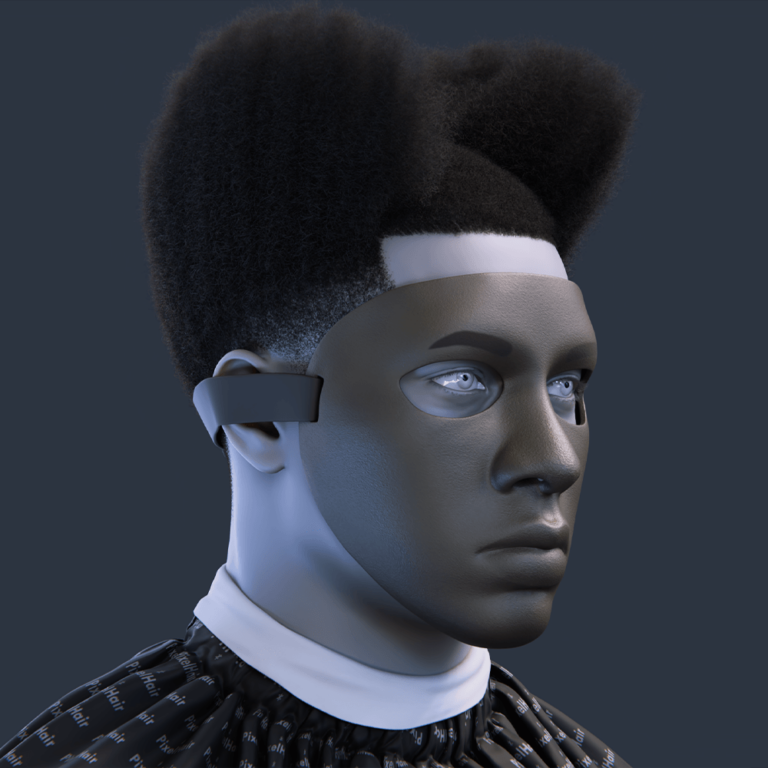
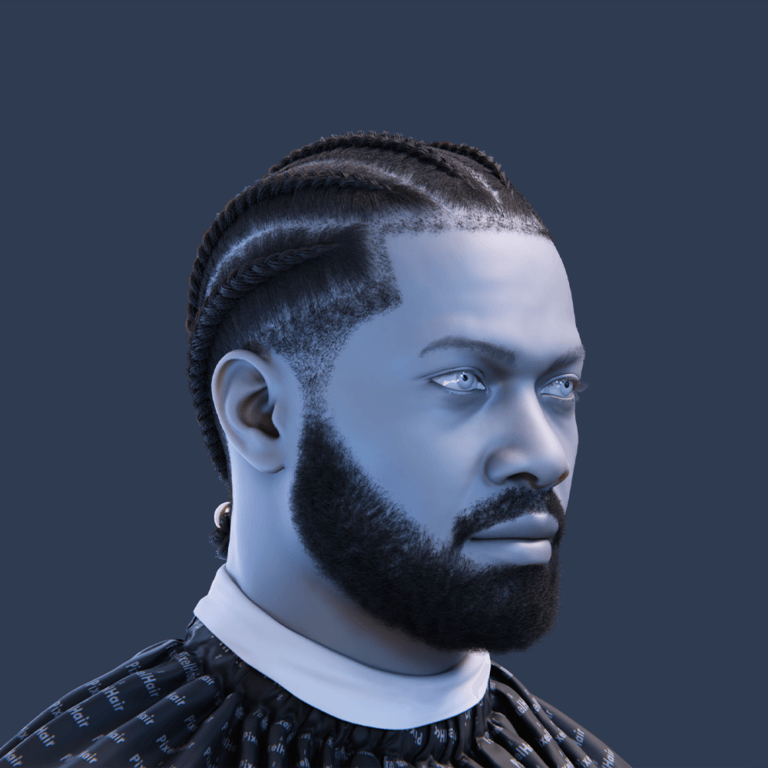
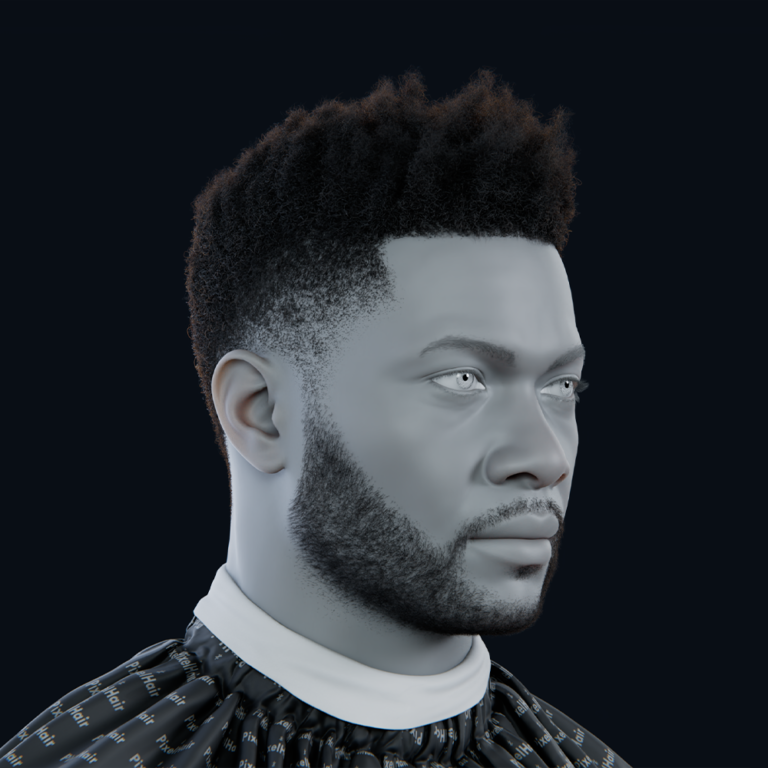
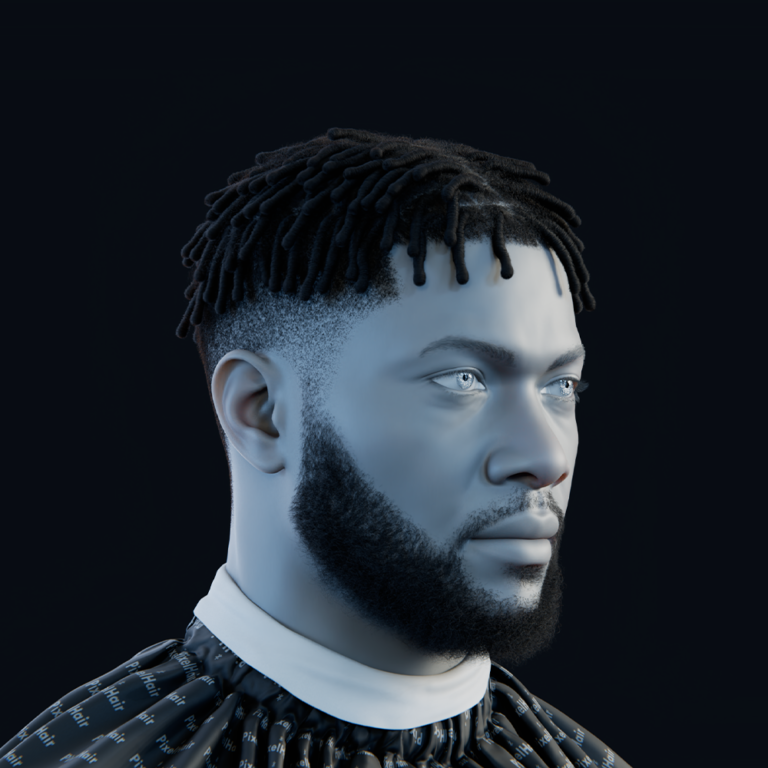
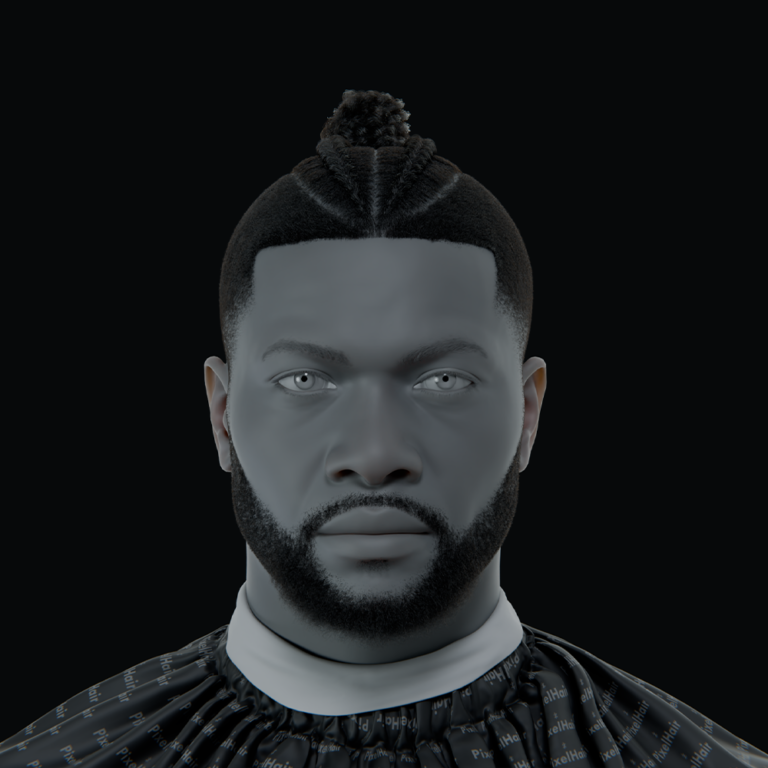
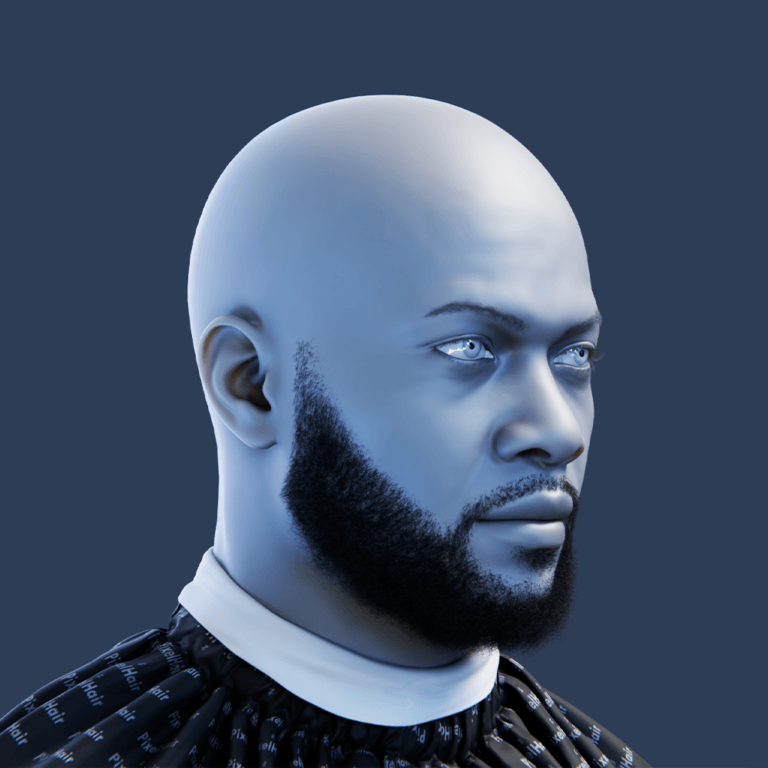
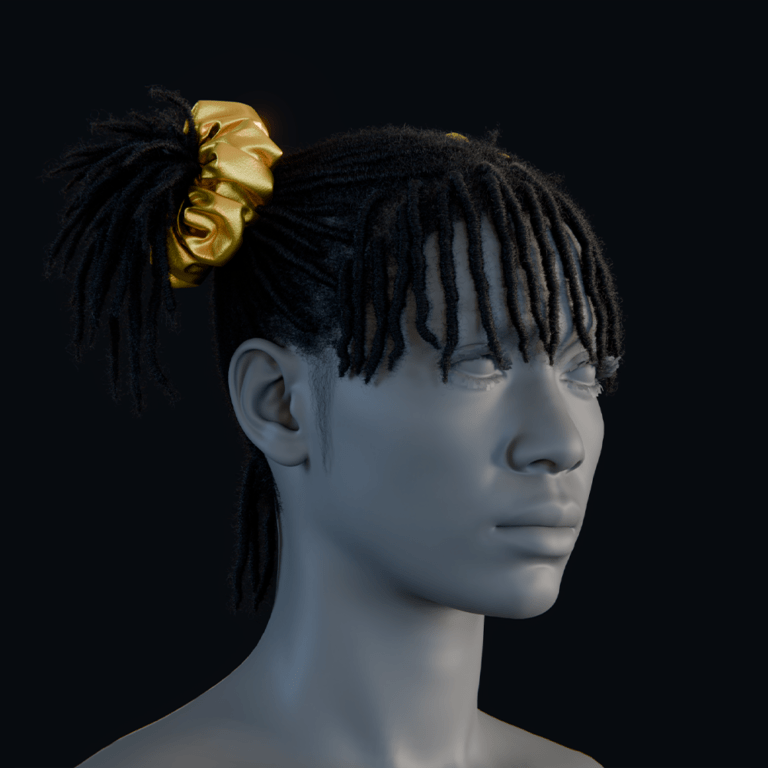
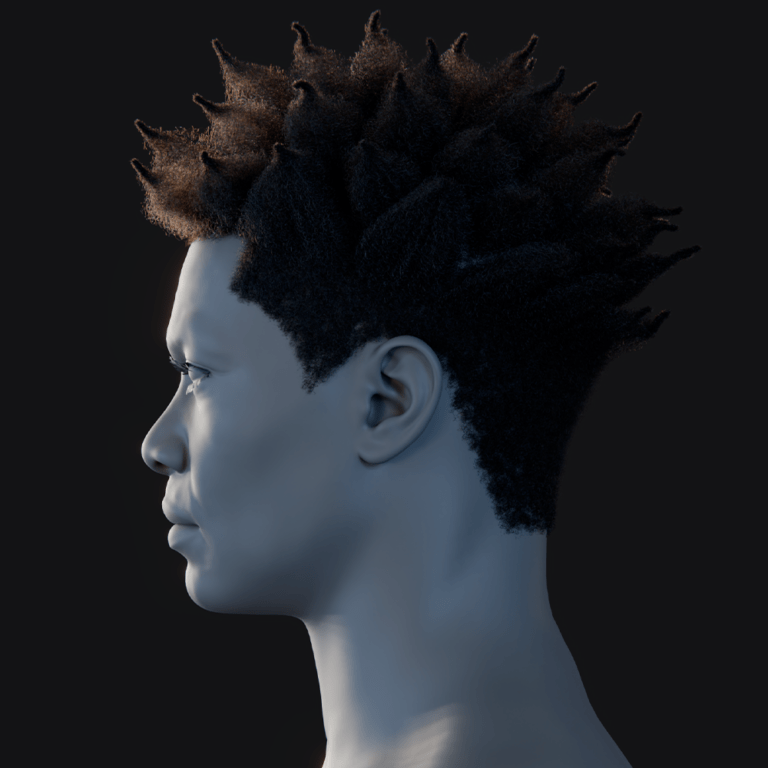
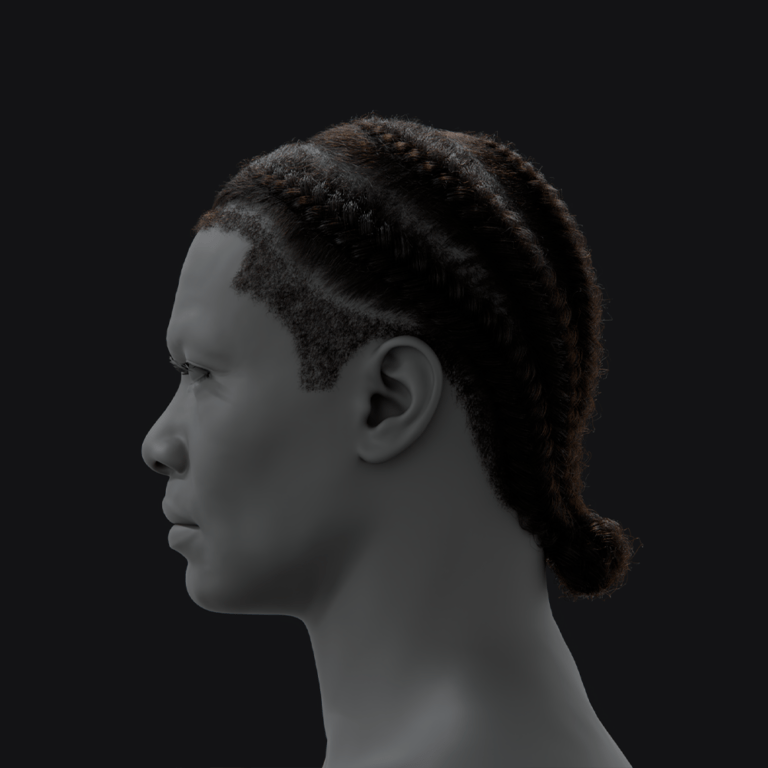
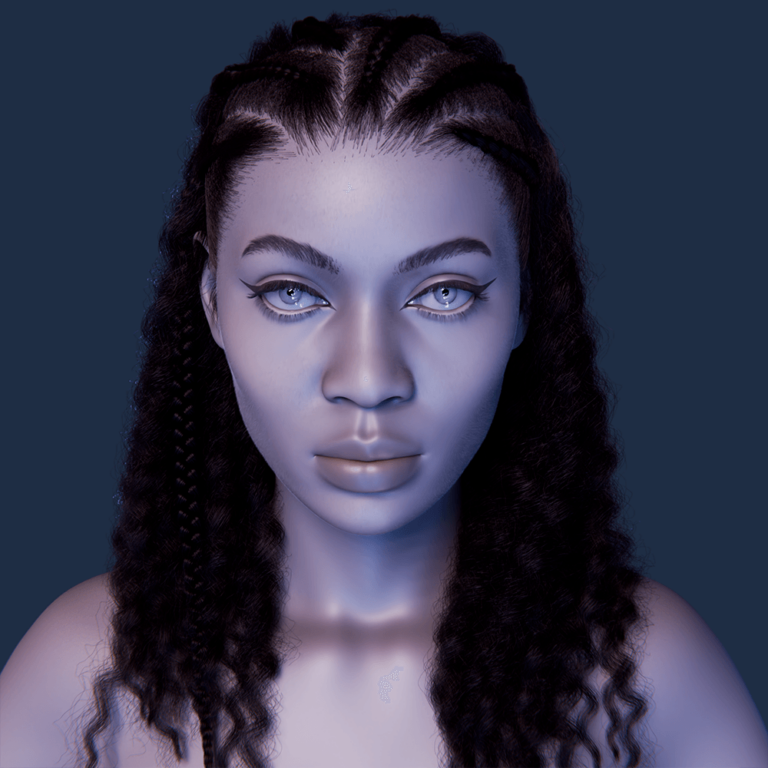
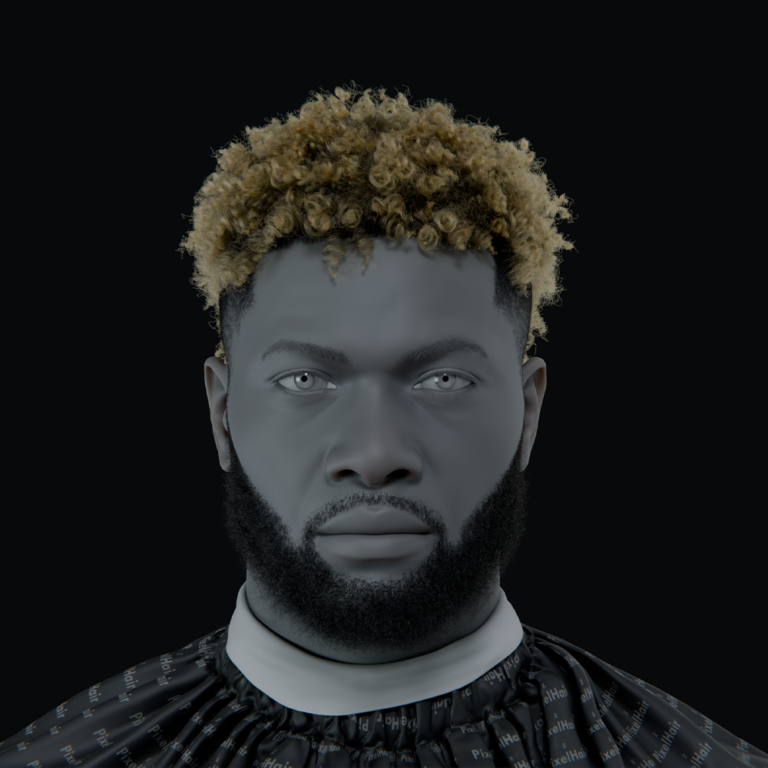
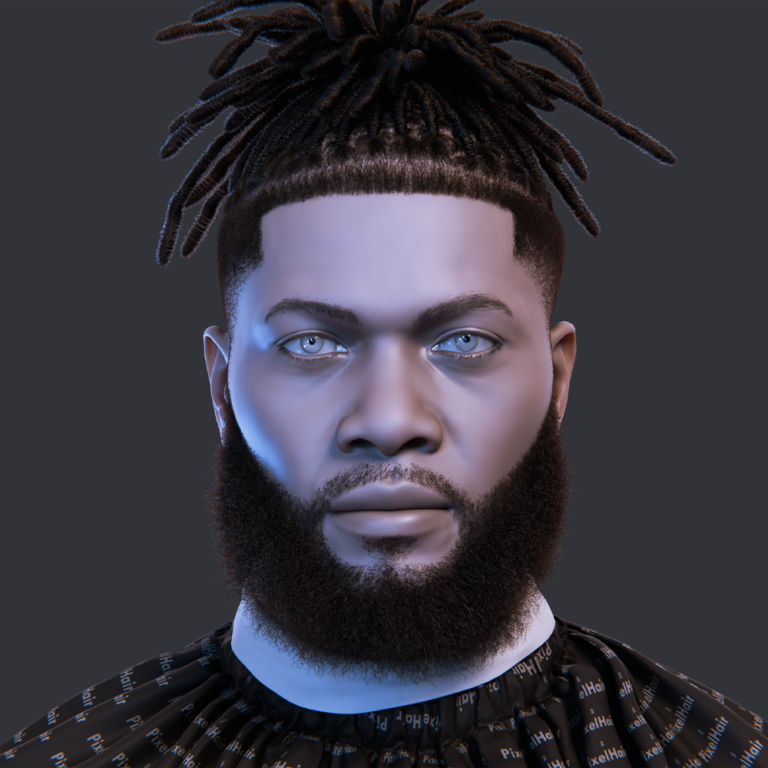
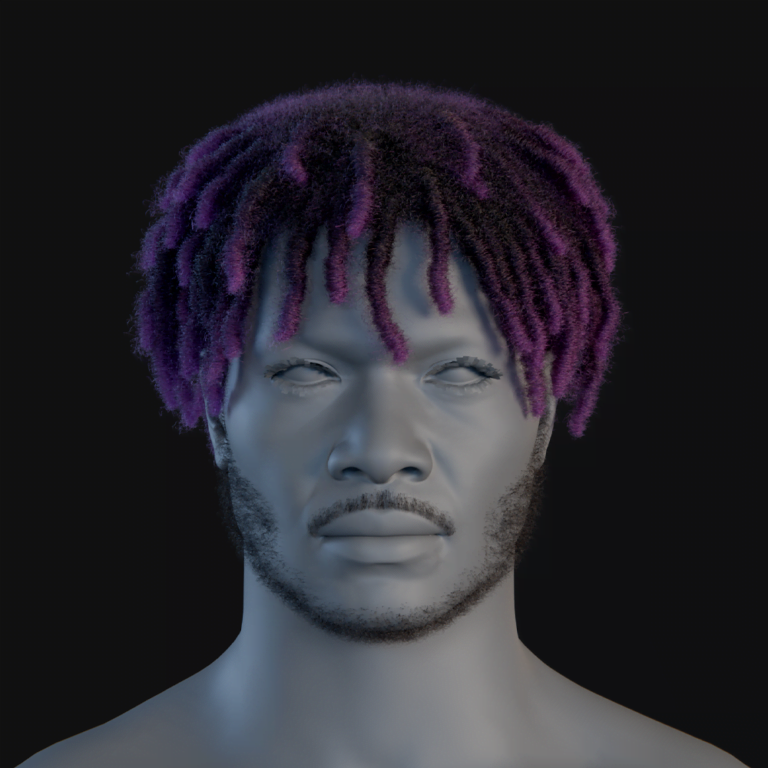
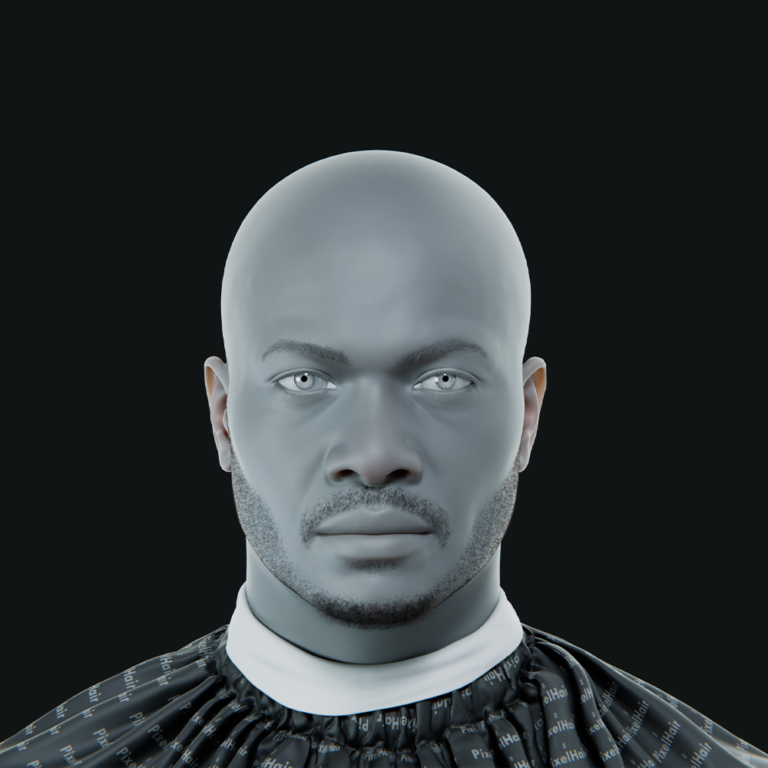
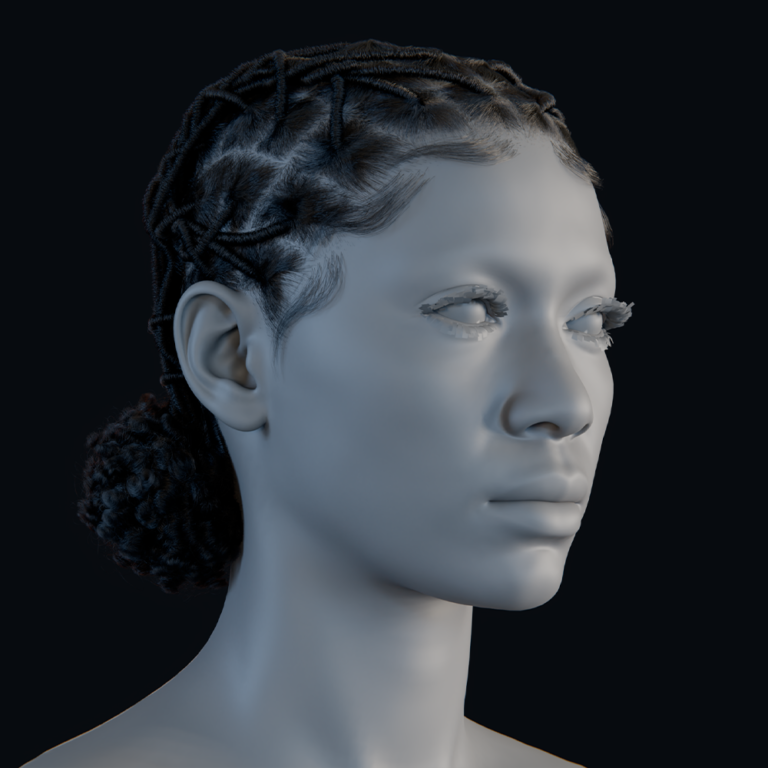
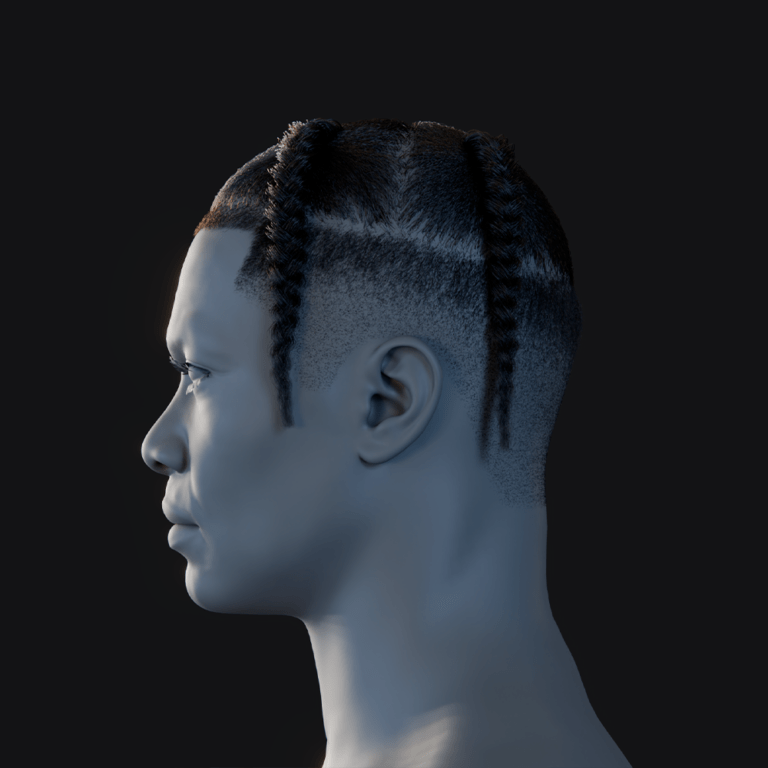
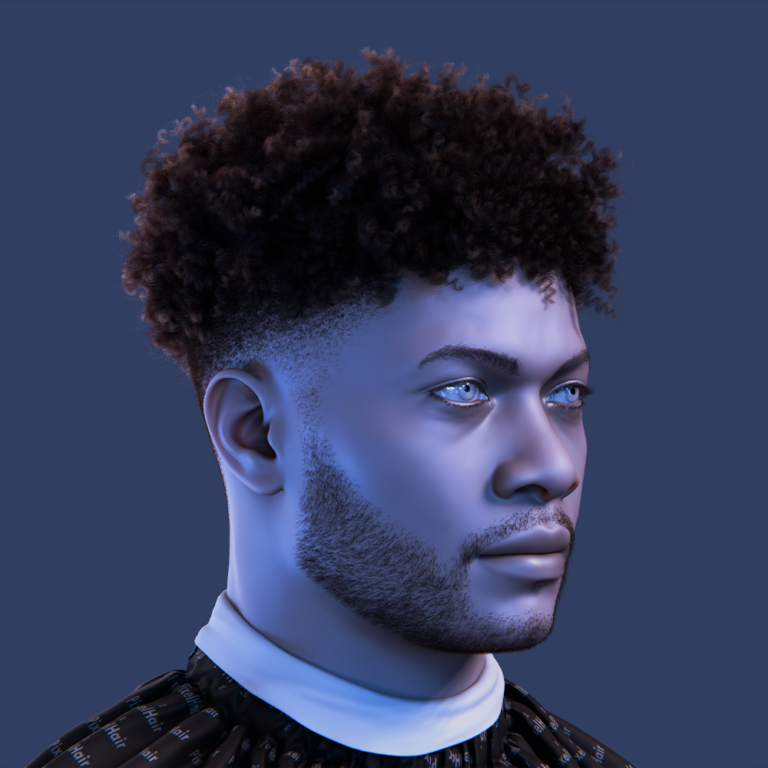
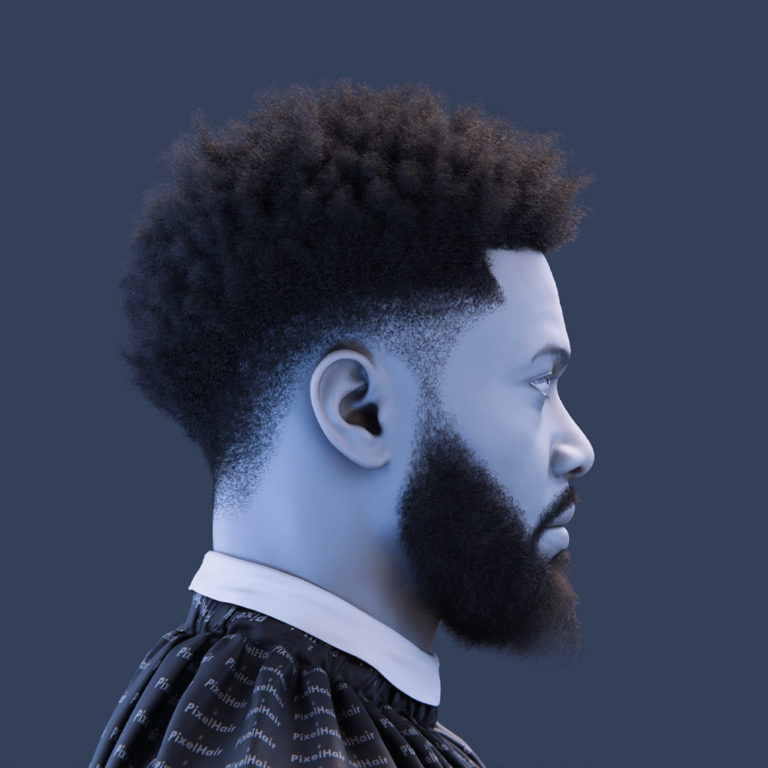
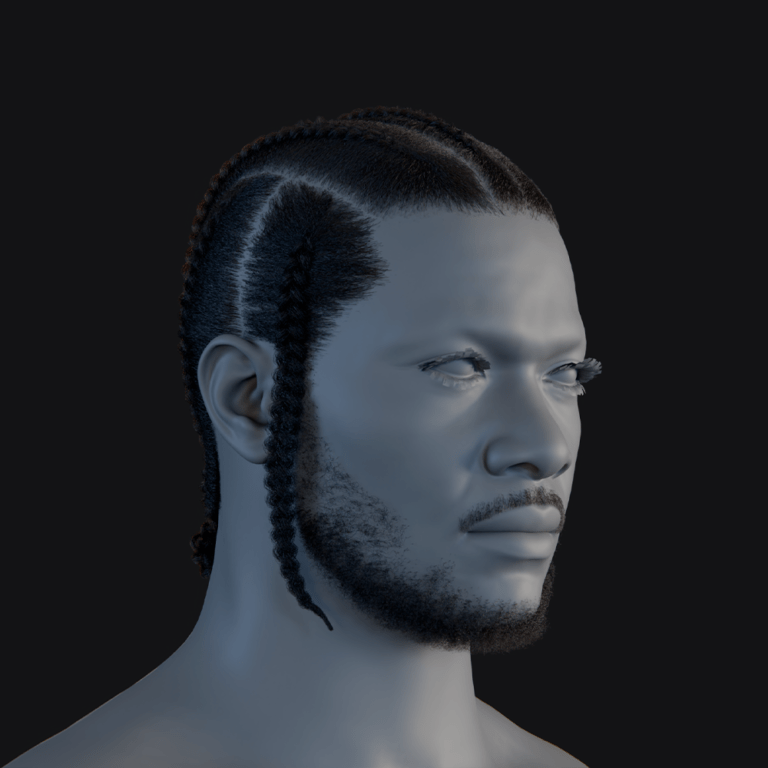
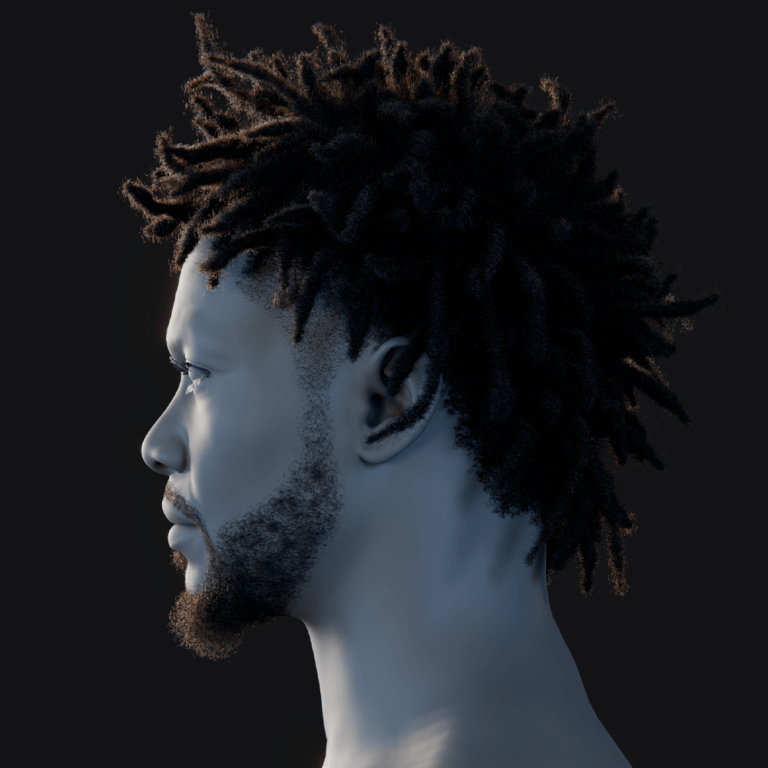
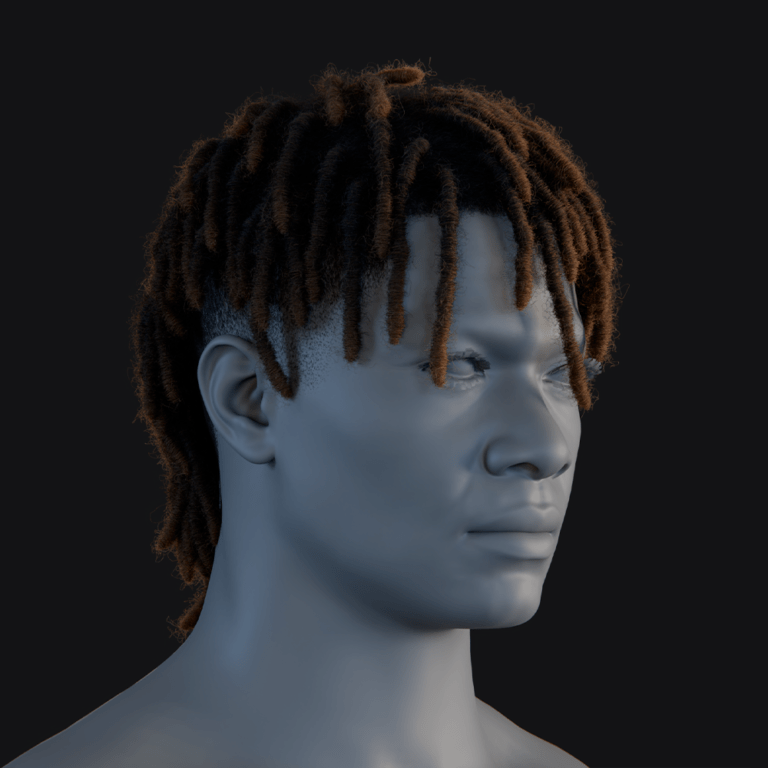
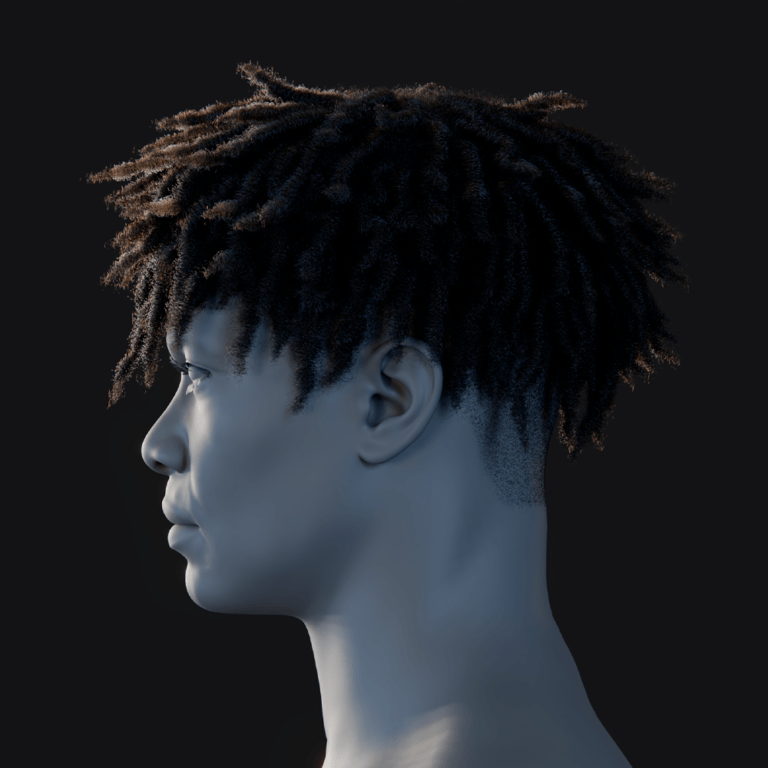
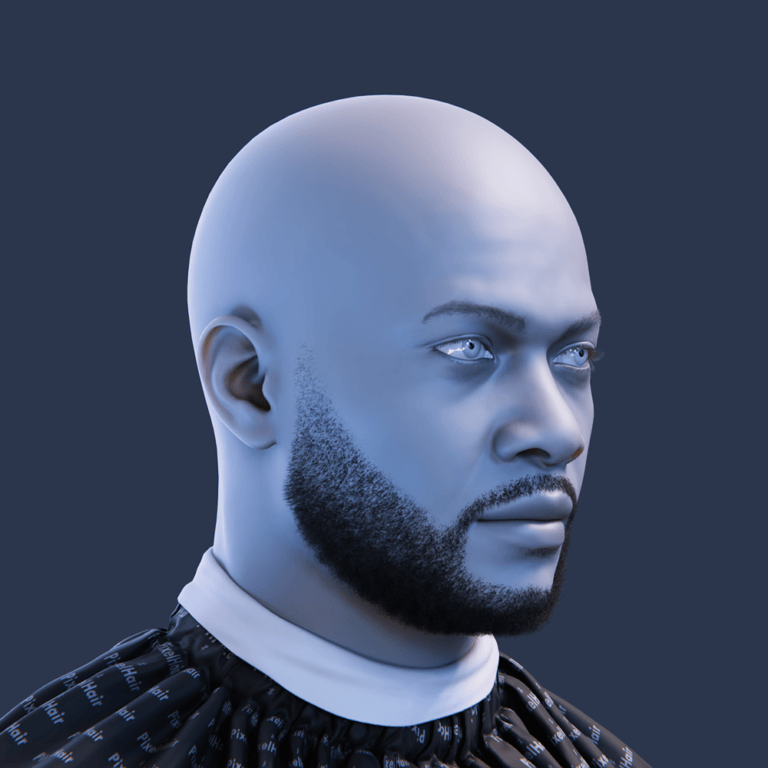
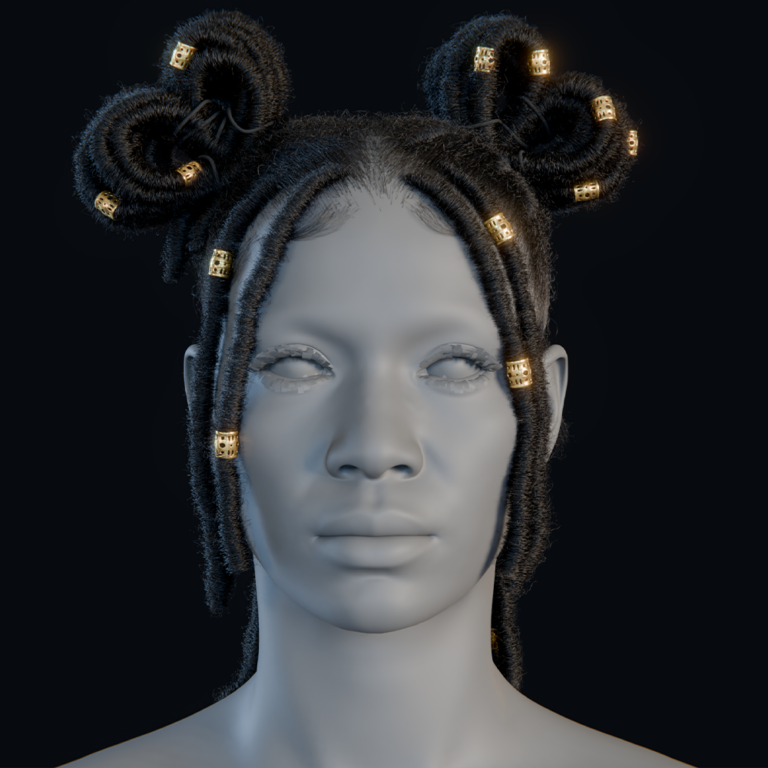
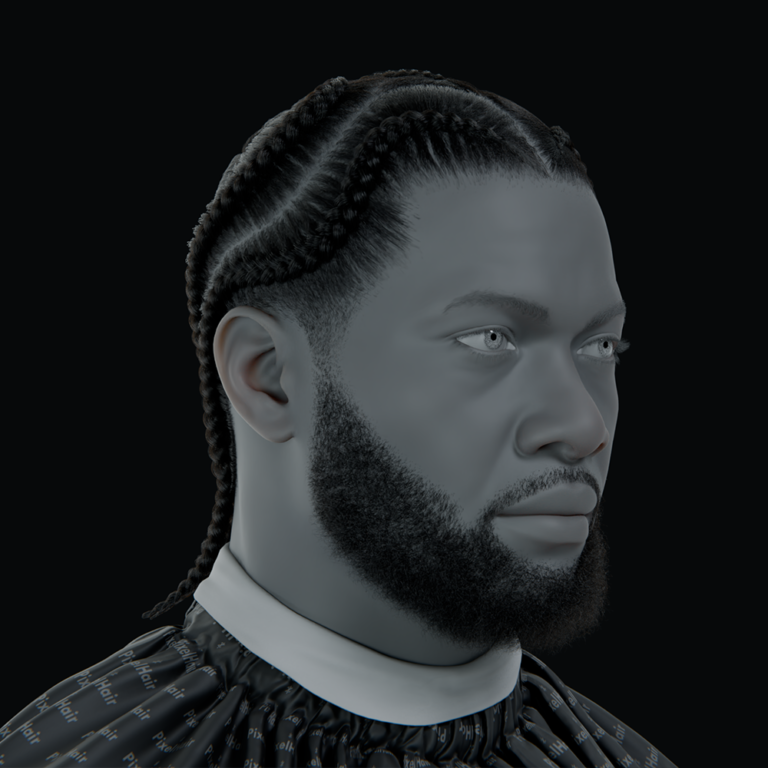
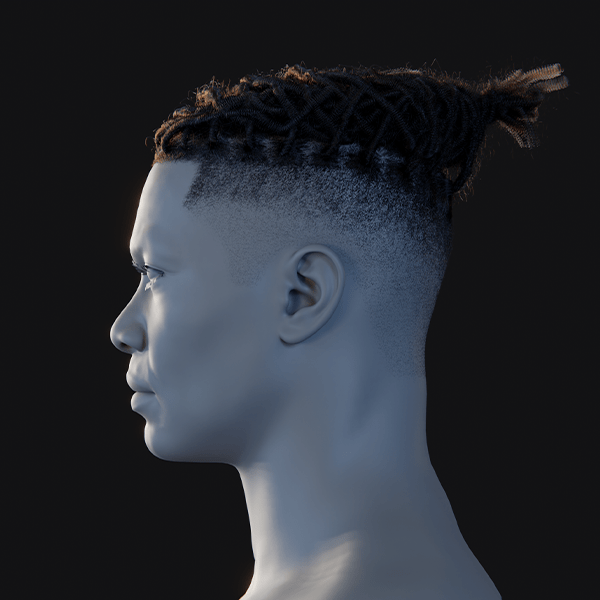
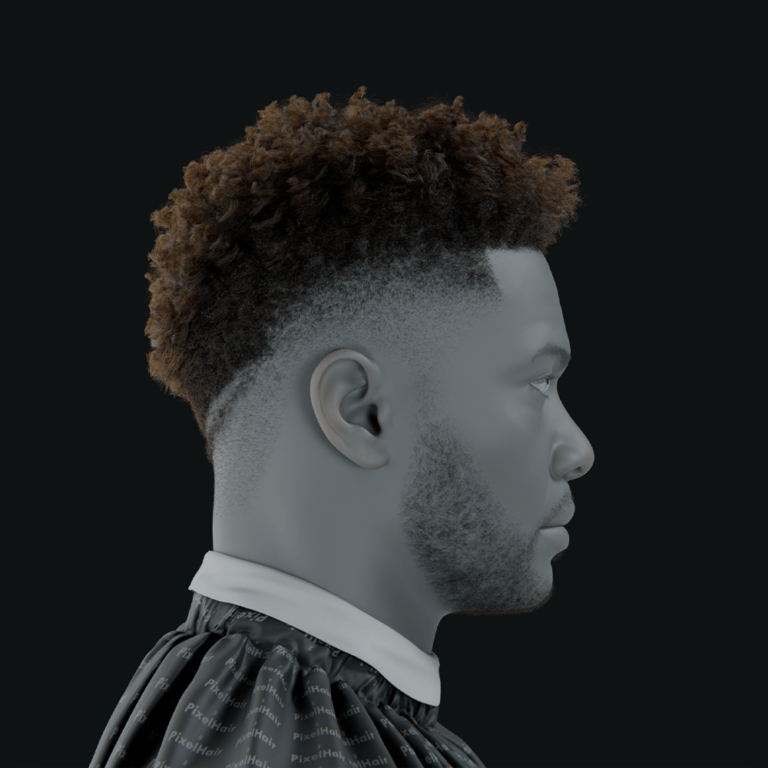
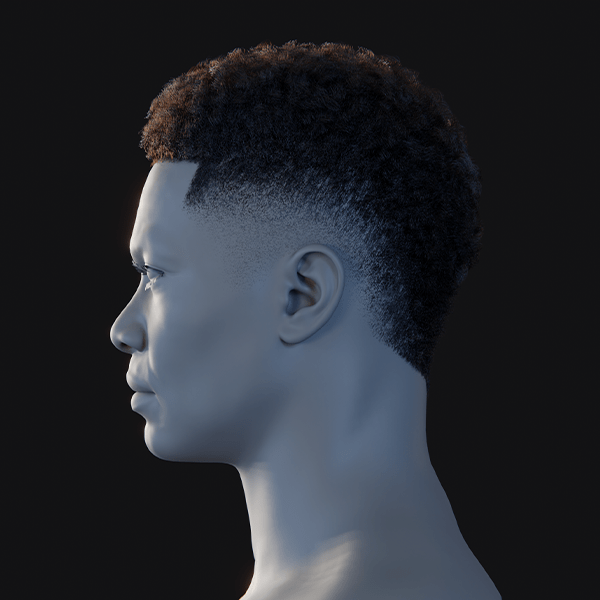
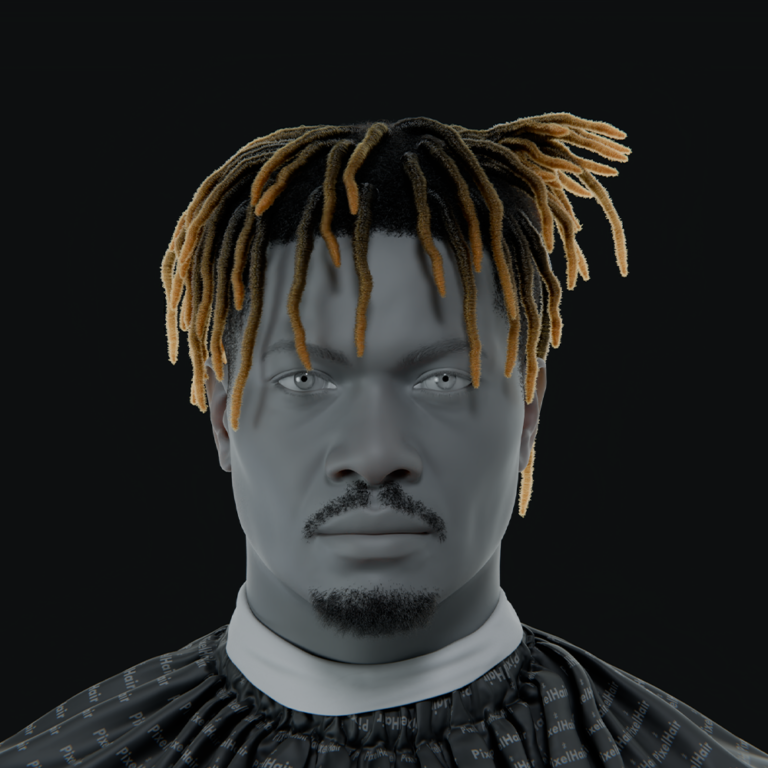
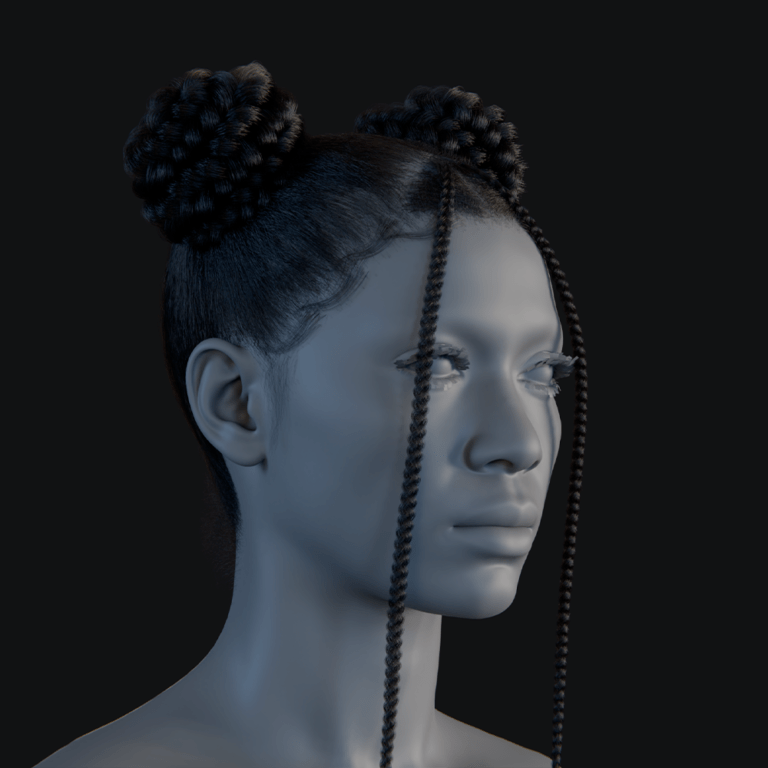
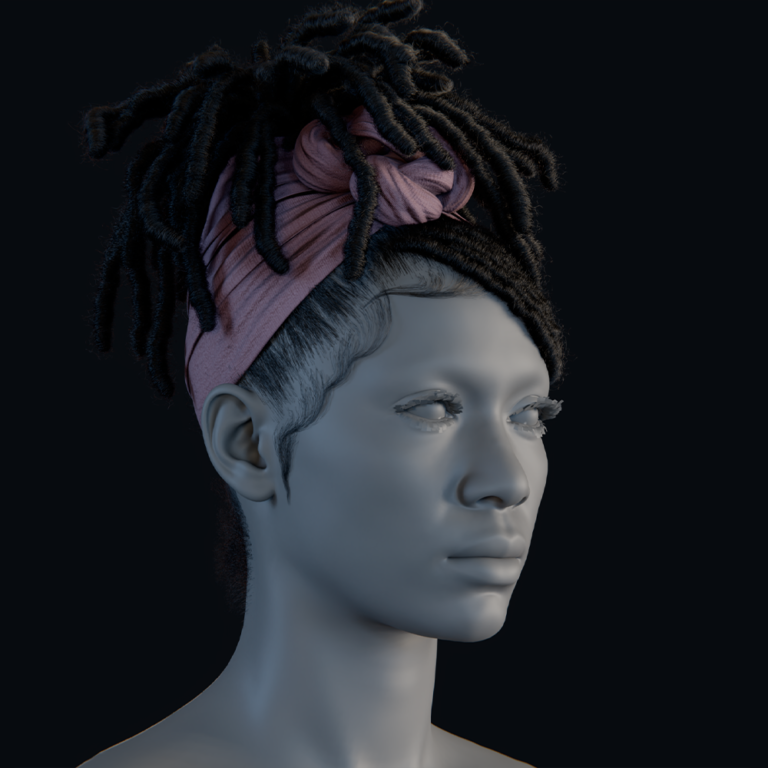
- 3D Modeling (Blender/Maya): Model hair, outfits, or accessories for full control. Use tools like PixelHair for realistic hair, sculpt outfits in Marvelous Designer, or parent accessories to bones. Rig and weight paint for proper movement.
- Hair: Model polygon hair or use particle systems, attaching to the head.
- Outfits: Sculpt or simulate clothes, rigging to the avatar’s armature.
- Accessories: Position and parent items like hats to bones.
- Unity/VRM Extensions: Use Unity with UniVRM to add accessories or tweak textures. Import assets like hats, attach to the avatar, and export as a new VRM. Tools like Hana Tool assist with blendshapes.Unity extends customization without remodeling. It supports quick asset integration. Exported VRMs maintain compatibility with VTuber apps. Verify animations post-editing.
- Booth.pm and Asset Libraries: Download hairstyles, textures, or accessories from Booth.pm. Apply to VRoid or Unity models, checking usage terms. These assets speed up customization with premade options.Booth.pm offers diverse, often free assets. It accelerates customization for all skill levels. Proper integration ensures compatibility. Always respect asset licenses.
How Can PixelHair Be Used to Design Custom Hairstyles for 3D VTuber Avatars?
PixelHair provides realistic, pre-made hairstyles for Blender, enhancing VTuber avatars. Here’s how to use it:
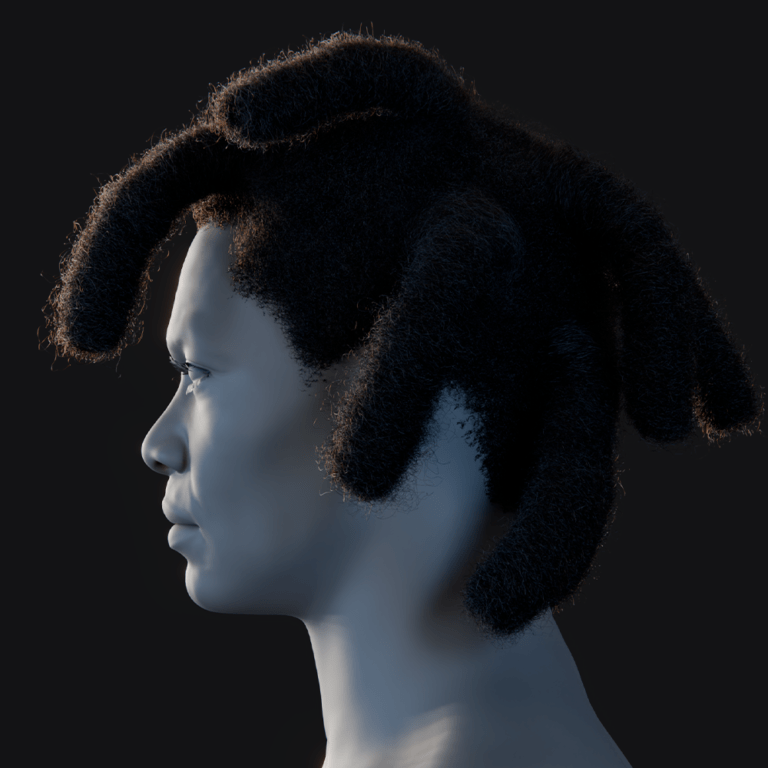
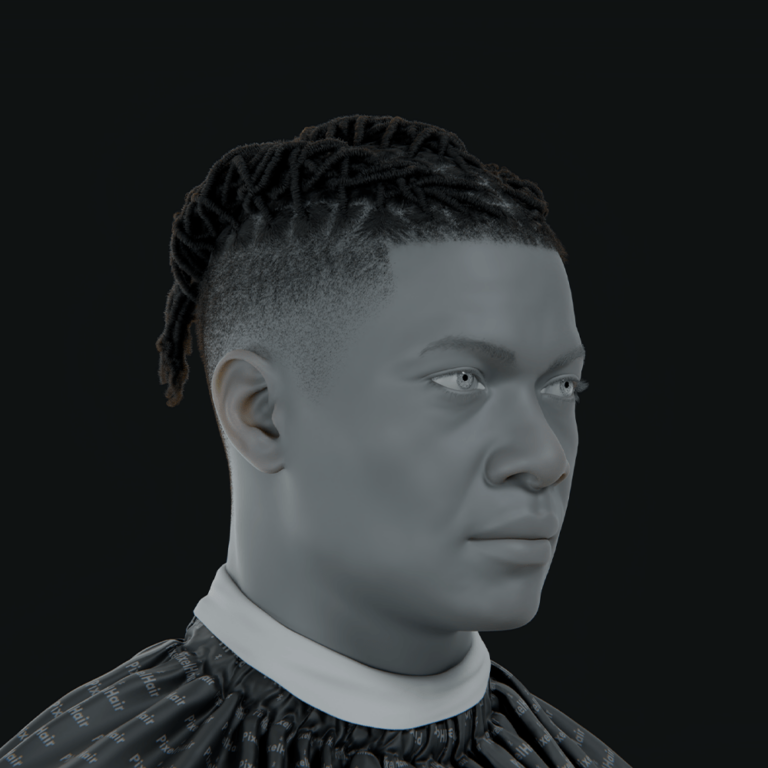
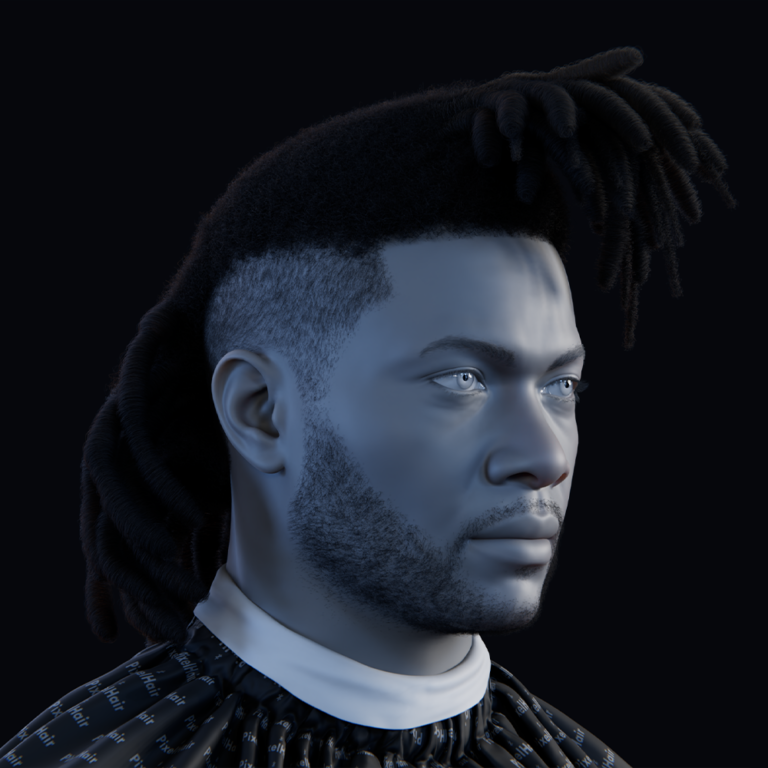
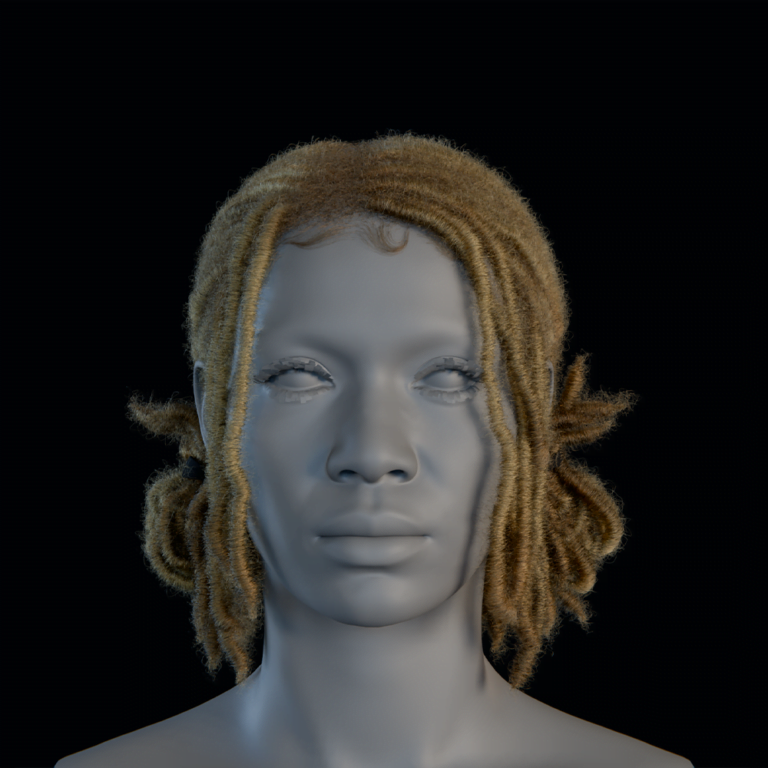
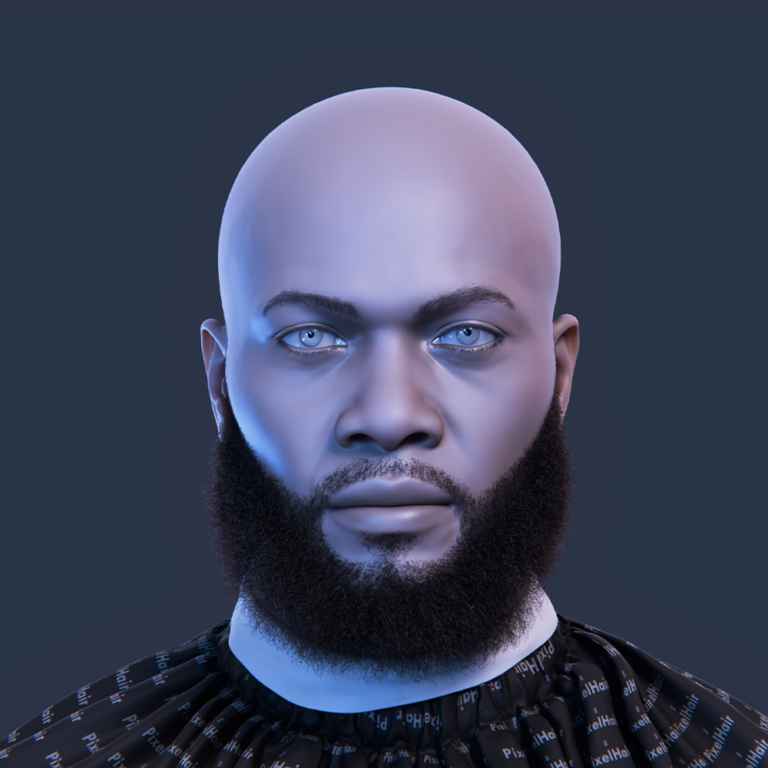
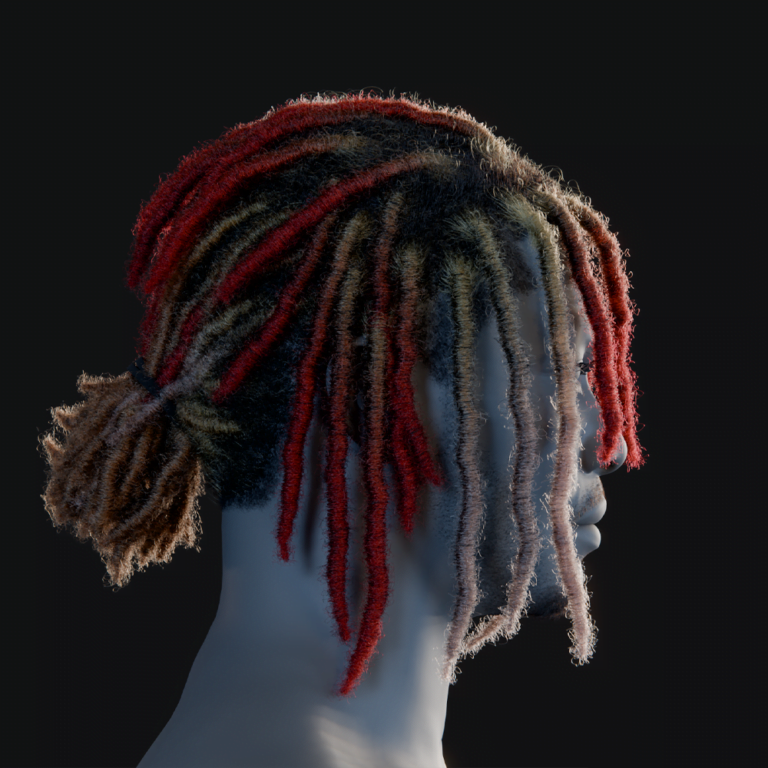
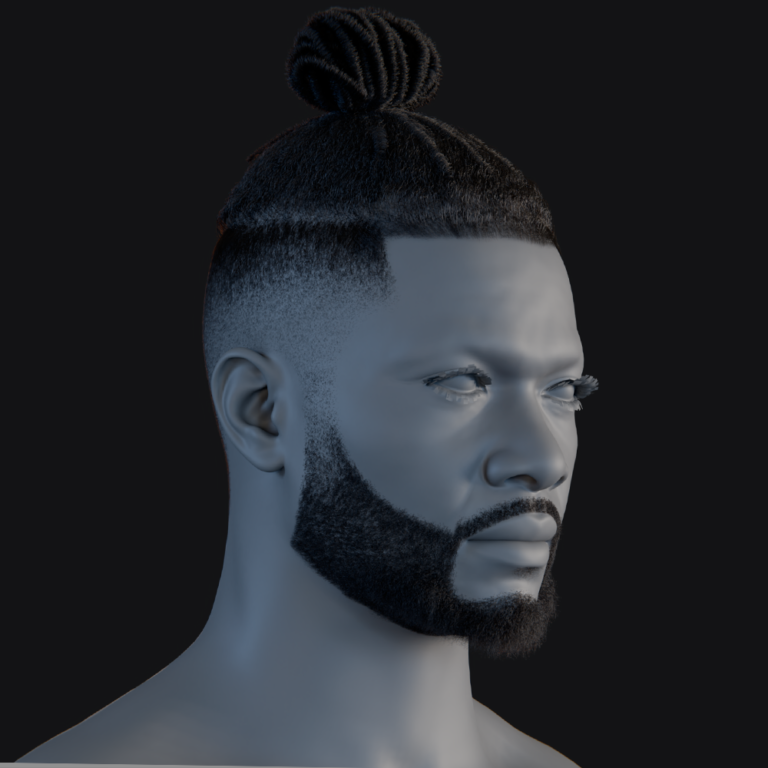
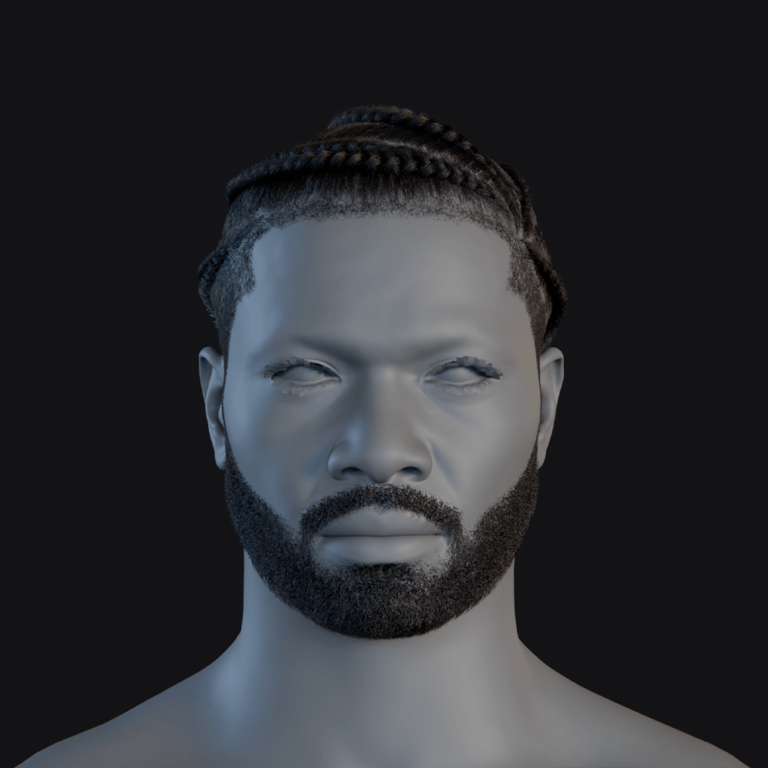
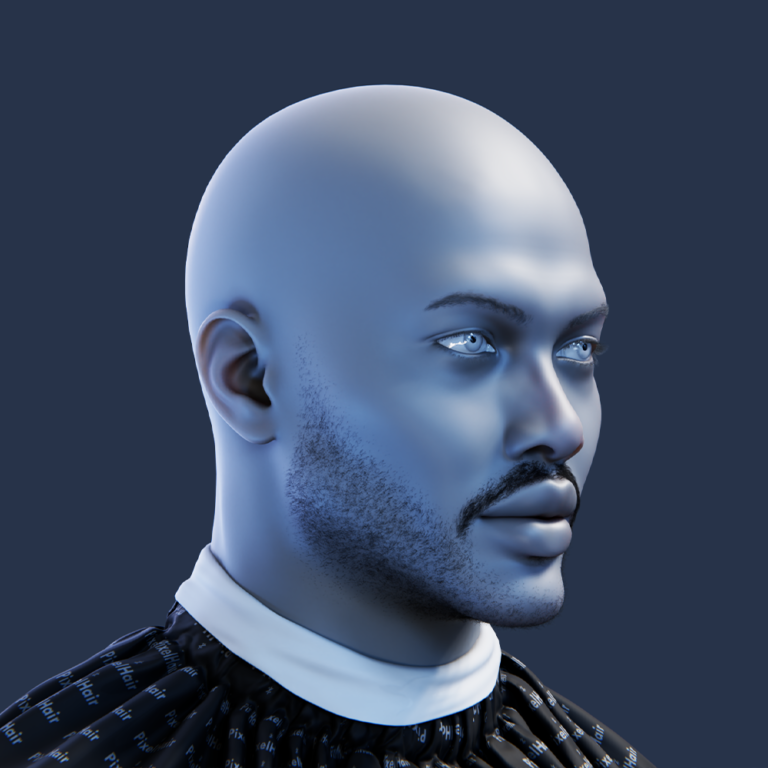
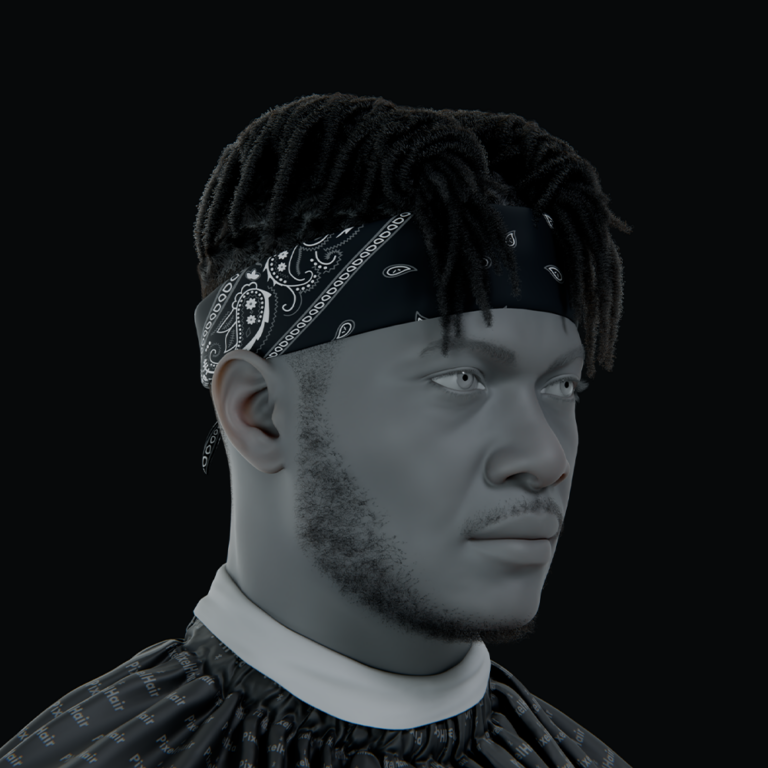
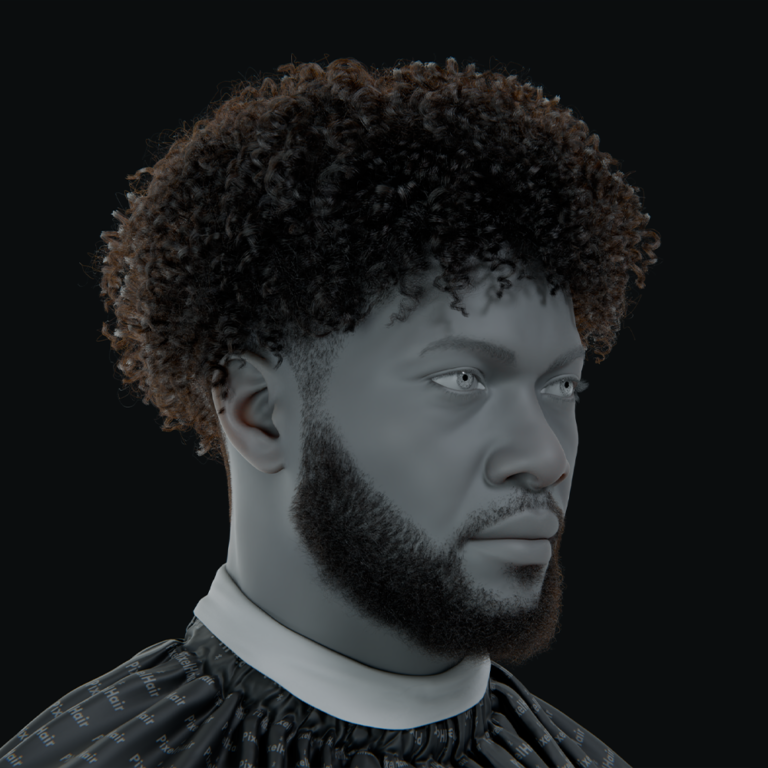
- Overview: PixelHair offers strand-based hair systems, like braids or dreads, with a scalp mesh (hair cap). Strands respond to physics and lighting, ideal for realistic looks, though conversion to mesh may be needed for real-time use.PixelHair delivers high-quality hair instantly. Its strand-based design ensures realism. Conversion to mesh supports VTuber apps. Optimization balances performance and visuals.
- Application in Blender: Import PixelHair’s hair cap and strands. Fit the cap to your avatar’s head using a shrinkwrap modifier. Attach to the head bone or weight paint for movement, then tweak styles or colors in particle edit mode.Blender integration is straightforward. The shrinkwrap ensures a snug fit. Customization maintains creative control. Testing ensures proper rigging for animations.
- Customization and Performance: Adjust strand curl, length, or color. Convert particle hair to mesh for Unity/VRM compatibility, as VTuber apps may not support strands natively. Optimize polycount for real-time performance.PixelHair’s flexibility allows tailored looks. Mesh conversion ensures compatibility. Optimization prevents lag during streams. Testing confirms smooth rendering.
- Benefits for VTubers: PixelHair saves time by providing salon-quality hairstyles, avoiding complex strand modeling. It suits semi-realistic avatars, offering Final Fantasy-like quality, with options to combine with polygon hair for anime styles.PixelHair streamlines professional hair design. Its realistic strands elevate avatar aesthetics. Hybrid approaches suit diverse styles. Always verify performance in VTuber software.

What are the best character design tips for VTuber branding?
Designing a VTuber avatar is about creating a visual brand that reflects your identity and attracts viewers. A well-designed avatar communicates your personality and content style effectively. Here are key tips for crafting a strong VTuber avatar:
- Unique Silhouette: A distinctive silhouette ensures instant recognition, like iconic shapes in characters such as Batman or Mickey Mouse. Incorporate defining features like a bold hairstyle or large accessory (e.g., wings or a hat) to make your outline stand out. Simplicity in the silhouette helps avoid clutter, ensuring clarity. For instance, twin drills or cat ears can make your avatar memorable without overwhelming the design.
- Consistent Color Scheme: Choose a limited color palette that reflects your persona and theme, like Gawr Gura’s blue and white shark motif. Colors should align with your vibe—pastels for calm, neons for energy—and use contrast for visibility. Apply these colors across overlays, logos, and merch for cohesion. Shape language (e.g., sharp for edgy, round for friendly) reinforces the mood.
- Thematic Consistency: Base your design on a clear concept, like a cyberpunk DJ or forest elf, with outfits and accessories matching the theme (e.g., LED lines or leaf patterns). A cohesive theme, like “space dragon,” makes your avatar memorable. Develop a concept sentence or backstory to guide design choices. This strengthens viewer recall and brand identity.
- Signature Accessories: Include a unique element like a pet, emblem, or trait (e.g., Pekora’s carrot hairclip) to enhance memorability. These can inspire merch, like necklaces or hairpins, and act as visual hooks. For example, a crown for a king-themed VTuber or a magic staff for a sorcerer ties into the character. Ensure the accessory fits the theme for consistency.
- Expressive Face Design: The face, especially the eyes, is crucial for emotional connection. Stylized eyes with unique features (e.g., star pupils) and a rig allowing varied expressions (smiles, pouts) are essential. Match expressions to your persona, like a smug face for an anime-style character. Clear, on-brand expressions build viewer attachment.
- Simplicity with Memorable Details: Balance simplicity and distinctiveness to avoid generic or overly complex designs. A simple base (e.g., a dress) with unique flourishes (e.g., patterns) works well, like Pokémon characters’ accent pieces. Focus on a few striking details for clarity. This aids fanart and ensures visual impact without confusion.
- Brand Cohesion: Ensure your avatar’s elements (colors, motifs) translate to other branding, like emotes or stream overlays. For example, a moon spirit’s purple and starry motifs can unify logos and chat graphics. This cohesive approach ties all visuals to your identity. A consistent look reinforces recognition across platforms.
- Original Inspiration: Draw inspiration from popular designs but add your unique twist to avoid copying. Identify what you like (e.g., color or theme) and adapt it differently to stand out. Originality in at least one aspect, like a novel theme, is key. This ensures your avatar feels fresh and distinct.
- Professional Quality: High-quality art and rigging enhance your brand’s polish, making a strong first impression. Invest in a skilled artist or refine your work for crisp visuals. A well-executed design signals professionalism and attracts viewers. Quality execution is critical for initial appeal.
- Merchandise Potential: Design with merchandising in mind, using bold, simple elements for stickers or keychains. Incorporate a logo or mascot (e.g., a tiger cub for a tiger VTuber) that can become a channel icon or merch item. This foresight supports brand expansion. Distinctive elements make merchandising easier.
For example, Hololive’s Gawr Gura has a shark hoodie silhouette, blue-white colors, and a shark companion, creating a cohesive, marketable design. Your avatar should match your on-stream vibe and allow evolution (e.g., new outfits) while keeping core branding elements consistent.

Can I Create a 3D VTuber Avatar Without Any 3D Modeling Experience?
Yes, you can create a 3D VTuber avatar without modeling experience using accessible tools and resources. Here are the main approaches:
- VTuber Avatar Maker Software: VRoid Studio is ideal for beginners, offering an intuitive interface with sliders for facial features and preset hairstyles. You can customize clothing templates and colors without 3D skills, creating a functional VRM model in hours. It’s free and requires no art knowledge, making it perfect for new VTubers. Many successful VTubers start with VRoid.
- ReadyPlayer.me: This web-based tool creates 3D avatars quickly from a selfie or base model, with options for clothing and style. It’s suited for semi-realistic or cartoon aesthetics, not anime, and integrates with apps like Animaze. No software installation is needed, offering a fast solution. It’s beginner-friendly and takes minutes.
- Premade Models and Marketplaces: You can use existing models from platforms like VRoid Hub or Booth.pm:
- VRoid Hub: Browse and download shared VRoid models, some available for use with creator permission. This skips design entirely, letting you pick a ready avatar.
- Booth.pm: Offers free or affordable rigged VRM models, often $30-$100, ideal for those avoiding design work. Always check licensing for streaming use. These platforms provide quick access to usable avatars without modeling.
- Commission an Artist: Hiring a 3D artist creates a custom avatar without you modeling. Costs range from hundreds to thousands, depending on complexity. This is common among top VTubers but may be expensive for beginners. It ensures a unique, professional design tailored to your vision.
How Do I Export My Avatar from Blender to VTube Studio or VRChat?
Exporting a 3D avatar from Blender requires specific steps depending on the target platform. Here’s how to export for VTube Studio (clarifying a common confusion) and VRChat:
- VTube Studio (2D App Clarification): VTube Studio only supports 2D Live2D avatars, not 3D models from Blender. You cannot directly import a 3D model; you’d need a 2D Live2D model created separately in Live2D Cubism. For 3D VTubing, use apps like VSeeFace or Luppet instead. This distinction is critical to avoid workflow errors.
- VRChat Export:
- Export as FBX: In Blender, export your rigged, textured model as FBX, disabling “Add Leaf Bones” and applying scale transformations for Unity compatibility.
- Unity with VRChat SDK: Import the FBX into Unity (use the recommended version, e.g., 2019.4 LTS), set it as a Humanoid rig, and add a VRC_AvatarDescriptor. Configure viewpoint and lip sync.
- Build & Publish: Use the VRChat SDK to upload your avatar, optimizing polygons (<70k triangles) and materials for performance. This pipeline ensures your avatar works in VRChat’s social VR environment.
- 3D VTuber Apps (e.g., VSeeFace):
- Export as VRM via Unity: Import your FBX into Unity, use the UniVRM package to add a VRM Meta component, and assign blendshapes for expressions. Export as a VRM file for VSeeFace or Luppet.
- Direct VRM Export: Use Blender’s VRM addon to export directly, ensuring a humanoid rig and proper naming. The VRM file is then loaded into compatible apps. These methods make your avatar usable in 3D VTubing software.

What Are the Differences Between 2D and 3D VTuber Avatars?
2D vs. 3D VTuber Avatars: Key Distinctions:
2D and 3D VTuber avatars differ in creation, functionality, and application, impacting content and audience experience. 2D avatars, drawn in layers and rigged in Live2D, resemble moving illustrations, requiring strong art skills. 3D avatars, modeled in Blender or VRoid, offer full three-dimensionality, accessible for non-artists via tools. Both vary in motion, expressiveness, and technical demands, shaping their use in streaming.
- Creation Process: 2D avatars are crafted in Photoshop, layered, and rigged in Live2D Cubism for animation-like motion. 3D avatars are modeled, textured, and rigged in Blender, forming a 3D figure. 2D demands drawing expertise, while 3D benefits from user-friendly tools like VRoid. Commissioning is common, but 3D DIY is easier for beginners.
- Range of Motion: 3D avatars allow 360-degree movement, enabling full-body tracking for dynamic activities like dancing. 2D avatars are restricted to front-facing motion, with up to 30° turns, resembling puppets. 3D suits energetic content, while 2D fits static, desk-based streaming. This affects content versatility significantly.
- Expressiveness: 2D avatars shine in anime-style art, offering fluid expressions like blinks and hair sway, but falter at extreme angles. 3D avatars use blendshapes for versatile expressions, appearing less illustrative without cel-shading. 2D maintains anime charm, while 3D prioritizes movement realism. Viewer preference hinges on stylistic goals.
- Technical Requirements: 2D avatars run on low-end systems or mobiles via VTube Studio with webcam tracking. 3D avatars require higher GPU/CPU power for real-time rendering and advanced tracking like VR trackers. 2D is lightweight and accessible, while 3D demands robust hardware. Setup complexity influences choice.
- Interactivity and Content: 3D avatars support VR gaming, 3D props, and virtual spaces, ideal for interactive skits like virtual cooking. 2D avatars rely on static or parallax backgrounds, limiting physical engagement. 3D enables varied content, while 2D suits chatting or gaming. Content goals drive selection.
- Aesthetic Difference: 2D avatars embody a classic anime look, appealing to anime fans with flat, illustrative styles. 3D avatars can mimic 2D with shaders but often feel like 3D game characters. 2D offers consistent anime aesthetics, while 3D provides depth and lighting. Audience expectations shape aesthetic decisions.
- Difficulty and Cost: 2D creation requires advanced drawing and rigging skills, making DIY challenging; commissions cost hundreds to thousands. 3D is more DIY-friendly with VRoid, though custom models are expensive. 2D commissions may be quicker, but both demand time for quality. Budget and skill level determine feasibility.
- Streaming Usage: 2D is popular for daily streams due to its cozy anime vibe, while 3D is used for events like concerts. Indies choose 2D for simple streams and 3D for VR or full-body skits. Some VTubers use both, depending on resources. Flexibility aligns with content and audience goals.
- Viewer Experience: 2D avatars are seen as cute and anime-aligned, ideal for purists, while 3D feels dynamic and immersive. Both support branding if executed well. Viewer preference varies, with 2D favoring anime fans and 3D appealing to interactive content enthusiasts. High-end 3D pushes immersion but requires resources.

How do I optimize my 3D avatar for real-time performance?
Optimizing a 3D VTuber avatar ensures smooth real-time performance in apps like VSeeFace or VRChat, avoiding lag or frame drops. Key techniques focus on reducing resource demands while preserving visual quality. These methods address geometry, materials, rigging, and platform-specific needs. Testing and tools streamline the process for efficient streaming.
- Reduce Polygon Count (Decimate Meshes): High-poly models slow rendering; aim for 20k-50k triangles for VTuber models. Use Blender’s Decimate modifier or retopologize dense meshes. Remove unseen polygons, like those inside clothing, and rely on textures for smooth areas. This balances detail and performance for mid-range hardware.
- Atlas and Reduce Materials: Multiple materials increase draw calls; combine them into one atlas texture for skin, hair, and clothing. Tools like CATS plugin in Blender merge materials efficiently. Lower texture resolution (e.g., 1K instead of 4K) saves memory. Fewer materials improve load times and performance.
- Simplify Rig and Bones: Excessive bones, especially for physics, impact performance; use standard Humanoid bones with minimal extras. Avoid dense finger or hair bone chains unless needed for tracking. Opt for jiggle physics or blendshapes over complex bone setups. Simplified rigs maintain functionality with lower CPU cost.
- Optimize Blendshapes/Morphs: Remove unnecessary blendshapes to reduce file size and runtime load. Keep essential visemes and expressions, disabling features like Blendshape Normals in Unity for VRM/FBX imports. This streamlines processing in apps like VSeeFace. Optimized morphs ensure efficient facial animations.
- Physics and Spring Joints: Limit spring bones for hair or accessories, grouping hair into fewer locks to reduce simulation costs. Minimize colliders and consider disabling physics in low-performance scenarios. Shorter hair requires fewer bones, easing calculations. Judicious physics use maintains dynamic effects efficiently.
- Level of Detail (LOD): LODs simplify models for distant views in VRChat, though less critical for solo VTubing. Advanced VRM setups may include high/low-quality toggles. LODs reduce rendering load in multi-avatar scenarios. For personal use, focus on single optimized mesh.
- Shaders and Effects: Use simple toon shaders like VRM/MToon, avoiding heavy effects like subsurface scattering. Disable real-time shadows or post-processing in apps like VSeeFace’s “toaster” mode. Optimized shaders reduce GPU strain. This ensures compatibility and speed in real-time rendering.
- Culling Invisible Parts: Enable backface culling to skip rendering unseen geometry, like inside mouths or sleeves. Remove redundant layers, such as hidden eyeballs, if not visible. Ensure no accidental high-poly objects remain. Culling minimizes unnecessary rendering for better performance.
- Mesh Simplification for Unnoticeable Details: Use normal maps or painted textures for details like buckles instead of modeling them. VRM supports normal maps, though some apps may ignore them with toon shaders. This reduces polygon count without sacrificing visuals. Textures fake detail effectively.
- Profiling and Testing: Test avatars in target apps like VSeeFace, monitoring CPU/GPU usage via performance stats. Identify bottlenecks, like complex hair physics, and simplify iteratively. Adjust one element at a time to isolate issues. Regular testing ensures smooth streaming and tracking.
- Platform Specific Optimization: For VRChat Quest, adhere to strict poly, bone, and material limits; PC allows more flexibility. Follow VRChat’s performance guidelines for tri count and materials. Optimize for multi-avatar streams or collabs. Platform constraints guide broader VTubing optimization.
- Use Tools: CATS plugin automates decimation and mesh joining in Blender, ideal for VRChat and VTubing. Unity’s VRChat SDK or VRM Validator reports avatar stats for optimization. These tools simplify workflows, ensuring compatibility. They help achieve professional-grade performance efficiently.
- General Optimization Guidelines: Trim polygons and bone influences (max 4 per vertex) to reduce file size and lag. VRoid models are pre-optimized, but custom Blender models need careful trimming. Avoid modeling fine details like eyelashes as thick meshes. Lean models enhance streaming smoothness.
- Eye Tracking Optimization: Use either bones or blendshapes for eye movement to avoid conflicts, ensuring minimal CPU cost. Simplify eye bone constraints if used. This maintains natural eye animations efficiently. Proper setup supports accurate tracking without performance hits.

Are there marketplaces or premade models for 3D VTubing?
Premade 3D VTuber models and assets are available across various marketplaces, catering to creators seeking quick or customizable avatars. These platforms offer full models, parts, or textures, with licensing considerations critical for streaming use. Communities also share resources, lowering barriers for beginners. Options range from free to premium, suiting diverse budgets and skills.
- Booth.pm (Pixiv Booth):
- Full 3D Models: Booth offers VRM or Unity-based VTuber models, from free to tens of dollars, varying in quality. Search “VRM” or “VTuber” for ready-to-use avatars, checking streaming permissions.
- Model Parts: Buy hairstyles, clothing, or accessories for custom builds in Blender, enhancing model uniqueness. These modular assets are affordable and versatile.
- Textures for VRoid: Outfits, eyes, and hair presets import easily into VRoid Studio, ideal for quick customization. Many are free or low-cost, boosting accessibility.
- Navigation: Mostly Japanese, Booth requires translation for searches like “3Dモデル.” Its active community ensures diverse, high-quality options for VTubing styles.
- VRC Traders/Asset Stores: VRChat-focused communities like VRC Traders Discord trade avatars, while Unity Asset Store and CGTrader offer models. Non-VTubing models may need rig conversion, and licenses must allow broadcasting. These sources suit adaptable creators. Check usage rights carefully.
- Sketchfab: Offers free or licensed anime-style models under CC0/CC-BY, ideal for VTubing if original. Avoid fan-made or ripped game models due to copyright risks. Original works are viable with proper licensing. Always verify reuse permissions for streaming.
- VRoid Hub: Showcases VRoid avatars, some downloadable with creator permission. Filter for downloadable models or contact creators for access. Limited availability but useful for inspiration or direct use. Integrates with apps via API for specific platforms.
- Niconi Solid / Japanese Sites: MMD models from Niconi Solid can convert to VRM, but strict non-commercial or MMD-only terms often apply. Original models may allow VTubing with explicit permission. Usage terms must be confirmed. Conversion requires technical skill.
- Fiverr or Commission Platforms: Artists on Fiverr, Skeb, or VGen sell premade or custom models, often unique one-offs. Platforms like Twitter also feature pre-made model sales. These are ideal for exclusive avatars. Check artist terms for streaming use.
- Hololive/Nijisanji Models (Reference Only): Official models like Hololive’s are for fan content, not personal VTubing, due to branding restrictions. Kizuna AI’s MMD model shows public availability trends. Study these for inspiration only. Avoid misuse to respect IP.
- Game Asset Packs: VRChat’s SDK or community forums offer reusable avatars, like generic “Ethan” or “Jane” models, though not VTubing-specific. Licensed packs from VR games may work if permitted. Ensure licensing supports streaming. These are basic but functional.
- VTuber Model Packages: Booth sells base models with modular clothes and hair for mix-and-match customization. These rigged kits suit Blender users, offering flexibility. Ideal for semi-custom avatars. Simplifies creation for moderate skill levels.
- Paid Professional Marketplaces: Platforms like nizima (for Live2D) or Blender Market offer 3D models, including full characters. Sketchfab’s store and Booth also provide premium options. Quality varies, with licensing key. Professional assets ensure polished results.

Where can I find complete tutorials on how to make a 3D VTuber avatar?
Comprehensive Tutorials for Creating 3D VTuber Avatars
Numerous online resources, including video series and written guides, provide step-by-step instructions for crafting 3D VTuber avatars. Platforms like YouTube host detailed playlists, while blogs and forums offer written tutorials and community support. These cover modeling, rigging, and exporting for VTubing software. Below are the best sources for complete tutorials:
- YouTube Video Series: YouTube hosts extensive VTuber avatar creation playlists by creators like Mako Ray, who covers modeling, texturing, and rigging in Blender. Search for “How to Make a 3D VTuber Avatar From Scratch” to find series like Mako Ray’s or Jomala/Umemiya’s Blep tutorial for VRM avatars. Channels like Fofamit demonstrate converting VRChat avatars to VRM. These videos provide thorough, visual guidance for beginners and advanced users.
- Online Guides and Blogs:
- VTubeHub / VTuber Support Sites: Fan-run sites like Streamlabs offer beginner-friendly written guides, such as a VRoid-focused tutorial for 3D avatar creation. These outline the full process from setup to export. They are ideal for those preferring text-based instructions. Such guides ensure accessibility for new VTubers.
- VRCat Forums / Ask.VRChat: VRChat’s documentation and forums provide tutorials on avatar creation, applicable to VTubing up to Unity import. Guides like “Making Your First Avatar” detail modeling and Unity setup. Community threads add practical tips. These resources bridge VRChat and VTuber workflows.
- Rokoko Blog: Rokoko’s blog includes posts like “Tutorial: How to do VTuber rigging,” offering general rigging advice and resource pointers. Their “Expert Guide to Making or Buying a VTuber Model” provides a broad overview. These are valuable for technical insights. They complement hands-on tutorials with context.
- VTuber Sensei Blog: VTuber Sensei offers articles comparing Live2D and 3D or starting tips, serving as introductory guides. While not always step-by-step, they provide foundational knowledge. These blogs help contextualize the creation process. They guide users toward more detailed resources.
- Community Forums and Discords:
- Reddit Communities: Subreddits like r/vtubertech and r/VirtualYoutubers feature FAQ posts and pinned resource lists for model creation. Users share tutorial links in response to common questions. These communities foster collaborative learning. They’re ideal for discovering curated guides.
- Discord Servers: Servers like Official VSeeFace Discord or VTuber Support pin tutorial resources in dedicated channels. Blender community Discords may also offer VTuber-related advice. These platforms provide real-time support and links. They connect users with expert recommendations.
- Official Documentation:
- VRM Documentation (vrm.dev): VRM’s official site explains model requirements for export, crucial for preparing VTuber avatars. While not a modeling tutorial, it clarifies technical standards. This ensures compatibility with VTubing apps. It’s essential for finalizing models.
- Unity and VRChat Resources: Unity’s VRChat tutorials and UniVRM’s GitHub wiki detail avatar setup and VRM export processes. These technical guides support integration into VTubing software. They’re vital for Unity-based workflows. They ensure proper model functionality.
- Tutorial Lists / Compendiums: Enthusiasts compile tutorial collections, such as GitHub gists or Reddit posts listing “Best VTuber Software and Tutorials.” Searching “VTuber model tutorial collection” uncovers these curated lists. They aggregate multiple resources efficiently. These are great starting points for comprehensive learning.
- Udemy or Course Sites: Paid courses on Udemy, like “Design Your Own VTuber Avatar in Blender,” offer structured learning for avatar creation. Quality varies, but they suit those preferring formal instruction. These courses provide in-depth, guided training. They’re ideal for dedicated learners.
- Pixiv/Twitter (Japanese Tutorials): Japanese VTuber communities on Pixiv’s Tips section and Twitter hashtags like #VRoid or #VTuberModel share creation guides, often in Japanese. Translation tools help navigate these resources. They offer unique insights from active creators. These are valuable for diverse perspectives.
Complete tutorials are available across YouTube (e.g., Mako Ray’s series), blogs (e.g., Streamlabs’ VRoid guide), and community forums (e.g., r/vtubertech). Search specific terms like “Blender VTuber model tutorial rigging” for targeted results. Official docs like VRM’s ensure technical accuracy, while courses offer structured learning. These resources guide users from concept to finished avatar.

FAQ (Frequently Asked Questions)
- What equipment do I need to start VTubing with a 3D avatar?
You need a PC with decent 3D graphics, a webcam for face tracking, and a microphone. Optional upgrades include an iPhone with Face ID for advanced face capture, a Leap Motion controller for hand tracking, or VR trackers for full-body motion. A good GPU ensures smooth avatar performance during streaming. Many start with just a webcam and PC. - Do I have to know how to draw to create a VTuber avatar?
No drawing skills are needed for 3D avatars. Tools like VRoid Studio offer preset face shapes, hairstyles, and clothing for easy customization. You can also commission artists or buy premade models from marketplaces. For 2D Live2D avatars, drawing or hiring an artist is required, but 3D has non-drawing options. - How much does it cost to get a custom 3D VTuber model?
Costs vary: free if you use software like VRoid Studio, $100-$500 for premade or semi-custom models, or $1,000-$5,000+ for professional, fully rigged models. Complexity (detailed outfits, hair, expressions) increases prices. Quality often reflects cost, so experienced artists charge more for superior work. - What’s the difference between VRM and VSFavatar formats?
VRM, based on glTF, is a widely supported 3D avatar format for apps like VSeeFace, carrying mesh, textures, rig, and blendshapes. VSFavatar, specific to VSeeFace, extends VRM with custom animations or shaders. Use VRM for compatibility; create VSFavatar in Unity with VSF SDK if VSeeFace-specific features are needed. - Can I be a VTuber on a low-end PC or laptop?
Yes, with optimization. Use lightweight 3D models and software like VSeeFace’s “toaster PC” mode. Close background apps to free CPU/GPU. Alternatively, start with a PNGTuber or 2D Live2D on modest systems, including smartphones. Keep setups simple until you upgrade hardware. - How can I improve my avatar’s face tracking accuracy?
Ensure good lighting and eye-level webcam placement. Calibrate tracking software like VSeeFace for accuracy. Use an iPhone with ARKit for detailed face data. Verify avatar blendshapes (visemes, brows) are set up and adjust sensitivity settings to match your expressions for better tracking. - How do VTubers change outfits or hairstyles without making a new model?
Minor changes (e.g., glasses, jackets) use toggleable blendshapes or objects in the same model, switched via hotkeys in VSeeFace or Luppet. Major changes (new outfits, hairstyles) require a separate model, exported as a new VRM file. The same base body keeps the face consistent. - Can I use someone else’s 3D model or a game character as my VTuber avatar?
No, unless explicitly permitted. Using others’ models or game characters risks copyright issues. Free avatars (e.g., ReadyPlayer.me, Booth.pm) with VTubing licenses are safe. Always check licenses or use original/commissioned models to avoid legal trouble and build your brand. - My avatar’s mouth doesn’t sync well with my voice – how can I fix it?
Check viseme blendshapes (“A”, “I”, “U”, etc.) and their mapping in VRM or VSeeFace. Adjust microphone sensitivity to catch quiet sounds. Try camera-based lip sync if supported. Tweak blendshape strength or exaggerate shapes in Blender. External tools like OVR LipSync can help for advanced fixes. - Where can I learn more or get help if I’m stuck making my avatar?
Resources include:- Online Tutorials: YouTube series like Maya Mochi’s 3D avatar guide or Streamlabs’ VRoid Studio tutorial.
- Community Forums: r/VirtualYoutubers, r/vtubertech, and VRChat Ask Forums for advice.
- Discord Communities: VSeeFace and VTuber Support Discords for quick help.
- Documentation: VRM docs and VSeeFace manual for technical guidance.
- Tutorial Hubs: VtuberSensei.com, StylizedStation.com, and VRoid Hub guides.
- VTuber communities on forums and Discord are welcoming, offering free tutorials and support for new creators.

Conclusion
Creating a 3D VTuber avatar combines creativity and technology, involving character conceptualization, software selection, modeling or using avatar creators, rigging, exporting, and streaming. Beginners can start with simple tools like VRoid Studio, while advanced users may use Blender for detailed customization. Tools and communities make VTubing accessible, allowing beginners to use premade assets, intermediates to customize animations, and experts to integrate motion capture or interactive worlds. Key tips include designing a memorable, optimized model and choosing software like VRoid, Blender, or VSeeFace based on needs. In 2025, VTubing grows with new tools and opportunities, enabling unique virtual personas for entertainment and expression. Start simple, seek community help, and let your 3D avatar shine on stream.
Sources and Citations
- Streamlabs – “How to Make a 3D VTuber Avatar” (step-by-step VRoid Studio tutorial) – Streamlabs – How to Make a 3D VTuber Avatar
- Reddit – r/vtubertech discussion on rigging (recommendations for Blender, VRoid base rig) – Reddit – r/vtubertech Rigging Discussion
- Vtuber Sensei – “Live2D vs. 3D VTubing: Which is Best for You?” (comparisons of 2D vs 3D, technical and cost considerations) –Vtuber Sensei – Live2D vs. 3D VTubing
- Rokoko Blog – “Tutorial: How to do VTuber rigging” (overview of adding bones and blendshapes for VTuber models) – Rokoko – VTuber Rigging Tutorial
- VSeeFace Official Manual – (About VSeeFace’s tracking capabilities and performance options) –VSeeFace – Official Manual
- VTuberArt (vtuberart.com) – “Top 10 Best VTuber Maker Software (2024)” (overview of tools like VRoid, Blender, VSeeFace, Luppet, Animaze) – VTuberArt – Top 10 VTuber Maker Software 2024
- LuppetX Documentation – “Preparing a 3D Model” (notes that Luppet supports VRM 0.x and 1.0, methods to obtain VRM like Unity conversion or VRoid) – LuppetX – Preparing a 3D Model
- VRM Consortium – “What is VRM?” (VRM is a platform-independent 3D avatar format based on glTF 2.0, with a standard humanoid structure) – VRM Consortium – What is VRM?
- PixelHair (Yelzkizi) – Product description (premade realistic hair for Blender, using particle hair with shrinkwrap for easy fitting) –PixelHair
- Reddit – r/vtubers post on design tips (importance of unique silhouette and color scheme in character design) –Reddit – r/vtubers Design Tips
- VTuber Sensei – “Advantages of 3D VTubing” (full-body expression, dynamic content possibilities like CodeMiko’s interactive streams) – Vtuber Sensei – Advantages of 3D VTubing
- Blender to VRM via Unity (Reddit discussion) – Suggests using Unity with UniVRM to export .vrm and then use in VSeeFace – Reddit – r/vtubertech Blender to VRM
- Animaze (VTuberArt article) – Animaze supports importing VRM models and has detailed facial tracking (eyebrows, blinking, etc.) – VTuberArt – Animaze Overview
- VRChat Creators – “Creating Your First Avatar” (using Unity and VRChat SDK to upload a custom avatar, note on VRM not being native and need for converter) – VRChat – Creating Your First Avatar
- Hyper Online Blog – “VRM Optimization Guide for VTubers” (emphasizes polygon count impact on performance and tips like reducing hair physics) – Hyper Online – VRM Optimization Guide
- Reddit – r/vtubertech polycount thread (community consensus that ~50k tris is a reasonable target for VRM avatars for performance) – Reddit – r/vtubertech Polycount Thread
- Virtual YouTuber Wiki – Software list and resources (e.g., mentions of VSeeFace, VUP, Wakaru, etc. for tracking) – Virtual YouTuber Wiki – Software List
- YouTube – Fofamit’s tutorial “Convert VRChat Avatar to VRM for VTubing” (shows how to go from a 3D model to VRM using Unity, confirming the interoperability of formats) – YouTube – Fofamit’s Convert VRChat Avatar to VRM
Recommended
- Devil May Cry Anime on Netflix: Release Date, Storyline, Cast, and What to Expect
- How do I render from a specific camera in Blender?
- Is Arcane 3D Animated? Unveiling the Secrets Behind Its Revolutionary Style
- What Is Gaussian Splatting? A Complete Guide to This Revolutionary Rendering Technique
- Flow Made With Blender Wins Oscar: Latvia’s Indie Animated Feature Film Making History
- How to Make Blender Hair Work with Unreal Engine’s Groom System
- How Do I Set Up Multiple Cameras in Blender?
- How do I align the camera to an object’s surface in Blender?
- The View Keeper vs. Manual Camera Switching: Which is Better?
- Love, Death and Robots New Season: Release Date, Episode List, Studios, and Everything We Know So Far


