Introduction
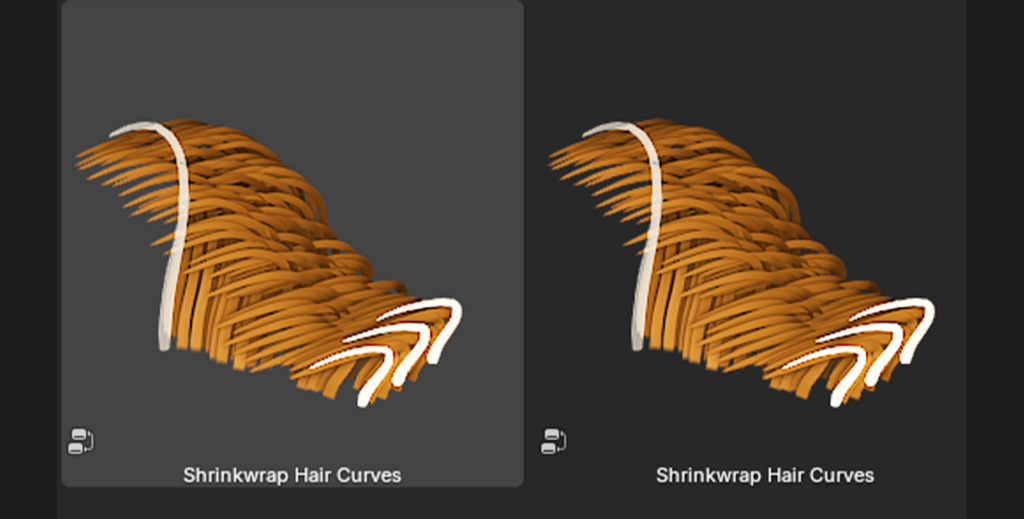
The Shrinkwrap Hair Curves preset in Blender projects hair curves onto a surface, ensuring they conform closely. Part of Blender 3.5’s hair asset library, it “shrinkwraps” strands to a mesh from below and optionally above, preventing “ingrown” hairs and ensuring proper surface conformity. It pushes hairs inside the emitter mesh outward and pulls hairs above the surface downward. This node is useful for preventing hair penetration, styling effects like wet fur, and any scenario requiring hair curves to follow a surface contour. It replaces manual adjustments with an automated solution. The preset’s inputs and outputs will be detailed, and an alternative faster hair creation method using the PixelHair 3D Hair Asset collection will be explored.
Input Sockets
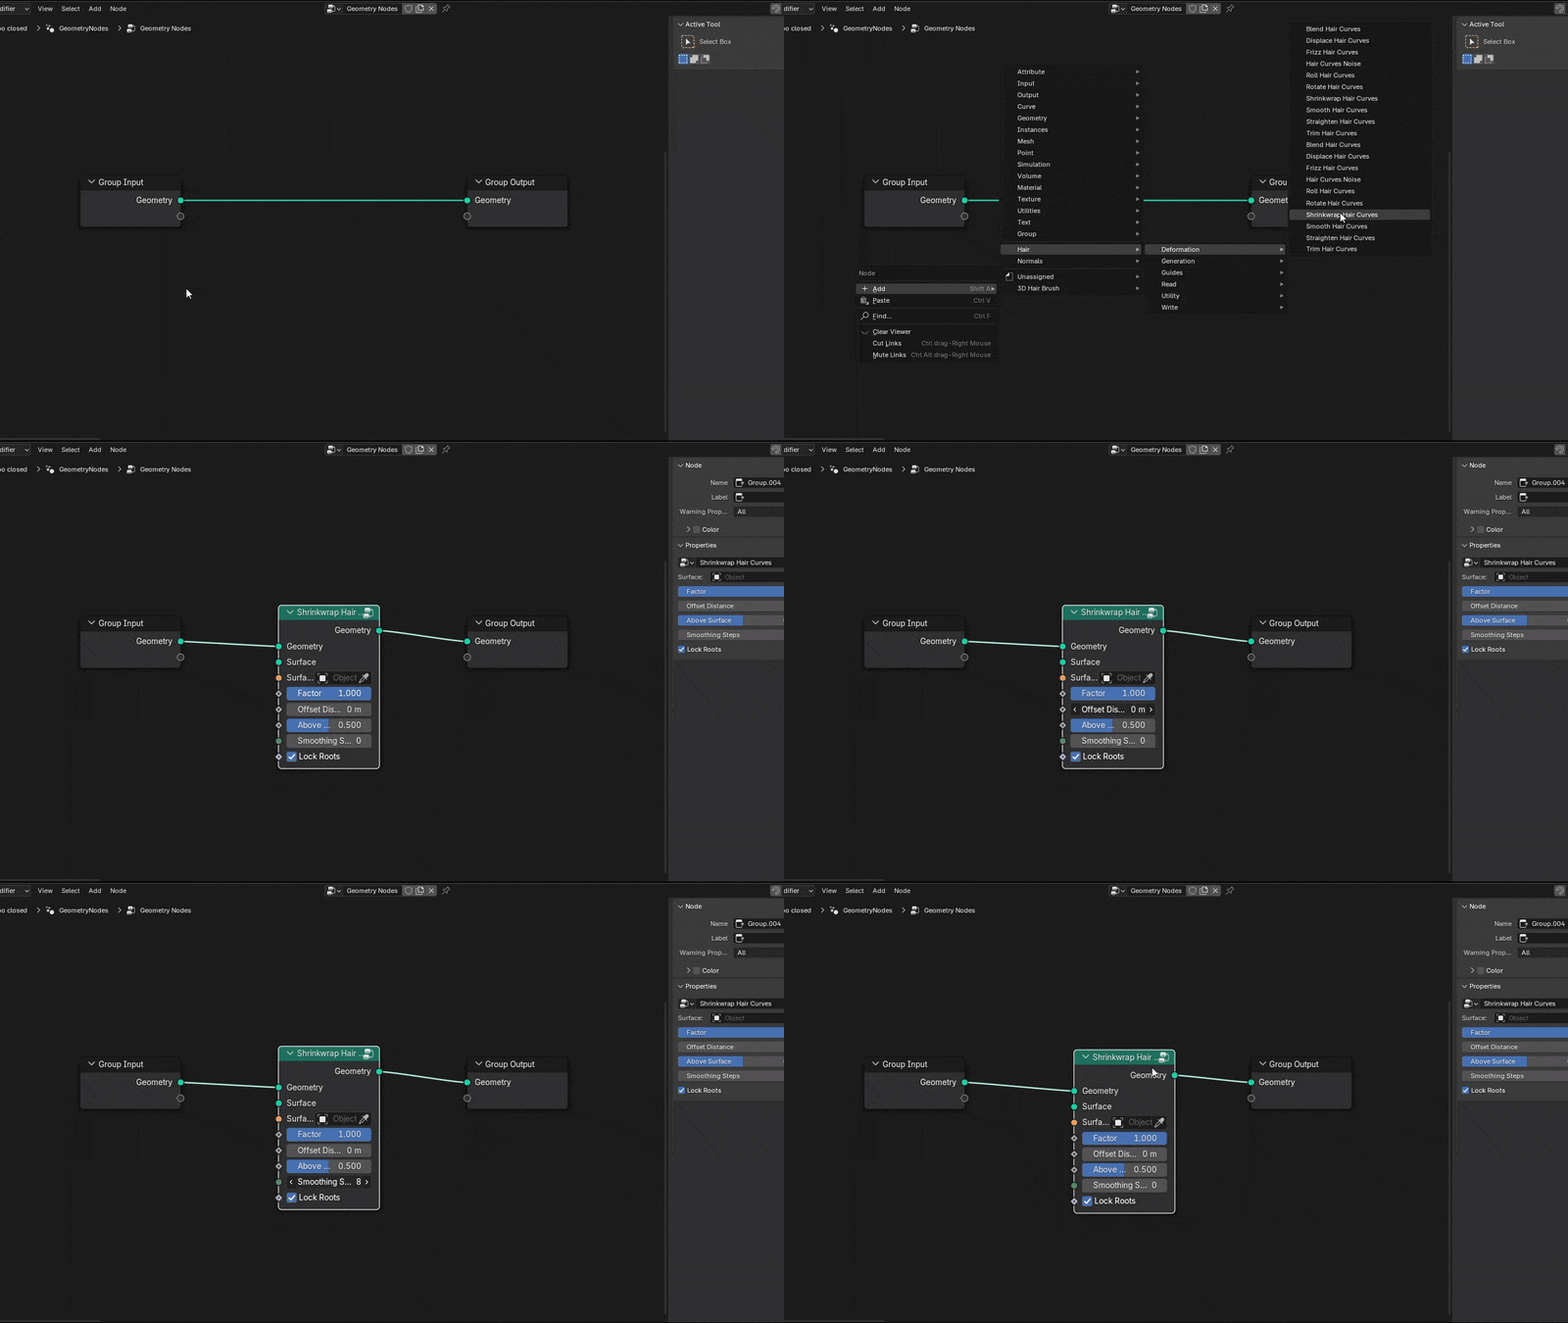
The Shrinkwrap Hair Curves node group comes with several input sockets that control how the hair curves are wrapped to the surface. Here are all the relevant inputs and what they do:
- Geometry (Input Geometry):
Takes the hair curves to be shrinkwrapped, typically from a hair generation or grooming node. Only curve elements are affected, with their points’ positions adjusted, while other geometry (e.g., mesh verts, volumes) passes through unchanged. - Surface:
Defines the target surface for shrinkwrapping, either via a connected geometry (e.g., a character’s head mesh) or a specified Surface object in the node’s panel, with the geometry input prioritized. The surface’s shape and normals guide hair point placement. - Factor:
Controls shrinkwrap intensity, where 1.0 fully moves hair points to the surface, 0.0 leaves them at original positions, and values between blend the two. It can be a single value or a field (e.g., weight paint) for per-point/strand variation, useful for fine control like keeping roots un-shrinkwrapped. - Offset Distance (Min):
Sets the minimum distance hair points stay above the surface, with 0 placing them directly on it and a positive value (e.g., 0.002 for 2 mm) preventing intersection. Points below the surface are moved out to this distance, while those above remain unless otherwise specified. - Smoothing Steps:
Determines the number of smoothing iterations post-shrinkwrap to soften bends or artifacts. Starting with 1–3 steps is common, with higher values smoothing more but potentially relaxing the hairstyle and increasing computation cost. - Lock Roots:
A boolean toggle that, when enabled, locks the root points (first control point of each hair) in place, keeping them unchanged by shrinkwrap—typically desired for stable scalp attachment. If disabled, roots can move, which is rare unless roots aren’t at the surface origin. - Above Surface:
Controls points above the surface, with 0 leaving them unmoved, 1 fully shrinkwrapping them down, and intermediate values partially adjusting them toward the surface. Set to 0, it preserves volume; set to 1, it flattens hair, offering a blend between styles, often defaulting to 0 unless closer draping is needed.
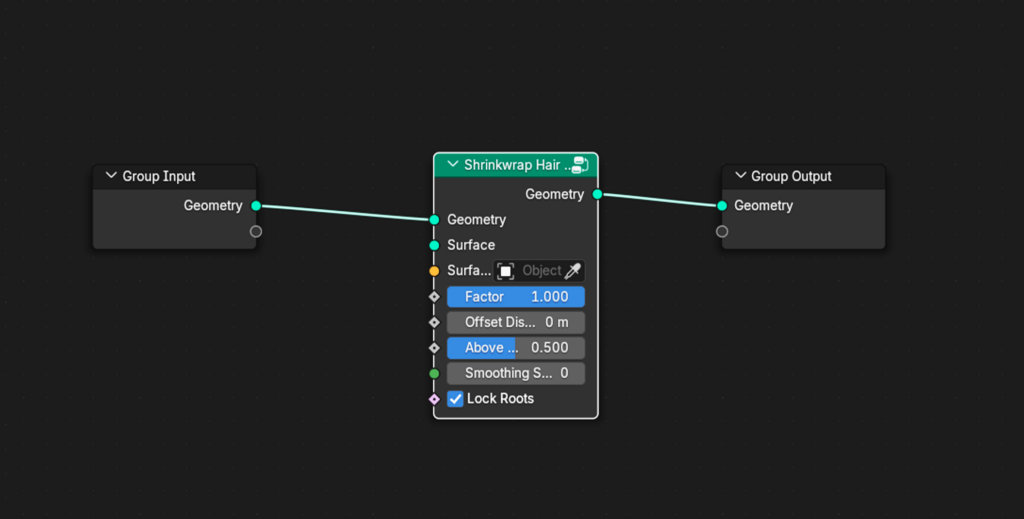
How it works under the hood:
The Shrinkwrap Hair Curves preset uses geometry nodes (Raycast or similar) to detect surface position. Points inside the surface are moved outward along the surface normal to the specified offset distance. With Above Surface enabled, outward points are moved inward/downward. Factor and Above Surface inputs control blending/limiting adjustments. After repositioning, the node smooths curves (Smoothing Steps) and outputs the modified hair. Inputs provide fine control over shrinkwrap behavior for various hair scenarios.
Output Sockets
- Geometry (Output Geometry):
The Geometry (Output Geometry) socket outputs the modified hair curves with adjusted point positions, ready to connect to further nodes or the Group Output in a geometry nodes modifier. Non-curve components from the input geometry pass through unchanged alongside the updated curves. In a hair grooming stack, this node serves as a deformation stage, feeding into nodes like Set Material or the modifier result. It provides only the geometry output, no additional data, simplifying its use: input hair and surface, get shrinkwrapped hair out.
With an understanding of the inputs and output of the Shrinkwrap Hair Curves preset, you can effectively use it to ensure your character’s hair or fur behaves correctly relative to the body. Next, we’ll look at an alternative approach to creating hair quickly in Blender – using a premade asset collection called PixelHair – and how it relates to geometry nodes hair workflows.
Faster Hair in Blender Using PixelHair 3D Hair Asset Collection
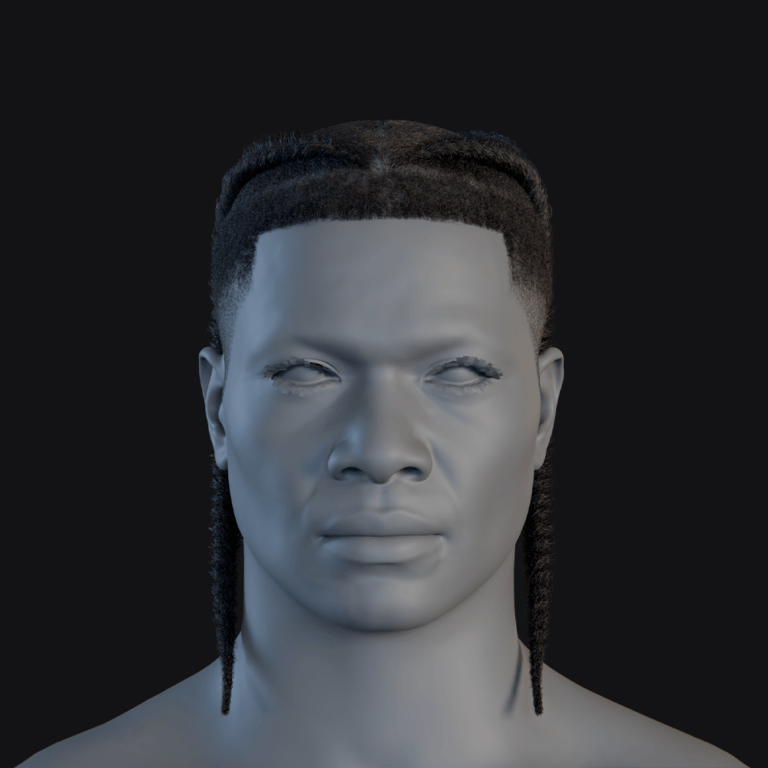
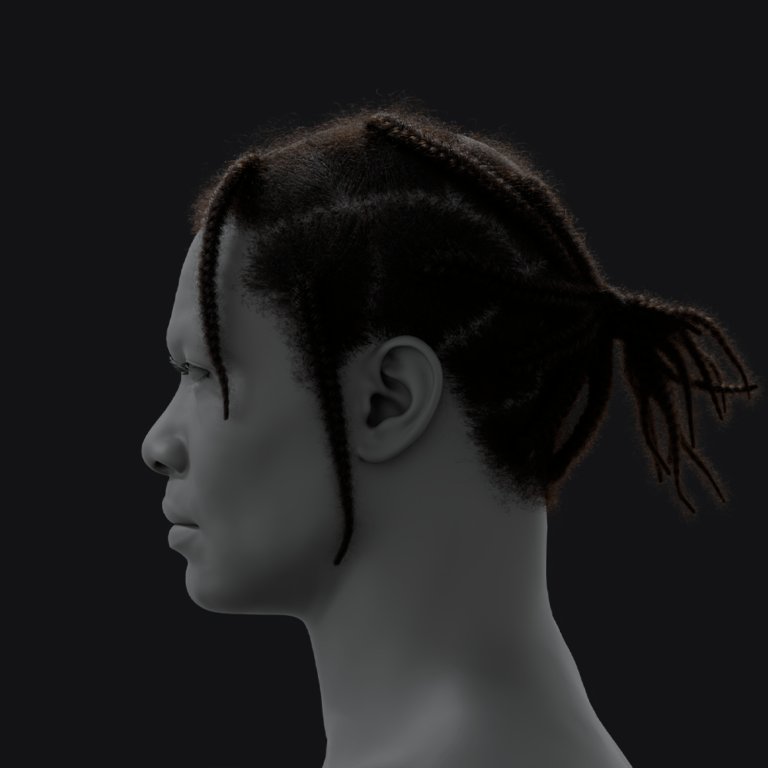
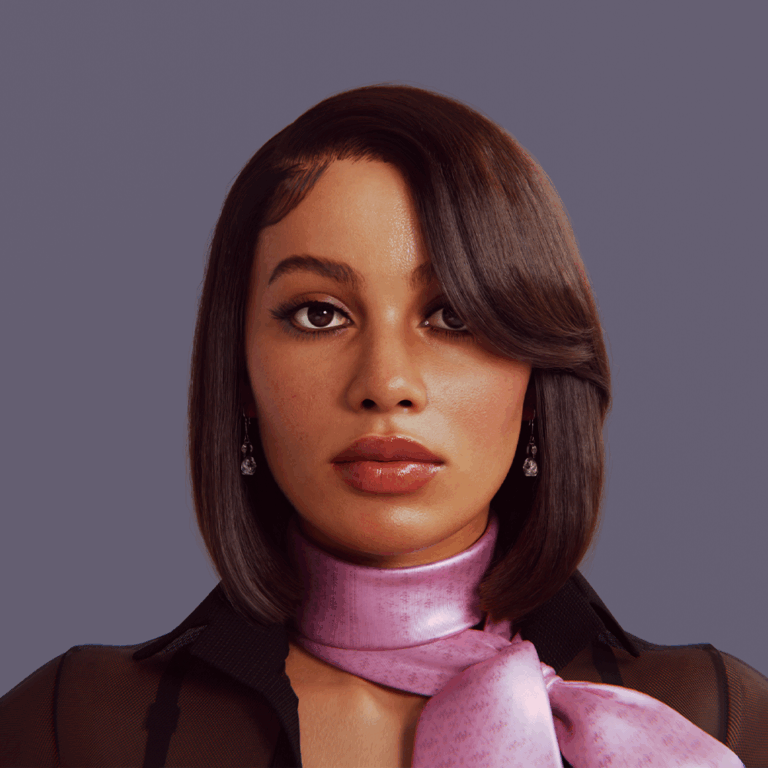
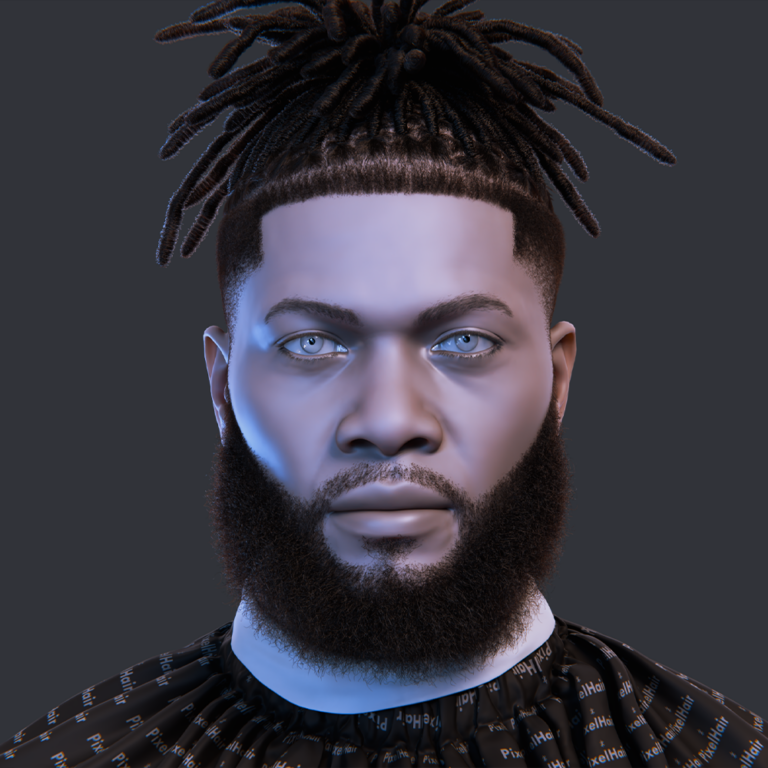
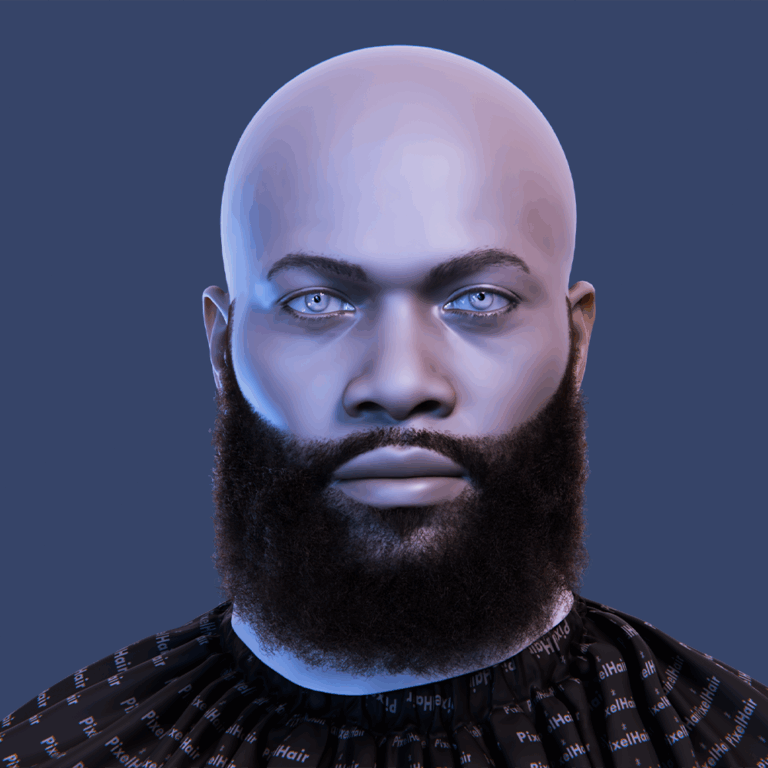
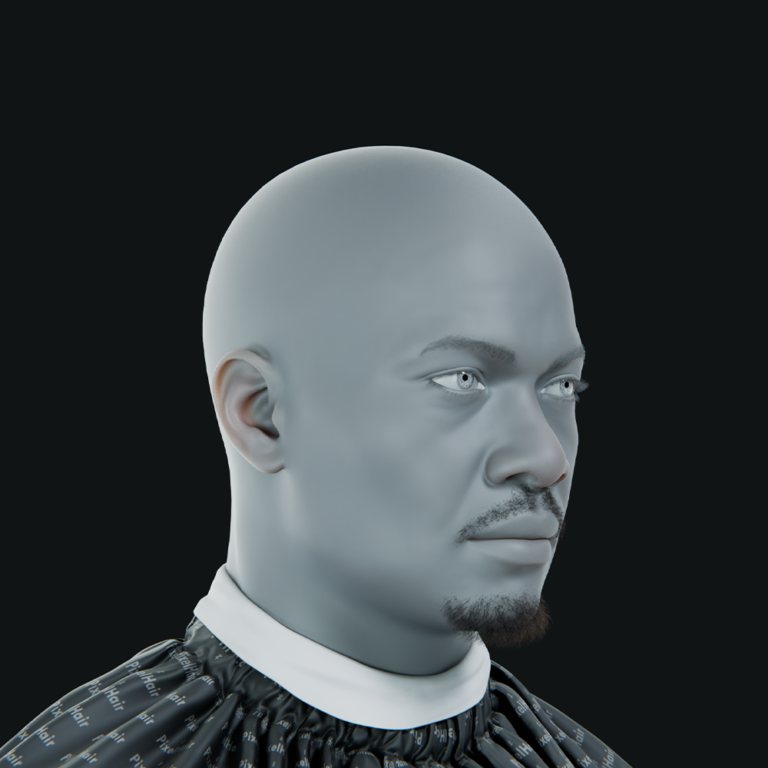
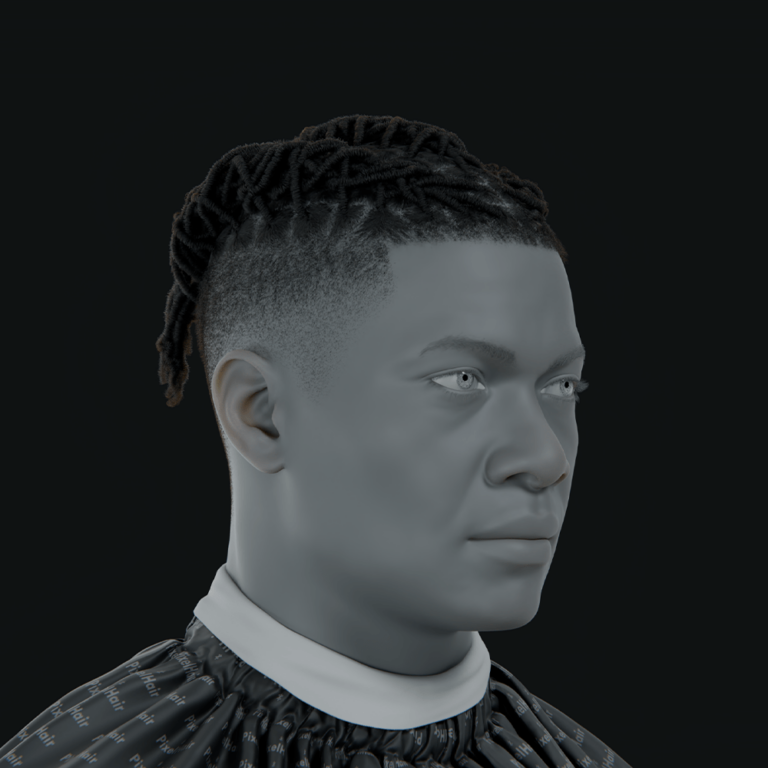
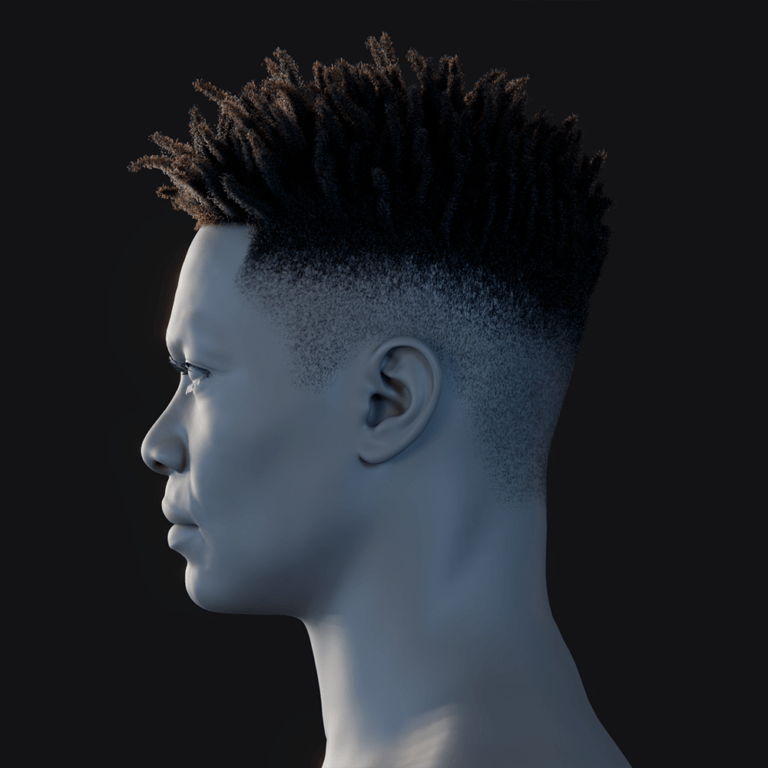
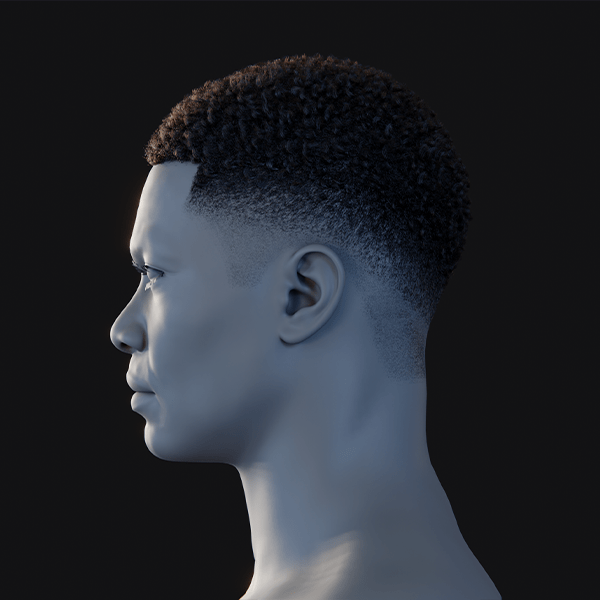
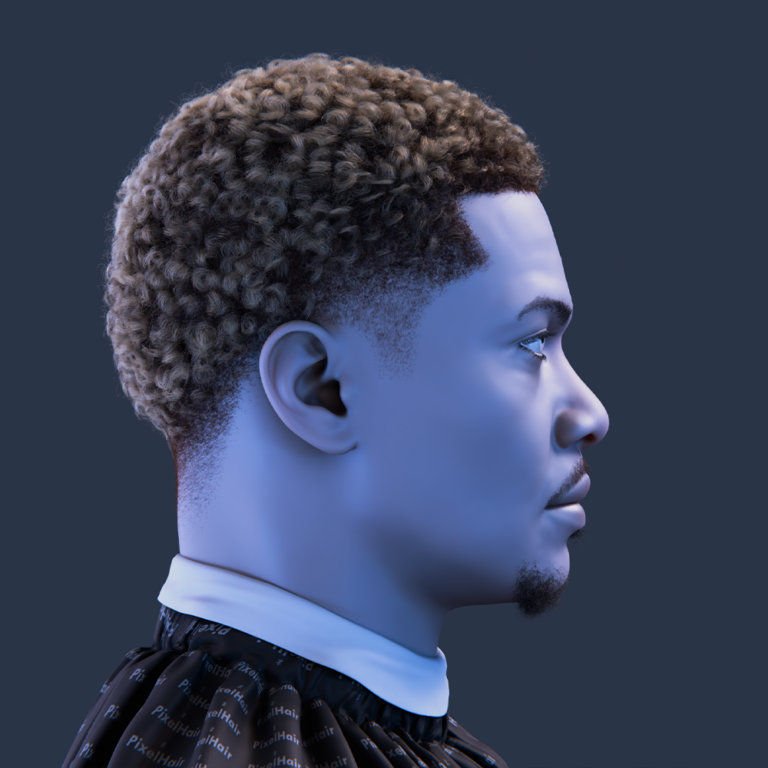
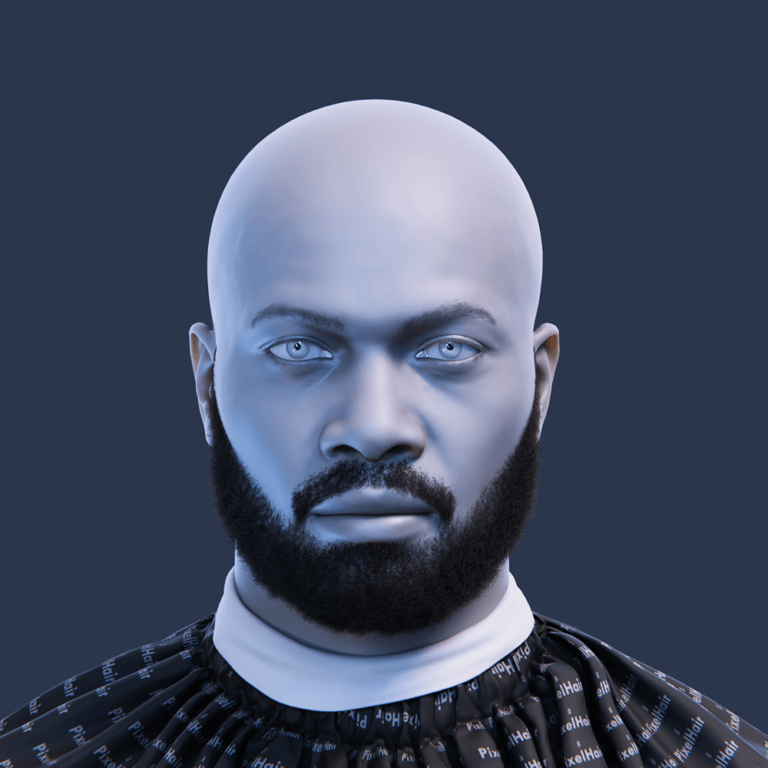
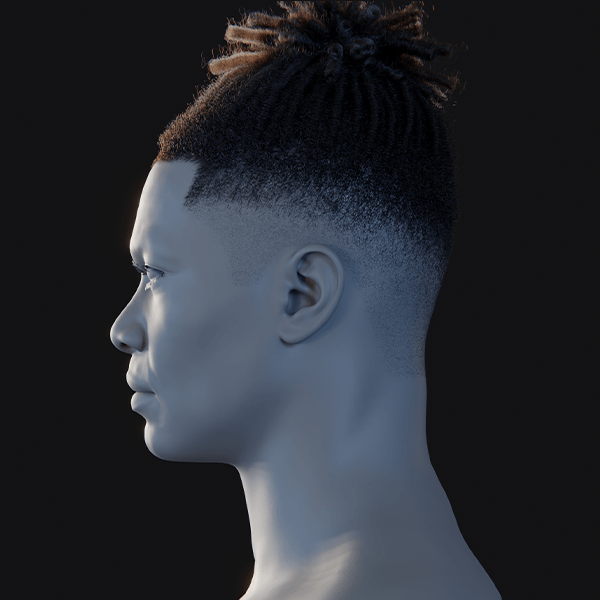
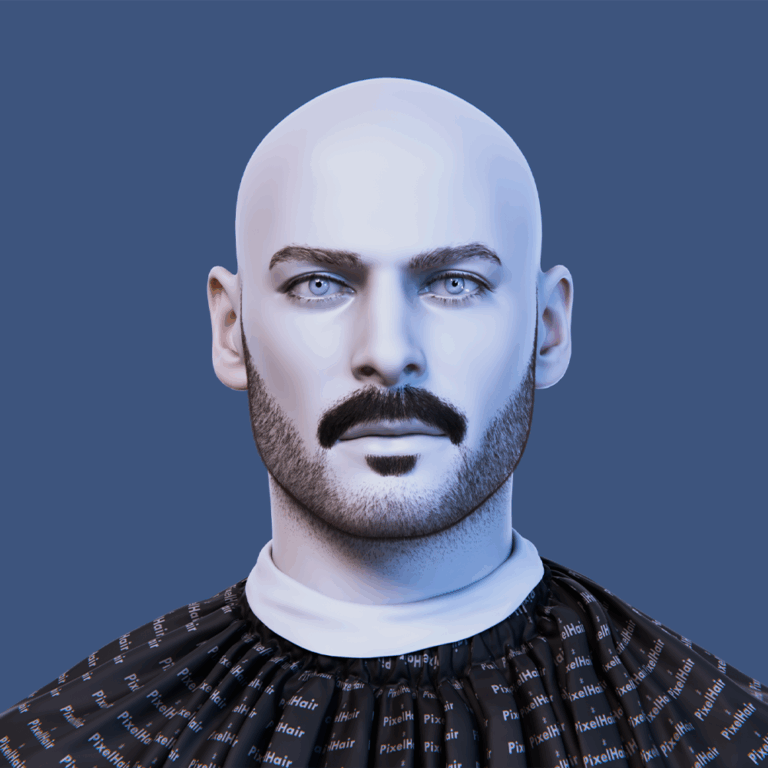
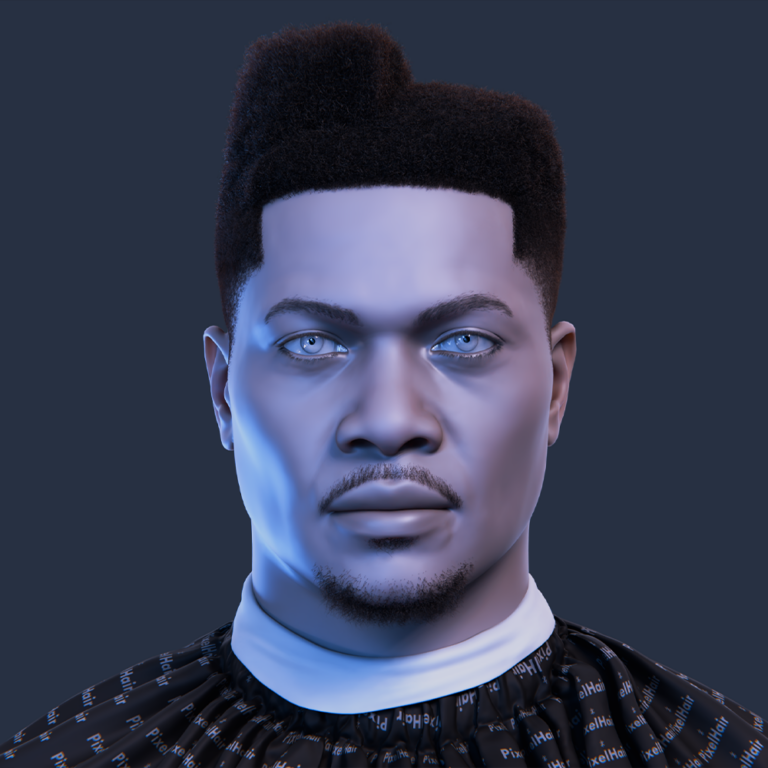
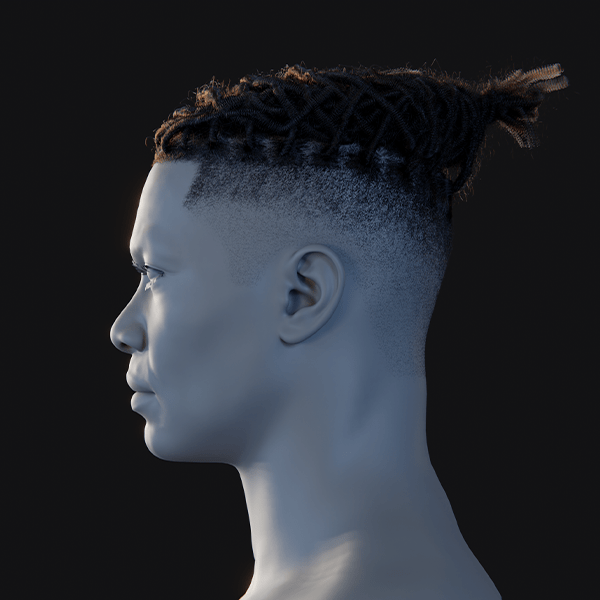
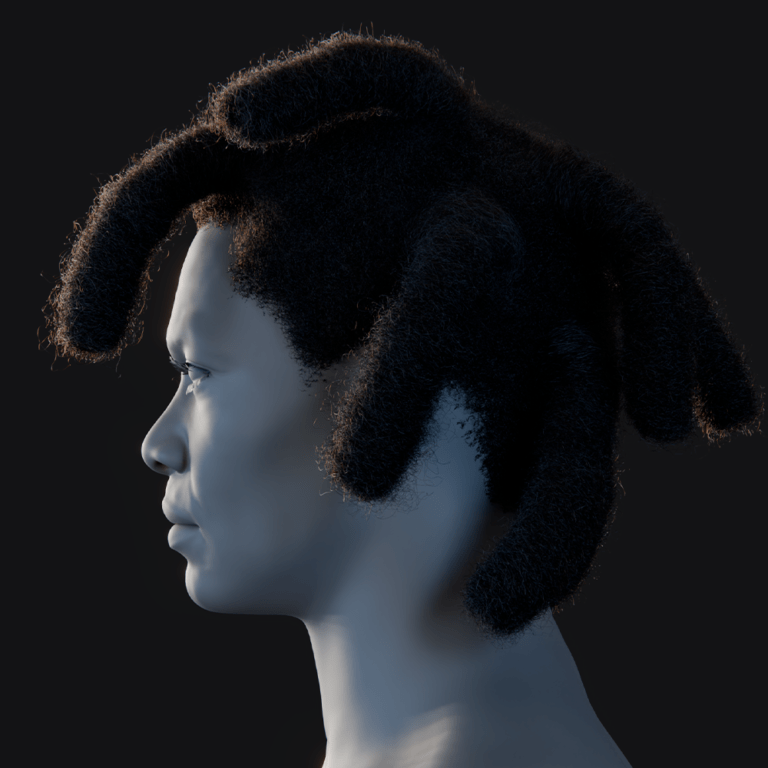
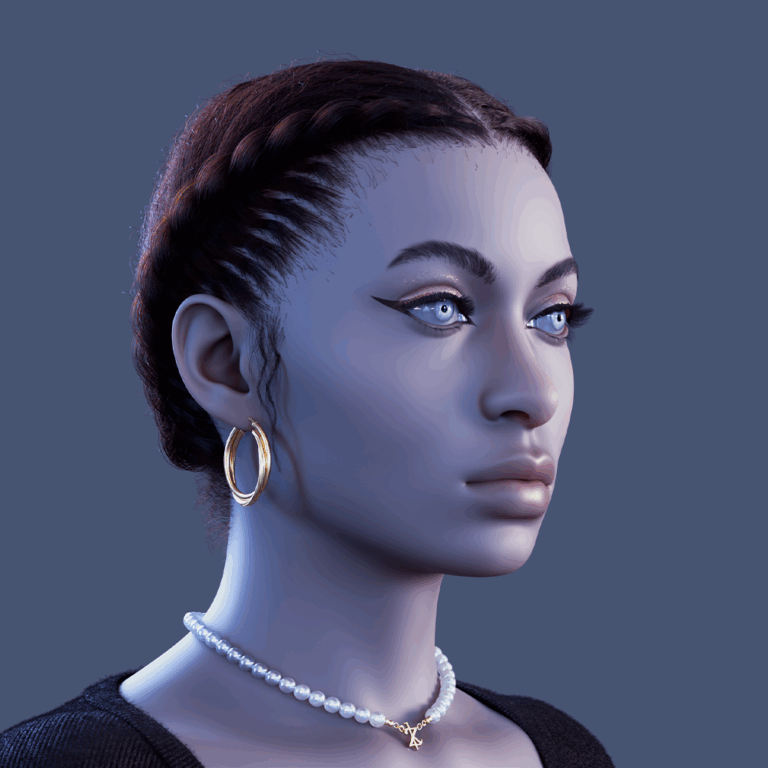
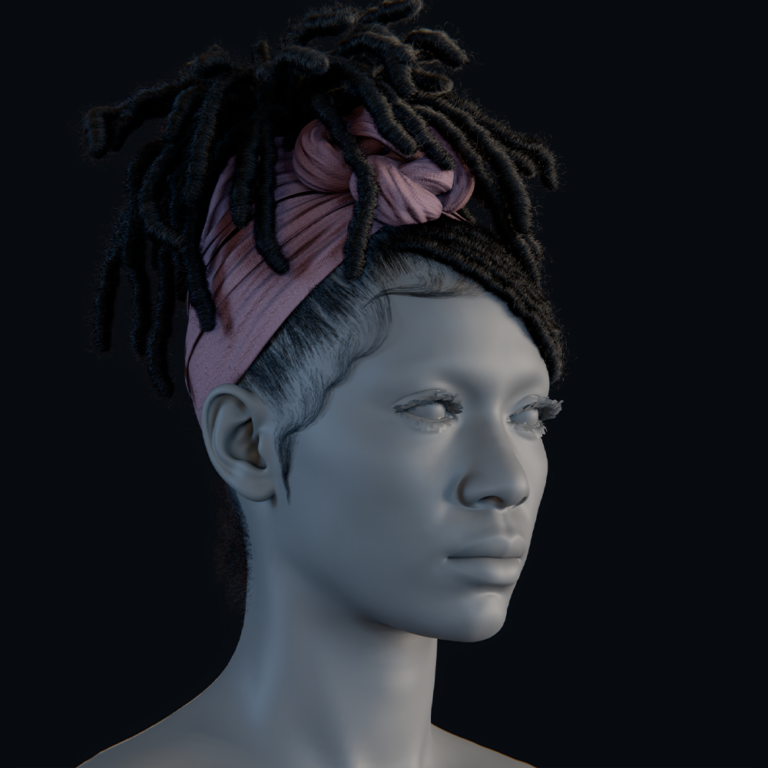
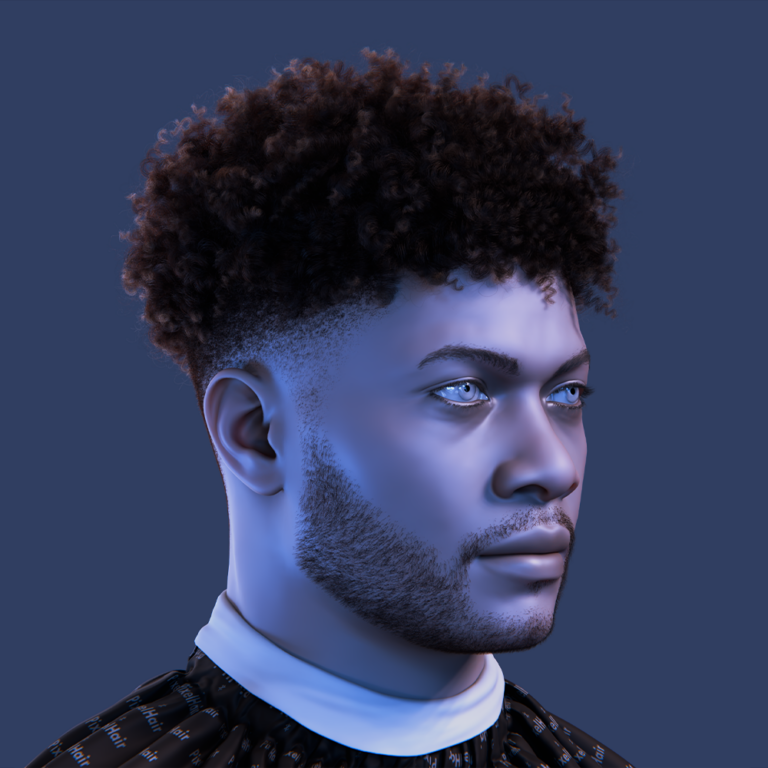
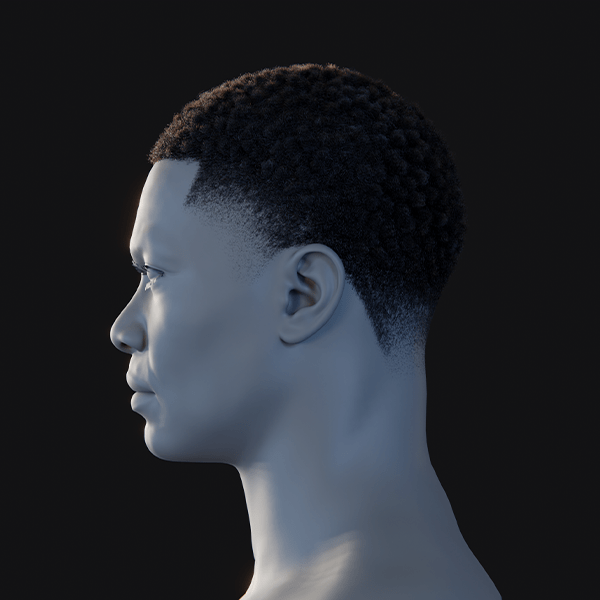
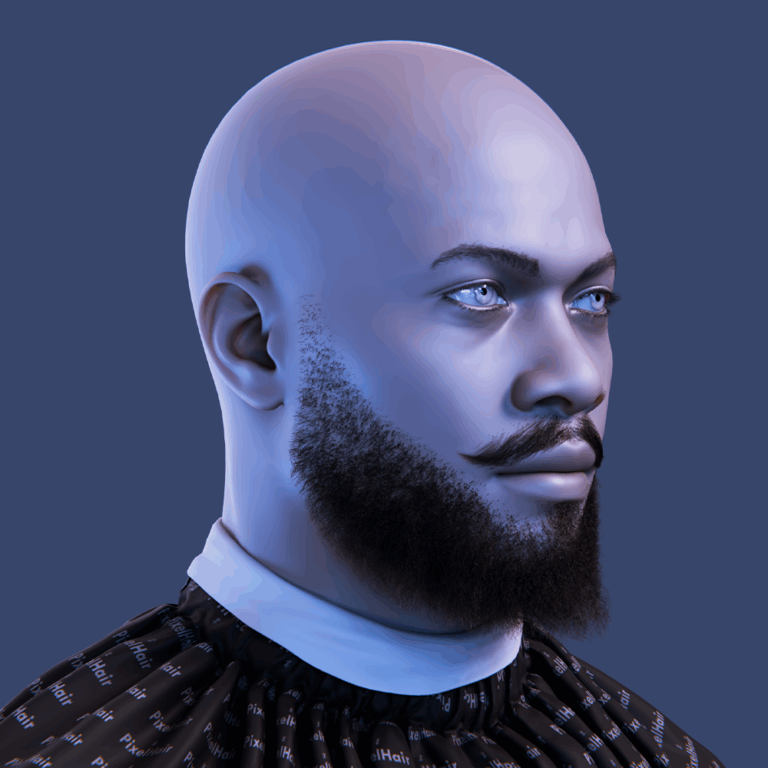
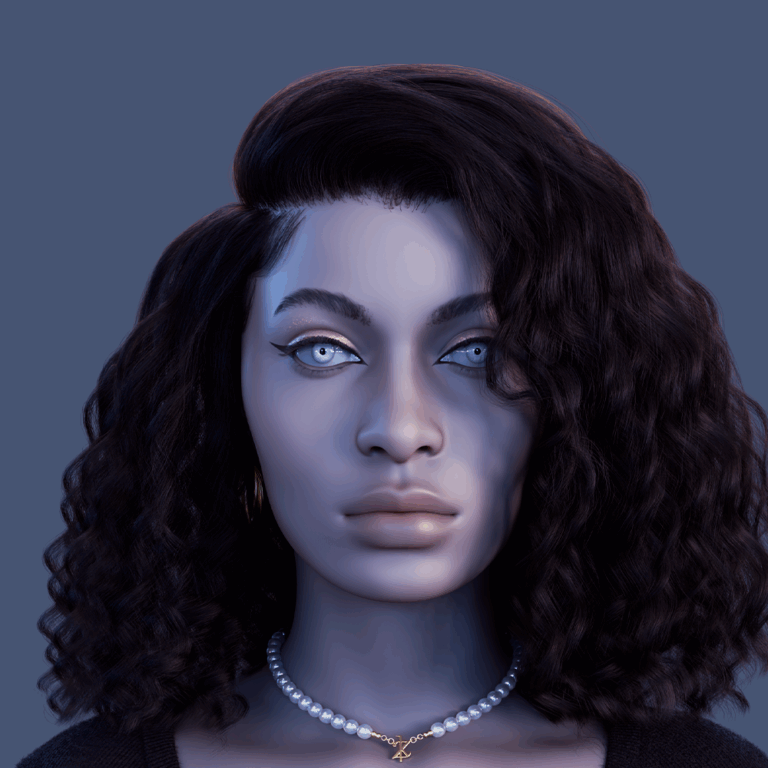
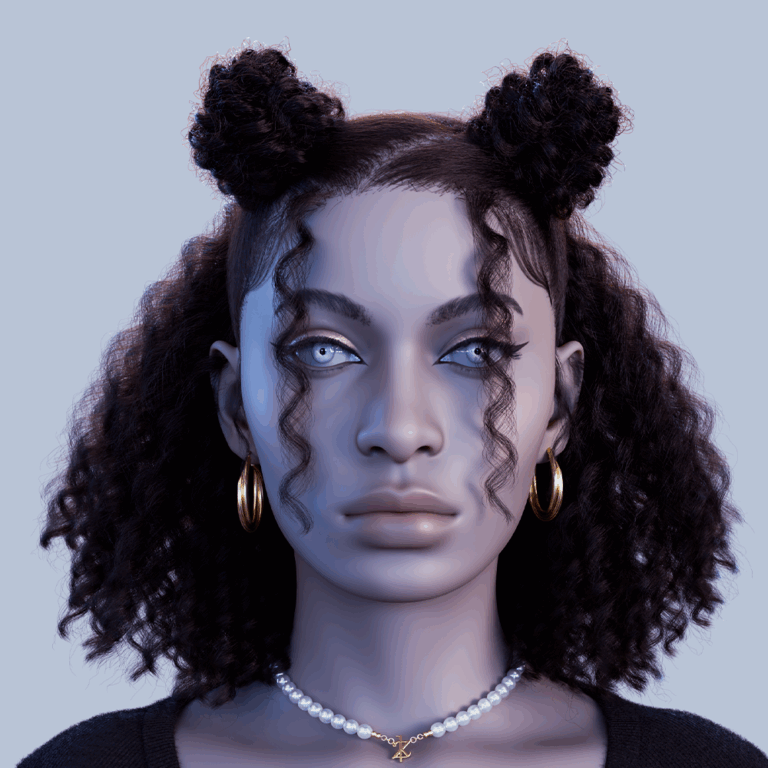
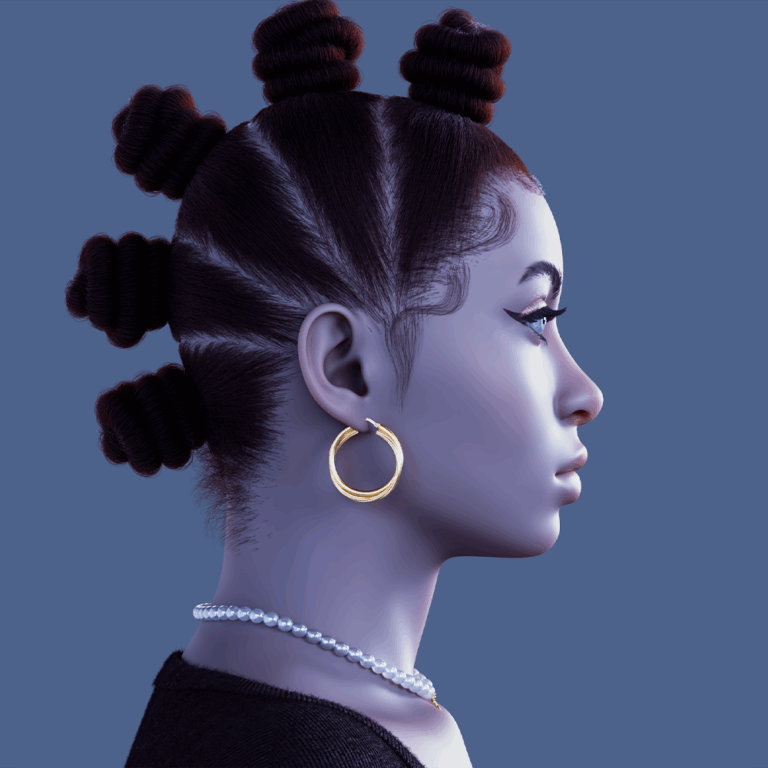
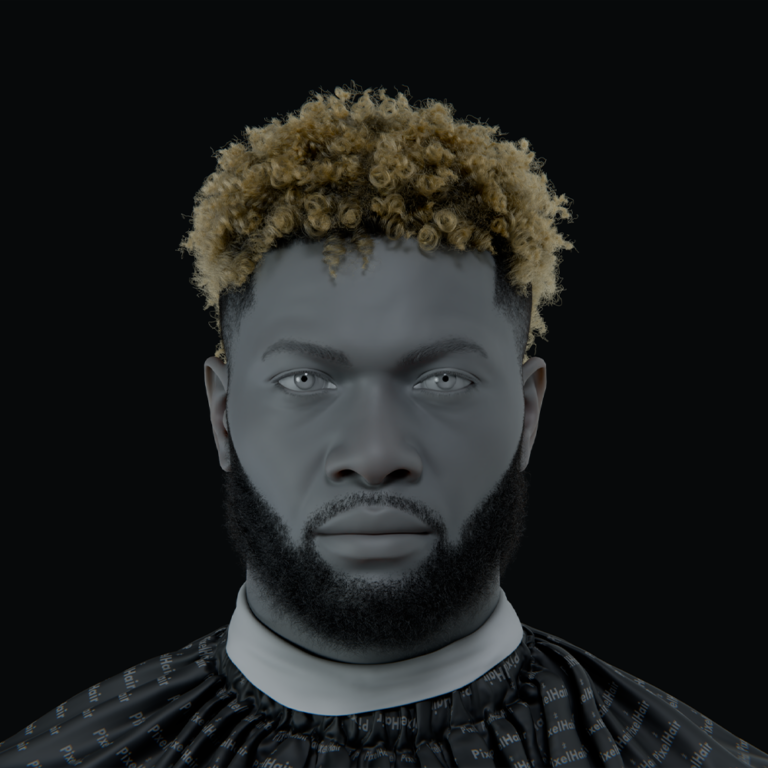
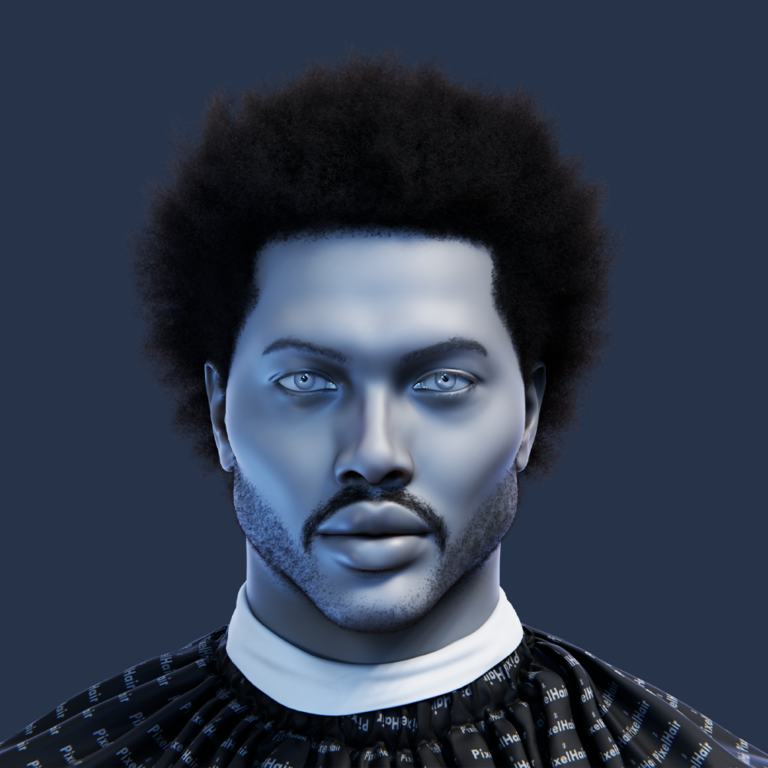
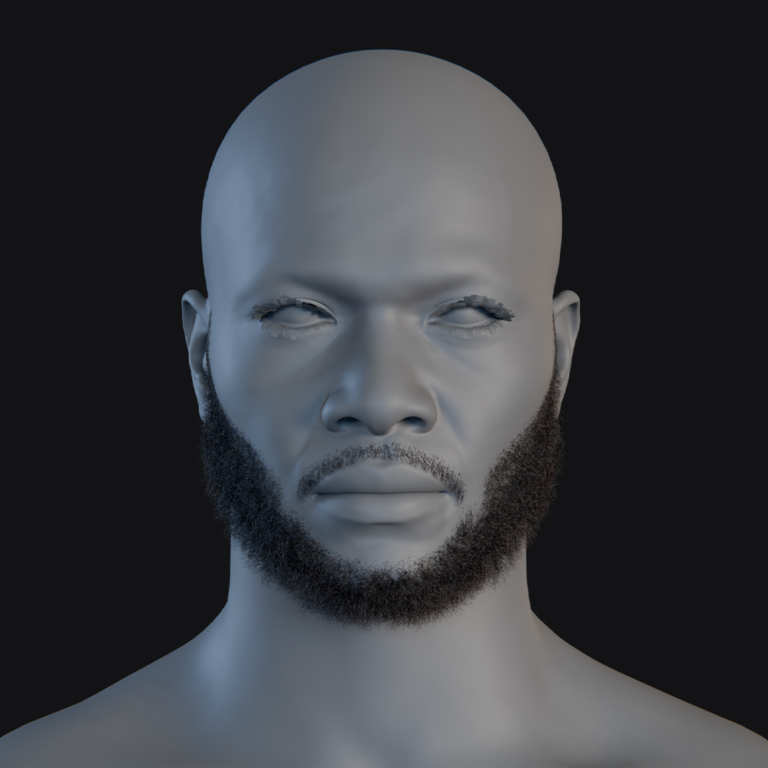
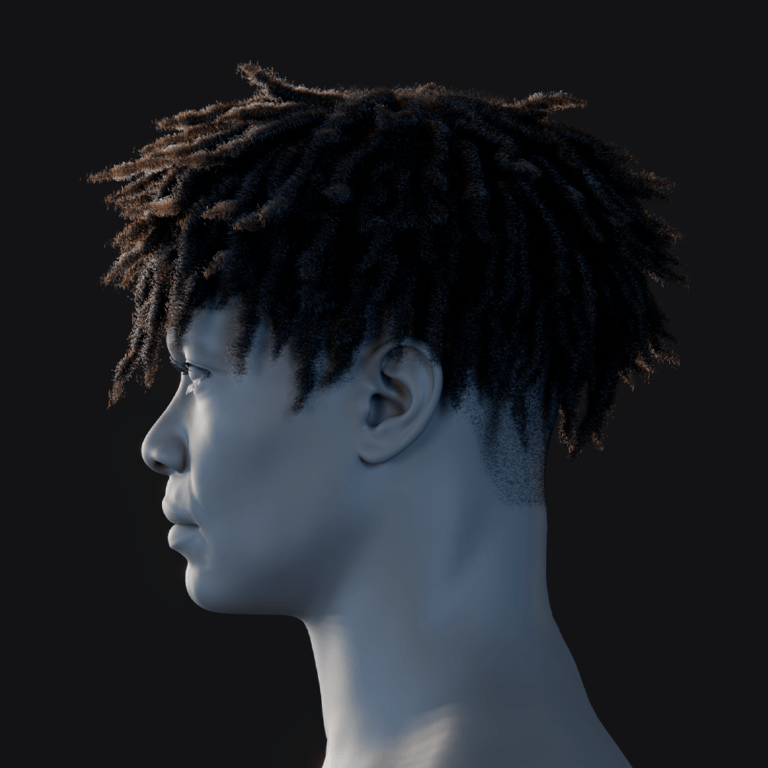
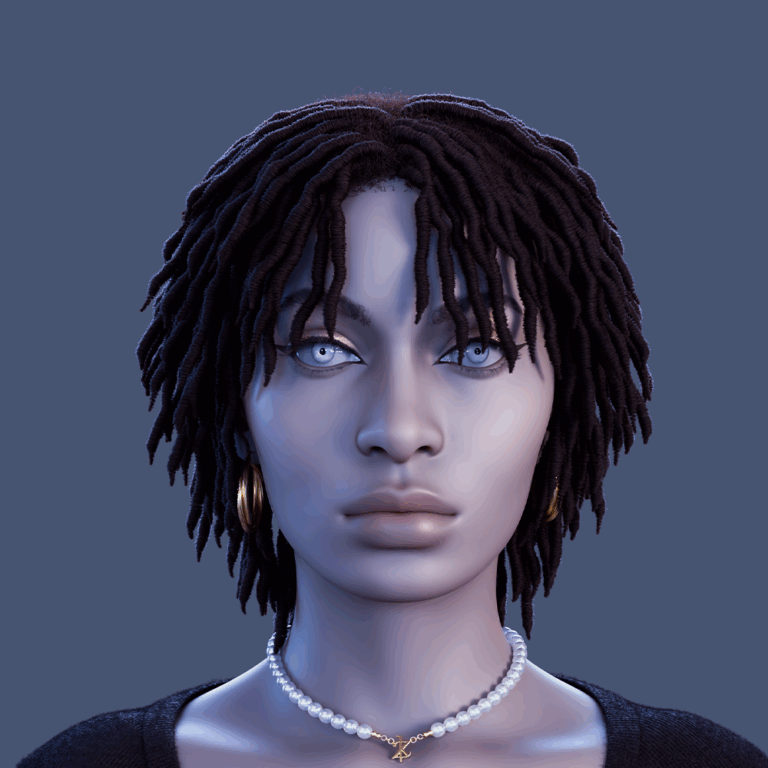
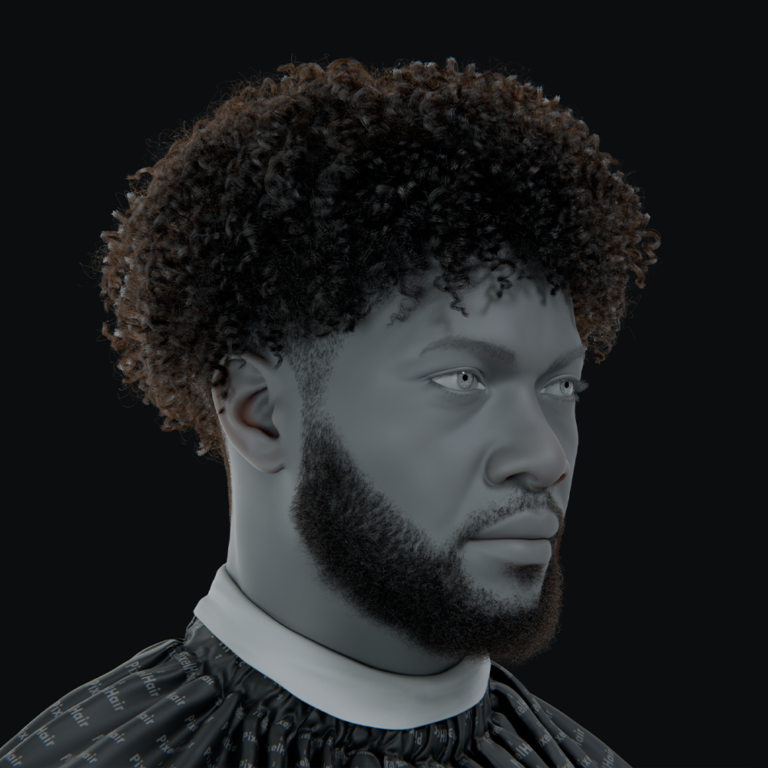
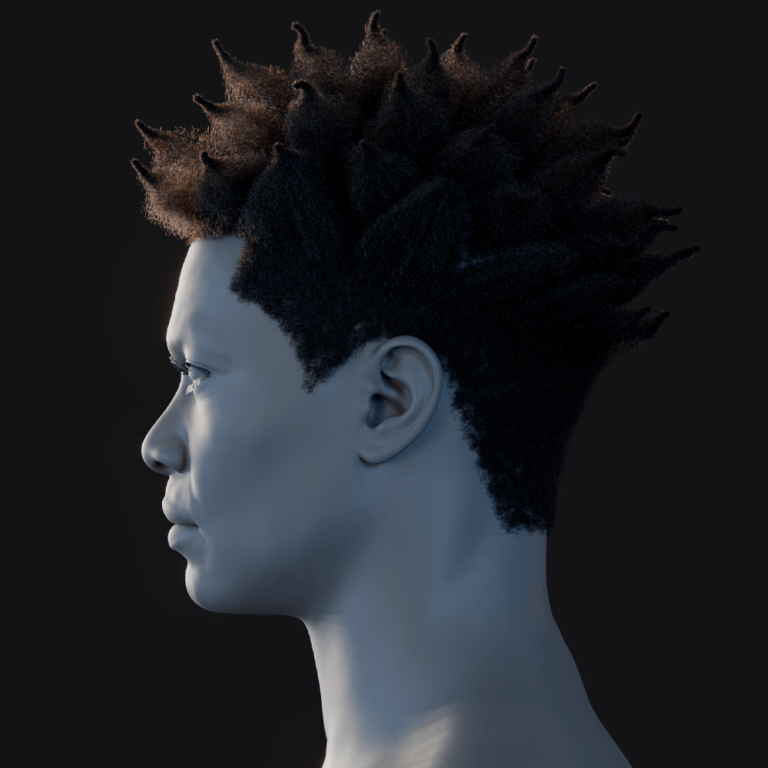
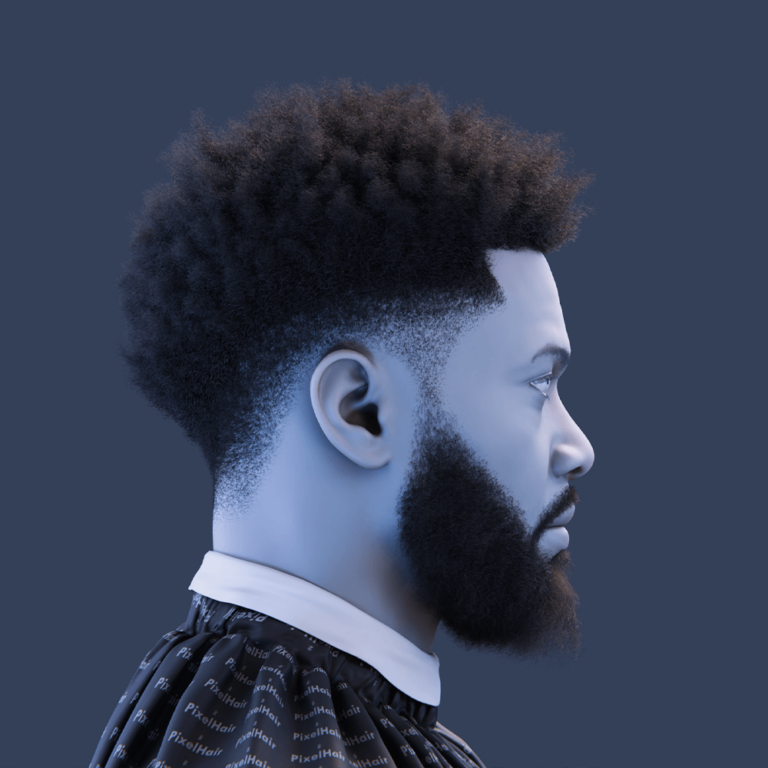
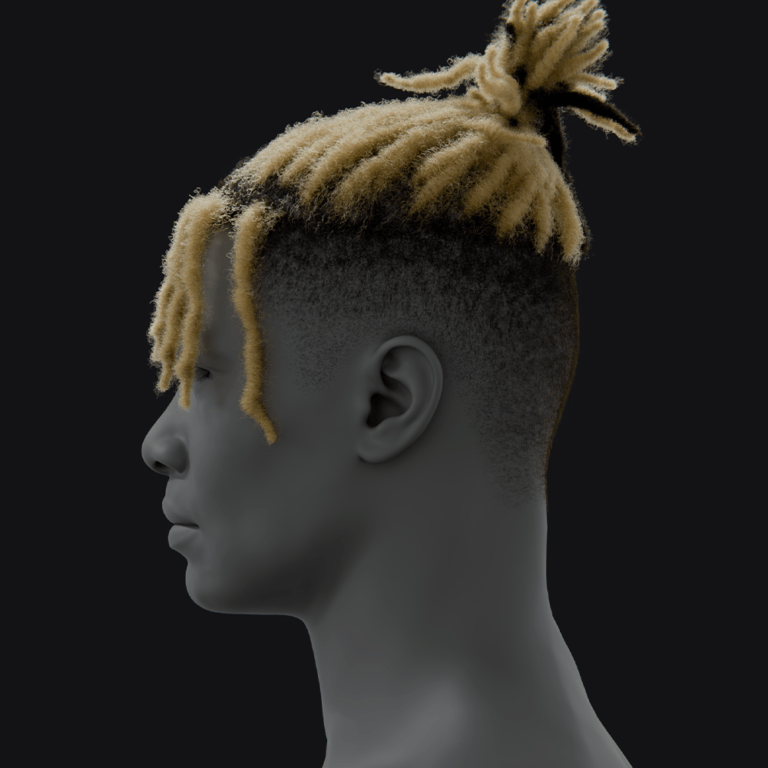
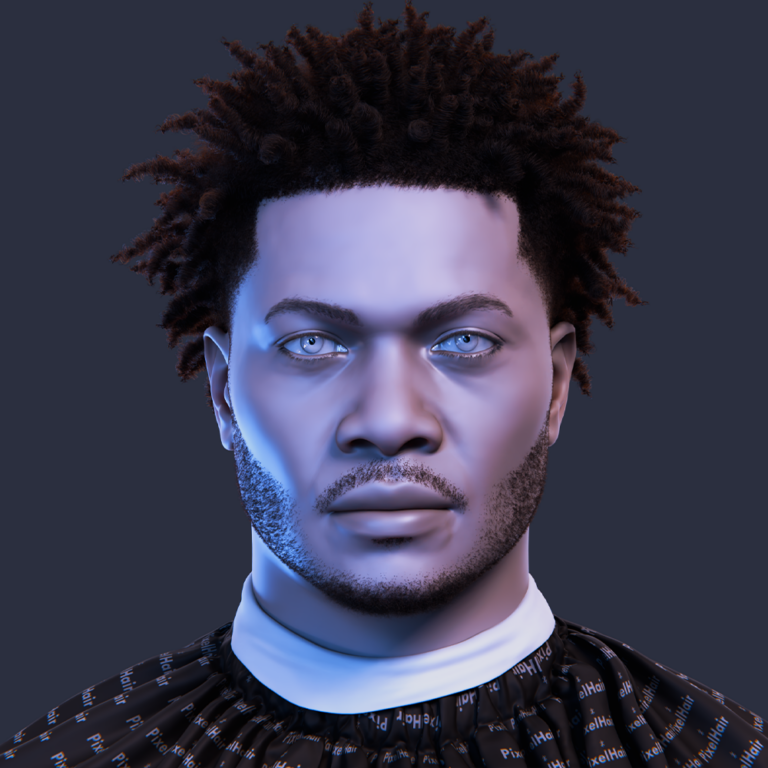
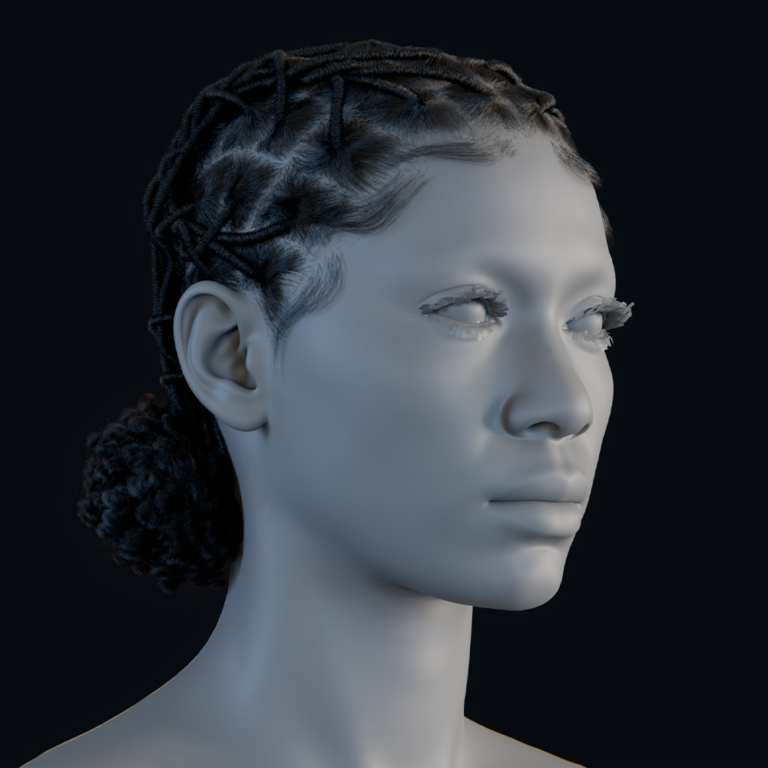
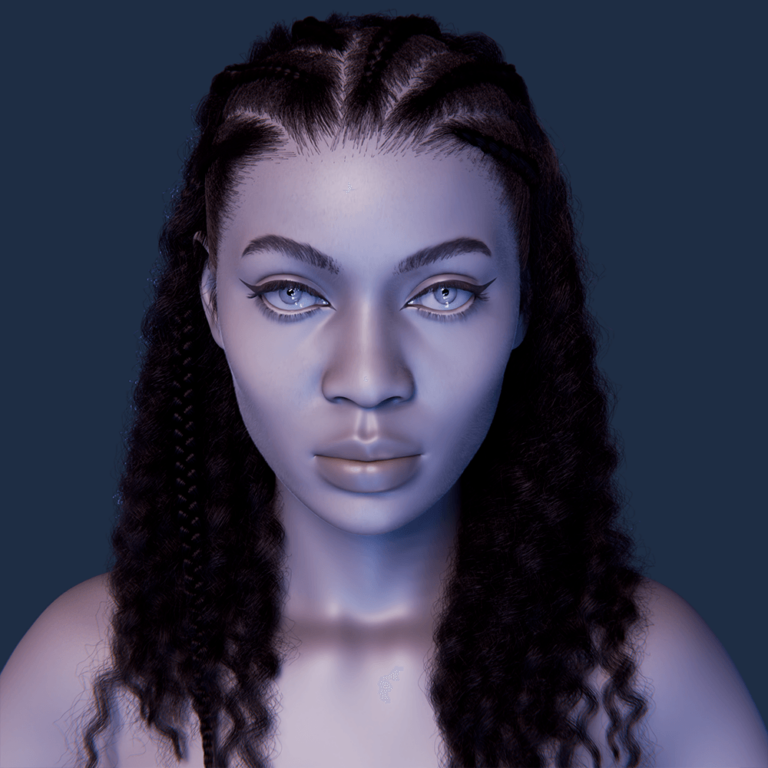
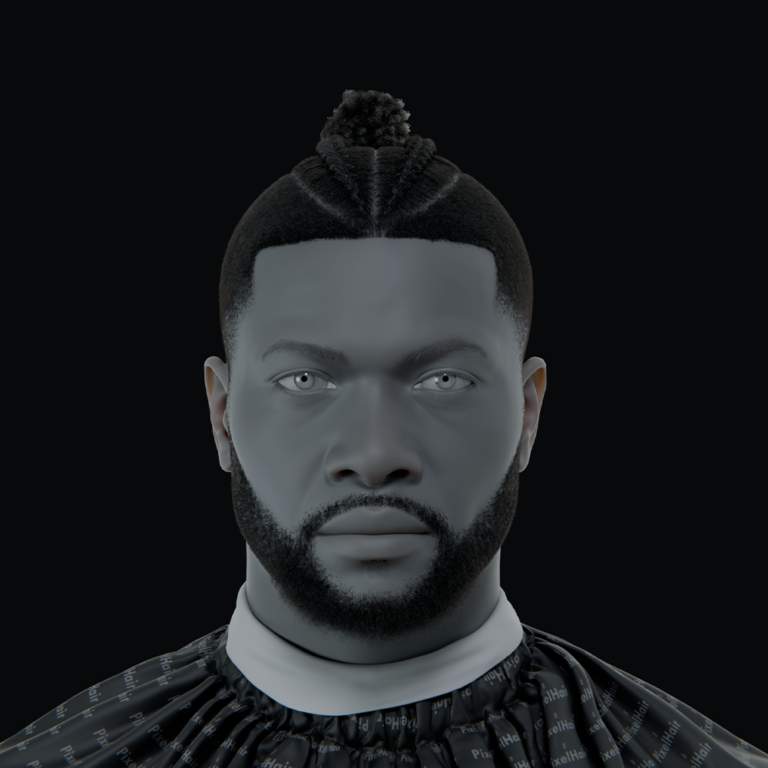
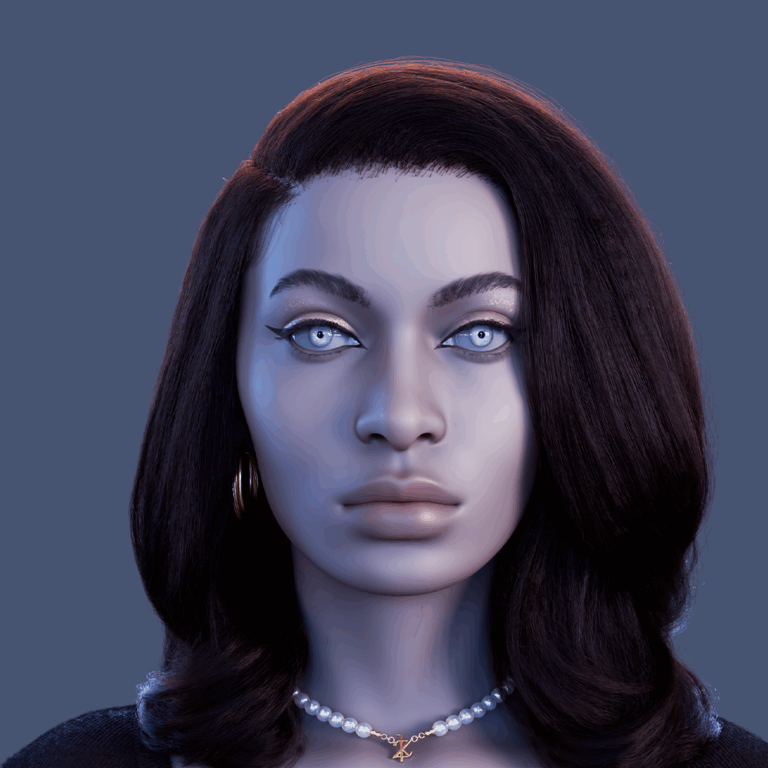
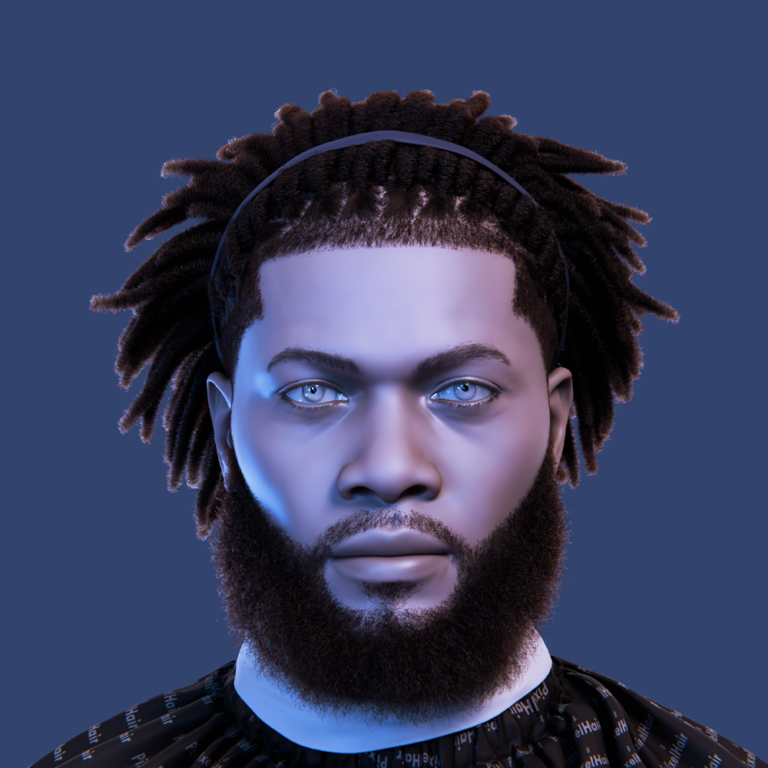
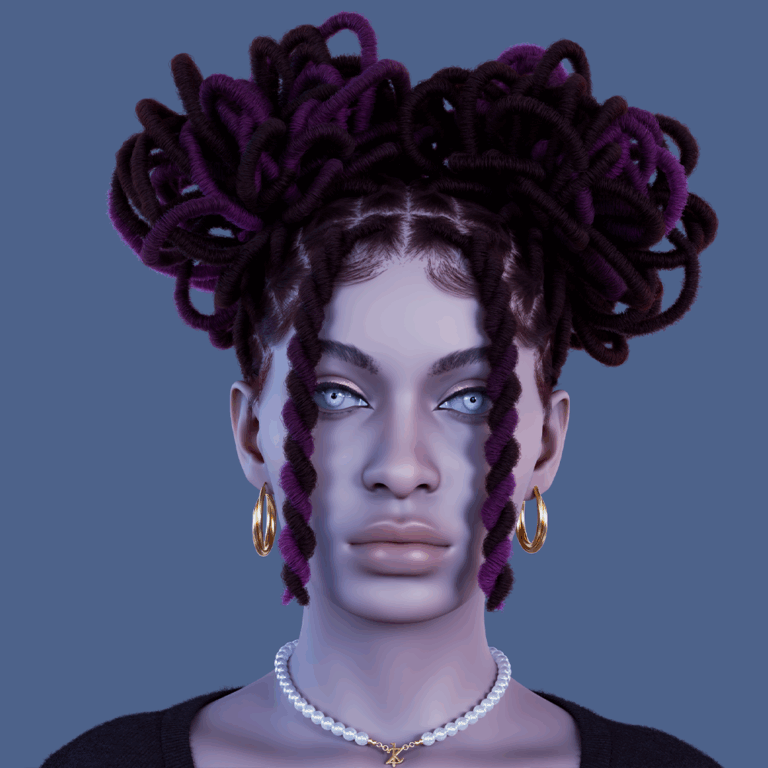
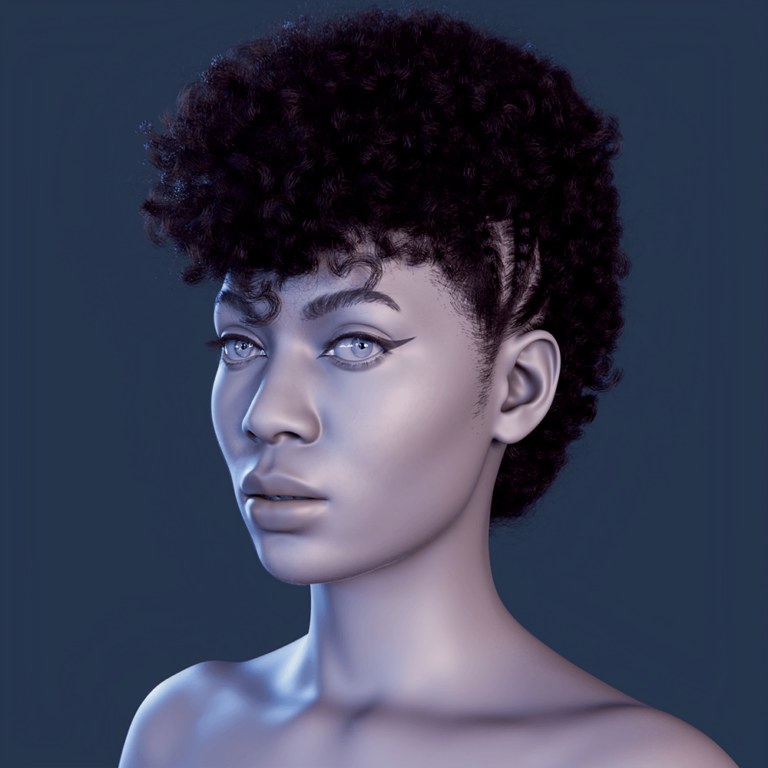
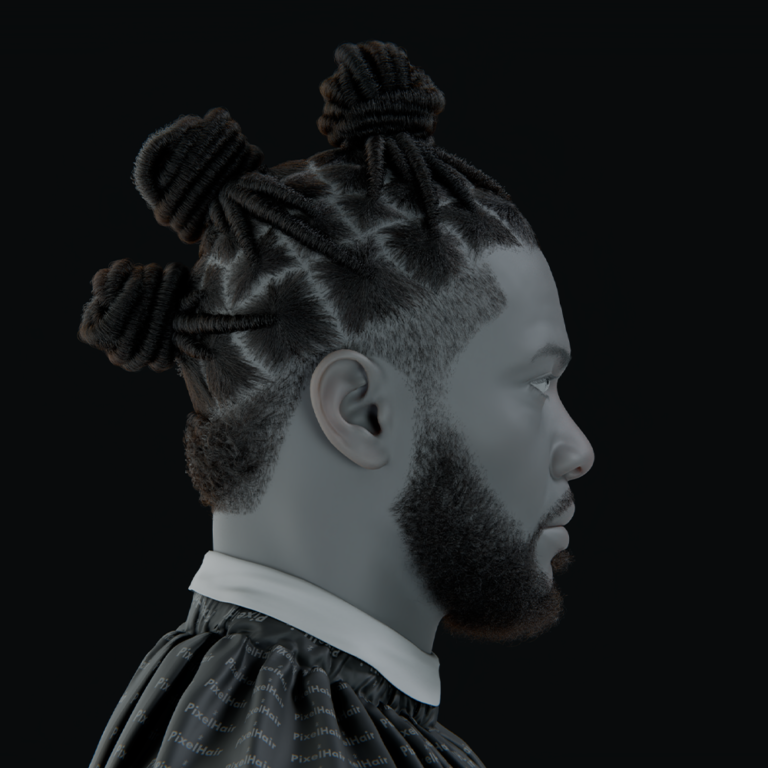
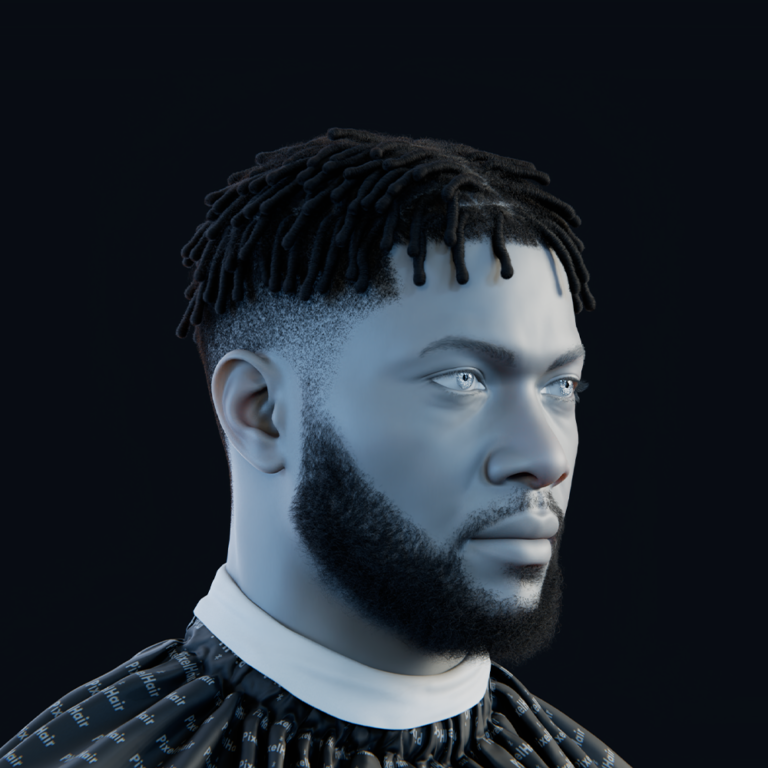
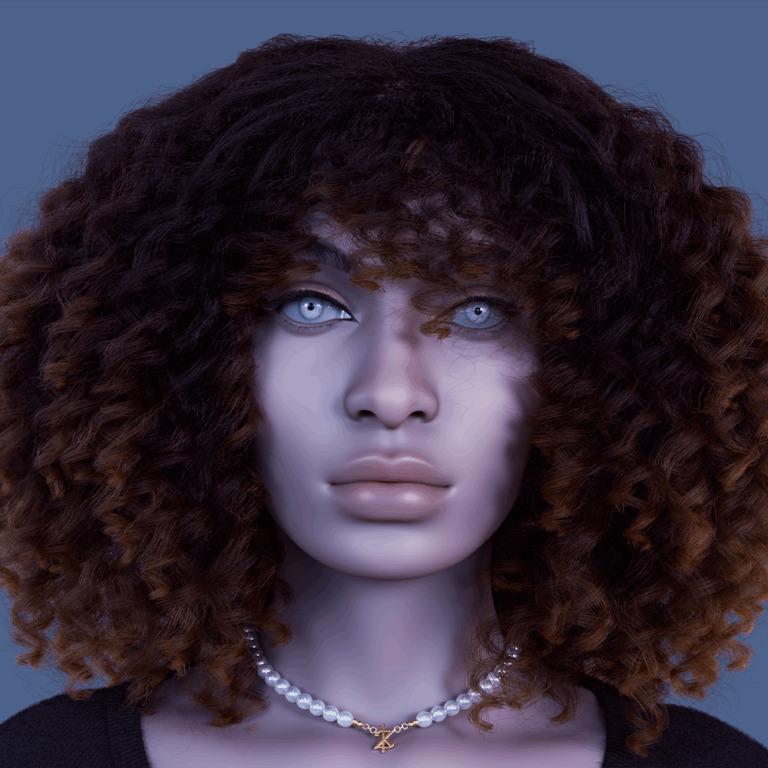
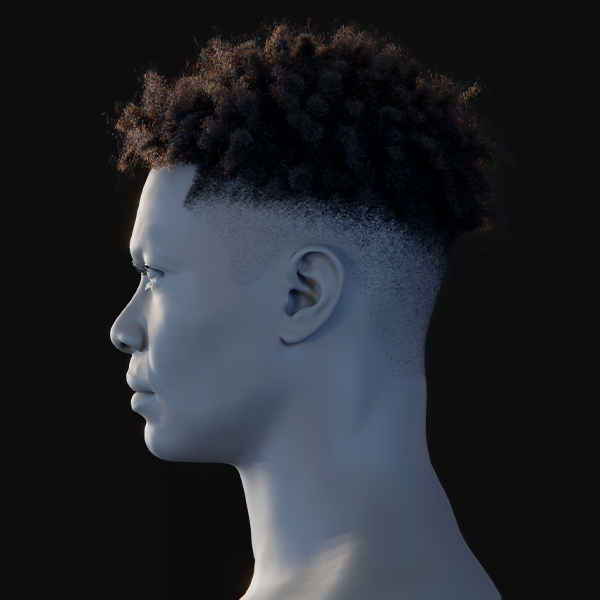
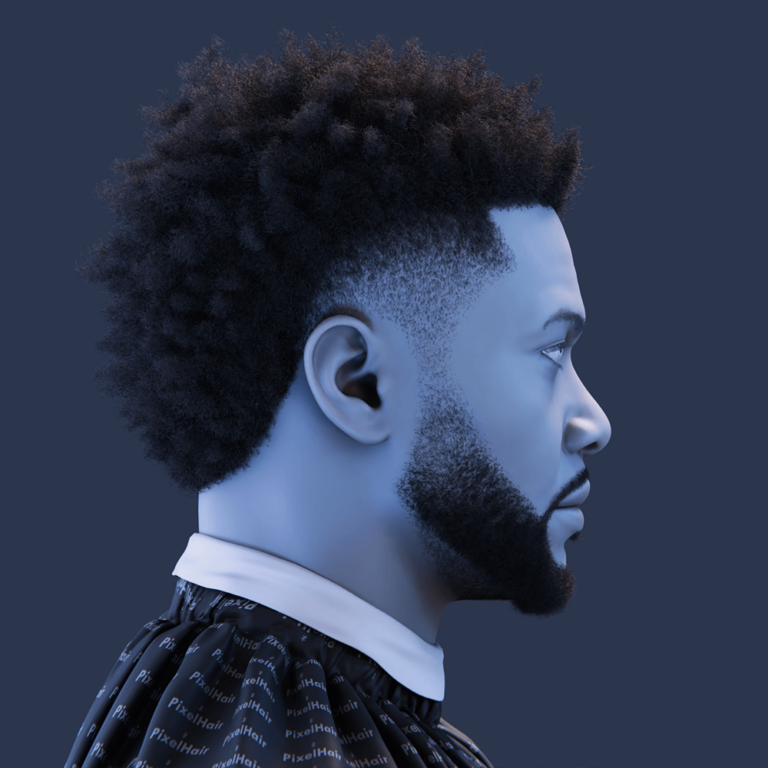
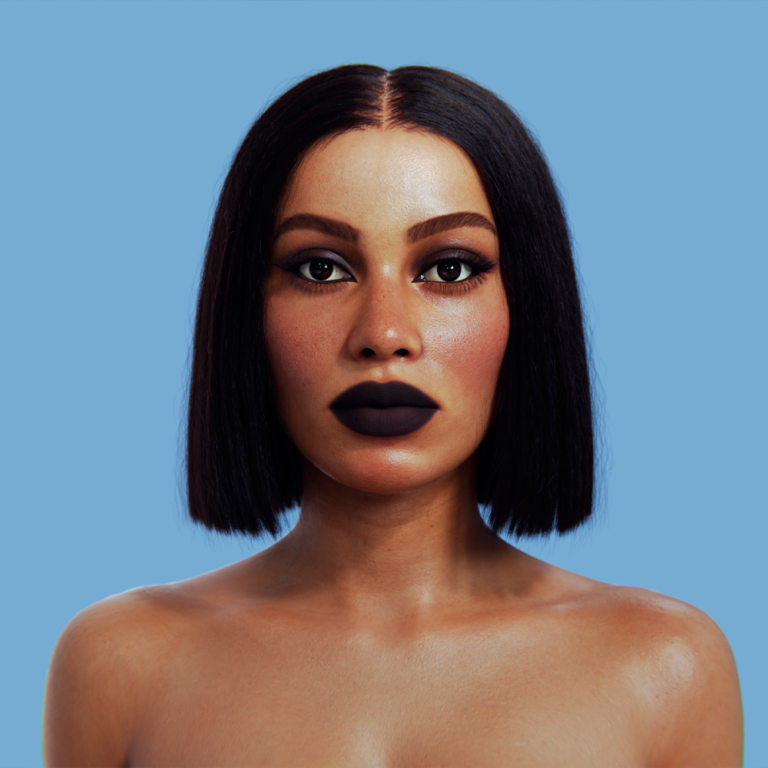
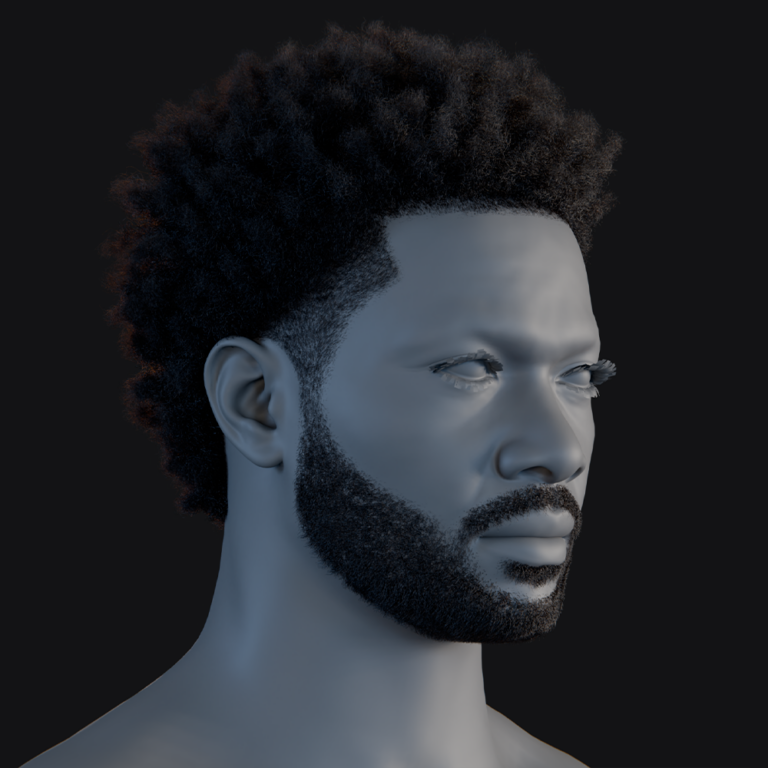
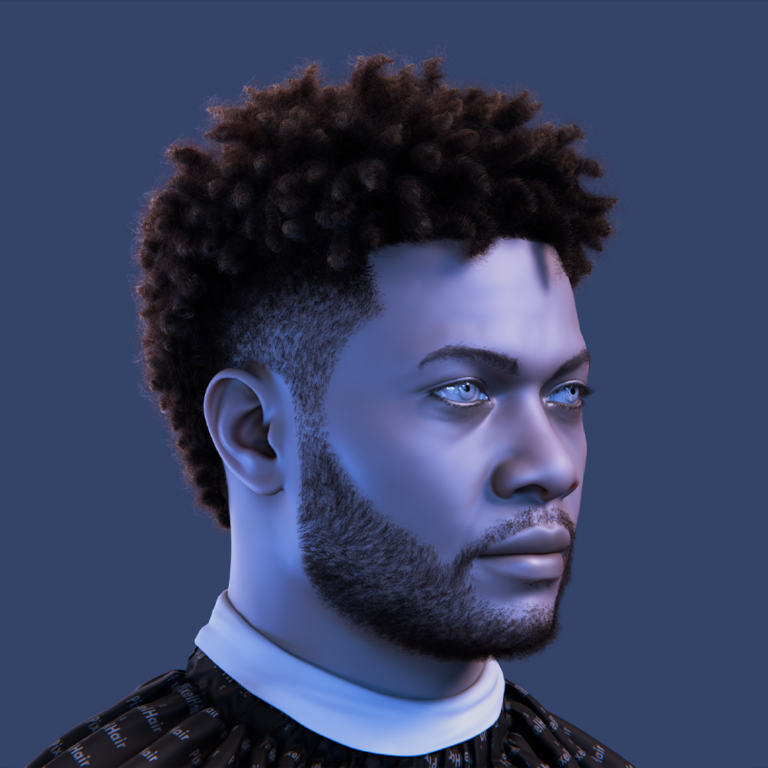
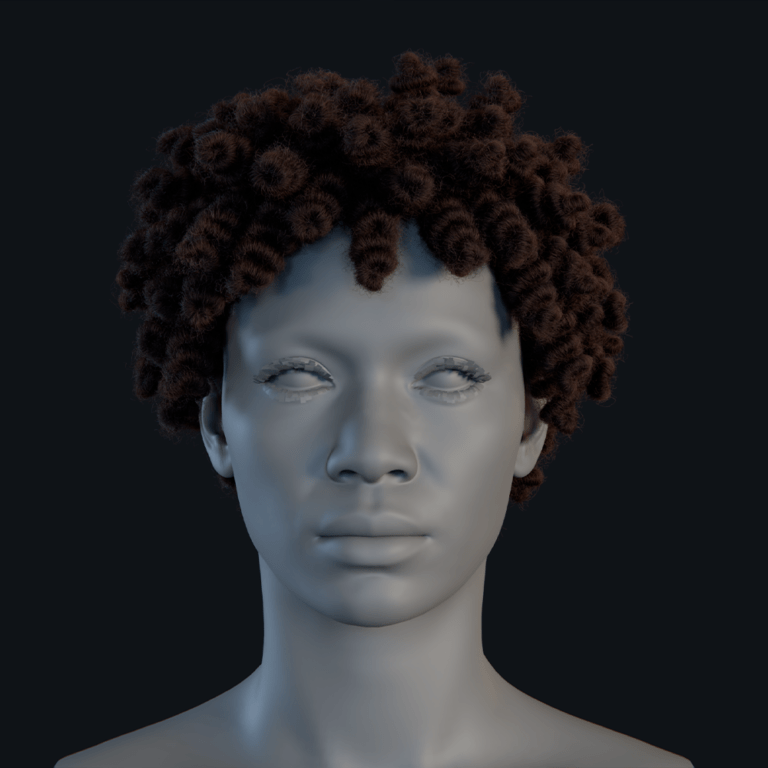
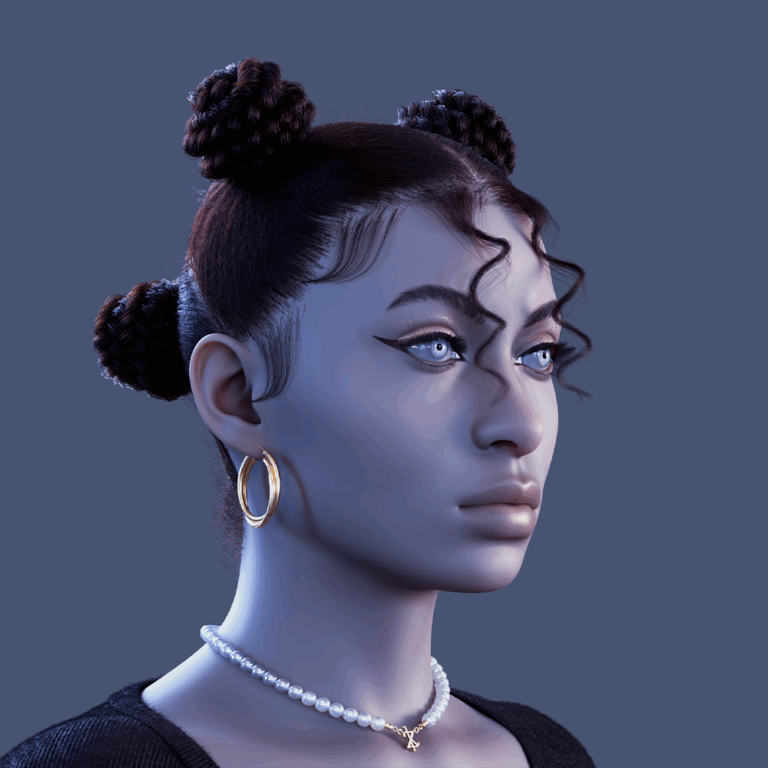
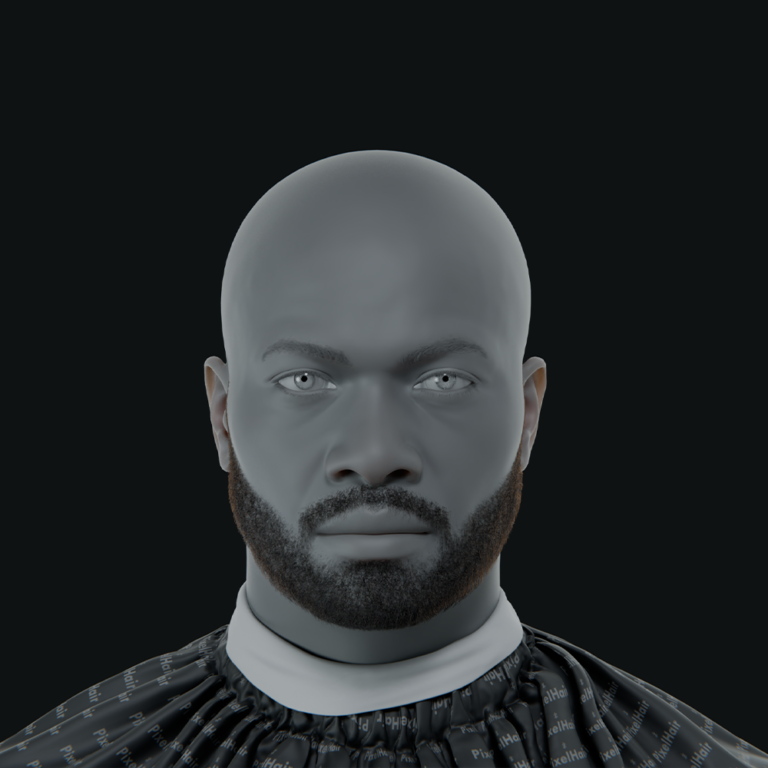
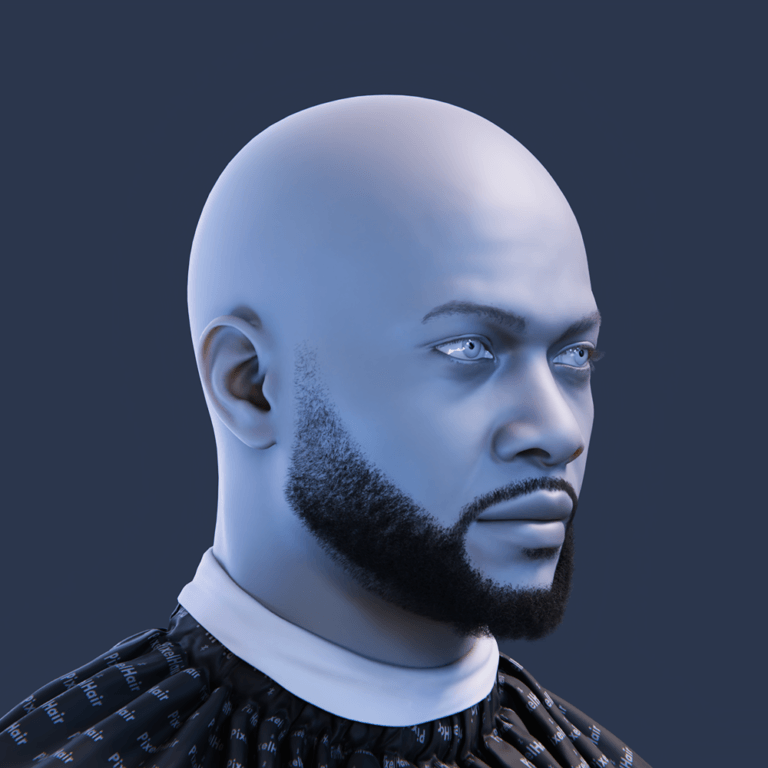
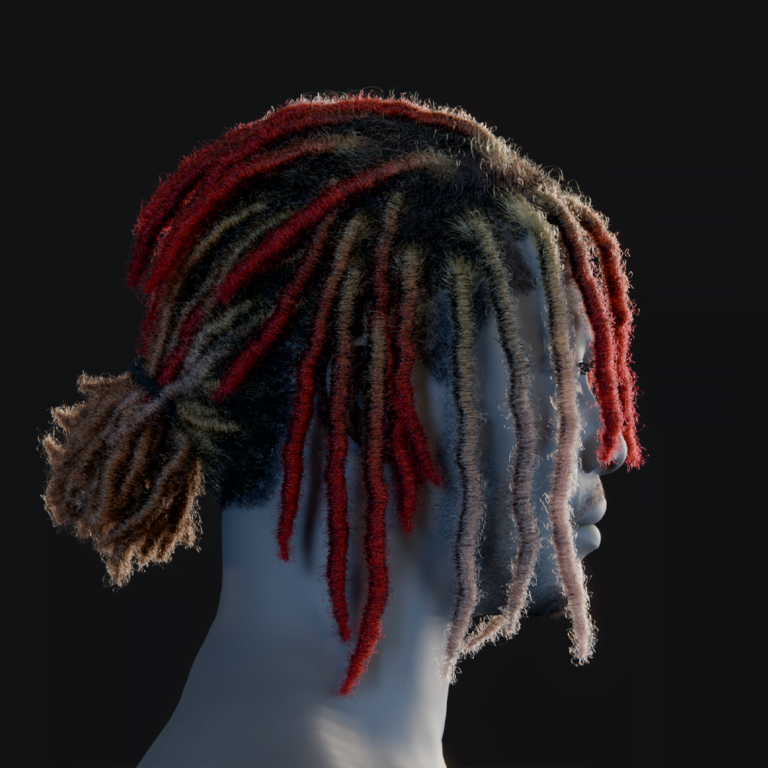
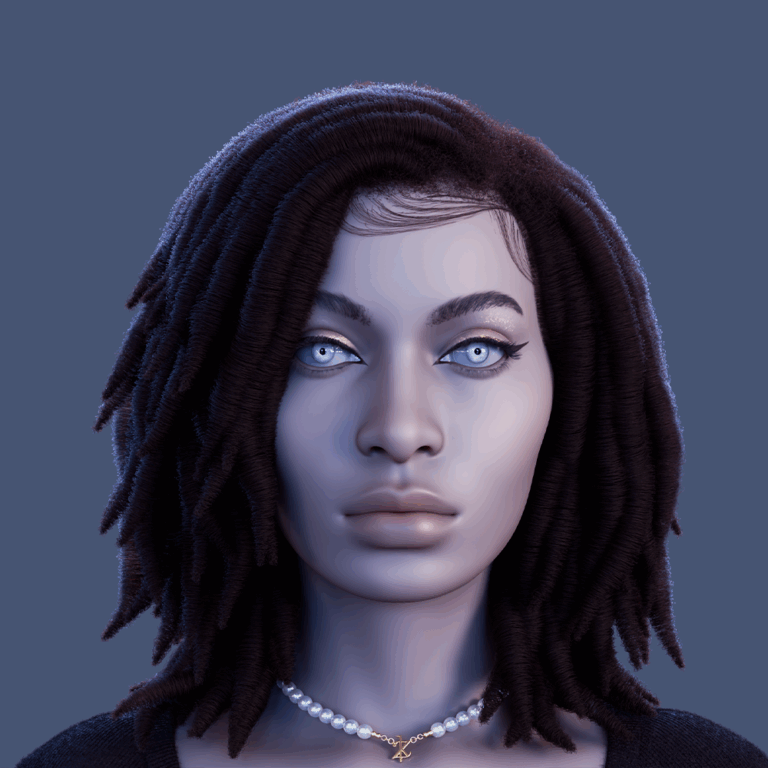
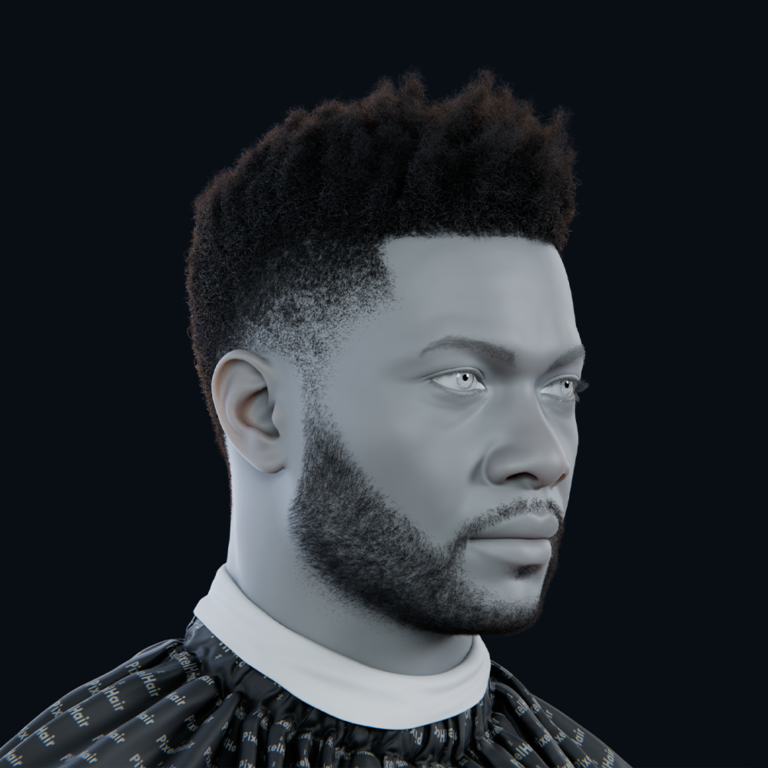
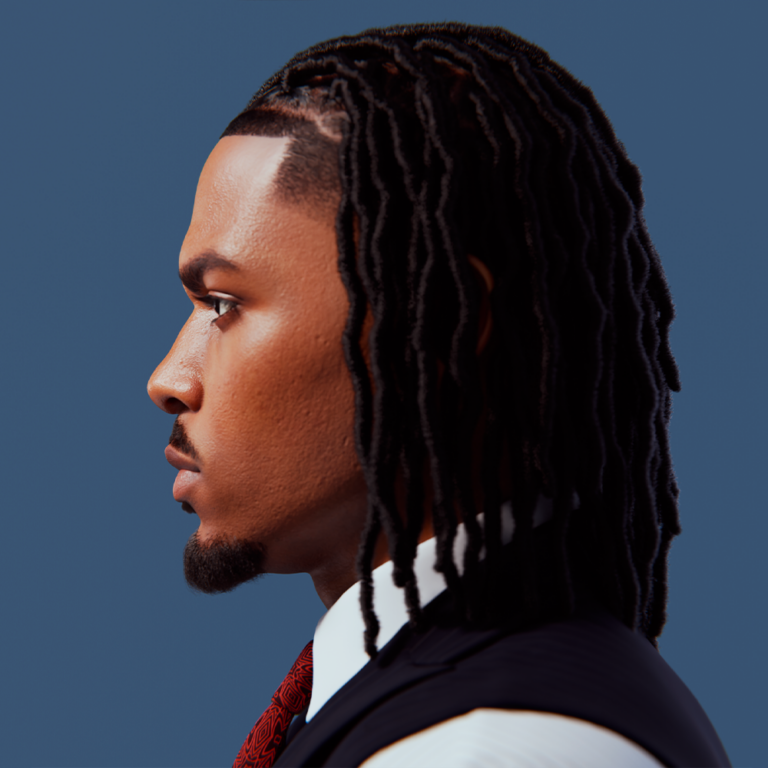
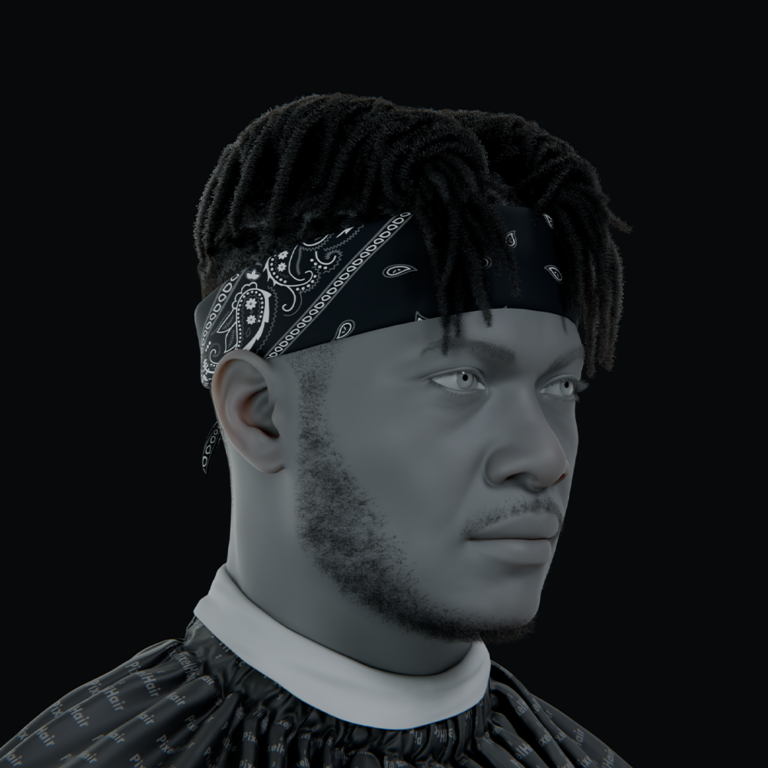
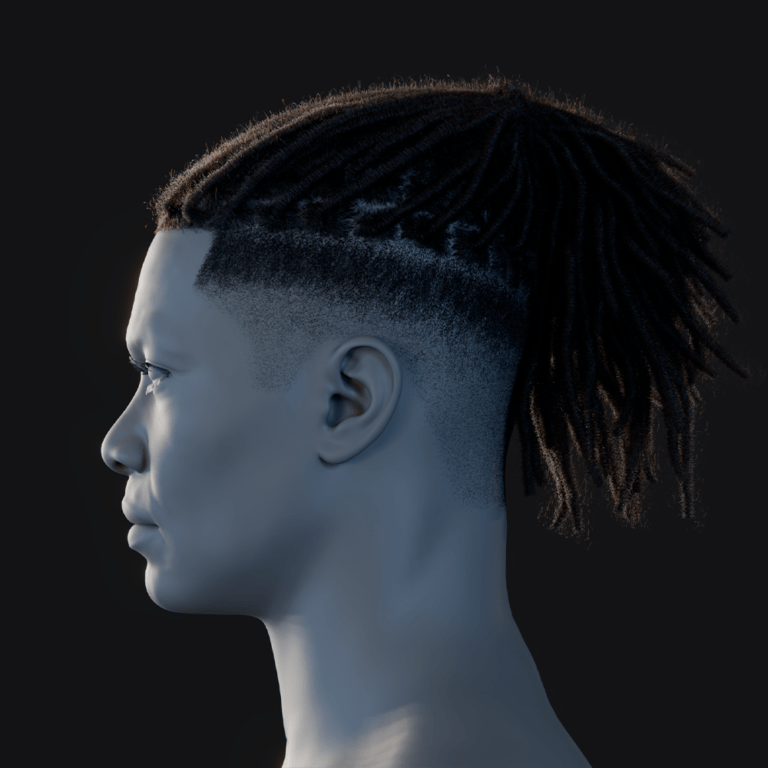
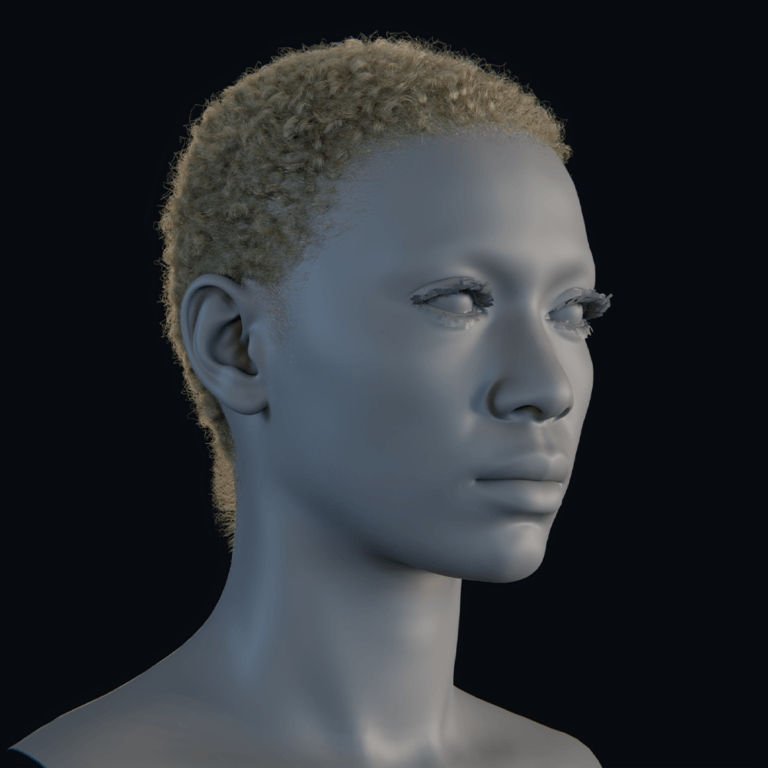
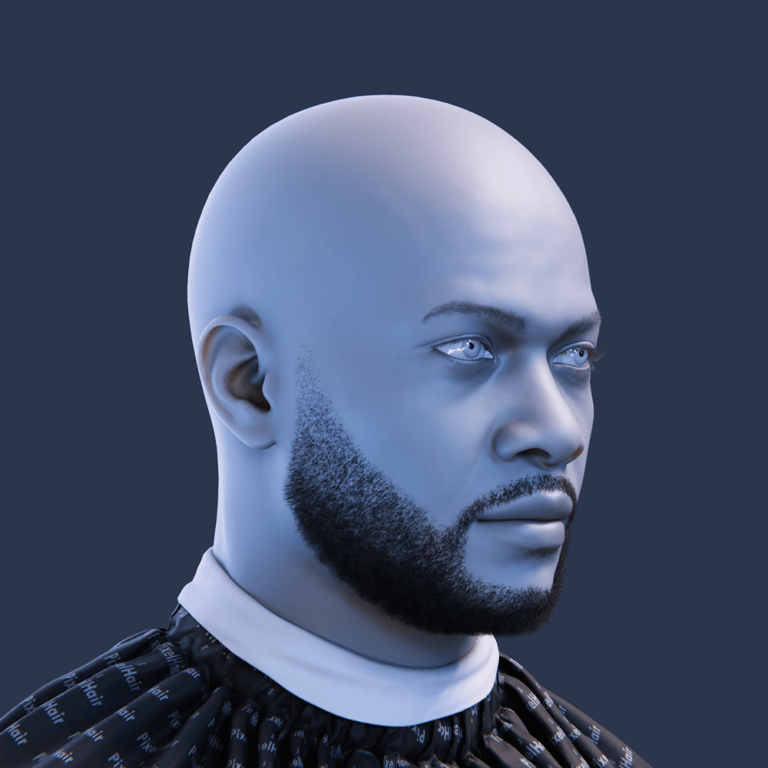
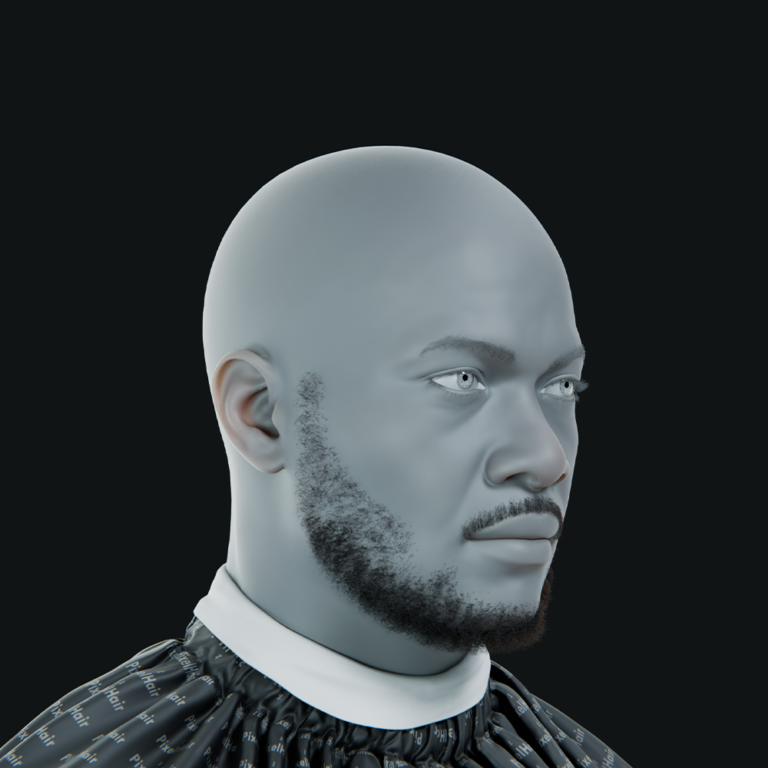
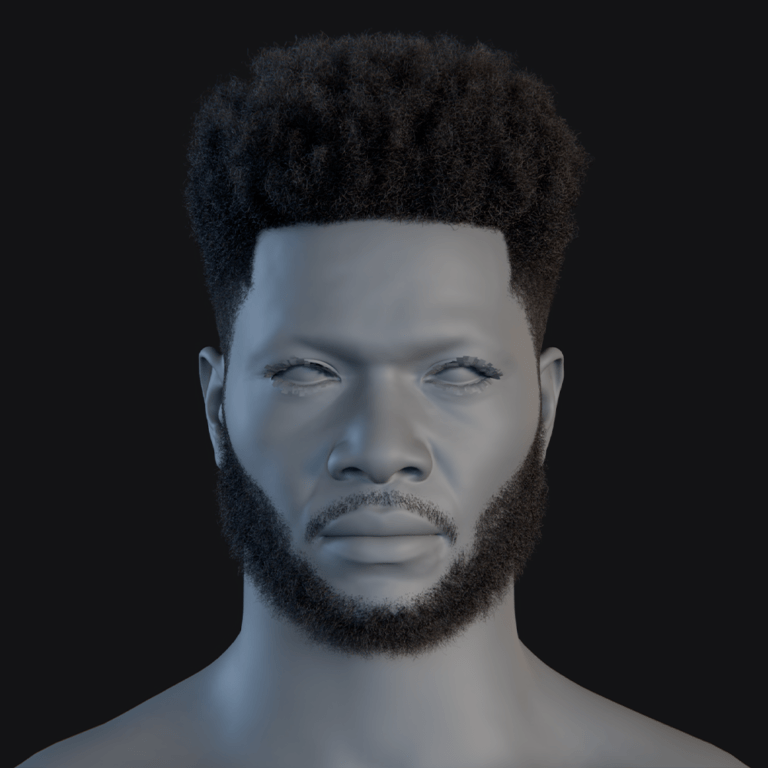
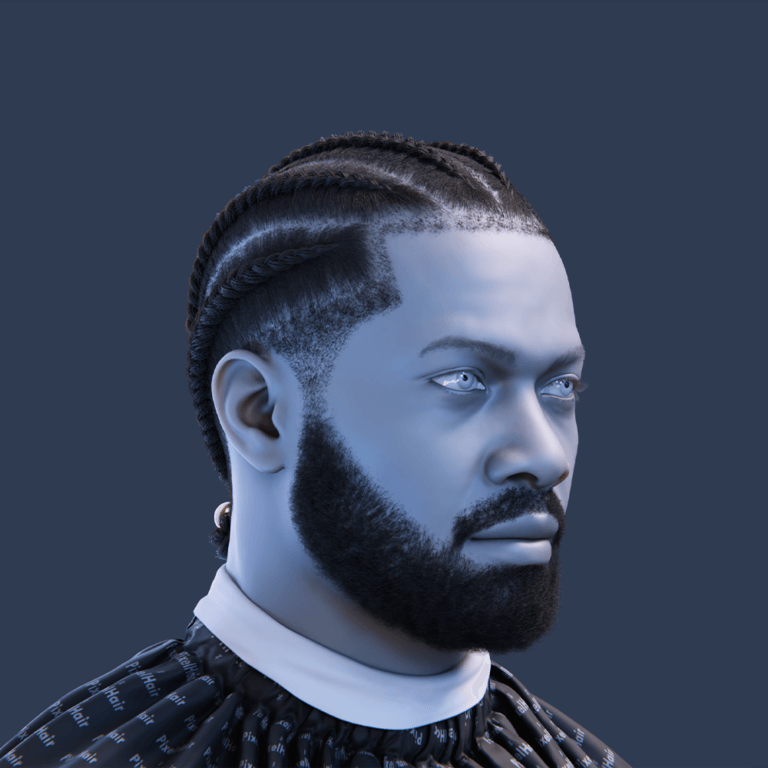
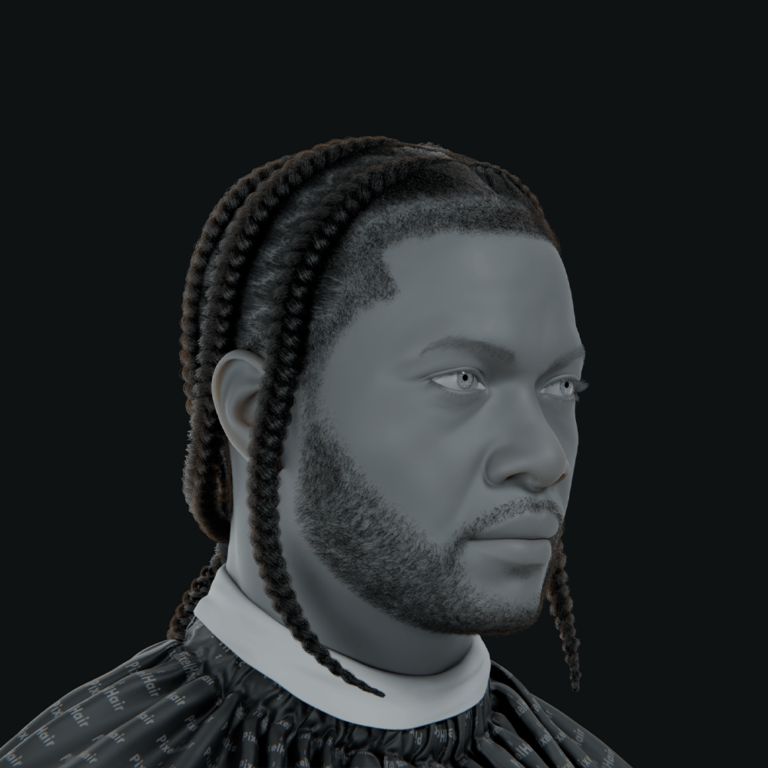
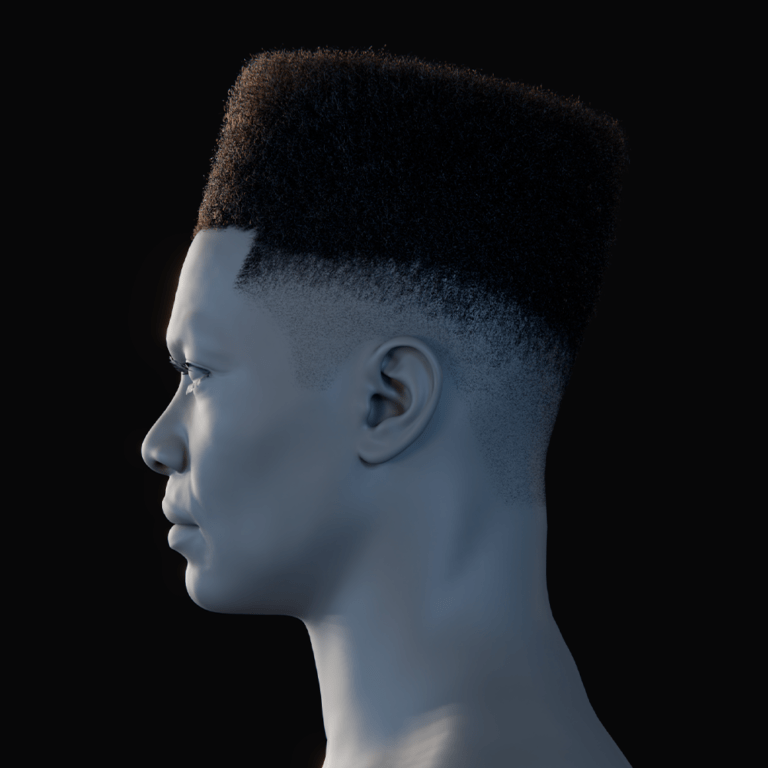
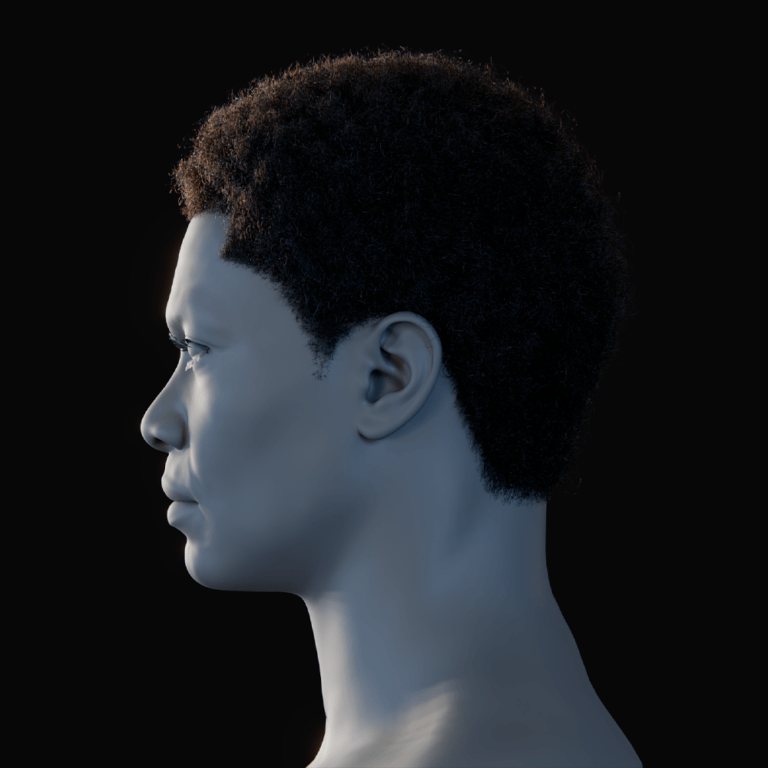
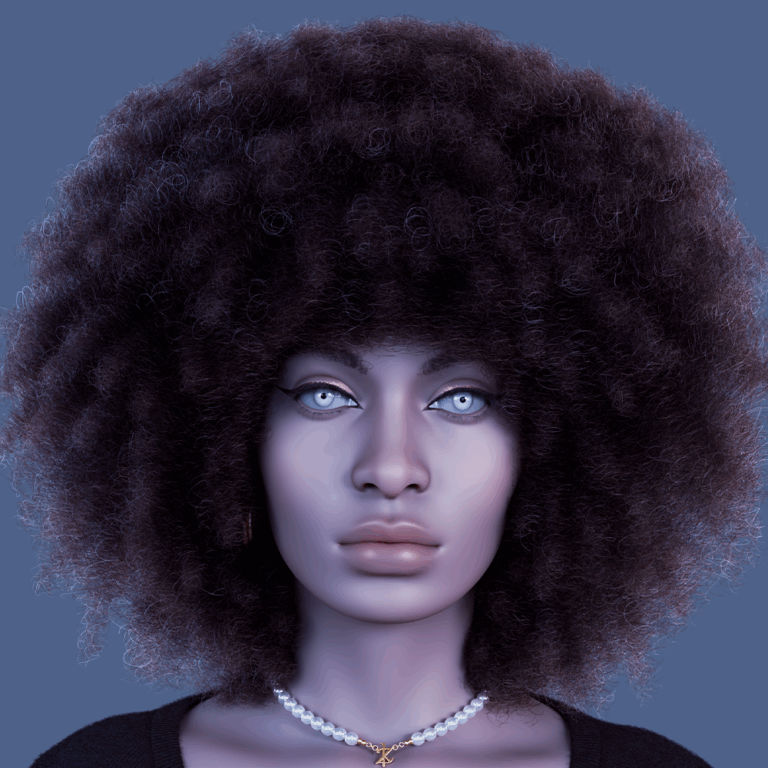
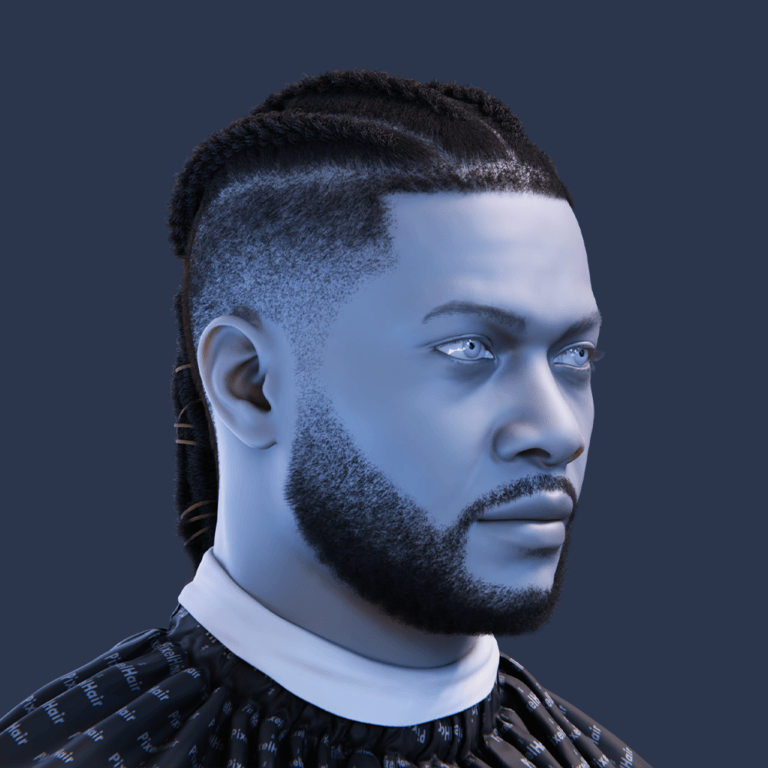
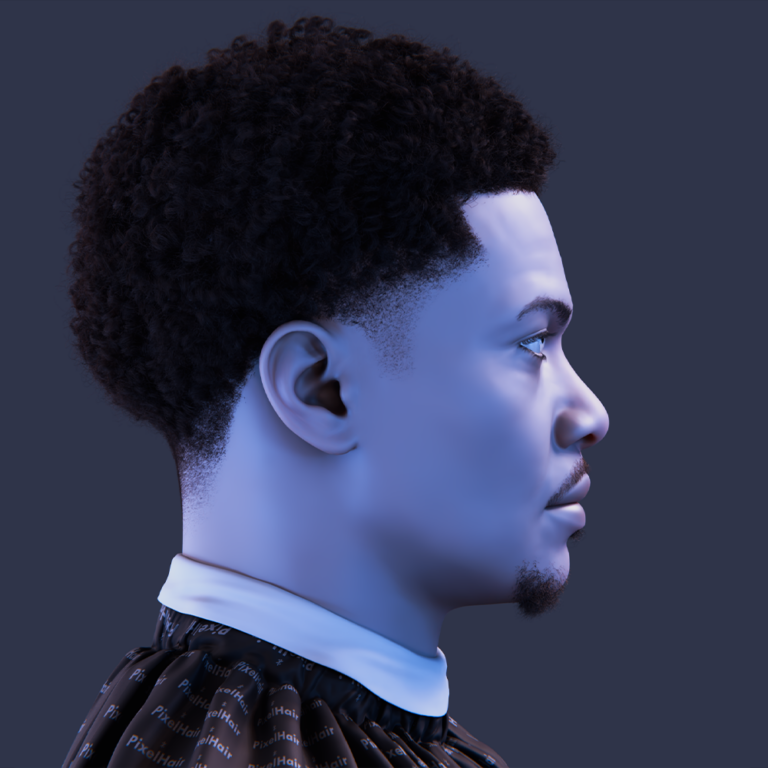
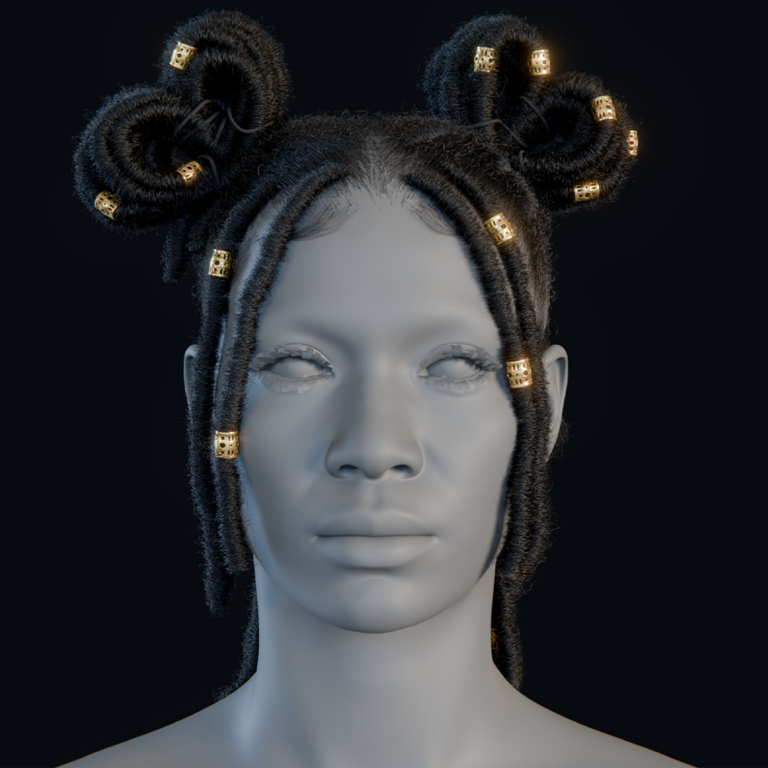
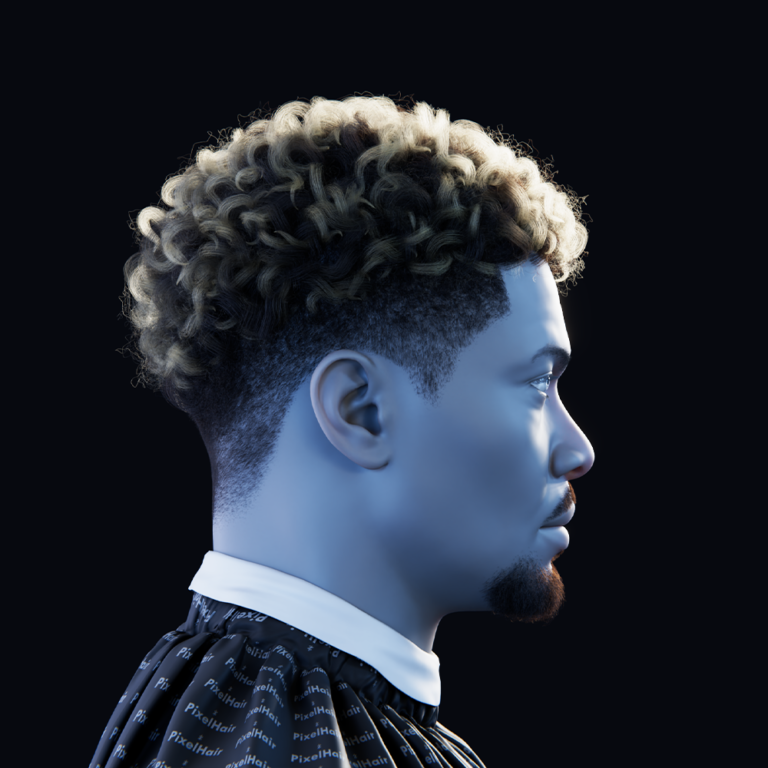
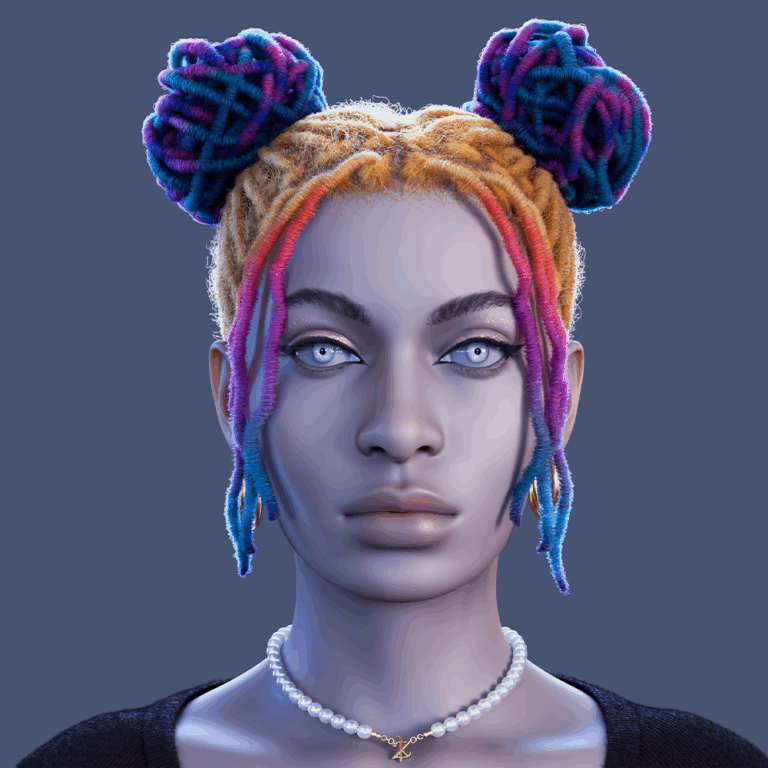
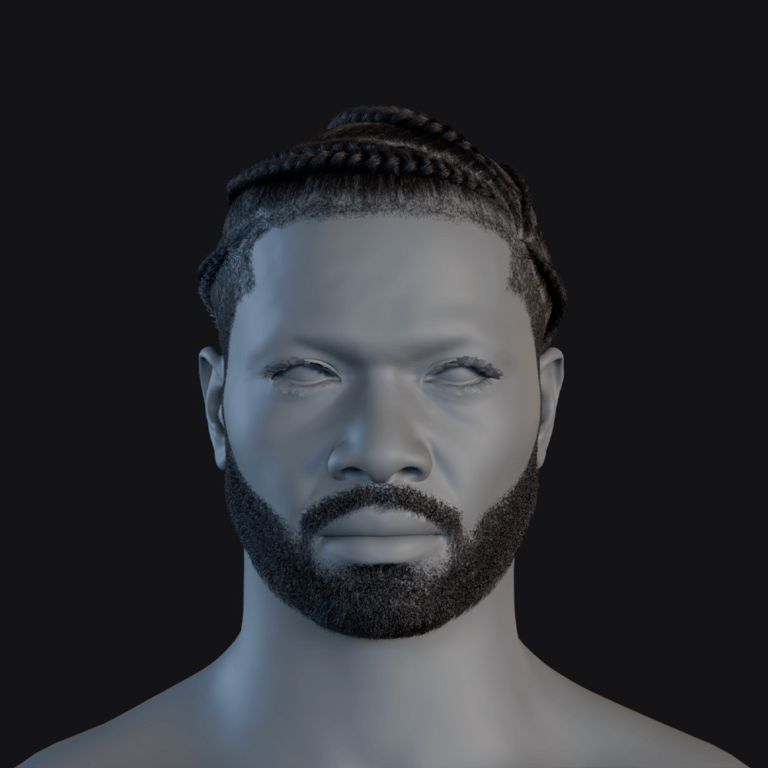
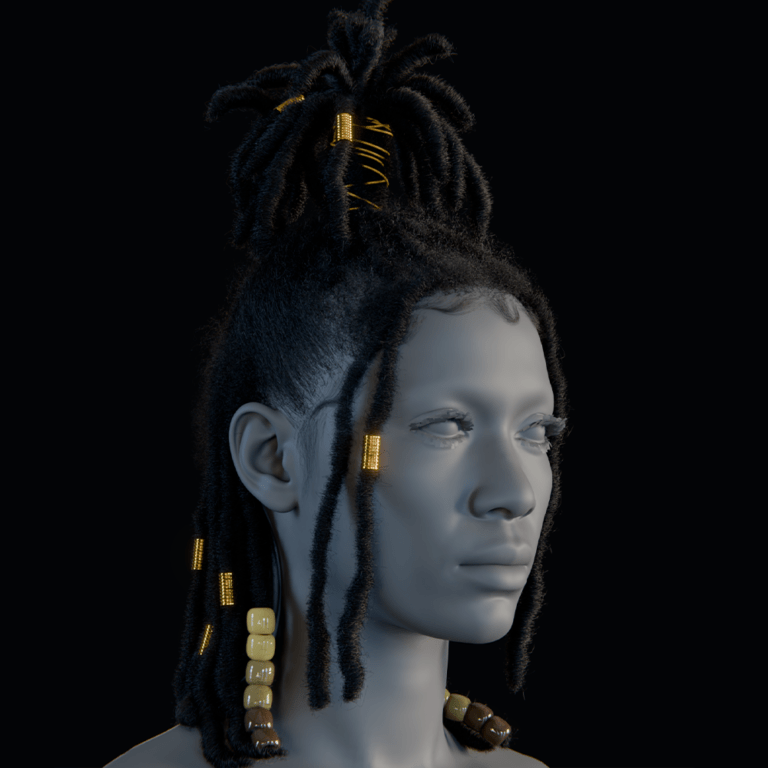
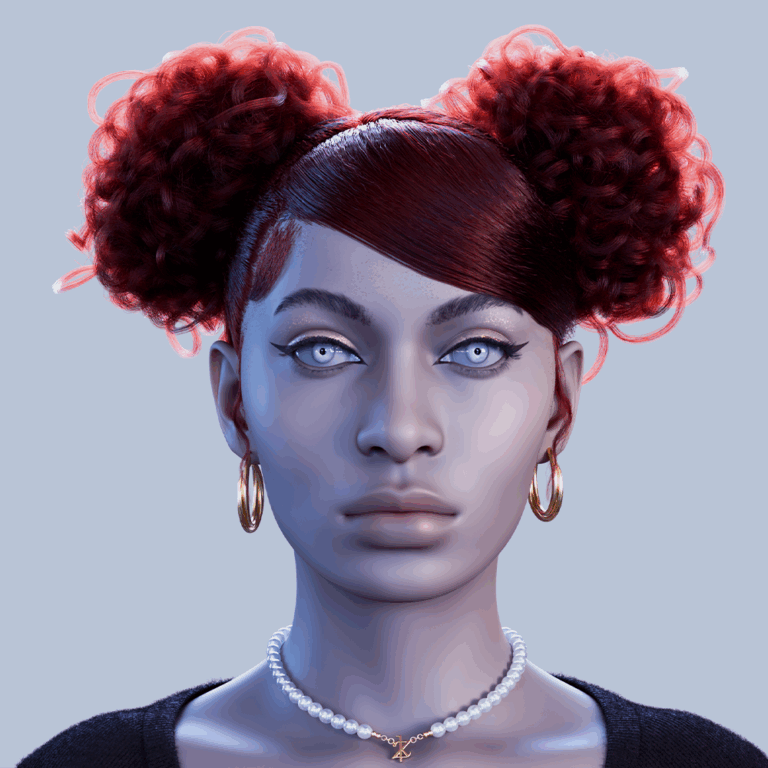
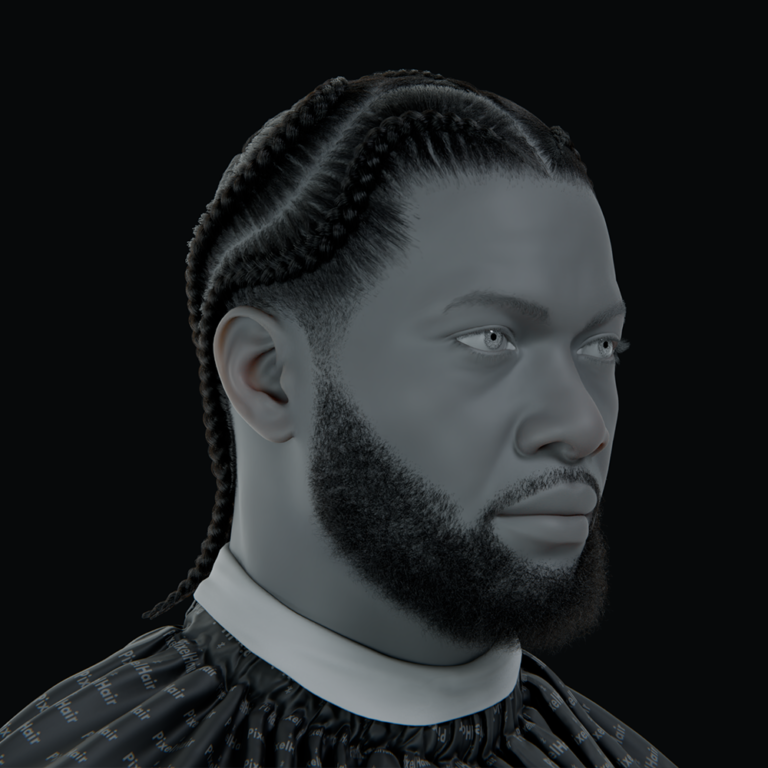
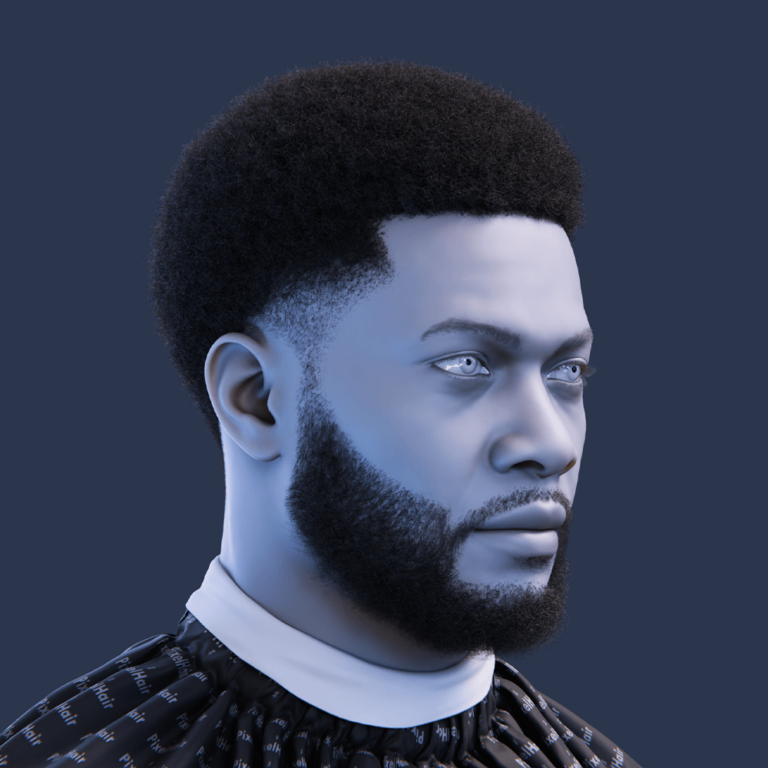
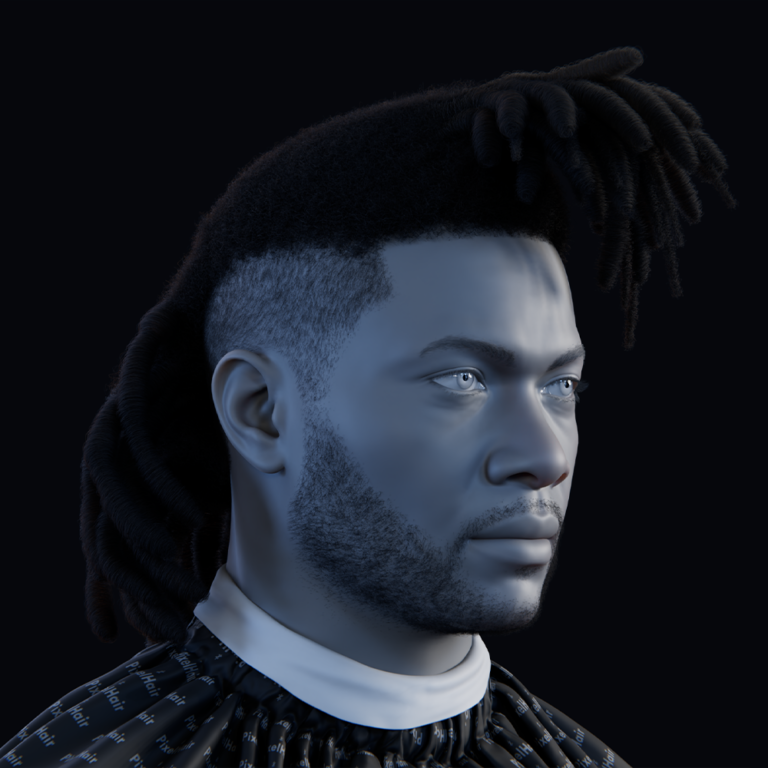
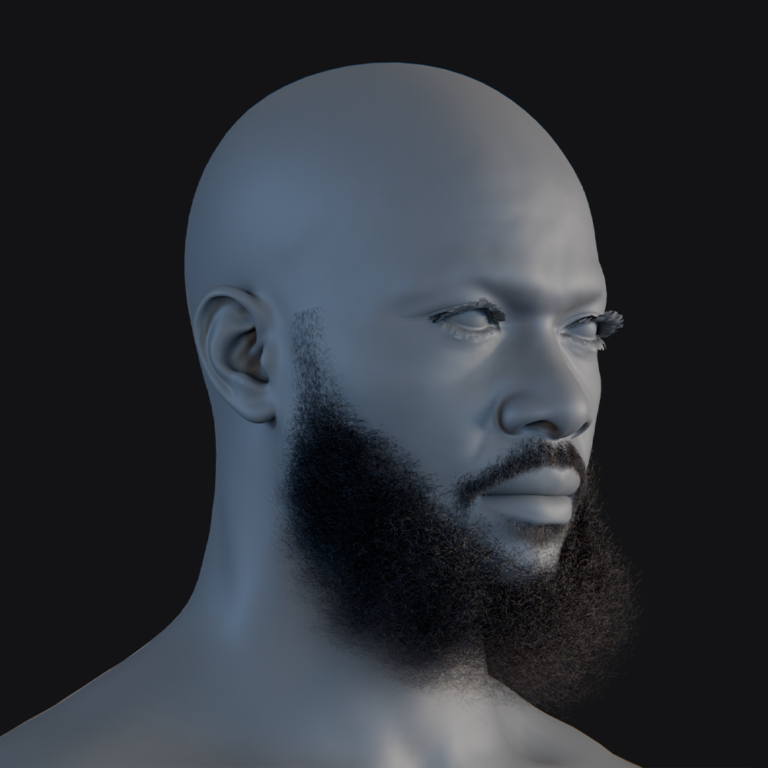
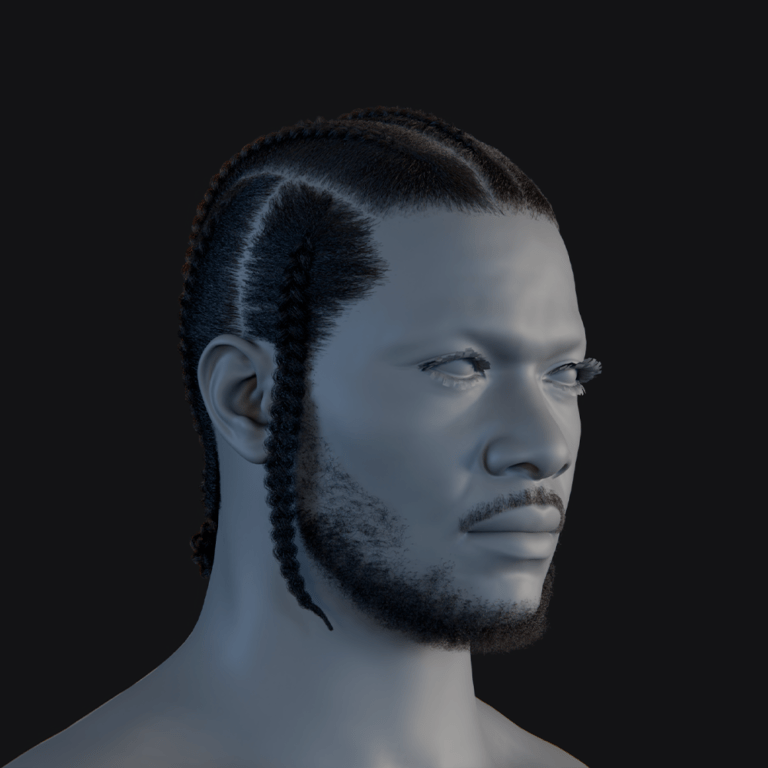
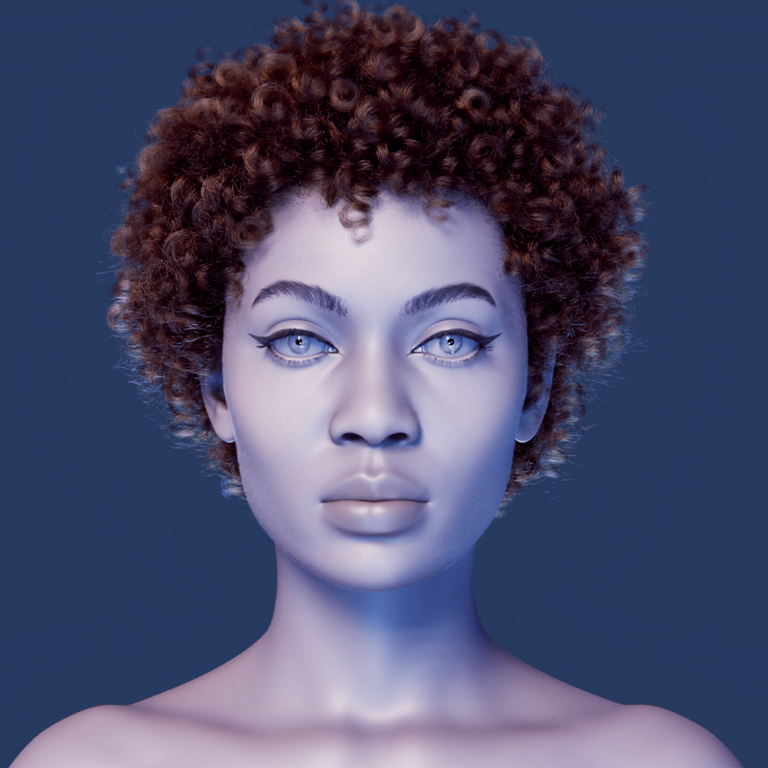
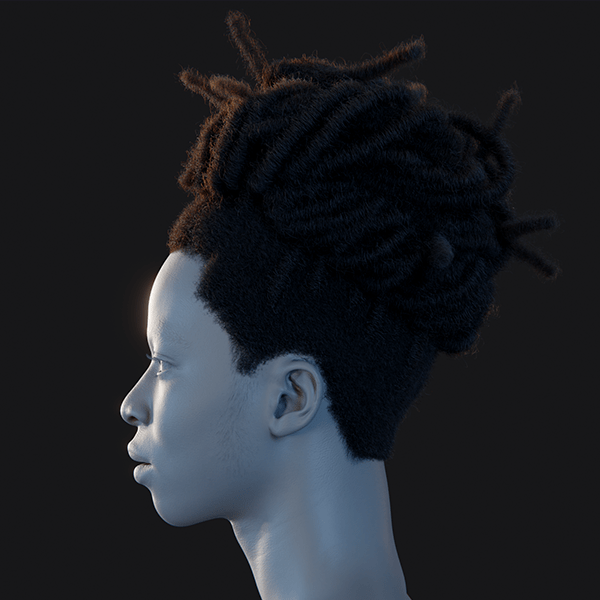
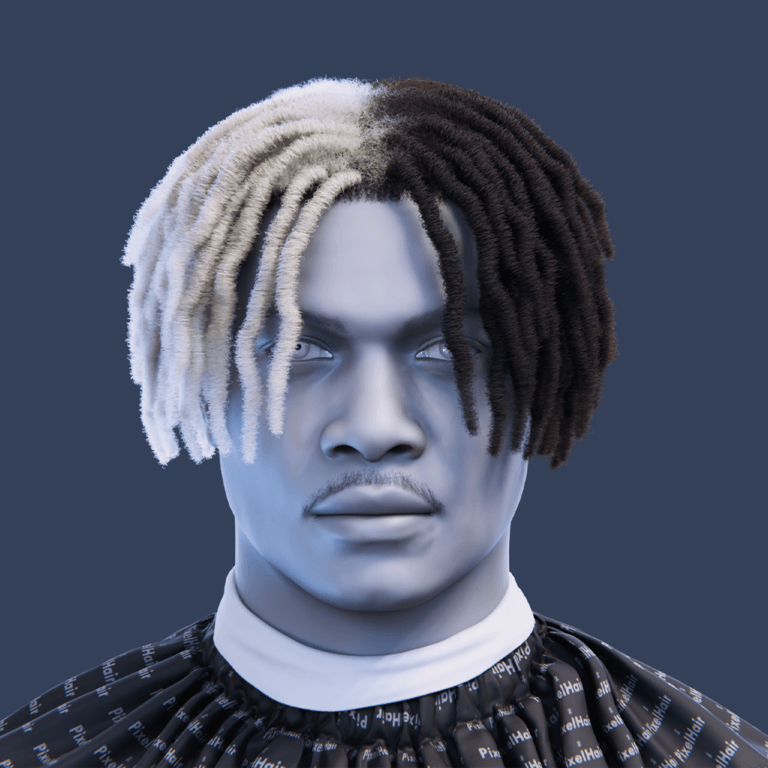
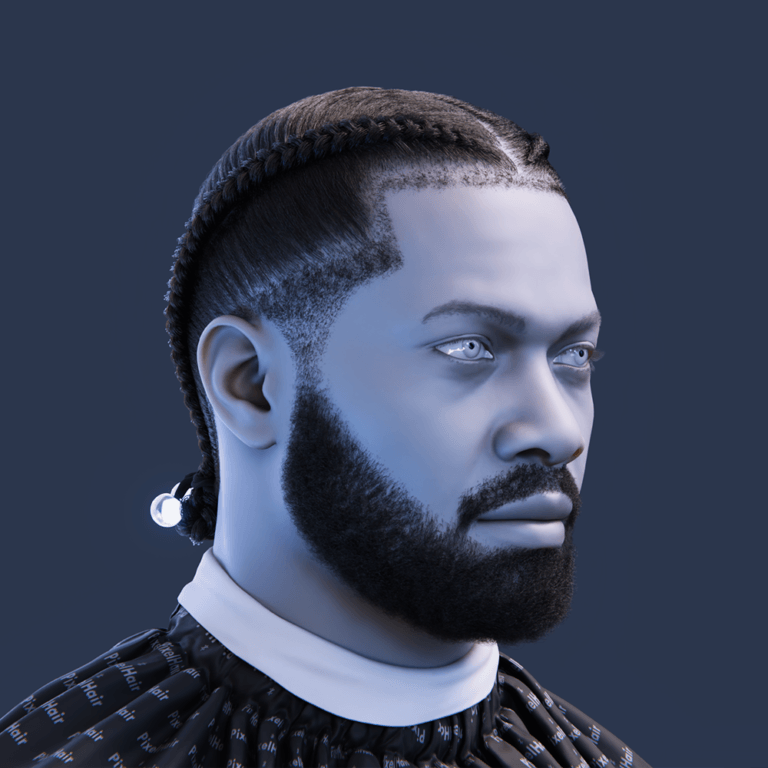
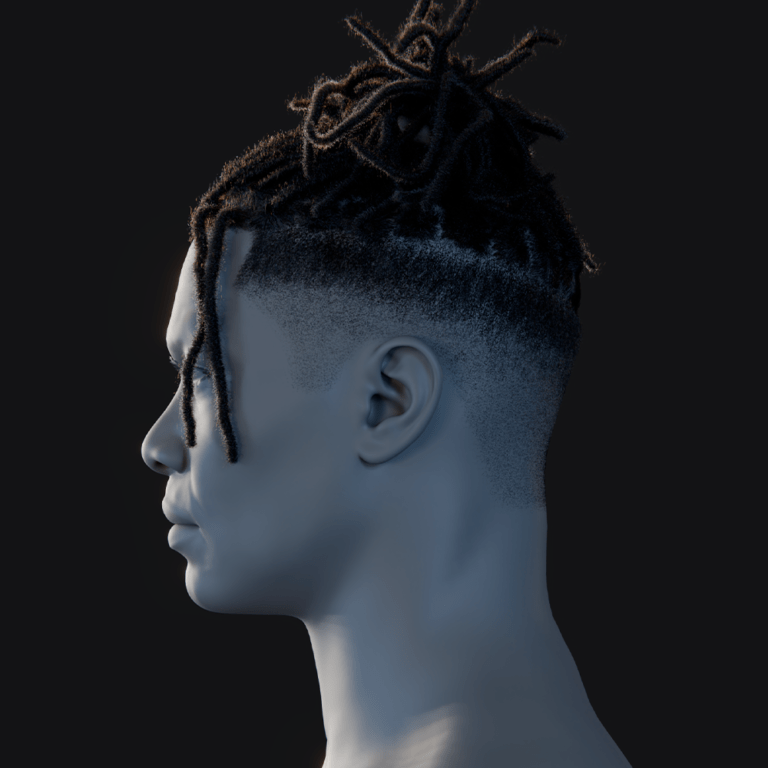
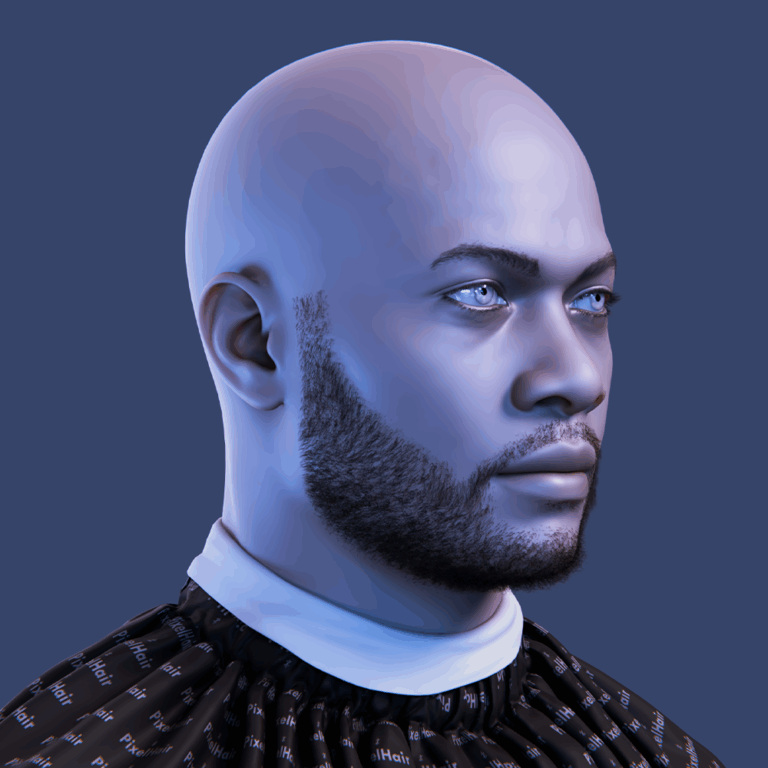
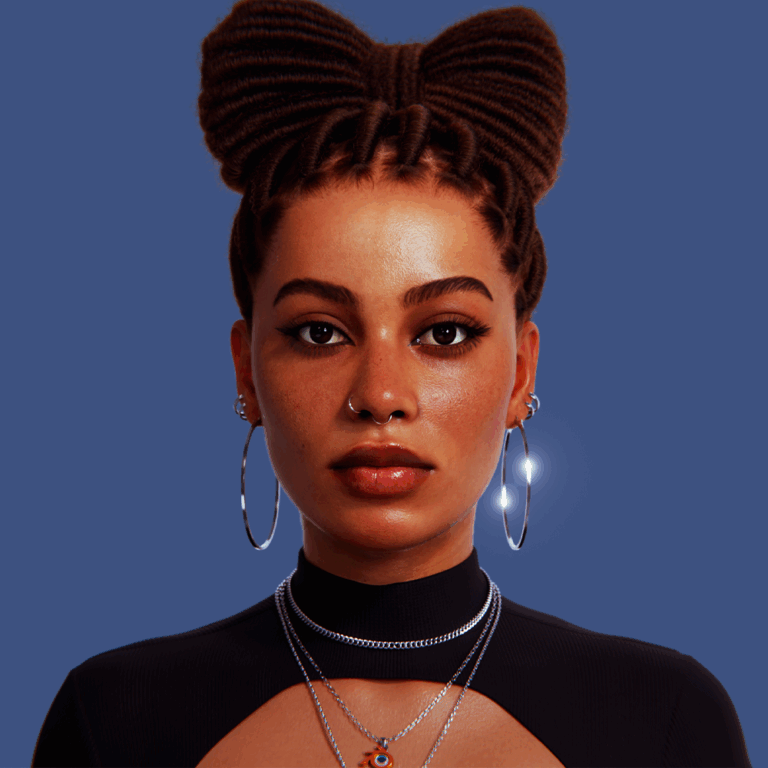
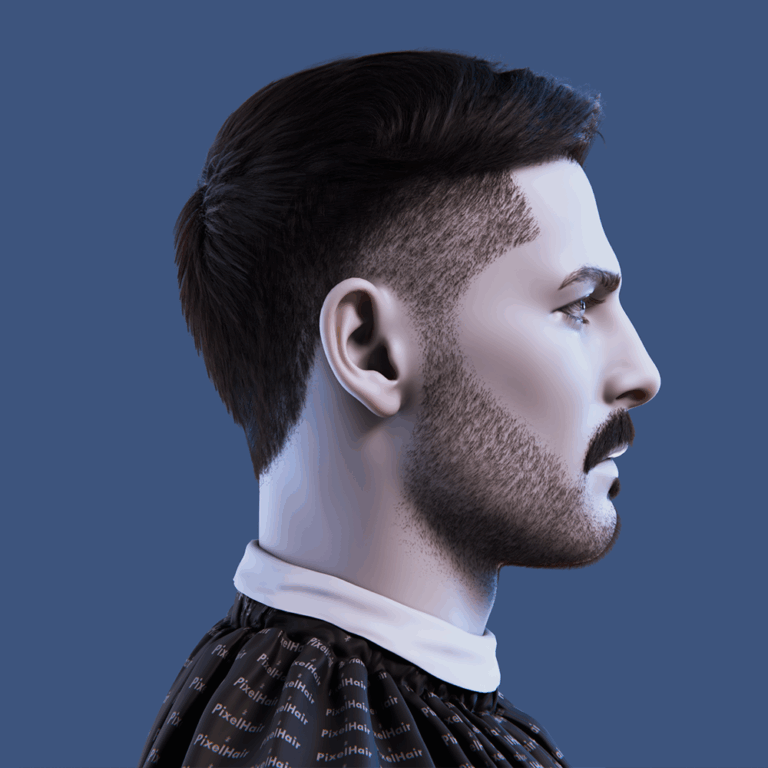
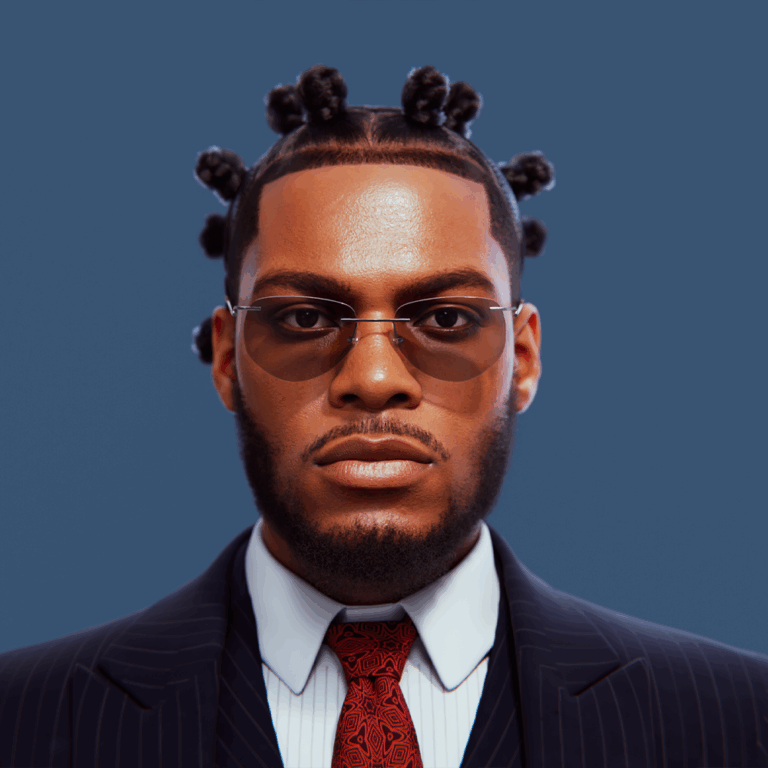
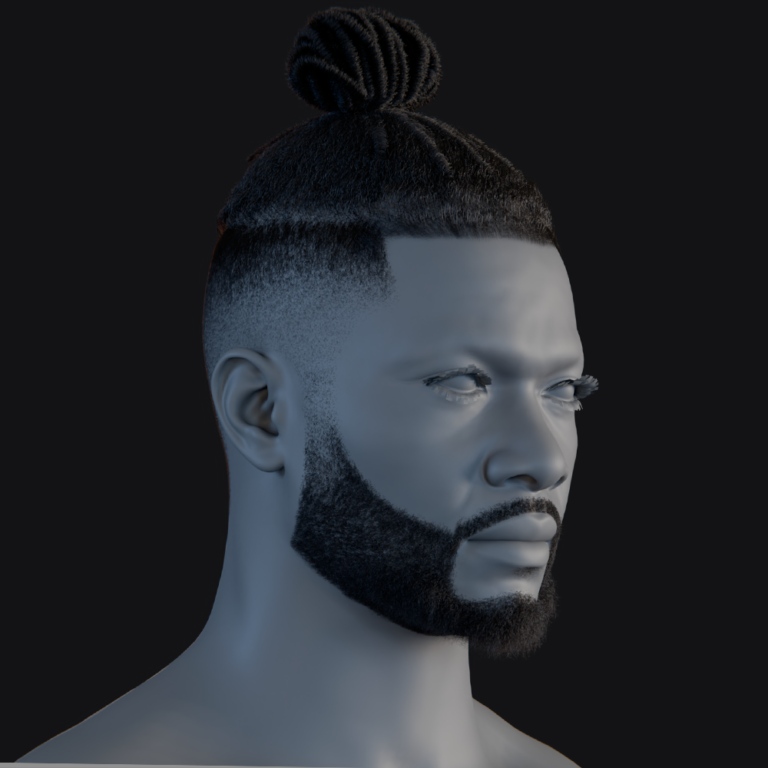
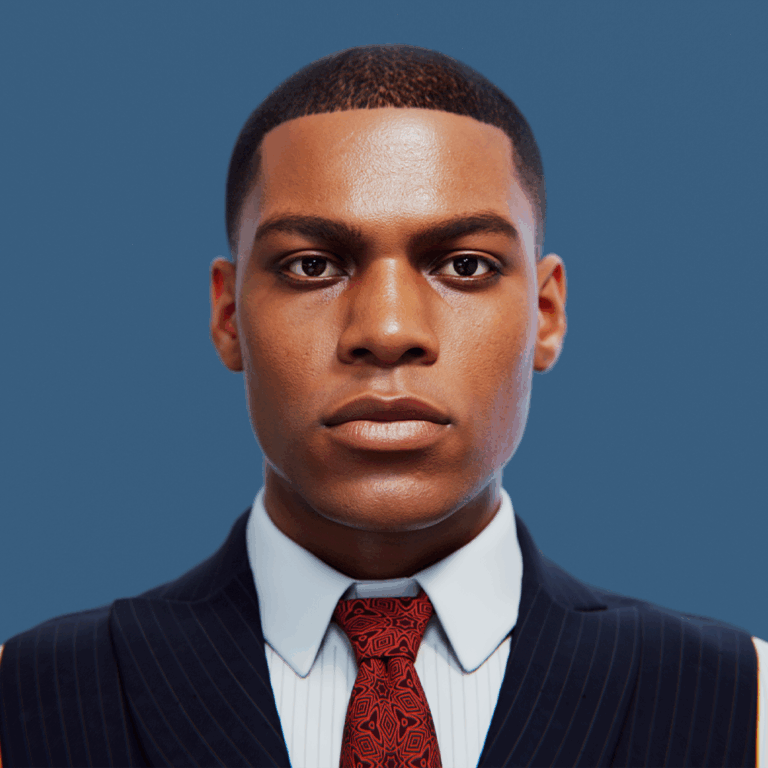
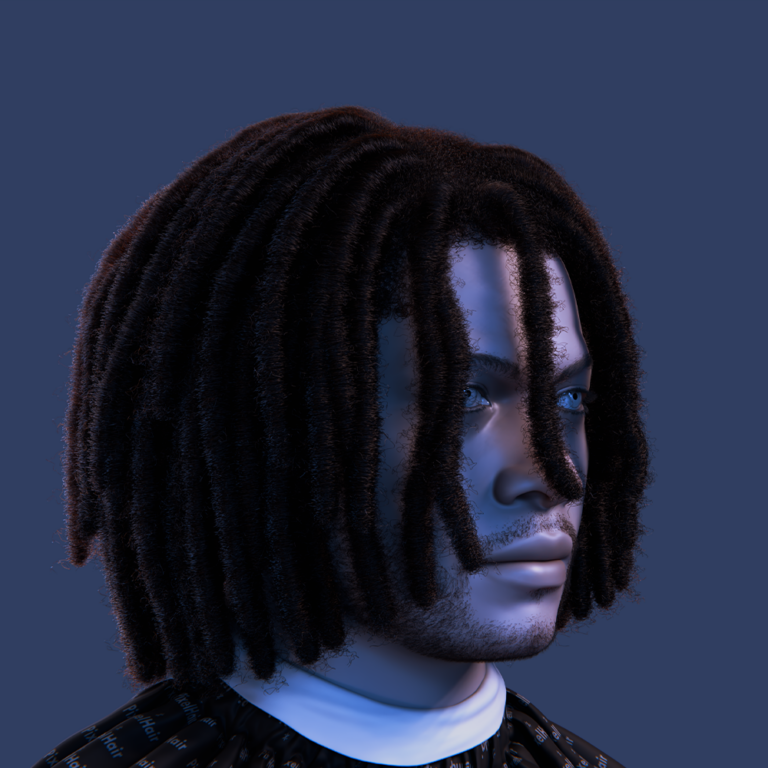
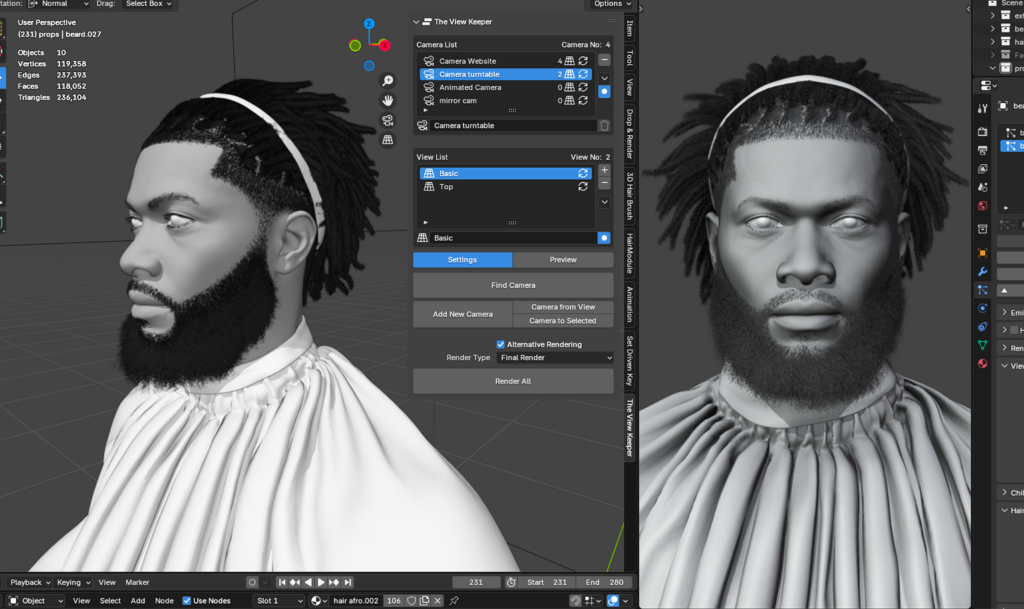
Blender’s geometry nodes hair system, including Shrinkwrap Hair Curves, provides powerful control but is time-consuming for creating hairstyles from scratch. The PixelHair 3D Hair Asset Collection, developed by Yelzkizi, offers a faster alternative with a library of pre-made, realistic hairstyles that streamline workflows, especially for freelancers or small studios needing quick, high-quality results.
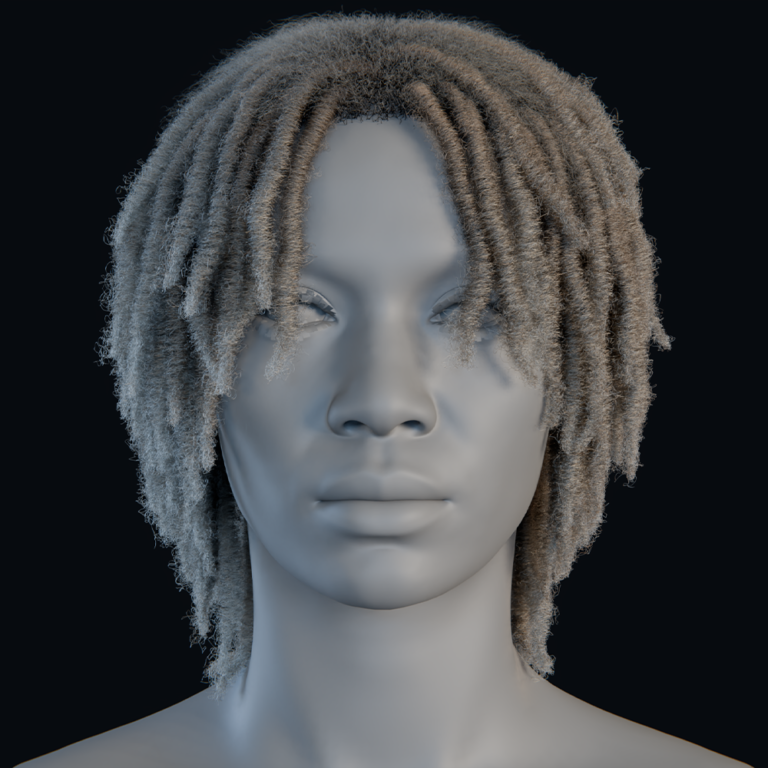
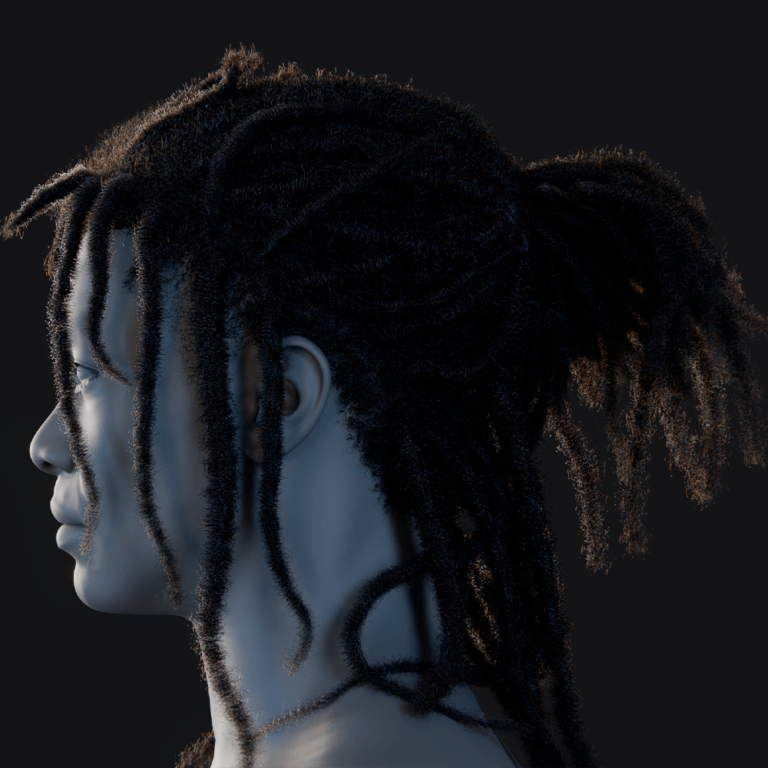
PixelHair consists of pre-groomed hairstyles (e.g., braids, afros, dreads) as .blend files, using Blender’s traditional particle hair system and a scalp mesh hair cap, not the new curves-based hair. To use it, append the asset into Blender, position the hair cap on your character’s head, and apply a Shrinkwrap modifier to fit the cap to the scalp shape, allowing particle hair to emit for a well-fitted look in just a few clicks. This bypasses labor-intensive manual grooming, though slight combing or trimming is possible, with most work already done.
- Alternative to Geometry Nodes Hair:
PixelHair uses the particle hair system, not node trees for hair curves, offering ready-to-use, artist-crafted hairstyles. It saves time and suffices for many cases, though it doesn’t yet use the new curves system. Yelzkizi plans to update it with geometry nodes when mature, blending pre-made ease with new system flexibility. Currently, it fits into geometry nodes pipelines for added effects or blending. - PixelHair and Real-Time Rendering (Unreal Engine):
Designed for Unreal Engine and Metahuman integration, PixelHair exports as Alembic (.abc) files, optimized for Metahuman rigs and shaders. It renders and animates realistically in real-time for cinematics or games, delivering Blender-groomed hair fidelity without custom simulations. Strand movement can be baked or driven by Unreal’s grooming system, supporting both offline and real-time rendering. - Workflow Optimization:
PixelHair offers a library of tweakable common hairstyles for quick, professional results, ideal for time-pressed users or those less skilled with geometry nodes. It complements geometry nodes’ bespoke control and will evolve with Blender’s hair system, integrating tools like Shrinkwrap Hair Curves for enhanced compatibility.
FAQs
- What exactly is the Shrinkwrap Hair Curves preset and when should I use it?
Shrinkwrap Hair Curves projects hair curves onto a surface, preventing intersections and ensuring conformity. It’s used for hair, fur, and other curves needing to hug a surface. - How do I add and use the Shrinkwrap Hair Curves node in a hair geometry nodes setup?
In Blender 3.5+, find Shrinkwrap Hair Curves in the Geometry Nodes editor or Asset Browser. Drag it into the node tree, connect hair and surface inputs, adjust parameters (offset, above surface, roots, smoothing). Hairs snap to the surface. - Why are some hair strands still inside or poking through the mesh after using Shrinkwrap Hair Curves?
If hairs are still misplaced after shrinkwrapping, check: Above Surface setting, Lock Roots (disable temporarily if roots are stuck), surface normals (ensure they face outward), Factor input (check for partial shrinkwrapping), surface details (may need smoothing or higher offset), and consider more smoothing passes. - How can I shrinkwrap hair without moving the roots from their original position?
Enable Lock Roots to keep hair roots fixed during shrinkwrapping, preventing detachment. Disable it only for rare effects. Generate hair correctly on the surface, as Lock Roots won’t move roots initially under it. - What does the Factor input do in this node preset?
Factor controls shrinkwrap strength: 1.0 is full, 0.5 is partial, 0 is none. Use it to blend or mask the effect. Leave it at 1 for full effect, and use Above Surface to control above-surface points. - Can I apply the shrinkwrap effect only to certain parts of the hair or certain strands?
Yes, you can target specific hair areas with shrinkwrap using the Factor input and attributes like vertex groups, textures, or weight paint to control where and how much the shrinkwrap effect applies. - Does Shrinkwrap Hair Curves work with Blender’s new hair curves system or the older hair particle system?
Shrinkwrap Hair Curves is for Blender’s new curves-based hair (3.3+), not the old particle system. Convert particle hair to curves to use it. - How is Shrinkwrap Hair Curves different from the regular Shrinkwrap Modifier?
The Shrinkwrap Modifier projects an object’s vertices onto a surface, used for tasks like fitting clothes or decals. It lacks hair curve awareness. Shrinkwrap Hair Curves is a specialized node group designed specifically for hair. In essence, Shrinkwrap Hair Curves is specialized for hair strands, offering more control than the general Shrinkwrap Modifier, which is used for other object types - Will Shrinkwrap Hair Curves update with animated characters or moving surfaces?
Yes, Shrinkwrap Hair Curves dynamically updates with animation due to its geometry nodes nature, keeping hair on deforming surfaces in real-time. - Does using Shrinkwrap Hair Curves affect performance? If so, how can I optimize it?
Shrinkwrap Hair Curves has a performance cost due to raycasting. Typical hairstyles are fine, but dense fur can slow down, especially with smoothing. Optimization tips are available. Generally, Shrinkwrap Hair Curves is usually optimized. If performance dips with many hairs, use optimization tips or disable viewport visibility during non-essential work.
Best Practices
Using the Shrinkwrap Hair Curves node effectively comes down to smart setup and parameter tuning. Here are some best practices and tips to get the most out of it while avoiding common pitfalls:
- Generate Hair Properly on the Surface: Start hair curves on the emitter’s surface to minimize corrections. Hairs emitted from within the mesh require fixing, impacting length and shape. Use tools like “Attach Hair Curves to Surface” when converting particle hair to ensure roots are correctly positioned on the scalp.
- Keep Surface Normals Consistent: Ensure the target surface’s normals point outward, as the shrinkwrap uses them to determine “outside.” Flipped normals can cause the hair to shrinkwrap incorrectly, potentially pushing hairs further inside. Recalculating normals and checking for inverted faces prevents confusion.
- Use a Reasonable Offset: Avoid 0 offset to prevent rendering issues and create a natural look. Don’t set it too high to avoid floating hairs. Find a balance for your scene scale.
- Leverage Factor for Control: Use attributes like vertex groups or masks in the Factor input for targeted shrinkwrap effects. This allows for varying shrinkwrap intensity across different hair regions, improving performance and control.
- Order in Node Chain: Apply Shrinkwrap Hair Curves after most styling nodes but before trimming or conversion. This fixes intersections after the hair is mostly styled. Moderate Smoothing Steps: Use smoothing sparingly to avoid altering the intended hairstyle. Excessive smoothing can indicate issues with offset or hair generation.
- Avoid Unnecessary Above-Surface Shrinkwrap: Keep Above Surface at 0 (or low) for most hairstyles, only increasing it for specific effects like wet hair or short fur.
- Check Results in Different Poses/Frames: Test the shrinkwrap in various poses or animation frames to ensure no intersections occur with surface deformations.
- Combine with Collisions for External Objects: Shrinkwrap Hair Curves handles hair-to-emitter collisions. For other objects (hats, helmets), use additional techniques like secondary shrinkwraps or physics collisions. Merging geometries can allow one node to shrinkwrap to multiple surfaces.
- Stay Updated: Monitor Blender release notes for changes to geometry nodes hair tools, as assets and settings may evolve. Adapt to these changes to maintain consistent results across Blender versions.
By following these best practices, you can efficiently integrate the Shrinkwrap Hair Curves node into your hair grooming workflow, maintain performance, and avoid common issues like sliding hair roots or flattened hairstyles. In combination with creative use of other hair assets and possibly premade solutions like PixelHair, you have a robust toolkit for tackling any hair grooming challenge in Blender’s latest versions.

References & Additional Resources
- Blender Manual – Shrinkwrap Hair Curves (Hair Deformation Node). Blender 4.x Manual, Blender Foundation. [Online]. Available: https://docs.blender.org/manual/en/latest/modeling/geometry_nodes/hair/deformation/shrinkwrap_hair_curves.html (Accessed 2025-03-17). docs.blender.org
Official documentation for the Shrinkwrap Hair Curves node, describing its purpose, inputs (Geometry, Surface, Factor, Offset Distance, Above Surface, Smoothing Steps, Lock Roots), and output. - Blender 3.5 Release Notes – New Hair Assets (Blender.org). Blender Foundation, Mar. 29, 2023. [Online]. Available: https://www.blender.org/download/releases/3-5/ blender.org
Announcement of Blender 3.5 highlighting the introduction of 26 built-in hair grooming node group assets (Essentials), including Shrinkwrap Hair Curves, as part of the new curves-based hair system. - Simon Thommes et al., “Procedural Hair Nodes: Nodegroup Assets for Blender 3.5,” Blender Developer Forum (DevTalk), Feb. 2023. [Online]. Available: https://devtalk.blender.org/t/procedural-hair-nodes-nodegroup-assets-for-blender-3-5/27601 devtalk.blender.orgdeveloper.blender.org
Discussion by Blender developers and artists on the design of procedural hair node assets. Notably mentions the utility of a shrinkwrap node for hair (to push hairs outside a surface and simulate wet fur), which informed the development of the Shrinkwrap Hair Curves asset.
Recommended
Best Places to Buy Unreal Engine Metahuman Assets: Top Marketplaces, Reviews, and Expert Tips
How to Install and Set Up The View Keeper in Blender
How do I make the camera orbit around an object in Blender?
How The View Keeper Speeds Up Animation Rendering in Blender
How to Animate in Blender: The Ultimate Step-by-Step Guide to Bringing Your 3D Scenes to Life
How do I focus the camera on an object in Blender?
How to Animate a Camera in Blender
How do I change the camera’s near and far clipping distances in Blender?
How do I make the camera look at an object automatically in Blender?
Managing Multiple Camera Settings in Blender with The View Keeper


